Nothing says “I’ve got this handled” like a messy top knot that looks intentionally undone rather than like you rolled out of bed—well, actually, the best messy top knots do have that rolling-out-of-bed quality, just with significantly better execution. Whether you’re dealing with super short layers, long flowing waves, or anything in between, a top knot is the hairstyle equivalent of a well-fitted white tee: fundamentally simple in concept, infinitely adaptable, and somehow always works.
The magic of a top knot lies in its deceptive simplicity. It’s not actually that your hair needs to be perfect or your technique flawless—quite the opposite. The messier and more textured a top knot looks, the more intentional and polished it actually feels. This is one of those rare beauty situations where imperfection is the goal, which means less stress, less pressure, and genuinely faster styling than you’d expect.
What makes top knots work across all hair lengths isn’t just versatility—it’s that the style actually improves as your hair gets shorter or longer. Add enough texture, the right base technique, and a handful of baby hairs strategically pulled loose, and you’ve created something that looks effortlessly chic whether you’re working with a pixie cut’s worth of length or waist-length waves. The five styles below show you exactly how to nail each approach.
Why Top Knots Work for Every Hair Type and Length

A top knot succeeds where other styles sometimes struggle because it’s not fighting against your hair’s natural texture—it’s celebrating it. If your hair is stick-straight, a top knot gives you permission to add texture and movement. If your hair is naturally curly, a top knot corrals the curls into intentional volume rather than asking you to smooth everything down.
The real advantage reveals itself when you understand that a messy top knot is actually easier than a perfectly sleek one. You’re not aiming for precision; you’re aiming for controlled chaos. This means you can build the style in under five minutes, you don’t need advanced braiding skills, and you can absolutely recover if something isn’t sitting exactly right—just loosen it slightly and redistribute the knot.
Hair length becomes almost irrelevant because the technique adapts. Short hair gets secured closer to the scalp and relies on the texture of a few face-framing pieces. Medium-length hair gives you more volume to work with, so you can create a genuinely chunky knot. Long hair benefits from that extra length to create a fuller base before you twist and secure everything at the crown.
What Makes This Style So Reliable
The reason top knots have stayed relevant for years—from editorial fashion spreads to everyday Instagram—is that they solve multiple problems at once. They keep hair off your face when you’re working, working out, or just trying to exist without your hair in your way. They create instant volume at the crown, which flatters most face shapes. They work with unwashed hair, partially clean hair, and even day-old waves that you weren’t planning to style at all. They look equally at home in a yoga class or at dinner, depending on how polished you make them.
Essential Tools and Products for Long-Lasting Top Knots

Before you dive into the five styles, you actually need very few supplies—but the ones you do use should be the right ones. A good hair tie matters more than you’d think, and I’m not talking about tiny elastics that snap or those thick rubber bands that crease your hair. Look for spiral hair ties, also called coil hair ties or phone cord hair ties, that grip your hair securely without creating a dent when you remove them. These have changed the game for anyone styling their hair daily.
Texture products are your second essential. A sea salt spray, dry shampoo, or texturizing spray creates grip and micro-texture that prevents your knot from slipping while also making it look intentionally messy rather than just poorly secured. Apply product to mid-lengths and ends before you even start styling—this single step probably makes the biggest difference in how your finished knot looks.
The third product is bobby pins, and yes, you want actual bobby pins, not basic hair pins. The wavy design matters because it grips hair far better than straight pins. Buy them in your hair color so they disappear visually. A few strategically placed bobby pins hidden inside your knot will keep flyaways at bay and ensure everything stays put through an entire day of movement.
Finally, a light-hold hairspray or texturizing spray applied after you finish the knot provides security without that crunchy, stiff feeling. Aim for something that feels natural when you touch it—your style should feel like hair, not shellac.
Prep Your Hair for the Perfect Top Knot Every Single Time

Here’s what separates a top knot that lasts eight hours from one that deflates after two: preparation. Even though messy top knots are supposed to look undone, they actually require intentional prep work to nail that vibe.
Start with hair that has at least a tiny bit of texture. Freshly washed, bone-straight hair can be slippery and harder to secure in a way that looks intentionally messy rather than flat. If your hair is squeaky-clean, apply a dry shampoo or texturizing spray throughout, focusing on the crown and mid-lengths. Work it through gently with your fingers, not your whole hand—you’re looking for touchable texture, not visible powder.
Next, consider your base. Are you going for maximum volume? Use a light teasing brush along your crown to create a subtle cushion of texture at the roots. You’re not going for a visible pouf, just enough grip and lift that your knot has something to anchor into. If you have naturally fine hair, this step becomes even more important.
Finally, pull your hair up from underneath rather than on top. This creates a naturally fuller, rounder knot and prevents that flat-on-top look that happens when you gather hair from the sides and back. Tilt your head down slightly, gather your hair up into a ponytail positioned where you want your knot to sit, and work from there.
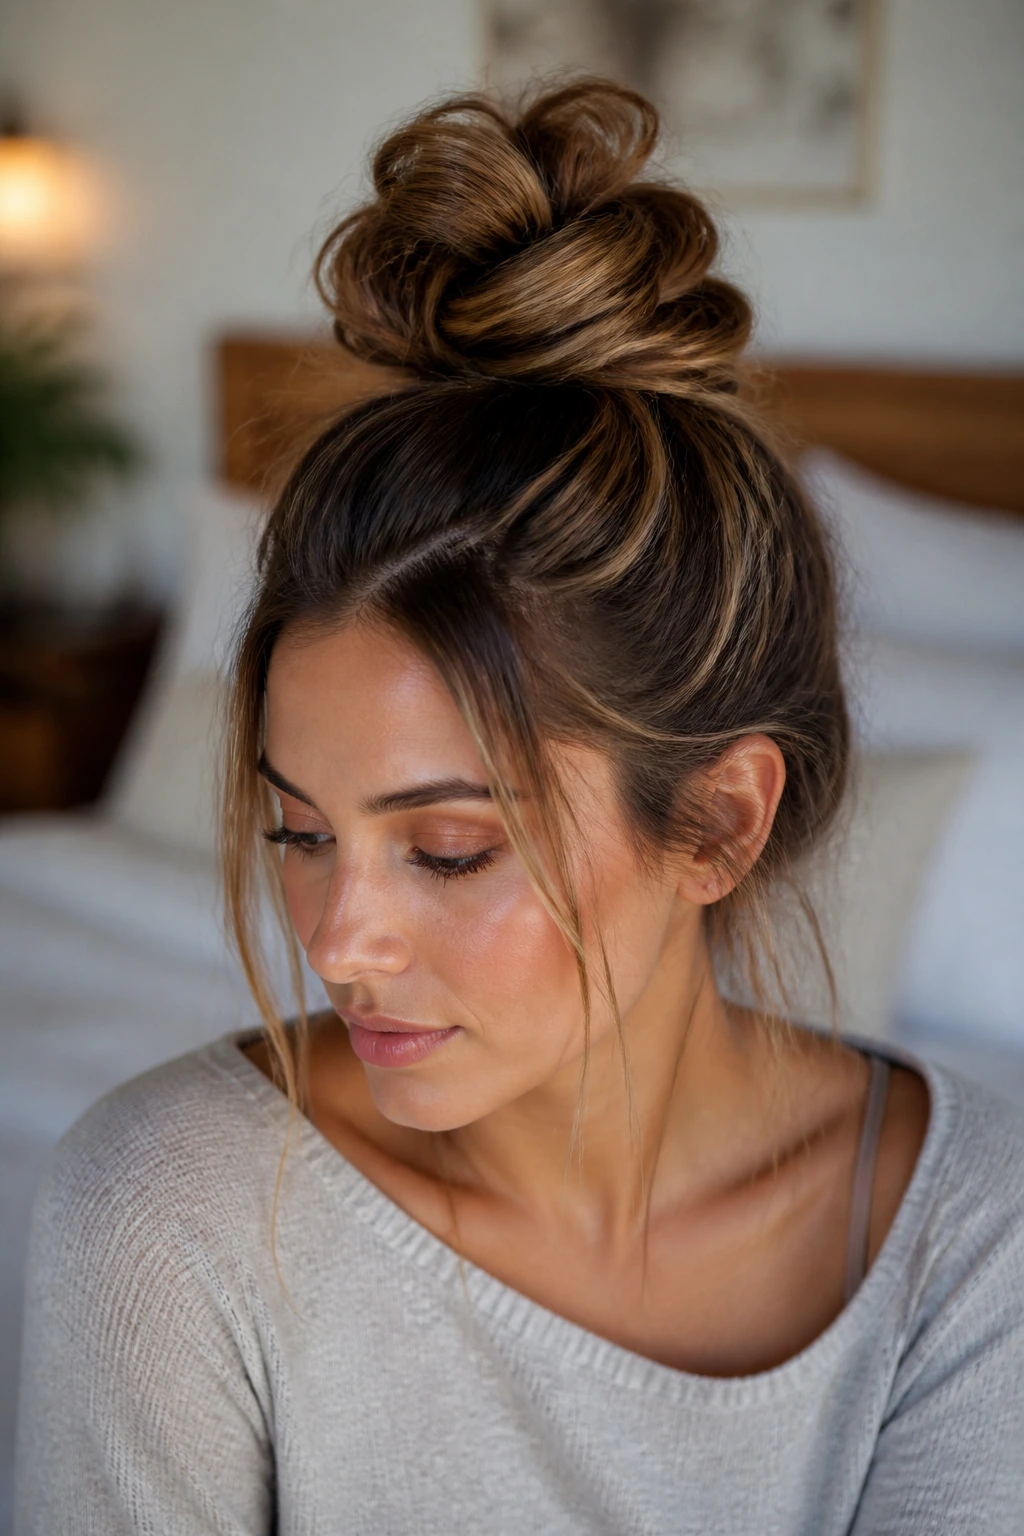
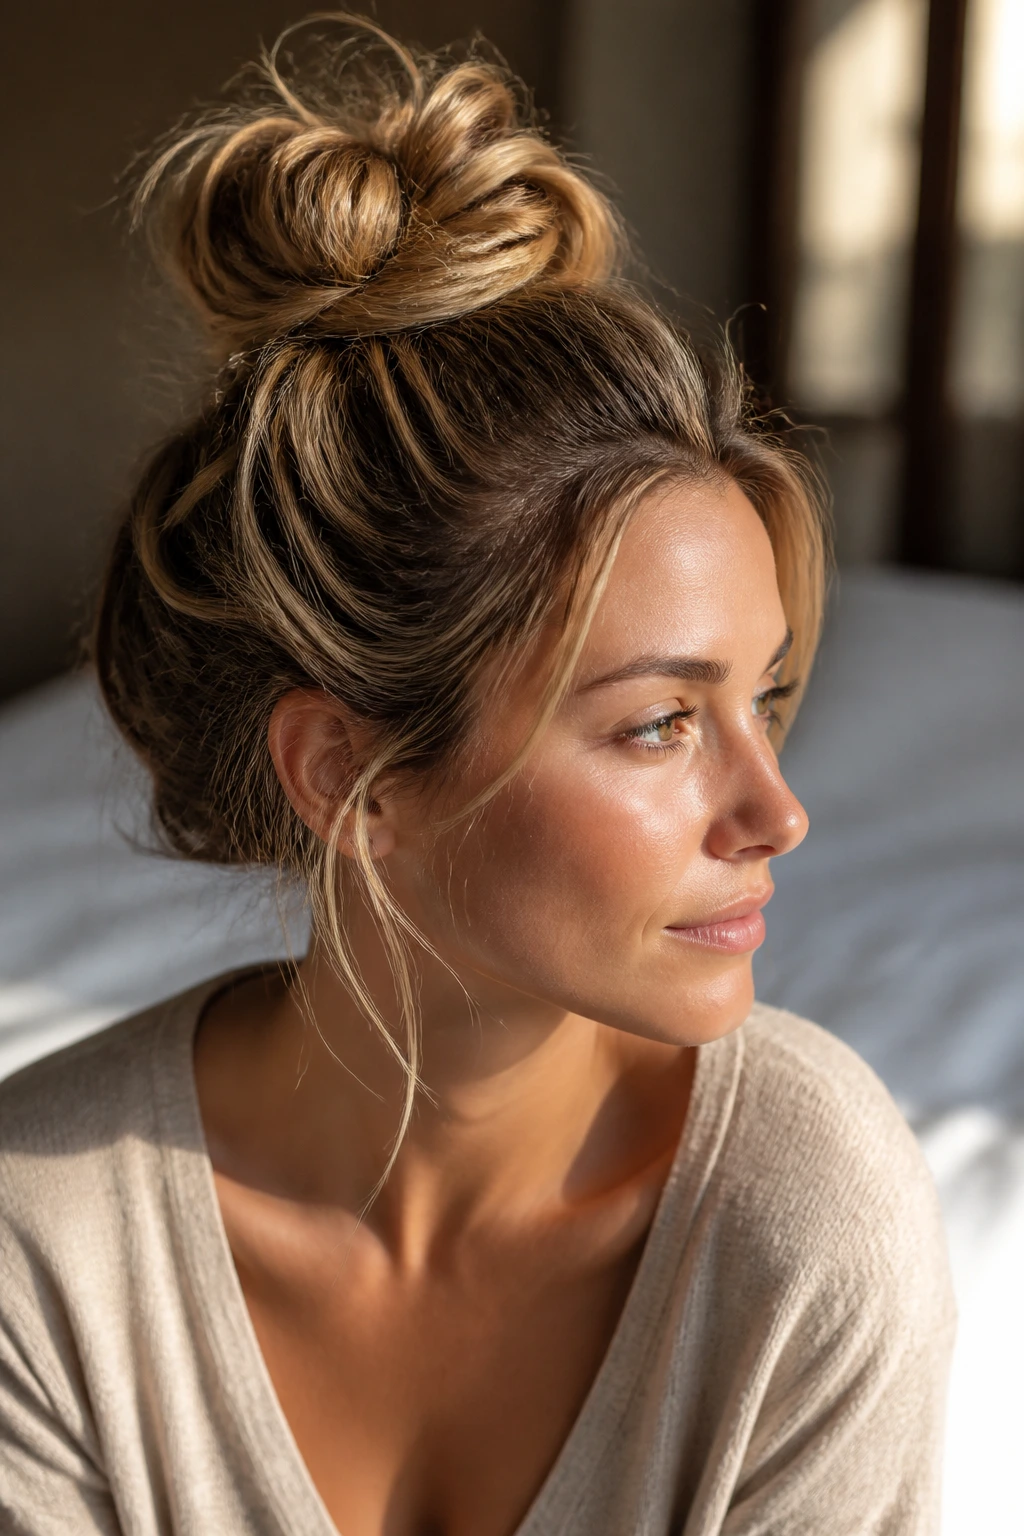
1. Classic Messy Topknot (The Everyday Style)

This is the top knot you’ll wear on repeat—the one that works when you have fifteen minutes to get out the door, after the gym, or any time you want your hair up but still want to look intentional. The classic messy topknot is your baseline style, and once you nail this version, the other four become variations on the same basic technique.
Start by gathering your hair into a high ponytail at the crown, positioned slightly more toward the back than directly on top—this positioning flatters most face shapes and creates a more sophisticated look than a perfectly centered knot. Use your texture spray beforehand if your hair needs it, and don’t worry about the ponytail being perfectly smooth. Slight bumps and loose sections are actually exactly what you want here.
How to Build the Knot Itself
Once your ponytail is secured, you’re ready for the actual knot. Take the length of your ponytail and twist it loosely—not tightly, just a casual twist that gives the hair structure without making it look brittle. Wrap that twisted section around the base of your ponytail, creating a coil at the crown. As you wrap, intentionally leave some pieces loose or pull them out slightly as you go; this is what creates the “messy” texture that makes the style actually beautiful.
Secure the wrapped knot with bobby pins positioned underneath where you won’t see them, aiming for at least three pins for staying power throughout the day. If your hair is very long or very thick, you might need five or six pins, and that’s completely fine. The pins should be invisible when you look at the finished style.
The Final Details That Make the Difference
Now comes the part that elevates this from “hair is up” to “intentional messy style.” Pull out a few small pieces around your face—at your temples, along your hairline, maybe one piece near an ear. These pieces should be loose enough to move and frame your face, but they should still feel intentional rather than accidental. You’re creating softness, not chaos.
Finish with a light mist of texturizing spray or sea salt spray over the knot itself. This adds hold, creates additional texture, and gives the whole style that “I woke up like this” quality. The spray shouldn’t feel sticky or make your hair crunchy; it should feel natural and touchable.
Pro tip: If your ponytail starts to slip throughout the day, try using a clear elastic underneath your decorative hair tie. The double-layering of elastics creates extra grip without being visible, and it’s genuinely a lifesaver if you have very fine or very slippery hair.
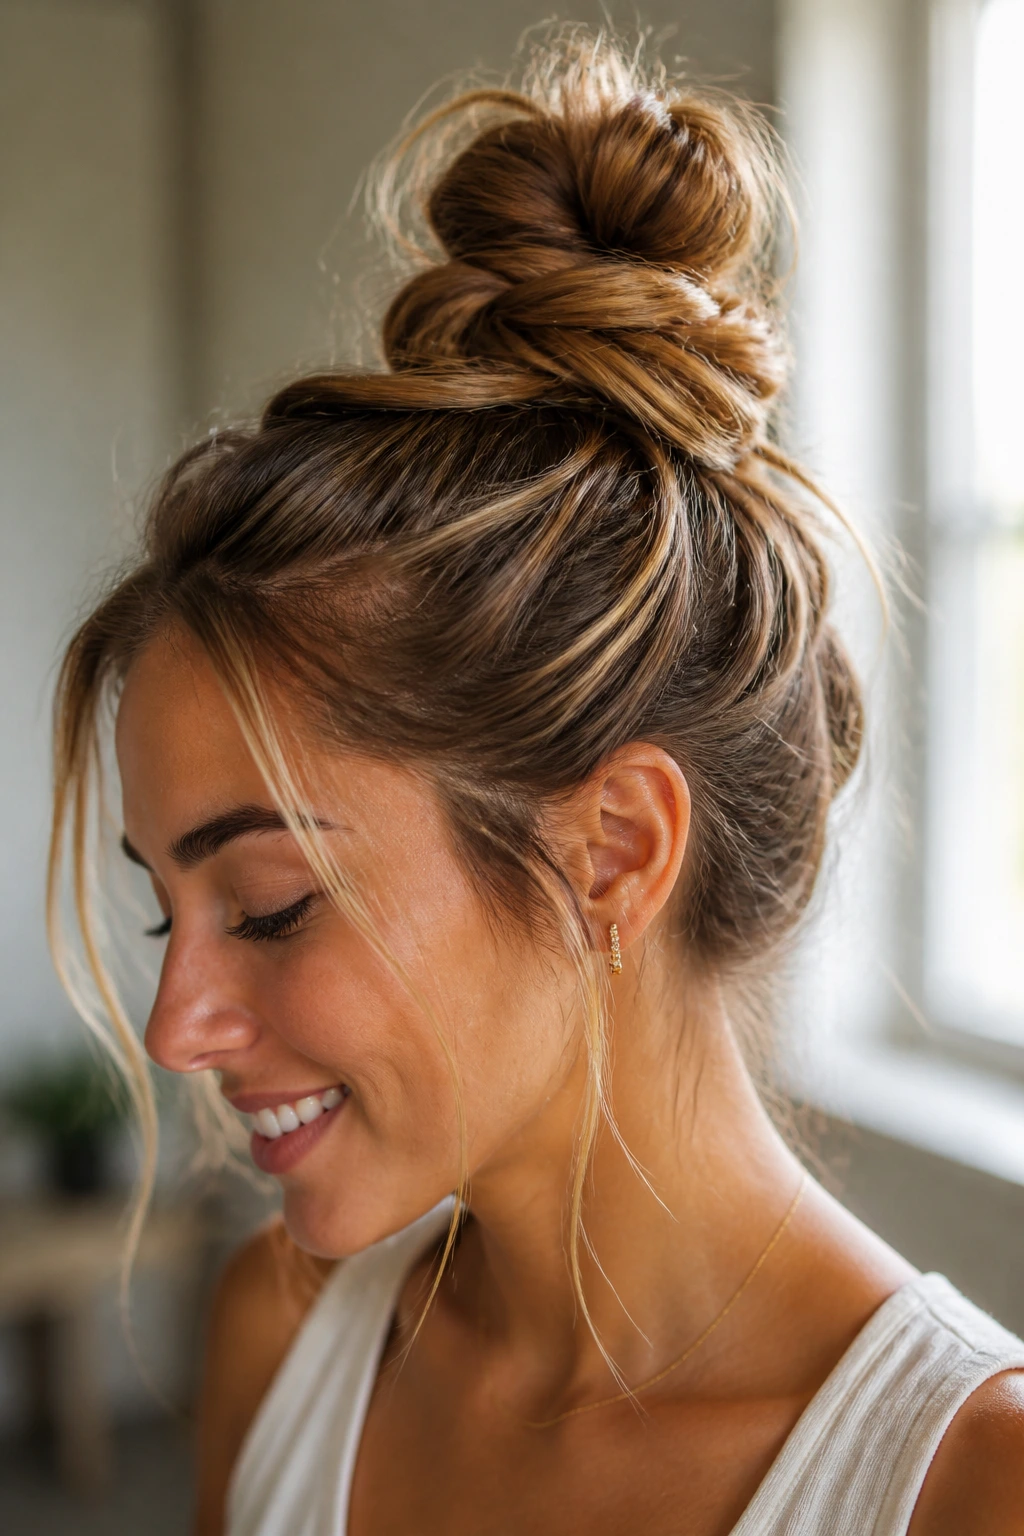
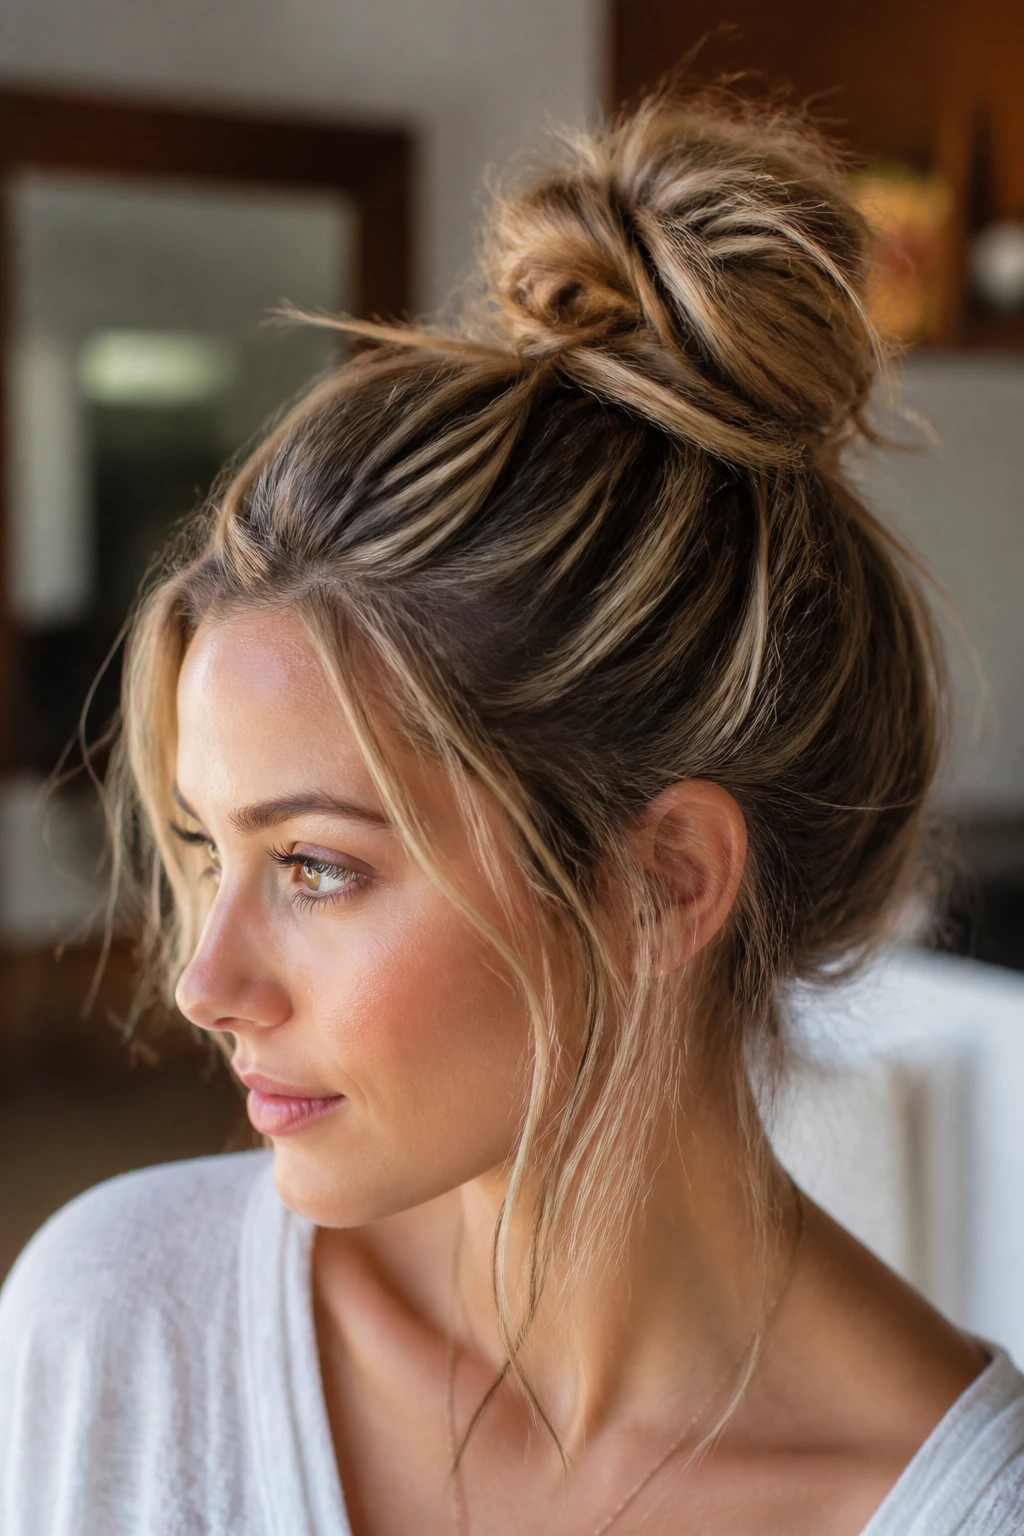
2. Undone Textured Top Knot (The Bedhead Vibe)

This version is all about embracing texture and movement, making it absolutely perfect if you’ve got wavy or curly hair, or if you’re working with second-day (or third-day, no judgment) hair that has natural waves. The undone textured top knot is intentionally loose, deliberately piece-y, and somehow looks more effortful and polished than the classic version, even though it’s actually faster to create.
The key difference between this style and the classic topknot is that you’re not aiming for a tight, compact knot—you’re creating a loose, tumbling arrangement that lets individual waves and texture be visible. Start with hair that has visible texture (curls, waves, or added wave from a braid or texture spray), then gather it into a ponytail that’s intentionally slightly messier than you’d normally aim for.
Building Texture Into Every Layer
Instead of twisting your ponytail into a tight coil, loosely loop it around your ponytail base in a more casual way. Take a section of the ponytail, wrap it around the base, then tuck the end behind and pin it. Grab another section and do the same, creating an abstract, layered arrangement rather than a neat spiral. The pieces should overlap and sit at slightly different heights around the base of your ponytail.
As you work, keep pulling out small pieces intentionally, creating the undone texture. Don’t secure these pieces—let them frame your face and fall naturally. This style is supposed to look like you didn’t perfectly style it, which means imprecision is actually the goal here.
Why This Works for Wavy and Curly Hair Specifically
If your hair is naturally wavy or curly, this is where you get to let your texture shine instead of fighting it. Position your ponytail slightly lower than the classic version—somewhere between mid-crown and the back of your head—which creates a different silhouette and gives curls room to expand and be visible. Don’t brush through the knot or try to smooth anything; use your fingers to separate sections and create that tousled, undone appearance.
For curly hair particularly, consider using a curl-defining cream or gel on the undone pieces that frame your face. This keeps them from frizzing out while still maintaining their curl pattern and movement.
Finish with a dry oil spray or a light hairspray—you want something that adds shine and keeps shape without making curls crunchy or stiff. A few loose curls falling around the base of the knot create a soft, romantic quality that’s honestly quite striking.
Worth knowing: This style actually improves as the day goes on. Curls settle and define further, and the loose pieces become more intentional-looking rather than more chaotic. If you’re wearing this style to an event, styling it an hour or two beforehand gives you better results than styling right before you walk out the door.
3. Sleek Base with Messy Crown Knot (The Half-Undone Hybrid)

Want the polished, put-together vibe of a sleek ponytail combined with the fun, intentional texture of a messy knot? This hybrid style gives you both, creating an interesting visual contrast that’s genuinely sophisticated. The sleek base draws attention to your face and creates a clean line, while the messy crown adds movement and visual interest.
Start by creating a perfectly smooth, sleek high ponytail using a fine-tooth comb and a strong-hold gel or mousse. Yes, you’ll actually use smoothing products here, which is different from the other styles. The smoother and sleeker your base ponytail, the more dramatic the contrast when you add the messy knot on top. Work the smoothing product through your ponytail and smooth everything down against your head, eliminating every bump and piece.
Creating the Contrast That Makes This Style Work
Once your base is sleek and secure, gather the length of your ponytail and create your messy knot at the crown—same technique as the classic version, but with much more intentionality about the messiness. Pull out more pieces, create more texture, and make sure the contrast between your smooth scalp and pulled-back hair (below the knot) and the chaotic texture of the knot itself is visually obvious.
This is where you want to lean into the undone quality. Tease the ponytail slightly before you twist it, creating a intentionally fuzzy, piece-y knot that’s a complete 180 from your slicked-back base. The juxtaposition is what makes this style visually interesting.
The Visual Impact of Strategic Styling
This style is particularly flattering if you want to emphasize cheekbones or if you have a longer face shape—the sleek base creates a clean frame, and the messy knot adds height that balances proportions. It also works beautifully if you’re dressing up because the sleek elements feel polished while the messy knot keeps the whole look from feeling too formal or rigid.
Finish the sleek parts with a strong-hold hairspray, and finish the messy knot with a texture spray. This creates distinct hold differences and reinforces the visual contrast between the two parts of the style.
Pro tip: You can actually create this style with your hair wet. Slick it back with product, let it air-dry, and then create the messy knot, which means you’ve got extra texture and hold from the partially-dried hair without needing to blow-dry and style separately.
4. Double-Section Top Knot (The Voluminous Look)
If you want maximum volume and a noticeably fuller knot, or if you’re working with longer hair and want to use more of the length, the double-section topknot is your move. This version creates a genuinely thick, substantial knot that looks impressive while actually being quite simple to execute. The technique involves creating two sections that you twist separately and then wrap around each other, doubling your knot volume.
Start with your high ponytail as usual, but this time, divide that ponytail into two roughly equal sections. You don’t need to be perfectly precise—two sections that are close in size work fine. Apply your texture spray throughout the whole ponytail before you divide it, creating texture and grip that will help everything stay in place.
The Technique That Creates Double the Volume
Take your first section and twist it loosely, then wrap it around your ponytail base. Pin it in place underneath where you won’t see it. Now take your second section and twist it the same way, then wrap it around the base, positioning it slightly different than the first section so they spiral around the base separately rather than stacking directly on top of each other.
This creates a knot that’s substantially thicker and fuller than a traditional single-twist version, without requiring any special technique or skills—you’re literally just doing the classic knot twice. The result is a genuinely voluminous updo that looks high-effort and polished.
Why Longer Hair Particularly Benefits from This Approach
If you’re working with shoulder-length hair or longer, the double-section knot actually uses your length more intentionally. You get a fuller knot without using all your length at once, which means you can create a more proportional style. The knot sits fuller and rounder rather than thin and elongated, which is flattering for pretty much every face shape.
As with the other styles, pull out small pieces around your face and along the knot itself. With the double-section version, you can pull out slightly larger pieces because the knot is fuller and has more structure to spare. This creates an even softer, more romantic look.
Quick facts about the double-section knot:
- Works best with hair that’s at least collar-length, as you need enough ponytail to divide into two sections
- Creates particularly good volume if your hair is on the finer side
- Requires more bobby pins than a classic knot (aim for four to six)
- The spiral effect works beautifully photographed from above or from the side
- Takes approximately one extra minute compared to a classic topknot
5. The Twisted Top Knot (The Elegant Casual)
The twisted topknot takes the fundamental technique and makes it just slightly more intentional, creating a style that walks the line between effortless and elegant. Instead of twisting your entire ponytail once and wrapping it around the base, you’re creating multiple small twists that you arrange and pin individually, creating a more structured (but still undone-looking) knot.
This version is particularly good if you want something that photographs well—the visual interest and detail are more obvious, and the overall effect is more polished without feeling stiff or overly done. It’s also an excellent choice if you have very thick or very long hair, as multiple smaller twists are actually easier to manage and keep secure than one giant twist.
Building Structure Through Intentional Twisting
Divide your ponytail into three sections. Twist each section loosely—these twists should be less tight than in a classic topknot, almost undone twists that still maintain their shape. Arrange these three twisted sections around the base of your ponytail, positioning them at different heights and angles so they create a visually interesting, almost braided-looking arrangement.
Pin each section underneath where it meets the base of your ponytail. The three twists should overlap slightly, creating a knot that looks structured and intentional but maintains that undone quality because the individual twists are slightly loose and piece-y.
When to Use This Variation and Why It Works
This style is phenomenal for occasions where you want your updo to read as genuinely styled. Weddings, professional events, dinners out—the twisted topknot looks effortful enough to be appropriate for more formal settings, but it’s undone enough to still feel current and not overly formal.
The three-twist arrangement also naturally incorporates more movement and texture than a single-twist knot. When you move your head, the twists move slightly differently from each other, creating a dynamic quality that feels alive rather than rigid.
Finish by pulling out face-framing pieces and applying a light texturizing spray. Unlike some of the messier versions, this style benefits from slightly less chaos around the knot itself—keep the individual twists relatively visible rather than burying them in pulled-out pieces.
Worth knowing: You can actually create variation in this style by changing how many twists you do. Try four smaller twists instead of three, or try one large twist combined with two smaller twists for a different visual arrangement. The principle remains the same: divide, twist loosely, arrange, and pin.
Styling Products That Actually Make a Difference
Not all hair products are created equal when it comes to creating topknots that last. Skip the super heavy pomades and thick gels—these create weight and slickness that actually works against the textured, messy quality you’re aiming for. Instead, focus on texture-building products that create grip without visible product.
A good dry shampoo is your foundation. Even if your hair isn’t dirty, the texture and grip that dry shampoo adds makes every topknot style easier to secure and better-looking. Apply it at your roots and mid-lengths the night before or the morning of styling—you don’t need much, and you want it worked through enough that you can’t see visible powder.
Texturizing sprays and sea salt sprays are the next essential tier. These add micro-texture that prevents slipping while creating that intentionally undone appearance. Use these after you start styling your topknot, not before, as they’re working to hold the style rather than prepare the base.
For a light hold that keeps everything in place without feeling sticky or crunchy, choose a texture spray rather than a traditional hairspray. The difference is night and day—traditional hairspray can make your knot feel stiff and product-laden, while texture spray maintains the natural feel you’ve created.
Finally, if you have flyaways or fine hair that tends to slip, a tiny amount of edge control (like what you’d normally use for baby hairs) worked into the knot underneath can help with security. Use just a dab, working it through your fingers before applying, so it doesn’t show or feel waxy.
Troubleshooting When Your Top Knot Falls Flat
The most common issue with topknots is they start slipping throughout the day, usually because your hair doesn’t have enough texture or grip. The fix is almost always adding product beforehand—a dry shampoo or texturizing spray makes a shocking difference in hold, even if you’ve been doing topknots the same way for years without it.
The second most common issue is a knot that looks flat on top rather than round and dimensional. This usually means you need more volume at the crown. Before you create your ponytail, gently tease along the crown using a teasing brush. You’re looking for subtle, touchable texture, not a visible pouf. This creates a foundation that your knot sits on top of, making it look fuller automatically.
If your knot is slipping at the base despite being well-pinned, you might need a stronger hair tie underneath your decorative one. Many people find that using two elastics (a clear one underneath and a decorative one on top) provides enough grip to hold an entire day without issues.
If your face-framing pieces aren’t staying where you want them, a tiny bit of lightweight smoothing serum worked through just those pieces (not the knot) can help without making them look over-styled. You’re aiming for soft and intentional, not stuck and frozen.
Getting Multiple Days from Your Top Knot Style
One of the sneaky advantages of a messy topknot is that it actually looks better on day two or three when your hair has settled and the style has relaxed slightly. Instead of restyling every day, you can genuinely extend the life of a topknot for two to three days with minimal adjustment.
On day two, when your knot needs a refresh, first apply a texturizing spray throughout to restore grip and texture. Gently loosen any elastic or pins if the knot feels tight, then re-pin it in a slightly different position. This gives you a completely refreshed look with maybe two minutes of effort.
Sleeping in your topknot is completely fine if you secure it loosely. Use a silk or satin pillowcase to prevent friction damage, and tie your knot loosely enough that it doesn’t create a tension headache. In the morning, you’ll likely find your knot has created some really beautiful waves in the pieces that were down overnight.
The undone texture quality of a messy topknot means it actually gets more intentional-looking as time passes, especially if you’re working with naturally wavy or curly hair. This is the opposite of some styles that fall apart after day one.
Key Takeaways
A messy topknot is genuinely one of the most forgiving, adaptable hairstyles available—not because the technique is hard, but because imperfection is actually the entire point. Whether you choose a classic version, a super undone textured knot, a sleek-based hybrid, a voluminous double-twist, or an elegant multi-twist arrangement, you’re working with essentially the same basic foundation.
The real difference-makers are texture products (dry shampoo and texturizing spray) applied beforehand, strategic bobby pinning that you’ll never see, and intentionally pulled-out face-framing pieces that soften the overall effect. These three elements transform a basic gathered ponytail into a polished style that works across every hair length and type.
Start with whichever variation resonates most with your styling personality and hair texture, then play with the others as your confidence grows. You’ll likely find that different occasions call for different versions—the sleek hybrid for professional settings, the undone textured knot for weekend wear, the twisted topknot for events where you want a bit more polish. Having all five in your styling toolkit means you’ve genuinely got a solution for any situation, any hair condition, and any time you want your hair up without looking like you just tossed it up.