Short hair and beaches are a match made in heaven. You skip the dramatic frizz battles that plague longer lengths, you dry faster post-swim, and you get instant texture and volume from salt water without looking unkempt—if you work with your hair’s natural strengths instead of against them. The trick is knowing which styles actually enhance short hair rather than flatten it, and which techniques will hold up through ocean water, sunscreen, and the constant wind that comes with coastal living.
The vacation mindset shifts what matters. You’re not aiming for magazine perfection or styles that require 30 minutes of heat styling. Instead, you want looks that feel effortless, work with humidity and salt spray, take five minutes to execute on a beach morning, and look better as the day progresses rather than worse. Short hair gives you a genuine advantage here—these styles are designed to improve with texture, movement, and that perfectly imperfect lived-in quality that screams “I woke up like this at the beach.”
Whether you’re sporting a pixie, a bob, a shag, or something in between, the styles below prove that short hair doesn’t limit your vacation hair game. If anything, it expands your options. You can swim freely without worrying about drying time, you can experiment with clips and accessories that would overwhelm longer hair, and your styling tools can stay packed at home.
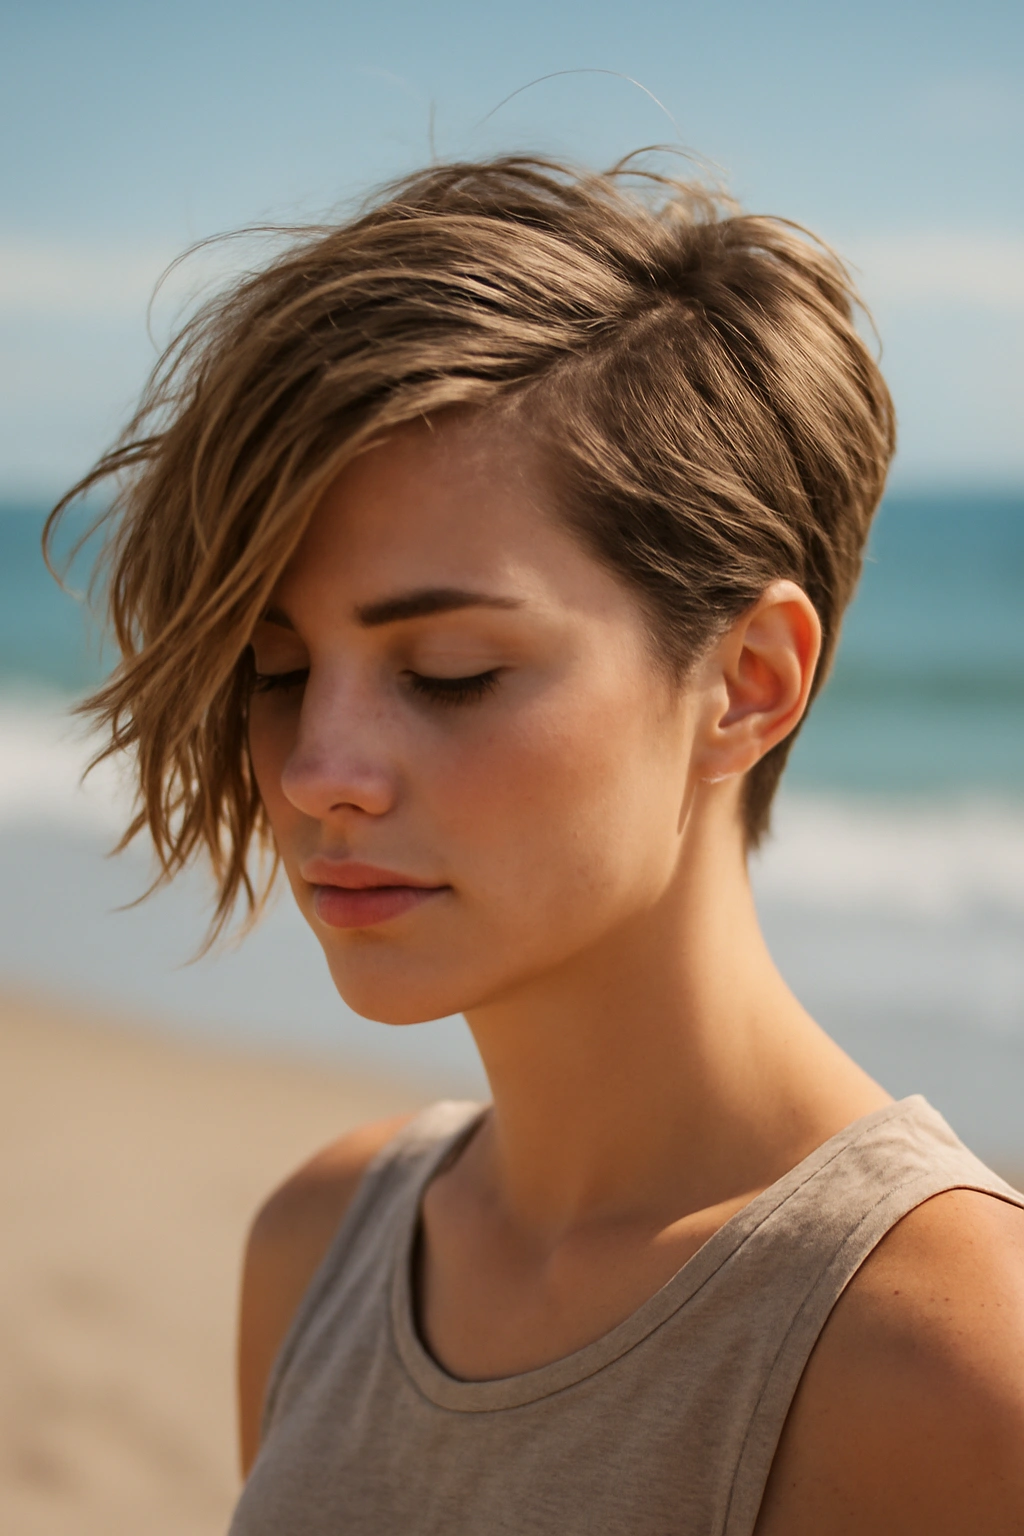
1. Textured Pixie with Highlights
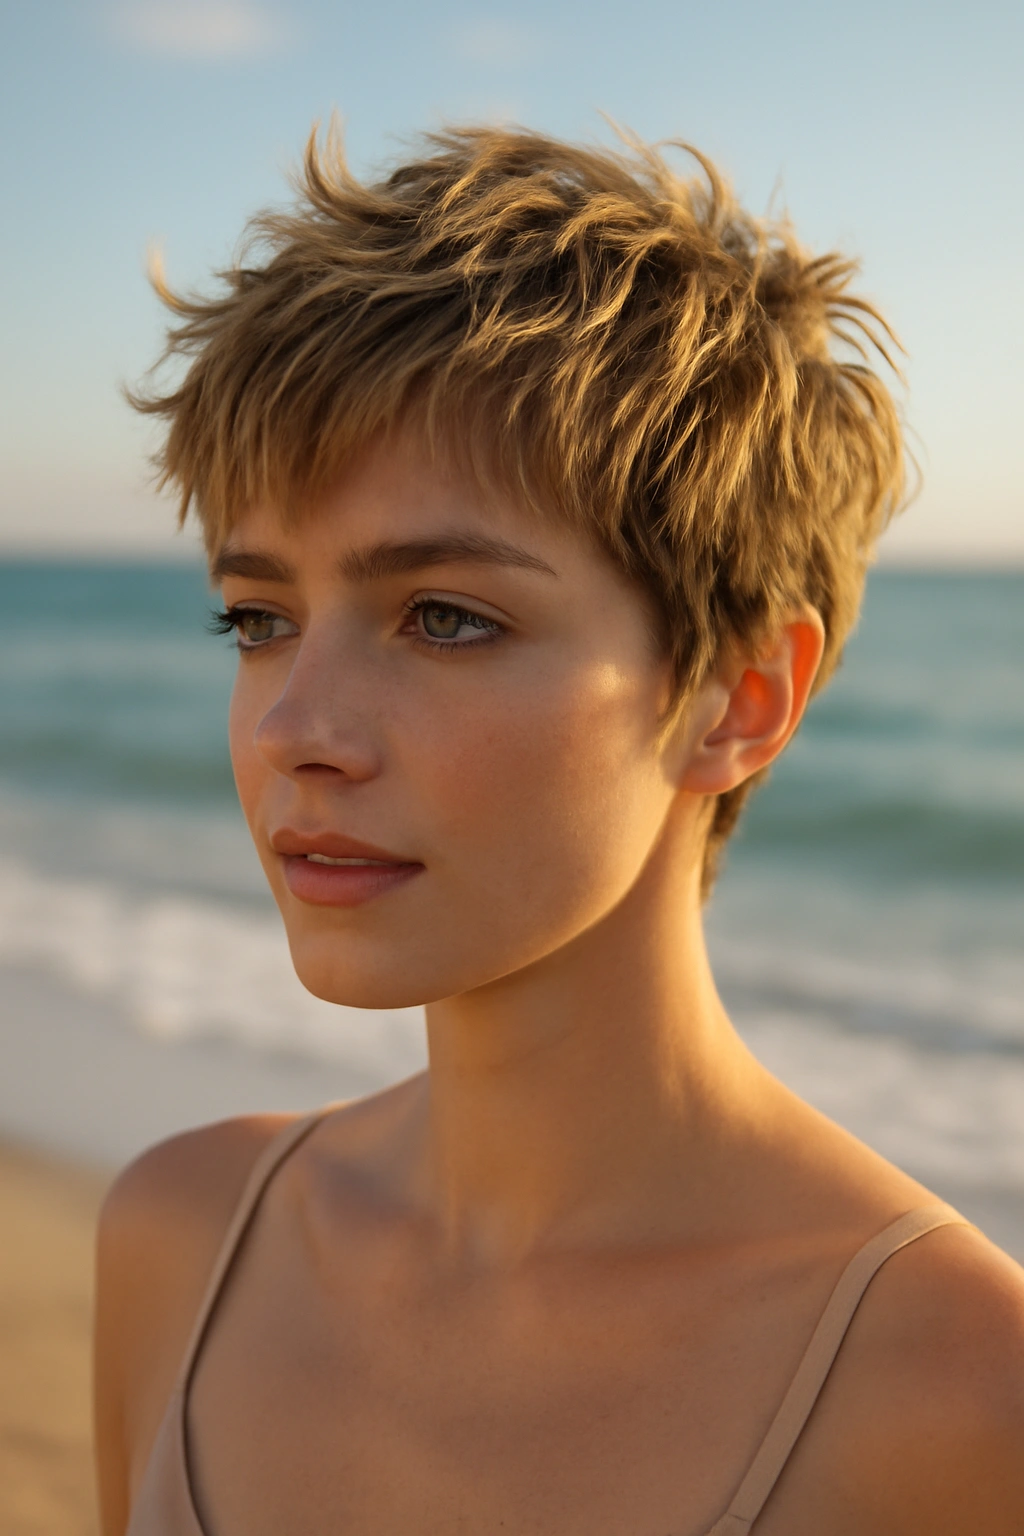
A textured pixie becomes an absolute showstopper at the beach, especially when paired with sun-brightened highlights or dimension. The short length means your face gets maximum sun-kissed warmth, and the texture—whether it’s your natural wave pattern or intentional choppy layers—catches light beautifully and photographs like you just stepped out of a high-end salon.
Why It Works for Beach Vacations
The textured pixie thrives on movement and salt water. Unlike smooth, sleek styles that depend on product and precise blow-drying, a pixie actually wants tousled texture. Swimming, sweating, and that natural beachy air-dry make the cut look intentional and cool rather than messy. You’re working with your hair’s natural behavior, not fighting against it. The short length keeps you cool in tropical heat, and there’s no chance of long strands sticking to your neck or face when you’re coming out of the ocean.
How to Style It
- Run your fingers through your hair with a lightweight sea salt spray or texturizing mist while it’s still slightly damp from the shower or ocean
- Scrunch gently upward to encourage texture and movement rather than smooth it down
- Use a tiny dab of matte paste or pomade only on the longer top sections if you want definition, but skip product entirely if your hair has natural wave
- Finger-comb it throughout the day—constant rearranging is encouraged with this style
- Lean into the undone look; a pixie that looks too polished actually reads as less vacation-appropriate
Pro tip: If your pixie grows out slightly over a two-week vacation, the shaggy in-between length becomes even more interesting and textured—don’t stress about maintaining a sharp cut while away.
2. Slicked-Back Minimalist Look
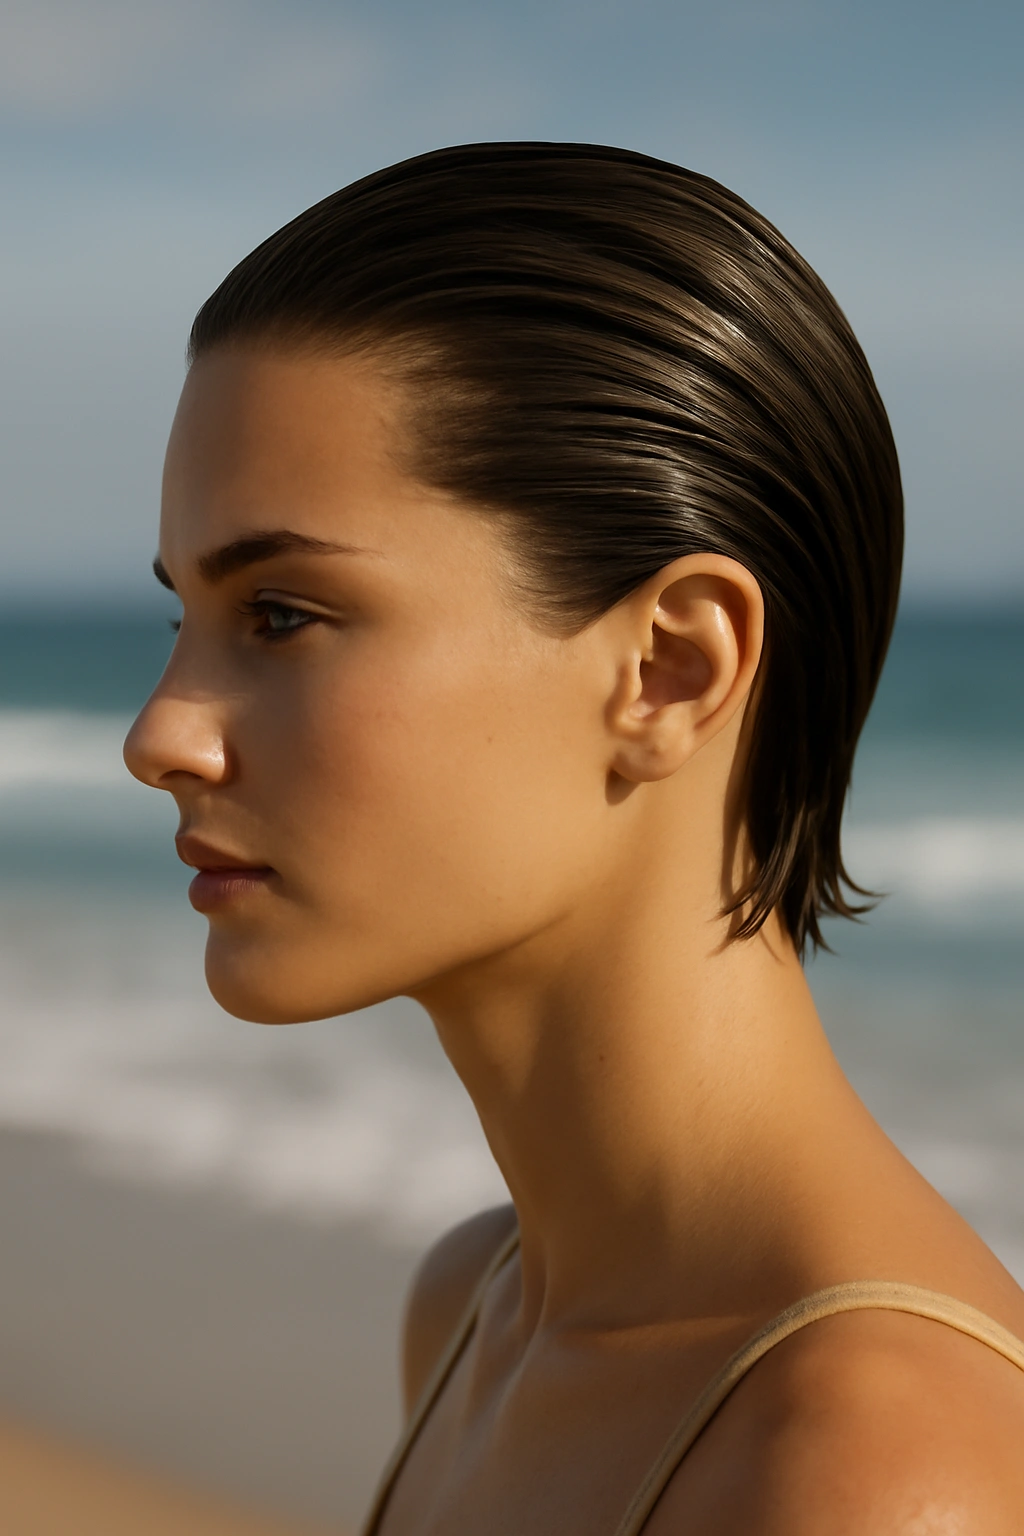
There’s something undeniably chic about a slicked-back style that’s become a beach vacation signature. It’s the antidote to frizz, it keeps hair completely off your face and neck, and it photographs beautifully—those clean lines and exposed cheekbones read as effortlessly cool rather than trying too hard.
Why It’s Perfect for Beach Days
A slicked-back style solves the humidity problem instantly. Salt spray, moisture, wind—none of it matters because your hair is intentionally wet-looking and slicked. This isn’t a style fighting against moisture; it’s a style that requires moisture and product to work. You also gain complete freedom for activities: swimming, paddleboarding, even a beach volleyball game without worrying about hair in your face. The geometric simplicity lets your features and your skin tone be the focal point, especially important when you’re spending days in the sun.
How to Achieve the Look
- Start with damp hair and apply a strong-hold gel, pomade, or mousse throughout
- Use a fine-tooth comb or a soft brush to smooth everything straight back away from your face
- Comb it into a low, sleek ponytail at the nape if desired, or leave it loose and slicked for an even more minimalist effect
- Secure with a clear elastic if you’re doing a ponytail, or simply let the product’s hold keep everything in place
- Reapply product once daily or as needed, especially after swimming
Worth knowing: Water-resistant or waterproof styling products work better than standard gel if you’re swimming multiple times daily—look for products specifically labeled for water sports or beach use.
3. Tousled Beachy Waves with Scrunchie
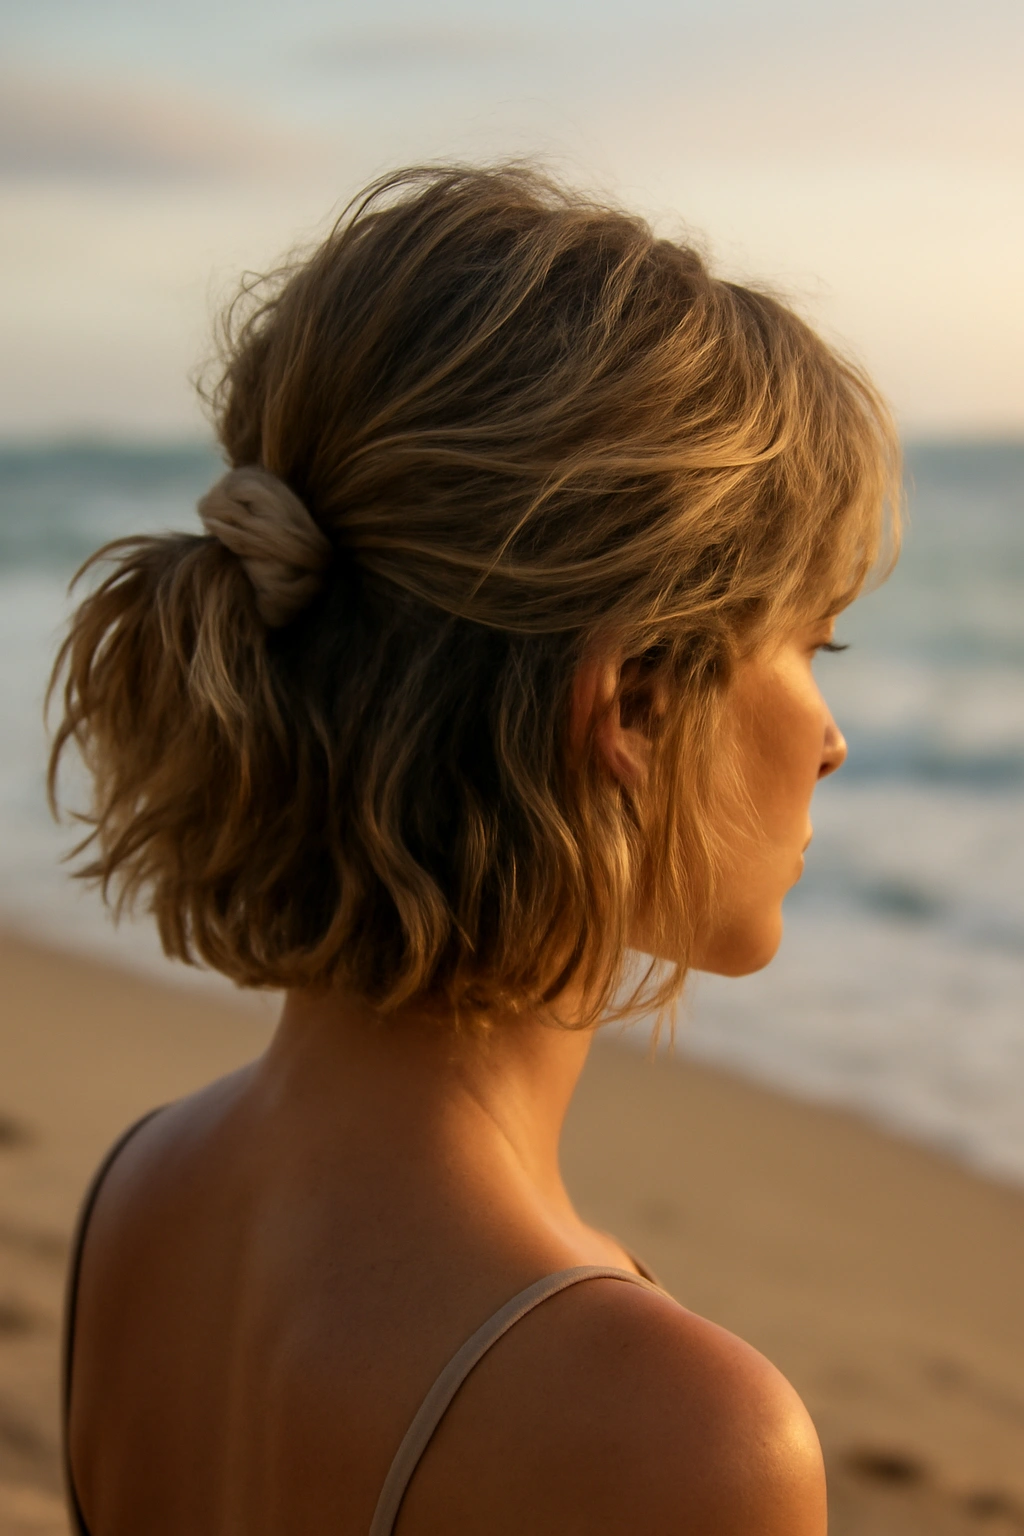
This is the “I swam in the ocean and casually gathered my hair with whatever was in my beach bag” look that somehow appears calculated and cool. It works because it leans entirely into imperfection and movement. Short hair develops waves and texture from ocean water naturally, and a loose, off-center scrunchie (preferably fabric, silk, or a claw clip) transforms that texture into a deliberately styled moment.
What Makes This Style Work
The beauty is that you’re not actually styling—you’re acknowledging your hair’s natural texture and giving it a frame. After swimming or even just sweating throughout the day, short hair dries wavy and textured. Instead of smoothing it flat, you gather it loosely, let pieces fall around your face, and let the texture show. This style actually improves as the day goes on. That slightly more messed-up, saltier, more textured version at 6 p.m. looks even better than the morning version.
Styling Steps
- Apply a sea salt spray or texturizing spray to damp hair, working it through with your fingers
- Scrunch and tousle with your hands while the spray dries—no brush needed
- Gather the hair back loosely, either at the crown or the nape, leaving longer pieces loose around your face and neck
- Secure with a fabric scrunchie, claw clip, or lightweight elastic
- Deliberately pull some strands loose from the base of the ponytail for that “pieces fell out” effect
- Resist the urge to make it neat; the best version looks slightly undone
Insider note: Claw clips actually photograph better than scrunchies if you’re conscious about photos, and they’re easier to adjust throughout the day as pieces inevitably shift and loosen.
4. Half-Up, Half-Down with Pearl Clips
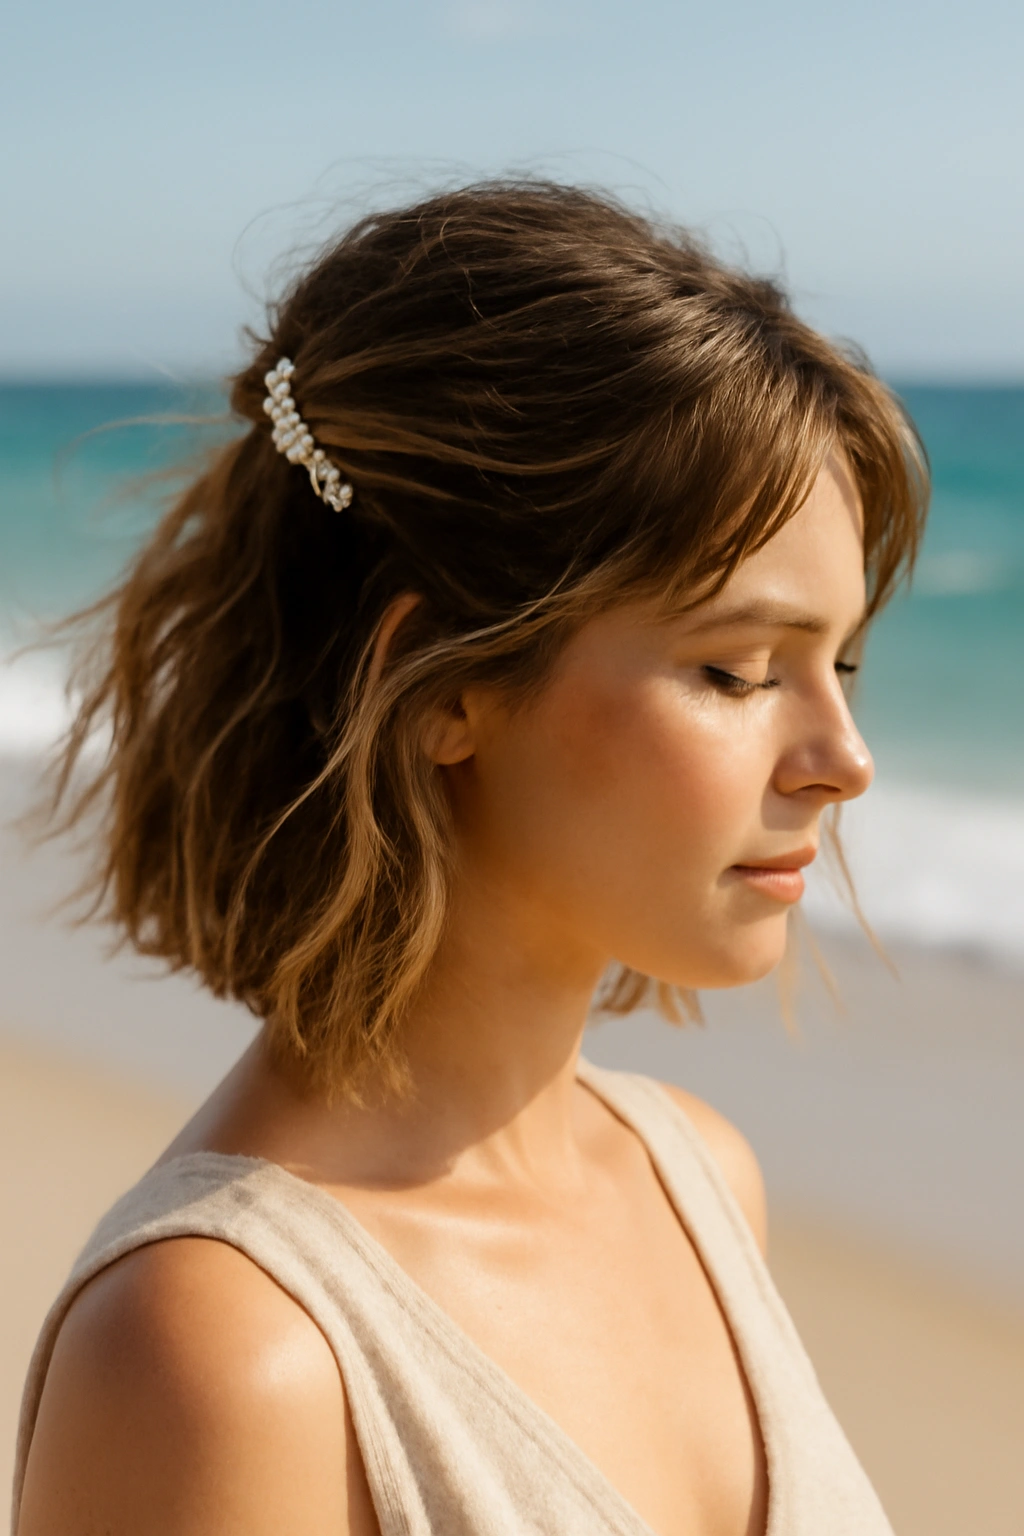
A half-up style using a small pearl or metallic clip (or even tortoiseshell) bridges the gap between practical and polished. You’re keeping hair off your face and neck but still showing length and texture. The clip itself becomes an accessory that elevates the whole look from practical to intentional vacation styling.
Why This Works for Short Hair
Half-up styles are especially flattering on short hair because they add visual lift and height without looking too formal. You’re creating shape and interest in a way that lets your hair’s texture shine rather than hide it. The clip also serves a genuine function—it keeps hair from your face during activities, through humidity and wind—while also being visually interesting. It’s one of the few styles that looks simultaneously relaxed and put-together.
How to Create It
- Style your hair with texture using a sea salt spray, texturizing cream, or even just ocean water and air-drying
- Use a fine-tooth comb to gently gather the hair at the crown, taking roughly the top third to half of your hair
- Create a small half-up section at the back of your crown, not at the very top (this keeps proportions balanced on short hair)
- Secure with a decorative clip—pearl, metal, tortoiseshell, or even a small silk bow
- Leave the bottom sections loose and textured, allowing some shorter pieces to frame your face
- Adjust the clip higher or lower depending on your hair length and how much you want gathered
Quick fact:
- Pearl clips work with virtually every skin tone and read as immediately vacation-appropriate
- Metal claw clips offer more grip than traditional bobby pins on short, textured hair
- You can switch clips throughout the day to change the vibe without restyling
- Fabric-covered clips are gentler on hair than metal alone
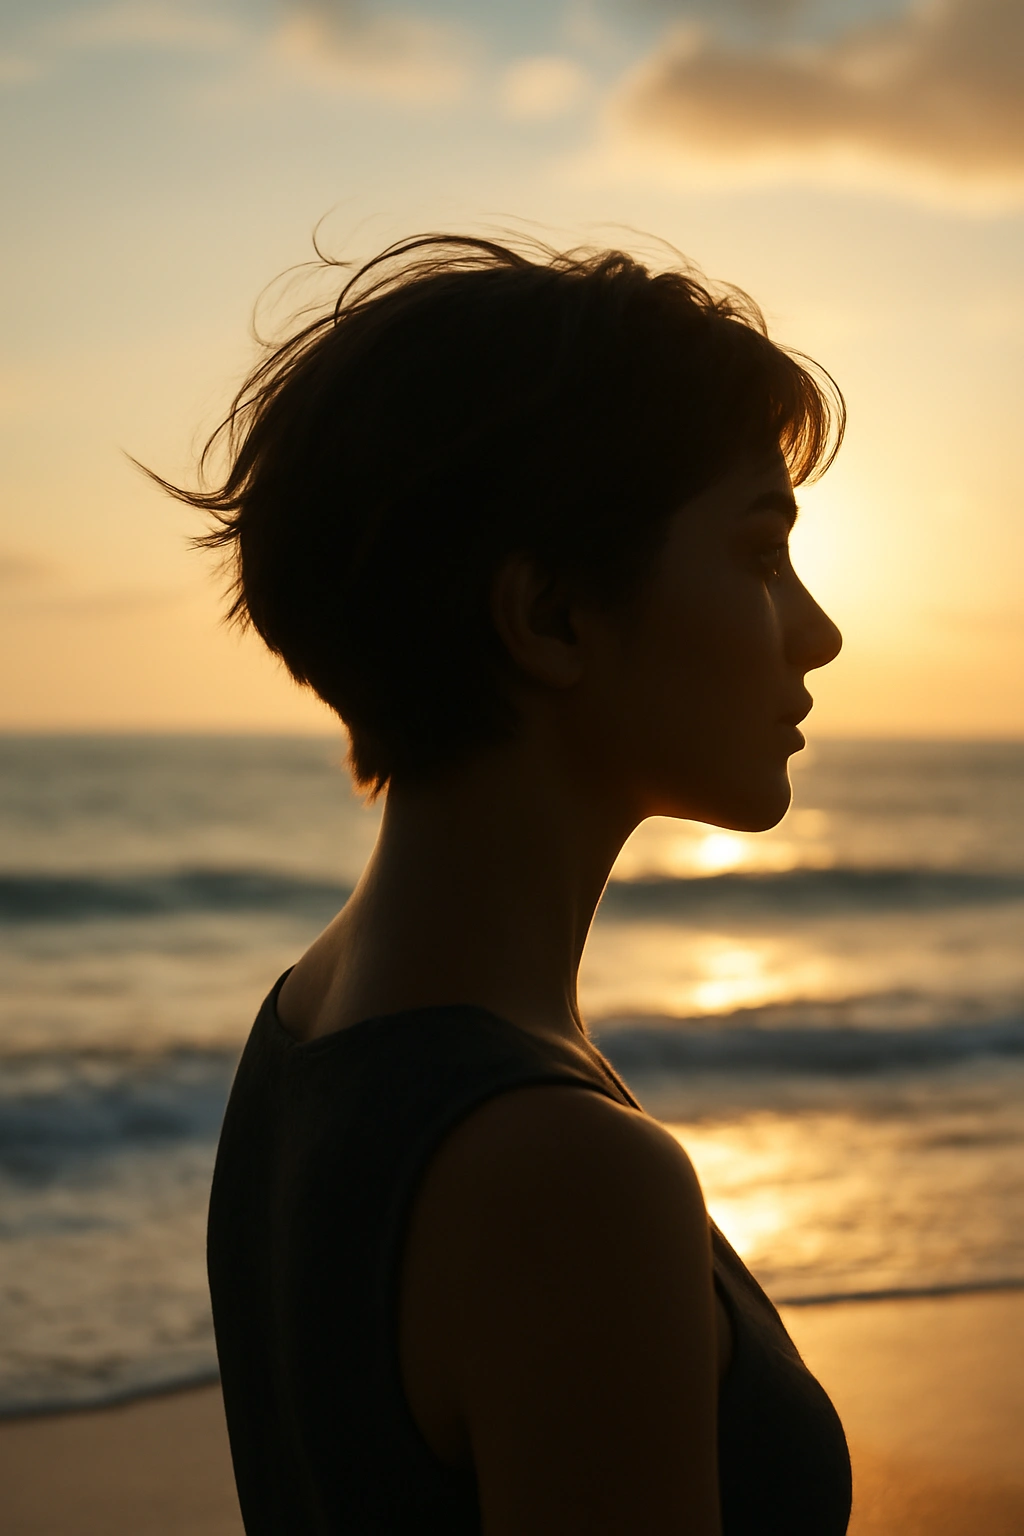
5. Curly Top Knot
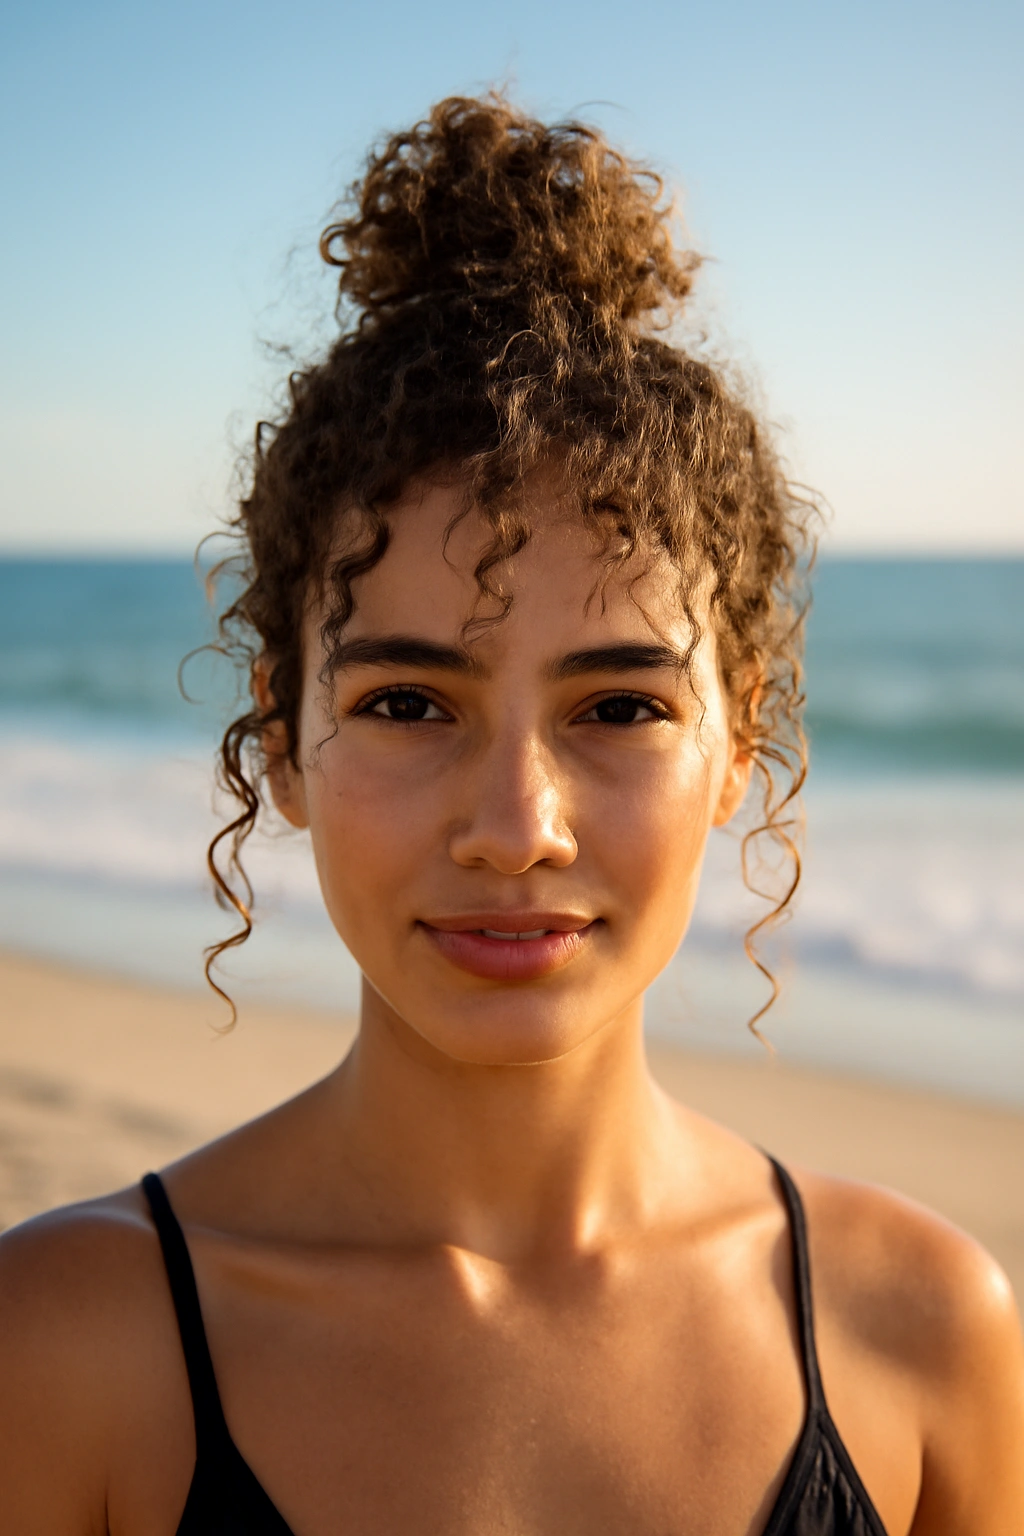
If you have naturally curly or textured short hair, a tiny top knot celebrates your curl pattern while keeping everything off your face and neck. This isn’t a tight, gymnastics-style knot—it’s a loose gathering of curls twisted and pinned into a casual cluster at the crown.
Why It’s Ideal for Beach Curls
Curly hair + saltwater = naturally enhanced curls that are often better than your curl pattern at home. A top knot lets those enhanced curls show while managing the practicality of keeping hair off your skin. You’re using the curl pattern itself as texture and volume, so you don’t need any styling product to make it work. This style also photographs beautifully—the depth and dimension of curls gathered at the crown is visually interesting from every angle.
How to Create a Curly Top Knot
- Apply a curl-enhancing cream or gel to damp curls and allow them to air-dry or use a diffuser for definition
- Gather all your hair at the very top of your crown using your fingers (avoid a brush, which disrupts curl pattern)
- Twist the gathered section loosely and wrap it around itself to form a small knot
- Secure with bobby pins or small hair clips inserted through the knot itself so they’re hidden
- Pull out a few shorter curls around your face and at the sides for a softer, less structured look
- Spray lightly with a flexible-hold spray to keep everything in place without crunching curls
Pro tip: Wet your fingers and re-piece some curls loose throughout the day for a fresher, less settled-in appearance.
6. Undercut with Decorative Braids
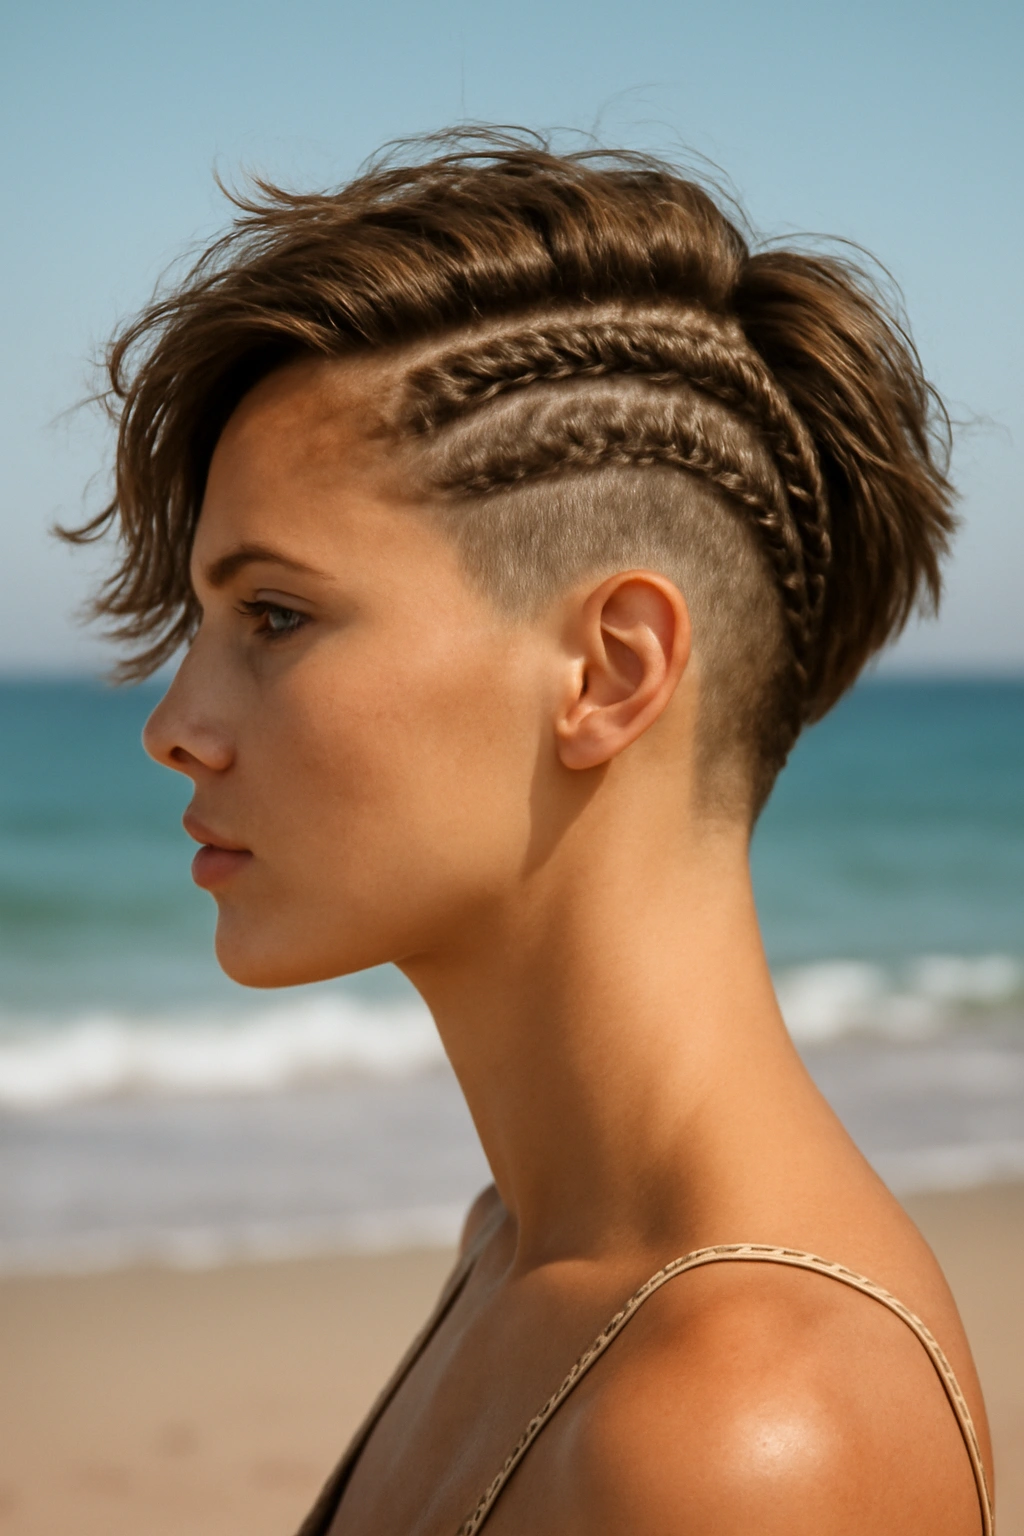
An undercut—where the bottom or sides are clipped very short while the top remains longer—becomes a major style statement when you add small, decorative braids to the longer section. This works especially well for short hair because the braids become a prominent visual element rather than getting lost in length.
What Makes This Bold and Beautiful
Undercuts are inherently edgy and fashion-forward, perfect for someone who wants their vacation style to announce that they’re comfortable taking risks. The decorative braids add bohemian romance to an otherwise sharp cut, creating interesting visual contrast. It’s a style that says you’re engaged with your appearance without looking like you tried too hard—a key vacation vibe. The braids also help manage the longer top section through heat, humidity, and activity.
How to Style It
- Start with the undercut clean and sharp (ideally trimmed within a week of your vacation start)
- Create two or three small braids on the longer top section—along the side, toward the back, or even as a small crown braid
- Dutch braids or fishtail braids add more visual interest than simple three-strand braids
- Weave a thin ribbon, silk thread, or small beads through the braids if you want even more detail
- Use bobby pins to secure braid ends discreetly into the style
- The contrast between the sleek undercut and the textured braids creates dimension
Worth knowing:
- Braids last longer if you start with slightly damp, product-prepped hair
- Sleeping in braids slightly loosens them in a flattering way by morning
- You can redo braids every 2-3 days or keep them in for longer if they’re secure
7. Wet Look with Gel Definition
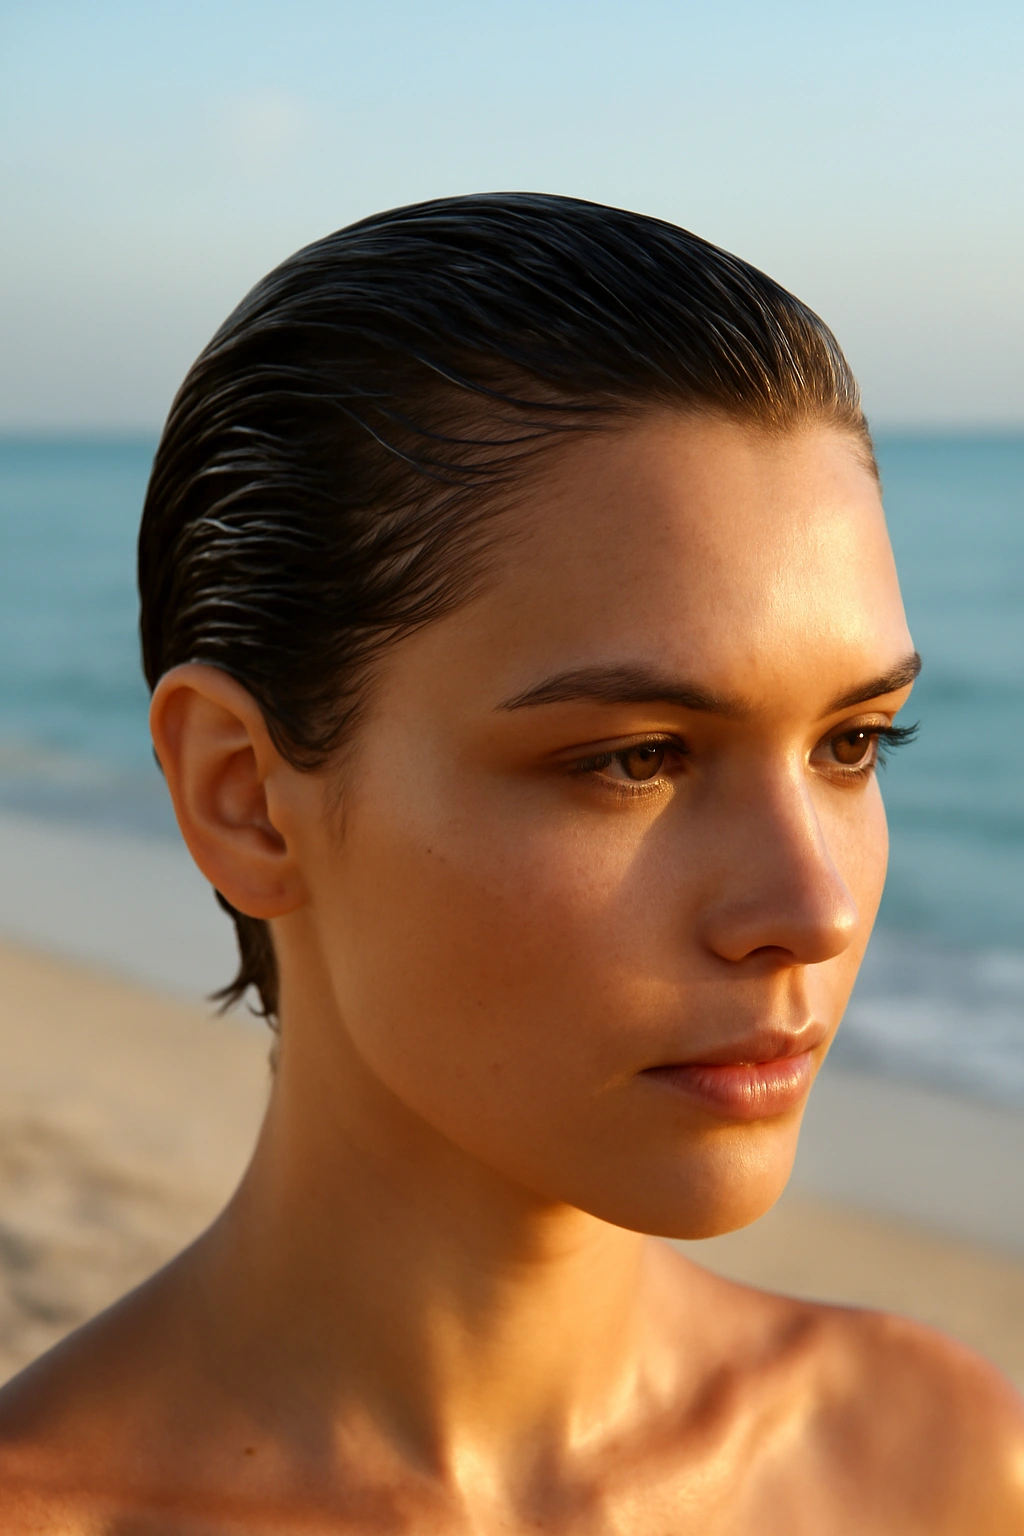
This is the ultimate beach-to-bar transition style. A deliberate wet-look style—short hair slicked with clear gel, showing every contour of your head shape—reads as intentionally cool and editorial. It’s minimal, it’s chic, and it requires no blow-drying or complex styling.
Why It’s Perfect for Transition Days
You’re heading from beach straight to dinner without stopping at your accommodation to “get ready.” A wet-look style works because it looks intentional—like you meant to style this way, not like you’re just wet from the ocean. The gel defines any texture or movement in your hair, creates shine, and keeps everything sleek and in place through movement and activity. It’s also genuinely practical: one product, two minutes, done.
How to Execute It
- Use a lightweight, clear styling gel or water-based mousse with strong hold
- Apply to damp or even dry hair, distributing evenly throughout using your fingers or a comb
- Comb hair back and away from your face, or keep it textured but gelled for definition
- The product itself creates the “wet” appearance—you’re not using actual water
- Reapply once daily or after swimming, as water and friction will eventually reduce the hold
- Pair with statement earrings or a bold lip, as the minimal hair approach puts maximum focus on your face
Quick fact:
- Clear gel works on all hair colors and textures, unlike some pomades that can look dusty on certain shades
- The wet look photographs beautifully in evening light and on video
- This style works equally well on a pixie, a bob, or any short length
- It’s one of the most low-maintenance styles you can do on vacation
8. Side-Swept Asymmetrical Style
An asymmetrical style—where more hair falls on one side of your face than the other—creates visual interest and flatters nearly every face shape. Short hair makes this style easy to execute and gives it architectural appeal. One side stays tucked back or very short, while the other side has length that sweeps across or hangs past your ear.
Why This Angle Works
Asymmetry is inherently more interesting than symmetry, visually speaking. Your eye is drawn to the movement and the imbalance, which makes even a simple short cut feel designed and intentional. It also solves the problem of awkward short-hair lengths that don’t quite tuck behind ears—instead of fighting that, you lean into it and let it define the style. The side-swept approach also flatters different face shapes depending on which side you emphasize.
How to Create It
- Style your hair with texture using sea salt spray or texturizing product
- Create a deep side part, pulling more volume toward one side of your head
- On the fuller side, sweep hair across, securing behind your ear or low on the back with a bobby pin if needed
- Let the other side stay shorter or tuck it behind your ear, creating the asymmetrical line
- Use a texturizing product or pomade to emphasize the side-swept direction
- Rough up the texture with your fingers for movement rather than smoothness
- The asymmetrical line should follow the natural growth pattern and movement of your hair
Worth knowing:
- This style works especially well if your hair naturally sweeps to one side already
- You can shift which side is dominant from day to day for variety
- Photographing from the side that has more volume generally looks best
- The longer-swept side can be pinned up during swimming and released after for a refreshed look
9. Braided Crown with Loose Tendrils
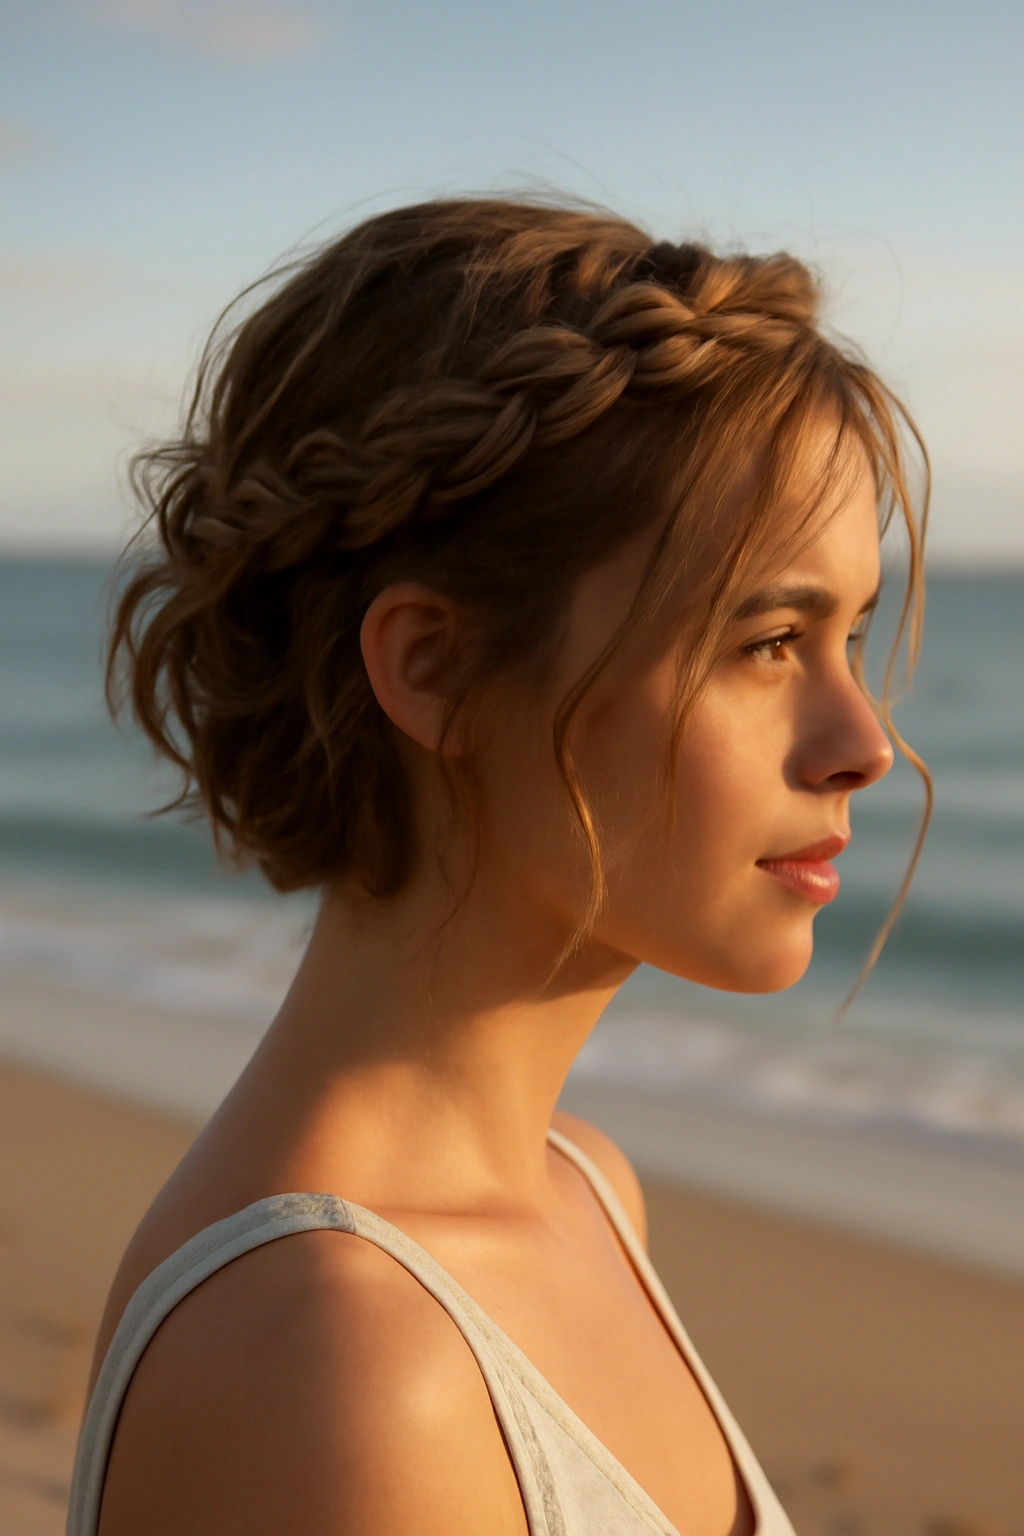
A braided crown—braids that wrap around the back of your head like a halo—transforms short hair into something romantic and deliberately styled. Unlike long hair where braided crowns can feel precious or overdone, on short hair they read as cool and fashion-forward, especially with shorter pieces left loose around your face.
What Makes This Special
The braided crown is one of the few hairstyles that appears more complex than it actually is. It gives the impression of effort and intention while actually being relatively quick to execute. The loose tendrils around your face soften the style and prevent it from looking too formal. It’s also inherently romantic without being fussy—perfect for dinners, sunset activities, or any moment where you want to look intentionally styled but still vacation-appropriate.
How to Style It
- Create a deep side part and begin a Dutch or fishtail braid just behind one ear
- Braid around the back of your head, following the natural curve of your crown
- Secure the braid on the opposite side with bobby pins tucked discreetly into the braid itself
- Leave several shorter pieces loose around your face, especially at the temples and front hairline
- Gently pull pieces of the braid slightly outward to make it look fuller and less structured
- Use a light hairspray to keep everything in place without crunching the braid
Pro tip: Add a thin ribbon, silk thread, or even tiny beads woven through the braid for extra vacation glamour without additional styling work.
10. Shaggy Feathered Texture
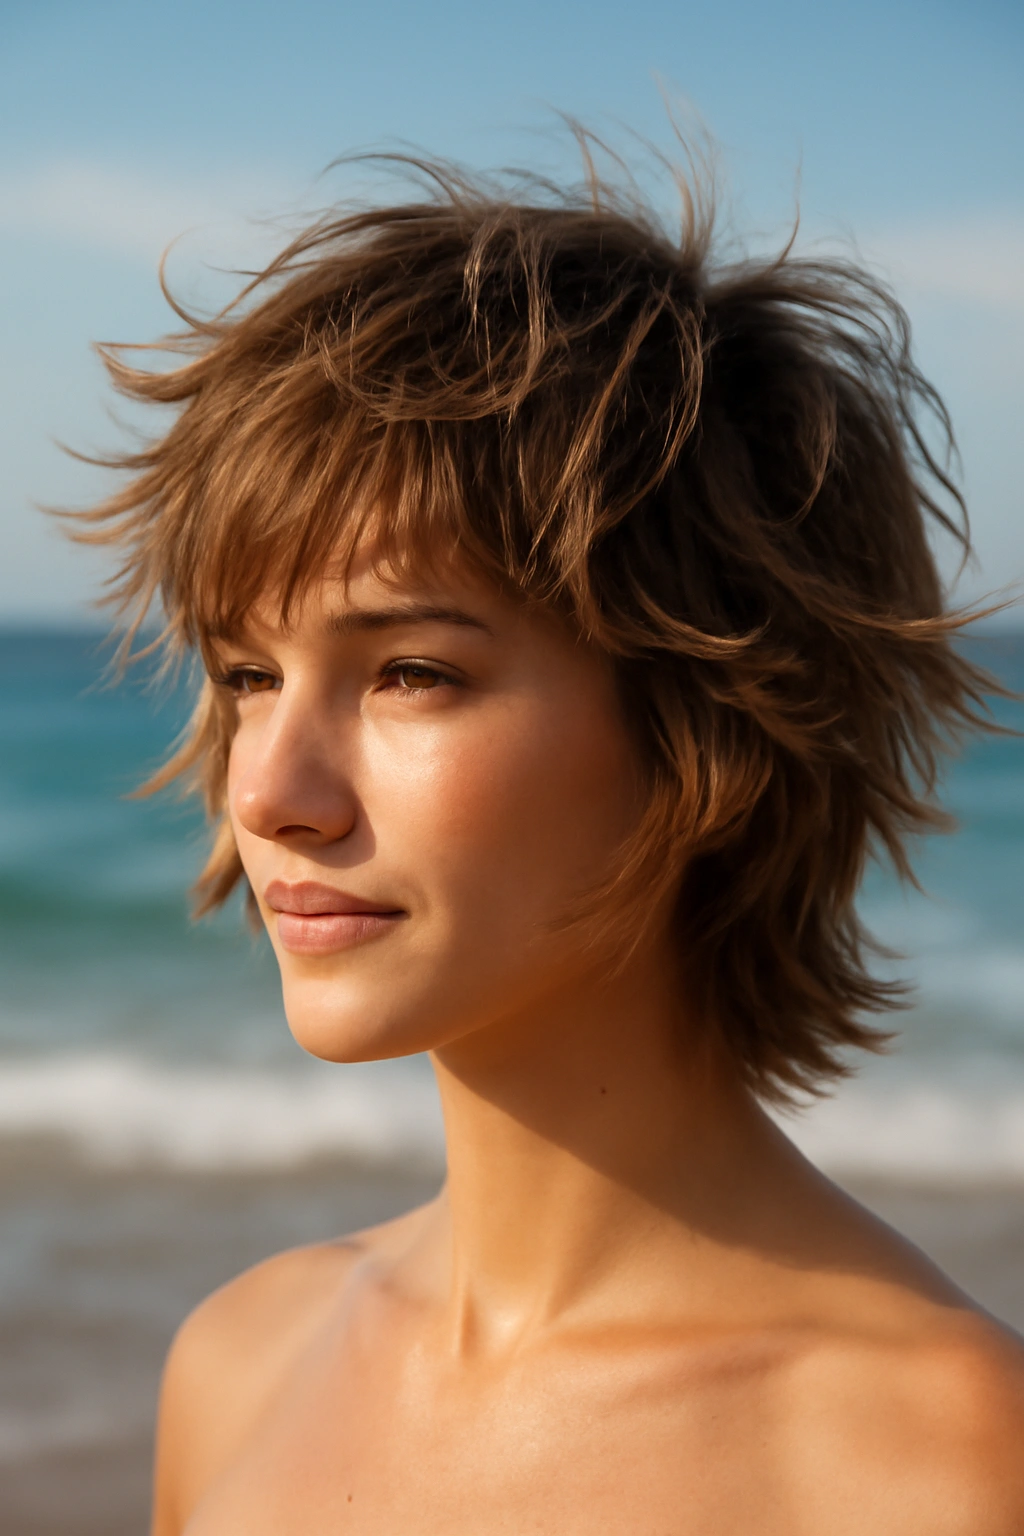
A modern shag cut—shorter layers throughout, feathered texture, movement in every direction—becomes a statement style at the beach. The short length and built-in texture work with humidity and salt spray instead of against them, and the tousled appearance improves through the day as texture builds naturally.
Why Shags Thrive on Vacation
Shag cuts are inherently imperfect, which is exactly why they look better on vacation than at home. The layered texture means every movement and direction you move your head creates shape and interest. Salt water, humidity, and wind enhance the cut’s natural movement rather than fighting against it. This style also requires almost no product to look intentional—your hair’s natural texture and the cut itself do all the work.
How to Wear It
- Shower and let your hair air-dry or lightly diffuse for natural texture, or apply a sea salt spray to damp hair
- Tousle with your fingers, encouraging the layers to separate and show movement
- Run your fingers back through the hair repeatedly throughout the day to maintain separation between layers
- Skip heavy products; a light texturizing spray is sufficient to enhance natural texture
- Embrace the slightly messier version that develops throughout the day—it actually looks better than the morning version
- Sleep with braids or a loose bun if you want to refresh the texture by morning
Quick fact:
- Shags photograph beautifully because the texture creates natural shadow and dimension
- This style works on all hair types—curly, straight, wavy, fine, thick
- The more you move and tousle throughout the day, the better it looks
- You can sleep on shags without them looking slept-on the next day because the existing texture hides sleep creases
Final Thoughts
Short hair at the beach isn’t a limitation—it’s a genuine advantage that most longer-haired women secretly envy. You’re free from the practical burden of managing length through saltwater and chlorine, you dry in minutes, and you get natural volume and texture that others have to work to achieve. The styles above prove that short hair opens up possibilities rather than closing them down.
The secret to beach vacation hair is shifting your mindset from “polished” to “intentional.” Every style here looks better as the day progresses, as texture builds, as salt and humidity do their work. You’re not fighting your hair’s natural behavior—you’re leaning into it and making it the whole point. That’s what separates vacation hair from everyday hair.
Pick a style that resonates with your hair type and personality, pack a sea salt spray and a few strategic clips, and stop worrying about your hair. The best beach vacation hairstyle is the one you don’t have to think about after you style it that first morning.