There’s a particular kind of pressure that comes with formal events. The dress is picked, the shoes are polished, and then suddenly you’re staring at yourself in the mirror asking, “What am I going to do with my hair?” The stakes feel higher when you’re going to a wedding, gala, formal dinner, or professional event. You want to look sophisticated and put-together, but you don’t want to spend three hours in a salon or attempt something so complicated you’ll be fighting with bobby pins all night.
Here’s the truth: some of the most elegant, show-stopping hairstyles are actually the ones that look like they took effort but didn’t. These are the styles that work with your hair’s natural texture rather than against it, that stay in place without feeling stiff, and that make you feel confident the moment you finish the last pin. Whether your hair is straight, wavy, curly, or somewhere in between, there’s a formal hairstyle that will work for you—something that feels like you, just polished and intentional.
The hairstyles you’re about to discover are proof that formal doesn’t have to mean complicated. Each one can be created at home with basic tools and a bit of practice, and many actually improve as the evening goes on, relaxing slightly into an even softer, more romantic look. The key is understanding the fundamentals—how to secure hair so it doesn’t slip, where to place volume for the most flattering effect, and which styles work best with different face shapes and hair types. Let’s dive into ten hairstyles that deliver genuine elegance without the stress.
1. Classic Twisted Chignon
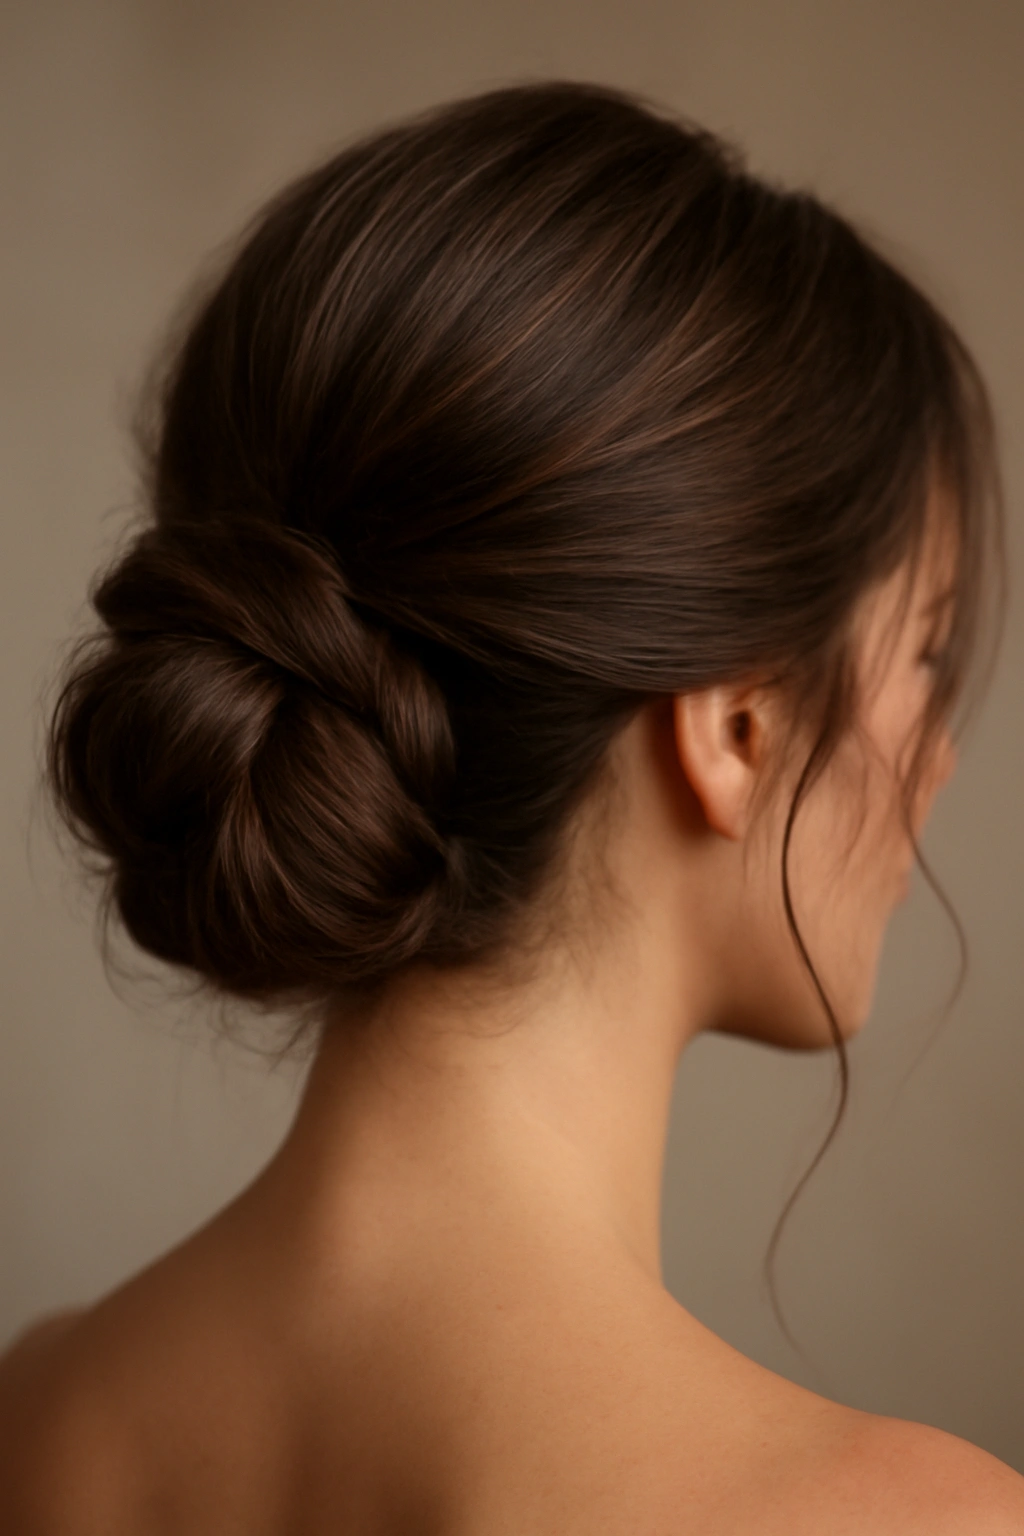
A chignon is the formal hairstyle that keeps working, decade after decade, because it’s timelessly elegant and surprisingly forgiving. Unlike elaborate updos that demand perfection, a twisted chignon actually benefits from a slightly undone quality—a few wispy strands around the face or a loose, relaxed texture makes it feel modern and romantic rather than stiff or costume-like.
Why This Works for Formal Events
The twisted chignon works beautifully because it accommodates almost any hair type and texture. If your hair is stick-straight, twists give the illusion of dimension and movement. If your hair is wavy or curly, it embraces your natural texture and incorporates it into the style. The low placement at the nape of the neck is inherently flattering because it elongates the neck and creates a clean line that works with formal attire—whether you’re wearing a strapless gown or a high-necked dress.
This style also holds exceptionally well throughout an entire evening without feeling restrictive. Unlike elaborate styles with multiple components, a chignon relies on the simplicity of twists, which create natural grip and texture that help secure pins without needing to pull everything tight enough to cause a headache by dessert.
How to Create It
Start with hair that has some texture—either straighten and use a curling iron to add loose waves, or work with second-day hair that has natural grip. Section hair into two equal halves down the back center of your head, creating a clean line from crown to nape. Take the left section, twist it loosely toward the center, and pin it in place. Repeat with the right section, twisting in the opposite direction and crossing it over the first twist. Tuck the ends together at the nape, loosen the twists slightly by gently pulling at the edges (this creates dimension), and secure with bobby pins. Use a lightweight hairspray that holds without feeling stiff.
Pro tip: If you have fine or slippery hair, apply texturizing spray or dry shampoo to damp hair before styling. This creates grip that prevents pins from sliding.
2. Sleek Low Ponytail
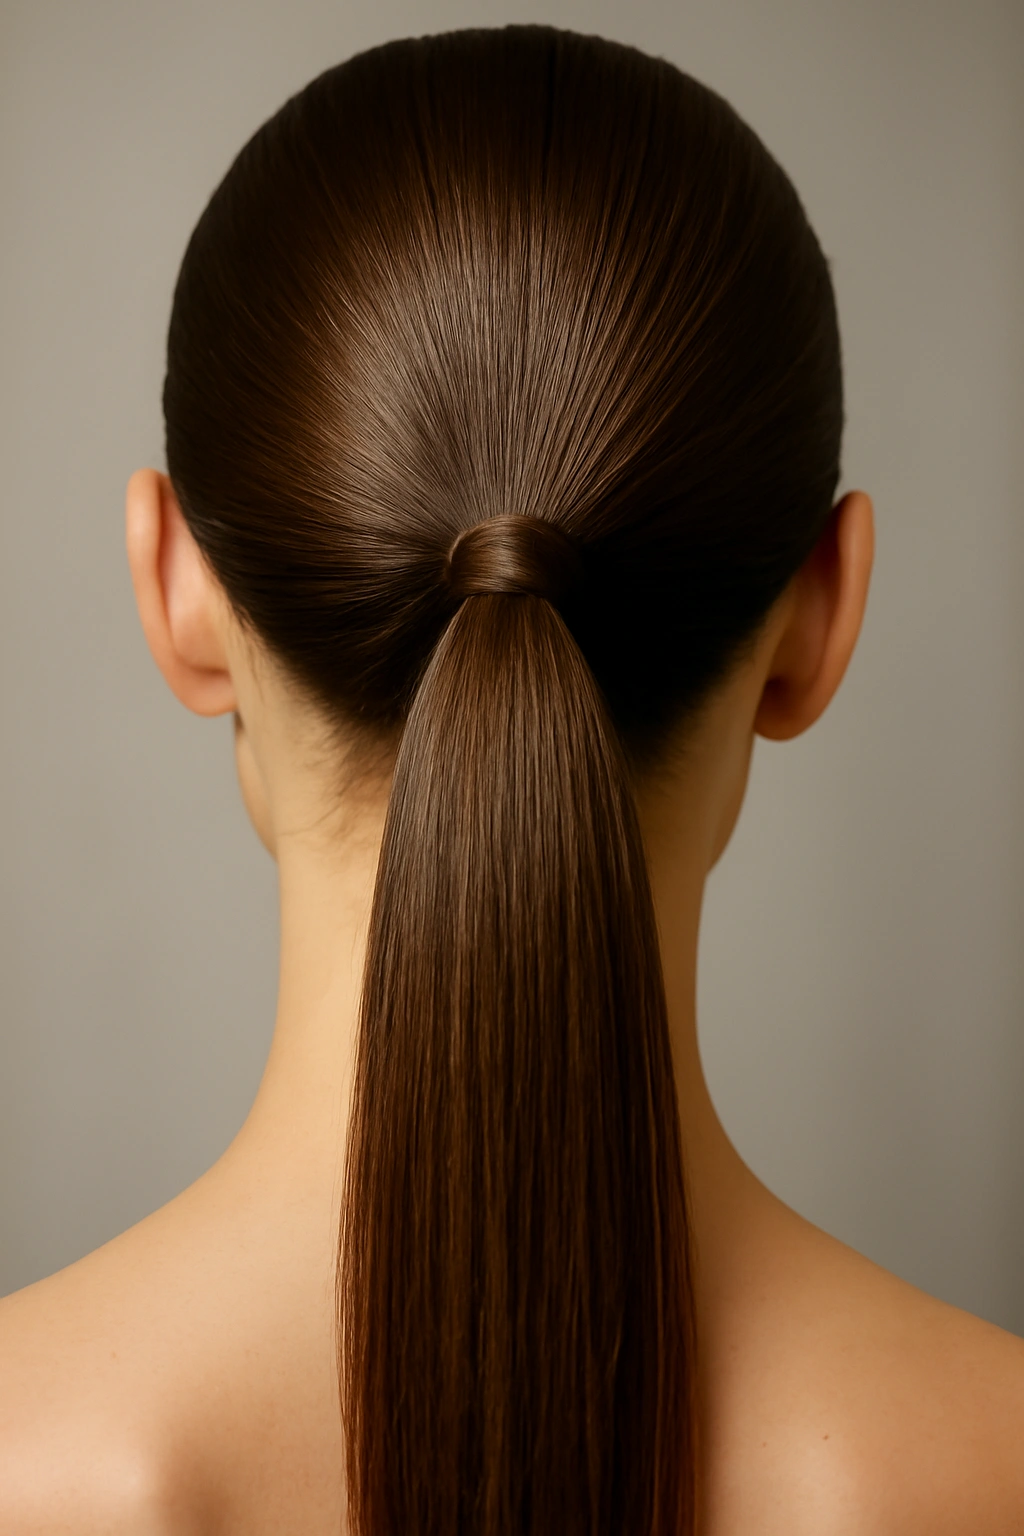
Don’t underestimate the power of a truly polished ponytail. When executed with precision and shine, a low ponytail reads as undeniably sophisticated and formal. The key is understanding that “sleek” doesn’t mean harsh or severe—it means refined, with every strand exactly where it should be, and a finish that catches light.
What Makes the Difference
The distance between a casual everyday ponytail and a formal one comes down to three elements: the smoothness of the base, the height and position of the elastic, and the final finish. A formal low ponytail sits at the nape of the neck, not at the base of the skull. The hair is smooth and held tightly enough to look intentional, but not so tight that it creates a visible dent or pulls uncomfortably at the hairline.
The other game-changer is how you finish the ponytail. Rather than leaving the elastic visible, wrap a thin section of hair around it to hide it completely. This single step elevates a ponytail from casual to polished instantly. Add shine by applying a smoothing serum or light oil to the surface of the ponytail once it’s secured.
Step-by-Step Execution
Brush hair backward and smooth it with a fine-tooth comb, using a lightweight smoothing cream or serum to tame any flyaways. Gather hair into a low ponytail at the nape, about two inches above your actual neckline. Secure with a clear elastic, then take a thin 1-inch section from the ponytail itself and wrap it around the elastic, tucking the end underneath and securing with a small bobby pin. If you want soft waves in the ponytail itself, wait to add them until after you’ve secured and wrapped the base—this prevents the wrap from slipping.
Worth knowing: A sleek ponytail demands clean hair or strategic use of dry shampoo. Oil and texture in your hair can look unkempt rather than intentional with this style. Style it on the second day after shampooing for optimal grip.
3. Soft Side Sweep with Waves
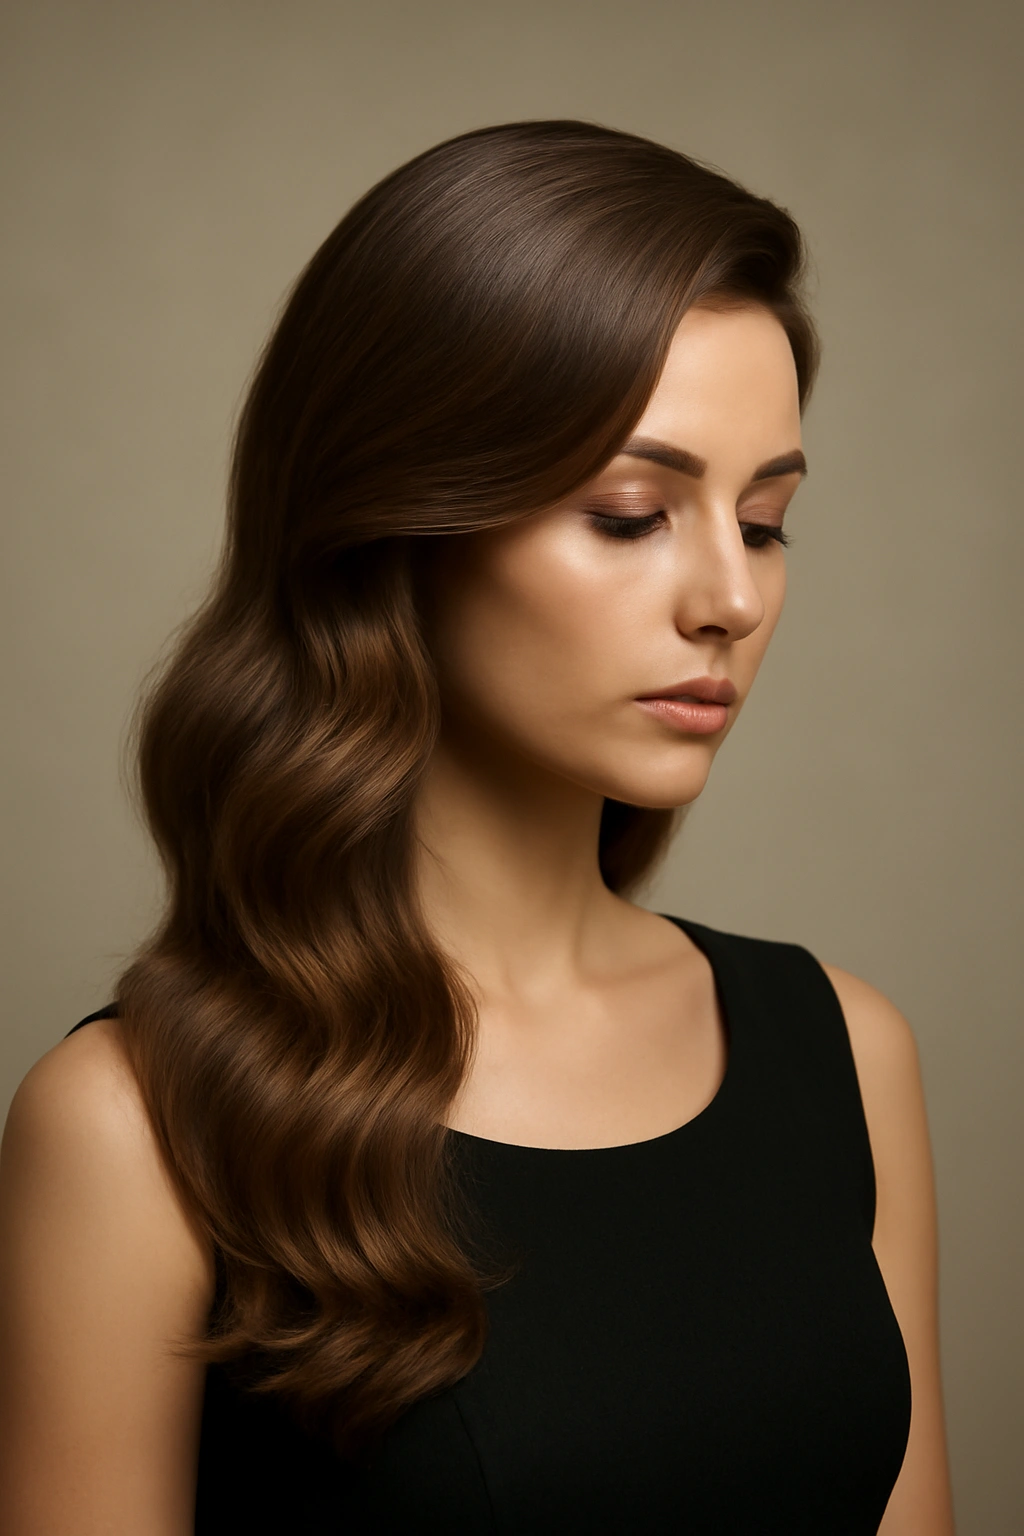
For events where you want to feel undeniably feminine and romantic without looking overdone, a side-swept style with soft waves is perfect. This hairstyle feels less “done” than an updo but more intentional than simply wearing hair down, making it ideal for weddings, formal dinners, or elegant evening events.
The Appeal of Asymmetry
Sweeping hair to one side creates visual interest and movement while maintaining an overall impression of sophistication. The asymmetrical placement is modern and flattering because it draws attention to one side of your face—you can position the sweep to complement your best angles. Unlike a center part, which can feel stark, a side part with a deep, dramatic sweep feels inherently elegant.
The soft waves throughout the hair create texture and dimension that photograph beautifully. The style moves with you rather than feeling frozen in place, which means it actually looks better as the evening progresses and the waves relax slightly into looser, more romantic curves.
Creating Soft, Lasting Waves
Start with damp hair and apply a wave-enhancing cream or mousse to damp strands. Blow-dry your hair with a large round brush, directing the dryer and brush alternately to the left and right to create large, loose S-waves throughout. Once dry, use a curling iron (1.5 inches works best for lasting waves that don’t look too tight) to re-define the wave pattern, curling away from your face.
Create a deep side part by combing hair to one side. Pin the smaller side back subtly with a bobby pin or small clip hidden near the part line. The larger side should sweep across and back, creating a flowing line. Finish with a flexible-hold hairspray that allows movement without falling flat. Run your fingers through the waves to separate them and create a soft, undone texture rather than a perfectly coiffed appearance.
Quick tip: Tease hair gently at the roots before sweeping it to one side. This creates volume and prevents the style from falling flat by evening.
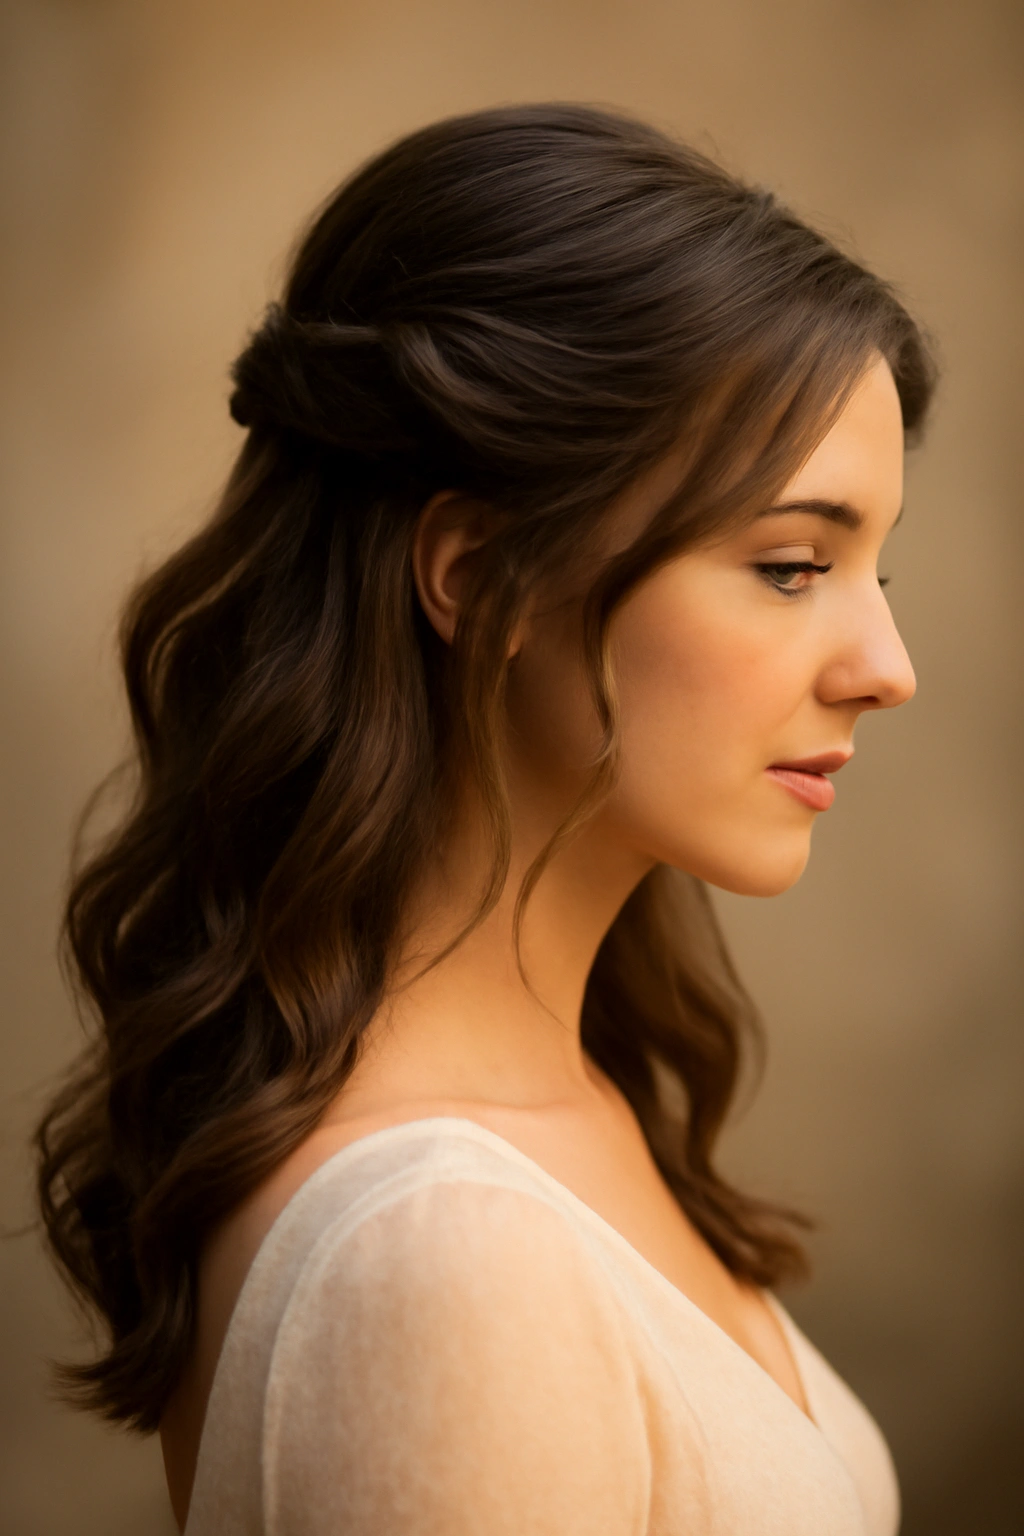
4. Romantic Half-Up Style
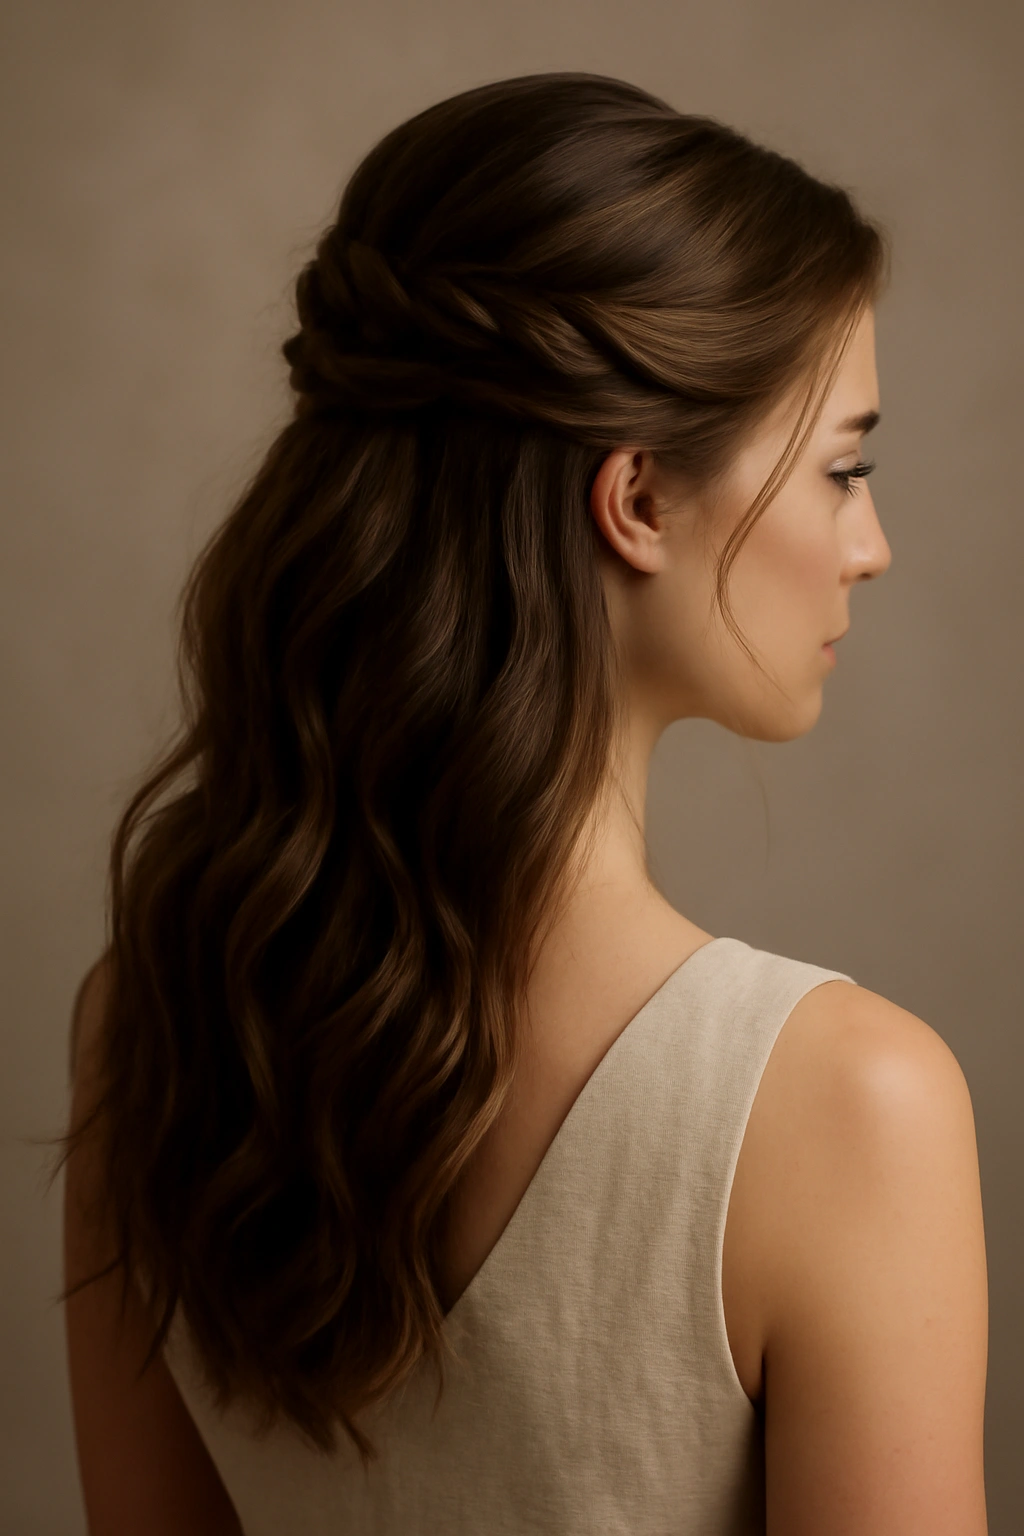
The half-up hairstyle is a masterclass in versatility. It works with virtually every hair type, every dress style, and every level of formality. The romantic version—where the top section is gathered loosely, often with some twisting or braiding—feels dressy and intentional without the commitment of a full updo.
Why Half-Up Remains Timeless
A half-up style lets your hair down in a literal sense, which many people prefer for events where they want to feel like themselves. But by gathering the top section, you create a focal point at the crown and reveal your face, neck, and shoulders—all excellent reasons why this style is so flattering for formal settings. The style also works beautifully with any face shape because you’re not pulling hair back severely; you’re creating soft volume and definition at the crown while letting face-framing pieces relax naturally.
This style photographs exceptionally well. The gathered section creates a visual anchor in photos, and the waves or texture in the released portion provides movement and dimension that reads beautifully in images.
The Execution
Blow-dry your hair with texture, creating soft waves throughout. At the crown, take a 2-3 inch horizontal section across the top of your head from ear to ear. Twist this section loosely, then gather it along with the section behind it into a small cluster at the back of the crown. Secure with bobby pins, making sure they’re hidden beneath the gathered hair. For a more romantic feel, gently pull and tease the gathered section to create soft, diffused texture rather than a tight, defined twist.
Add a decorative element if you’d like—a delicate clip, a thin headband, or a pearl-tipped bobby pin positioned visibly in the gathered section. These accessories don’t need to be elaborate; a single elegant piece adds intentionality without looking overdone.
Insider note: This style works better the day after you’ve washed your hair. Second-day hair has more grip and texture, preventing the gathered section from slipping.
5. Braided Crown
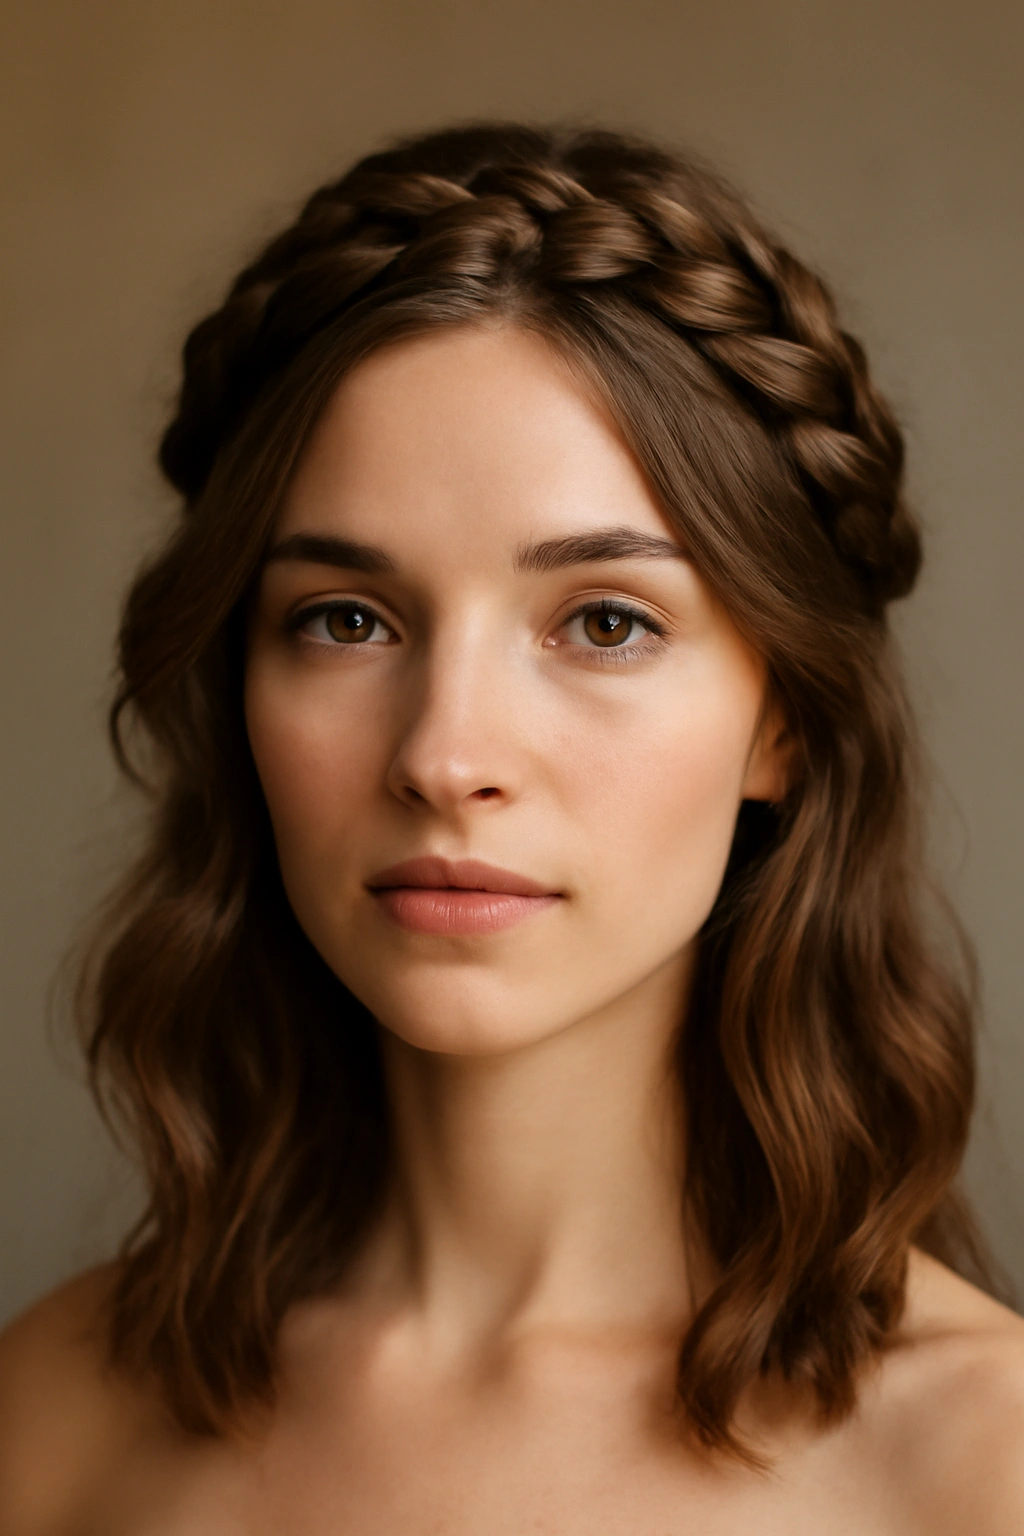
A braided crown is essentially a halo braid that circles the back and sides of your head. When executed correctly, it creates the impression of an intricate, complicated style, but it’s actually quite straightforward. The braided crown works for virtually every hair length (anything longer than shoulder-length) and genuinely flatters every face shape.
The Sophistication Factor
A braid automatically elevates a hairstyle into formal territory because it requires skill and intention. But a crown braid is specifically flattering because it frames your face, reveals your features clearly, and creates an impression of elegance and effort. The style works with both loose waves and a sleek, pulled-back finish, making it adaptable to your personal style and the formality level of the event.
This is one of the few styles where slightly undone texture actually looks more intentional and romantic than a polished finish. Loose, flowing waves underneath a braided crown create drama and dimension without looking costume-like.
Braiding the Crown
Start with wavy or textured hair. On one side of your head, take a 2-inch section at your temple and create a three-strand braid. As you braid, add small sections of hair from above and below the braid (this is a Dutch braid, where hair is woven under rather than over, which creates a raised, three-dimensional appearance). Braid around the side of your head, moving toward the back. When you reach the opposite side, continue braiding and gradually stop adding new hair as you approach your ear on that side. Finish the braid and secure it with a small elastic.
If you want additional texture and visual weight, create a second looser braid from the opposite side and lay it alongside the first, securing both at the back. Or, release the bottom section of the braid into loose waves, creating a style that’s part crown braid, part half-up waves.
Worth knowing: A crown braid shows every imperfection in your hair, so this is the time to invest in a good haircut. Flyaways and broken strands will be visible and should be tamed with lightweight hairspray before you begin braiding.
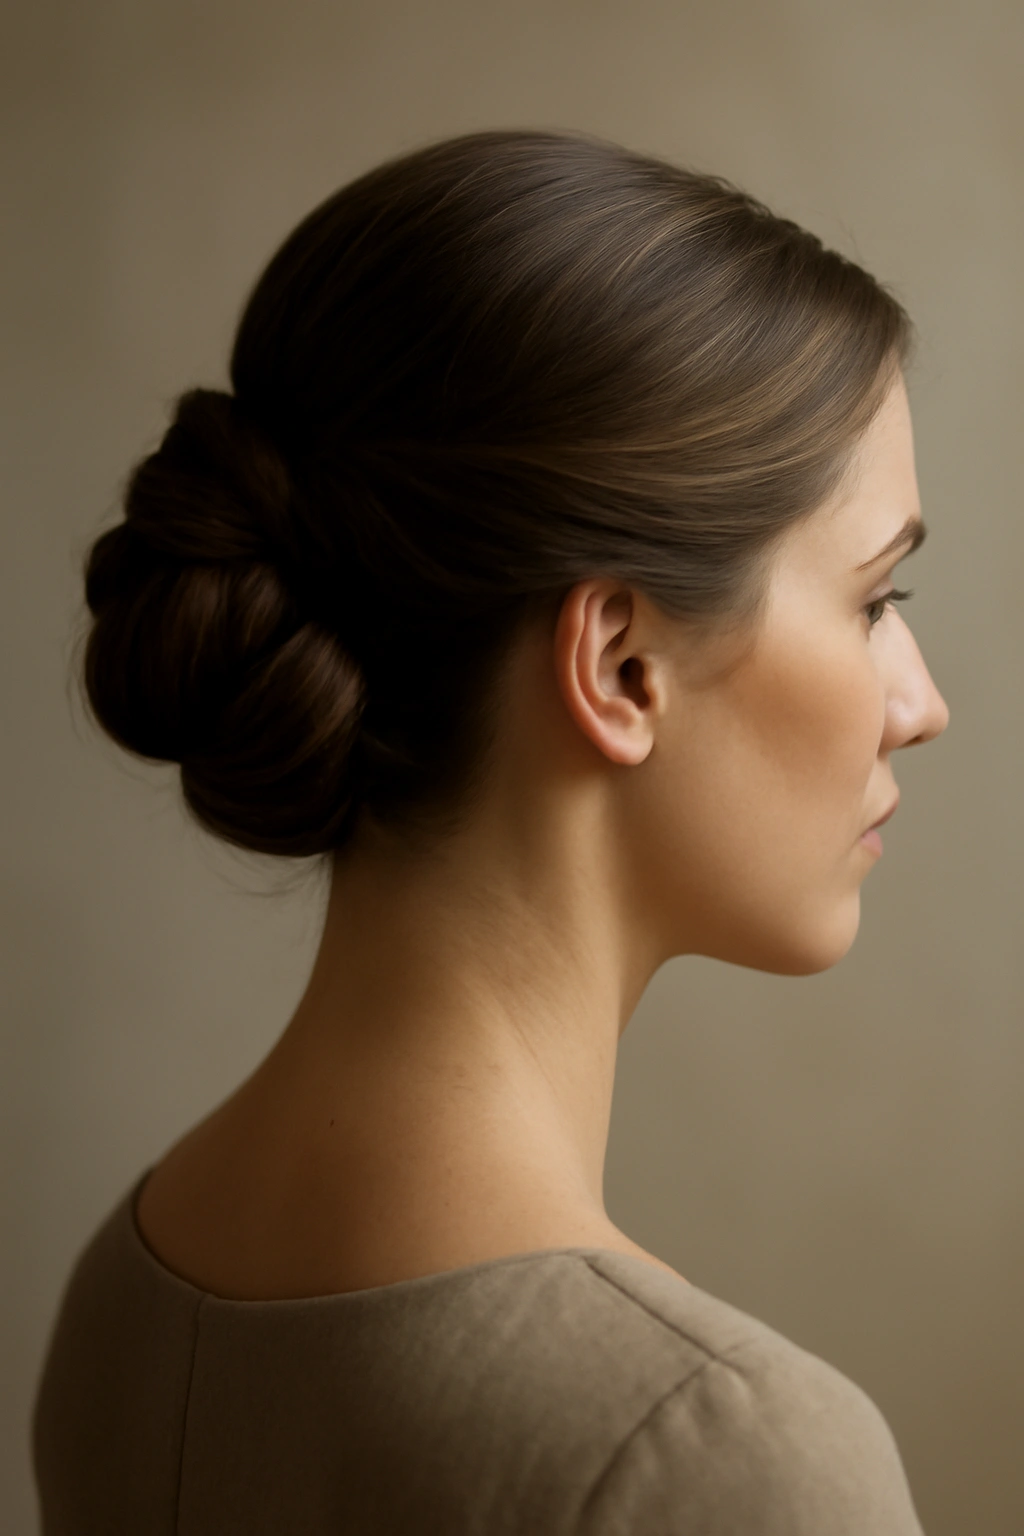
6. Elegant High Bun
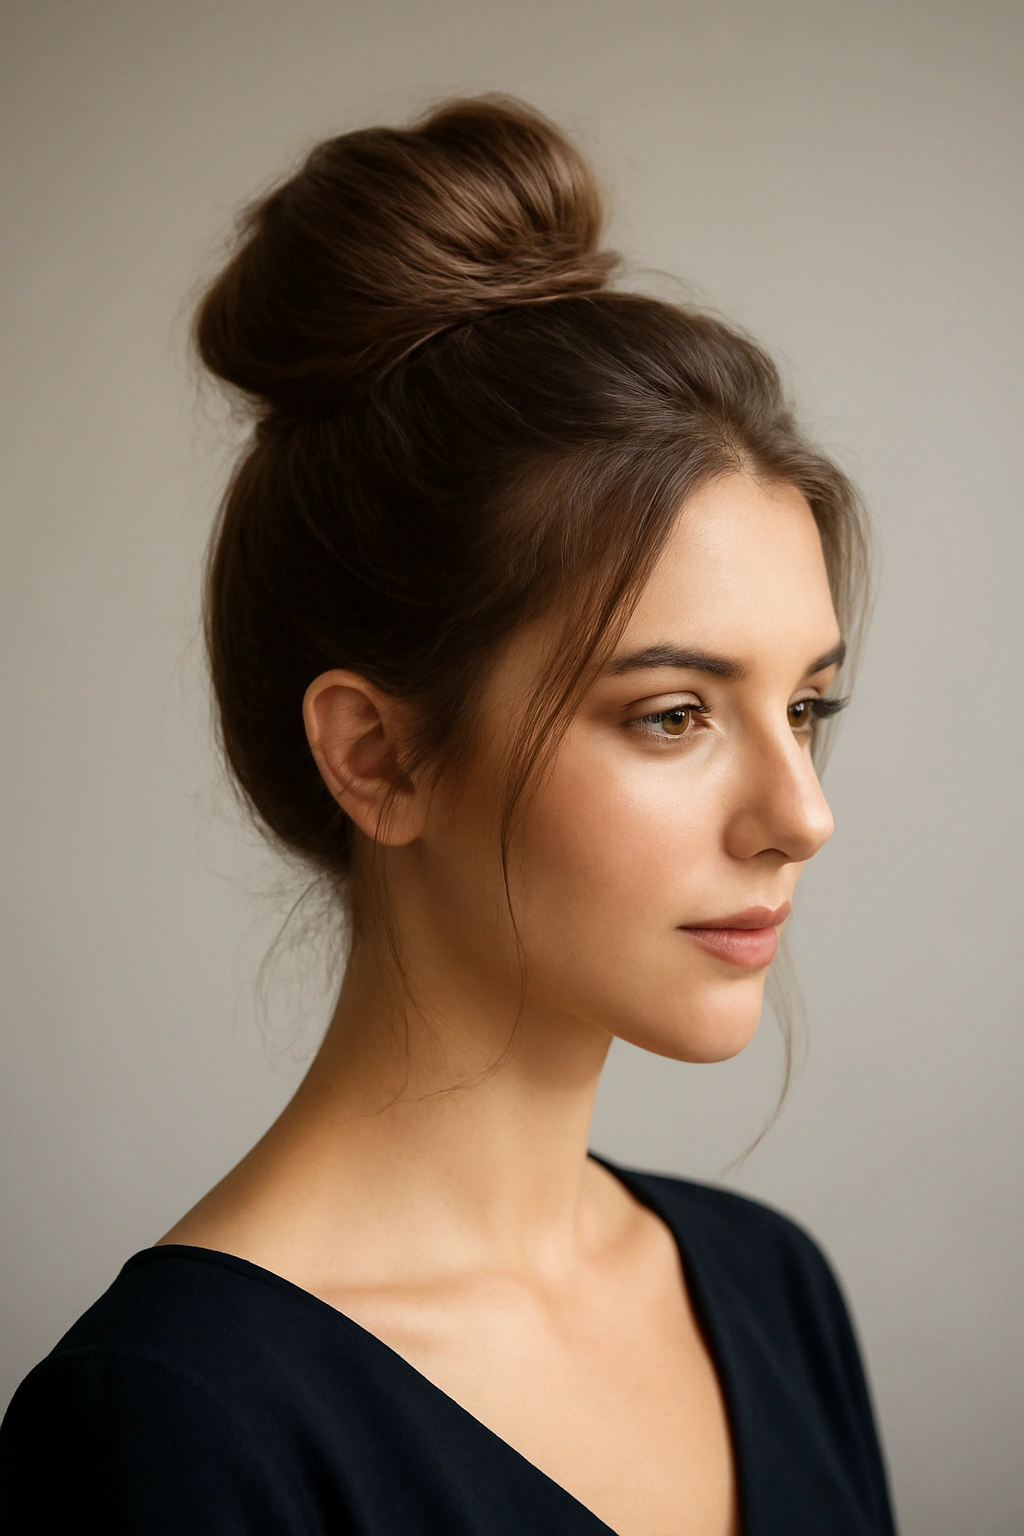
A high bun positioned at the crown creates instant elegance and shows off the entire face, neck, and shoulders. This is a style where minimalism becomes maximalism—the bun itself is the focal point, and everything else is intentionally simple. It’s perfect for very formal events like galas, black-tie dinners, or weddings where you want an unmistakably polished appearance.
The Modern High Bun
Gone are the days of tight, painful ballerina buns. A modern high bun can be soft and slightly loose, with strategic wisps or pieces framing the face, while still reading as formal and controlled. The key is creating visual interest in the bun itself through texture—either by teasing the base before securing, or by wrapping hair around the bun holder to create dimension and movement.
A high bun is an especially smart choice if you’re wearing a dress with interesting neckline detail, an open back, or statement earrings. By putting hair completely off the face and neck, you create a clean canvas that allows other elements of your outfit to shine.
How to Build It
Apply texturizing spray or dry shampoo to damp hair to create grip. Blow-dry and then tease the crown section gently with a fine-tooth comb. Gather hair into a high ponytail at the crown (not at the back of your head). Secure with an elastic, then take the ponytail and wrap it loosely around the base to form a bun shape. Secure with bobby pins pushed deep into the bun for stability.
For additional visual interest, leave two or three thin 2-inch sections of hair out of the bun before securing the ponytail—these frame the face and soften the overall effect. Smooth these pieces lightly and let them follow the natural curve of your face. Finish the bun with firm-hold hairspray that allows the bun to maintain its texture without looking stiff or plastic.
Pro tip: Use a bun holder (a donut-shaped hair accessory) inserted into the base of your ponytail before wrapping. This creates a fuller, more elegant bun with less hair and less work.
7. Textured Low Braid
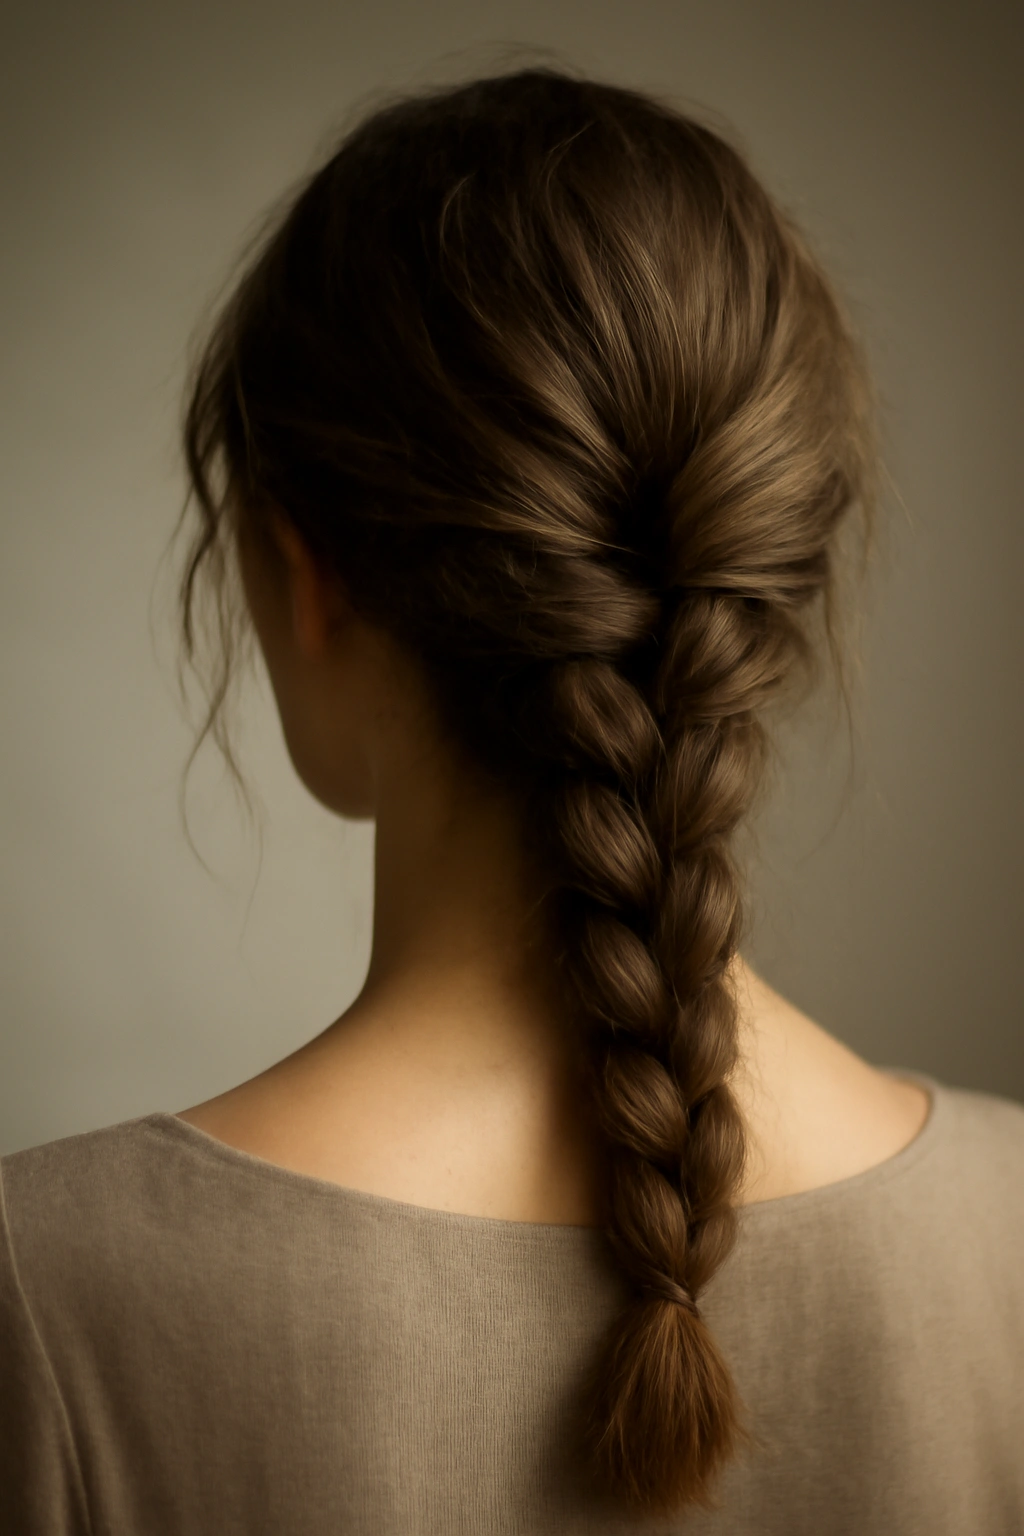
A low braid runs down the back of your head and is secured at the nape. The textured version—where the braid is loose and slightly undone—is one of the most romantic and flattering formal hairstyles available. This style works beautifully for weddings, garden parties, and any event where you want to feel feminine and soft.
Why Texture Changes Everything
A tight, neat braid can read as severe or overly polished. But a textured, loose braid—where you gently pull the strands apart after braiding to create a fuller, more diffused appearance—reads as romantic, intentional, and modern. The loose texture catches light beautifully and photographs wonderfully. It also feels soft to the touch rather than stiff, making it comfortable to wear throughout an entire evening.
A low braid also accommodates many different hair types. Straight hair needs some texture added before braiding (loose waves or a texturizing product), but wavy or curly hair naturally creates a full, romantic braid without additional work.
The Complete Method
Create loose waves throughout your hair by curling with a 1.5-inch barrel. Once cool, gently separate the waves with your fingers rather than combing them out. Take a 3-4 inch horizontal section at the very nape of your neck and create a three-strand braid. Pull and tease each strand of the braid gently as you work, stretching the strands outward slightly to create a fuller, more textured appearance.
Continue braiding all the way down, pulling gently as you go. Once you’ve completed the braid, go back and gently pull sections from each side to make it even fuller and more diffused. Secure the end with a small elastic and tuck it out of sight, or secure it with bobby pins and hide the elastic. For an extra romantic touch, release a few tiny wisps of hair around your face.
Worth knowing: This braid actually looks better the more you play with it. The more you pull and adjust it before heading out, the fuller and more intentional it appears.
8. Voluminous Side Curls

Voluminous side curls—where hair is swept to one side and releases in large, loose curls—is the choice when you want to make a statement. This is the hairstyle that says “I’m ready to celebrate,” and it works beautifully for galas, formal dinners, and weddings where glamour is appropriate.
Creating Serious Volume
Voluminous curls require preparation. You need to start with clean, product-prepped hair. Apply a volumizing mousse or texturizing spray to damp roots. Blow-dry your hair, directing the dryer and brush upward at the roots to build base volume. Once dry, the real work begins: creating curls that are large, loose, and actually stay all evening.
Use a 1.5-2 inch curling iron, wrapping sections of hair around the barrel and holding for 10-15 seconds. The larger the barrel, the looser and more voluminous the curls will be. Curl all sections away from the face on both sides, then gently separate the curls with your fingers once they’ve cooled. This creates a tousled, romantic appearance rather than tight ringlets.
Sweeping to One Side
Create a deep side part by combing hair dramatically to one side. Pin the smaller side back with a decorative clip or bobby pins near the part line. The larger side should flow over and down, creating an asymmetrical, glamorous line. Use a firm-hold hairspray that allows movement without falling flat. As the evening progresses, the curls will relax slightly, but they’ll still maintain their shape and volume.
Quick fact: Curls hold longer if you let them cool completely before running your fingers through them or applying products. Applying hairspray or handling curls while they’re still warm causes them to fall flat faster.
9. Polished Straight with Accessories
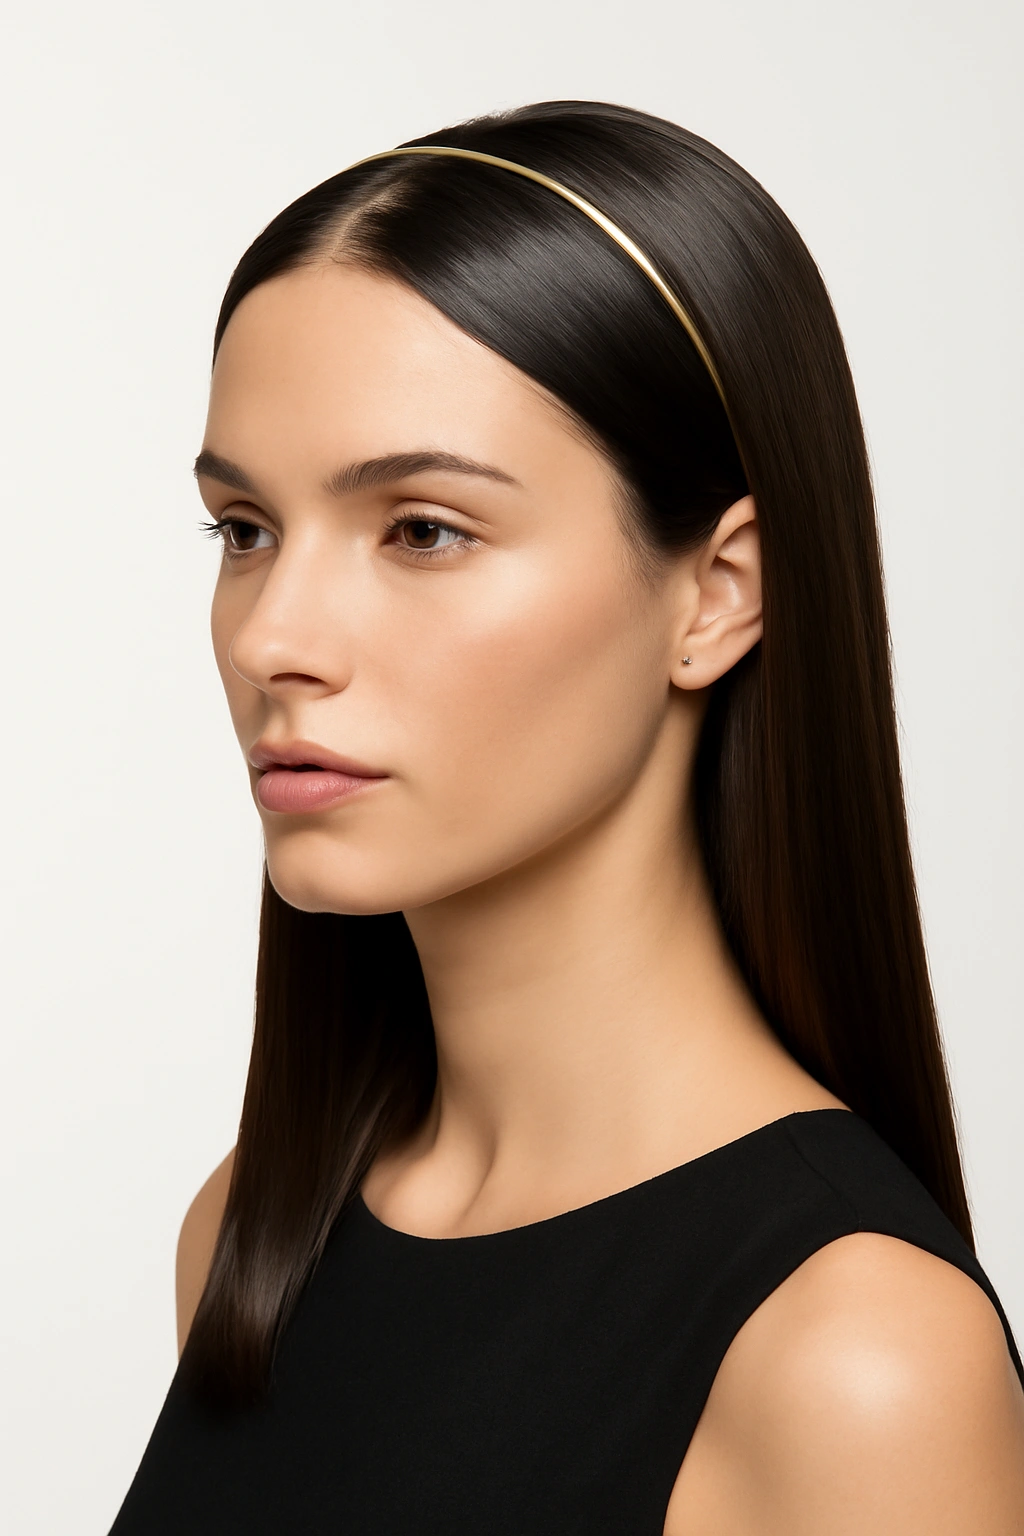
Sometimes the most elegant choice is simplicity itself. Sleek, shiny straight hair is undeniably formal and sophisticated. When paired with a strategic accessory—a delicate headband, a clip, or an elaborate hair stick—straight hair becomes unmistakably intentional and dressy.
The Power of Shine and Simplicity
Straight hair demands absolute smoothness and shine to read as formal. This isn’t the time for a messy, undone aesthetic. You’re aiming for a mirror-like finish that catches light and photographs beautifully. The directness of straight hair also works to your advantage in formal settings—it’s clean, modern, and unfussy.
Adding an accessory transforms straight hair from simply “down” to clearly intentional and dressy. A thin metallic headband pushed back slightly from your hairline, a decorative claw clip positioned at the back of your head, or an ornate hair stick inserted through a low twist all elevate straight hair into formal territory.
Achieving the Sleek Look
Blow-dry your hair smooth using a paddle brush and a smoothing serum or straightening cream. For extra smoothness, quickly run a flat iron over the surface of your hair once it’s dry, focusing on the top layers that frame your face. Apply a lightweight shine spray or serum to enhance the reflective quality of your hair.
Position your chosen accessory strategically. A headband works best placed about 2 inches back from your hairline. A clip looks most elegant when positioned at the base of your skull or slightly off-center. Hair sticks work beautifully with a low twisted section or a subtle knot gathered at the nape.
Pro tip: Straight hair shows product buildup and natural oils visibly. Wash your hair the morning of the event so it has time to build just enough natural oils for shine, but not so much time that product buildup becomes visible.
10. Romantic Pulled-Back Waves
This is the hairstyle that feels effortless but is actually quite deliberate. Hair is worn down in soft waves, with the sides gently pulled back and secured at the back of the head, creating an impression of intentional softness rather than “just let my hair down.” It’s perfect for events where you want to feel yourself but look unmistakably formal.
The Balance Between Soft and Intentional
This style walks a beautiful line between polished and romantic. You’re not putting your hair fully up, but you’re not leaving it completely down either. The pulled-back sections reveal your face and create a focal point at the crown, while the released waves create movement and femininity. It works beautifully with any face shape and any length of hair longer than shoulder-length.
What makes this style read as formal rather than casual is the quality of the waves and the intentionality of the pulled-back placement. Loose, romantic waves created with a curling iron read as formal. Waves that look accidental or unkempt will undermine the whole effect.
Creating the Style
Blow-dry your hair smooth, then create large waves using a 1.5-1.75 inch curling iron. Curl sections away from your face on both sides. Once all waves are set and cooled, gently separate them with your fingers to create a soft, romantic texture.
Take the section of hair from your temple on one side and twist it gently back toward the crown. Secure with a bobby pin hidden under the wave section. Repeat on the other side, crossing the second twisted section over the first at the back of your head. The effect should be that hair is gently pulled back and secured, but the overall impression is soft waves with subtle intentionality rather than a structured updo.
Worth knowing: This style looks better with some texture already in your hair before you start. Don’t attempt it on freshly straightened hair or hair that’s too slick. Second-day hair with some natural texture works perfectly.
Final Thoughts
Choosing a formal hairstyle doesn’t require choosing between comfortable and beautiful. Every one of these ten styles holds well throughout an evening without causing headaches or requiring constant adjustment. Each can be created at home with basic tools—a curling iron, bobby pins, and a good hairspray. Each works with multiple hair types and textures. And most importantly, each one will make you feel genuinely confident and polished.
The real secret to formal hairstyle success is understanding that polished doesn’t mean perfect. Some of the most elegant styles in this list (the twisted chignon, the textured braid, the romantic pulled-back waves) actually benefit from a slightly undone quality. Tiny wisps of hair, soft texture, and a gentle looseness read as intentional and romantic, not messy.
Start practicing your chosen style at least a week before the event. Do a full trial run, complete with the dress and accessories if possible. This gives you confidence and helps you troubleshoot any issues before the actual event. You’ll know exactly how long it takes, where bobby pins need to go, and whether you need additional products or tools.
Most of all, remember that you’re going to feel the best in the hairstyle that makes you feel most like yourself—just elevated, polished, and intentional. That confidence shines through in every photo and every moment of the event.