When your alarm goes off five minutes before you need to walk out the door, the difference between a chaotic hair day and looking polished comes down to knowing which hairstyles you can actually execute in a time crunch. The pressure to look presentable while racing against the clock doesn’t have to mean throwing your hair in a haphazard messy bun and calling it intentional. There’s real strategy to quick hairstyles — and the good news is that some of the most flattering, versatile styles are also the fastest to create.
The hairstyles that work best when time is short aren’t complicated braids or intricate updos that require finesse you don’t have bandwidth for in the morning. Instead, they’re styles that work with your hair’s natural texture and momentum, styles that actually look better when they’re not perfectly polished, and styles that take advantage of simple techniques like twisting, looping, and pinning. Once you nail these ten options, you’ll have a go-to style for every situation — rushed mornings, casual days, errands, or even low-key hangouts where you want to look effortless without actually trying hard.
Let’s walk through each one step by step so you can master them to the point where your fingers move on autopilot, no mirror required.
1. High Ponytail
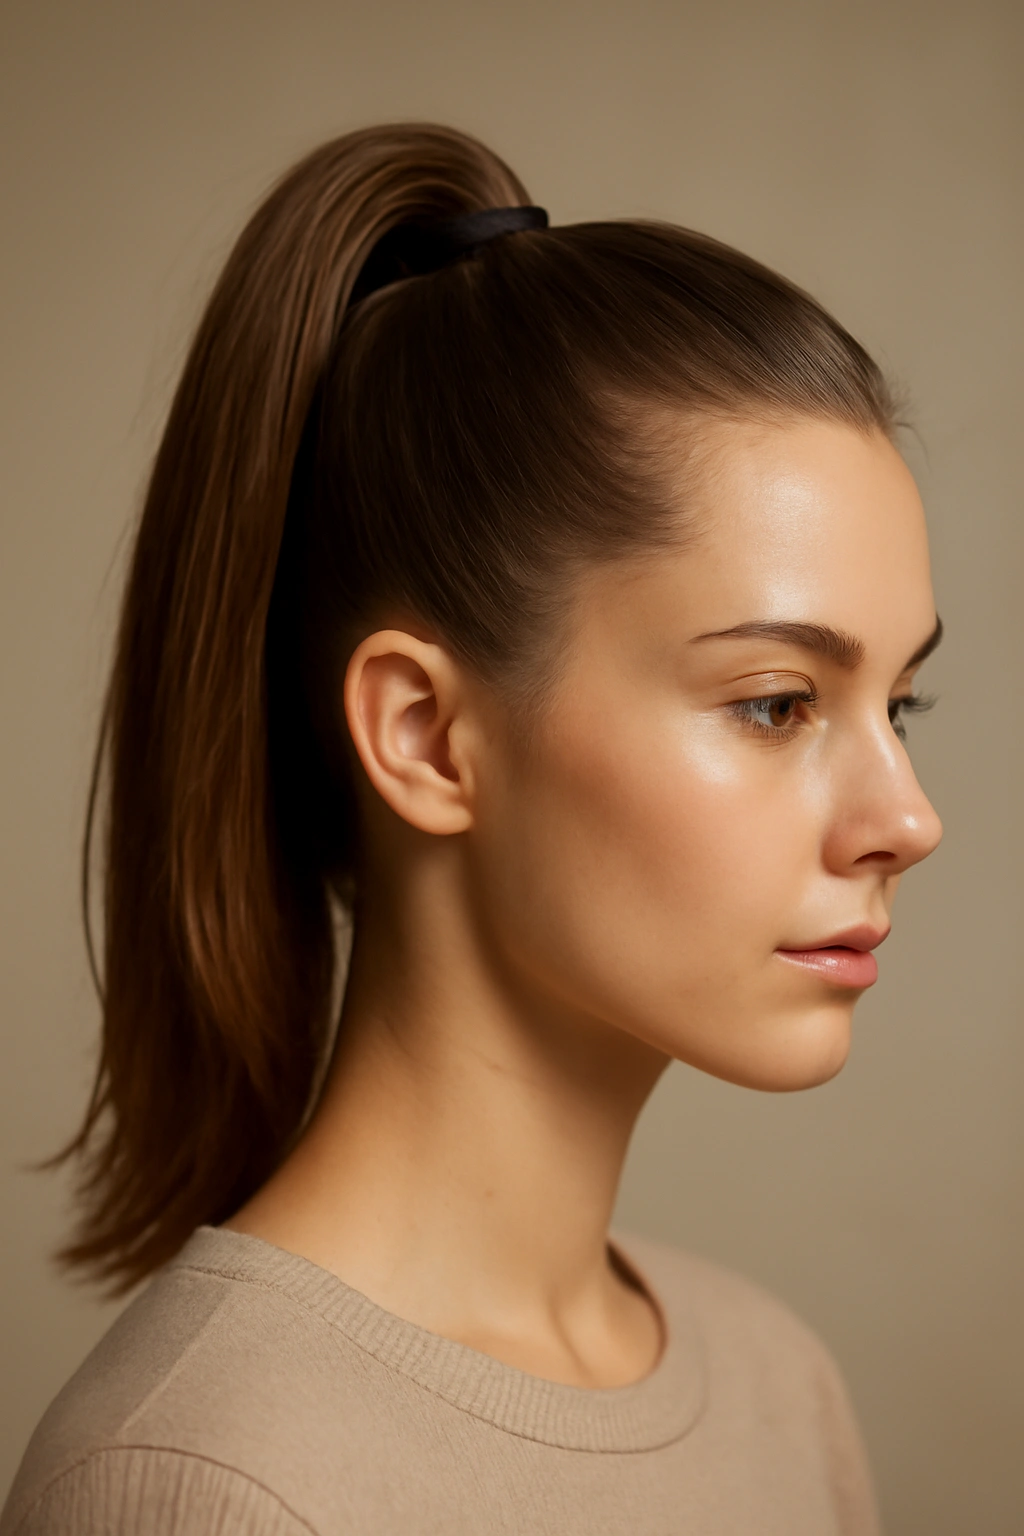
A high ponytail is the workhorse of quick hairstyles — it’s fast, it looks intentional, and it works on every hair texture from stick-straight to curly. The key to nailing it in under two minutes is understanding that placement matters more than perfection. A true high ponytail sits at the crown of your head, not at the back of your skull, which is why so many people accidentally create a mid-height ponytail that reads as less polished.
How to Execute It Flawlessly
Run your fingers through your hair to detangle as you gather it upward, using your fingers to feel the highest point on the crown of your head — this is where the elastic should sit. Gather your hair into a high point and secure with a hair elastic, then use your index finger to gently tease out a tiny bit of hair at the roots right where the elastic is. This teasing action creates the illusion of extra volume and lifts the ponytail away from your scalp, which elevates the entire look in seconds. If you have fine or thin hair, try using a texturizing spray on your roots before gathering — the grit gives the elastic something to grip and makes the ponytail look fuller and more anchored.
Quick Pro Tips for Pressure-Free Results
- Skip the brush at first — your fingers actually create better grip and a more textured, secure base than brushing everything smooth
- Secure your elastic, then gently pull a tiny piece of hair from underneath the ponytail and wrap it around the elastic to hide it completely — this single move elevates it from rushed to intentional
- If your ponytail feels loose or saggy, don’t assume you need to retie it; instead, gently pull the sections of hair on either side of your head upward and toward the back before tightening — this lifts the whole structure
- A light spritz of dry shampoo at the roots 30 seconds before styling makes grip dramatically easier
2. Messy Bun
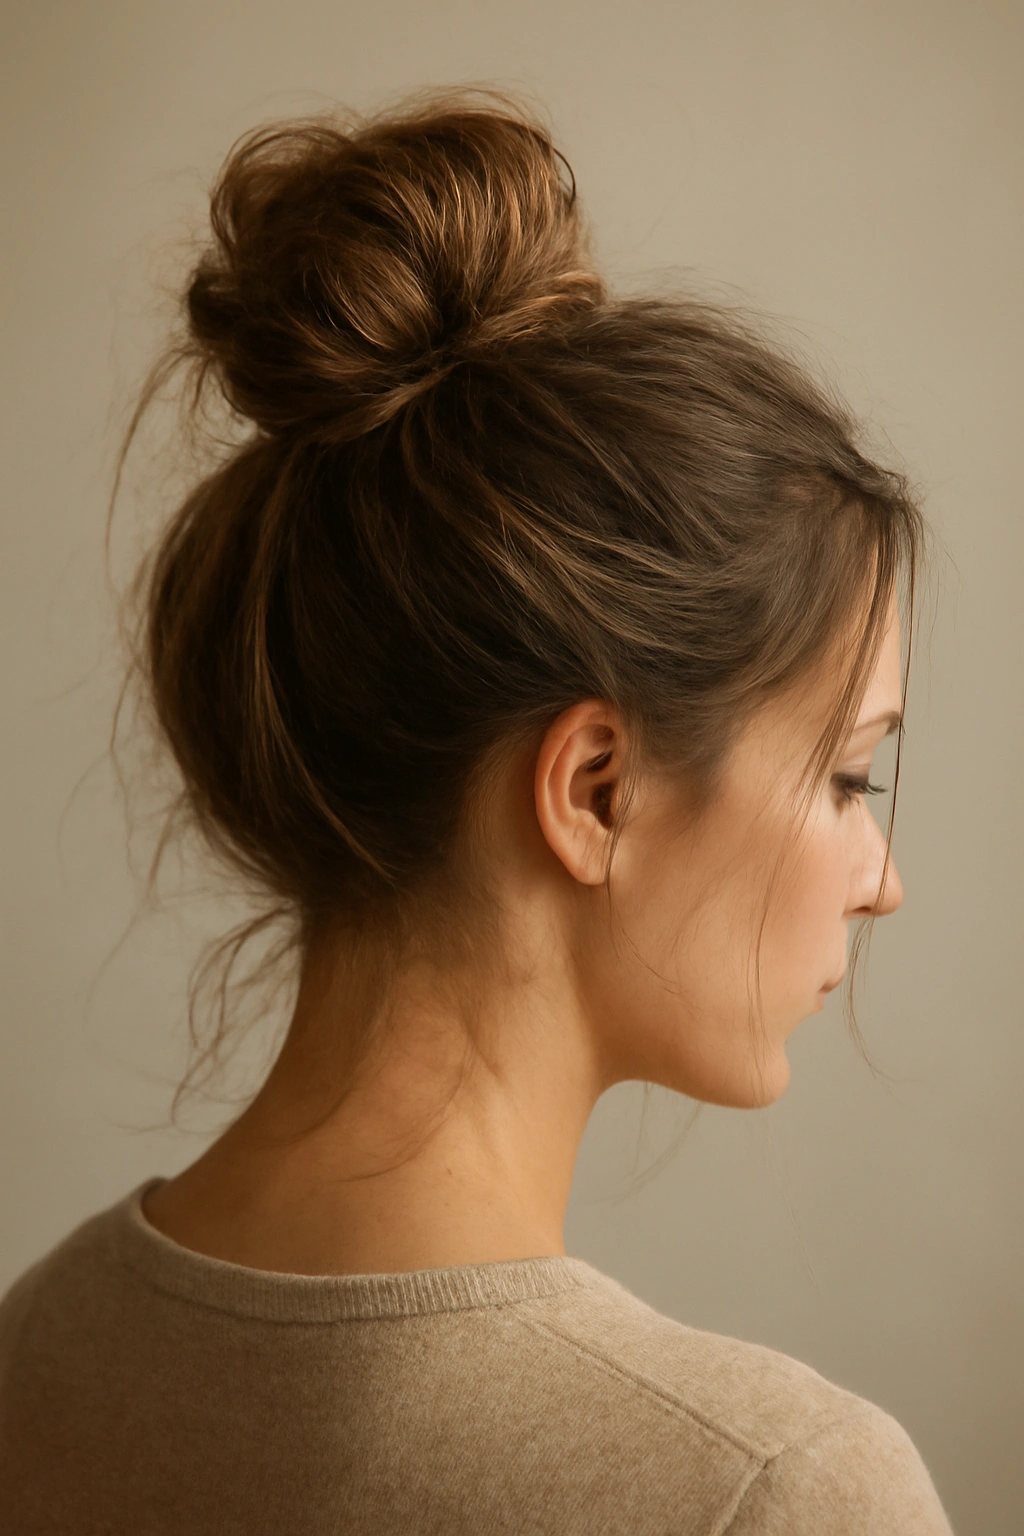
The messy bun occupies a strange space in the styling world — it’s somehow the easiest hairstyle to create and yet the hardest to make look intentionally disheveled rather than genuinely neglected. The difference comes down to knowing that a good messy bun still has structure and isn’t just random strands looped around and pinned. What makes this one fast is that you’re not aiming for smoothness; you’re deliberately creating texture and what looks like controlled chaos.
The Right Technique Makes All the Difference
Start by gathering your hair into a very high ponytail — higher than you think it should be — and secure it loosely with an elastic. The word “loosely” is key here; your elastic should be loose enough that you can wiggle your ponytail around in it. Now flip your head forward and twist that ponytail loosely around itself, then flip your head back and wrap that twisted rope around the base of the ponytail to form a bun shape. Secure everything with bobby pins tucked underneath the bun where they’re invisible, then deliberately pull out a few face-framing pieces and tease them gently for texture. The bun itself should feel loose and slightly undone, with some wisps escaping naturally.
Why Texture Is Everything in a Messy Bun
- Using textured hair (second-day hair, hair with dry shampoo, or hair with a texture spray applied) makes the bun hold better and look intentionally messy rather than accidentally sloppy
- Skip the hairspray on the final product — it locks everything in place and removes the soft, lived-in quality that makes a messy bun appealing
- If your bun collapses during the day, don’t panic; tuck bobby pins underneath strategically to prop it back up rather than trying to re-gather everything
- Messier buns actually hold better with slightly fewer bobby pins; three strategically placed pins hold longer than six, because too many pins fight against each other
3. Half-Up, Half-Down
The half-up, half-down style is the Goldilocks of hairstyles — it looks polished enough for work or casual outings, but requires almost zero styling skill. You’re literally just taking the top layer of your hair and securing it while leaving the length down, which means your hair only needs to cooperate from the ears up. This is the style to reach for when you’re not sure if you’re in a “hair up” or “hair down” mood, or when your hair texture is being unpredictable below the ears.
Creating Volume and Balance
Begin by taking a section of hair from each temple — about the width of your thumb on each side — and pulling both sections backward, crossing them slightly at the back of your head near the crown. Secure with a small elastic or bobby pins hidden underneath, which takes about 90 seconds start to finish. If your hair feels flat on top, grab a few shorter pieces from the front near your hairline and gently tease them upward before securing the main sections; this creates the illusion of a fuller crown without actually needing thick hair.
Customization Options That Work in Five Minutes
- For extra volume: Tease the roots where you’re securing the piece, then smooth the outer layer for a polished look
- For a softer appearance: Don’t make your parting perfect; let the section you’re pulling back be slightly uneven and imprecise
- For sleek styling: Take your sections from lower on the head (at ear level) rather than from the temples, which creates a different visual line
- To hide the elastic: Take a small piece of hair from the back section you’ve already secured, wrap it around the elastic, and pin it underneath — the elastic completely disappears
4. Sleek Low Ponytail
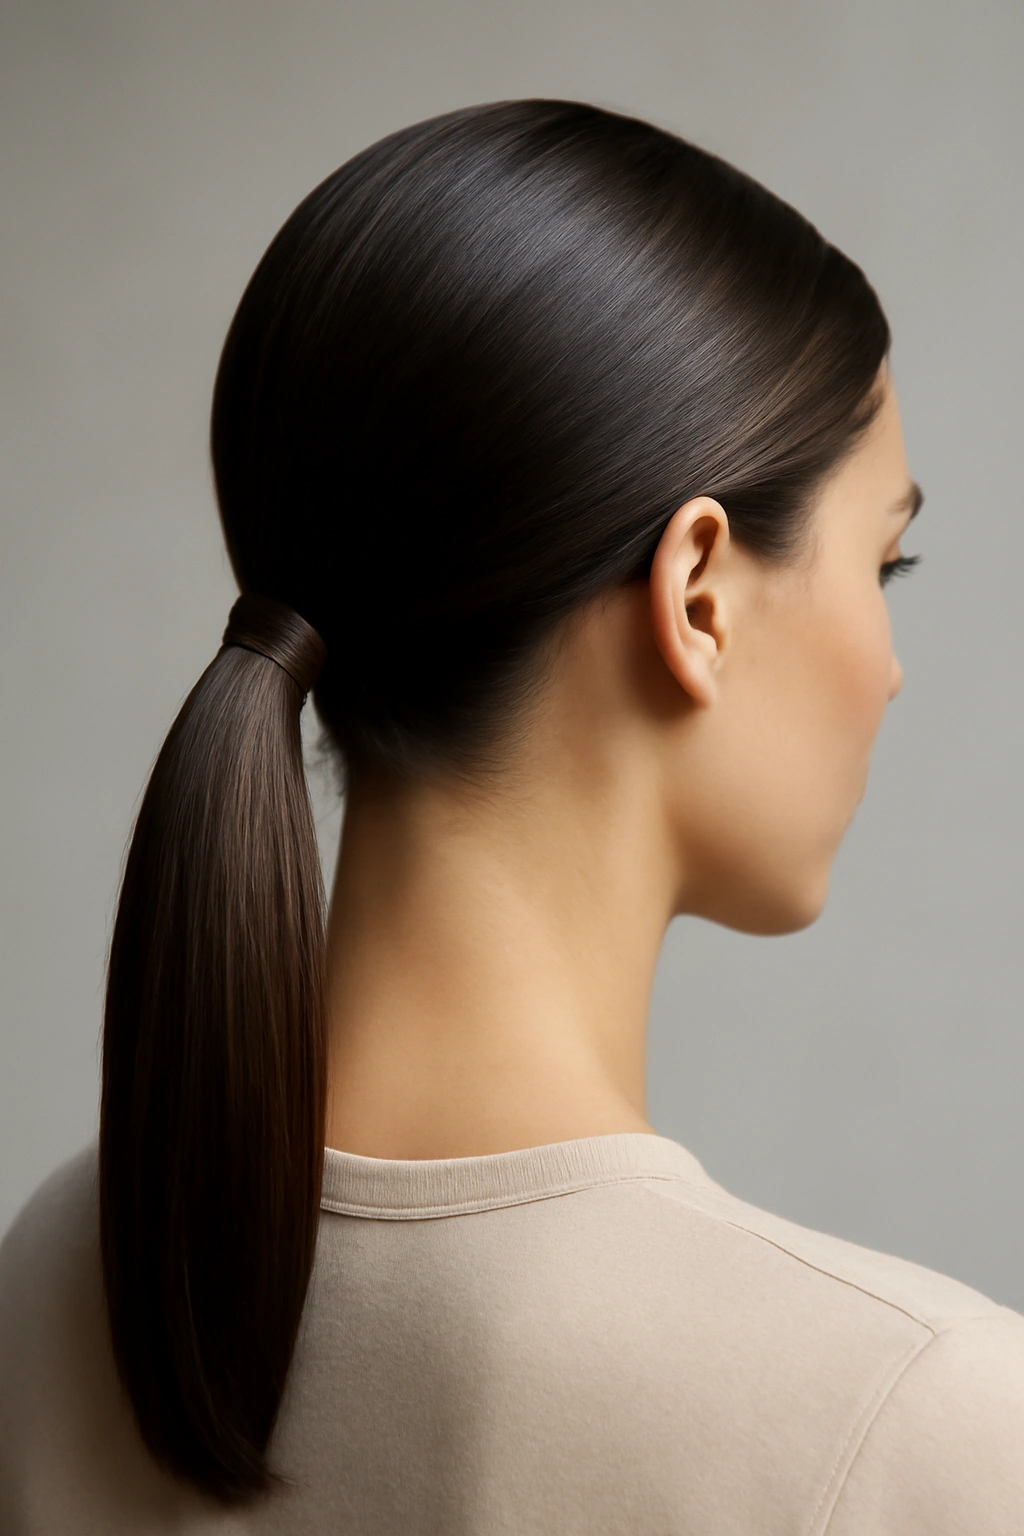
While a high ponytail reads as casual and energetic, a low ponytail at the nape of your neck projects polish and intention — and the sleek version takes it even further by flattening every hair against your head. This is the style when you need to look like you actually tried, even though the execution is straightforward and takes maybe three minutes. The “sleek” part is about smoothness, so this works best if your hair is somewhat cooperative or if you have access to a smoothing product.
Achieving That Glassy-Smooth Finish
Apply a dime-sized amount of smoothing cream or serum to your palms, then drag your fingers through your hair from the roots to the ends to coat everything lightly. You’re not making your hair wet; you’re just adding shine and slip. Now use a paddle brush or a fine-tooth comb to brush everything back toward the nape of your neck, smoothing as you go. Gather at the base of your skull and secure with an elastic, then take the same smoothing product on your fingertip and run it over any flyaways or texture on the outside of the ponytail to sleek them down.
The Difference Between Smooth and Slicked
- Sleek and smooth mean the same thing here — you want every hair lying flat against your head and blending together into one unified shape
- If you have naturally textured or curly hair, don’t fight it with this style; instead, use it on a day when you’ve blow-dried your hair smooth, or embrace the texture and call it an intentional undone ponytail
- A low sleek ponytail paired with a tiny velvet elastic looks exponentially more expensive and intentional than the same style with a rubber band
- Keep the ponytail itself smooth by brushing through it once more after securing, which redistributes any texture and creates that glassy, polished finish
5. Twisted Crown Braid
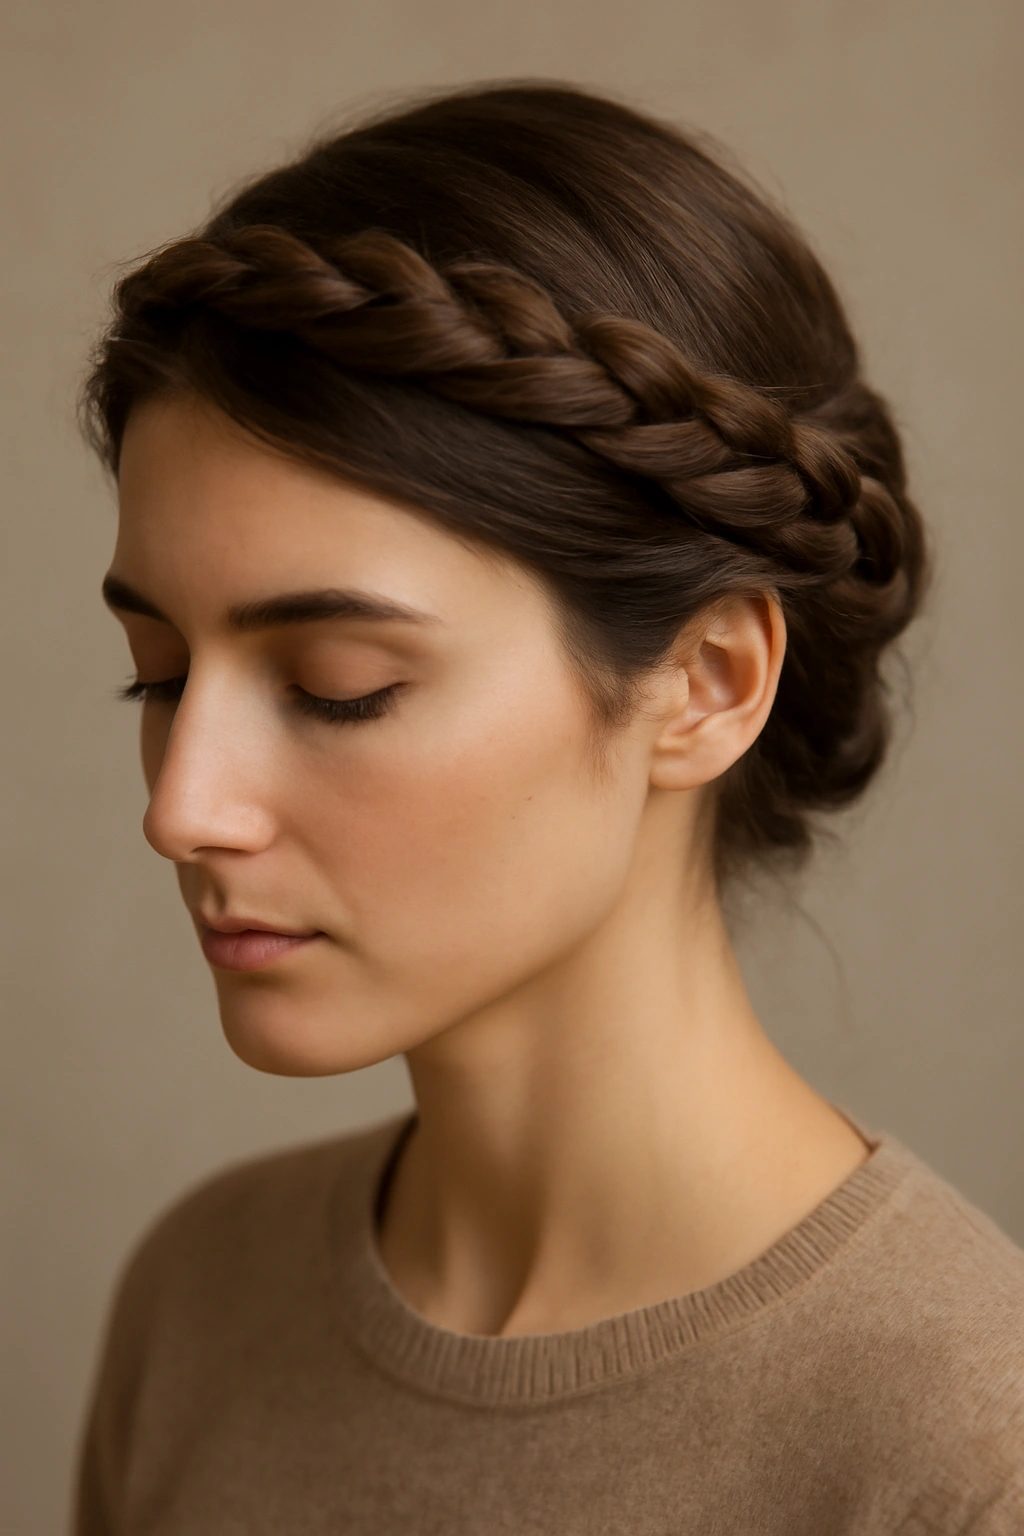
Despite its name, this isn’t actually a braid and requires zero braiding skill — it’s just two twists that wrap around your head, and it’s one of the most flattering styles for nearly every face shape. The crown placement elongates your face, the twisted sections add texture and dimension, and the overall effect reads as intentional and slightly elevated, all in about three minutes. This is what you reach for when you want to look like you put in effort but also want to leave room in your morning for actual breakfast.
Building Your Twisted Crown Step by Step
Take a section of hair from one temple (about two inches wide) and gently twist it as you would a rope, moving backward toward the back of your head. Keep the twist relatively loose so it doesn’t look tight or painful; you’re aiming for a soft, flowing look. As you twist, leave the section at a 45-degree angle away from your head so it sits on top like a crown rather than against your scalp. When you reach the back of your head, secure this twist with a bobby pin hidden underneath, then repeat on the other side, twisting the section from your opposite temple and meeting it at the same spot in the back. Pin both twists together so they merge into one unified detail.
Making the Crown Twist Read as Intentional
- Hair doesn’t need to be perfect for this style; in fact, second-day textured hair or curly hair actually looks better because the texture holds the twist in place
- Avoid making your twists too tight, which reads as overly polished and makes it harder to secure; a slightly loose twist looks effortlessly elegant
- If you want extra definition, separate the layers of each twist slightly with your fingertips after pinning, which creates a more dimensional, intentional look
- This style works beautifully with a few face-framing pieces left down in front; don’t feel obligated to twist every single strand back
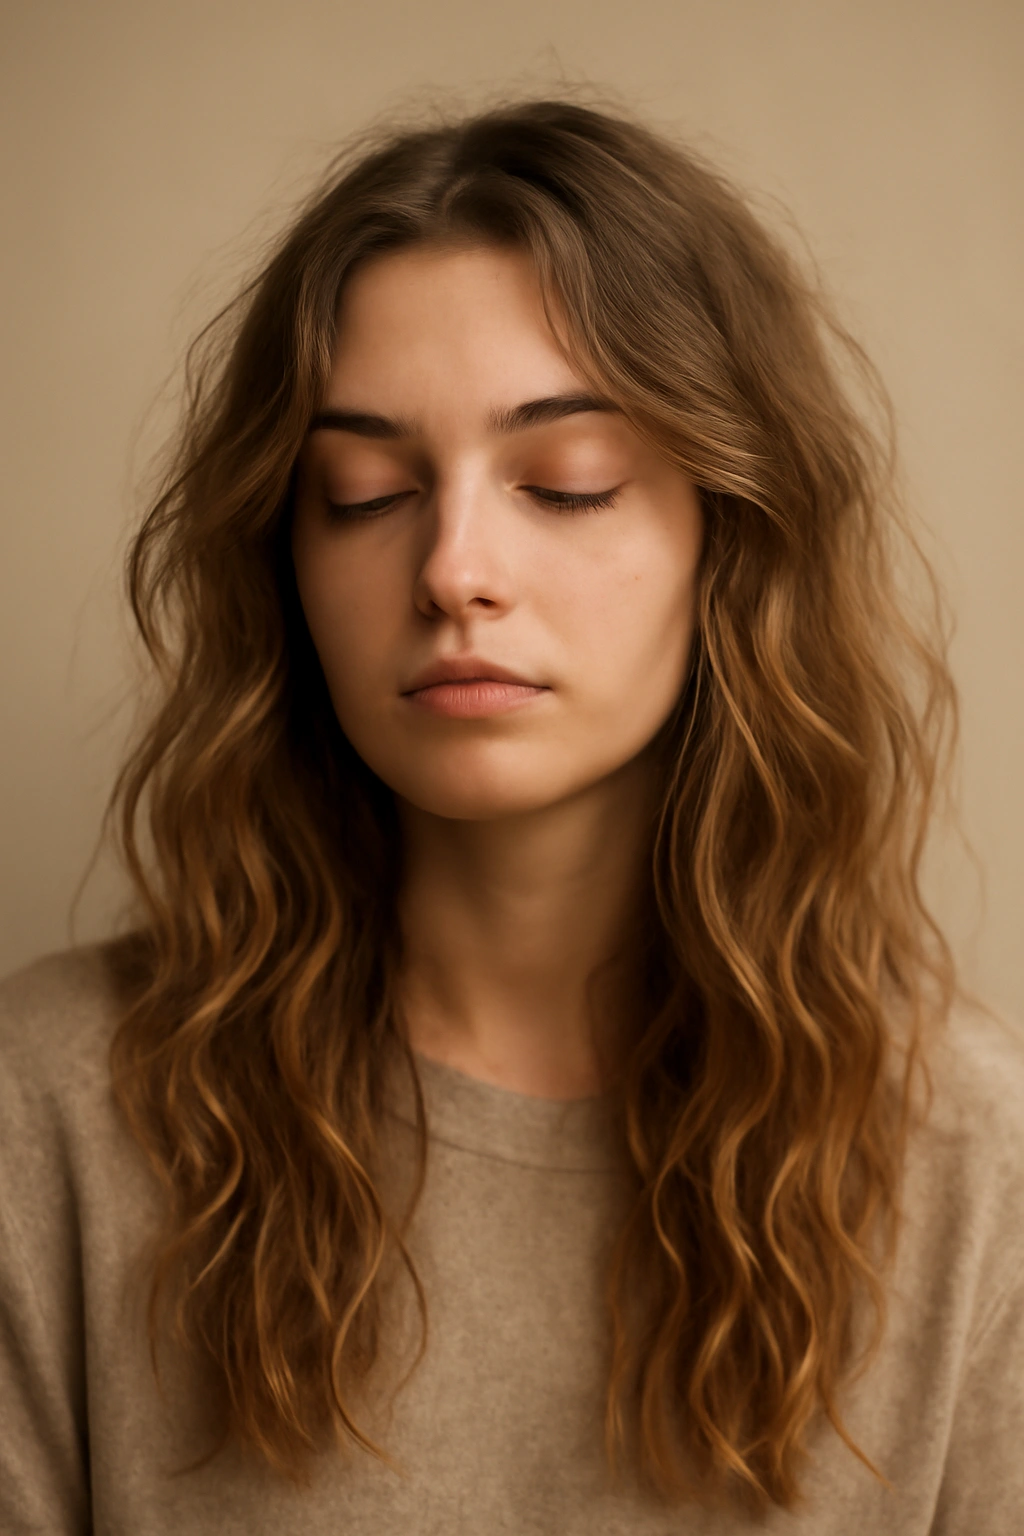
6. Textured Beach Waves
Beach waves sound like they should take 30 minutes with a curling iron, but the quick version is literally just breaking up your hair into chunks and texturizing them while damp. You’re not creating perfect, uniform curls; you’re creating the illusion of waves by manipulating sections of hair while they’re in the drying process. On second-day hair or with the help of dry shampoo, this comes together in under five minutes.
The Two-Minute Wave Method
If your hair is damp from a shower, gather small sections of hair and gently squeeze them while you move your hands upward toward the roots — this directs the moisture upward and creates movement as the hair dries. If your hair is already dry, spritz a light texture spray on mid-length sections, then do the same squeezing motion. You’re not wrapping around a curling iron or trying to form perfect waves; you’re just disrupting the straight line and encouraging the hair to bend slightly as it sets. Tousle everything gently once it’s partially dry or set, run your fingers through to separate any clumps, and the waves will have that intentional-looking texture that reads as effortless.
Why This Works So Well in a Rush
- You don’t need heat tools, which saves setup and cleanup time — this is key when you’re in a hurry
- The imperfection is the whole point; uneven waves look more believable and modern than perfectly spiraled curls
- Dry shampoo is your secret weapon here; it adds texture to the hair itself and makes waves hold much longer without any actual styling
- This works on every hair type, though the wave definition changes based on your natural texture — embrace whatever your hair naturally does
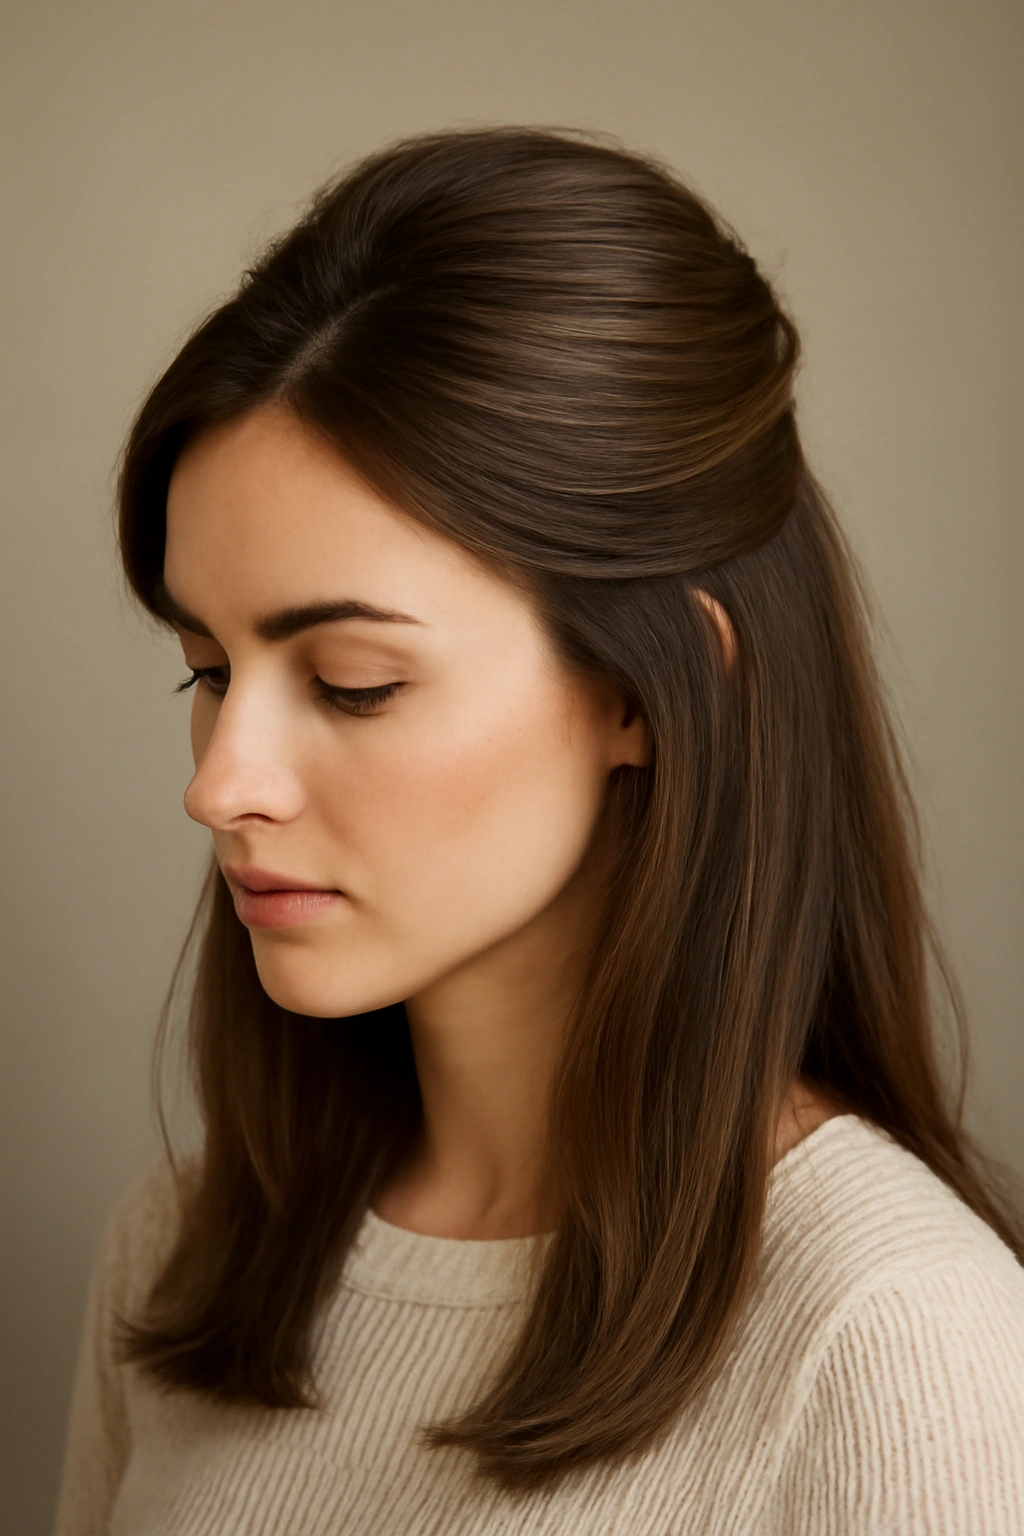
7. Deep Side Part with Volume
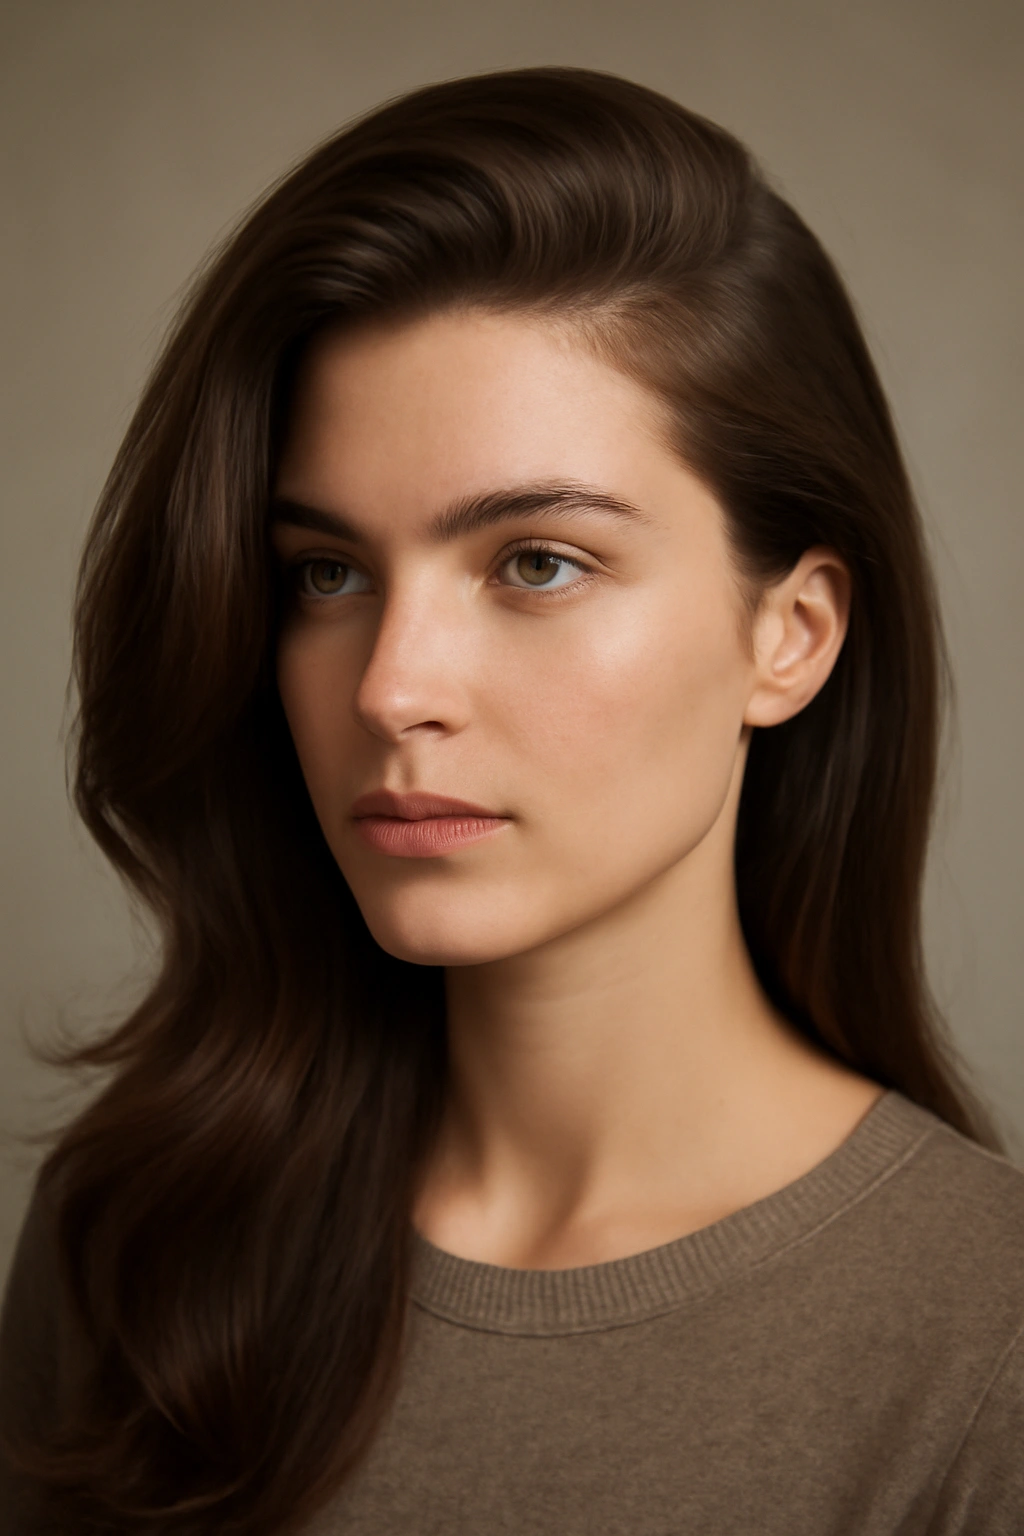
A deep side part might sound like the opposite of a quick style — something that requires precision and skill — but it’s actually one of the fastest ways to look put-together because all you’re doing is changing where your hair naturally falls. A dramatic side part over one ear completely changes your face and the proportions of your head, making everything instantly look more styled. This is genuinely a 30-second change if your hair is already clean and dry.
Creating the Visual Impact of a Deep Side Part
Brush or comb your hair gently to remove any sleeping creases, then identify where your natural part line is. Now shift that part line dramatically to one side — ideally toward the ear you want to frame your face. The deeper the side part, the more dramatic the effect, so if you’re going for intentional styling, don’t be shy about moving your part line at least three inches from where it normally sits. Once you’ve established the part, gently tease the roots on the side with more hair (the larger side of the part) to build volume at the crown, then smooth the outer layer and let that fuller side sit on top, creating height and dimension.
Making a Side Part Look Intentional Rather Than Accidental
- A truly deep side part should cover one eye slightly or create a shadow on one side of your face — if it looks balanced, it’s not deep enough
- Tease the crown on the larger side before smoothing to create volume that makes the style read as intentional styling rather than just an accidental parting
- Leave a few small pieces of hair loose around your face on the side with less hair; this softens the line and prevents it from looking severe
- This style pairs beautifully with a small hair clip or elastic on the side with more hair, which anchors it and prevents it from falling flat throughout the day
8. Tight Bubble Ponytail

A bubble ponytail looks intricate and playful, but the execution is absurdly simple — you’re literally just creating multiple sections down the length of a ponytail and bunching each section with its own elastic. Each “bubble” takes about 10 seconds, which means the entire style from start to finish takes under four minutes. This one’s especially great when you want something that looks more fashion-forward than a standard ponytail but requires zero actual skill.
Building Your Bubble Ponytail Section by Section
Create a standard high or mid-height ponytail and secure it with an elastic. Now take an elastic and wrap it around the ponytail about two inches below the first elastic, creating a “bubble” of hair between the two elastics. Tease this bubble slightly by gently pushing it backward toward the first elastic, which makes it poof outward and look fuller. Repeat this process down the entire length of your ponytail — another elastic two inches down, another bubble, and so on — until you’ve created four to six bubbles depending on the length of your hair. The bubbles should be relatively even in size and spacing, but slight imperfection actually makes it look intentional.
Making Bubbles Look Intentionally Voluminous
- Don’t make your bubbles too tight; they should be relaxed and puffy rather than compressed and sleek
- After creating each section, gently pull outward on the bubble to fluff it and make it more three-dimensional — this step makes the whole style read as more deliberate
- Teasing each bubble slightly before moving to the next one creates dimension and prevents the style from looking flat
- This works beautifully with colorful elastics that match your outfit, or with metallic elastics that catch light and add visual interest
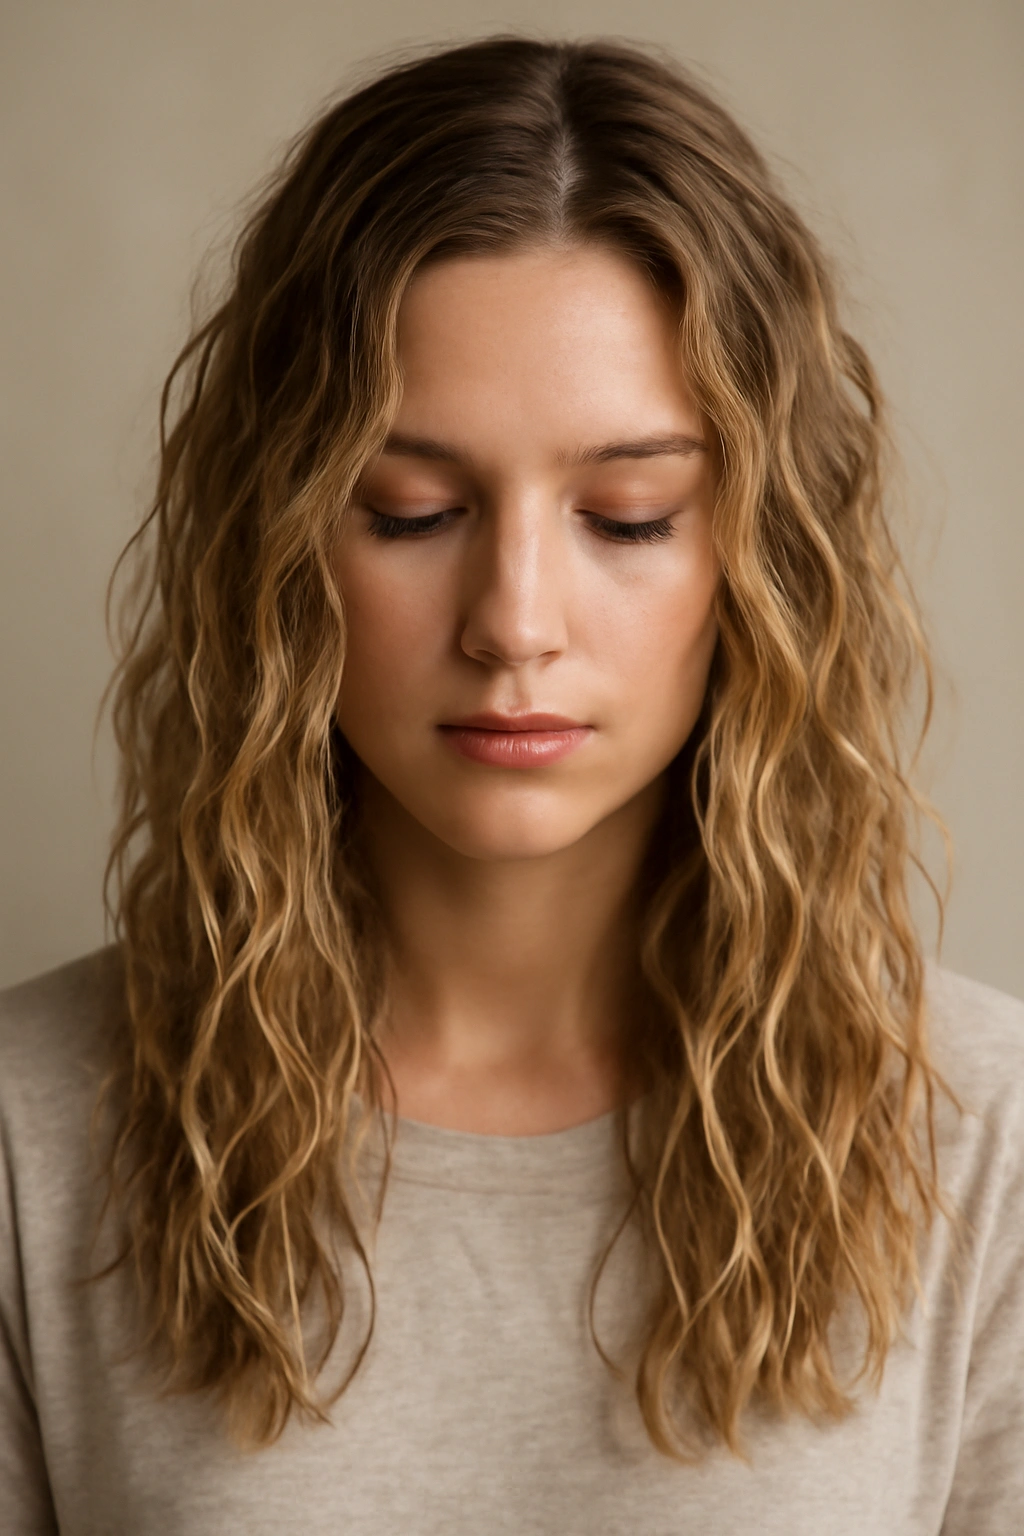
9. Sleepy Girl Aesthetic Waves
This viral style has staying power because it actually looks good and requires minimal effort — it’s basically undone waves that look intentionally soft and romantic. The “sleepy girl” name comes from the fact that it looks like you just woke up with perfect hair, even though you definitely didn’t. The beauty of this style is that it works on waves you created yesterday, waves you’re creating today, or even slightly messy dry hair that you’re just texturizing further.
Creating That Effortless, Just-Woke-Up Look
If your hair is straight, lightly spritz a texture spray or dry shampoo throughout, then gently scrunch sections upward to encourage wave formation. You’re not trying to create defined curls; you’re just disrupting the straight line and creating gentle movement. If your hair already has some wave or curl to it, your job is even easier — just scrunch and add texture spray to enhance what’s already there. The key is leaving some sections looser than others so the waves aren’t uniform; some parts should be wavier, some parts softer, some parts with more movement. This imperfection is exactly what makes it look like you didn’t actually style it.
Why This Works As a Go-To Rushed Style
- You don’t need heat tools or specific techniques; disruption and texture are the entire goal
- Works on every hair type, from straight to very curly — you’re just amplifying what your hair naturally does
- Dry shampoo is crucial here, not for hiding grease but for adding grip and texture that helps waves hold
- If your waves fall flat by mid-day, don’t try to fix them; instead, lightly mist with texture spray again and gently scrunch — the style actually improves throughout the day
10. Five-Minute Updo
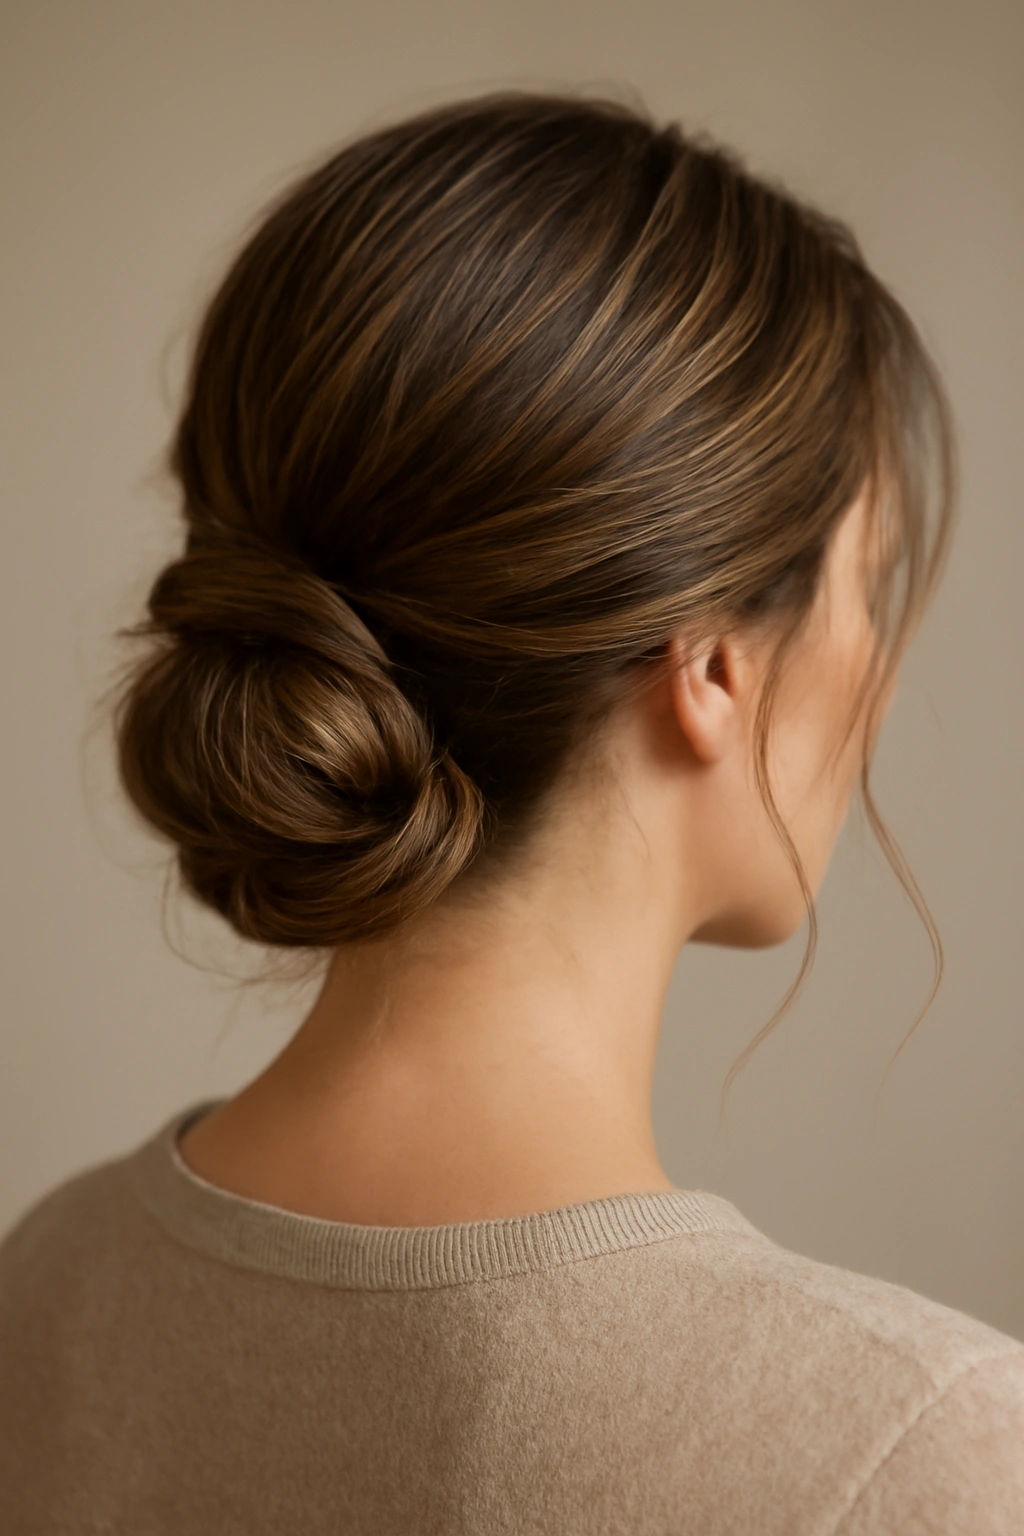
An updo might sound ambitious for a five-minute timeline, but a simple twisted updo that sits at the nape of your neck is genuinely one of the fastest updos you can create. It’s not a complicated knot or an intricate twist; it’s just gathering your hair into a low pony, twisting it, wrapping it around the base, and securing with pins. This is your style when you want to look like you made an effort but don’t actually have time to make an effort.
Building a Secured Updo Without Complexity
Gather your hair into a low ponytail at the nape of your neck and secure loosely with an elastic. Take the ponytail itself and gently twist it as you would a rope, creating a loose spiral. Wrap this twisted rope around the base of the ponytail, tucking the end underneath and securing everything with three to four bobby pins that you tuck beneath so they’re completely invisible. Gently pull the outer layers of the twist slightly outward to create dimension and soften any tight, overly polished lines. The result should look slightly undone, with a few wisps escaping around your face and neck.
Details That Make an Updo Look Intentional
- Don’t secure everything too tightly — a secured updo should still feel soft and relaxed, not geometric and perfect
- Use bobby pins that match your hair color, which makes them far less noticeable than dark pins on light hair or vice versa
- Tease the base of your ponytail slightly before twisting to create an anchor point that makes everything hold better throughout the day
- Leave intentional face-framing pieces down; don’t feel obligated to use every single strand in the updo
Final Thoughts

Once you commit these ten styles to muscle memory, you’ll realize that “no time to style my hair” is no longer a legitimate excuse for a rushed appearance. The beauty of these styles is that they don’t require expensive tools, special products, or any particular level of skill — they’re just systems that work because they leverage your hair’s natural texture and the physics of how hair actually sits on your head.
The real secret isn’t having perfect hair or spending an hour on styling. It’s understanding that the fastest styles are the ones that work with your hair’s natural tendencies rather than against them, and knowing which three-minute technique to reach for depending on your mood, your outfit, and how much time your morning actually allows. Pick two or three of these as your personal rotation and practice them until they become automatic. By the time you’ve done any one of these styles five or six times, your hands will move through the motions without conscious thought, which is exactly when you’ll discover you can nail them in under five minutes.