Shoulder-length hair strikes that perfect balance—short enough to feel fresh and manageable, but long enough to offer serious styling versatility. When you straighten this length, the possibilities multiply. You’re working with hair that sits right around your collarbone, which is ideal territory for showcasing texture, movement, and polish in ways that longer or shorter styles simply can’t match.
The truth about straight styles on shoulder-length hair is that they look effortlessly chic without actually being effortless. The cut matters, the technique matters, and knowing which straight style complements your face shape and lifestyle makes all the difference. A blunt, sharply straight cut creates an entirely different impact than layered straight styles, and both have their moments. The beauty of this length is that you’re not locked into one category—you can shift between sleek and sophisticated, playful and textured, or dramatically polished depending on your mood and occasion.
What makes shoulder-length hair so forgiving is that it works well on most face shapes when styled well. The length sits below the jawline but not so far down that it weighs everything toward your neck. Straight styles in this sweet spot tend to frame the face beautifully while keeping you from looking too severe or too casual. Whether you prefer your straight styles completely polished or with just a touch of movement, shoulder-length hair delivers impact.
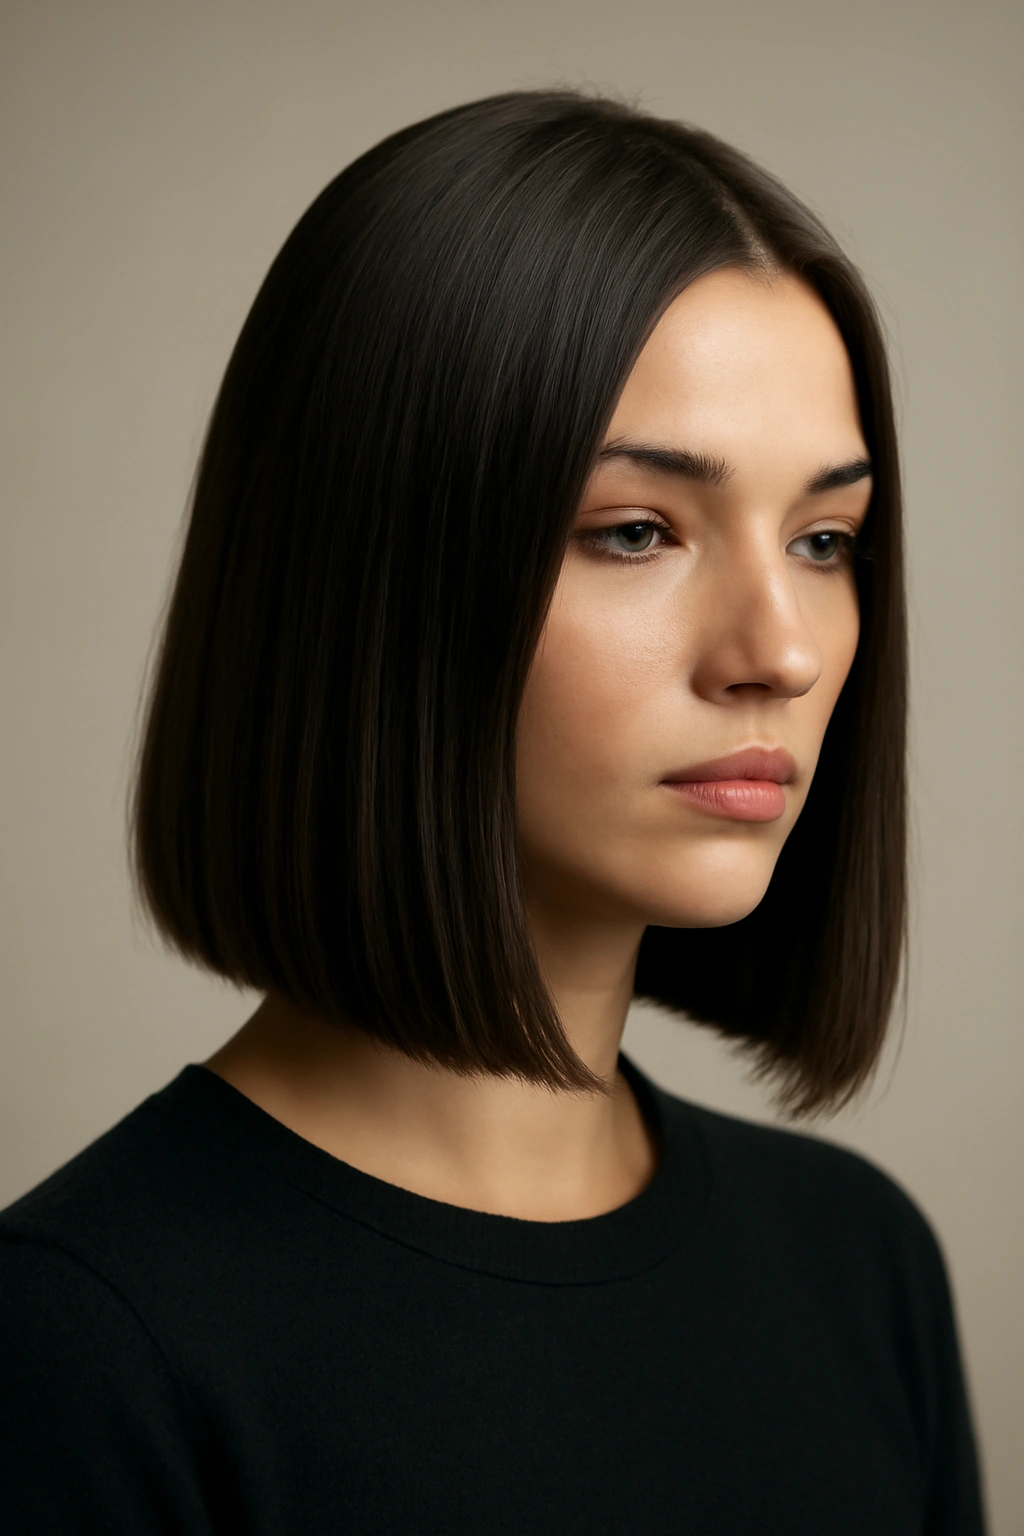
1. The Perfectly Blunt Straight Cut
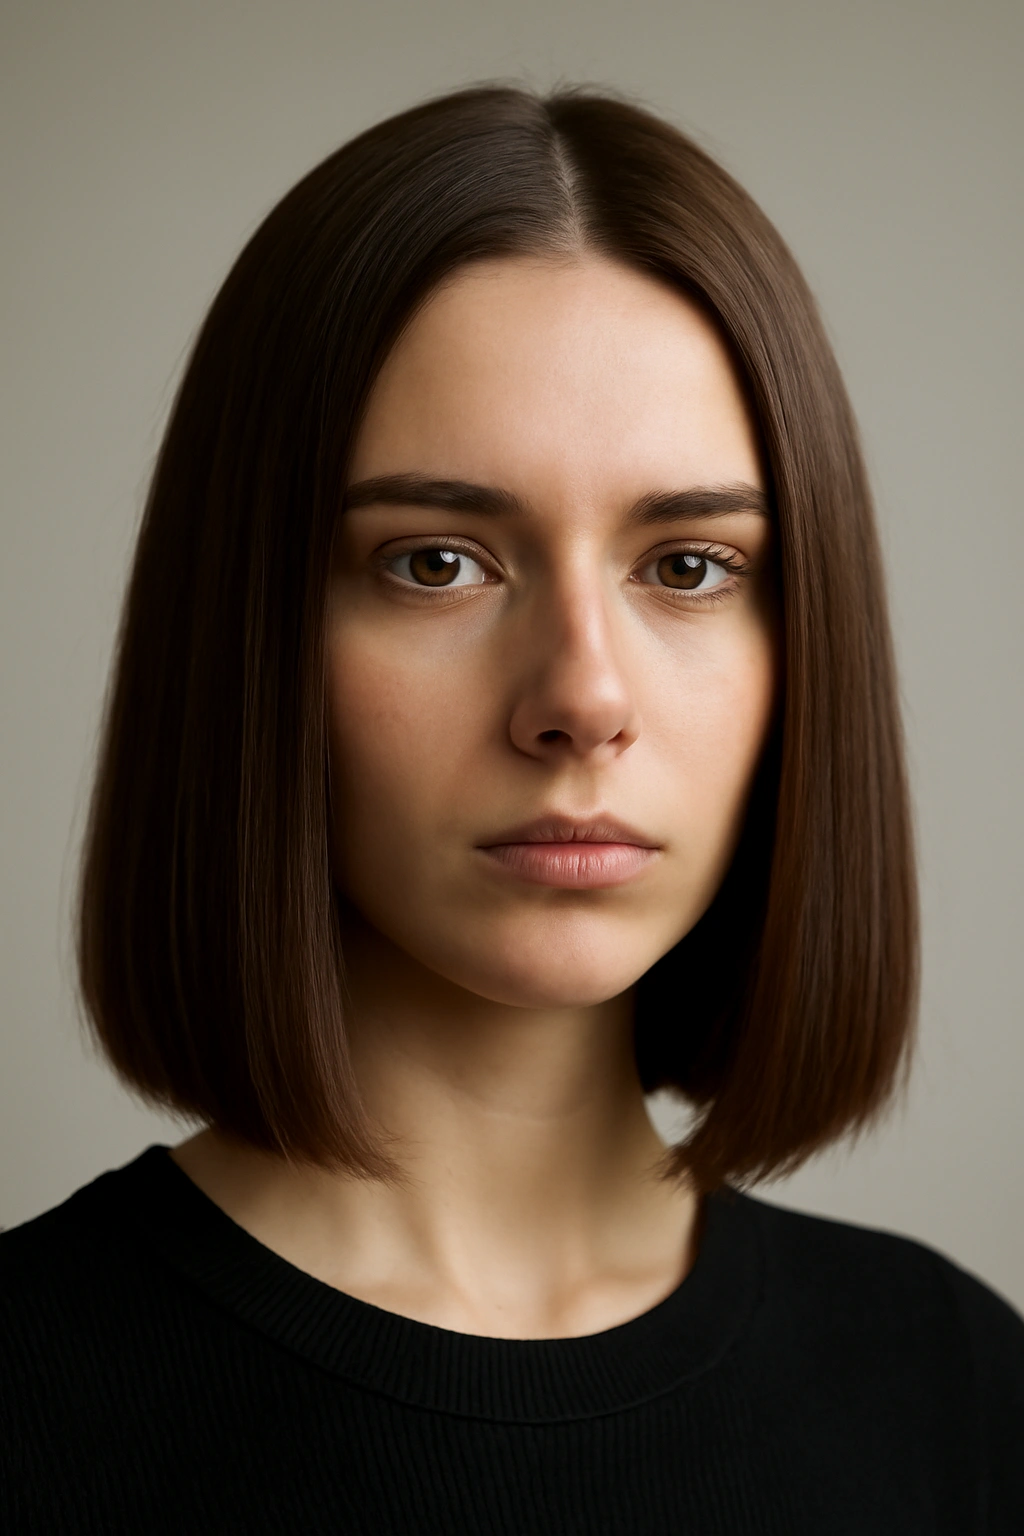
The blunt straight cut is about as close to perfection as straight hair gets. Every strand falls at exactly the same length, creating a clean line that sits right at your shoulders or just below. This style doesn’t mess around—it’s intentionally sharp, and that precision is exactly what makes it work so well.
Why This Cut Commands Attention
A blunt cut on shoulder-length hair looks expensive and intentional in a way that feels almost architectural. The weight is concentrated at the ends, which means the hair has enough substance to hold its shape throughout the day without relying on layers to create movement. When you straighten blunt hair, every millimeter of that precision shows. It’s the kind of cut that photographs beautifully from every angle and photographs honestly—no hidden tricks, just excellent technique and a sharp line. The blunt ends also create a frame for your face that feels both modern and timeless.
How to Achieve and Maintain It
- Schedule trims every 4-6 weeks to keep that edge razor-sharp—blunt cuts look sloppy fast if the ends get ragged
- Invest in a high-quality flat iron with a narrow plate (⅜ to ½ inch) so you can straighten precisely without overdrying
- Use a silicone-based heat protectant applied evenly throughout damp hair before straightening
- Straighten in small sections, moving the iron slowly for a polished finish rather than rushing through
- Finish with a lightweight shine serum on the ends to enhance that clean line
Pro tip: Blunt cuts look most striking when they’re paired with deep, glossy color—think rich brunettes, cool blacks, or jewel tones. The cut deserves a statement.
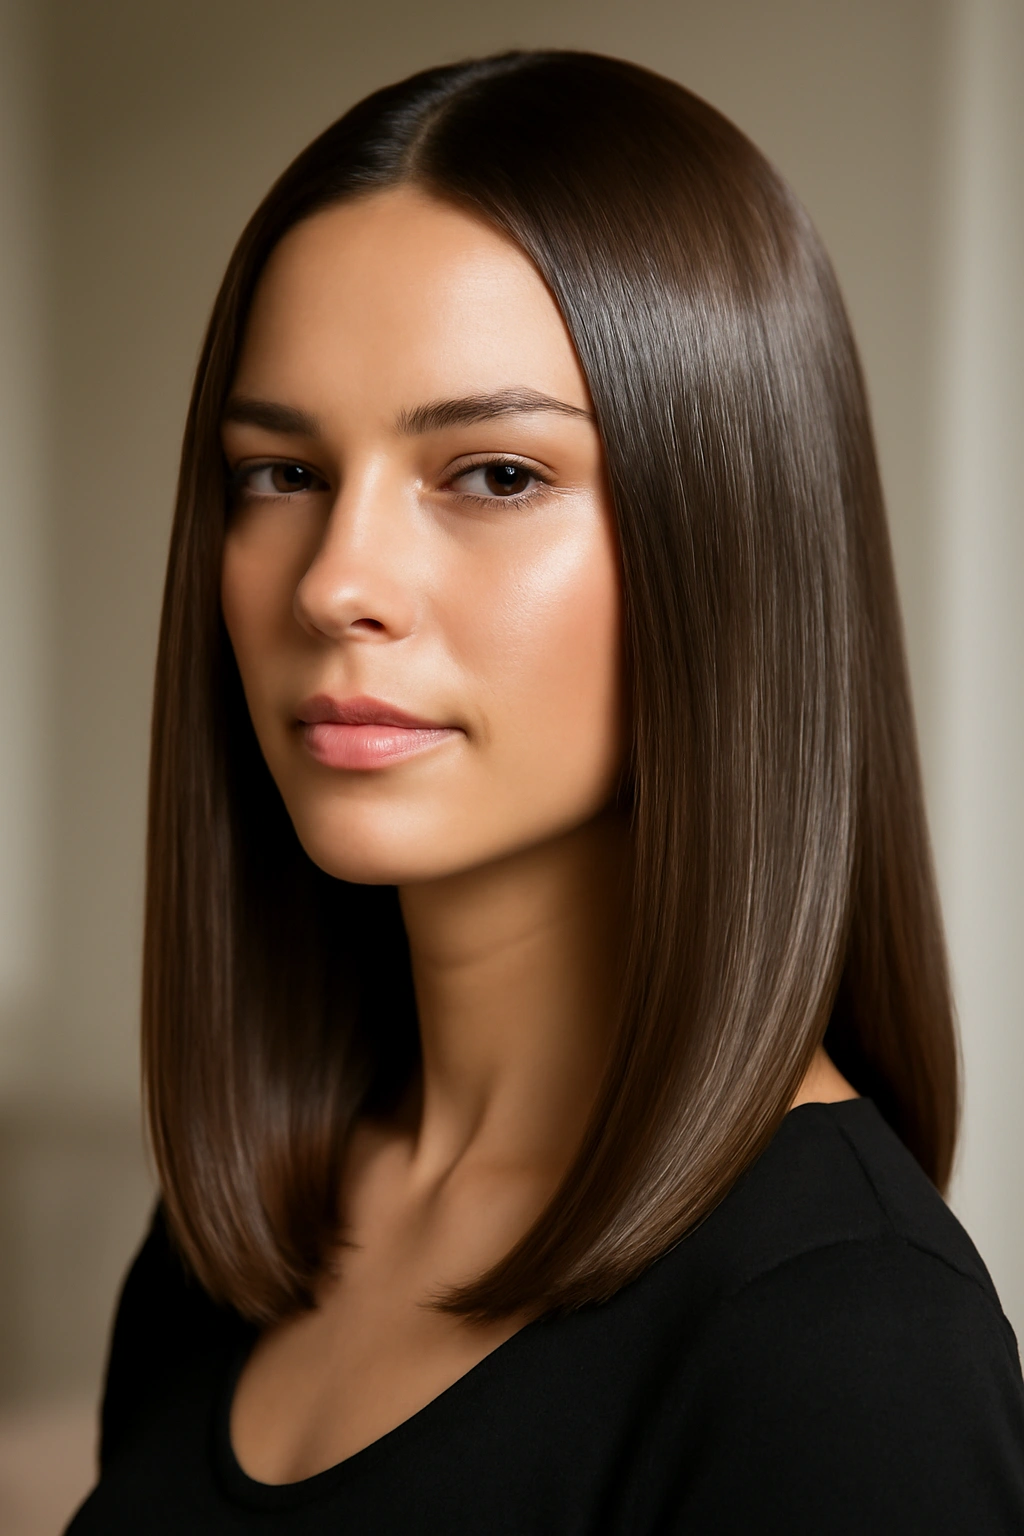
2. The Sleek Center Part
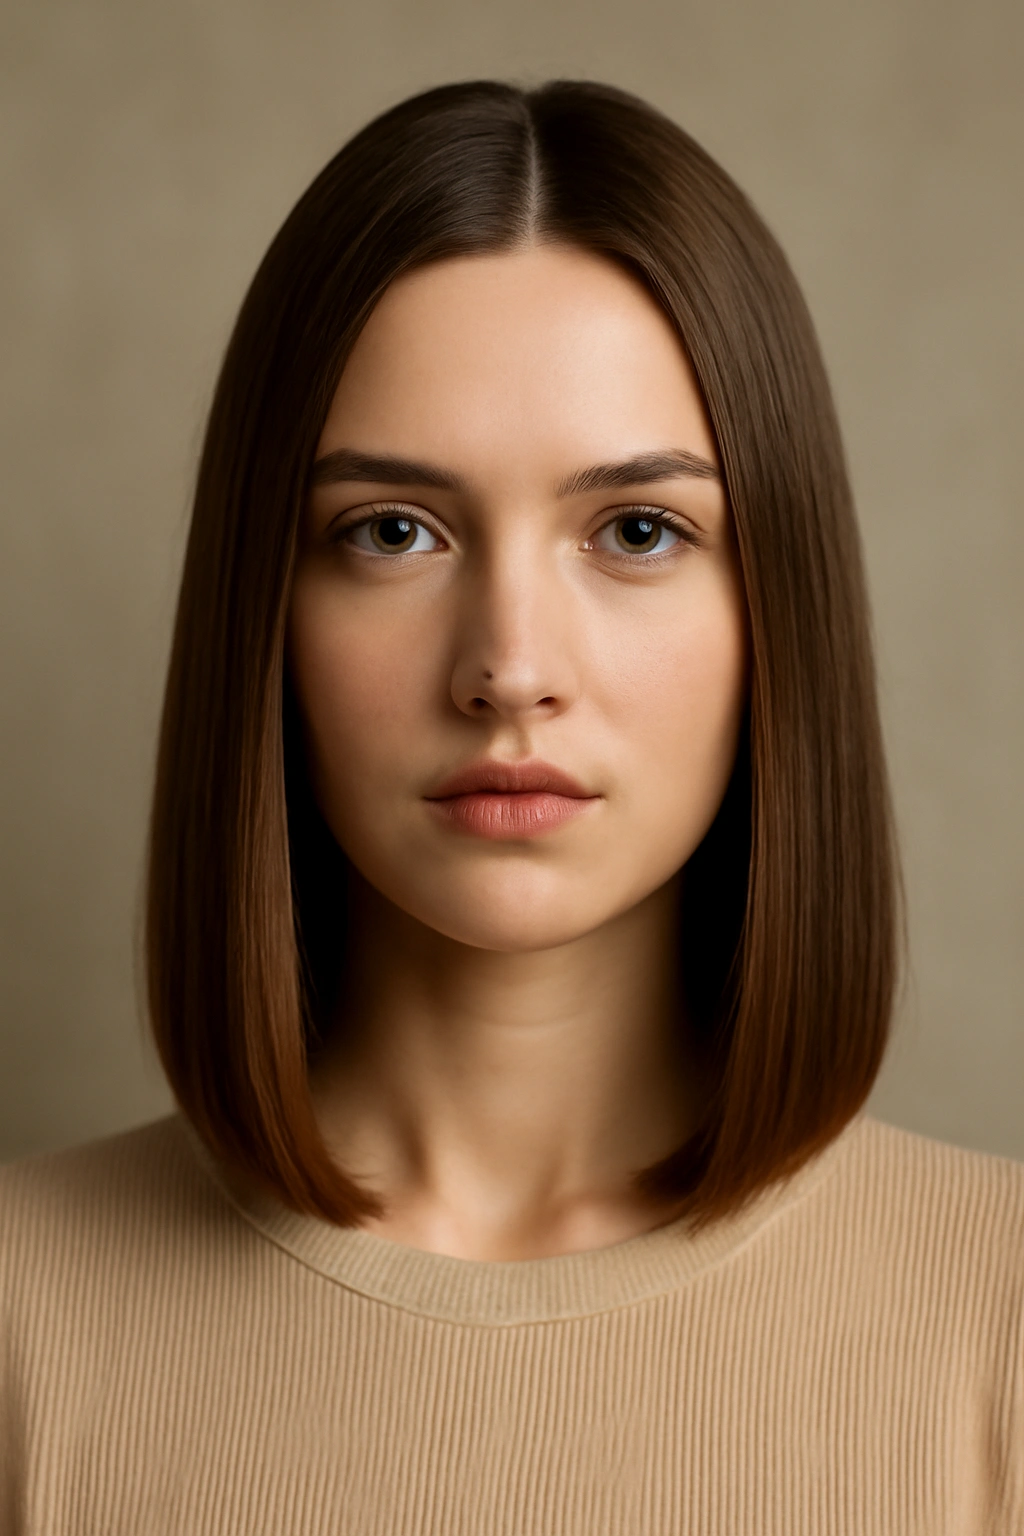
A perfectly straight center part is subtle but powerful. It divides your hair symmetrically, drawing the eye down the center of your face and creating an elongating effect that flatters most face shapes. This style reads as polished and composed without looking try-hard.
The Psychology of the Center Part
Center parts are experiencing a renaissance because they actually do something transformative to your face—they create visual balance and draw attention to your features rather than your hair shape. When your shoulder-length hair is stick-straight and parted precisely down the middle, you’re creating a frame that’s both elegant and modern. It’s the difference between styled hair that happens to be straight and straight hair that feels intentionally groomed. The center part also works brilliantly if you have a wider forehead that you want to minimize or if you simply want to emphasize the symmetry of your face.
Styling Steps to Perfect Precision
- Create the part while hair is damp by running a rattail comb down the exact center of your head from your hairline to the nape
- Blow-dry while occasionally running your fingers or a brush down the part line to keep it locked in place
- Once hair is fully dry, straighten each side separately using the established part as your guide
- Use a light hairspray mist (not heavy) to keep the part crisp without making hair feel stiff
- For extra staying power, set the part while blow-drying by directing air straight down your part line
The center part elevates shoulder-length straight hair instantly because it signals intentionality. This works particularly well with blunt cuts, as the sharp line creates symmetry that a center part can really emphasize.
3. The Soft Textured Straight Style
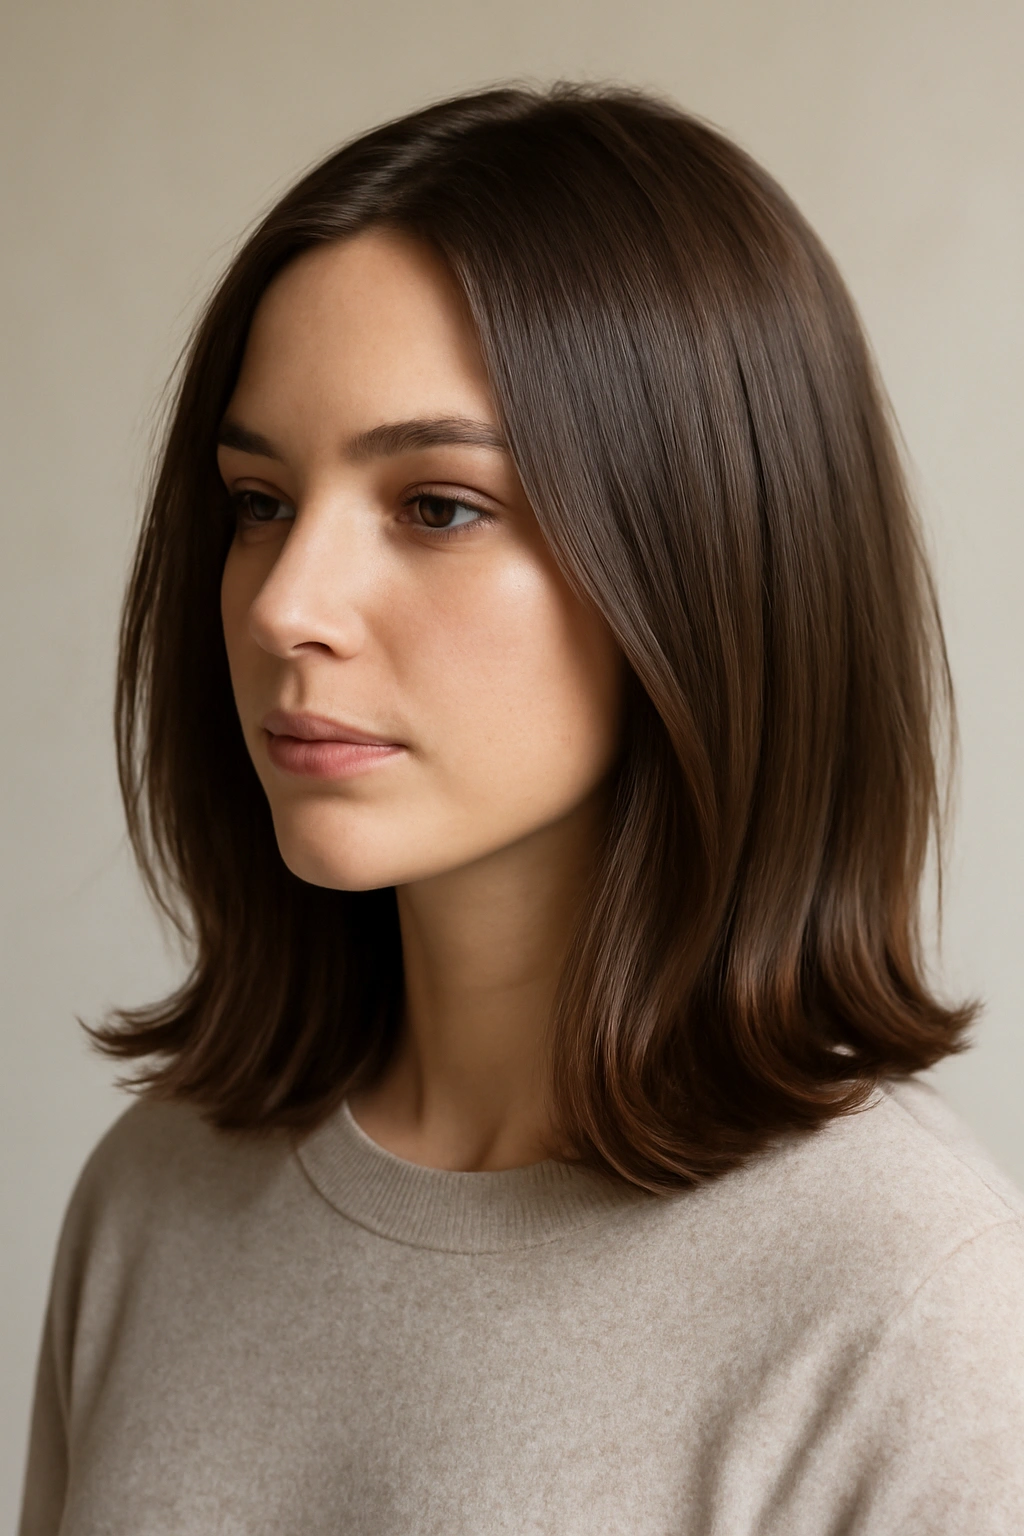
Not every straight style needs to be completely sleek. A soft textured straight style walks that line between polished and relaxed—your hair is straight, but it doesn’t look rigidly so. You’re introducing subtle waves, bends, or variations that keep the style feeling modern and alive.
Building Texture Into Straight Hair
Soft texture on straight hair usually comes from one of two approaches: either you’re straightening already-textured damp hair (which preserves some dimension), or you’re using your flat iron slightly off-axis to create subtle waves rather than a mirror-flat finish. This style works brilliantly if you want the elegance of straight hair without the maintenance of keeping it perfectly smooth 24/7. The texture also gives you built-in dimension that catches light beautifully, making your hair look thicker and glossier than a completely flat style would.
How to Create Soft Texture on Straightened Hair
- Start with slightly damp hair—not soaking wet, but not fully dry either
- Apply a smoothing serum before blow-drying; this reduces frizz while allowing some texture to remain
- Use a blow-dryer with a concentrator nozzle and direct airflow roughly toward the ends rather than forcing hair perfectly straight
- When straightening, angle your flat iron at about 20-30 degrees off-vertical as you move through each section
- Gently curve the iron at the ends to create subtle bends rather than crisp waves
Worth knowing: This style actually looks better after a day or two of wear, as movement develops naturally. It’s forgiving and gets more beautiful as it settles in.
4. The Sleek Low Ponytail
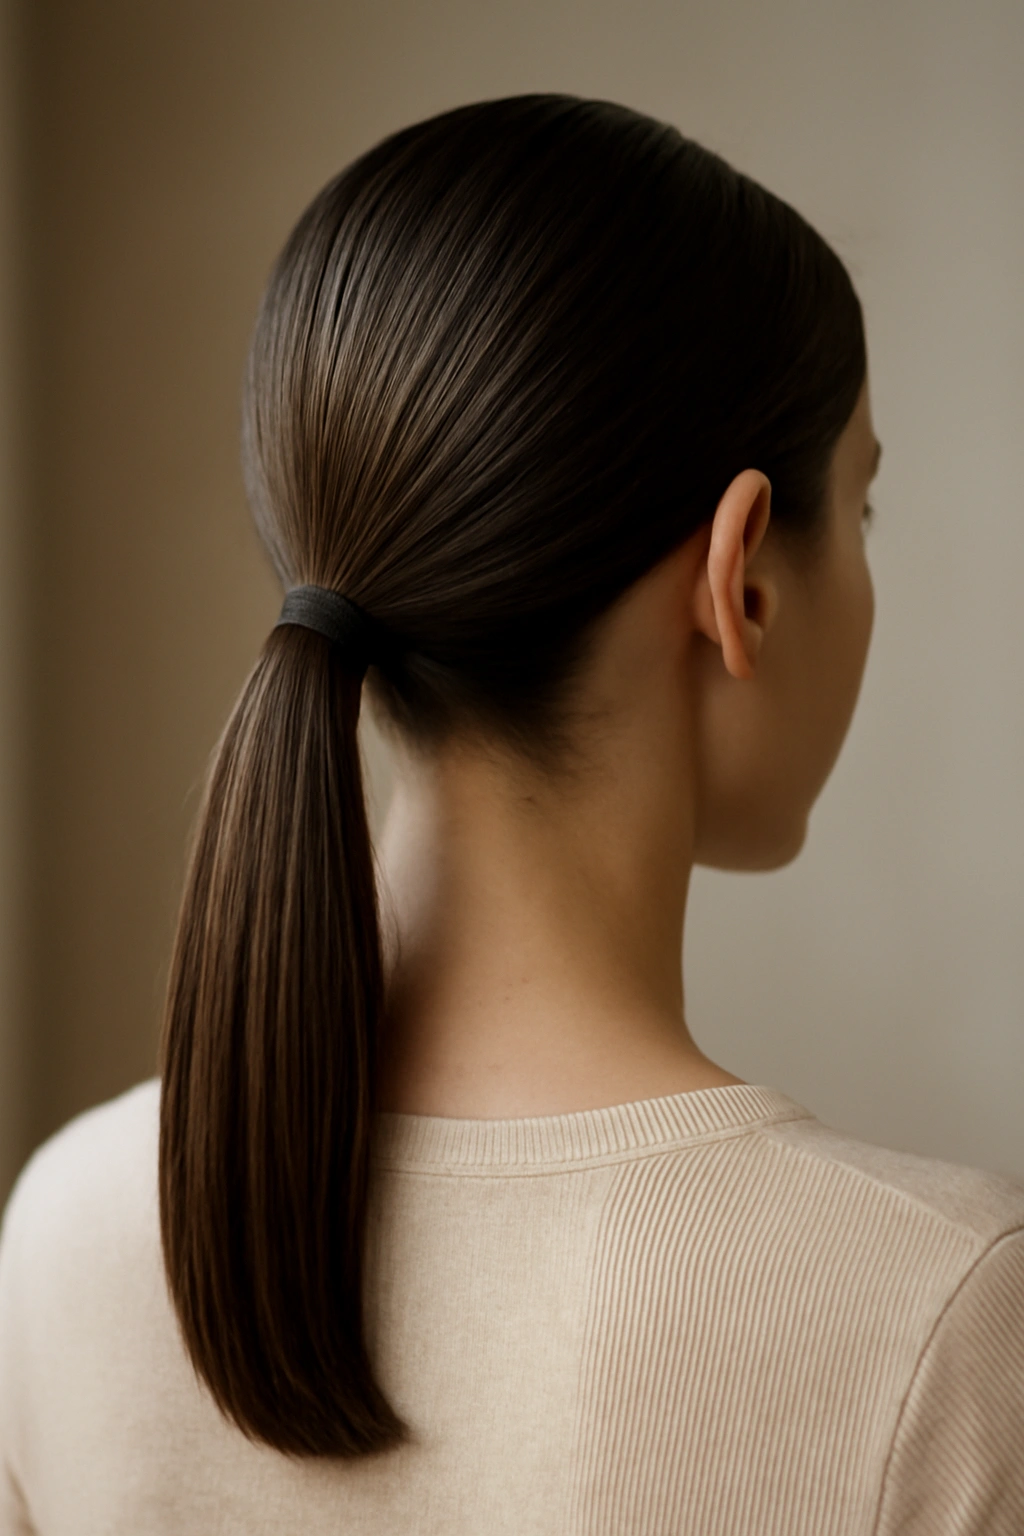
Taking shoulder-length straight hair into a low ponytail creates an elegant, intentional look that’s appropriate for everything from casual workdays to formal occasions. When your ponytail base is created from perfectly straight hair, the whole style feels more polished and controlled.
Why This Style Flatters So Many People
A low ponytail on shoulder-length hair sits right at the base of your skull or slightly lower, which means it’s both secure and flattering on virtually every face shape. The straight hair you’re pulling into the ponytail creates a clean foundation, and the ponytail itself becomes a statement. Your face gets completely framed without any hair covering it, so this works beautifully if you have good bone structure or simply want people to focus on your eyes and features. Straight hair in a low pony also reads as intentionally groomed rather than casually thrown together.
Creating a Flawless Low Pony
- Straighten all your hair first—this matters because any wave or texture will show in the finished pony
- Use a smoothing serum throughout to ensure seamless, sleek texture from root to tip
- Create your part (center, side, or deep side) while hair is still straight
- Gather hair at the low-pony position and secure with a thin elastic that matches your hair color
- Use a fine-tooth comb to smooth the base and sides, ensuring no loose pieces or bumps
- Wrap a small section of hair around the elastic base to hide it and create a more finished look
- Secure the wrapped section with bobby pins that match your hair color
This style works particularly well if your shoulders are one of your best features—the low pony and straight hair elongate your neck and draw attention downward rather than keeping everything visually clustered at your head.
5. The Straight Shag With Modern Layers
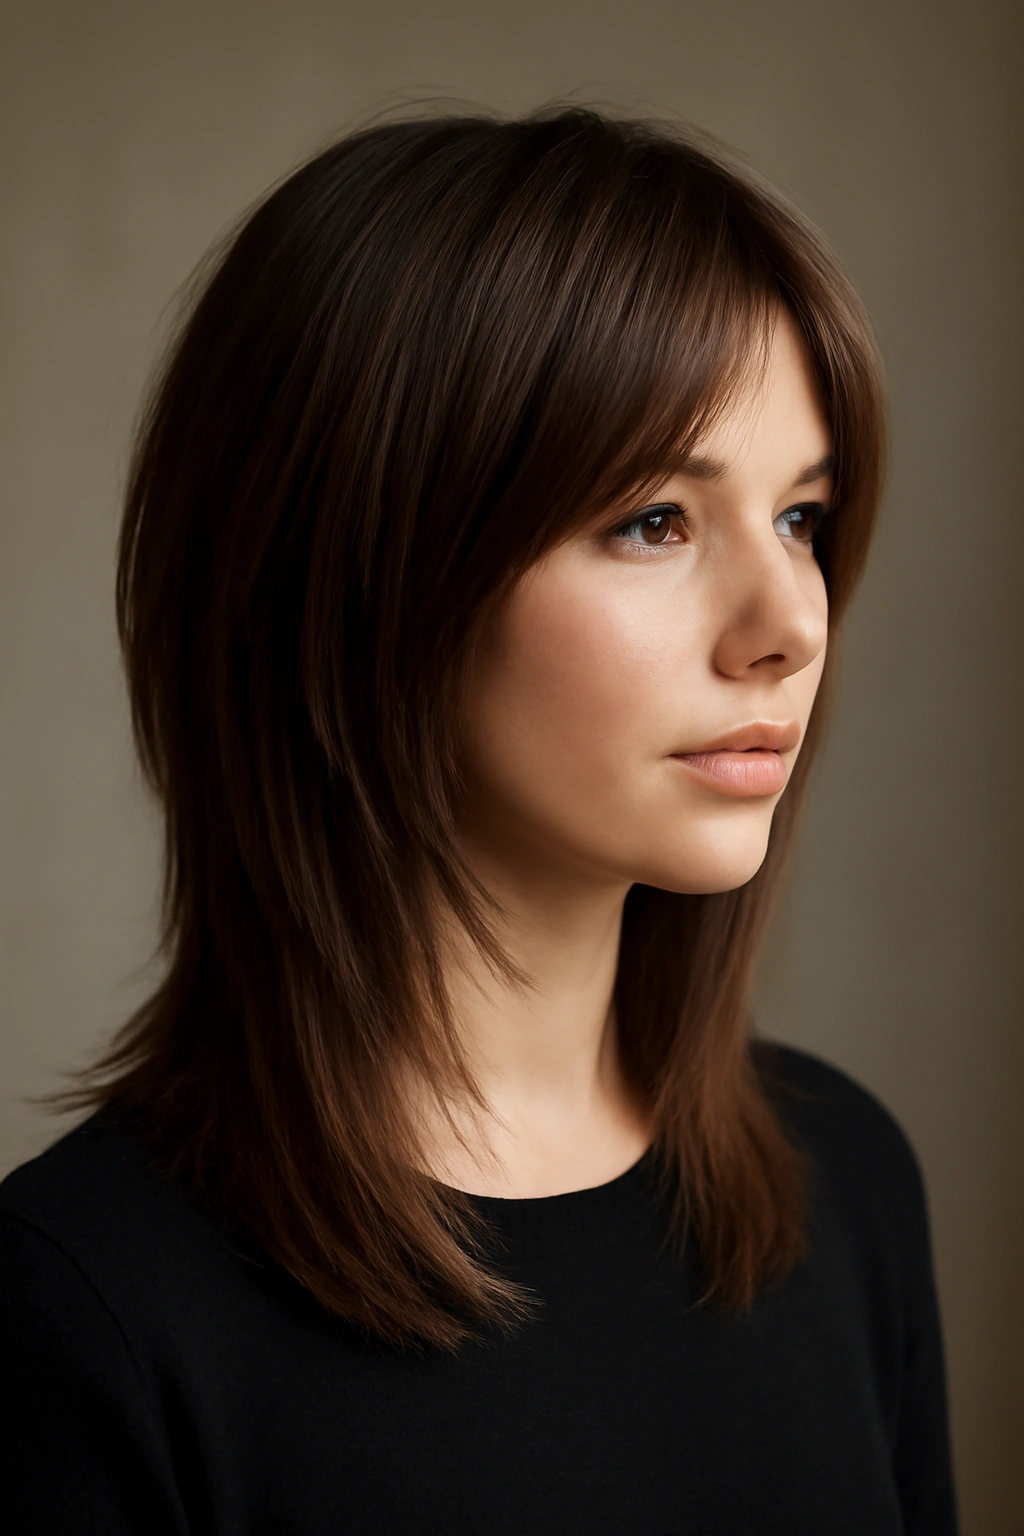
A shag cut with modern, strategic layering and straight styling creates movement without sacrificing sophistication. The layers in a contemporary shag are deliberately placed—usually shorter around the face and through the crown, longer toward the back—which creates beautiful dimension when straightened.
Why Modern Shags Are Back (and Better)
The shag has evolved from its 1970s maximalist roots into something more refined that works beautifully on shoulder-length hair. When you straighten a well-cut shag, the layers create internal movement and depth rather than frizz or chaos. The shorter pieces frame your face without being choppy, and the longer pieces in back provide length and substance. This style gives you the best of both worlds—straight hair that looks polished, but with enough internal structure that it feels contemporary and interesting rather than just flat.
Cutting and Styling for Modern Shag Impact
- Ask your stylist for longer, heavier layers rather than choppy, thin ones—modern shags are all about strategic placement, not abundance
- Layers should be shortest around the crown to create height, with gradually longer pieces toward the back
- Straighten in small sections, being intentional about how the layers fall as you work
- Use a round brush while blow-drying to lift the crown slightly, creating a subtle shape even though you’ll be straightening
- Add a texture spray or light hairspray at the ends to enhance the dimension created by the layers
Pro tip: A modern shag pairs beautifully with straight styling but also accepts slight undone texture, so if you skip straightening occasionally, the cut still looks intentional rather than neglected.
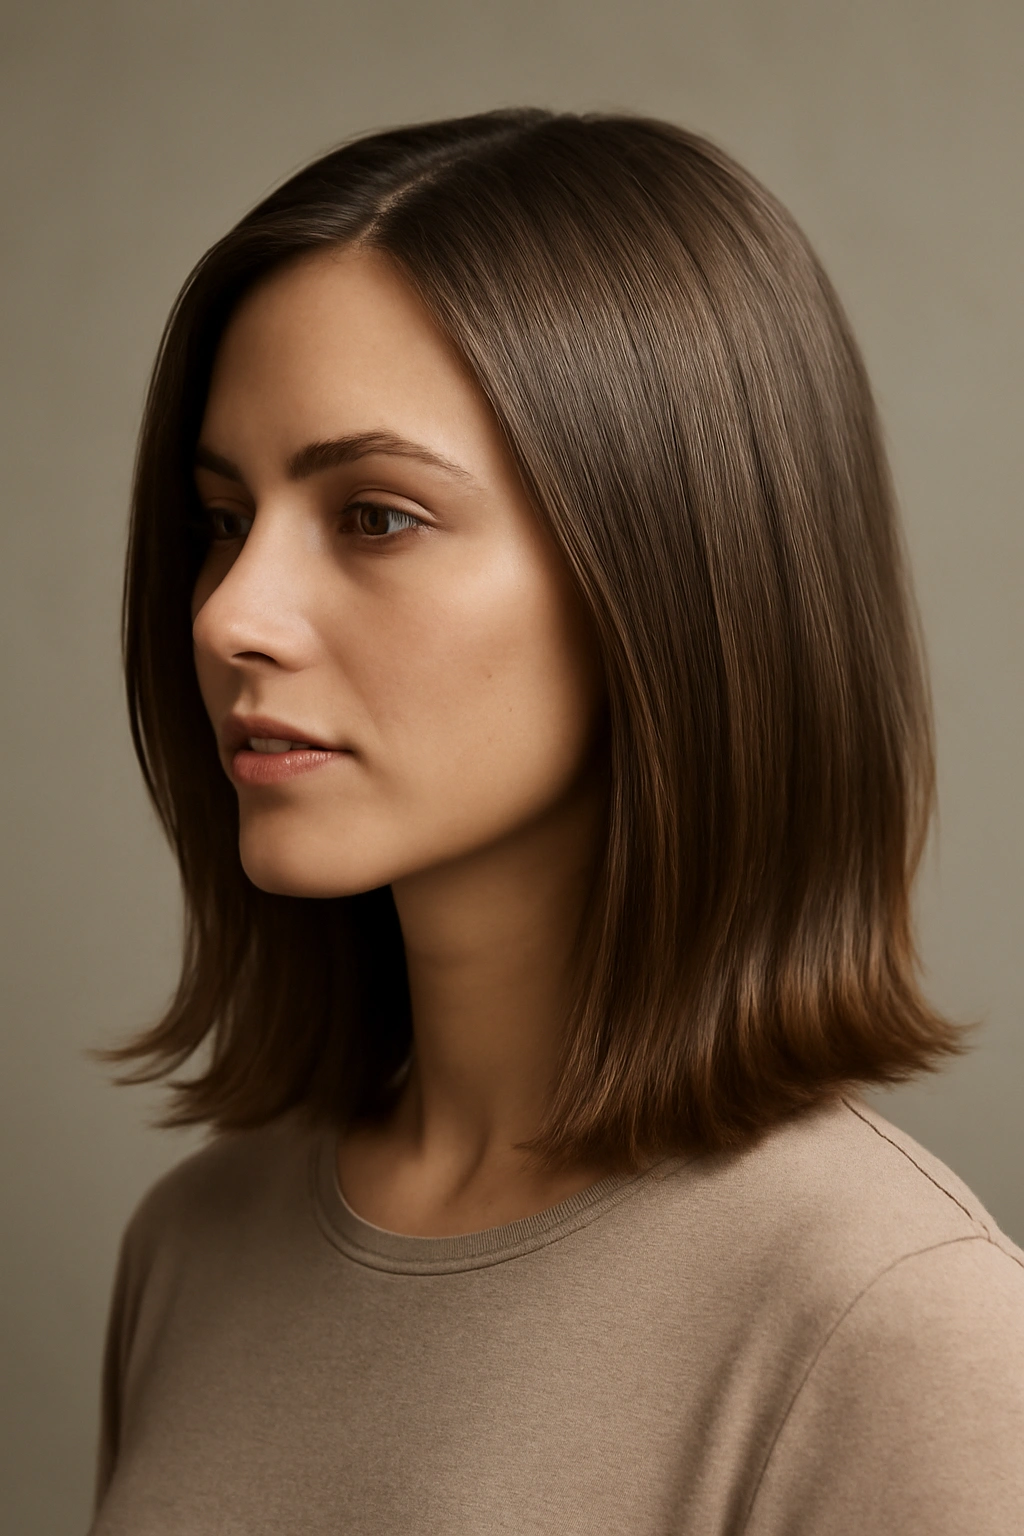
6. The Straight Style With Face-Framing Pieces
Taking two deliberate sections from the front of your shoulder-length hair and styling them slightly differently creates a face-framing effect that’s incredibly flattering. These pieces are usually kept slightly longer or styled with a subtle curl at the very ends, creating softness around the face while the rest of the hair remains straight.
The Science of Strategic Face-Framing
Face-framing pieces work because they interrupt the straight lines running past your face, creating movement and focus exactly where you want it. When you’re going for straight hair overall, these pieces prevent the style from feeling severe or aging. They also serve a practical purpose—they catch light beautifully and can actually make your hair appear thicker and more voluminous than a completely blunt style. If you have a narrower face, these pieces also create the illusion of width in flattering proportions.
Creating and Styling Face-Framing Pieces
- Straighten your main hair first, then select two sections from the outer edge of your front hairline
- These pieces should be roughly the same thickness (about ½ inch to ¾ inch each)
- Straighten them first, then use your flat iron to create a very subtle curve or wave at the very ends—just a slight bend, not a crisp curl
- Consider taking these pieces down one level lighter if you want them to read as intentional rather than accidental
- Style them so they fall forward slightly, framing the face naturally rather than tucking them back
This works beautifully on almost every face shape, but it’s particularly effective if you have a rounder face (the longer pieces create verticals that elongate) or a square face (the curved ends soften angular features).
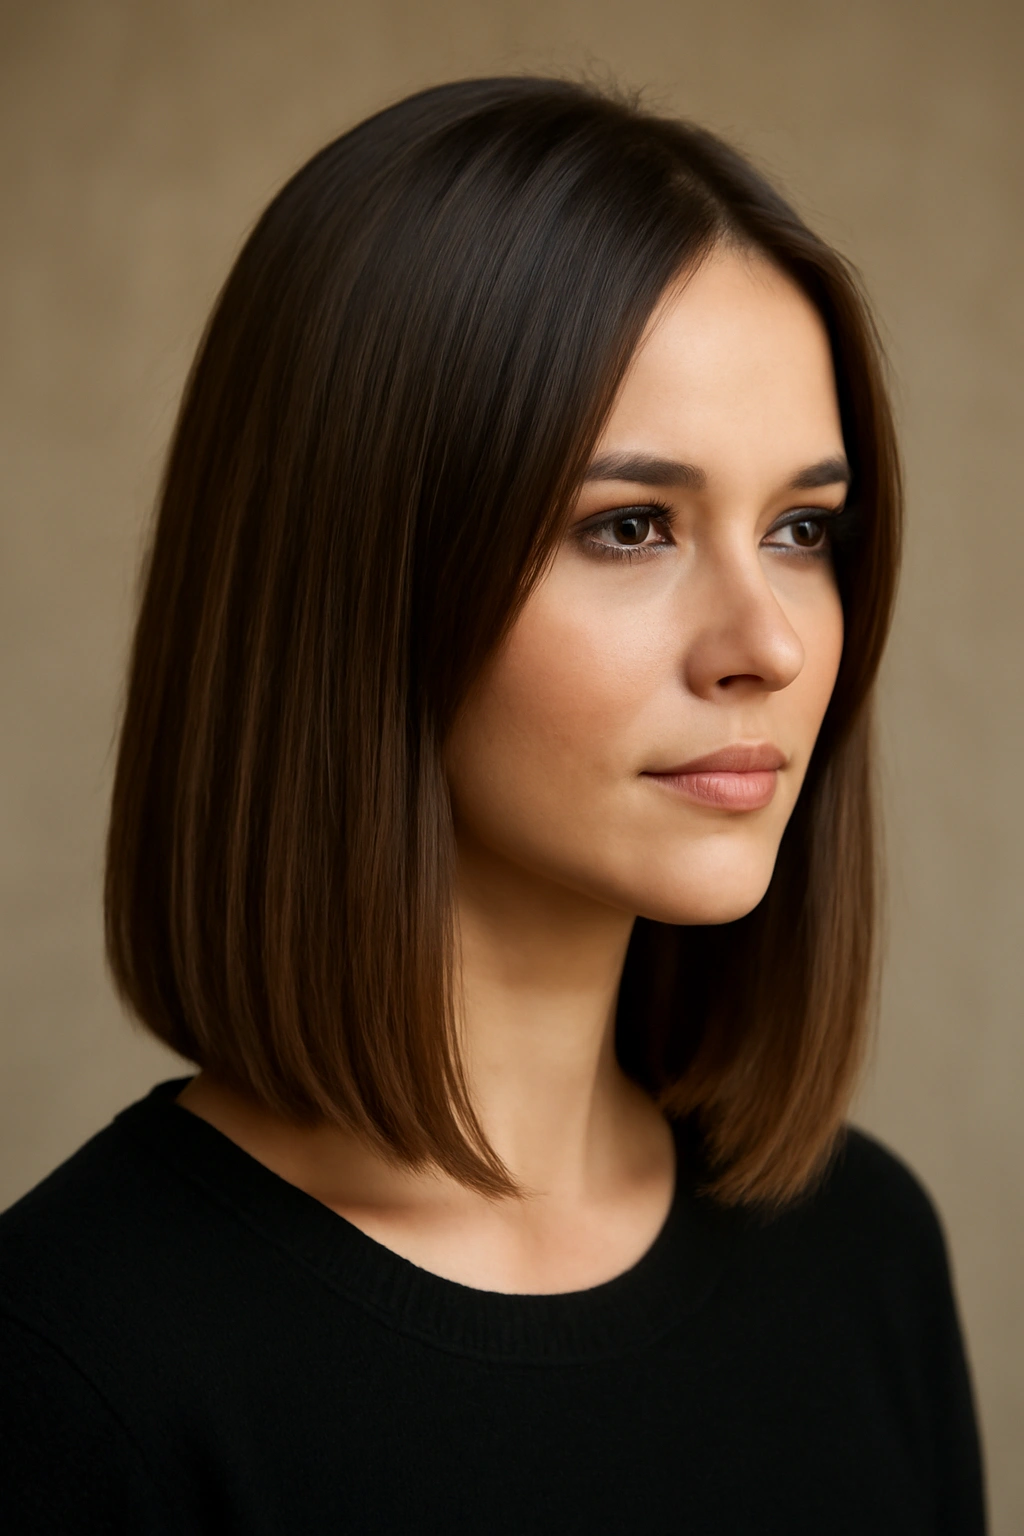
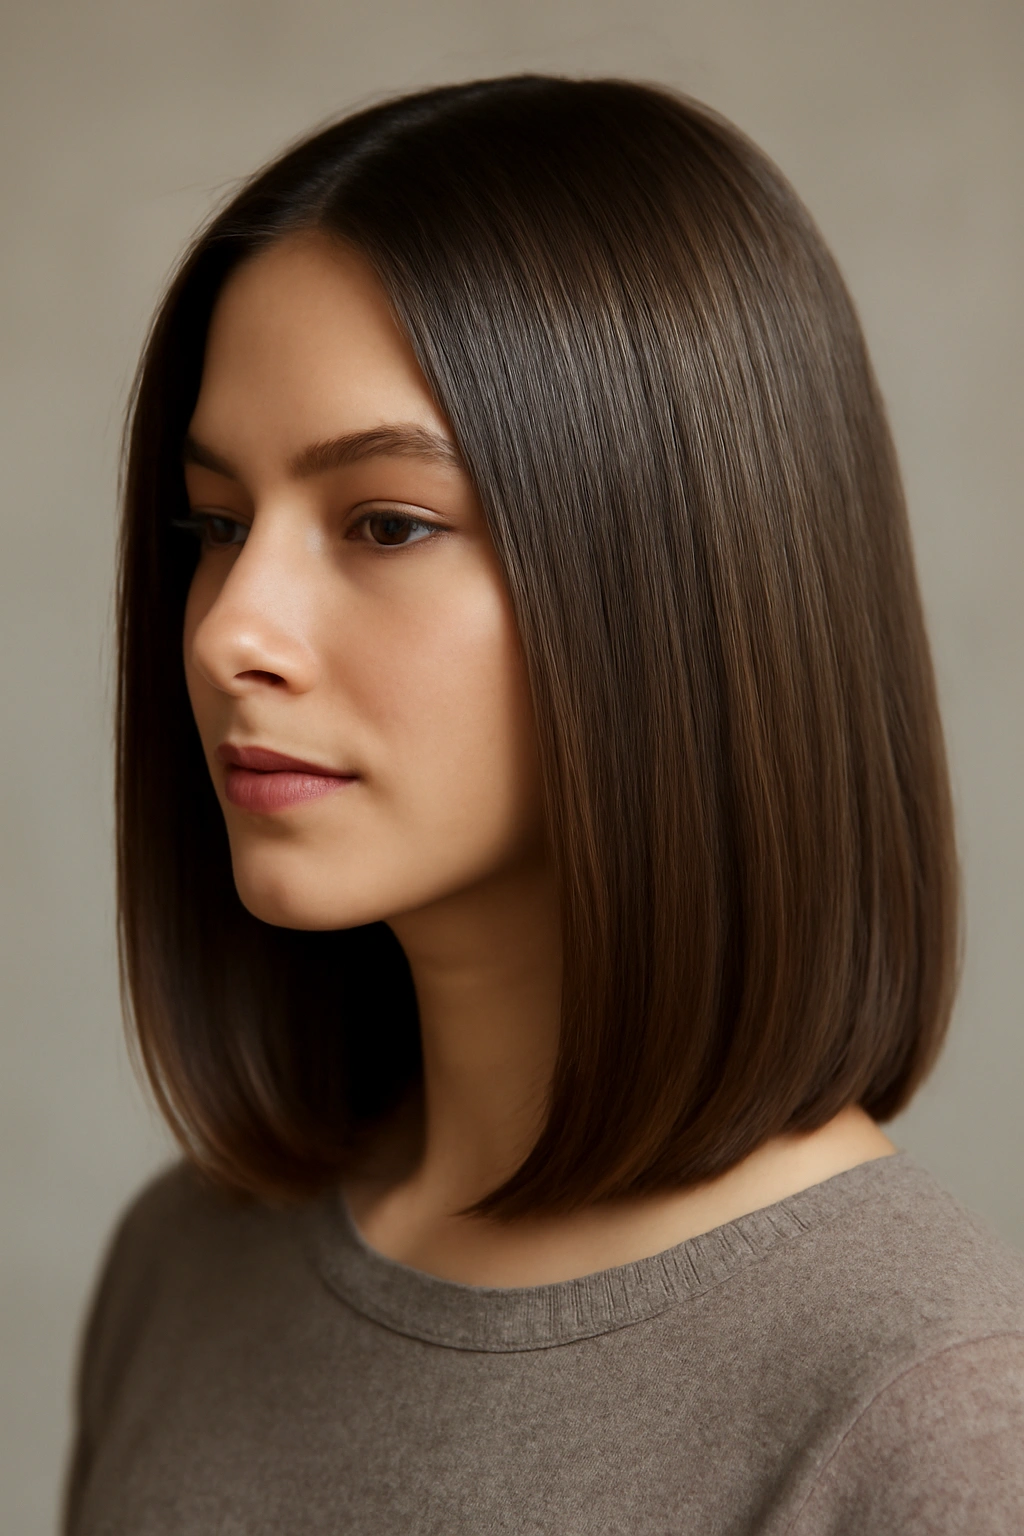
7. The Blunt Straight Bob (Shoulder-Length Length)
A perfectly blunt straight bob that hits exactly at shoulder length is a classic that never actually goes away—it just cycles back in slightly different proportions. When done well on straight hair, it’s undeniably polished and works on most face shapes.
Why Shoulder-Length Blunt Bobs Command Presence
There’s something authoritative about a blunt bob that sits right at your shoulders. It’s long enough to feel modern and forgiving, but short enough that the bluntness feels intentional rather than extreme. When you straighten a blunt bob, every detail of the cut shows—the precision of the line, the symmetry, the control. This style photographs beautifully and translates across different settings, from professional environments to casual wear. The shoulder-length proportion also means the bob isn’t trying too hard—it’s sophisticated without looking dated or overly formal.
Achieving the Perfect Blunt Shoulder Bob
- Work with a skilled stylist who understands that blunt bobs require extreme precision—there’s nowhere to hide mistakes
- The cut should be blunt all around, meaning the back and front are the same length
- Blow-dry straight before straightening to minimize heat damage and ensure you’re working with the cleanest possible foundation
- Straighten in vertical sections, working from the back toward the front so you can see how layers fall together
- Use a lightweight serum to add shine and emphasize the blunt line without weighing hair down
The blunt shoulder-length bob is particularly flattering on people with oval or heart-shaped faces, but honestly, when it’s cut well and styled well, it works on nearly everyone.
8. The Straight Hair With Subtle Balayage
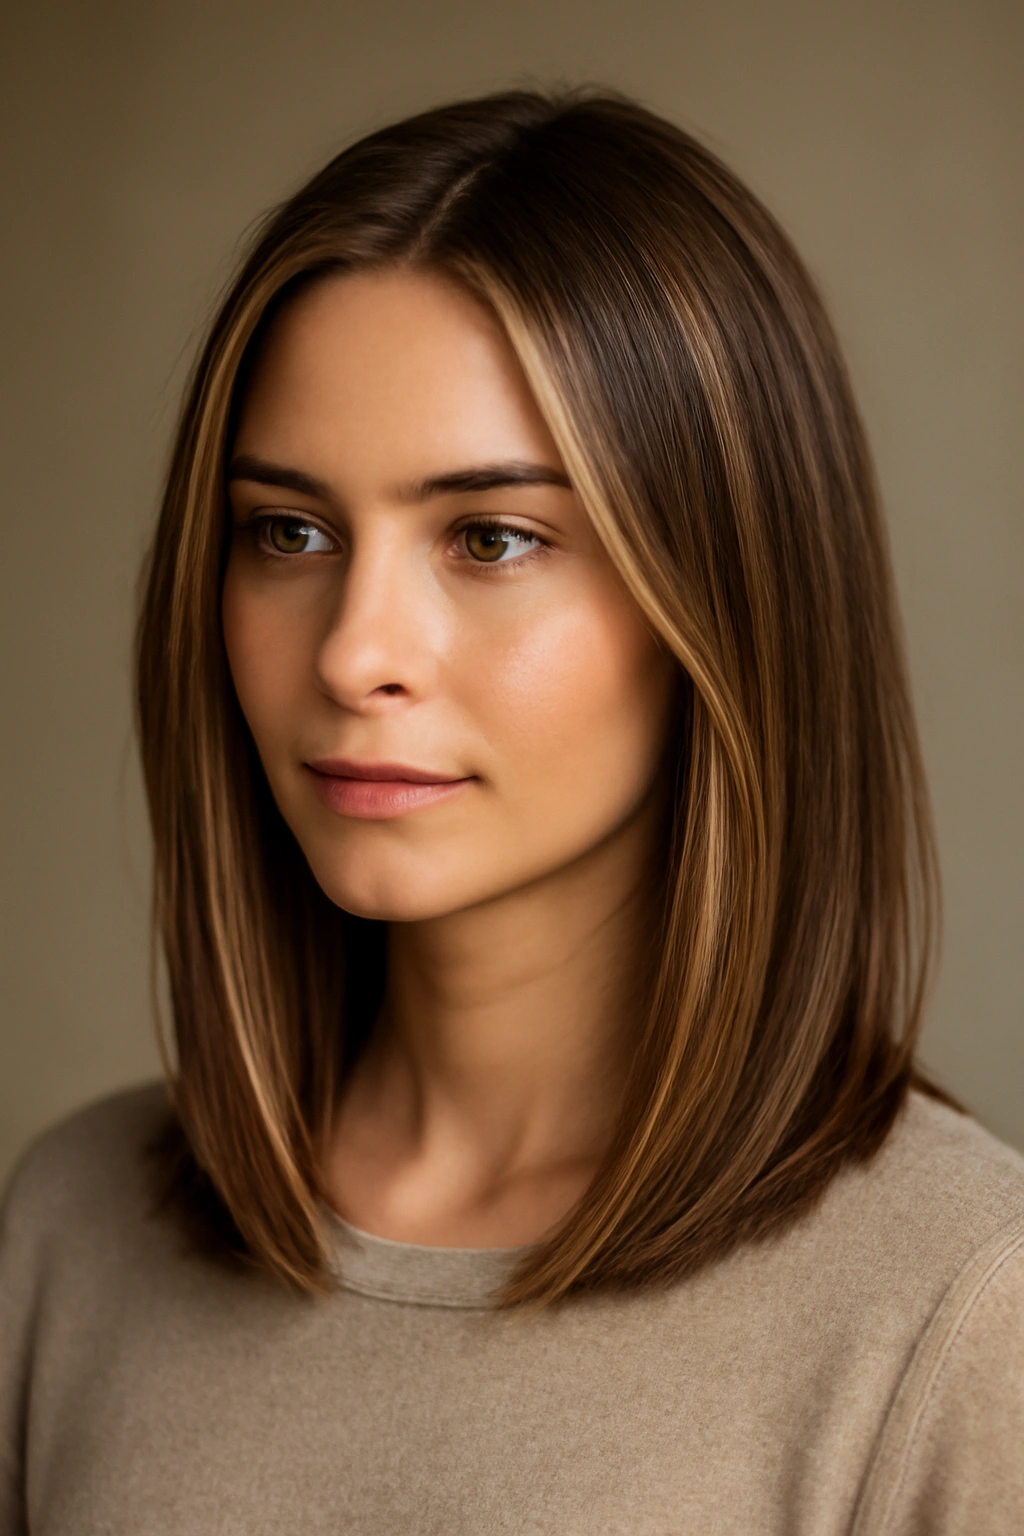
Taking advantage of shoulder-length straight hair as a canvas for subtle balayage creates dimension that makes the straight style feel richer and more interesting. The lighter pieces catch light beautifully against the straight texture, creating an illusion of movement and volume.
How Color Creates Dimension in Straight Styles
Straight hair has a tendency to show every detail—including a flat, one-dimensional color. Strategic balayage (hand-painted highlights) adds depth that reads as sophistication rather than maximum impact. When you’re straightening your hair, lighter pieces around the face or through the crown catch light and create the illusion of movement without you actually needing waves or layers. The key is keeping the balayage subtle enough that it enhances the straight style rather than competing with it. Warmer tones tend to look more intentional and modern than brassy or orange-toned highlights.
Styling Straight Hair to Showcase Balayage
- Apply balayage focusing on pieces that catch light—around the face, through the crown, and along the back layers
- Keep the overall color shift subtle; aim for 1-3 shades lighter than your base rather than dramatic contrast
- Straighten using a technique that ensures the balayage shows fully rather than getting flattened into your base color
- Use a glossing serum after straightening to enhance shine and make the color dimension more visible
- Consider a glossing treatment every 4-6 weeks to keep the balayage looking fresh and intentional
Worth knowing: Balayage looks most sophisticated on shoulder-length straight hair when it’s placed strategically rather than throughout. Less is more—your stylist should be painting with intention, not creating highlights everywhere.
9. The Straight Style With Textured Ends
This style straightens the majority of your hair but introduces subtle texture, waves, or deliberate bends at the very ends, creating a style that’s polished at the root but playful at the finish. It’s the perfect compromise between sleek and undone.
Why Textured Ends Add Sophistication
Textured ends on an otherwise straight shoulder-length cut prevent the style from looking too severe or requiring perfect maintenance. The texture sits where it’s most visible (at the end of your hair, at your shoulders) and creates movement that catches light beautifully. This approach also works brilliantly if you don’t want to commit to a completely textured style but want relief from total straightness. The texture at the ends is often where damage shows first anyway, so styling your ends with intentional texture can actually draw attention away from any dryness or unevenness.
Creating Textured Ends on Straight Hair
- Straighten your hair fully from roots through mid-shaft
- Once you’ve straightened about three-quarters of the way down each section, rotate your flat iron to create subtle curves rather than continuing straight
- You want the texture to be visible but not extreme—think gentle waves or soft bends, not full crimps
- Use a curling iron or wand on the very ends if you prefer more intentional texture (curl them away from your face for a softer effect)
- Apply texture spray or light hairspray to encourage the texture to hold through the day
This is particularly flattering if you have a longer face (the texture at the shoulders creates visual width) or if you prefer softer, less geometric styles overall.
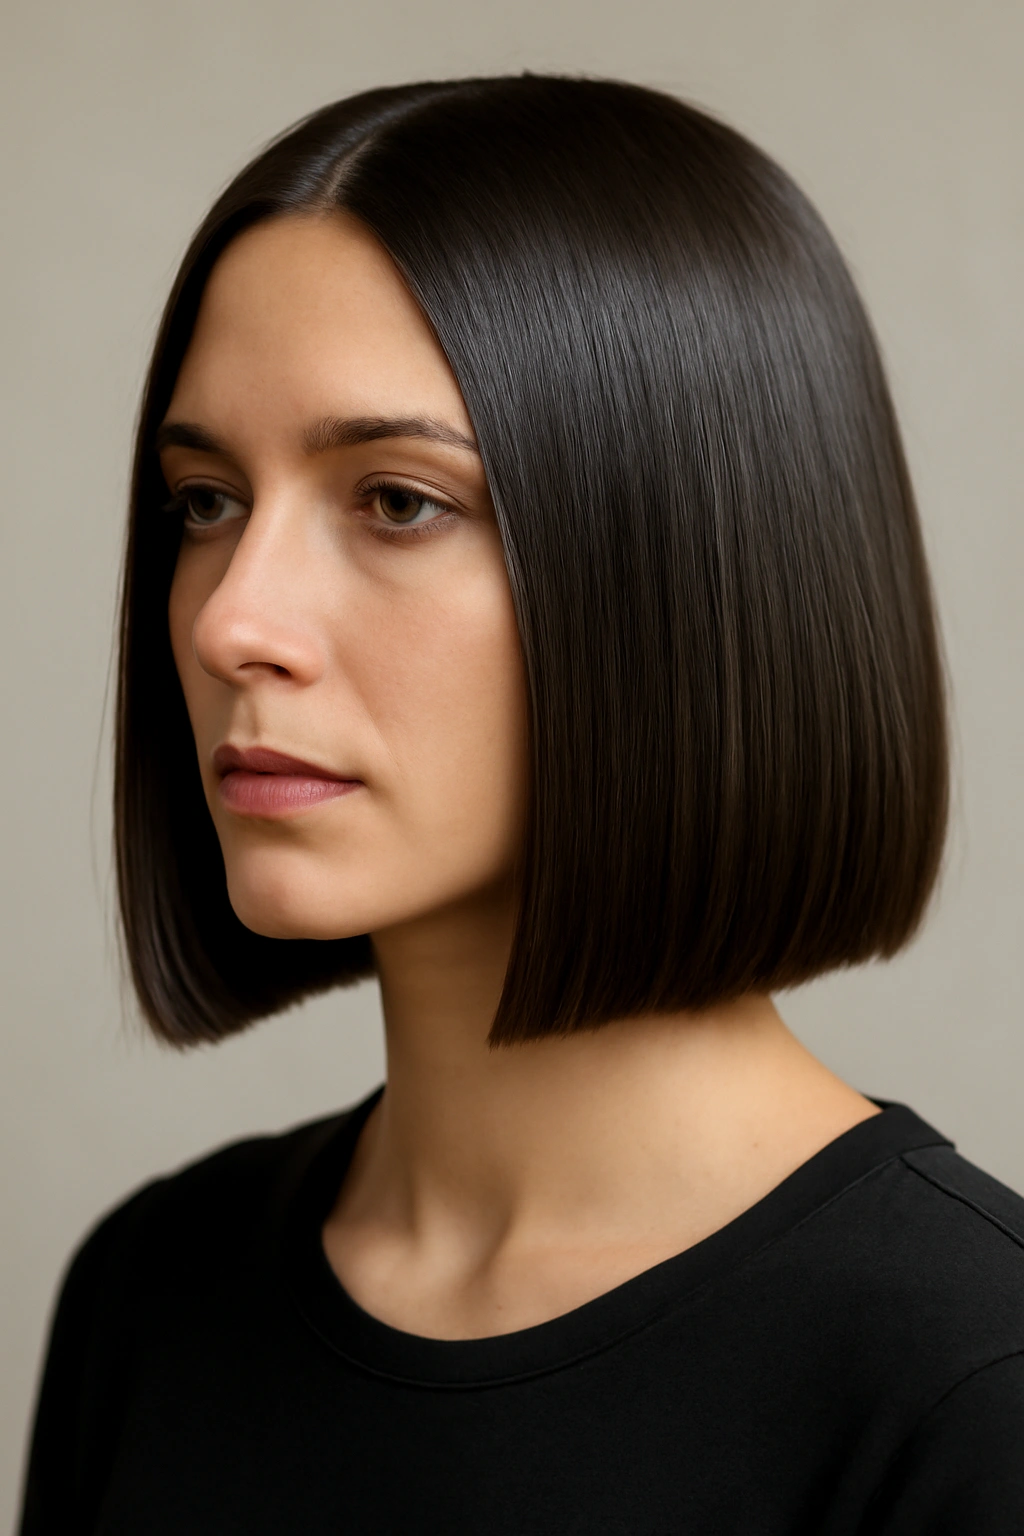
10. The Super Shiny Straight Style
Taking your shoulder-length straight hair and elevating it with maximum shine and polish creates a style that looks expensive, healthy, and intentional. This isn’t just about straightness—it’s about creating the glossiest possible finish.
The Role of Shine in Premium Straight Styles
Shine is everything when you’re working with straight hair. A dull straight style looks flat and thin; a shiny straight style looks healthy, substantial, and high-quality. When you straighten shoulder-length hair, you want every angle of that cut to reflect light beautifully. The shine also signals health and good maintenance, which contributes to the overall polished impression. This works because shine creates dimension—light bouncing off your hair creates visual depth that solid, matte color doesn’t. You can have the exact same cut and length, but shine transforms how substantial and well-maintained it appears.
Maximizing Shine in Straight Styles
- Use a moisturizing shampoo and conditioner designed for straight hair—sulfate-free formulas are kinder to the cuticle and preserve shine
- Apply a shine serum to damp hair before straightening; this creates a base layer of shine that heat protects while enhancing
- Straighten using a high-quality flat iron with smooth ceramic or tourmaline plates (rough plates create dull finishes)
- Finish with a lightweight shine spray applied to the mid-lengths and ends
- Consider a monthly glossing treatment at a salon to maintain shine and color (glossing is a clear or tinted treatment that smooths the cuticle and creates maximum light reflection)
Pro tip: Shine looks most dramatic on darker hair colors and in indoor lighting. If you’re going for maximum shine, you’re essentially making a statement that you prioritize maintenance and shine.
11. The Asymmetrical Straight Cut

An asymmetrical cut—where one side is longer than the other—adds contemporary edge to shoulder-length straight hair. When straightened, the asymmetry becomes the defining feature, creating visual interest without requiring layers or texture.
Why Asymmetry Reads Modern
Asymmetrical cuts feel current and intentional in a way that balanced styles sometimes don’t. The difference in length on each side creates movement and visual surprise that perfectly straight, symmetrical hair can lack. When your straight hair is asymmetrical, it draws the eye and communicates that you’re fashion-forward rather than just going for a classic style. This works on most face shapes, but it’s particularly flattering on people who want to elongate one side of their face or create the illusion of width on a narrower face.
Styling an Asymmetrical Straight Cut
- Ask your stylist for a one-sided part that follows the natural direction of your asymmetry
- Straighten both sides using the same technique, but let the asymmetry create the visual interest rather than trying to add texture or movement
- The longer side can sit closer to your shoulder, while the shorter side can sit higher; let gravity work for you
- Use a side part that emphasizes the asymmetry—the hair on the longer side should fall forward naturally
- Consider color asymmetry too; keeping the longer side slightly lighter can enhance the intentional, contemporary feel
This style works particularly well on people with strong features who aren’t concerned about looking classic or traditional. It reads as an active styling choice rather than an accident.
12. The Straight Style With Hidden Layers
This cut uses layers strategically—usually lighter and less visible than traditional layered cuts—to create movement and dimension that become apparent as your hair moves, but maintains the clean lines of a straighter cut when your hair is still.
The Subtlety of Strategic Internal Layers
Hidden layers are the secret weapon of straight hairstyles. They provide structure and movement potential without interrupting the clean line of your cut. When you straighten hair with hidden layers, the movement happens around your shoulders and as you walk, creating a more dynamic style than a completely blunt cut without sacrificing that sleek, polished finish. These layers also reduce bulk significantly, which means your hair has more movement and flow even when completely straight. For people who want straight styles but don’t want them to feel too heavy or severe, hidden layers are the answer.
Using Hidden Layers for Movement and Dimension
- Ask your stylist for layers that are subtle and gradual rather than choppy or obvious
- Layers should work to remove bulk rather than create choppy texture—you’re going for hidden movement, not visible choppiness
- Straighten your hair in the normal way, and watch how the layers create natural movement around your shoulders
- These layers often mean you need less product to keep your straight style in place—the layers naturally create some movement
- As your hair moves and you move, the layered sections create visual interest that blunt-cut straight hair doesn’t have
Worth knowing: Hidden layers are particularly effective if you have thick hair and want a straight style that doesn’t feel too heavy, or if you have fine hair and want some structural texture without looking wispy.
Final Thoughts
Straight shoulder-length hair isn’t about choosing between polish and personality—it’s about understanding which approach matches your style, your face shape, and your lifestyle, then executing it well. Whether you’re drawn to the sharp precision of a completely blunt cut, the softness of face-framing pieces, or the contemporary edge of an asymmetrical style, shoulder-length hair gives you enough length to show off the details of your cut while keeping everything manageable and wearable.
The most important factors for any of these styles are the quality of your cut (a mediocre cut doesn’t improve when you straighten it; it just becomes visible) and your heat-styling technique. Investing in a good flat iron, using proper heat protectant, and taking time to straighten in small sections makes the difference between a style that looks done and one that looks undone. Your shoulder-length straight hair is a canvas—the cut is the frame, and your straightening technique is what brings the whole picture together.