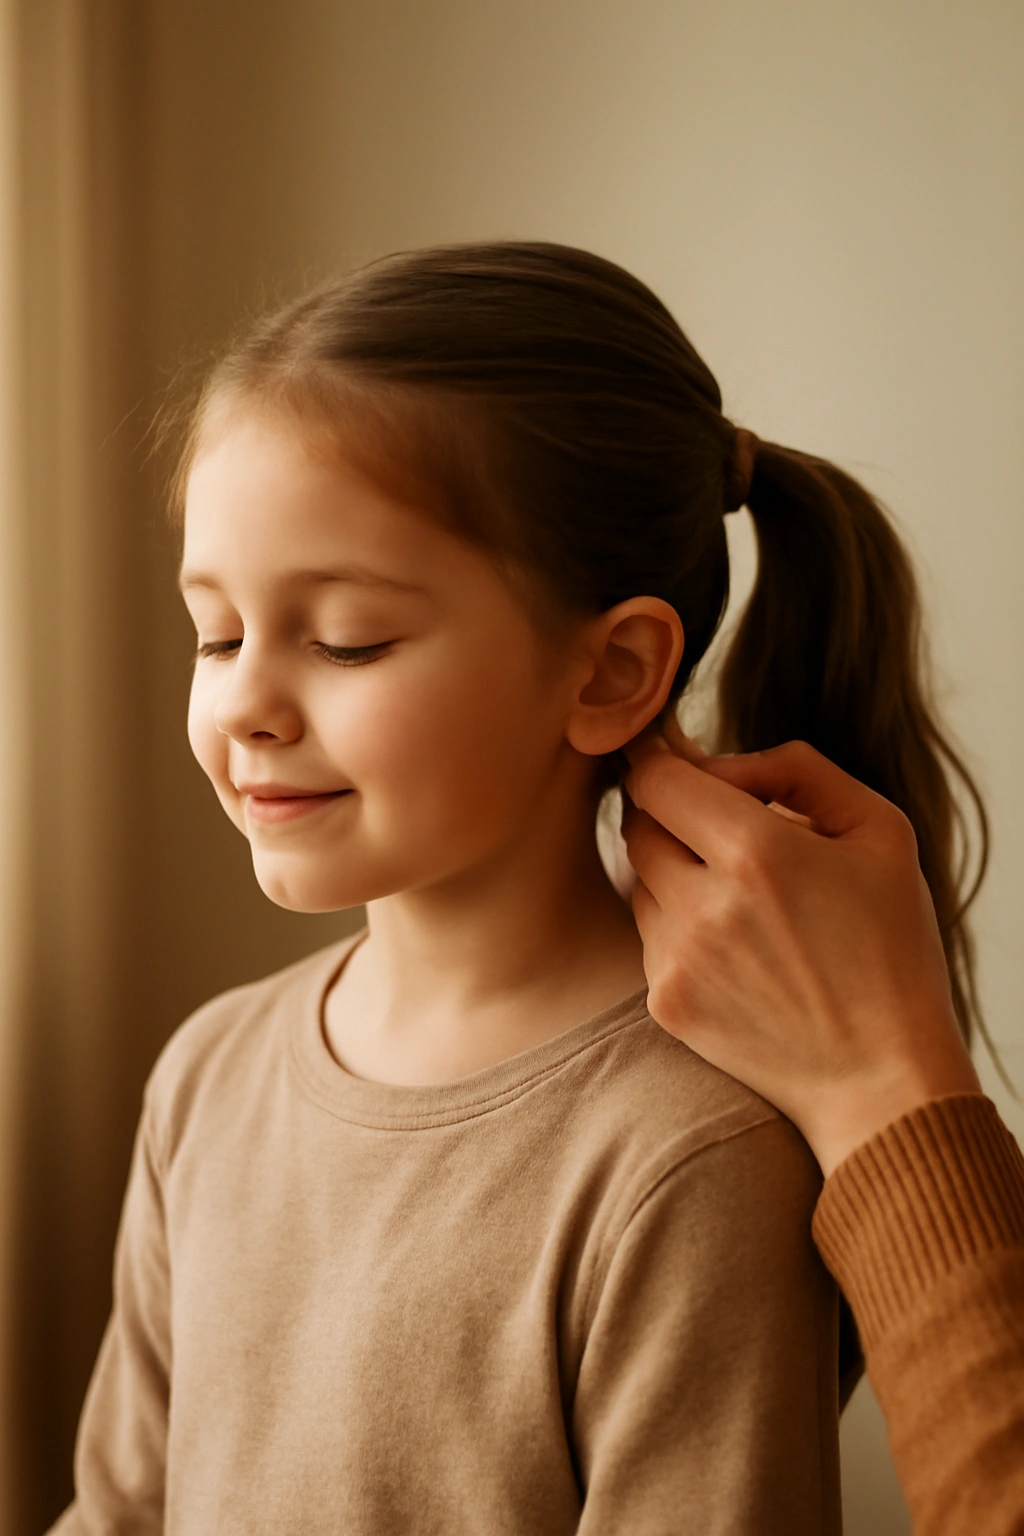
If you’ve ever wrestled with your child’s hair in the morning, you already know the truth: the best hairstyle is one that actually stays in place while they run, play, climb, and basically live their life. Ponytails are the ultimate solution—they’re quick to create, they keep hair out of the face and away from sticky snacks, and they’re sturdy enough to survive recess without falling apart. But not all ponytails are created equal, especially when kids are involved. A tight, uncomfortable style that hurts by lunchtime is going to get yanked out. A loose, floppy ponytail that keeps sliding down is just frustrating for everyone.
The styles that actually work for kids are the ones designed with movement in mind. They need to hold up during active play, look neat enough for school or family events, and actually feel comfortable to wear. The good news? You don’t need special skills or fancy tools to create hairstyles that check all these boxes. Most of these styles take under five minutes once you get the hang of them, and you probably already have everything you need—a hair tie, maybe a brush, and that’s honestly it.
What makes these eight hairstyles different from Pinterest-perfect ponytails is that they’re built for real life. They’re the ones parents actually use because they work. They’re the ones kids will tolerate because they don’t pull too tight. And they’re the ones that still look presentable after a full day of being a kid.
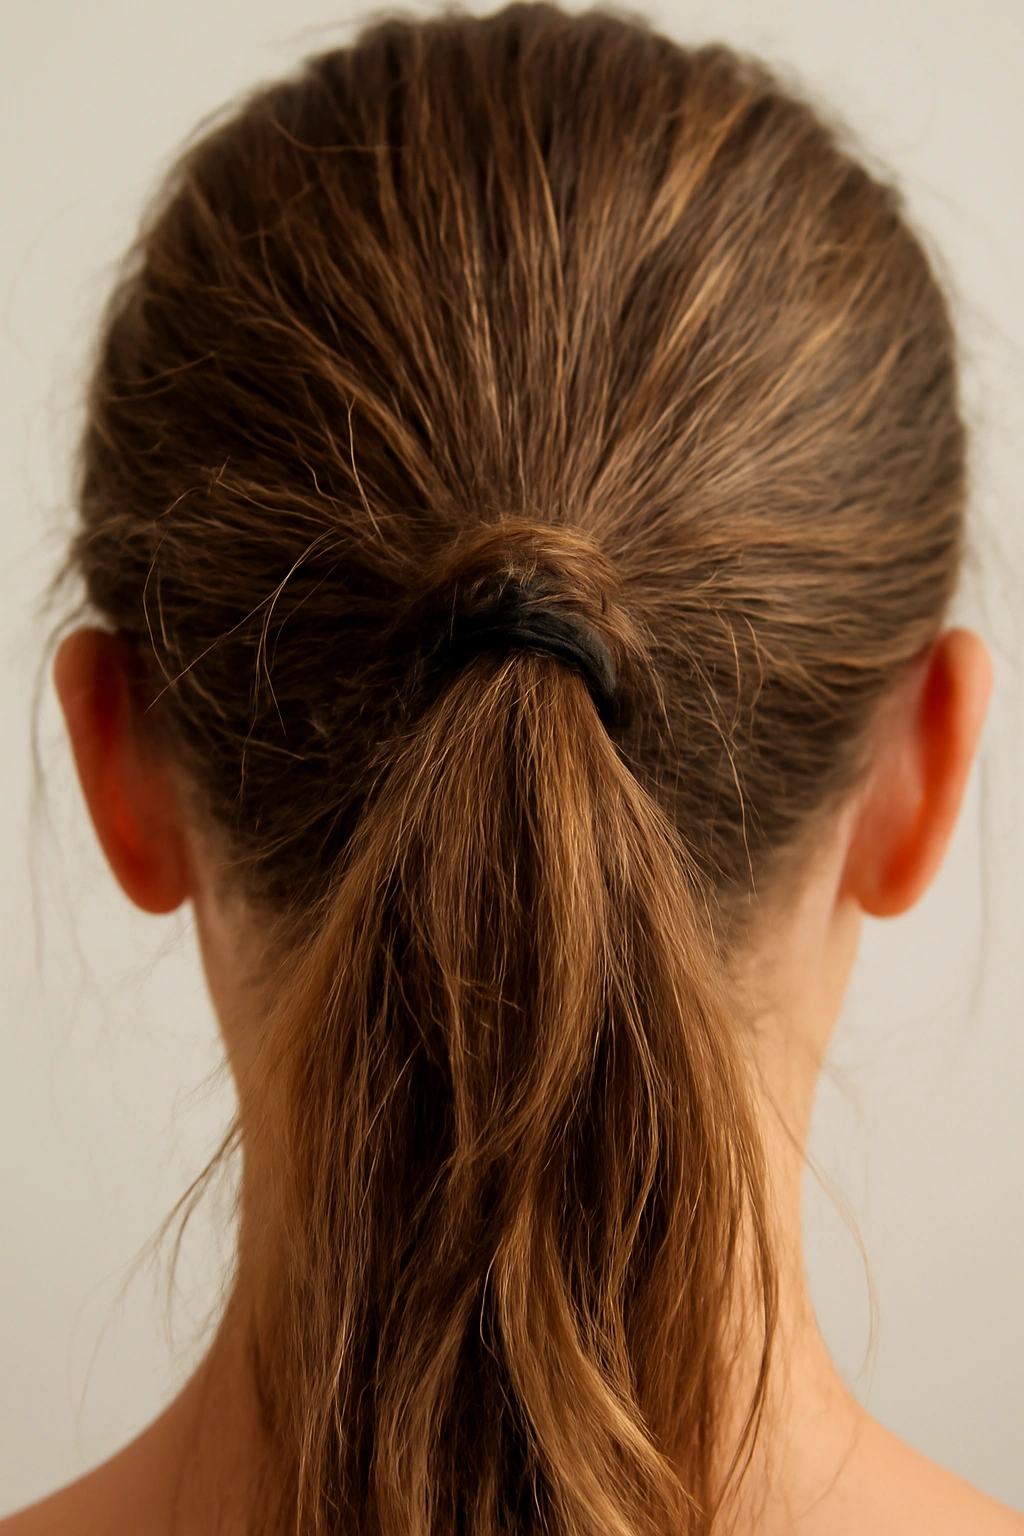
1. Classic High Ponytail
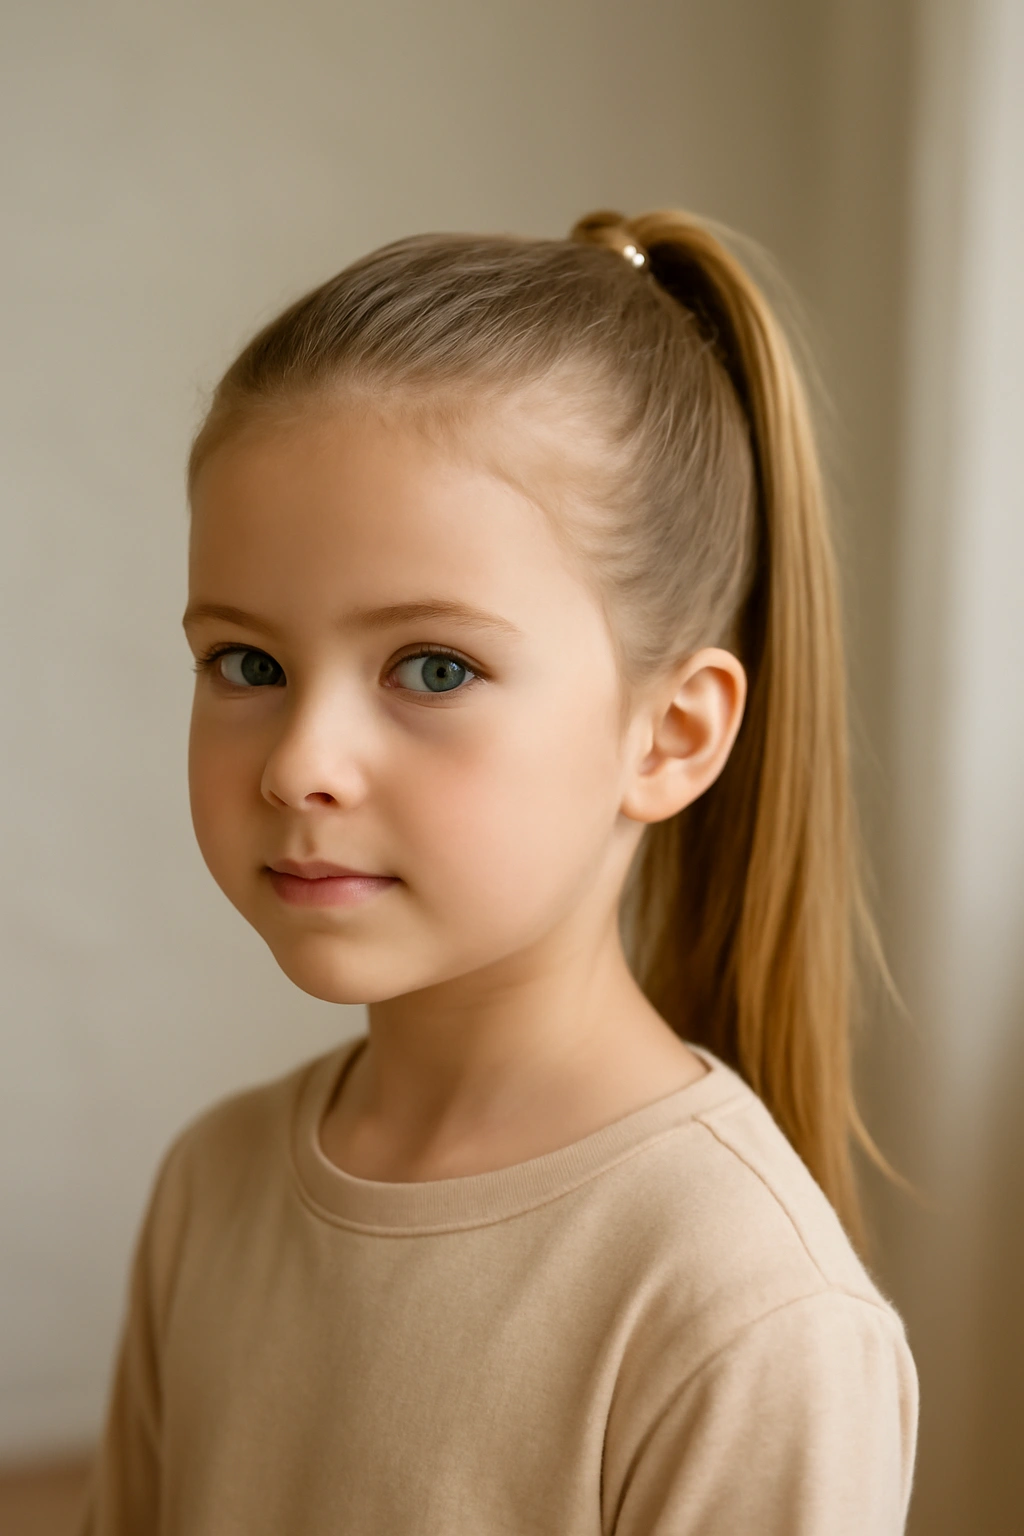
The high ponytail is the workhorse of kids’ hairstyles—simple, reliable, and practically foolproof. This style sits at the crown of the head, which automatically makes it look polished and keeps every strand pulled back and away from the face. It’s the hairstyle you see on kids at school, at soccer practice, and at birthday parties because it genuinely works in almost every situation.
Why Kids Actually Wear This
The beauty of a high ponytail is that it requires almost zero maintenance once it’s in. There’s no loosening gradually throughout the day, no flyaways creeping back into the face, and no reason for your child to fidget with it constantly. It’s secure enough that kids forget they’re even wearing it, which is exactly what you want. Plus, a high ponytail doesn’t tug on the hairline the way some styles do—it actually distributes tension pretty evenly across the scalp when done properly.
How to Create It
Start by brushing the hair straight to remove tangles completely. Have your child tilt their head back slightly or look up—this helps you see exactly where the crown of their head is. Using your fingers or a fine-tooth comb, gather all the hair at the very top of the head, around where you’d imagine a crown would sit. The key here is making sure you’ve got all the hair—stragglers at the nape of the neck will undermine the whole style. Secure tightly with a hair tie, and smooth down any flyaways with a little water or a spritz of leave-in conditioner.
Pro Tips for Making It Last
The tighter you can make it without causing discomfort, the longer it’ll stay secure. But “tight” doesn’t mean painful—if your child is wincing or complaining about a headache, it’s too tight. If you notice hair has started to escape by afternoon, that ponytail was likely started a touch too loose. A second, smaller hair tie looped around the base just above the first one creates extra security and actually looks intentional rather than like it’s slipping. Smoothing the ponytail with a fine-tooth comb before securing it, rather than just using your fingers, creates a neater appearance that holds better.
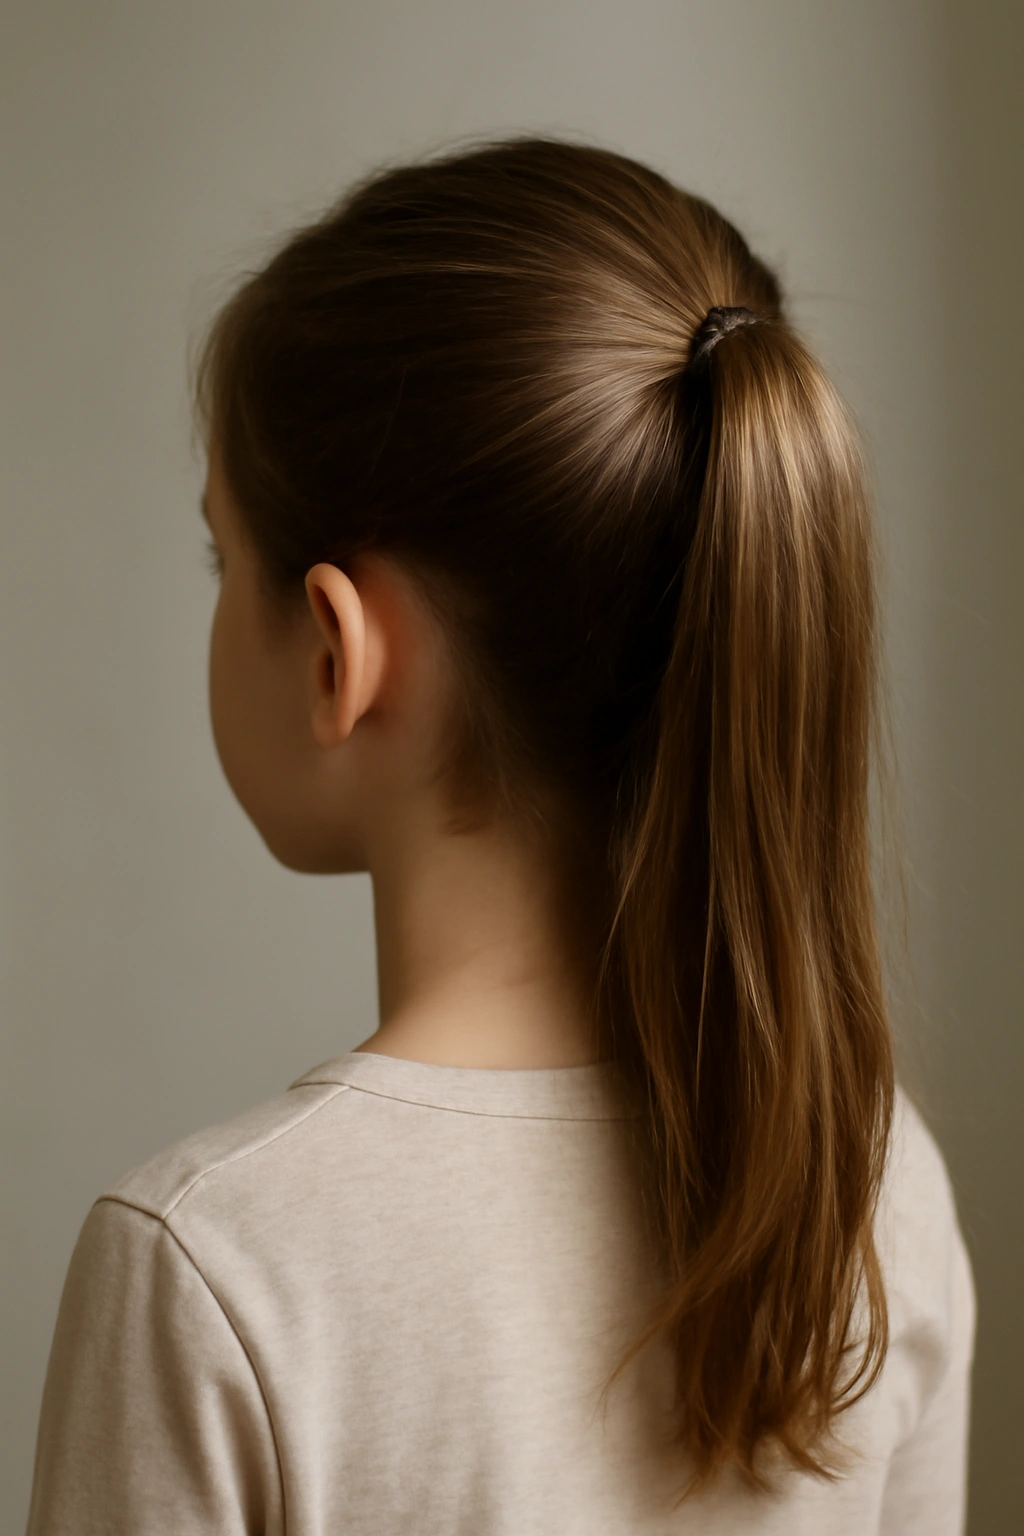
2. Low Side Ponytail
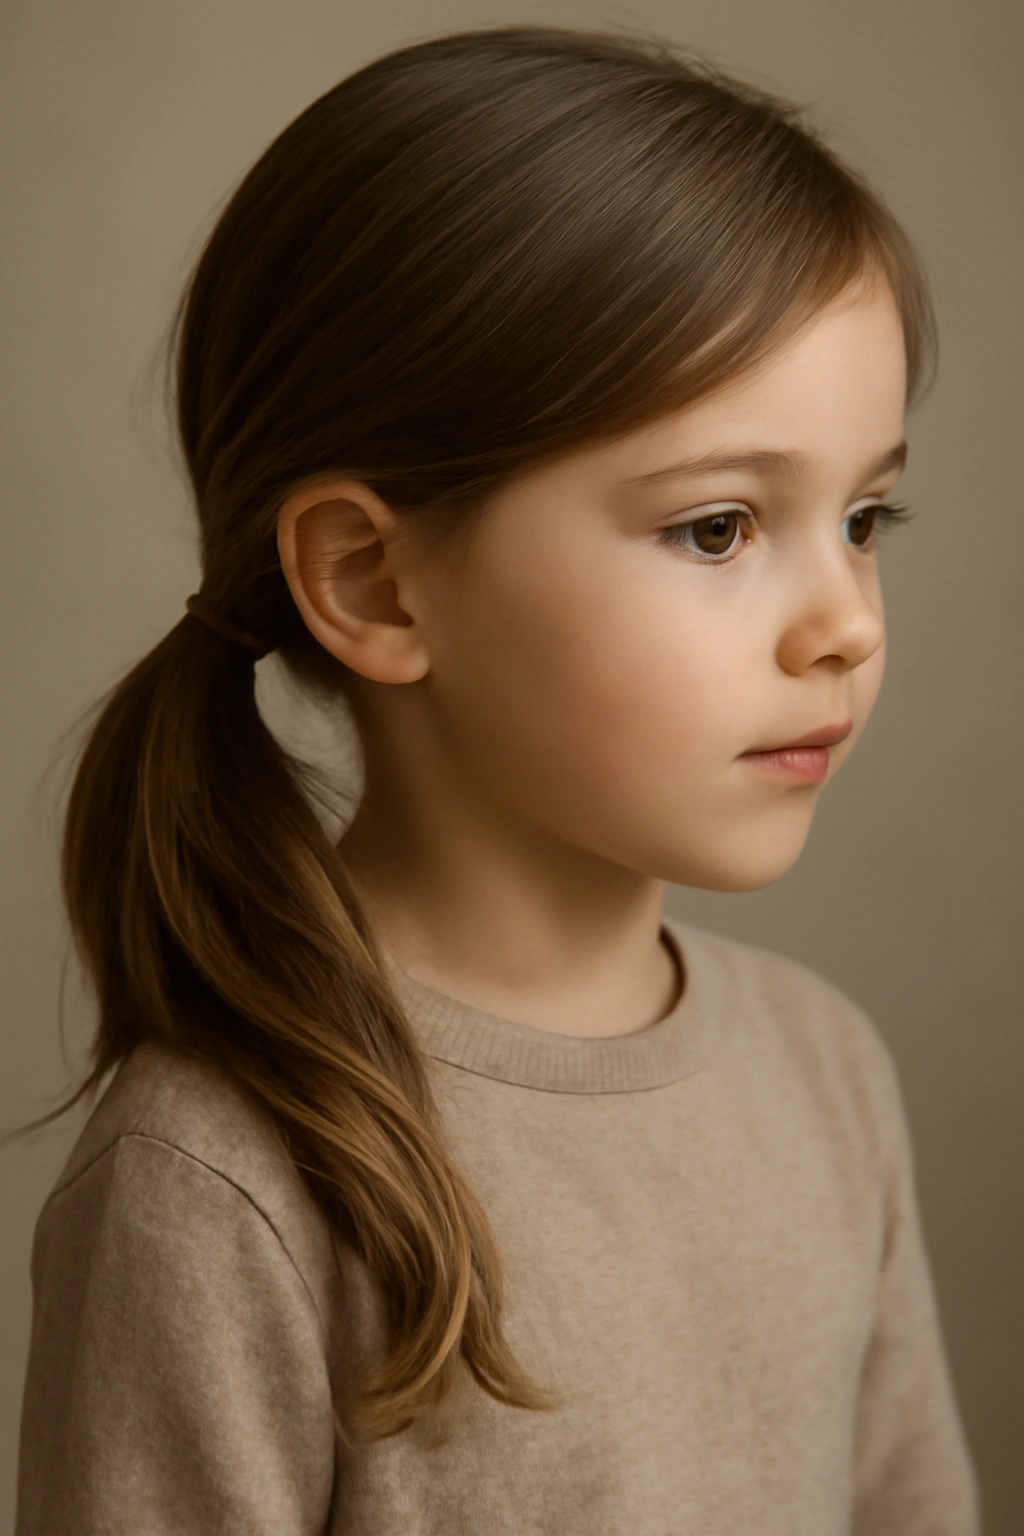
A low side ponytail is the dressier cousin of the high ponytail—it’s got more personality, it feels a bit fancier, and it looks amazing in photos. The hair gathers at the side of the head, below ear level, which creates a completely different silhouette and works beautifully for special occasions or just when you want a step up from the everyday look.
Why This Style Works for Kids
Side ponytails feel less severe than center ponytails, so they’re easier on kids who get headaches from tight hairstyles. The lower placement also means there’s less tension on the hairline and the scalp overall. Visually, a side ponytail has a softer, more intentional look that works for everything from dress-up events to normal school days—it bridges casual and polished in a way that feels effortless.
How to Create It
Part the hair deeply to one side, pulling the deeper side back while leaving the shallower side to fall forward slightly across the face. Gather the hair on the deeper side and bring it around to the side of the head, positioning the ponytail where your child’s ear is or just slightly below. Secure it with a hair tie. The result should look like the ponytail is falling over one shoulder rather than sitting at the back of the head. A few face-framing pieces falling loose around the face actually look intentional here and create a softer overall look.
Pro Tips for Making It Last
The lower the ponytail sits, the more likely it is to slip throughout the day. If you’re creating this style for all-day wear rather than a special event, position it at mid-ear height rather than shoulder level. A small amount of texturizing spray or dry shampoo applied to the scalp and the gathered section before securing the hair tie gives better grip and makes the style hold more securely. If your child has fine or slippery hair, starting with slightly damp hair rather than completely dry hair helps the style set better.
3. Double Ponytail
The double ponytail is pure practicality disguised as a cute style. You’re basically creating two ponytails stacked vertically—one at the crown and one lower down—which means the hair is secured in two places instead of one. This is the style that survives active play because even if one elastic loosens, the other one is still holding strong.
Why Kids Love the Double Look
Double ponytails are inherently more secure because you’ve essentially doubled your safety net. Kids actually seem to like the visual of it too—there’s something playful about having two little ponytails that feels less serious than a single one. The style also creates more volume and texture simply because you’ve gathered the hair in two sections rather than one, so it looks fuller and more interesting even without any styling tricks.
How to Create It
Start by creating a high ponytail at the crown of the head, gathered and secured tightly. Then, take all the remaining hair below that first ponytail and gather it into a second ponytail right where it naturally sits—usually about midway down the back of the head or lower, depending on your child’s hair length and thickness. The two ponytails should be stacked vertically, one above the other. Secure the second ponytail with another hair tie.
Pro Tips for Making It Last
Making sure the first ponytail is genuinely tight is crucial because if it loosens, it tends to drag down the second one with it. The space between the two ponytails should be snug but not uncomfortably tight—you’re aiming for about two to three inches of space, depending on your child’s hair length. If your child has thick hair, using two hair ties of the same size for each ponytail keeps the look balanced and intentional. For fine hair, doubling up on elastic bands (looping the hair tie through twice) makes each section significantly more secure.
4. Bubble Ponytail
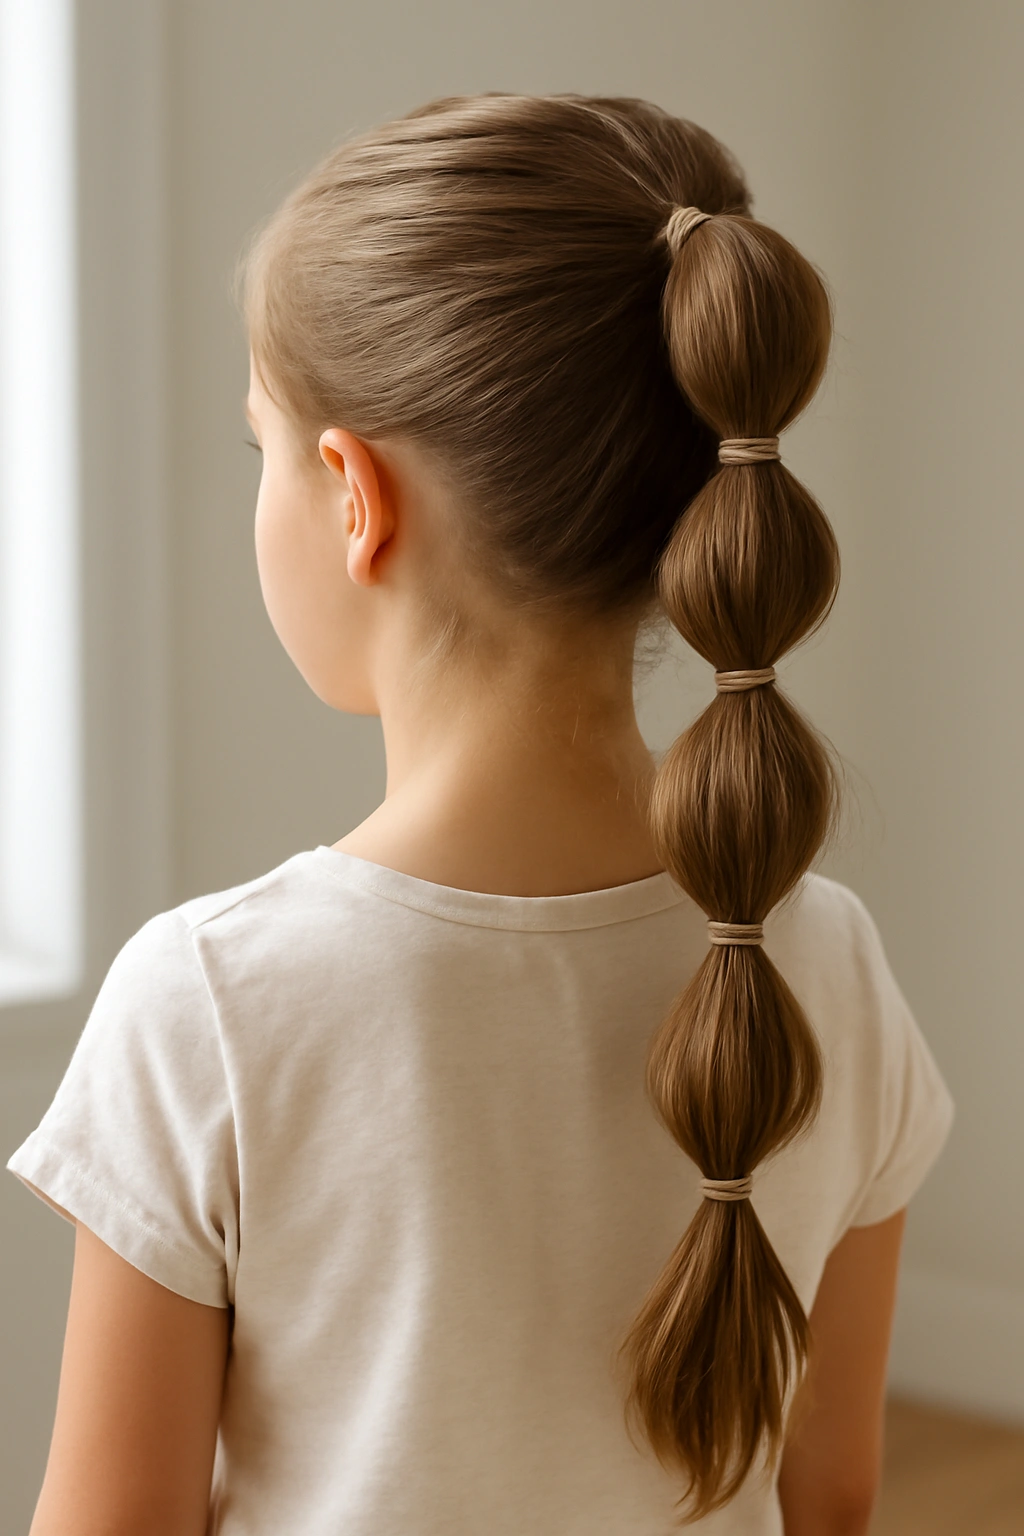
The bubble ponytail is the fun, modern take on the traditional ponytail, and kids absolutely respond to how it looks. You’re essentially creating a ponytail, then dividing it into sections and securing each section with smaller elastics, which creates that distinctive “bubble” or “pearl” effect running down the length of the ponytail.
Why Kids Request This One Specifically
There’s something visually interesting about bubble ponytails that appeals to kids—it’s more decorative than a plain ponytail, so it feels special. The style also has a playful, youthful vibe that makes kids feel like they’re wearing something that’s actually cool rather than just utilitarian. Plus, the divided sections create more movement and texture, so the whole hairstyle has more dimension and presence.
How to Create It
Start with a secure high or mid-height ponytail at the crown. Once you’ve secured it, you’re going to divide that ponytail into sections. Typically, bubble ponytails have about four to five bubbles depending on hair length and thickness. Take a small elastic and tie it around the ponytail about two inches below the main hair tie. This creates your first “bubble” of hair above it. Then add another elastic two inches below that, another two inches down, and so on until you’ve reached the end of the ponytail. Once all the elastics are in place, gently pull the hair in each section out slightly to create the bubble shape—you’re making each section of hair puff out a little.
Pro Tips for Making It Last
Using smaller elastics for the bubble sections keeps them from sliding. Securing the ponytail itself very tightly at the base ensures the bubbles stay in place as a unit rather than gradually coming loose. Thick, textured hair holds bubble ponytails better than fine, slippery hair—if your child has fine hair, applying a light texturizing spray before creating the bubbles helps the style hold significantly longer. Avoiding washing the hair the day before you create a bubble ponytail helps too, since dirty hair (or hair that’s at least a day old) has more grip and texture than freshly washed, slippery hair.
5. Braided Ponytail
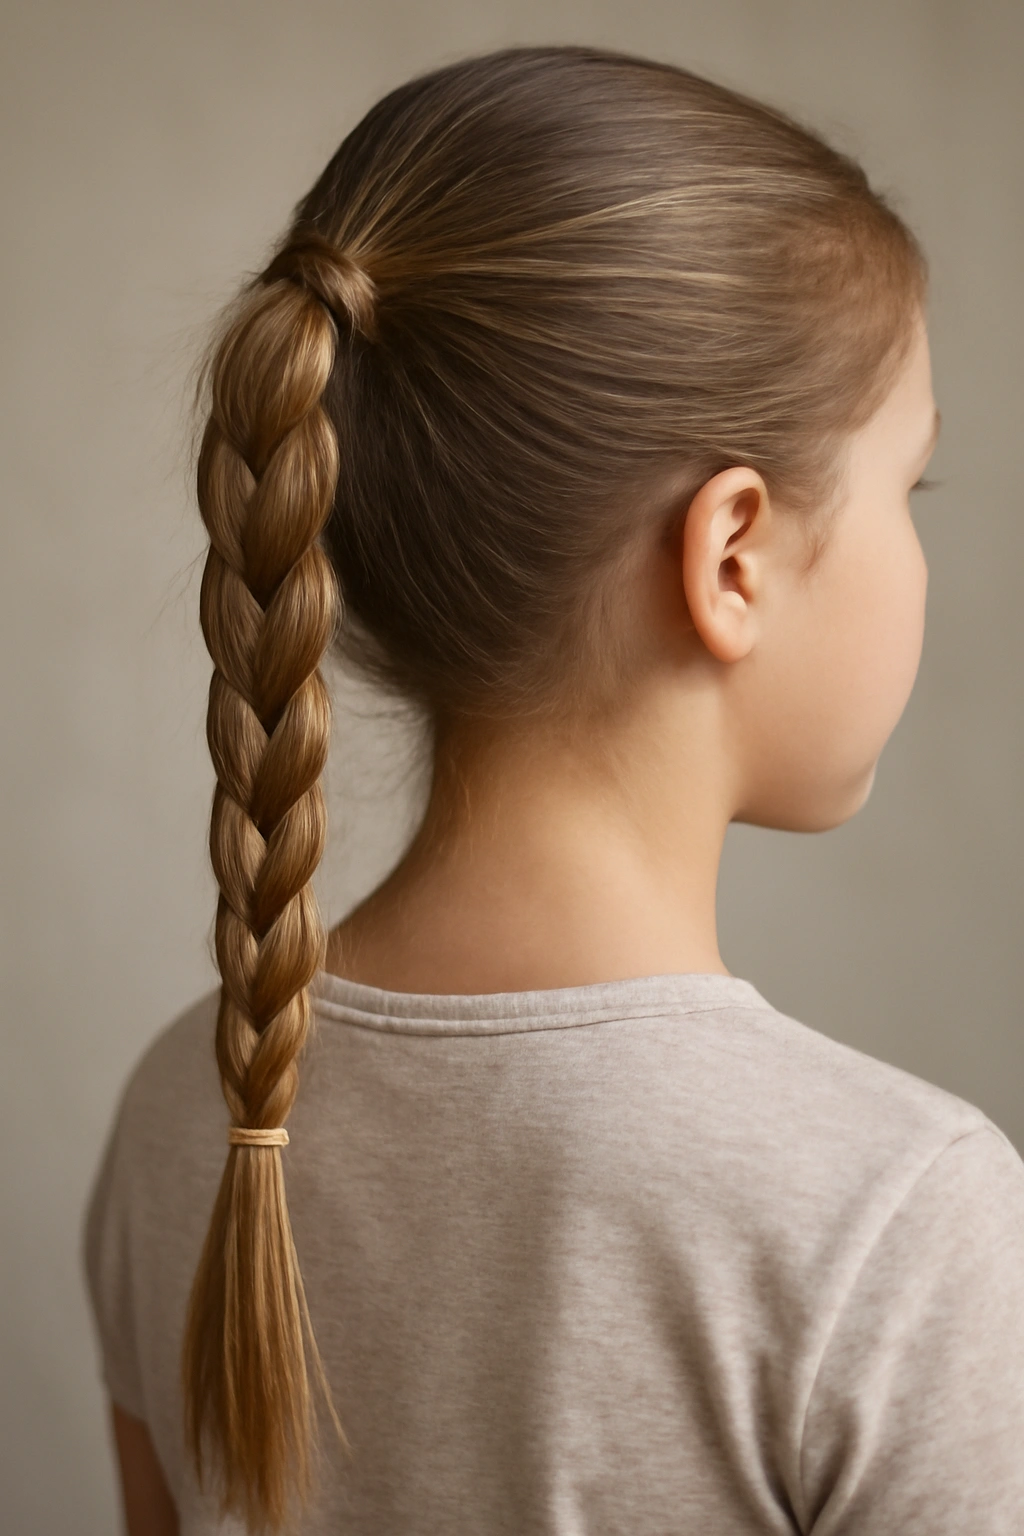
A braided ponytail combines two classic styles—it’s a standard ponytail at the base with a braid running through it. This style looks more elaborate than it actually is, and it’s surprisingly stable because the braid structure adds extra security and visual interest without requiring more time or skill than a regular ponytail.
Why This Style Impresses
The braided ponytail looks more polished and intentional than a plain ponytail, which means it works beautifully for special occasions or when you want something slightly more dressed up. The braid also creates better hold because the woven structure grips the hair more effectively than a straight ponytail does. Visually, it’s more interesting—the braid texture catches the light differently and creates depth that a solid ponytail doesn’t have.
How to Create It
Gather the hair into a high or mid-level ponytail and secure it with a hair tie. Then, divide that ponytail into three equal sections. Create a standard three-strand braid using those three sections, braiding from the base of the ponytail all the way down to the end. The braid should follow the length of the ponytail—as you braid, the three sections spiral around each other and the original ponytail base naturally guides them. Once you’ve braided to the end, secure it with another small elastic.
Pro Tips for Making It Last
A fishtail braid holds better than a standard three-strand braid and looks more interesting if you’re willing to spend the extra minute or two. To create a fishtail within a ponytail, divide it into just two sections instead of three and weave thinner strands from the outside of one section to the inside of the other, alternating sides. The tighter the original ponytail, the easier it is to braid—loose ponytails tend to fall apart as you braid. Dampening your hands slightly or using a small amount of styling cream helps keep loose hairs in place as you braid. A spritz of light hairspray after braiding helps the braid hold its shape throughout the day.
6. Twisted Ponytail
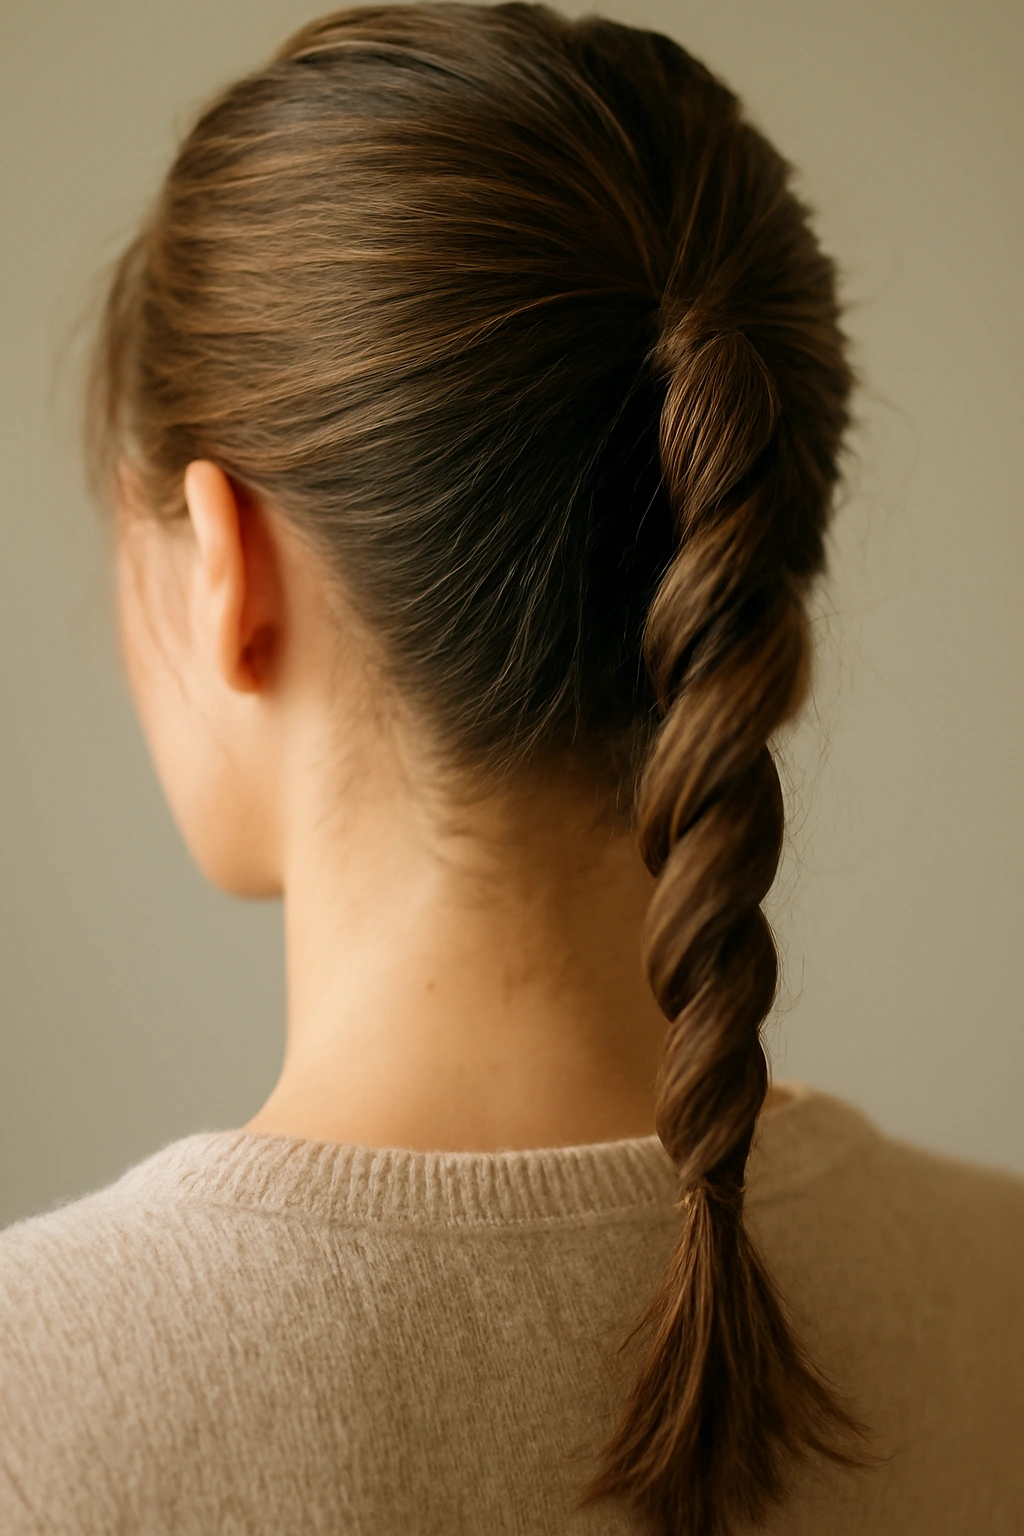
The twisted ponytail is the simplified version of the braided ponytail—instead of dividing the hair into multiple sections, you’re simply twisting the entire ponytail on itself. It takes about half the time of a braid, creates a similar visual effect, and actually holds just as well because the twist structure grips the hair firmly.
Why Kids Tolerate This Easily
Twisting a ponytail is so quick that kids barely have to stand still, which is huge if you’re working with an impatient child. The finished style looks more interesting than a plain ponytail without being fancy enough to feel fussy. A twisted ponytail walks that perfect line between “quick to create” and “intentional enough to look like you actually tried.”
How to Create It
Gather the hair into a ponytail and secure it with a hair tie at whatever height you prefer. Now take the entire secured ponytail in your hands and twist it, rotating the whole thing in one direction—typically clockwise works best. As you twist, the hair wraps around itself, creating a spiral effect. Keep twisting all the way down to the end of the ponytail. Secure the twisted end with another small elastic to hold the twist in place and prevent it from unraveling.
Pro Tips for Making It Last
A double twist—where you divide the ponytail into two sections, twist each one separately, then twist those two twisted sections around each other—holds significantly better than a single twist and looks more complex without being harder to create. Twisting tighter rather than loosely ensures the style doesn’t unwind throughout the day. If you’re working with very fine hair that tends to slip and untwist, dampening your hands or using a tiny bit of styling cream helps control the hair as you twist. Some parents find it helpful to secure the ponytail initially with two hair ties stacked on top of each other, which provides extra grip as they twist.
7. Messy Bun Ponytail
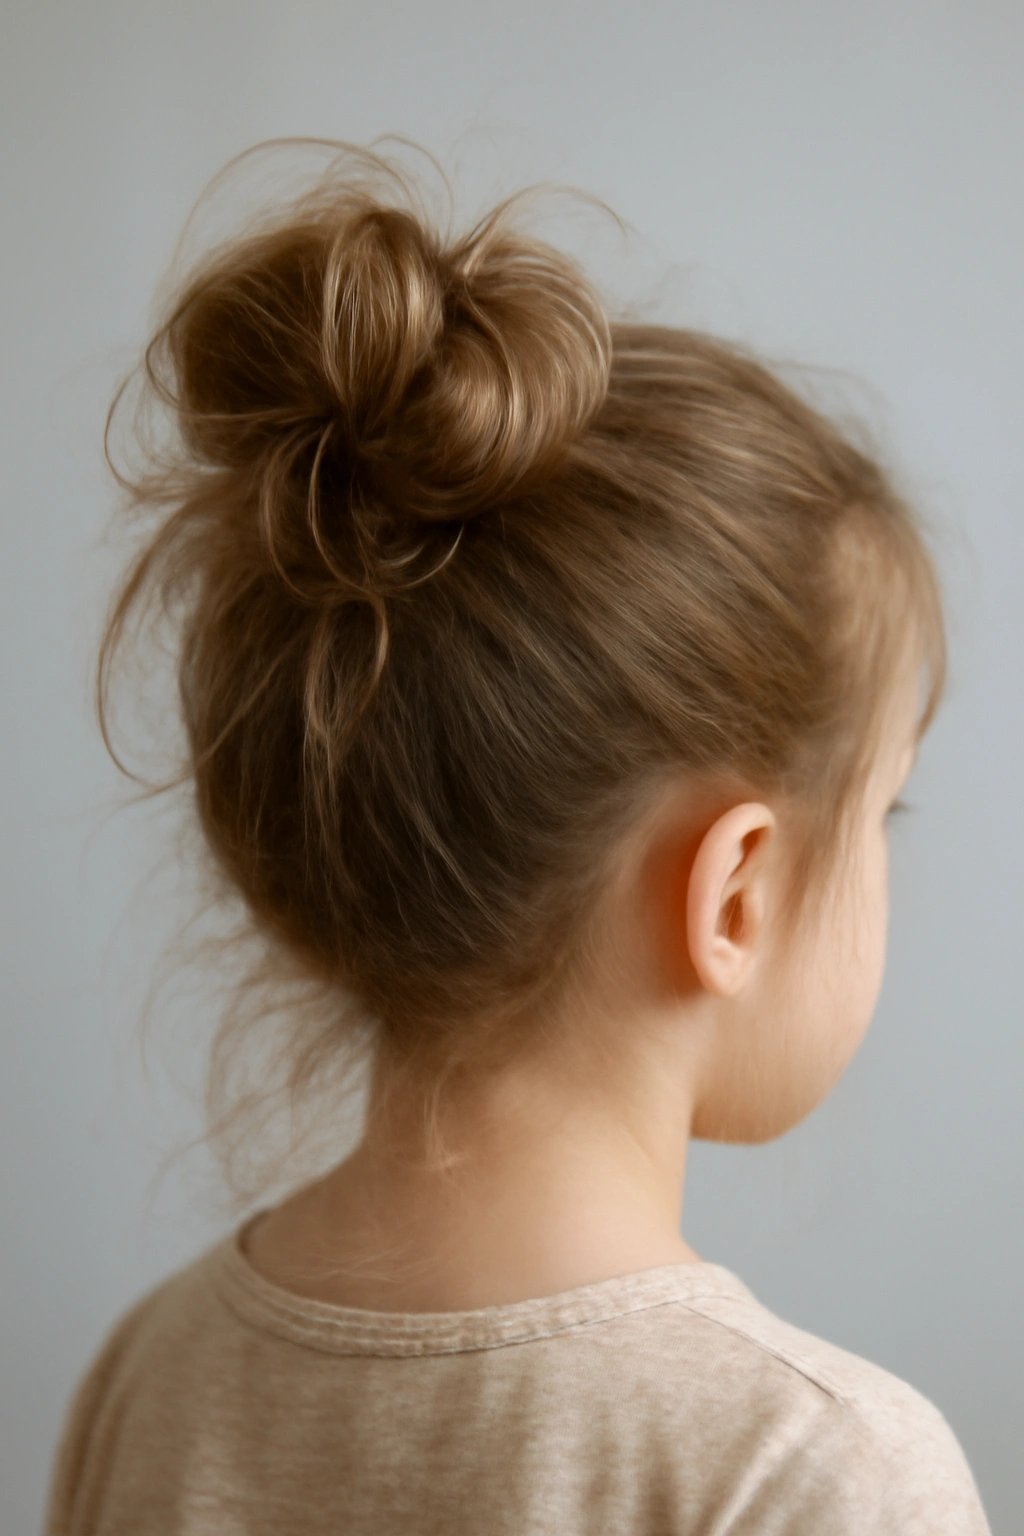
The messy bun ponytail is basically a ponytail that gets twisted or curled into a bun at the end—it’s the hairstyle that looks like it took actual effort but is honestly just a ponytail with an extra step. It’s perfect for when you want something slightly dressier than a plain ponytail but don’t have the time or skill for elaborate braiding.
Why Kids Feel Grown-Up Wearing This
A bun automatically feels more sophisticated and mature compared to a simple ponytail, which appeals to kids who are starting to care about how they look. The style also has built-in texture because of the twisted or coiled structure, so it inherently looks intentional rather than like you just threw their hair back. Messy buns are forgiving too—they’re supposed to look a little undone, so there’s no pressure for everything to be perfectly smooth and polished.
How to Create It
Create a high ponytail and secure it tightly with a hair tie. Then, take that ponytail and twist it loosely. Coil the twisted ponytail around the base where the hair tie is, tucking the end underneath to create a bun shape. The bun doesn’t need to be perfectly round or neat—that’s the whole point of “messy.” Secure the bun shape with bobby pins, using however many you need to make it feel stable. A few loose, wispy pieces falling around the face actually enhance the intentionally undone aesthetic.
Pro Tips for Making It Last
The initial ponytail needs to be genuinely tight so it doesn’t come loose as you twist and coil it. Using thick, textured hair or slightly damp hair helps the bun hold its shape—freshly washed, slippery hair tends to unravel. Criss-crossing bobby pins (placing them in an X pattern rather than parallel) creates much better hold than simply pinning straight. A light spritz of hairspray after you’ve formed the bun helps secure it for the entire day. If you’re concerned about the bun loosening, twist the ponytail very tightly before coiling it, since a tightly twisted ponytail creates a more compact, stable bun.
8. Half-Up Ponytail
The half-up ponytail bridges the gap between a style that’s completely down and completely up—you’re pulling back just the top section of the hair and securing it while leaving the bottom half loose. This style offers the practicality of a ponytail without the severity of pulling all the hair back, making it perfect for kids who want their hair somewhat controlled but still mostly free.
Why This Works as a Compromise
If your child is resistant to having their hair fully pulled back, a half-up ponytail is the perfect compromise. It removes hair from the face and neck, which is the main practical benefit, but doesn’t feel quite as restrictive because roughly half the hair is still down. The style also looks more intentional and put-together than just leaving the hair completely down, so it works for both everyday and slightly dressier situations.
How to Create It
Determine where you want the “divide” to be—roughly at ear level works well for most kids. Take all the hair above that imaginary line and gather it at the crown, securing it with a hair tie. The hair below that line stays down and loose. You want enough hair gathered to look intentional, but you’re not pulling everything back. This style typically looks best when created with clean, slightly textured hair that has some volume and movement.
Pro Tips for Making It Last
Creating the half-up section as high as possible at the crown makes the style look more deliberate and intentional. Teasing the hair slightly at the crown before gathering the half-up section gives more volume and helps the style look fuller. A clear elastic rather than a colored one is less visible if you want the gathered section to be less noticeable, or choose an elastic that matches the hair color. If the loose bottom section tends to get in the way, you can create a half-up half-down style and then gently braid the loose section—this gives you control over the loose hair without fully pulling it back.
Common Mistakes That Undo Your Hard Work
Even the best ponytail style falls apart if you make these common mistakes. The number one culprit is starting with tangled hair—if you’re working with knots and snarls, the ponytail will never be as secure or neat as it should be. Always brush completely and use a detangling spray if your child’s hair is prone to tangles. Another huge issue is gathering hair that’s too loose initially. You think it’ll feel more comfortable, but a loose base actually makes the entire style fail faster because there’s no real anchor for the hair tie to grip.
Many parents also underestimate how much difference it makes to use the right type of hair tie. Elastics that are too thick bunch the hair awkwardly, while elastics that are too thin dig into the hair and actually cause breakage. Fabric-covered elastics are significantly gentler on hair than plain rubber bands. They grip better, they don’t create creases in the hair, and they simply hold longer. It’s worth investing in good hair ties if you’re doing hairstyles daily.
Finally, don’t skip the finishing touches. Taking 30 seconds to smooth down flyaways with a bit of water or a spritz of leave-in conditioner completely changes how polished the final style looks. It’s the difference between a hairstyle that looks carelessly thrown together and one that looks intentional and neat.
Final Thoughts
The best ponytail hairstyle for your child isn’t the fanciest one or the most Instagram-worthy. It’s the one that actually stays in place during their day, feels comfortable enough that they won’t spend the afternoon complaining about it, and takes you minimal time to create each morning. All eight of these styles check those boxes—they’re reliable, they work in real life, and they’re simple enough that you’ll actually have the energy to do them consistently.
Start with whichever style appeals to you, practice it a couple of times until you get comfortable with the technique, and then branch out. Your child might decide they have a favorite, or you might find that different styles work better for different days depending on what they’re doing. The beautiful thing about ponytails is that they’re endlessly customizable once you nail the basics—twist one version, braid another, add accessories to a third, and suddenly you’ve got a whole rotation of styles that are all quick to create and genuinely stay through the day.