Trimming your own hair might sound risky, but the truth is that countless people do it successfully every single time they need a quick refresh or maintenance cut. The difference between a DIY trim that looks intentional and one that looks like an accident comes down to preparation, technique, and honest assessment of what you’re actually capable of handling on your own.
The biggest misconception about cutting your own hair is that it requires some special talent or steady hand that most people don’t possess. What it actually requires is understanding the basics of how hair works, having the right tools, taking your time, and knowing exactly what you’re trying to accomplish before you make the first cut. The cost savings alone—skipping $30 to $60 salon visits every 6-8 weeks—make the learning curve worth it. And once you’ve done it a few times with success, you’ll realize you’ve been paying for something you can absolutely handle at home.
This guide walks you through everything you need to know to trim your own hair with confidence, from the initial setup through the final check. Whether you’re just maintaining the ends between salon visits or attempting a more substantial cut, you’ll find specific techniques for every situation and honest guidance about when a professional really is the better choice.
Understanding Your Hair Type and Current Length
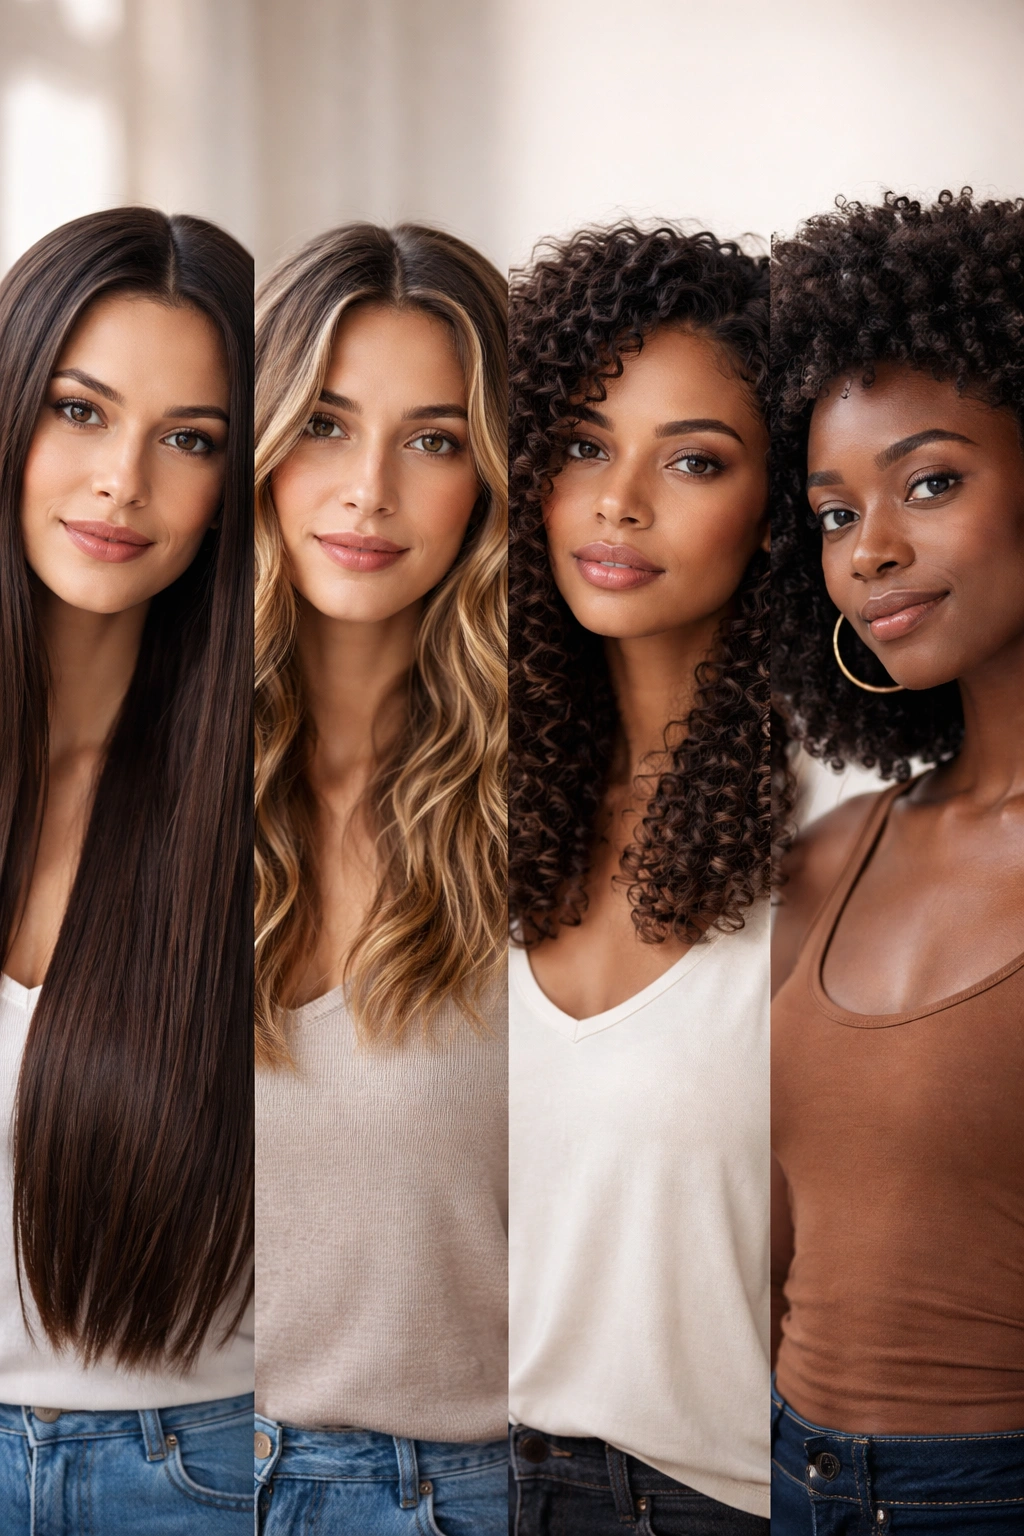
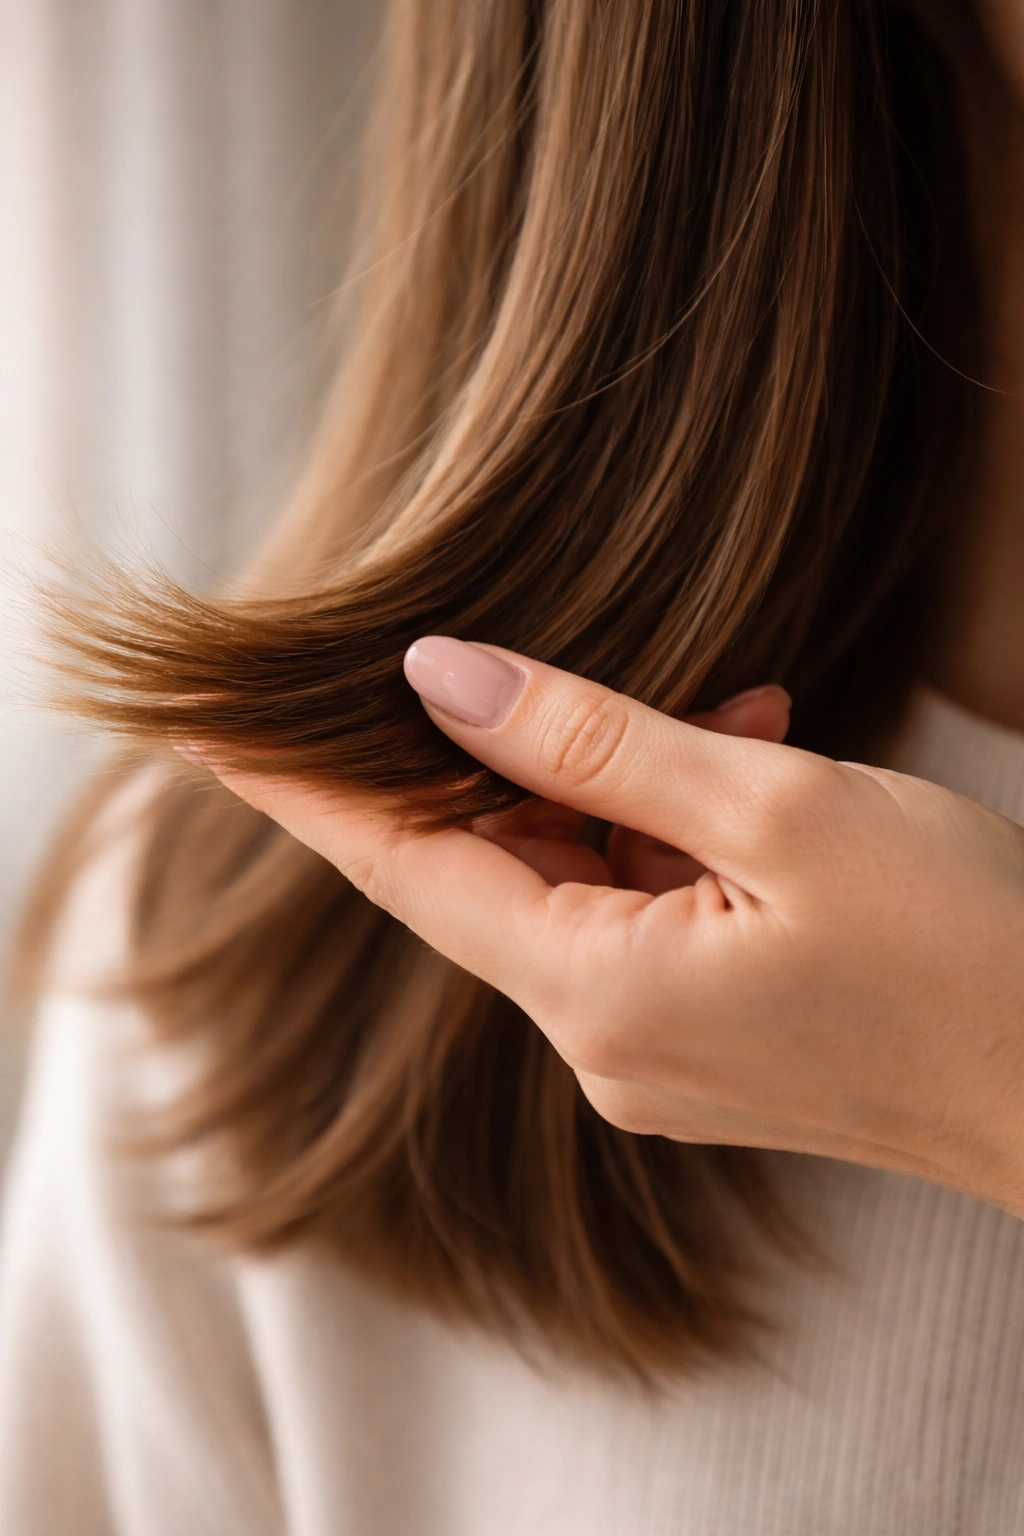
Before you even think about picking up scissors, spend some time observing your hair in different lighting and understanding what you’re working with. Straight hair, wavy hair, curly hair, and coily hair all behave completely differently when wet and when dry, and they require different approaches to cutting.
If your hair is curly or coily, this matters enormously for DIY trimming. Curly hair shrinks significantly when it dries, so a length that looks perfect when wet can end up noticeably shorter once it’s dry. The general rule is that curly hair shrinks between 10 and 30 percent depending on the tightness of your curl pattern. This means if you’re trimming curly hair, you need to cut it while it’s dry in its natural state, not when it’s stretched out wet. Straight and wavy hair are much more forgiving because what you see when wet is essentially what you get when dry.
Long hair versus short hair also changes the strategy entirely. If your hair is below your shoulders, you have more room for error and can approach trimming gradually, taking off small amounts and checking your work frequently. If you have short hair, especially shorter than chin length, every cut is more visible and mistakes are harder to hide. The shorter your current style, the more carefully you need to plan and execute each cut.
The length of time since your last professional trim also matters. If it’s been six weeks and you just need a basic half-inch trim to remove dead ends, that’s a completely manageable DIY project. If it’s been a year and you’re hoping to completely reshape your cut, that’s a project best left to a professional. Be honest about the gap between your ambition and your actual experience level.
Gathering the Right Tools and Equipment
This is where most people go wrong. Dull scissors, kitchen shears, or random scissors from the junk drawer will not cut hair cleanly—they’ll shred it and create split ends that actually make your hair look worse than before you trimmed it.
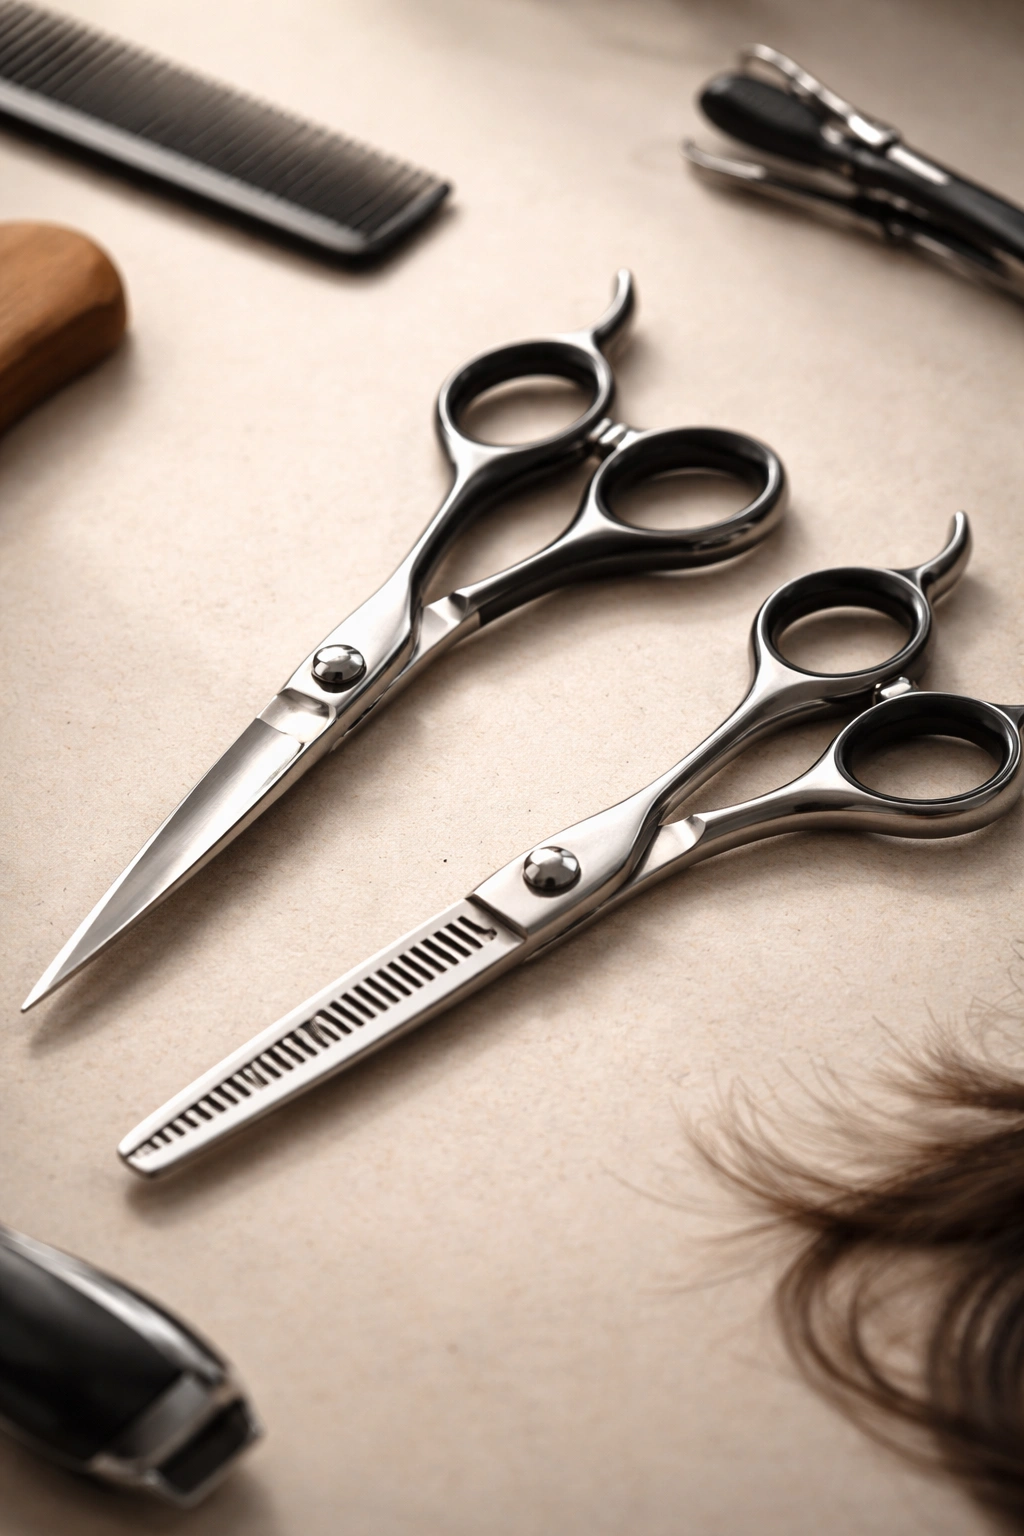
Professional hair shears are what you actually need, and the good news is they’re not prohibitively expensive for a one-time purchase. Look for shears specifically labeled as hair cutting scissors or hair shears—usually these cost between $15 and $40 for a beginner-friendly pair. The key feature is that they’re sharp enough to cut through individual strands cleanly, and the blades stay sharp through multiple uses. Popular brands for home use include Equinox, Craft scissors designed for hair, or even basic salon-supply scissors. Avoid anything labeled as “all-purpose” scissors because they’re genuinely not sharp enough for hair.
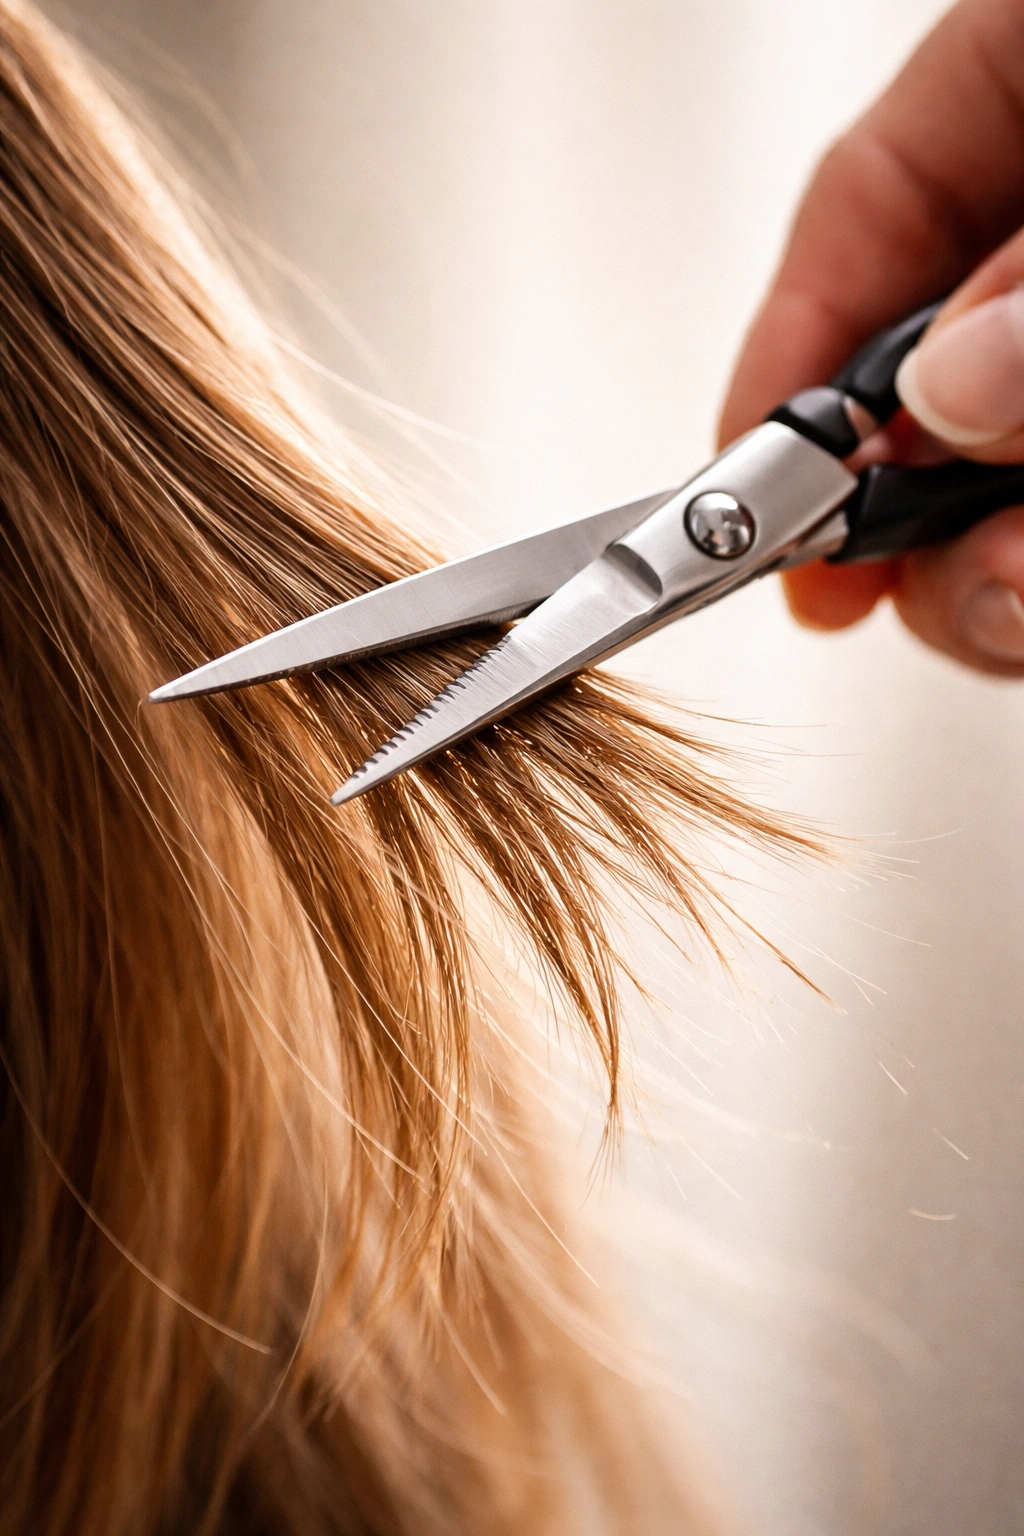
Thinning shears are optional but genuinely useful for removing bulk without cutting length, especially if you have thick hair or want to create texture. These have a comb-like edge on one blade that removes some hair while leaving others intact, creating a more blended, less blunt appearance. Again, these should be actual hair thinning shears, not craft thinning scissors.
Beyond scissors, you’ll need a fine-tooth comb for detangling and sectioning your hair, a spray bottle filled with water (or a spray bottle designed for hair misting), hair clips to keep sections separated while you work, and a mirror—ideally a large mirror where you can see your full head and also a smaller handheld mirror for checking the back.
A cutting cape or old towel draped around your shoulders will catch the hair clippings and make cleanup easier. Some people use a white towel specifically because it makes it easier to see the length of hair you’re cutting and notice if you’ve missed any sections. A binder clip or hair tie is helpful for securing longer sections out of the way while you work on other areas.
Setting Up Your Trimming Space
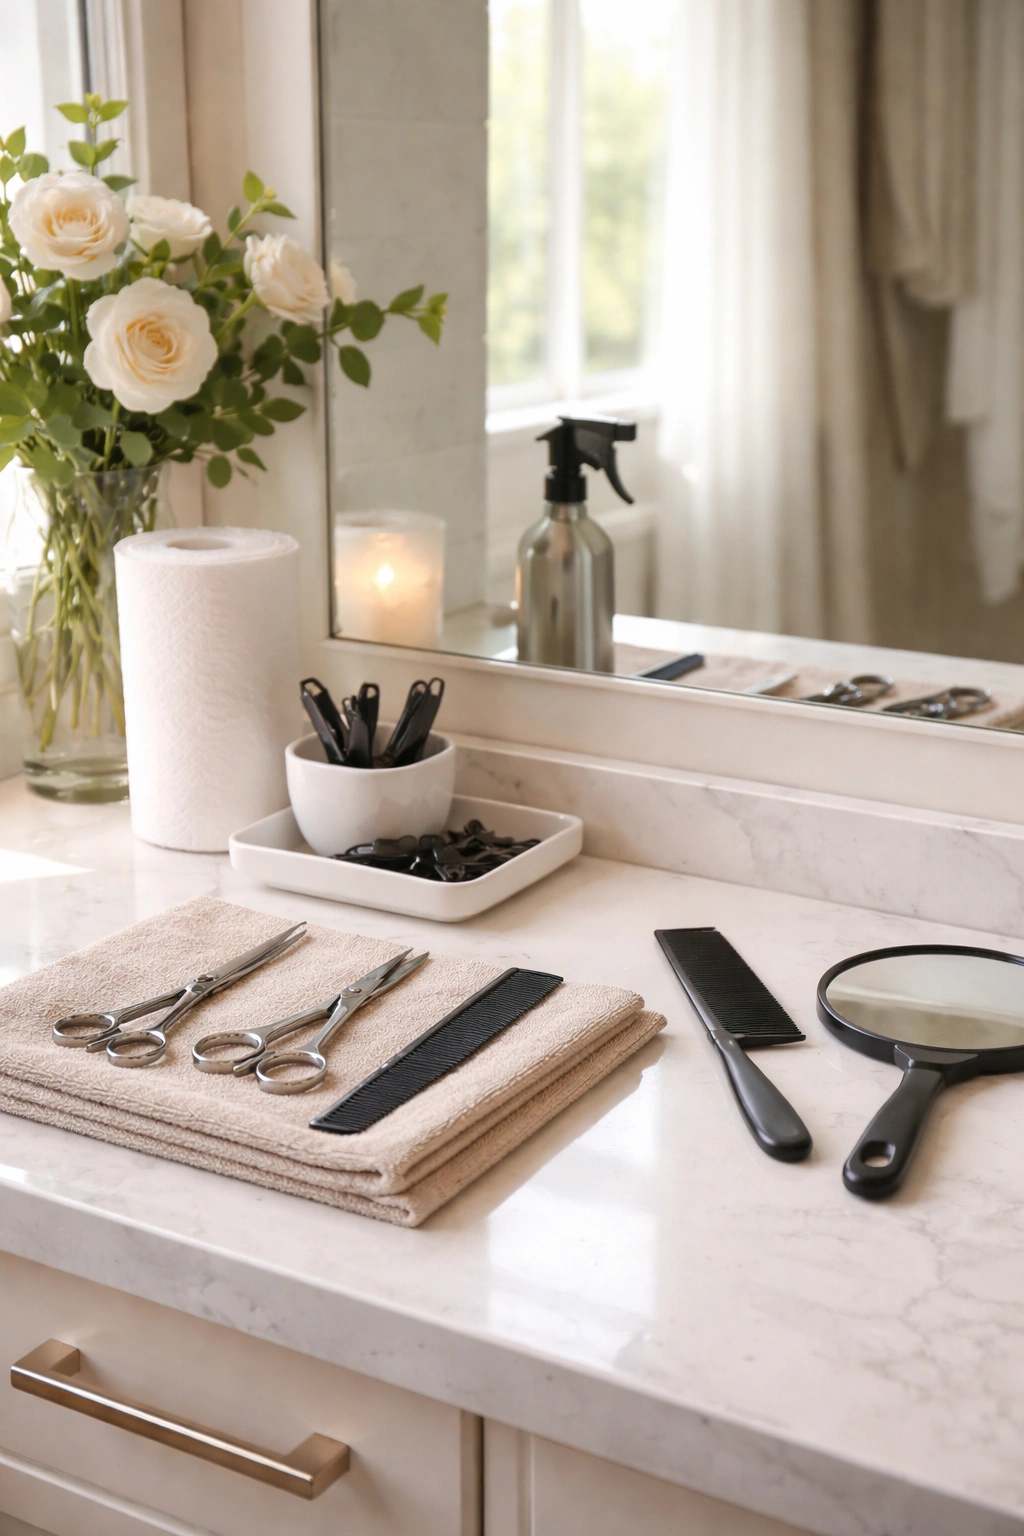
Your environment matters more than most people realize. The best place to cut your hair is somewhere with bright, natural lighting where you can see exactly what you’re doing. A bathroom with a large mirror and good overhead lighting is ideal, though near a window during daytime is even better because natural light shows you the true color and condition of your hair.
Make sure your bathroom is warm enough that you’re not shivering—tension and cold muscles in your shoulders and neck will make your hands less steady. Position yourself at a comfortable height where you’re not hunching over or stretching up to see the mirror. Your eyes should be level with the upper third of the mirror. If you’re using a countertop vanity, you may need to stand on a step stool or sit on a chair at the right height.
Have absolutely everything you need within arm’s reach before you start: your scissors, comb, spray bottle, clips, the handheld mirror, and paper towels for quick cleanups. You don’t want to be hunting for the scissors while your hair is already partially cut and you’ve lost your momentum.
Test your spray bottle first to make sure it actually mists rather than squirts. You want a light mist that dampens your hair, not water droplets running down your neck. Keep testing the bottle as you work because the mist pattern can change as you use it.
Sectioning Your Hair Properly
This is the step that makes the difference between a smooth process and a chaotic one. You’re going to divide your hair into manageable sections so you can cut consistently without accidentally missing spots or cutting sections at different lengths.
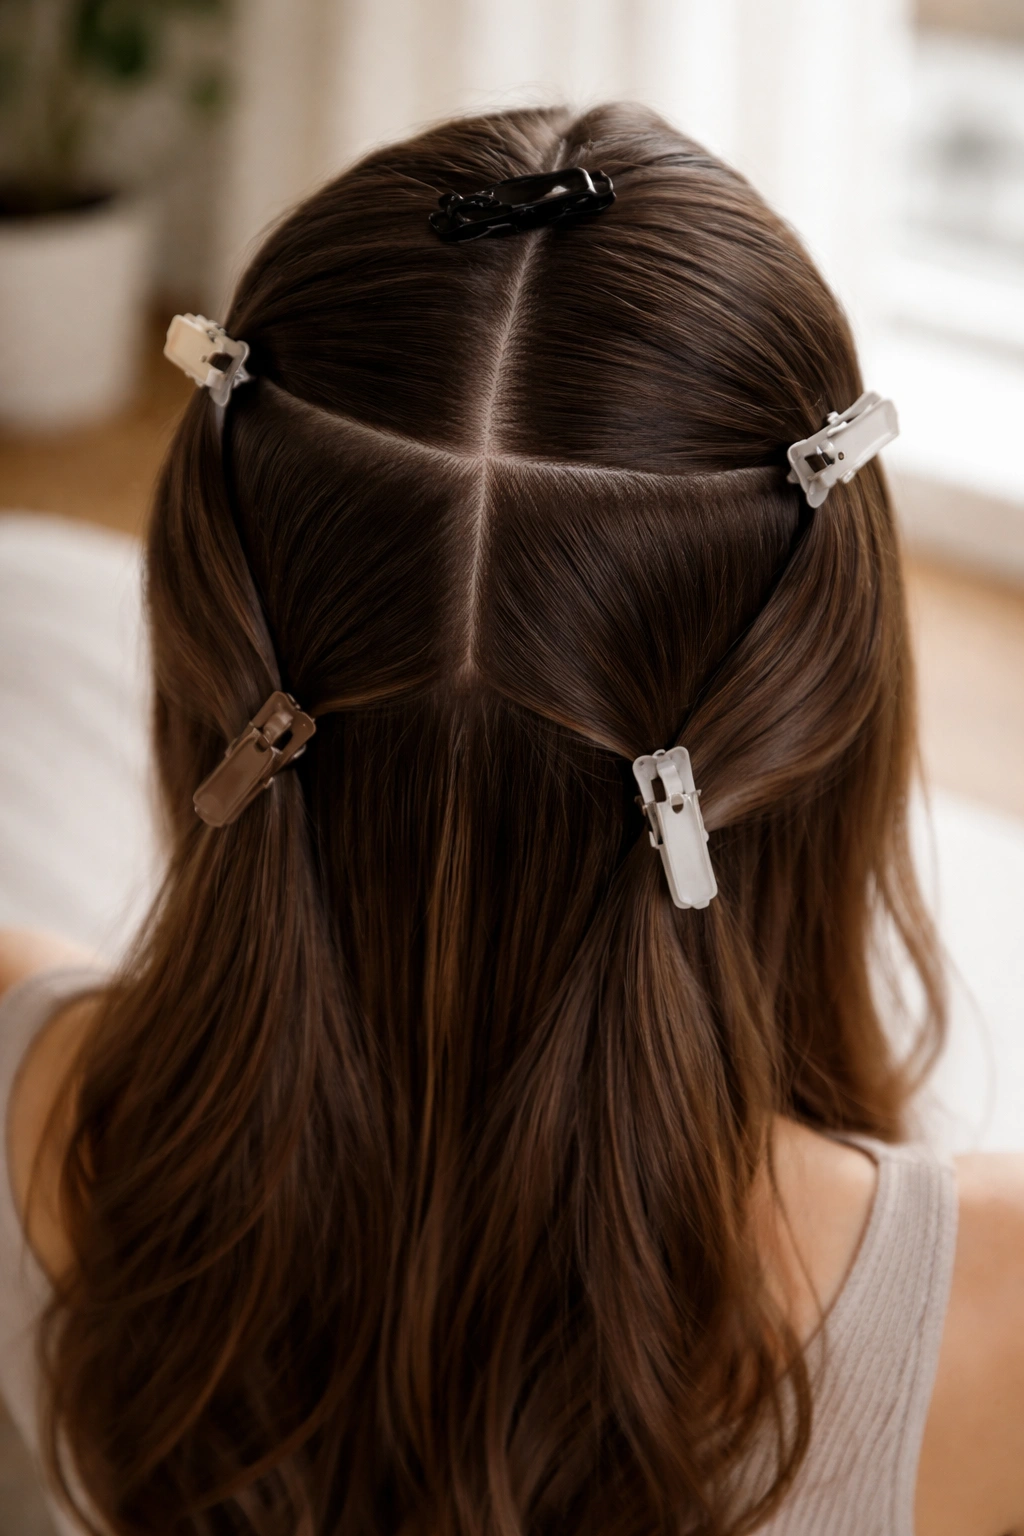
Start by combing through your entire head to remove tangles. Then divide your hair into four main sections: top, left side, right side, and back. Some people prefer dividing it into more sections (up to six) if they have very thick hair, but four works for most people.
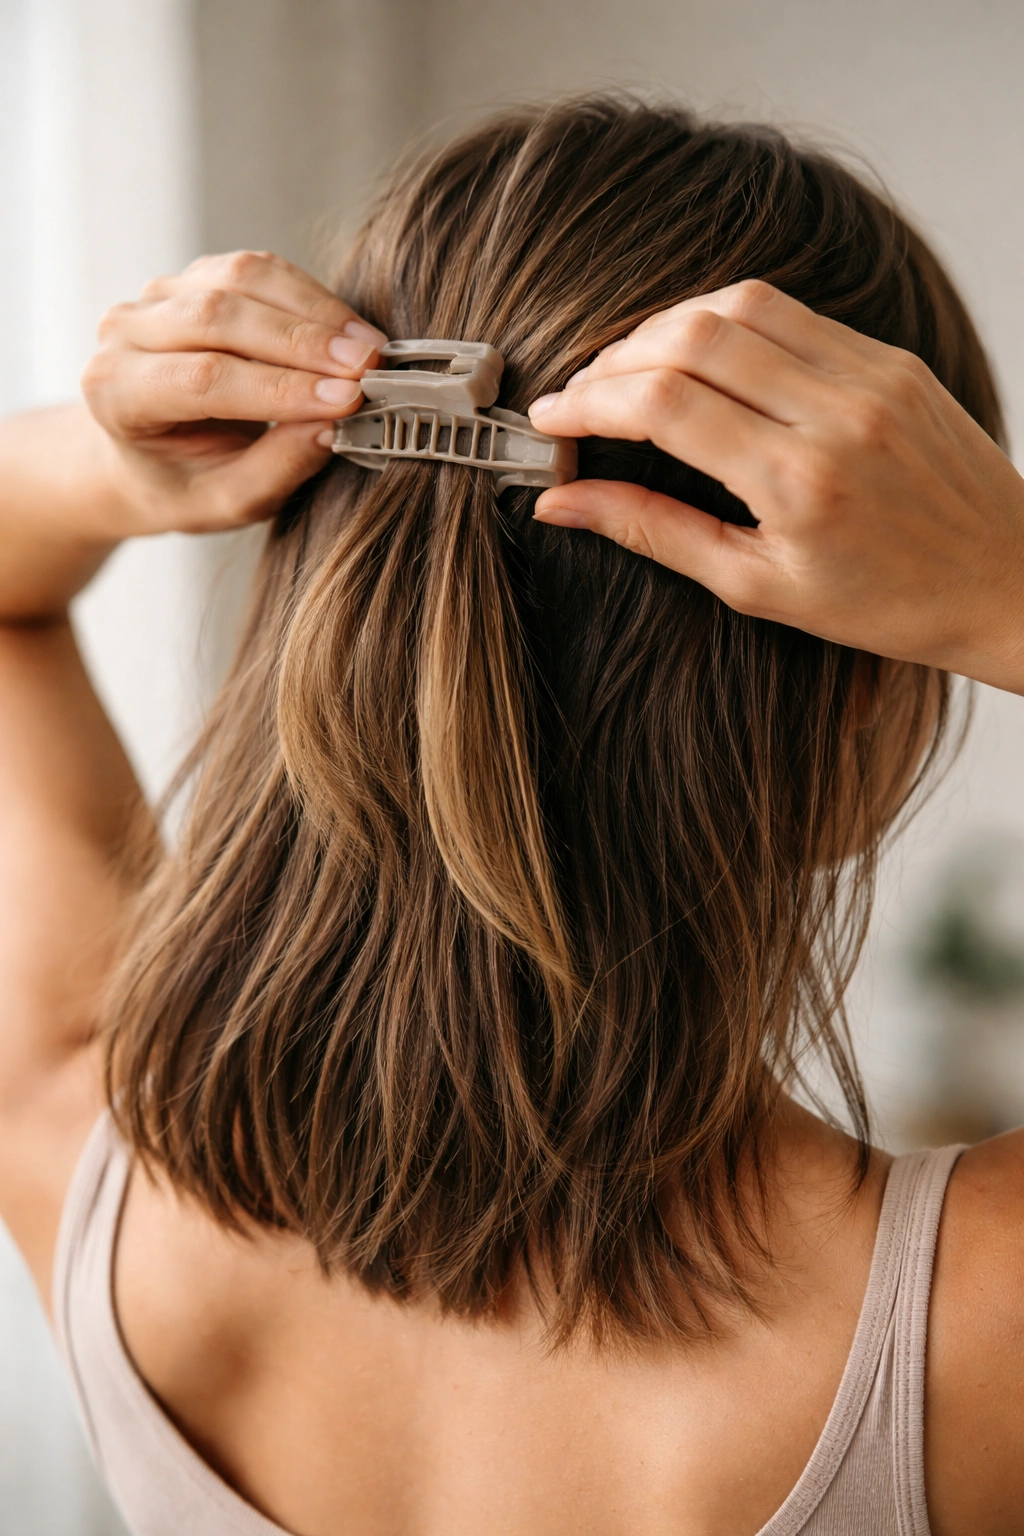
Create the sections by making parts. Run your comb from your forehead back over the top of your head to your neck—this creates a center part that divides top from back. Then make a part from ear to ear, going from one side of your head to the other across the top. Now you have four quadrants: top-front, left-side, right-side, and back. Clip up the sections you’re not actively working on, leaving just one section down.
Within each section, work in smaller subsections about one to two inches wide. This seems overly detailed, but it’s what allows you to cut systematically and notice if you’ve missed any spots. Comb each small subsection before cutting it.
How to Cut Straight Horizontal Lines
This is the foundational technique for any hair trim. You’re going to create an even line across a section of hair by cutting horizontally, parallel to the ground.
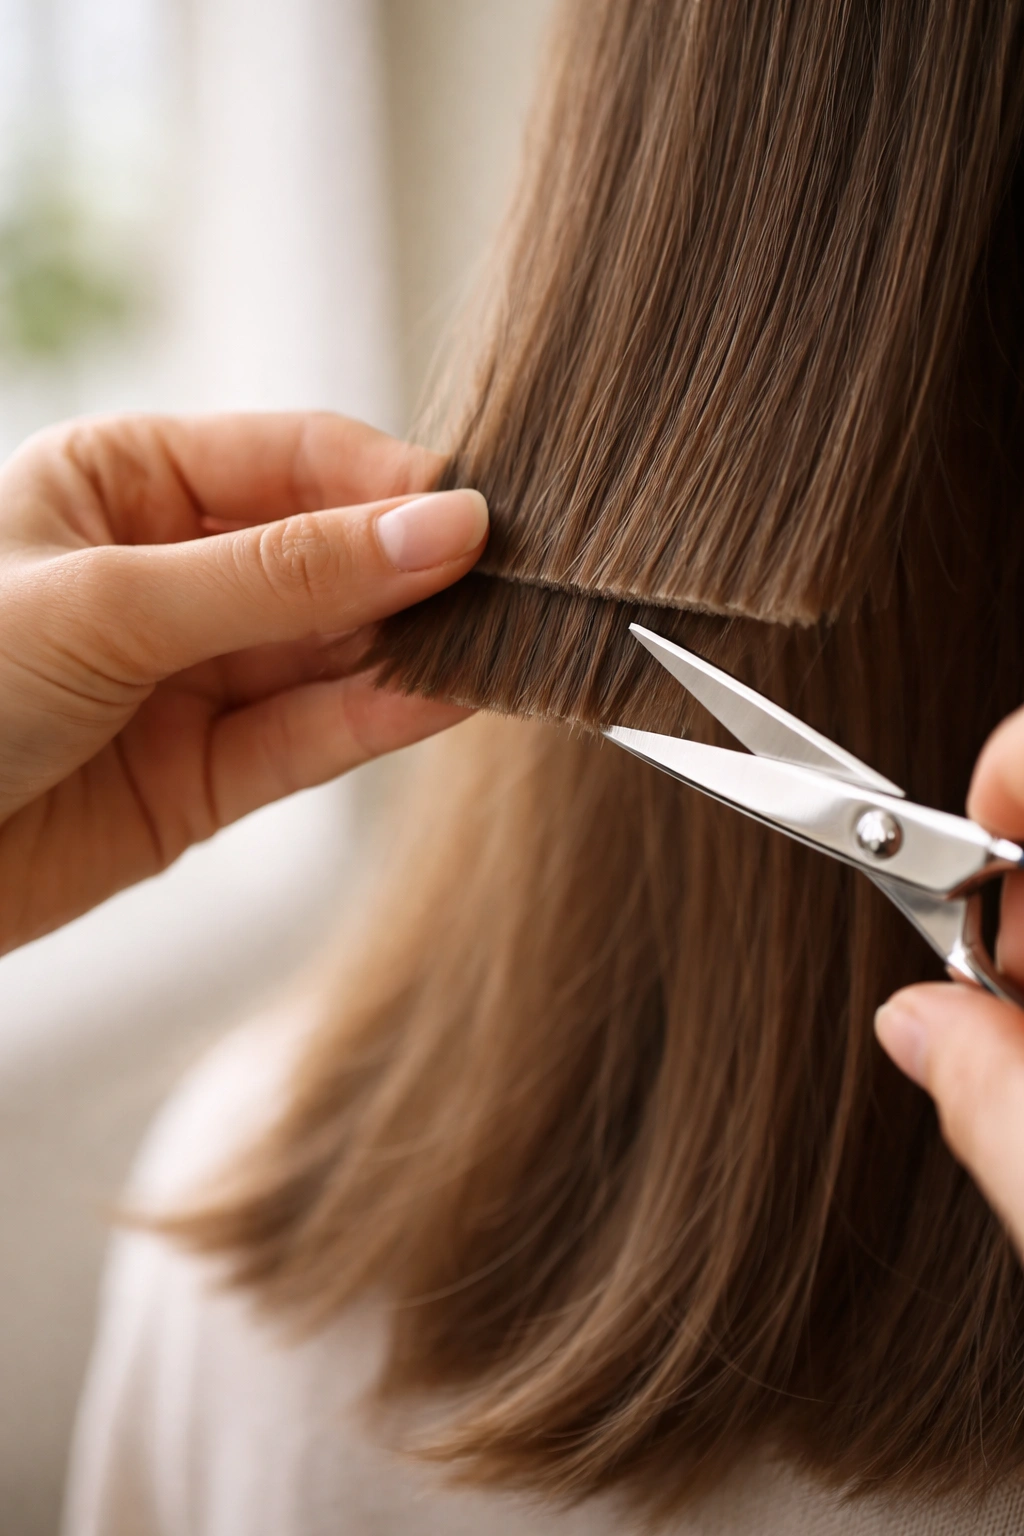
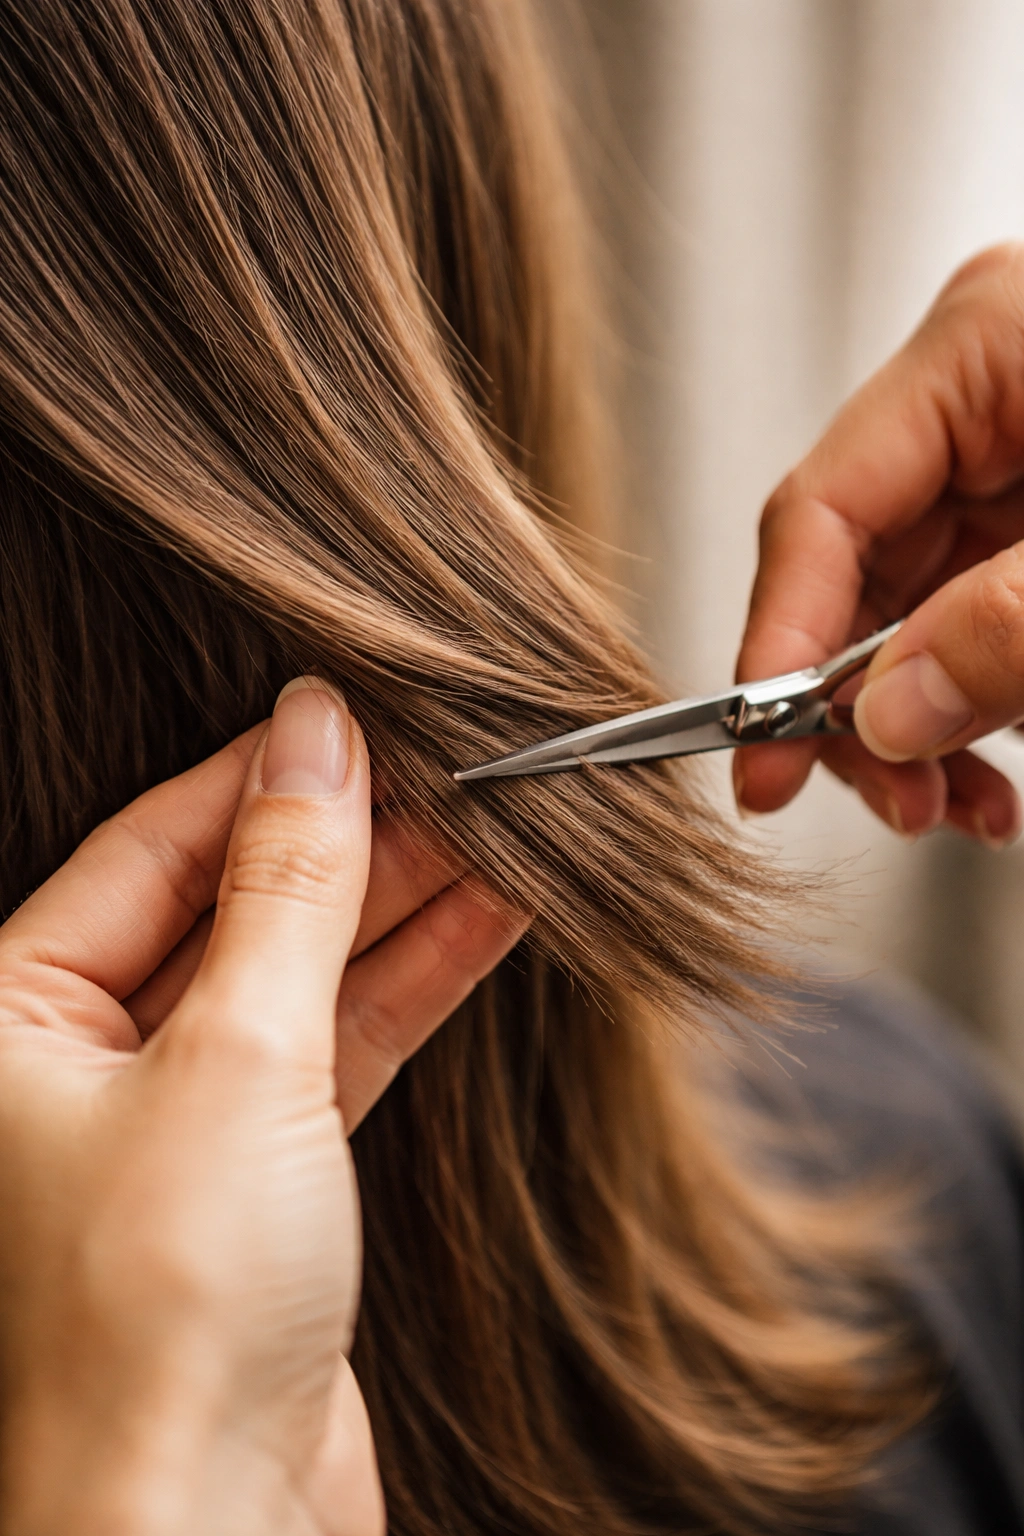
Take a small subsection of hair and comb it straight down. Hold it between your index and middle finger at the length where you want to cut. The key here is to hold the hair straight out from your head at the angle you want to cut. If you want a blunt, straight line, hold the hair perpendicular to your head (pointing straight out). If you want the hair to fall naturally at a slightly longer length in some spots, hold it at a slight angle.
Position your scissors parallel to where you want to cut—this means the blades of the scissors are parallel to the line you’re trying to create, not perpendicular to your fingers. Open the scissors slowly and make one smooth cut, or make two or three quick snips if that feels more controlled. Never hack at the hair with repeated aggressive cuts; that creates an uneven, choppy line.
The most important technique detail is this: always cut slightly less than you think you need to. You can always cut more, but you cannot glue the hair back on. Many people cut too much the first time and then have to spend months growing it out. A safe first cut is removing just a quarter inch. Once you’ve made that cut and checked it, you can always take more off if it looks good.
After you cut a small subsection, comb it out and look at it next to the uncut hair below it. Is the line straight? Does it blend smoothly with what you’ve already cut? Make tiny adjustments with follow-up snips if needed before moving to the next subsection.
Trimming Layers Into Your Hair
Layers are what give hair movement, prevent it from looking too heavy, and create a more interesting shape than a blunt one-length cut. Creating layers at home is more advanced than a simple trim, but it’s absolutely doable if you understand the technique.
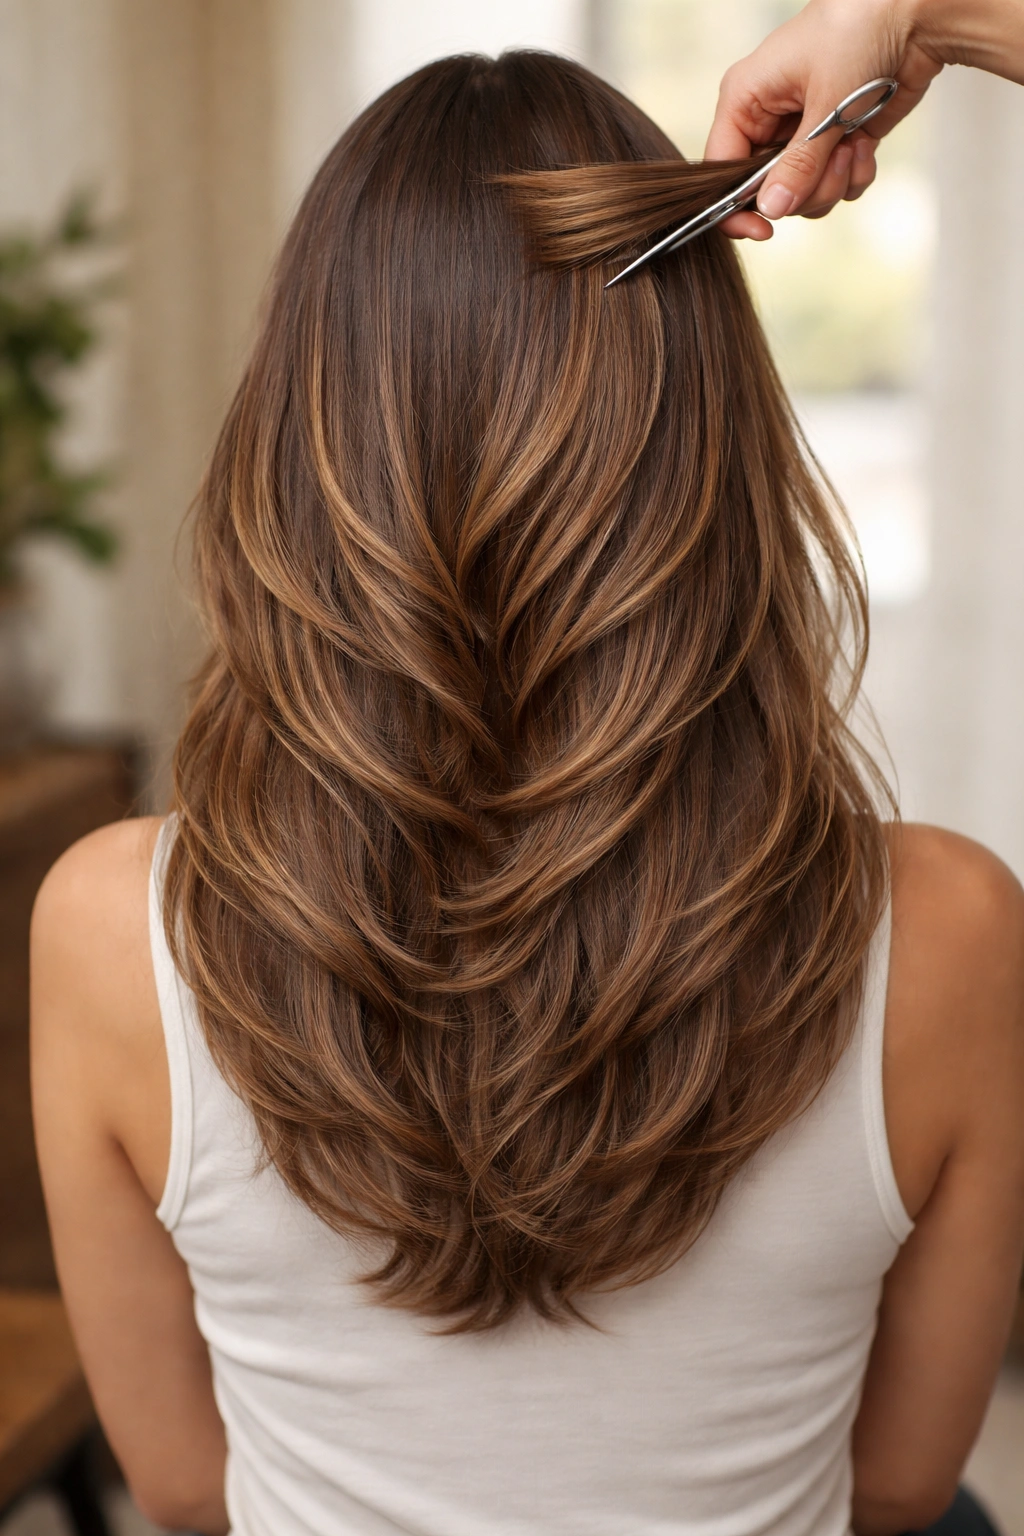
The basic principle of layering is that you cut progressively shorter lengths as you move toward the crown, which creates that shape and movement. Start at the bottom and work your way up. Cut the back section first to a desired length—let’s say two inches—using the horizontal cutting technique described above.
Once the back is cut, move to one side. Comb the side section and hold a piece of hair at a 45-degree angle upward and toward the back of your head. Cut along that angle, making the hair progressively shorter as you move toward the crown. The angle matters because it determines how gradual the layer effect is. A steeper angle creates more dramatic layers; a shallower angle creates subtle, blended layers.
After you cut one side, immediately cut the other side to match. Compare them in the mirror—they should be even. This is much easier if you work on both sides before moving on, because you still have the reference of how much you cut on the first side fresh in your mind.
The top section is the shortest in a layered cut. Take a small subsection from the crown area, hold it straight up, and cut it to the shortest length you want in your entire cut. Then blend the rest of the top section down from that length, making sure each subsection is slightly longer than the one above it as you move down toward the face and sides.
Creating Textured or Choppy Ends
If you want your hair to have a more textured, less blunt appearance, you can use thinning shears or a technique called point-cutting to create a choppy effect.
Point-cutting means positioning your scissors vertically (pointing up and down) instead of horizontally and cutting into the hair from the ends upward, rather than cutting across. This removes some strands at different lengths, creating texture and a less blunt line. Hold a subsection of hair and point your scissors upward into the ends of the hair. Make small snips, removing just a little bit each time. The result is a softer, more textured appearance than a straight horizontal cut.
Thinning shears accomplish something similar but in a different way. They remove some hair while leaving others in place, which reduces bulk and creates softness. Use them on the ends of the hair in a subsection, or use them on the outer layers to remove weight while maintaining length. Never use thinning shears on hair that’s already short or thin, because it can create gaps and make your hair look wispy.
Some people combine both techniques: they cut the basic shape with regular scissors using horizontal cuts, then use point-cutting or thinning shears on the ends to create a softer, more textured appearance.
Trimming Bangs and Face-Framing Pieces
Bangs are their own category because they’re highly visible and require a different approach than trimming the length of your hair. The key thing to remember is that when hair dries, it tends to shrink and curl slightly, so bangs cut when wet can end up noticeably shorter than you intended.
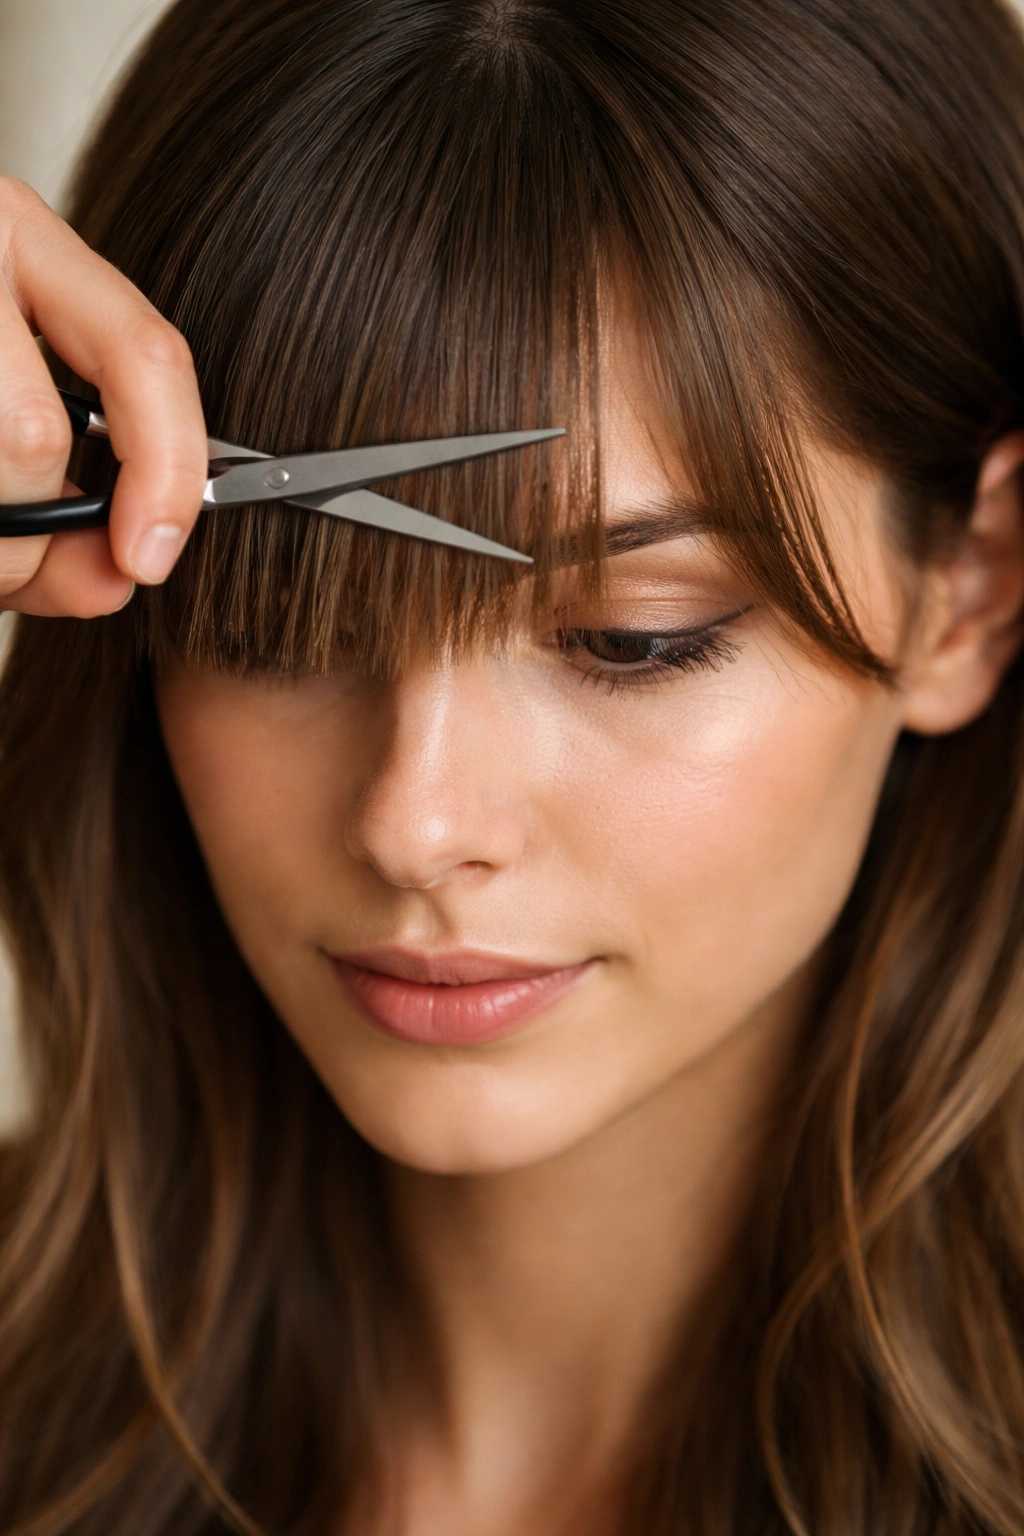
Cut bangs while they’re dry if you have straight hair and you want to be precise. If you have wavy or curly hair, definitely cut them dry so you can see exactly where they’ll sit when you wear them. Make the subsections very small—maybe a half-inch wide—and cut them one at a time, checking your work constantly in the mirror.
Hold the bang section at roughly a 45-degree angle downward (not straight out, and not downward at a steep angle). Make your cuts in small snips, removing maybe a quarter inch at a time. The reason for the angle is that bangs look better when they’re slightly shorter in the center and slightly longer on the sides—that creates a flattering shape. If you cut them perfectly straight across, they look harsh and tend to look shorter than the rest of your hair.
Face-framing pieces around the sides of your face should be slightly longer than the rest of your hair to create a flattering shape. Cut these with the point-cutting technique (holding scissors vertically) to create soft, textured edges rather than blunt lines. Shorter blunt lines around the face tend to look severe.
Blending and Perfecting Your Edges
After you’ve cut all your major sections, it’s time to zoom out and look at the overall shape and make sure everything is blended and even.
Put your hair down completely and let it fall naturally. Look in the mirror from the front, the sides, and the back. Are the layers blending smoothly from one section to the next, or are there obvious lines and choppy transitions? Use the handheld mirror to see the back of your head. Take photos from the back and sides if it helps you see the overall shape objectively.
Look specifically for these common issues: Is one side noticeably longer than the other? Are the layers choppy and disconnected, or do they blend smoothly? Is the line at the back straight, or does it angle in one direction? Are there any pieces that stick out at odd angles?
Make small corrective cuts to address these issues. Stand back between each correction and reassess. The blending process is often what takes the most time, but it’s what transforms a mediocre cut into something that actually looks intentional.
Use your regular scissors to connect disconnected layers, blending the transition by making small diagonal cuts where two length levels meet. Use thinning shears on bulk areas that don’t blend smoothly. Make tiny adjustments—you’re fine-tuning now, not making major changes.
What to Do When You Make Mistakes
Mistakes happen, even to experienced people. The key is knowing how to recover without panic.
If you’ve cut one section noticeably shorter than it should be, your options are limited: you can either cut the rest of your hair shorter to match, or you can work with it and let it grow out. Many people choose to let it grow out and adjust their styling to make the mismatch less obvious. Braids, buns, and ponytails are your friends if you’ve accidentally created an uneven length.
If you’ve cut bangs too short, the only real solution is waiting for them to grow out. In the meantime, you can pin them back or use hair clips to create the illusion of longer bangs. This is why the “cut less than you think you need” advice is so important for bangs specifically.
If you’ve created an overly choppy or textured effect that you didn’t intend, you can smooth it out by making horizontal cuts that connect the disconnected pieces. Work carefully and in small increments. If the texture is from thinning shears, you unfortunately can’t undo that—you’ll have to let it grow out and cut it off eventually.
The absolute best mistake prevention is working slowly and checking your work constantly. It’s better to spend an extra 20 minutes on your cut than to rush and create problems you’ll regret.
Maintaining Your DIY Trim Between Professional Visits
If you’re planning to cut your own hair regularly, you’ll want a maintenance schedule that keeps your cut looking fresh without requiring a major trim each time.
Most people need a trim every 6 to 8 weeks to keep a cut looking intentional. For a DIY maintenance trim, you don’t need to cut much—usually just a quarter inch to a half inch off the ends. This removes dead ends and keeps the shape looking fresh without making major changes.
Between trims, you can extend the life of your cut with good hair care. Use a color-safe or moisturizing shampoo and conditioner, depending on your hair type. Deep conditioning treatments once a week keep hair healthier and make dead ends less noticeable. Avoid excessive heat styling, which creates split ends and makes your cut look ratty faster.
If your cut has bangs or specific layers, the maintenance trim is just those areas. You might trim the back ends every 8 weeks but only trim the bangs every 4 weeks, because bangs get notice-able shorter faster. The layers typically don’t need reshaping unless you’ve grown out several inches.
Many people find that doing small maintenance trims themselves and visiting a professional every 6 months or once a year for a real reshaping is the perfect balance. You save money on frequent salon visits while still getting professional work when you need it.
When to Skip DIY and See a Professional

Being honest about your limits is crucial. Some projects are genuinely better left to a professional, and knowing the difference saves you from expensive hair disasters.
Skip DIY if you’re making a major change. If you want to go from long hair to a short pixie cut, from straight hair to bangs, or from one style to something completely different, see a professional. These changes require understanding how your hair will behave with a completely different length and shape, and that expertise is worth paying for.
Skip DIY if you have very curly or coily hair and you need a shape-defining cut. While you can trim the ends of curly hair, cutting actual layers and shaping curly hair requires understanding how that particular curl pattern will move and where weight needs to be removed. A professional who specializes in curly hair is the right choice.
Skip DIY if your hair is colored, highlighted, or processed. Processed hair requires different handling, and mistakes are more noticeable because damage shows up differently. A professional has experience with how damaged hair cuts and behaves.
Skip DIY if you’re nervous or uncertain. If you find yourself second-guessing yourself, you’re probably better off in a salon chair. Anxiety leads to rushed decisions and mistakes.
Skip DIY if you’re trimming someone else’s hair. Cutting your own hair, where you can feel the movement and see most of your head, is very different from cutting someone else’s. Even professional stylists find cutting others’ hair more challenging than their own. Unless you have real experience and the person trusts you completely, this is a bad idea.
Final Thoughts

Trimming your own hair is a learnable skill that saves money, takes just 20 to 40 minutes once you know what you’re doing, and gives you control over how your hair looks and grows. The first time might feel intimidating, but once you’ve successfully done it once, the second time is easier, and by the third time it feels routine.
The difference between a DIY cut that looks intentional and one that looks like a mistake is really just preparation, the right tools, taking your time, and being realistic about what you can handle. You don’t need perfect salon skills to maintain your current cut or trim the ends between professional visits. You do need to work slowly, check your work constantly, cut less than you think you need to, and accept that some situations are genuinely better left to professionals.
Start with small trims rather than major cuts, invest in actual hair shears so you’re working with sharp tools, and remember that hair grows out. Even if something doesn’t turn out exactly as you hoped, it’s temporary. Most people find that the confidence boost of successfully cutting their own hair, combined with the money saved, makes the learning curve completely worthwhile.