Spending hours on the golf course means your hairstyle needs to work as hard as you do. Whether you’re dealing with wind on the back nine, humidity that creeps in during afternoon rounds, or the need to keep hair out of your face while you’re focused on your swing, the right style can make the difference between feeling polished and pulled together versus frustrated and distracted. The best golf hairstyles aren’t just about looking good in your pre-round selfies — they’re about functionality, staying secure through eighteen holes, and maintaining confidence from the first tee to the eighteenth green.
The challenge with golf specifically is that you need a style that holds up under multiple factors most hairstyles never face. You’re wearing a hat or visor for extended periods, which can flatten, crease, or shift your hair. You’re moving constantly — walking, bending, swinging — which creates pull and pressure on hair that’s pinned or twisted. You’re potentially sweating, facing wind across open courses, and dealing with varying weather conditions throughout your round. A hairstyle that looks perfect in the mirror at home might completely fall apart by hole ten if it’s not constructed with golf in mind.
The good news? There are plenty of proven hairstyles that not only survive the golf course but actually look better by the end of your round because they’re designed to hold their shape and adapt gracefully to the conditions. These styles prioritize security without looking too severe, they work beautifully under a hat without creating awkward bulges or creases, and they keep hair completely out of your face so you can focus entirely on your game. Whether you prefer your hair pulled back completely or you like some softness around your face, there’s a golf-friendly style that works for your hair type, length, and personal style.
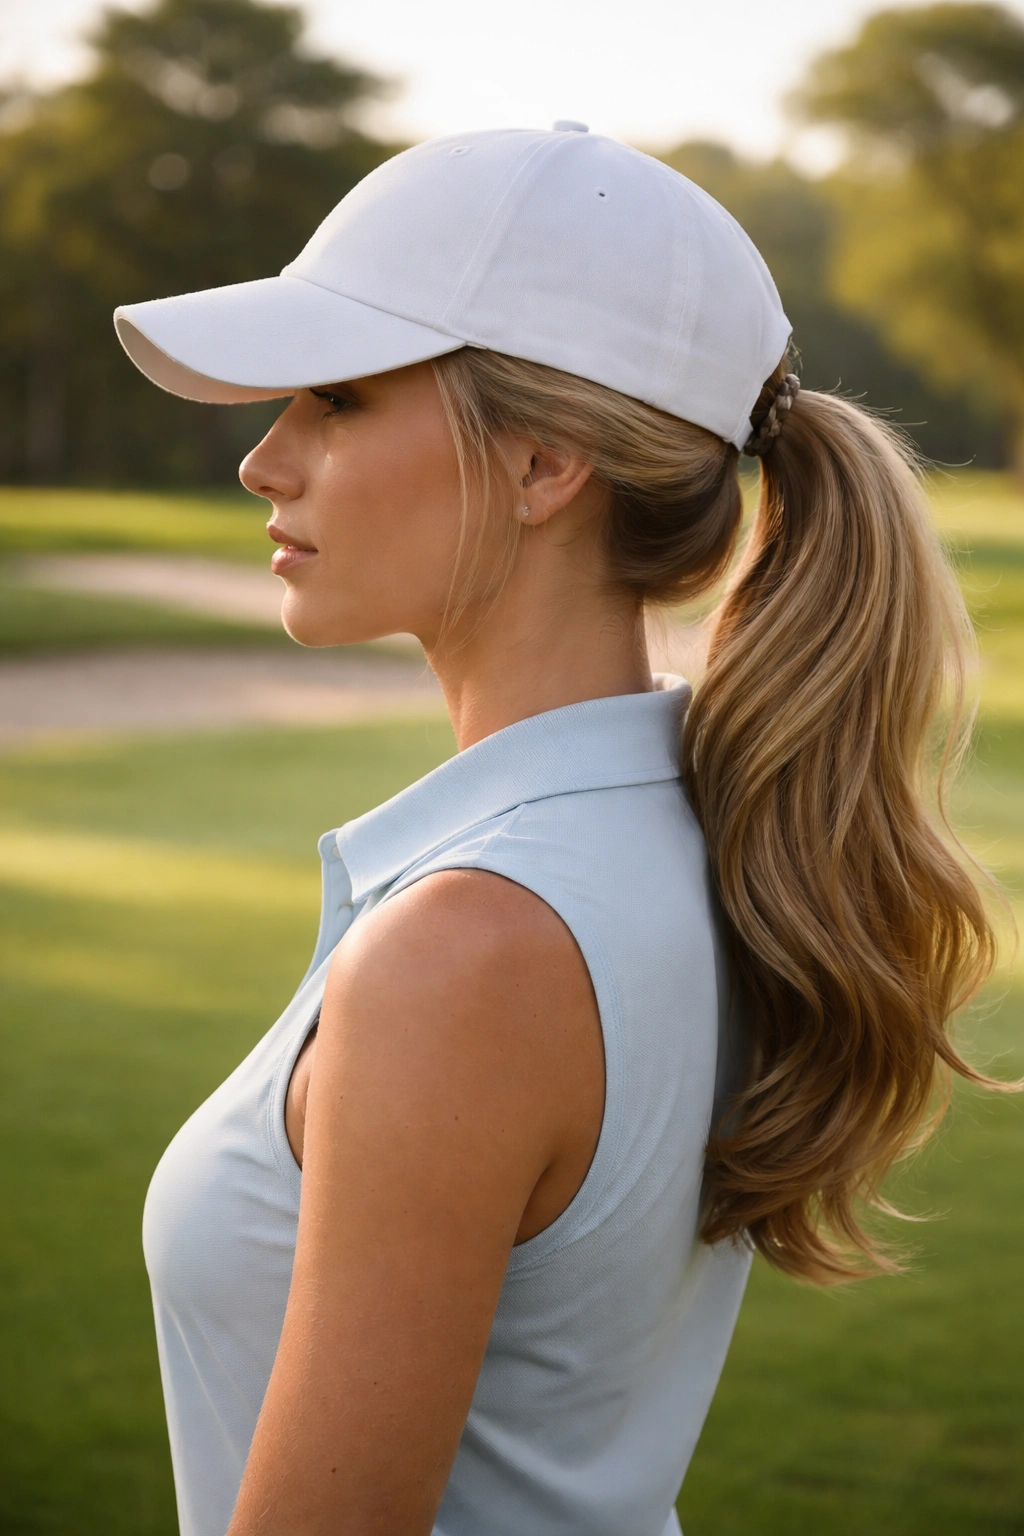
1. High Ponytail
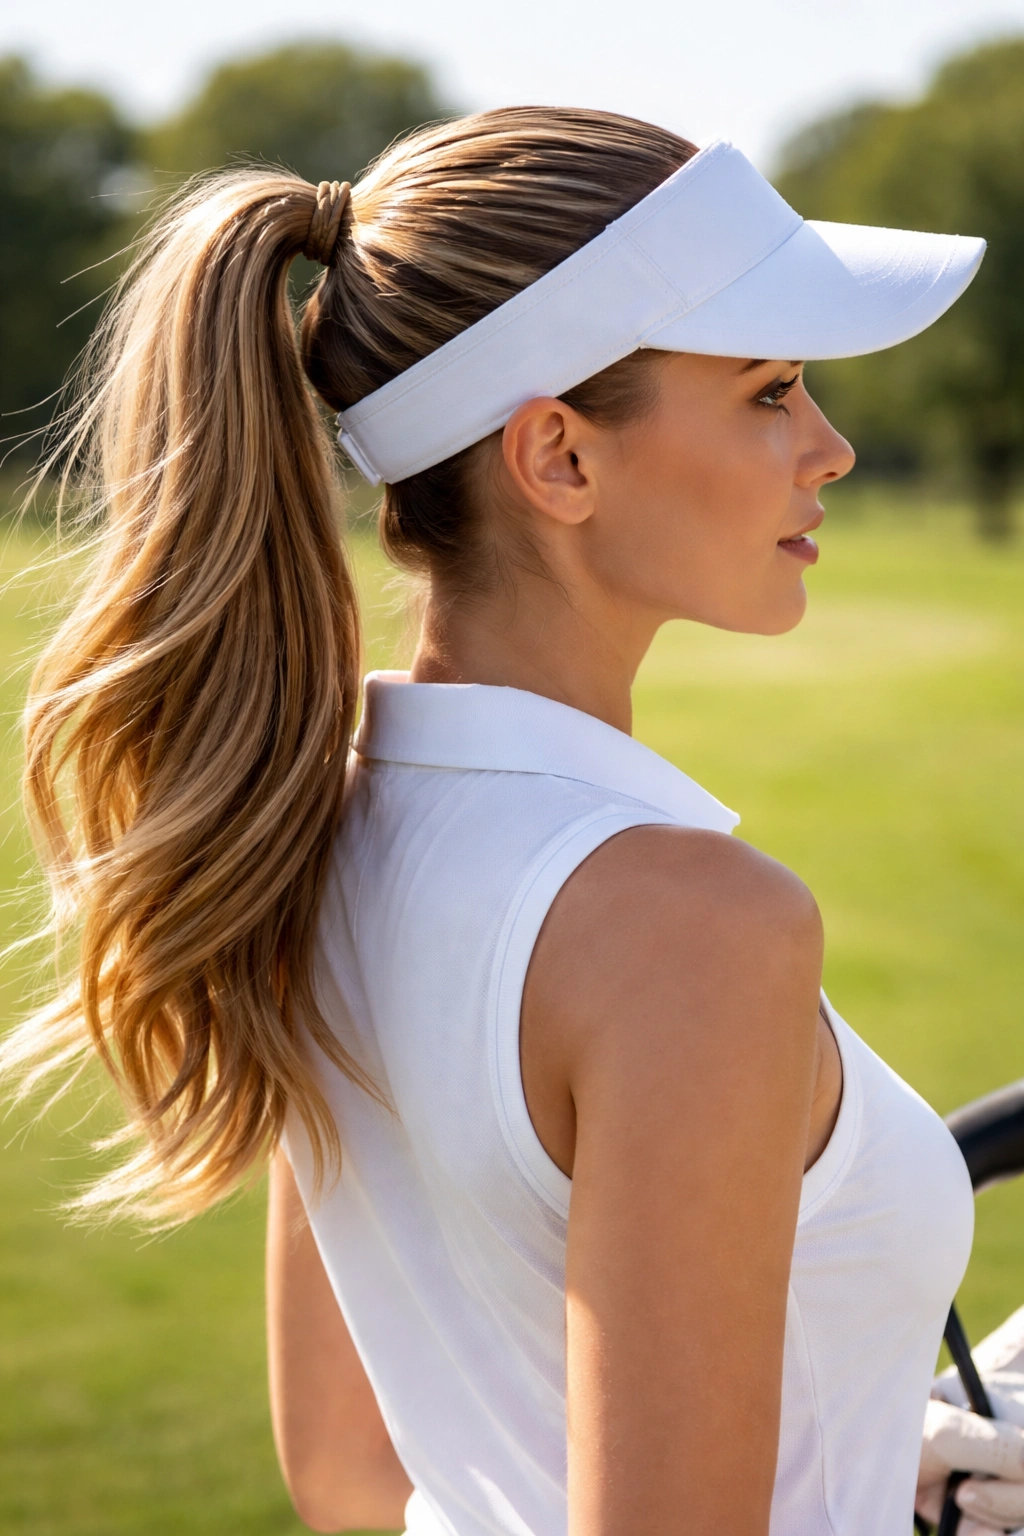
A high ponytail is the workhorse hairstyle for golfers, and it’s a favorite for good reason — it’s secure, it looks polished, and it sits perfectly under a hat without creating uncomfortable pressure points or leaving weird dent marks across your crown. The key to a golf-course-worthy high ponytail is creating one that’s sleek enough to look intentional but structured enough to survive wind and movement without loose pieces constantly falling around your face.
Why It Works on the Golf Course
A high ponytail keeps absolutely every strand of hair off your face and neck, which means zero distraction during your swing and no hair sticking to your skin when you’re warm. Because the bulk of the hair sits at the crown and back, it compresses nicely under a visor or golf hat without creating an uncomfortable knot or that awful flattened look that happens when too much volume is trapped underneath. The style is also incredibly forgiving — as you move through your round and some pieces naturally loosen and fall out of the elastic, it actually looks intentionally textured and effortlessly polished rather than messy. Wind that might destroy other styles actually helps a high ponytail look fuller and more natural.
How to Secure a High Ponytail That Actually Lasts
Start with clean or freshly dry-shampoo hair that has some grip to it — completely smooth hair slips out of elastics more easily. Section the top portion of your hair (from your temples back) and clip it away temporarily. Create a smooth base by brushing the rest of your hair straight back and securing it at the nape of your neck with a strong elastic — this foundation prevents everything from sliding down as you move. Release the top section and brush it back smoothly, then secure it at the crown with a second elastic, positioning it directly over or slightly in front of the lower ponytail base. Use a light spray of flexible hold hairspray — not the heavy stuff that makes everything stiff and uncomfortable under a hat. The two-elastic technique distributes tension across your scalp instead of concentrating it in one spot, which means it won’t slip and won’t give you that tight, uncomfortable feeling.
Pro tip: Wrap a small section of hair around the base of your ponytail to hide the elastics and create a more finished, polished appearance. This takes thirty seconds and instantly elevates the whole look.
2. Braided Crown
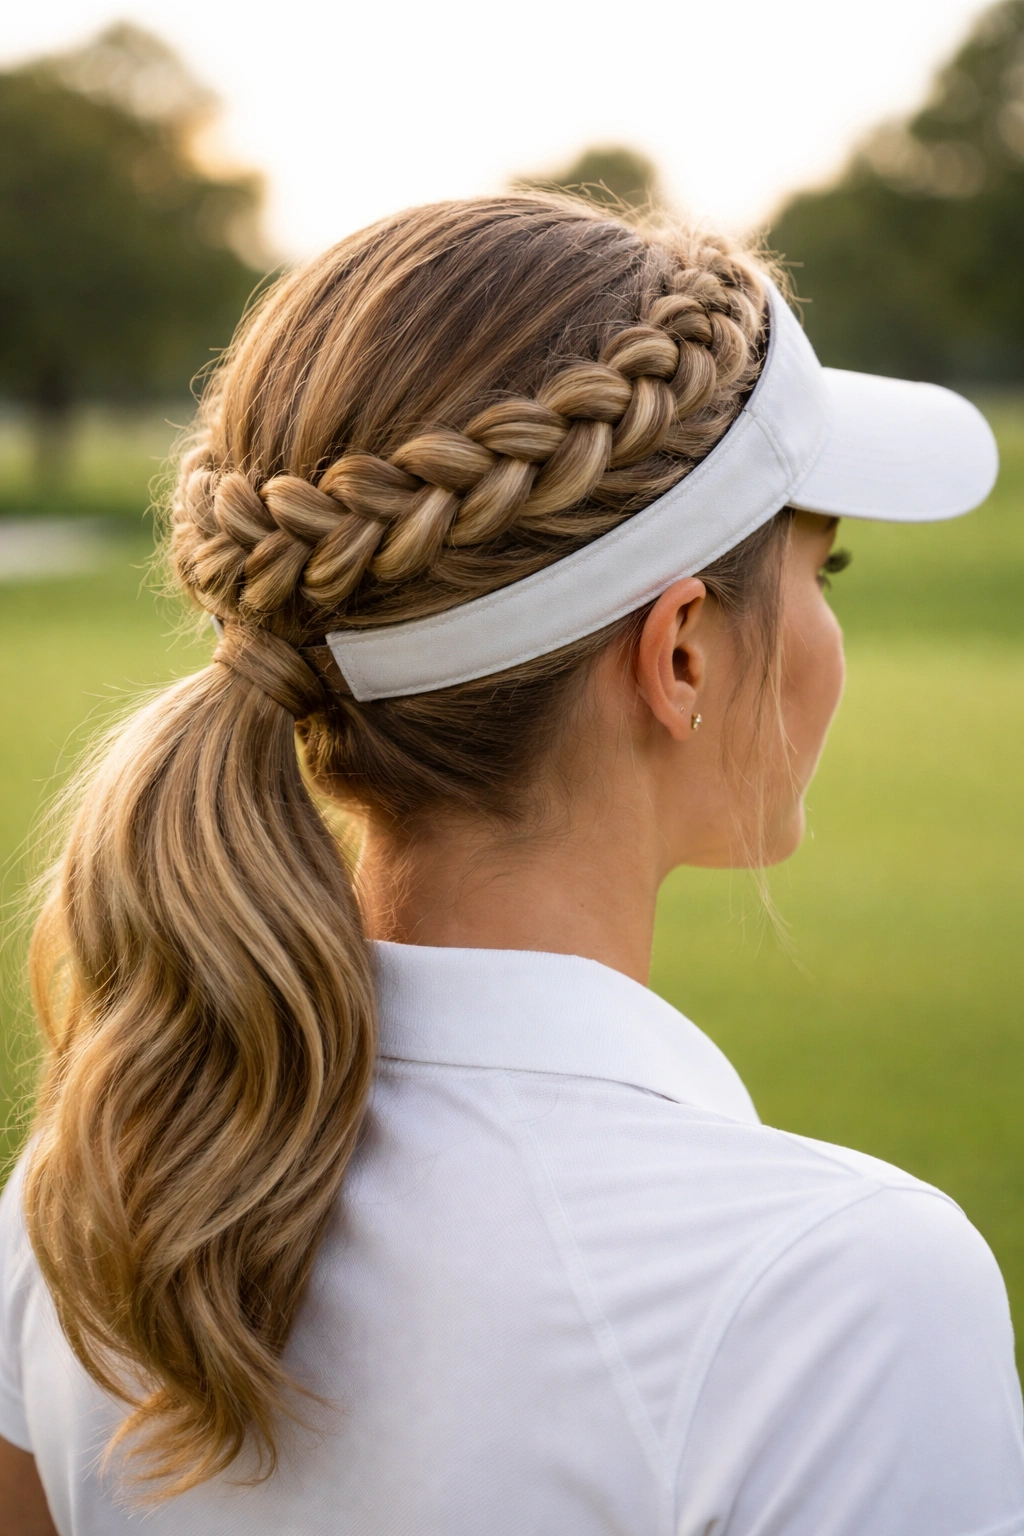
A braided crown — whether it’s a single Dutch braid or a double braid wrapped around the back of your head — offers the best combination of elegance and security. The braid keeps hair firmly in place even with vigorous movement, and the crown placement looks intentional and sophisticated whether you’re with clients, playing competitively, or enjoying a casual round with friends.
The Structure That Holds Everything Together
A Dutch braid (the kind that sits slightly raised and visible on the surface, unlike a French braid that sits flatter) starts at one temple and travels back across the crown to the opposite ear, then down the back of your head. This specific path distributes tension evenly across your scalp and positions the braid where it can’t slip forward or to the side during your swing. The overlapping pattern of a Dutch braid actually tightens as you move, so the more active you are on the course, the more secure it becomes. The trick is starting the braid slightly above your natural hairline — not right at the temple, but about an inch higher — which gives you room to tuck looser pieces back throughout your round.
Customizing the Braid for Your Hair Type
If you have thick, straight hair, a single braided crown works beautifully and creates a dramatic, polished look. Spray lightly with texturizing spray before braiding to give the hair grip and prevent slipping. If you have finer, straighter hair that tends to slip out of braids easily, create a double-crown braid instead: start one braid just above your left temple and take it straight back, then start a second braid above your right temple and cross it behind the first braid. Secure both braids together at the nape of your neck. This distributes the weight and prevents any single point of tension.
For curly or textured hair, the natural texture is actually your advantage — braid when your hair is slightly damp (not soaking wet), and the moisture combined with your natural texture creates inherent grip that keeps the braid tight and secure for hours.
3. Low Bun
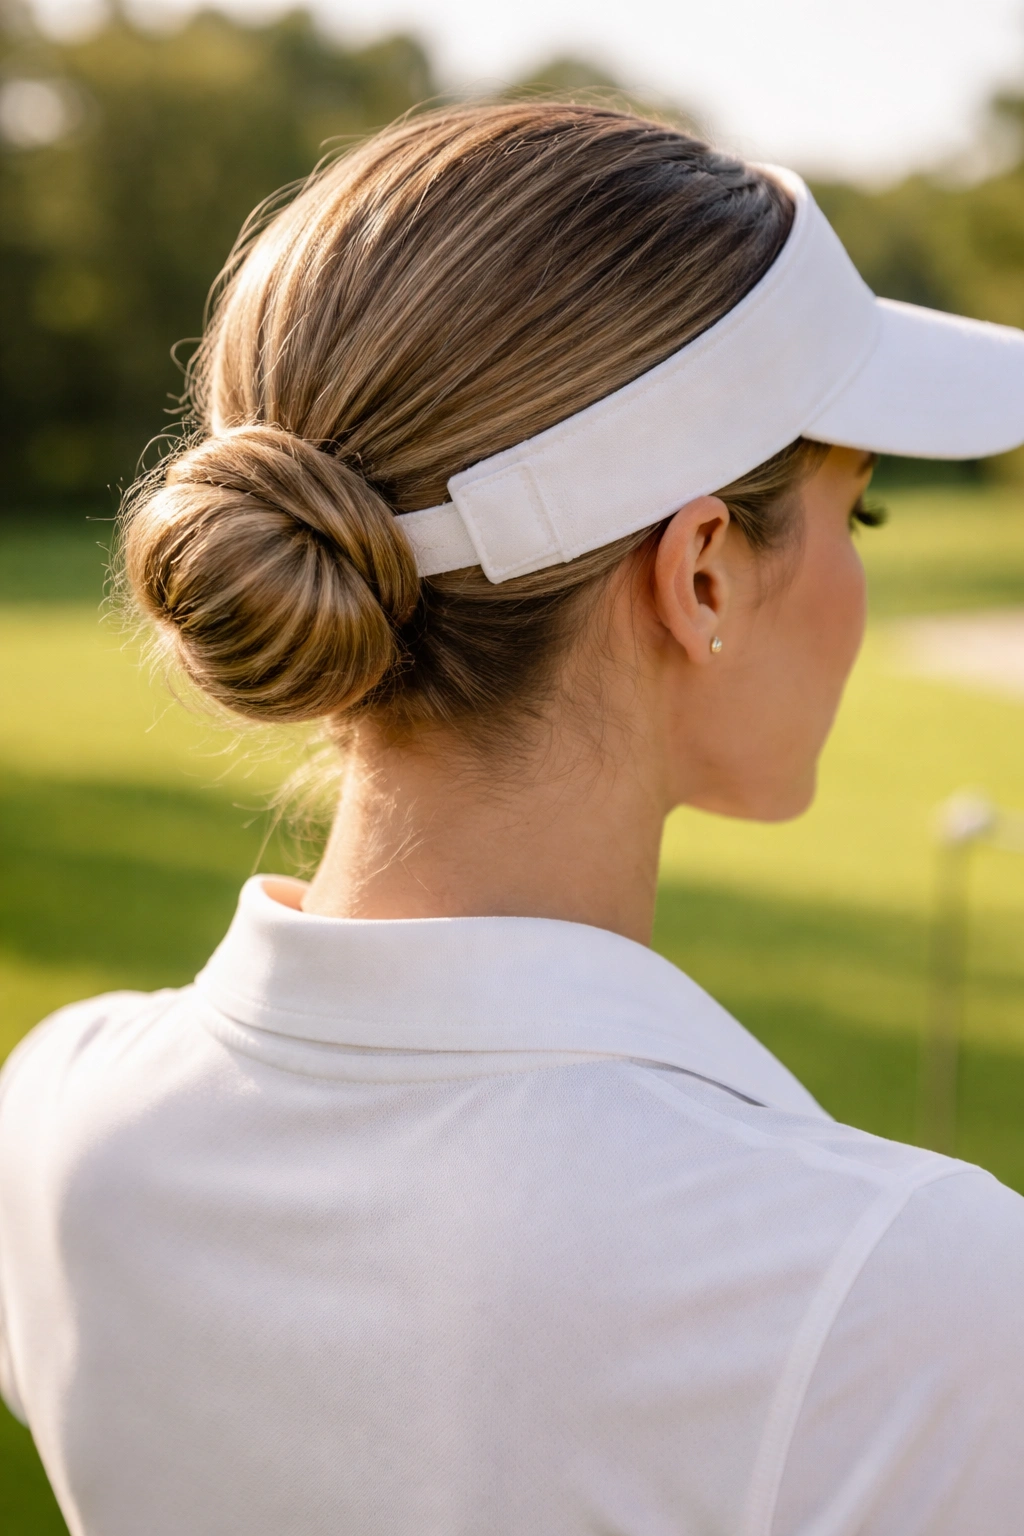
A low bun positioned at the nape of your neck is perhaps the most universally flattering golf hairstyle, working beautifully with any hair type and sitting perfectly under a hat. The low placement means zero pressure or discomfort under a visor, and the simplicity of the style makes it look polished whether you’re wearing it to an early morning round or an evening event.
Building a Bun That Won’t Come Apart
The foundation of a long-lasting low bun is a secure ponytail. Create a smooth, tight ponytail at the very nape of your neck — lower than you’d normally wear it, actually positioned right at the base of your skull where you can feel a slight bump. Secure with a strong elastic designed for thick hair (these thicker elastics distribute pressure better than thin ones). Now, twist the entire ponytail tightly — this twist is what gives you the structure that prevents the bun from collapsing or loosening as you move. Wrap the twisted ponytail around the base of the elastic to form the bun, pinning it in place with bobby pins positioned horizontally (not vertically) through the bun structure. You need at least three pins, positioned at different angles, to create a bun that survives eighteen holes plus whatever comes after your round.
Why a Low Bun Looks Better as Your Round Progresses
As hours pass and small wisps naturally escape the bun, the style actually becomes more romantic and textured rather than looking unkempt. This is the magic of the low bun — imperfection is built into the style’s charm. By your final holes, you’ll have a soft, lived-in bun that looks absolutely intentional and completely different from an overly constructed style that falls apart by comparison.
Worth knowing: If you have very thick or very long hair, use a bun donut or ring (a fabric-covered elastic ring designed specifically for buns) instead of just twisting and pinning. The donut gives you structure and distributes the weight of all your hair evenly, preventing the bun from getting too bulky or uncomfortable over time.
4. Dutch Braid
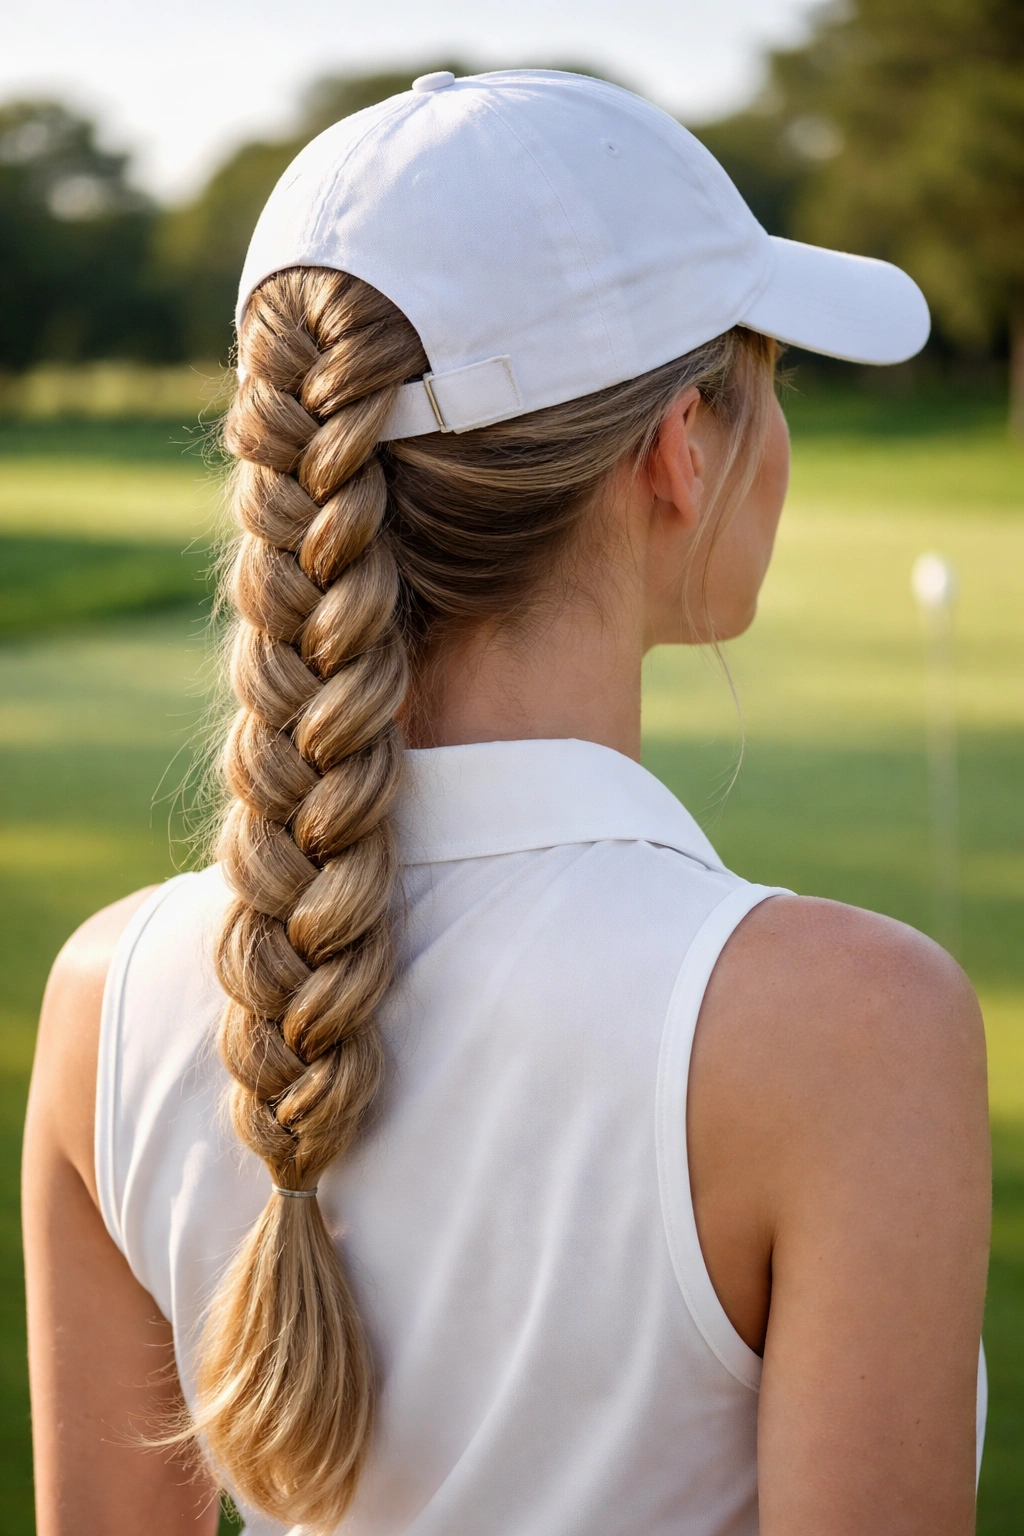
A single Dutch braid down the back of your head is perhaps the easiest way to look intentional and put-together while requiring virtually no styling time and offering maximum security for the entire round. The Dutch braid sits slightly proud of the scalp, which creates visual dimension and looks more interesting than a French braid, plus it’s much easier for most people to execute.
The Surprising Benefits of a Back Braid on the Course
A Dutch braid travels straight down the back of your head, which means it’s never in your line of sight, never interferes with your swing, and never gets caught when you turn your head to follow the ball or look at your scorecard. The braid’s position at the very back of your head means it sits far enough away from your face that wind and movement can’t create loose pieces around your temples or cheeks. It sits perfectly under a hat — the braid compresses slightly when you put a hat on, but it doesn’t create uncomfortable pressure or uneven bulges. When you remove the hat between holes, the braid springs back to its original shape with essentially zero visible hat marks.
Making Your Braid Look Polished Rather Than Gym-Ready
The difference between a braid that looks athletic versus one that looks polished on the golf course is subtle but important: texturize your hair before braiding. Don’t braid on the day you wash your hair — wait at least a day so your natural scalp oils add grip. Spray texturizing spray or dry shampoo throughout your hair before you braid, using your fingers to distribute it evenly from roots to ends. This gives the braid texture, makes it look fuller, and prevents the slicked-down appearance that can happen with perfectly smooth hair. After you’ve finished braiding, gently pull the sides of the braid outward to create a slightly looser, fuller appearance. This takes one minute and completely transforms the braid from “I’m heading to the gym” to “I intentionally styled this.”
5. Sleek Half-Up Style
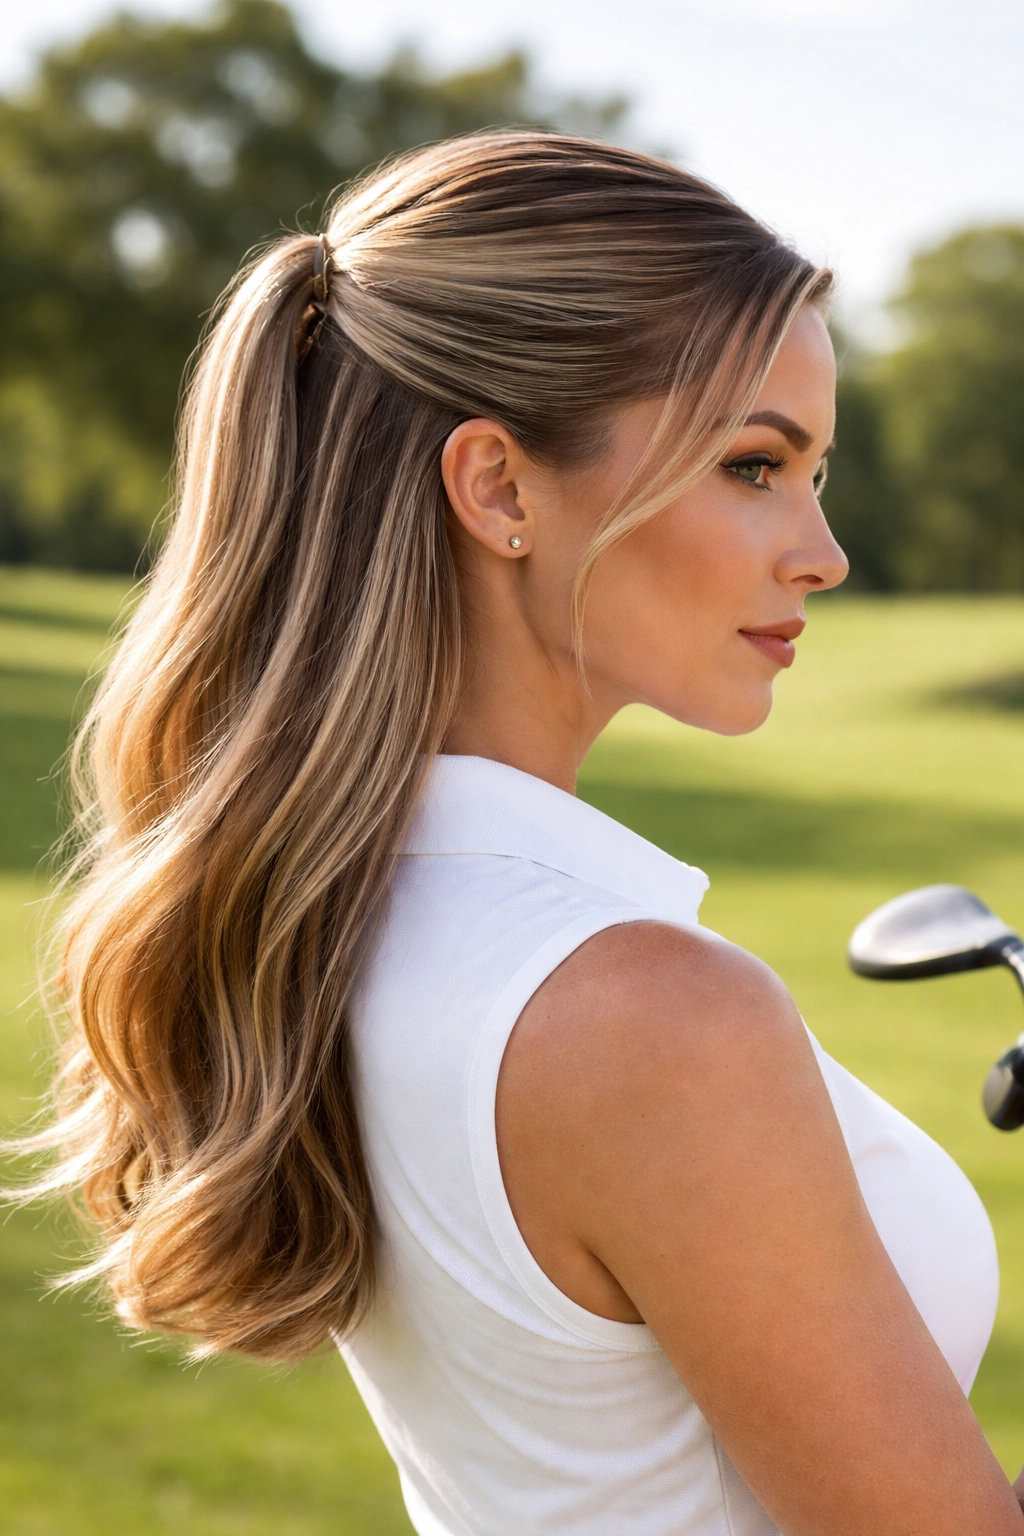
A half-up hairstyle — where the top half of your hair is pulled back and secured while the bottom half flows loose — offers a beautiful balance between looking polished and keeping some softness around your face and shoulders. On the golf course, a well-constructed half-up style keeps the bulk of your hair secured and off your face while allowing some movement and texture that makes the style look more polished than fully pulled-back options.
The Technique That Prevents the Half-Up from Falling
The most common mistake with half-up styles is making them too loose or too simple, which means they slip down by hole four and require constant readjustment. Create a genuinely secure half-up by sectioning the hair more than you think you need to — bring the section up higher toward your crown than you normally would, and make sure you’re taking hair from far back enough that the weight of the unsecured bottom half can’t pull the whole thing down. Tease the underside of the top section very lightly with a fine-tooth comb — this creates grip and texture that prevents slipping. Secure with at least two small elastics, positioned one above the other, or use bobby pins along with an elastic. The backup elastic or pins are your insurance against the whole style failing halfway through your round.
Making It Look Golf-Course-Ready
The difference between a casual half-up and a polished golf-course version is in the details. Smooth the top section completely, creating clean lines from your temples back to where you’re securing the style. Leave about an inch of smooth hair between your elastic and your hairline — not pulled so tight that you get headaches or that every tiny imperfection in your hair is visible. After you’ve secured the style, gently pull the secured section outward to create texture and fullness. Let the bottom section flow loose and wavy — either natural texture or waves you’ve created with a curling iron before you secured the top. This combination of polish and relaxation makes the style look intentional.
6. Messy Bun with Texture
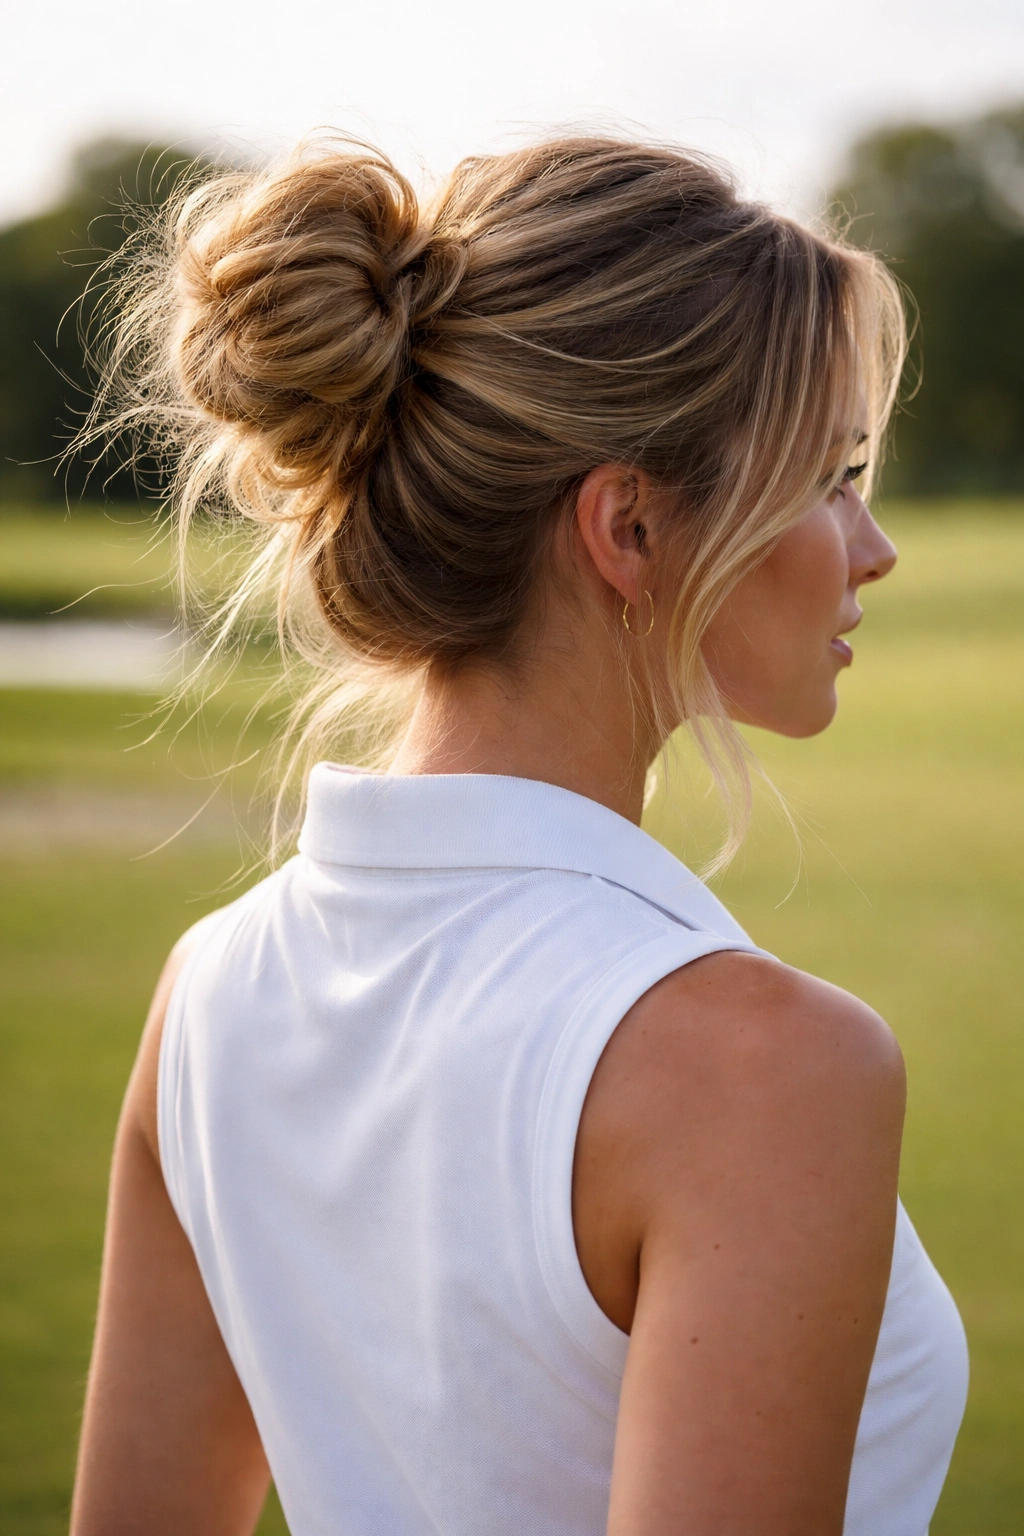
A messy bun sounds casual, but when done intentionally with texture and structure, it’s actually one of the most polished options for the golf course. A textured, carefully constructed messy bun looks effortlessly sophisticated and hides imperfections while keeping hair completely out of your way.
Creating Intentional Messiness (It’s Actually Technical)
Start with hair that has texture — either natural texture, waves you’ve created, or texture from a texturizing spray. Create a high ponytail that’s deliberately less smooth than a formal style — instead of brushing every piece straight back, use your fingers to gather the hair into a ponytail, which naturally creates some loose pieces and variation. Twist the ponytail loosely (not tightly like a low bun), and wrap it around the base to form a bun. Pin loosely with two or three bobby pins. Now here’s the key: deliberately pull pieces out from the bun and from the crown area to frame your face and create dimension. You’re not accidentally leaving pieces loose — you’re intentionally releasing specific pieces to create the aesthetic you want. Once you’ve pulled out the pieces you want visible, hit everything with a light spray of flexible hairspray to set the texture and keep everything in place.
Why This Works Better Than an Actually-Messy Bun
The difference between a genuinely messy bun (which looks like you didn’t try) and an intentional textured bun (which looks like you tried but are effortlessly cool) is all in the construction and the spraying. An intentional messy bun holds together through your entire round because it’s pinned securely, even though it doesn’t look tightly secured. The texture keeps it from looking flat or undone. The pieces you’ve pulled out frame your face deliberately rather than just falling loose randomly. This is the hairstyle that looks better as your round progresses because the looseness was planned, so any additional loosening just adds to the aesthetic.
Pro tip: Use bobby pins that match your hair color — they disappear into the texture and don’t create visible marks or lines in your bun.
7. Side Sweep
A side sweep — where your hair is swept to one side and secured low — offers an elegant option that looks sophisticated for any level of golf, from casual rounds to tournament play. The side placement means your hair sweeps away from your face without fully pulling it back, and the low security point means comfort under a hat.
The Side-Sweep Construction for Maximum Hold
Brush your hair to one side, gathering it toward the nape of your neck on the opposite side from where you want the sweep to be visible. Secure with a low ponytail elastic, then either leave it as a sleek side ponytail or twist and coil it into a low side bun. The side placement creates a flattering asymmetrical look that draws attention to one side of your face and creates a more interesting appearance than a centered style. The key to making this work on the golf course is securing it low enough that it doesn’t interfere with your swing or your vision, but positioning it off-center enough that it’s a definite style choice rather than just half your hair falling over.
Styling the Visible Side
The side of your head that’s visible (the side the sweep is sweeping away from) is now prominently displayed, so make sure it looks intentional. Smooth it completely or create soft waves, depending on your preferred aesthetic. If you’re doing a side-sweep ponytail, let the ponytail curve naturally rather than pulling it completely taut — this creates a more elegant appearance and is more comfortable under a hat. If you’re creating a side-sweep bun, keep it relatively loose and textured rather than a tight, severe bun, which can look too formal and isn’t as forgiving when wearing a hat all day.
8. Boxer Braids
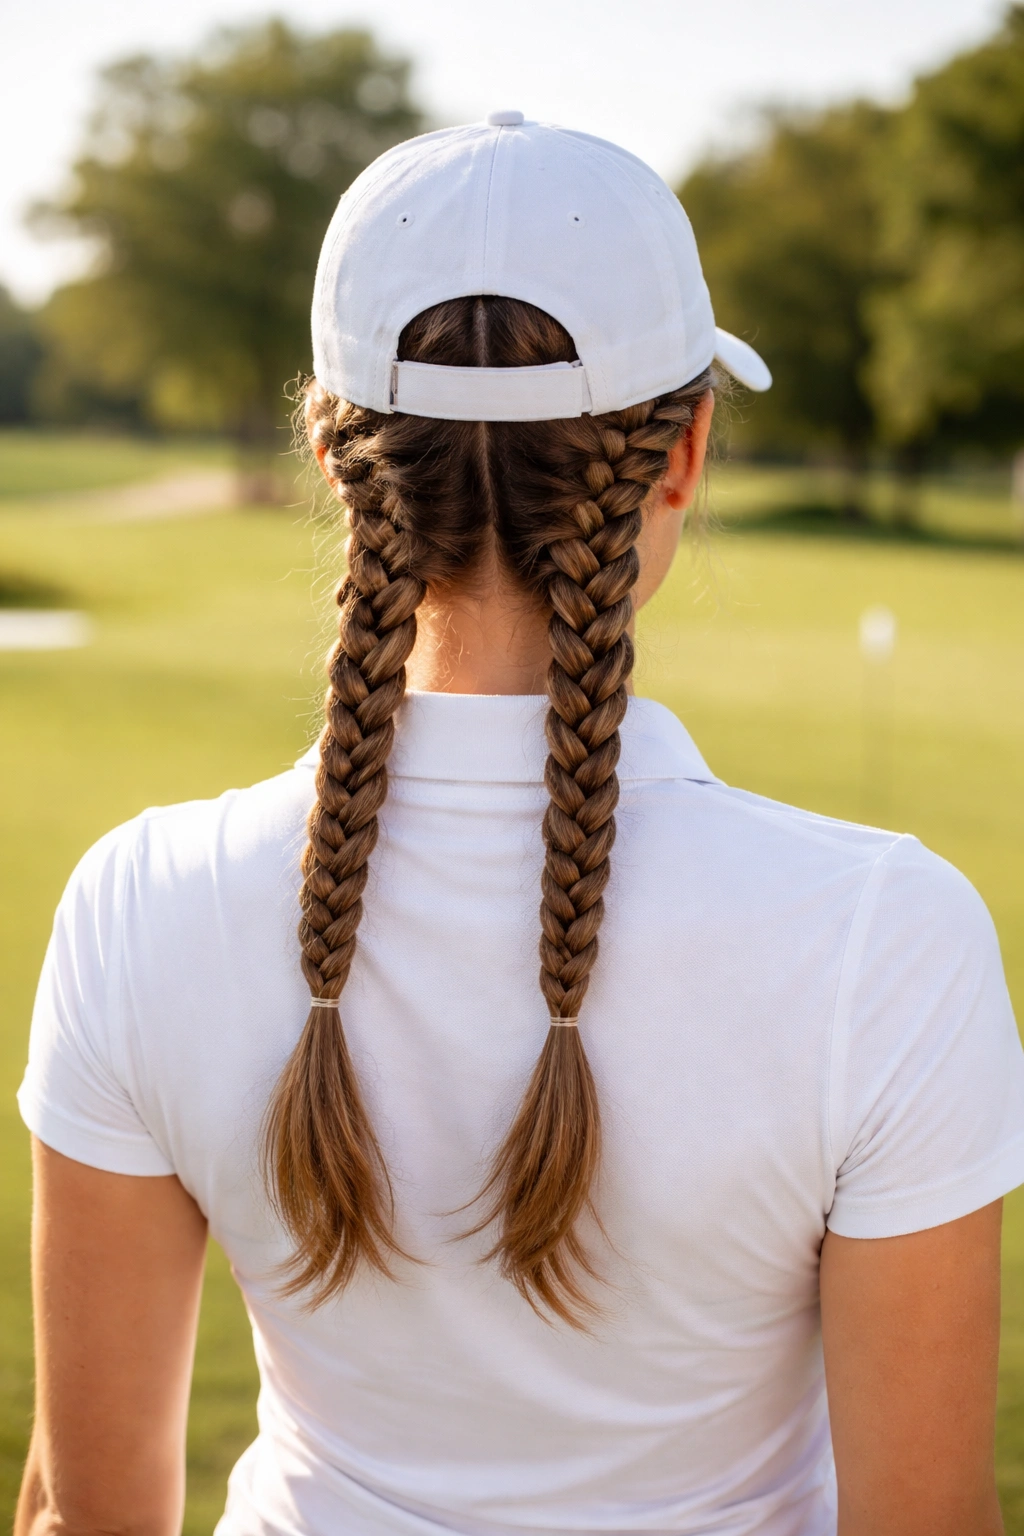
Double Dutch braids (often called boxer braids or sports braids, though the name varies) create a look that’s at once sporty and elegant — perfect for the golf course where you want to look intentional and polished while clearly being practical about keeping hair secure. Two parallel braids traveling down the back of your head distribute weight evenly and create a bold, intentional style that works beautifully whether you have any amount of hair.
Why Two Braids Beat One for Golf-Course Wear
A single braid puts all the weight of your hair in one place, which means a single point of tension on your scalp and a single point of pressure under a hat. Two parallel braids distribute that weight and tension across two separate paths, which means more comfort over a full eighteen holes and more balanced pressure under whatever hat you’re wearing. The two braids also create visual width across the back of your head, which is flattering and looks more intentional than a single center braid. Additionally, two braids offer more flexibility — if one braid starts to loosen slightly as you move through your round, the other stays tight, so you don’t end up with a completely compromised style.
Constructing Braids That Stay Parallel and Secure
Section your hair straight down the center from your hairline all the way to the nape of your neck. Clip one side away. Starting on the exposed side, create a Dutch braid (or French braid if you prefer a flatter appearance) from just above your temple, traveling straight back. Secure at the nape with a small elastic. Release the other section and repeat on the other side. The key is keeping both braids the same width and traveling the same path — they should look like mirror images of each other. If one is noticeably wider or travels slightly differently, it throws off the whole aesthetic. Take your time with the sectioning and the first few passes of each braid to ensure they’re parallel.
Worth knowing: Spray your hair with texturizing spray before braiding, and gently pull the sides of each braid outward after you’ve finished to create fuller, more interesting-looking braids. This texture is what makes the style look polished rather than severe.
9. Twisted Chignon

A twisted chignon (a variation on the low bun where you create the bun from a twisted section rather than a full ponytail) is an unexpectedly elegant option that looks more sophisticated than a standard bun while requiring less time to create. The twist adds visual interest and texture while providing excellent security for the entire round.
Building the Twist That Creates Structure
Instead of creating a full ponytail and then twisting it, gather all your hair into your hands as if you’re making a ponytail, then twist that entire section tightly, rotating the hair against itself until you’ve created a firm, cordlike twist that extends from your hairline all the way to the ends. Wrap this twist around the base of where your ponytail would normally sit (at the nape of your neck), creating a coil that sits flat against your head. Pin with three to four bobby pins positioned at different angles through the twist-bun structure. The twist creates its own structural integrity, so the bun holds together better than a non-twisted bun and looks more polished and intentional.
The Effortless Elegance Factor
A twisted chignon reads as “I took time with my appearance” while actually being quicker to create than many other styles. The twist catches light differently than a regular bun and creates visual texture and dimension. As the style relaxes slightly throughout your round, it becomes more romantic and textured rather than looking unkempt — the twist naturally creates loose, wavy pieces that frame your face beautifully. This is an excellent choice if you want to look polished and intentional but don’t want to spend thirty minutes on hair styling before your round.
10. Sleek Bob or Lob with Tucked Sides
If you prefer to wear your hair down, a sleek bob or lob (long bob) with the sides tucked behind your ears offers a polished, golf-course-appropriate look that keeps your face completely clear without requiring any hair to be pinned or secured. The sleekness keeps it looking intentional rather than just casual, and tucking the sides prevents hair from falling into your face during your swing.
Getting the Sleekness Right
Sleek doesn’t mean flat — it means smooth, polished, and intentional. Start with either naturally straight hair or hair that you’ve smoothed with a flat iron or blow dryer. Use a smoothing serum or anti-frizz product to eliminate flyaways and create a glossy finish. The key to sleekness that lasts all day is using a flexible hold hairspray that keeps everything in place without making your hair feel stiff or crunchy. Spray lightly as you section and smooth, then do a final light spray over the finished style.
The Tuck That Keeps Hair Out of Your Swing
This might seem too simple to mention, but the way you tuck the sides behind your ears actually matters for longevity. Don’t just push the hair back casually — gather the section of hair that naturally falls in front of your ear and tuck it firmly behind your ear, using a small bobby pin to secure it if necessary. If your hair is particularly slippery, use a pin on each side. When you’re setting your stance and preparing for your swing, secure hair isn’t going to shift or move, and you won’t have any distracting pieces floating into your face or your line of sight. Your focus stays entirely on your swing.
Pro tip: Bring bobby pins that match your hair color in your golf bag. If a pin loosens or you need to re-pin your hair between holes, you’ll have everything you need without requiring a trip to the clubhouse.
Final Thoughts

The best hairstyle for your golf game is ultimately the one you’re confident wearing, but the styles that perform best on the course share certain qualities: they keep hair away from your face without requiring constant adjustment, they compress gently under a hat without creating uncomfortable pressure, and they actually look better as your round progresses rather than falling apart by the back nine. Whether you choose a high ponytail for maximum practicality, braids for structure and elegance, or a textured bun for that effortlessly polished look, the key is preparation — taking a few extra minutes before your round to ensure your style is genuinely secure means you’ll spend your time on the course thinking about your game, not about your hair.
The most successful golfers understand that removing distractions is what allows you to focus on performance. A hairstyle that holds together flawlessly from the first tee through the eighteenth green is one less thing competing for your mental energy. Try a different style each week until you find the one that makes you feel most confident and comfortable, and once you do, you’ll wonder how you ever played without it.