School mornings are a whirlwind. Between packing lunches, finding missing homework, and getting out the door on time, hair often becomes an afterthought — but it doesn’t have to be. The difference between a frazzled start and a smooth one often comes down to having a few reliable, fast hairstyles in your back pocket. When you’ve got options that take five minutes or less and actually stay put through a full day of classes, recess, and PE, mornings transform from chaotic scrambles into something almost manageable.
The hairstyles that work best for school mornings are the ones that look polished enough for photos and parent interactions, hold up through active play without constant readjustment, and require minimal styling tools or product. You don’t want something that demands a straightener, blow dryer, and three rounds of hairspray just to get out the door. What you need are styles that work with your daughter’s natural hair texture, can be created in under ten minutes, and won’t unravel by lunchtime.
The goal here isn’t perfection — it’s practical, pretty, and fast. These ten hairstyles are specifically chosen because they require just a few basic tools (elastic bands, bobby pins, and maybe a brush), work across different hair types and lengths, and genuinely stay secure during a busy school day. Whether your girl has stick-straight hair, thick waves, or curls, you’ll find options that work. Whether she’s five or fifteen, whether she does her own hair or you’re doing it for her, these styles are game-changers for frantic mornings.
1. The Classic Ponytail
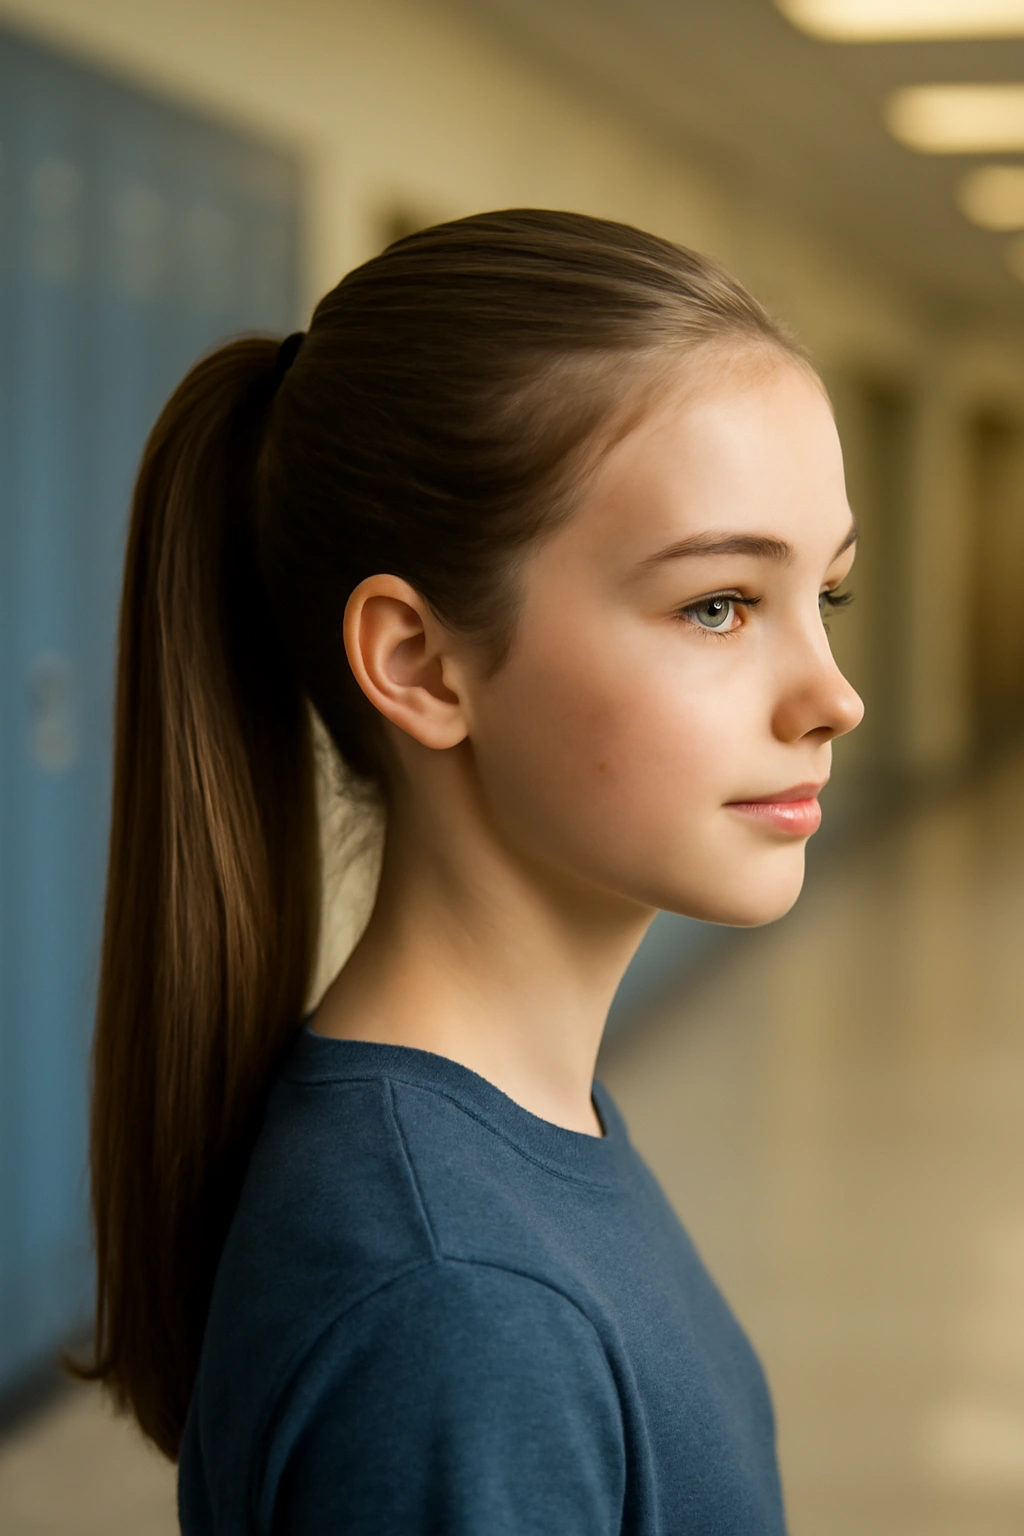
There’s a reason the ponytail has stayed a go-to school hairstyle for decades — it’s genuinely hard to beat for speed and reliability. But the difference between a sloppy, sad ponytail and one that actually looks intentional and polished comes down to a few small technique shifts that take barely any extra time.
Start with hair that’s been brushed through from root to tip, removing any tangles that would otherwise create bumps or weakness in the finished style. Gather the hair at your daughter’s crown (roughly where her head starts to round at the back) and secure it firmly with a smooth elastic band. The key here is tightness — a loose ponytail will droop and fray by mid-morning, but one that’s secured well will hold its shape all day. If her hair is very fine, loop the elastic around twice for a stronger grip.
Why It Works for Busy Mornings
A ponytail solves three problems at once: it gets hair completely off the face and neck (crucial for comfort during warm months or active play), it looks intentional and neat without any styling product needed, and it takes under two minutes to create. Unlike styles that require multiple steps or precise placement, a ponytail is forgiving — even if it’s not perfectly centered, it still looks fine.
How to Elevate It
The most impactful upgrade takes just one extra step: after securing the ponytail, gently pull out a few small face-framing pieces by carefully loosening a few strands on either side of her face. This softens the look and makes the style feel less severe. Or, take a thin horizontal section from underneath the ponytail base and wrap it around the elastic, securing the wrapped piece with a bobby pin to hide the elastic completely. This transforms a simple ponytail into something that looks styled and intentional.
Quick Facts About This Style
- Time to create: 1.5 to 2 minutes
- Best for: All hair types, including fine, thick, straight, and wavy hair
- Holds throughout: Entire school day if secured tightly
- Tools needed: One smooth elastic band, optional bobby pin for wrapping
- Styling product needed: None
- Best placement: Crown or slightly high crown for youthful proportions
Pro tip: Keep a small collection of elastic bands in different colors (solid colors, patterned, or with small decorative clips) so your daughter can choose which one matches her outfit or mood each morning.
2. Sleek Low Bun
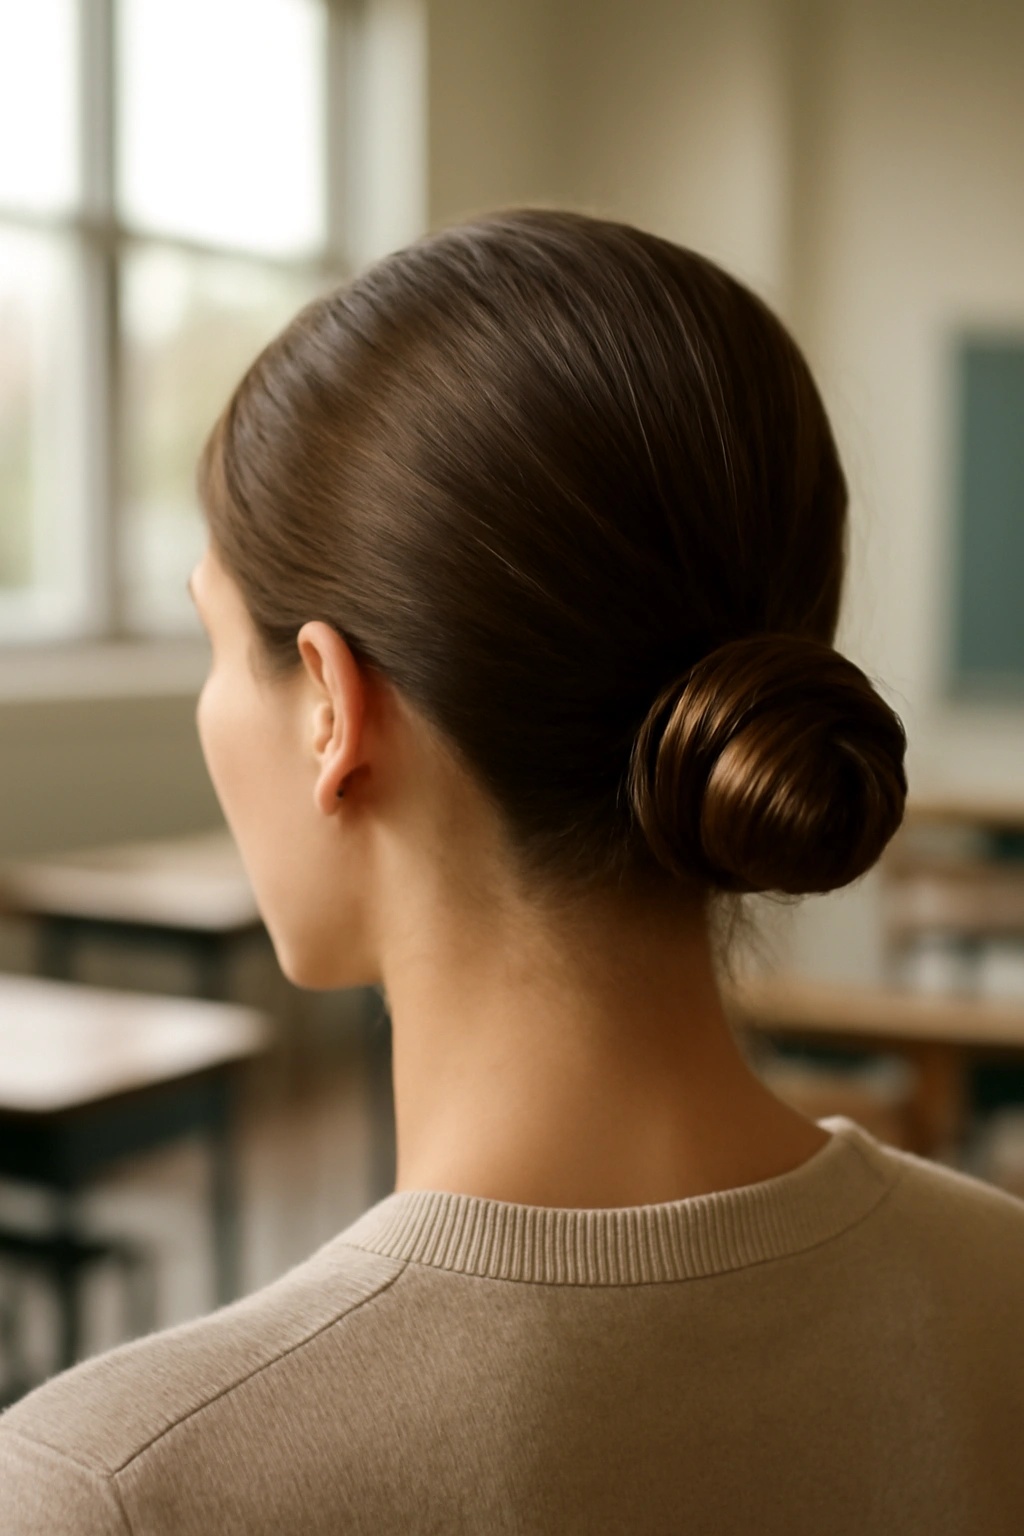
A low bun is the hairstyle that says “I have my life together” even when you absolutely do not — which makes it perfect for school mornings that have already gone sideways. It’s also one of the most forgiving styles because loose pieces and flyaways actually add to the intentional, soft aesthetic rather than looking messy.
Create this style by gathering hair low at the nape of the neck — roughly where the hairline ends — and securing it into a low ponytail with an elastic band. Then, twist the ponytail loosely around itself, wrapping it into a coil, and secure the coil to the base of the ponytail with bobby pins. The looser you make the twist, the more modern and effortlessly polished the bun looks. Tight, sculptural buns are beautiful but require more precision; a slightly undone version is faster and frankly more forgiving for morning rush scenarios.
Why It Works for Busy Mornings
This style keeps all hair controlled and secured without requiring the precision of intricate updos. It works beautifully on hair that’s slightly limp or hasn’t been washed in a day or two (no judgment — busy families understand). A low bun also accommodates a wide range of hair lengths, from just-past-shoulder to waist-length, and it works on thick, thin, straight, and textured hair alike. Most importantly, once it’s pinned, it stays secure through recess, PE, and even enthusiastic movement.
Building in Texture
If her hair is very smooth or fine and the bun feels too slick, add subtle texture the night before by braiding her hair loosely before bed, then releasing it in the morning before creating the bun. The braid gives the hair natural waves and volume that make the bun look fuller and more interesting. Alternatively, use a light texturizing spray or dry shampoo on the hair before gathering it — this adds grip so the bun holds better and looks less flat.
Quick Facts About This Style
- Time to create: 2 to 3 minutes
- Best for: All hair lengths longer than shoulder-length; works on all hair types
- Holds throughout: Entire day and even through PE or sports
- Tools needed: Elastic band and 2 to 3 bobby pins
- Styling product needed: Optional light texturizing spray for grip
- Best placement: Low at the nape of the neck for a graceful, feminine look
Worth knowing: If the bun feels loose even after pinning, secure it with one more bobby pin through the center, crossing it with another pin in an X pattern. This double-security method means the bun genuinely won’t slip, even during an active school day.
3. Half-Up Half-Down Style
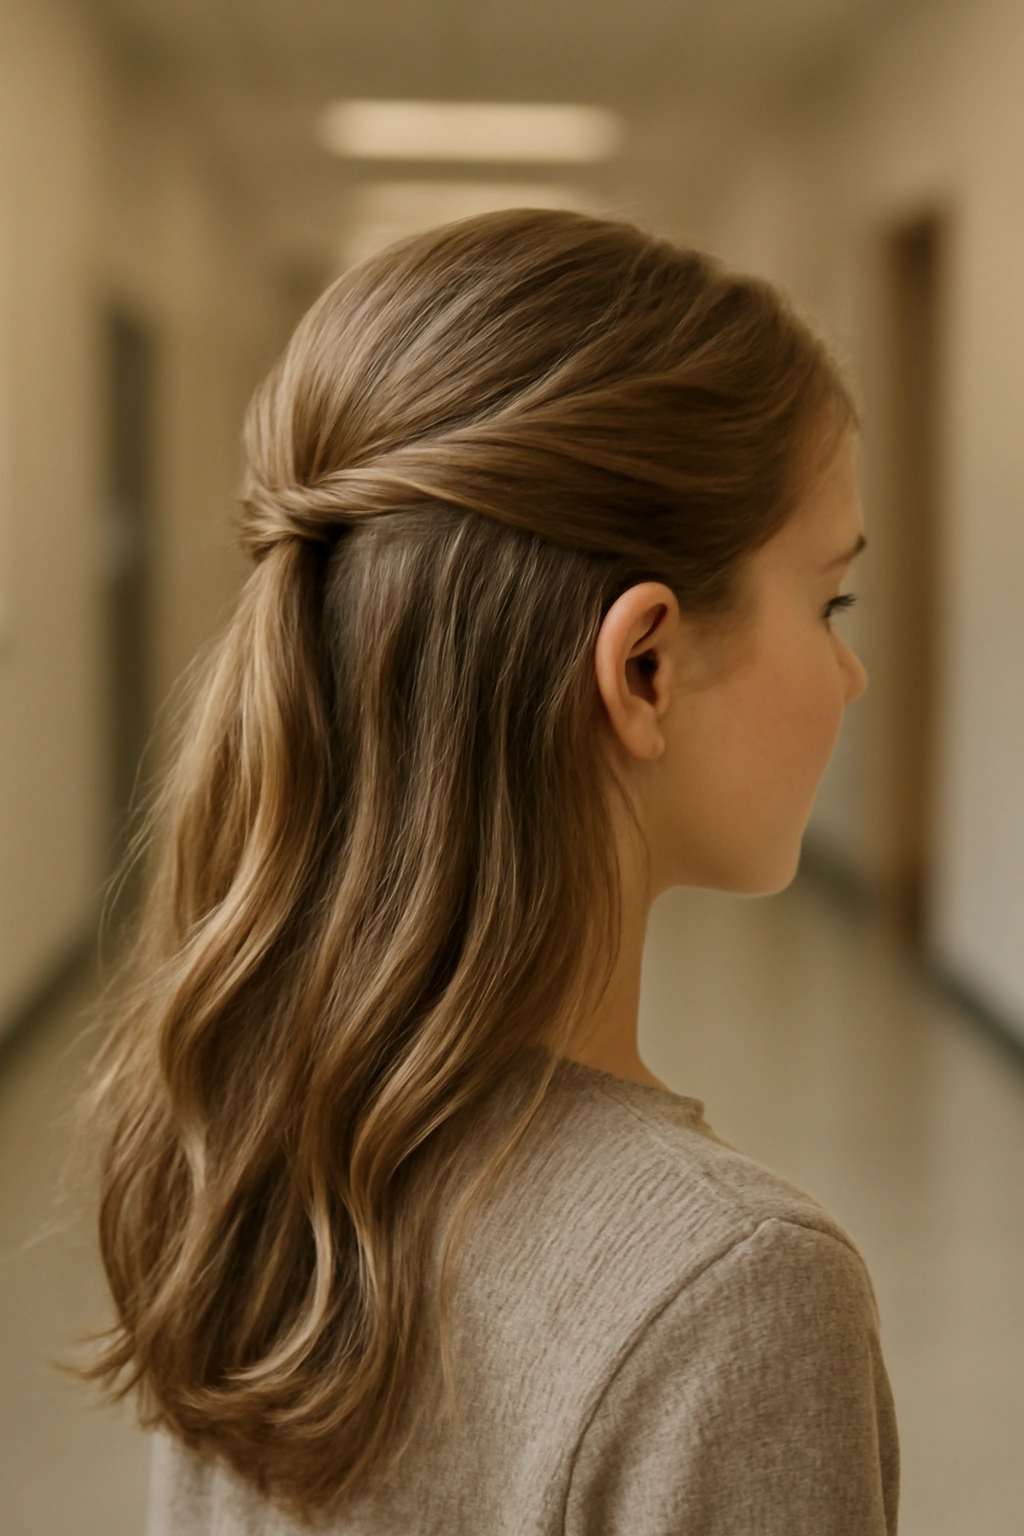
This is the hairstyle that gives you the best of both worlds: the ease of leaving most hair down, but enough gathered up top that it’s not cascading over the face or getting in the way during focus work at school. It’s genuinely the perfect compromise for girls who prefer wearing their hair down but need it managed enough for actual functionality.
Start by gathering a section of hair from one side of the head, roughly from her temple back toward the crown. Twist this section gently as you go, and secure it with a small elastic band at the back of the head. You can leave some face-framing pieces loose if she prefers, or tuck them in to the gathered section for a cleaner look. Some mornings she might want the half-up to be sleek and tight; other mornings a looser, more textured twist looks fresher and more age-appropriate.
Why It Works for Busy Mornings
This style takes under three minutes, requires literally just an elastic band, and solves the very real problem of long hair constantly falling in the face during schoolwork. Unlike a full ponytail, which some kids feel self-conscious about, a half-up style reads as intentionally styled and sophisticated. It also gives you flexibility — if she wakes up not wanting to do much with her hair, the half-up feels like an effortless compromise.
Simple Variations for Different Moods
On some days, create a half-up by gathering hair from both sides of the head and securing both sections together at the back — this creates a fuller, slightly more polished look. On other mornings, do a half-up twist on just one side for an asymmetrical, modern vibe. Or try a half-up braid: gather the top section of hair, braid it loosely, and secure the braid end with a small elastic. This tiny detail makes the style feel more intentional without demanding extra time.
Quick Facts About This Style
- Time to create: 2 to 3 minutes
- Best for: Shoulder-length hair and longer; works best on hair with some texture or wave
- Holds throughout: All day, even with hair down the back and around shoulders
- Tools needed: One elastic band, optional bobby pins if you want extra security
- Styling product needed: None
- Best placement: From temple back toward the crown, gathering at the back of the head
Insider note: If the half-up section feels like it’s slipping throughout the day, take a very small section from underneath the gathered hair and wrap it around the elastic, securing it with a bobby pin. This tiny wrap makes the whole style dramatically more secure without adding visible bulk or changing the aesthetic.
4. Double Dutch Braids
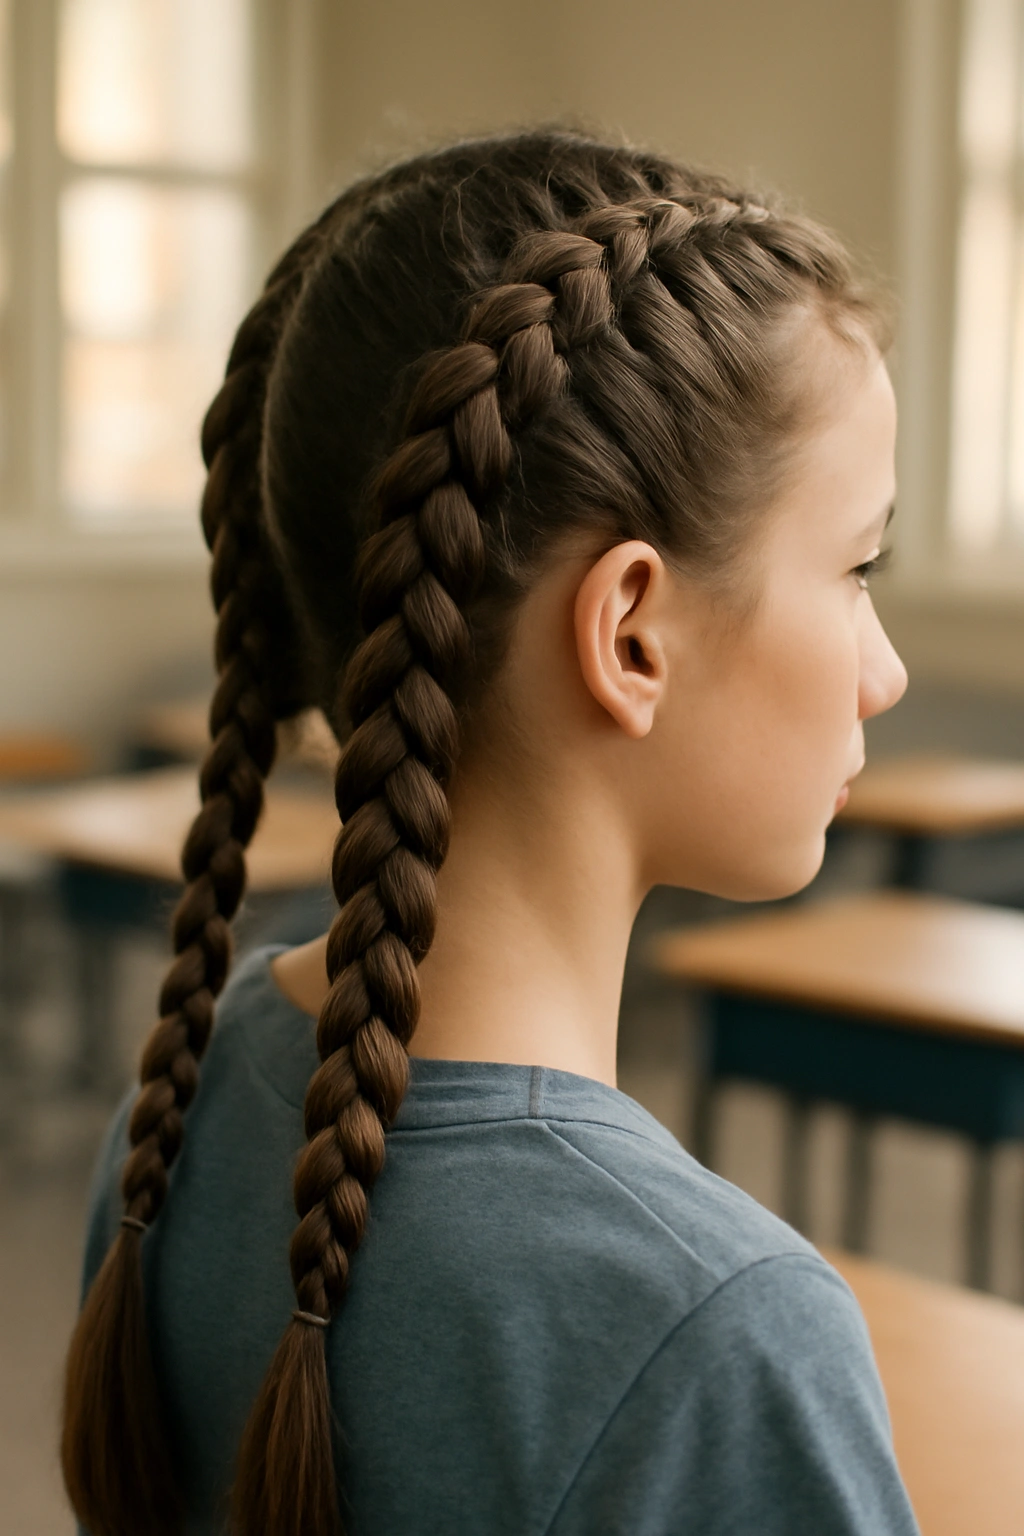
Double braids might sound complicated for a busy morning, but they’re actually faster than you’d expect once you get the basic motion down — and they transform your daughter’s whole look while buying you the assurance that her hair will stay neat and contained no matter what the day throws at her. These braids are particularly brilliant for girls with longer or thicker hair, and they work across all hair textures.
Divide the hair straight down the middle from forehead to nape, creating two distinct sections. Start with one side: take a small section of hair at the front near the temple and divide it into three strands. Cross the right strand over the middle, then the left strand over the middle, just like a basic braid. As you continue braiding, gradually incorporate small pieces of hair from the sides of the head into each strand, pulling hair from the outer edge and folding it into the braid. This is the Dutch braid technique — instead of braiding hair over the middle strand, you’re braiding it under, which creates a raised, dimensional braid that sits on top of the scalp.
Why It Works for Busy Mornings
Once you understand the motion, these braids move quickly — truly, with practice, you can complete both braids in under five minutes. The payoff is enormous: your daughter’s hair is completely secured, it looks intentional and polished, and it will absolutely survive a full day of movement, play, and activity. Double braids also work on virtually every hair type and texture. Fine hair? The raised braid actually creates the illusion of fullness. Thick curly hair? The braids contain it beautifully. Straight hair? The braids hold perfectly.
Making It Foolproof
The most common issue is uneven braids (one is tighter or messier than the other), but this solves itself with repetition. More importantly, secure each finished braid with a small elastic band at the nape, then take a small section of hair from one of the braids, wrap it around that elastic to hide it, and pin it in place. This detail takes thirty seconds and instantly elevates the whole look from “schoolkid braids” to “intentional hairstyle.”
Quick Facts About This Style
- Time to create: 3 to 5 minutes once you get comfortable with the technique
- Best for: Hair longer than shoulder-length; works beautifully on all textures
- Holds throughout: All day, through activity and PE
- Tools needed: Two elastic bands and optional bobby pins
- Styling product needed: None; a light detangling spray helps if hair is tangled
- Best placement: Both sides of the head, starting from temples
Pro tip: If her hair is very straight and slippery, gently mist it with dry shampoo before you start braiding. This gives the hair grip and makes the braiding process smoother and faster.
5. Messy Top Knot
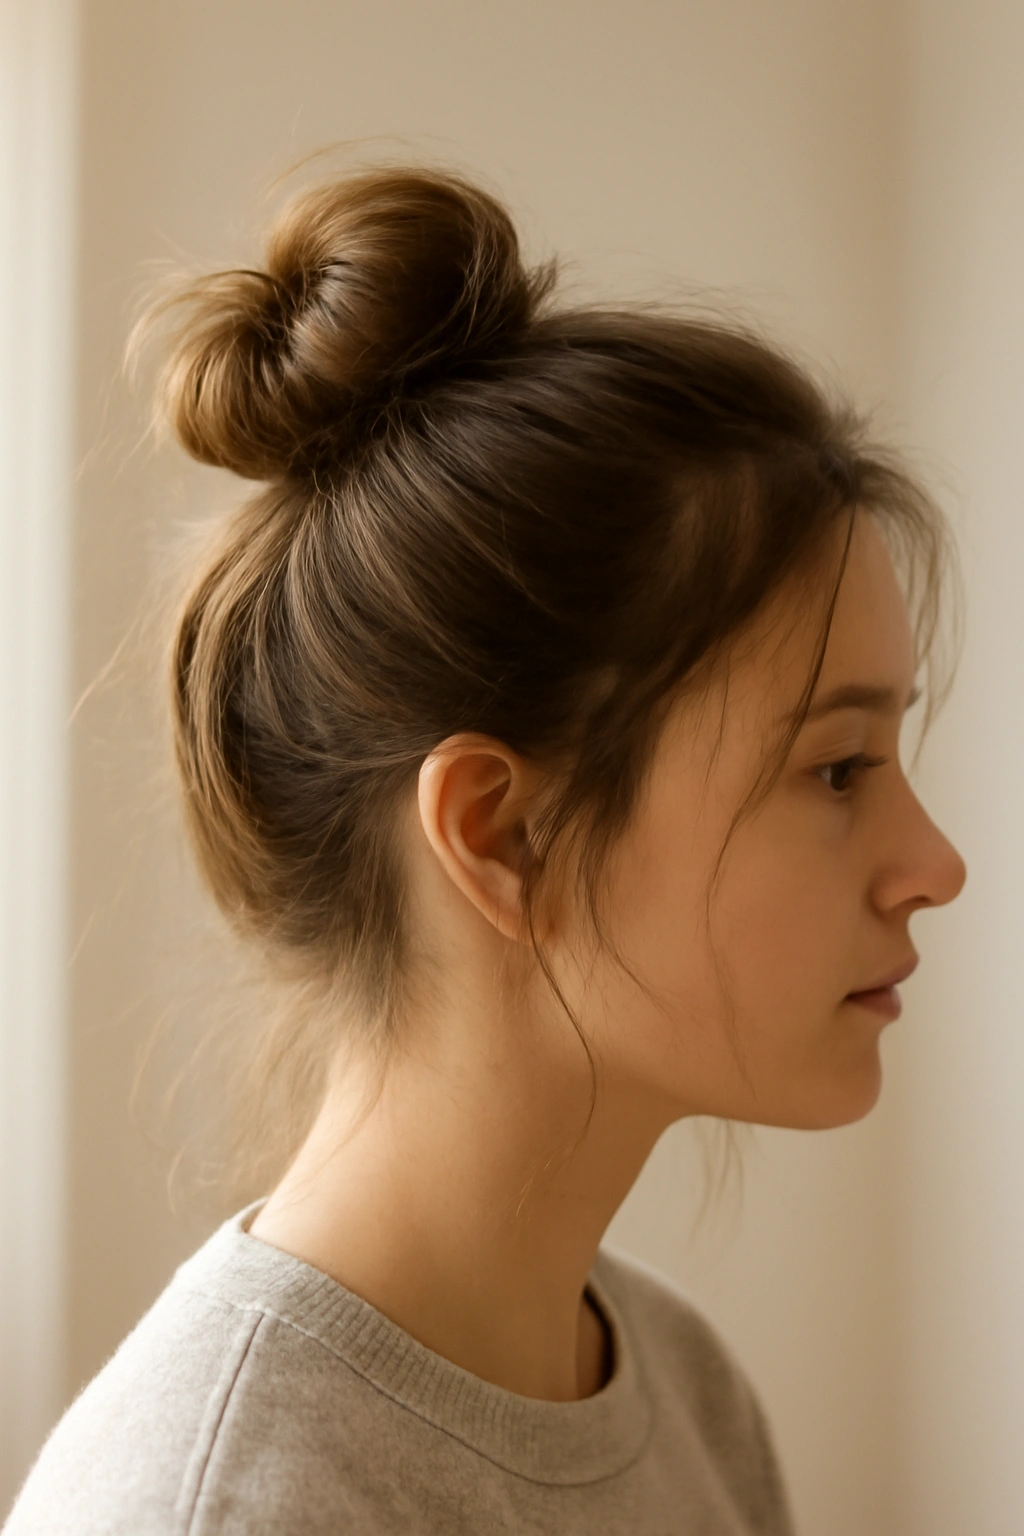
A messy top knot is what you create on mornings when you’re running late but still want your daughter to look like you tried. The intentional undone quality is actually the whole point — this isn’t meant to be a tight, sculptural bun, it’s meant to look effortlessly thrown together, which paradoxically requires zero actual effort and takes about two minutes.
Gather hair into a high ponytail at the crown of the head (roughly where you’d measure a ponytail for someone who wanted a youthful, cheerful look). Secure it with an elastic band, then twist the ponytail loosely or just pull it up into a loop without fully twisting it, and secure the loop to the base with bobby pins. Don’t aim for neatness here — in fact, the whole aesthetic depends on a few pieces sticking out, some slight looseness around the face, and an overall “I didn’t actually try hard” vibe that actually signals effort to anyone paying attention.
Why It Works for Busy Mornings
This is the style you create on mornings when you’re genuinely rushing. It works on every hair type, requires no styling product, and genuinely looks better slightly messier than it looks polished. A girl with a messy top knot looks young, energetic, and approachable — perfect for school. The style also exposes her entire face and neck, which is great for warmer months or active play.
Adding Subtle Intention
Even though this style is supposed to look thrown together, you can add one small touch that elevates it: after securing the knot, pull out a couple of small pieces around her face for framing, gently loosening the knot slightly so it looks fuller and softer. This takes maybe thirty seconds and makes the difference between “just woke up” and “intentionally undone.”
Quick Facts About This Style
- Time to create: 1.5 to 2 minutes
- Best for: All hair types and lengths longer than shoulder-length
- Holds throughout: Most of the day, though it may loosen slightly by afternoon
- Tools needed: One elastic band and 2 to 3 bobby pins
- Styling product needed: None
- Best placement: High on the crown for a youthful look
Worth knowing: If the knot feels too undone and is actually falling apart (versus intentionally loosely placed), add one more bobby pin or use bobby pins that match her hair color so they’re less visible if they show.
6. Side Braid
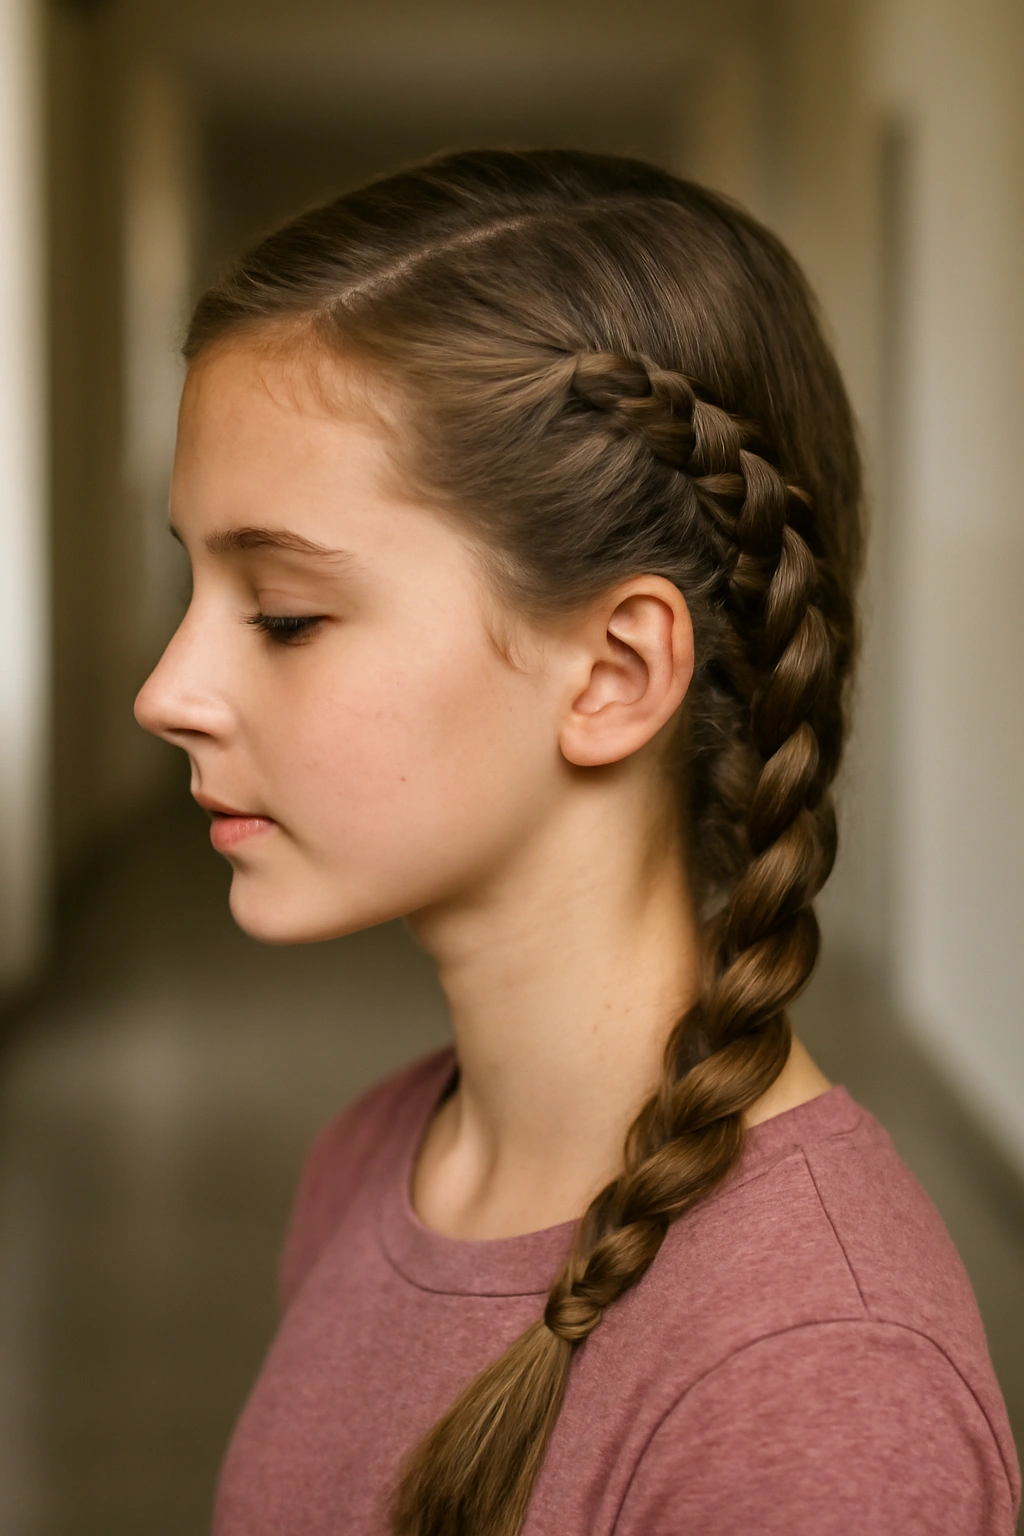
A side braid is elegant, it takes surprisingly little time, and it completely changes the look and feel of her hair without demanding precision or multiple styling steps. This is the braided style for girls who think they don’t like braids, or for mornings when you want something that feels a bit more sophisticated than a standard centered style.
Start with hair brushed smooth. Take a small section of hair from one side of the head near the temple, divide it into three strands, and begin a regular three-strand braid (right over middle, left over middle, repeat). As you braid down toward the back, gradually incorporate small pieces of hair from the sides into each strand — this creates a Dutch braid effect that sits beautifully along the side of the head. Continue braiding until you’ve reached the nape of the neck, then secure the braid with a small elastic band. For a softer look, gently tug the braid slightly to loosen it and add texture.
Why It Works for Busy Mornings
A side braid solves multiple problems: it looks intentional and thoughtful, it only takes about three minutes once you get comfortable with the motion, and it keeps hair off the face and neck. Unlike braids that sit in the center of the head, a side braid is modern and flattering — it works for casual school days and dressier occasions alike. It also works across all hair types and lengths.
Variations on This Style
On some mornings, do two thin side braids (one on each side) for a softer, more detailed look. On other mornings, braid just the underside of the hair that’s closest to the nape, leaving the top portion loose — this hybrid style is faster than a full side braid but still looks purposeful. Or create a side braid, then wrap the braid around the back of the head like a crown and pin it in place, leaving some hair loose down the other side.
Quick Facts About This Style
- Time to create: 3 to 4 minutes
- Best for: Hair longer than shoulder-length; works on all textures
- Holds throughout: All day
- Tools needed: One small elastic band, optional bobby pins
- Styling product needed: None
- Best placement: Starting at one temple and traveling to the nape
Pro tip: A side braid looks particularly striking when you gently pull the braid after securing it, loosening the weave slightly. This creates texture and makes even a basic braid look more intentional and modern.
7. Twisted Crown
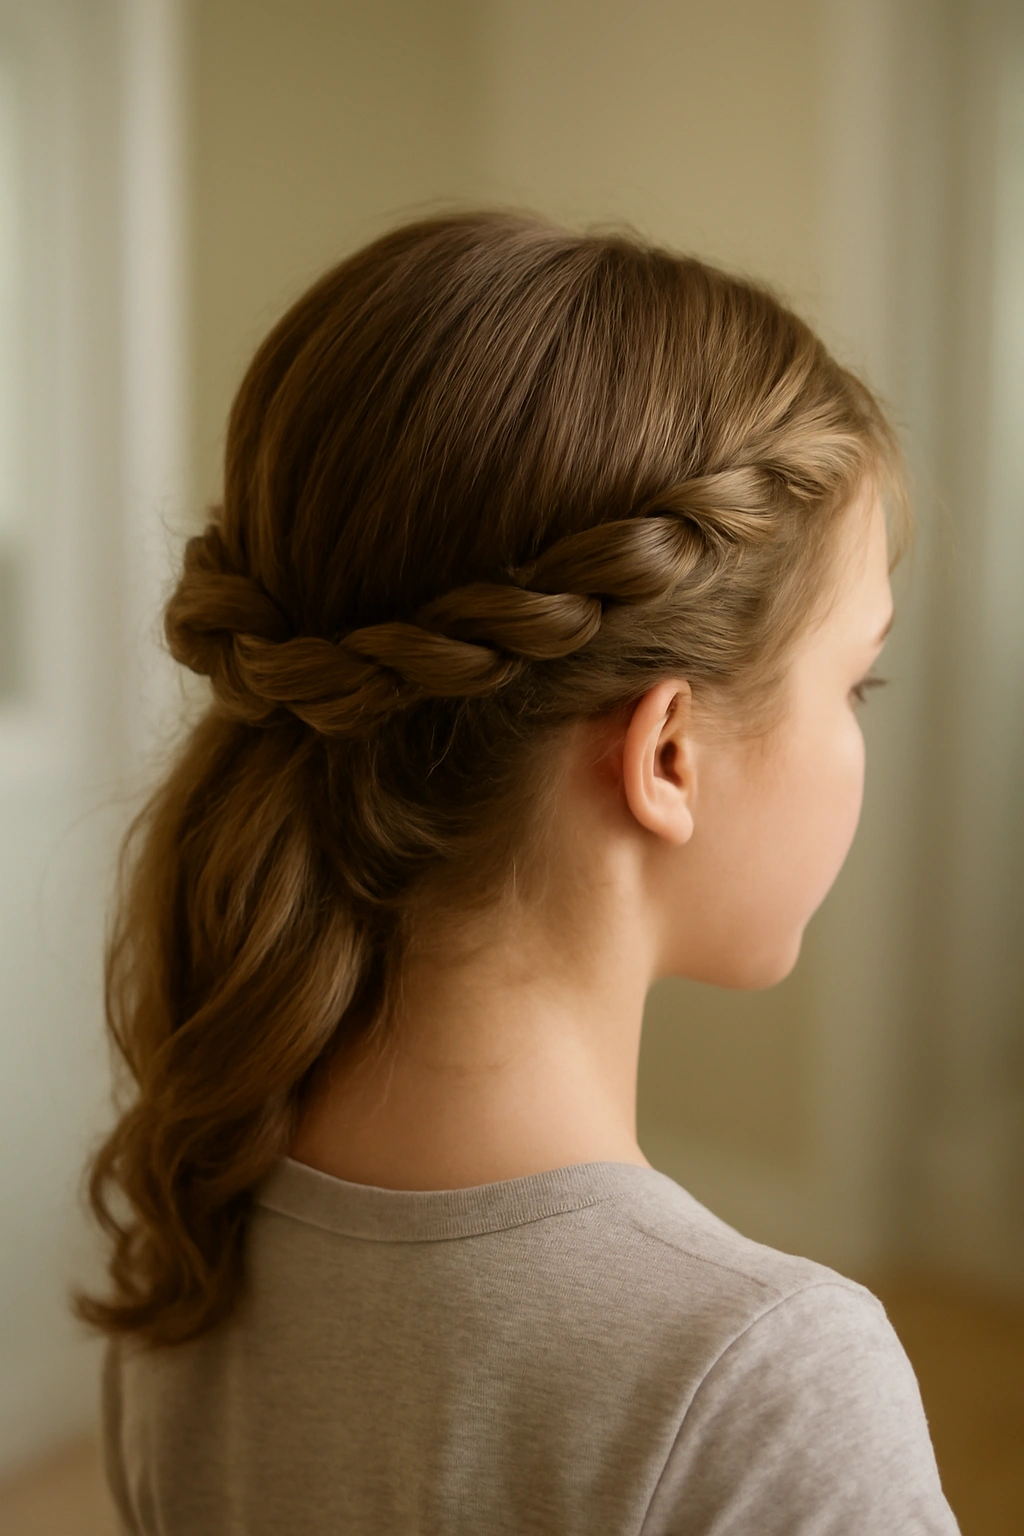
A twisted crown is a hairstyle that sounds more complicated than it actually is, and the result looks genuinely elegant without requiring skill or precision. This is the style that gets compliments, that makes teachers think you took extra time styling her hair, but that actually takes about three minutes and zero styling product.
Divide the hair down the middle, creating two sections. Starting on one side, take a large section of hair from near the temple. Divide this section into two thick pieces and twist them around each other loosely as you work your way around the back of the head, gradually incorporating small pieces of hair from the side and back as you twist. This creates a soft, ropelike twist that wraps partway around the head. Secure the end of the twist with a bobby pin, then repeat on the other side. Both twists should meet at the back, creating a crown effect.
Why It Works for Busy Mornings
This style is genuinely faster than it sounds because you’re not braiding (which requires three strands) — you’re just twisting two pieces around each other, which is mechanical and quick. The result looks sophisticated and special, which makes it perfect for photo days or when you want her to look a bit more polished than usual. It also keeps a modest amount of hair off the face while leaving most of it down, which is a nice middle ground.
Making It Work With Her Hair Texture
If her hair is very fine or slippery, mist it lightly with texture spray before you start twisting — this gives the twists grip and makes them hold throughout the day. If her hair is thick or textured, the twists naturally hold well without any product. If you want the crown to look fuller and softer, after both twists are secured, gently pull on the twisted sections to loosen them slightly.
Quick Facts About This Style
- Time to create: 3 to 4 minutes
- Best for: Hair longer than shoulder-length; works on all hair types
- Holds throughout: Full day, especially if hair has been prepped with light texture spray
- Tools needed: 2 to 4 bobby pins depending on hair thickness
- Styling product needed: Optional light texture spray for grip
- Best placement: Wrapping around the head from both sides to meet at the back
Worth knowing: If the twisted crown feels loose or won’t stay in place, skip the bobby pins and instead secure each twist by wrapping a small section of loose hair around the base and pinning that wrapping section. This dual-anchor method ensures the crown holds all day.
8. High Pony With Accessories
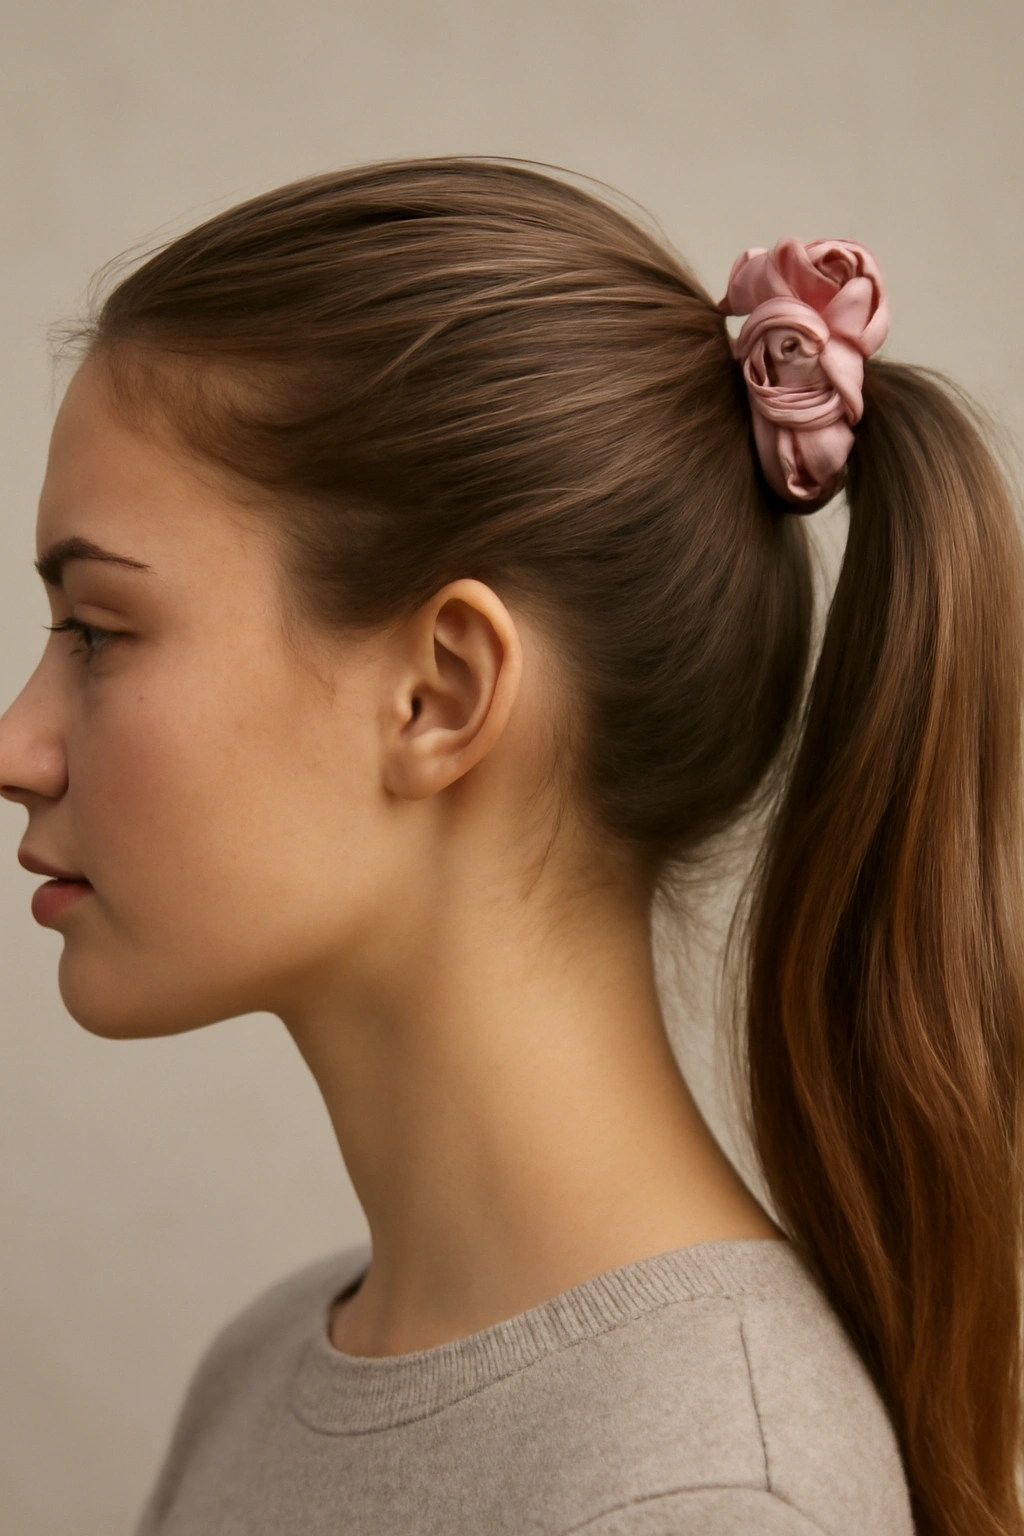
A simple high ponytail becomes something special and notably more put-together the moment you add a thoughtful accessory. This is the bare-minimum styling approach for mornings when you’re genuinely strapped for time, but still want her to look intentional and polished. The accessory does most of the heavy lifting visually.
Create a high ponytail at the crown of the head, just like you would for a basic ponytail, but gather it higher up — this creates a youthful, energetic effect. Secure it firmly with an elastic band, then add a bow clip, a decorative hair clip, a silk scrunchie, or a claw clip right at the base of the ponytail. The accessory should coordinate with her outfit or reflect her personality. This transforms a basic five-second ponytail into a styled look that communicates intention.
Why It Works for Busy Mornings
This approach requires absolutely nothing beyond basic ponytail skills, which means even very young children or kids doing their own hair can execute it perfectly. The ponytail itself takes ninety seconds, and choosing an accessory takes another thirty seconds. The visual impact is completely disproportionate to the effort involved — she’ll look intentionally styled even though you’ve done basically nothing. This is also a great style for building her confidence in doing her own hair.
Accessory Strategy
Keep a basket or drawer of hair accessories specifically for school mornings: several solid-colored clips, a few with small patterns, silk scrunchies (which are gentler on hair), and maybe one or two fun clip styles she can reach for when she wants to feel particularly special. Rotating through different accessories means the same basic ponytail style feels fresh and different throughout the week.
Quick Facts About This Style
- Time to create: 2 to 3 minutes including accessory selection
- Best for: All hair types and most lengths; works even on shorter hair
- Holds throughout: All day, and the accessory keeps the elastic from slipping
- Tools needed: One elastic band and one hair accessory
- Styling product needed: None
- Best placement: High on the crown for a cheerful, youthful effect
Pro tip: Silk or satin scrunchies are significantly gentler on hair than elastic bands alone, and they also look more intentional and polished. The small investment pays off in both hair health and the perception that you styled her hair deliberately.
9. Bubble Braids
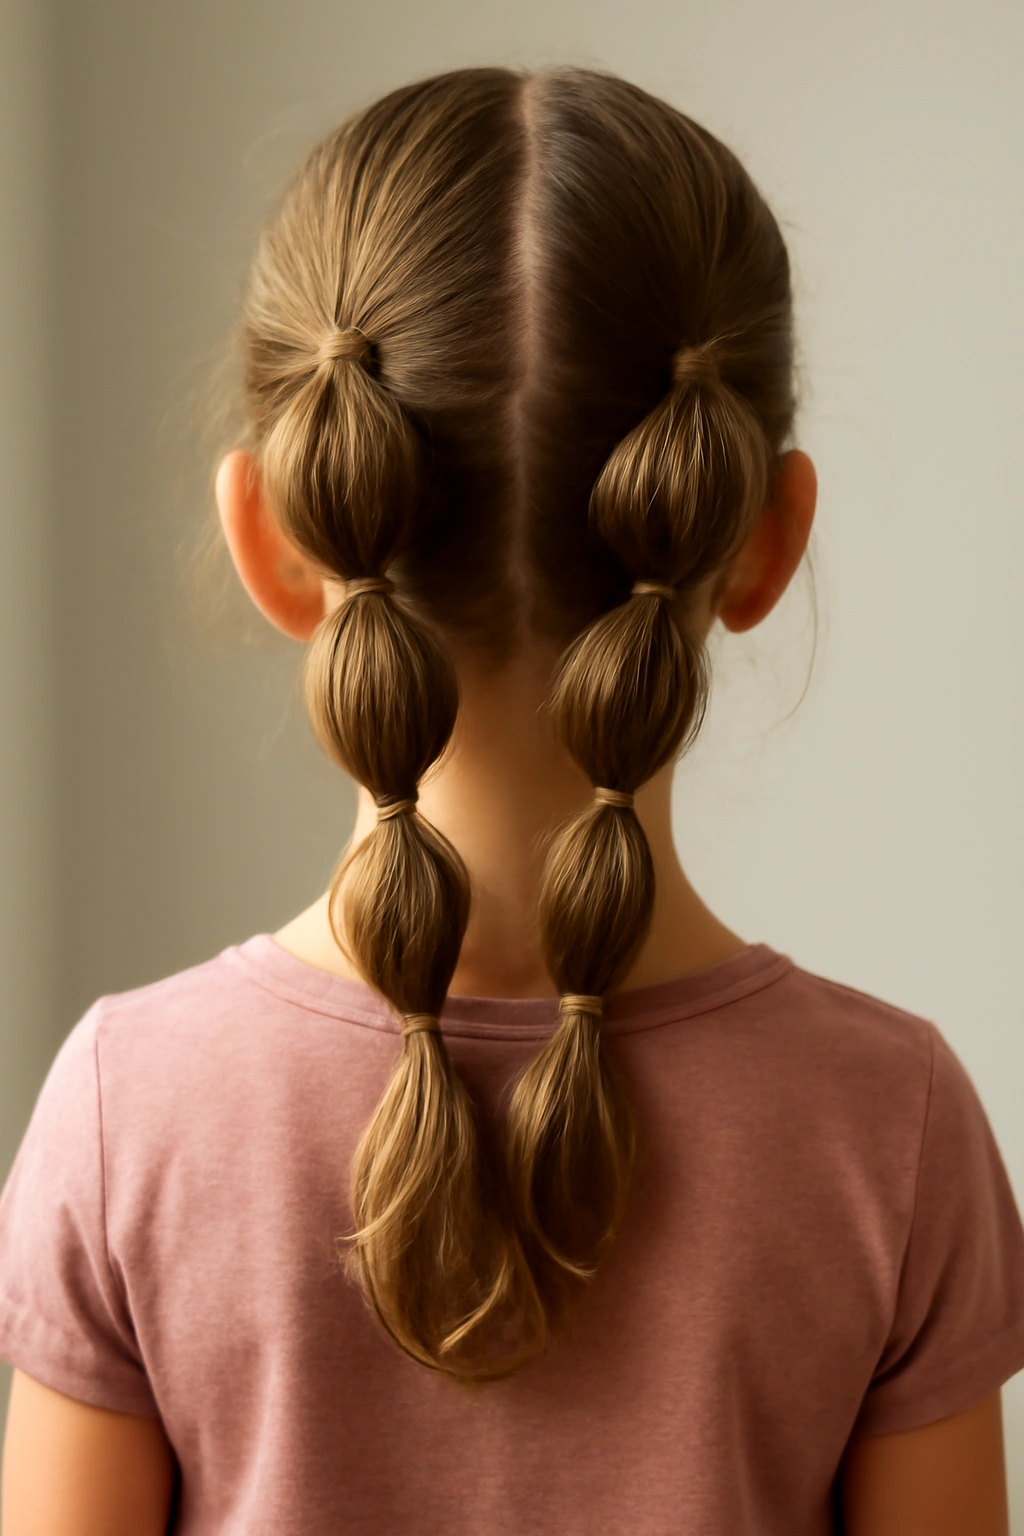
Bubble braids are the fun, playful hairstyle that kids genuinely love and that works faster than you’d expect. Despite looking more elaborate than other styles, they’re actually quite straightforward because you’re not doing intricate braiding — you’re just creating ponytails at intervals and securing them together, which is mechanical and quick.
Create a high ponytail at the crown and secure it with an elastic band. Just below this first ponytail, create a second ponytail that incorporates some of the hair from the first ponytail (along with new hair gathered below it). Secure this second ponytail with an elastic band. Continue this pattern all the way down — each new ponytail includes the elastic and some hair from the ponytail above it, plus fresh hair gathered below. The result is a series of “bubbles” or puffs that run down the back of the head. Gently tug each bubble outward to make them puffier and fuller.
Why It Works for Busy Mornings
Bubble braids are genuinely fun, which means kids are more enthusiastic about wearing them, which means they’re less resistant to the styling process. The style also looks intricate and special but requires no braiding skills whatsoever — just the ability to gather hair and use elastic bands. Bubble braids work beautifully on all hair types and textures, and they hold securely throughout the school day.
Customizing the Look
You can adjust the number of bubbles depending on hair length — longer hair accommodates more bubbles down the back. On thicker hair, the bubbles naturally look fuller and puffier. On finer hair, they’re more delicate-looking. You can also vary the spacing: tighter spacing creates a more intricate look, while wider spacing creates a more relaxed vibe.
Quick Facts About This Style
- Time to create: 4 to 5 minutes
- Best for: Hair longer than shoulder-length; works on all textures
- Holds throughout: Full day, even through activity
- Tools needed: Multiple small elastic bands (4 to 6 depending on hair length)
- Styling product needed: None; optional light spray if hair is very slippery
- Best placement: Starting high on the crown and continuing down
Worth knowing: The key to making bubble braids look intentional rather than sloppy is gentle consistency — the bubbles should be roughly similar in size, and each one should be pulled out evenly on all sides so it looks symmetrical and intentional.
10. Quick Waves With Clips
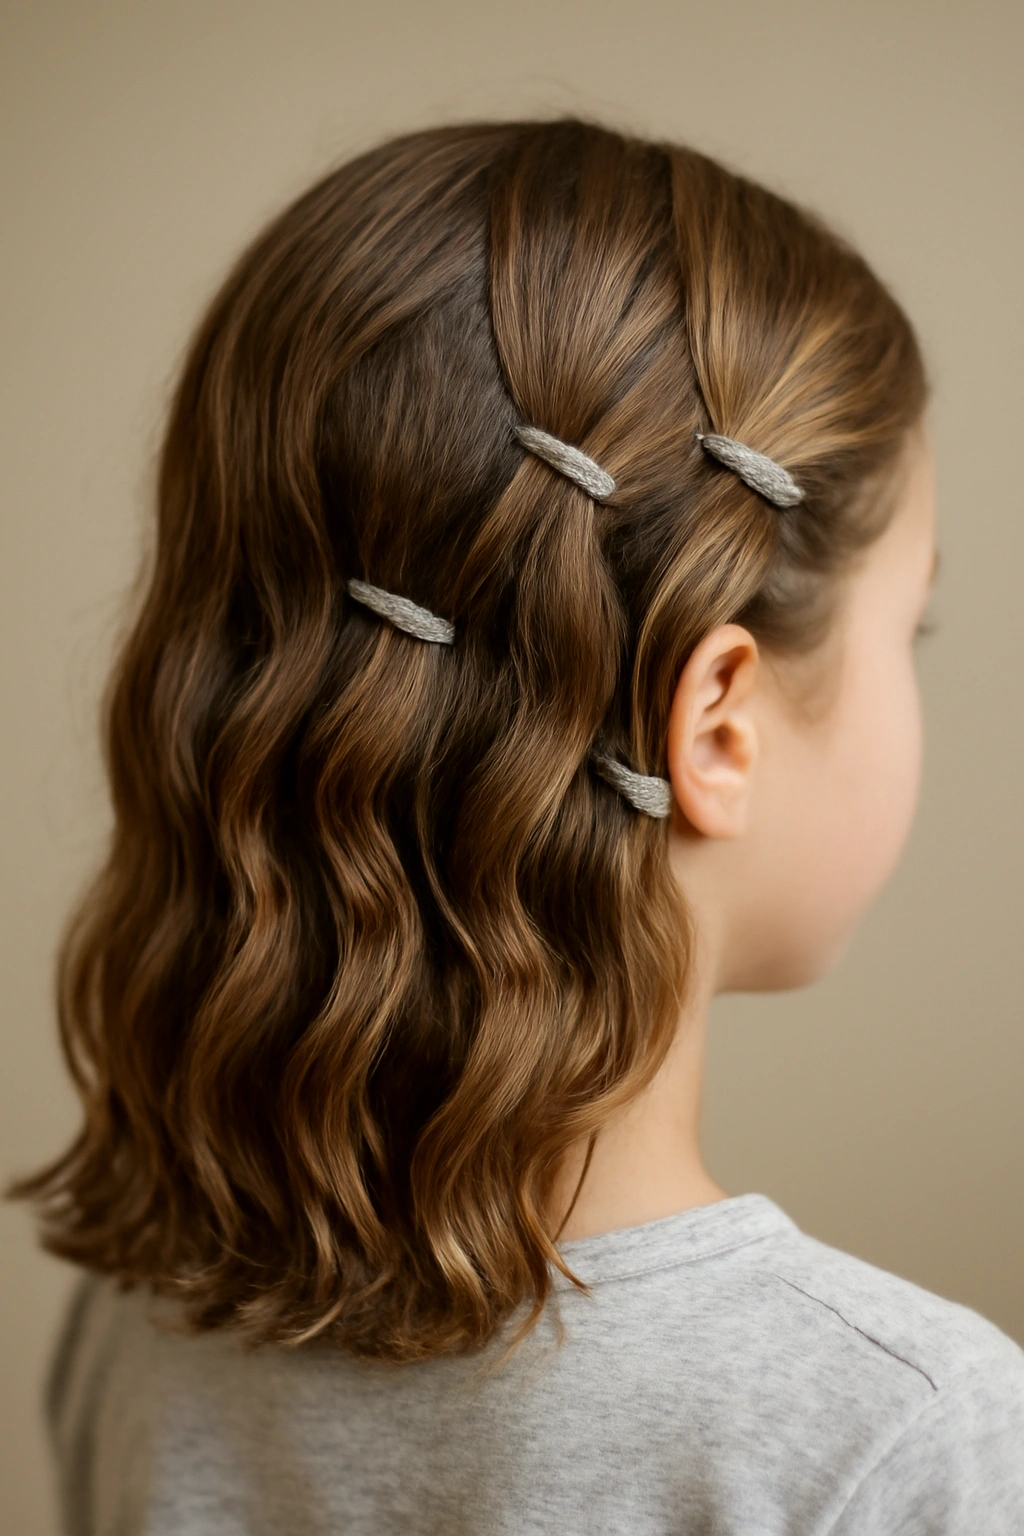
This is the styling approach for mornings when she wants to wear her hair down but you both want it to look like you did something with it beyond just brushing it. Using clips to create soft waves is faster than using heat styling tools, safer for everyday school hair, and creates a look that lasts all day without requiring product.
Divide slightly damp or misted hair into sections about two inches wide. Starting at the roots, clip a clip at an angle as if you’re clipping the section of hair in a wave or S-bend shape. Leave the clip in place for just two to three minutes, then gently unclip it. The section of hair will hold the curved shape. Repeat this process throughout the hair, working section by section. By the time you’ve finished all sections, the first ones you clipped will have set into soft waves. For a more relaxed vibe, you can work just through the lower half of her hair, leaving the roots straighter.
Why It Works for Busy Mornings
This approach requires absolutely no heat styling tools, which means no waiting for them to heat up and no risk of heat damage. It’s also genuinely fast — ten minutes will create nice waves throughout her hair. The result looks effortlessly styled, and the waves hold better if she hasn’t just washed her hair (day-two hair actually holds waves beautifully). This is also a great option for kids who are sensitive to heat or who you want to avoid subjecting to blow dryers during busy mornings.
Making Waves Last
Work with hair that’s not soaking wet but has some moisture or has been lightly misted. Completely dry hair won’t hold the wave as well, but dripping wet hair will take too long to set. Also, larger clips create more relaxed, modern waves, while smaller clips create tighter waves. For school mornings, larger clips usually feel more age-appropriate and require less styling time.
Quick Facts About This Style
- Time to create: 8 to 12 minutes depending on hair length and thickness
- Best for: All hair types; particularly effective on straight or wavy hair
- Holds throughout: Most or all of the day
- Tools needed: Multiple large hair clips
- Styling product needed: None; optional light texture spray for grip
- Best placement: Throughout the hair for all-over waves, or just the lower half for a softer effect
Pro tip: If you’re in a serious rush and don’t have twelve minutes, clip just the bottom half of her hair and leave the top natural. This hybrid approach looks intentional and takes about five minutes total.
Final Thoughts
The difference between a stressful school morning and a manageable one often comes down to having a few reliable hairstyles you can execute quickly without overthinking or second-guessing. These ten styles all share a crucial quality: they require minimal tools, zero actual styling skill, and under ten minutes of your time (and often much less). More importantly, they all hold up throughout an actual school day of movement, play, and activity.
The real key is finding which two or three of these styles feel most natural and fastest to you personally. Some people find braiding intuitive and quick; others find it tedious. Some people love creating updos; others prefer styles that leave hair down. Rather than forcing yourself to master all ten, pick your three favorites, practice them a few times before a school morning crunch, and then lean on those same three styles on repeat. Repetition makes the process faster and more automatic, and your daughter will start to anticipate and enjoy the routine.
Also remember that what matters most to your daughter’s experience at school is whether she feels comfortable and confident, not whether her hairstyle is complicated or Instagram-worthy. A simple ponytail done with confidence beats an elaborate style that required a frustrated morning or that made her feel self-conscious. When you frame these hairstyles as practical tools for managing her hair on busy days — rather than as performance or aesthetic competition — everyone’s mornings get easier.