If you’ve got short hair, you might think the ponytail isn’t really in your styling toolkit. Here’s the reality: short hair ponytails are actually some of the most versatile, chic, and practical styles you can create. The key is knowing which techniques work with your length and what tricks keep them looking polished from morning through evening—even if you’re dealing with fine hair, waves, or a texture that typically refuses to cooperate.
The challenge with short hair ponytails isn’t that they’re impossible—it’s that they need the right foundation and technique to hold up all day without looking limp, loose, or like something’s slipping out of place. A poorly executed short ponytail can unravel by mid-morning. But with the right approach, texture tricks, and styling products, you can rock a polished ponytail that actually gets better as the day goes on.
What makes a short hair ponytail different from working with longer hair is that every detail shows. There’s no length to hide mistakes or drape over imperfections. That means the placement has to be intentional, the tension has to be strategic, and the texture has to work harder to create visual interest and hold. But that’s also what makes these styles so striking—they’re not hidden away, they’re front and center, which means when they work, they really work.
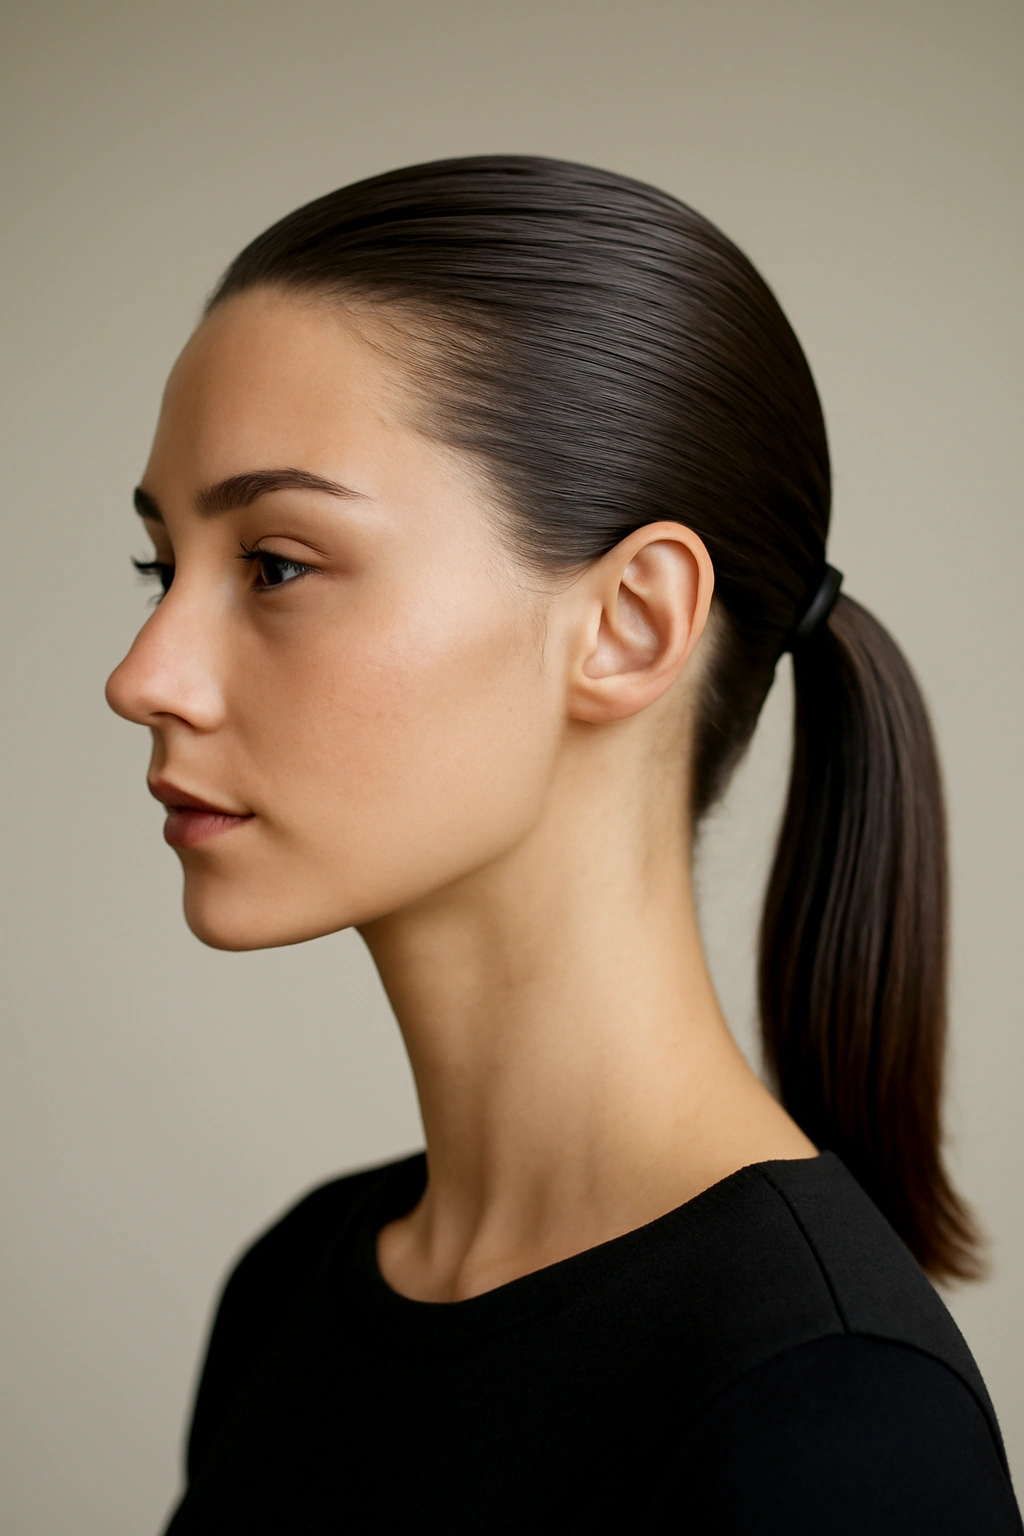
1. The Sleek Low Ponytail with Texture
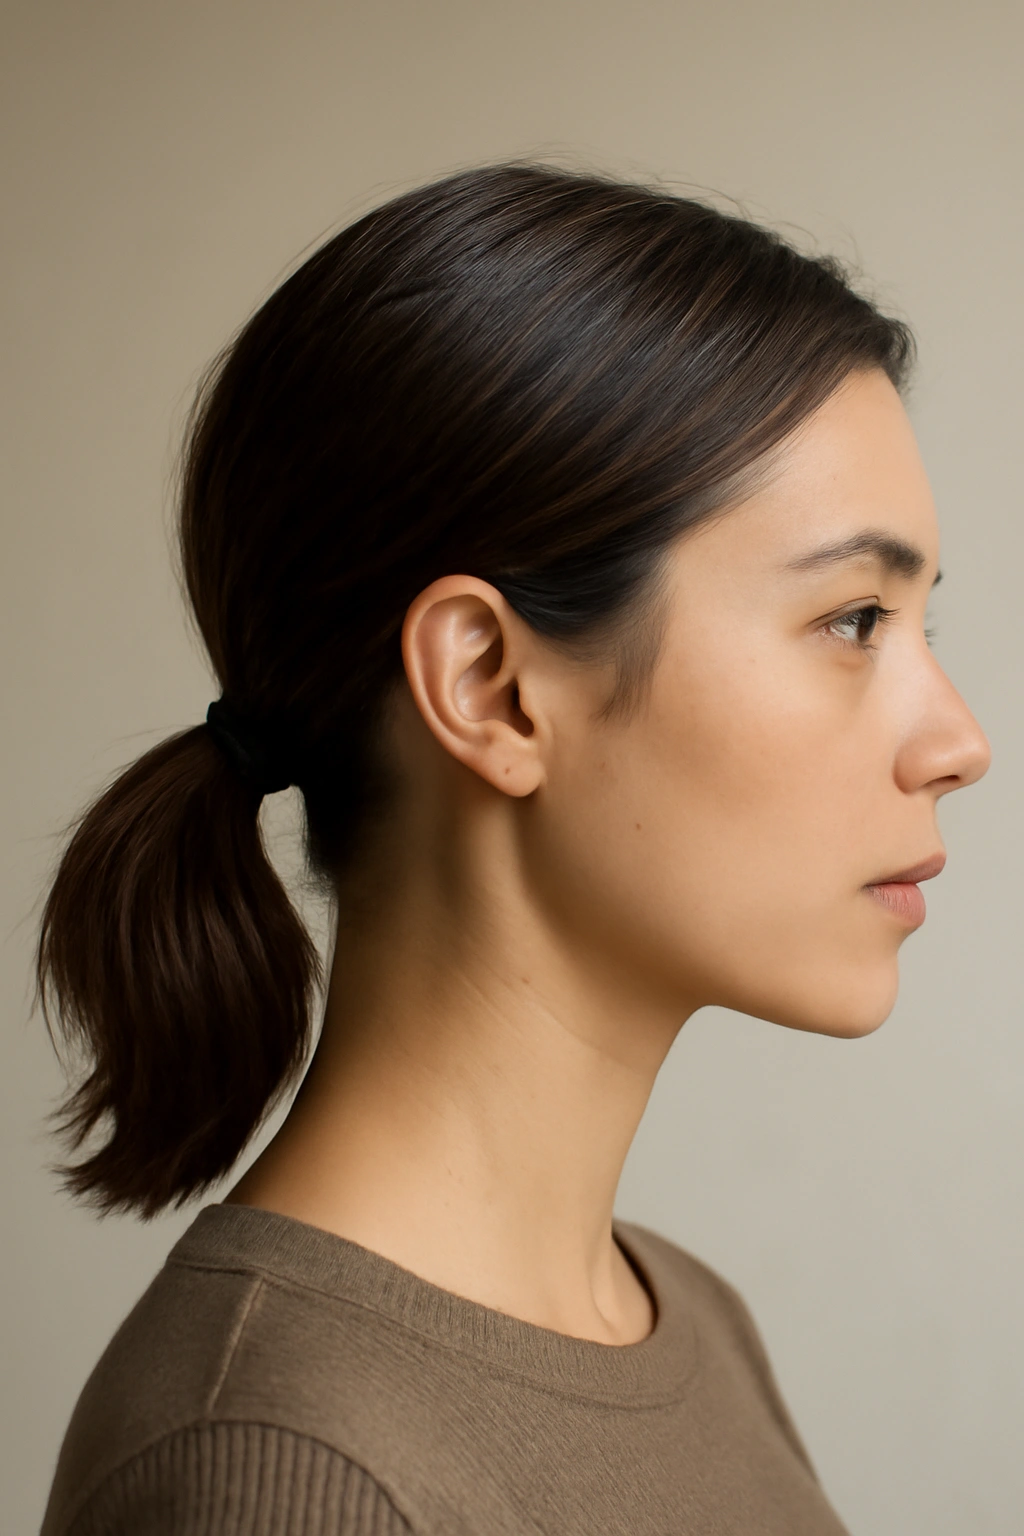
A sleek low ponytail sits at the base of the neck and creates a clean, modern look that works for almost any occasion. The genius of this style for short hair is that it doesn’t require length—it requires polish and intentional texture to prevent looking sparse or stringy. This ponytail pairs structured smoothness with touchable movement, giving it the kind of effortless-but-polished energy that lasts from dawn to dinner.
Why It Works for Short Hair
The low placement is flattering on most face shapes and works beautifully with short hair because it doesn’t expose too much length (which could look thin) while still creating a clear separation between your face and the back. The addition of texture prevents the style from looking severe or unforgiving. You’re creating visual density and interest in a small space, which is exactly what keeps a short ponytail from appearing wispy or underdone.
How to Create Lasting Hold
- Use a volumizing mousse or texturizing spray on damp roots before blow-drying—this creates a foundation that holds ponytails in place without looking stiff or crunchy
- Blow-dry your hair with your head tipped slightly forward to build lift at the roots, then smooth the outer layer for a polished finish
- Create subtle texture by curling the ponytail section loosely with a small-barrel curling iron or waving it with a flat iron before securing
- Use a firm-hold bobby pin hidden at the base of the ponytail, angled in an “X” shape, paired with a silk elastic for grip without damage
- Finish with a light hairspray (not heavy-duty) to set texture without weighing down short hair
Pro tip: If your short hair is prone to flyaways, smooth a tiny drop of lightweight serum through the ponytail before securing it—this tames frizz without making fine hair look greasy.
2. The Twisted Crown Ponytail
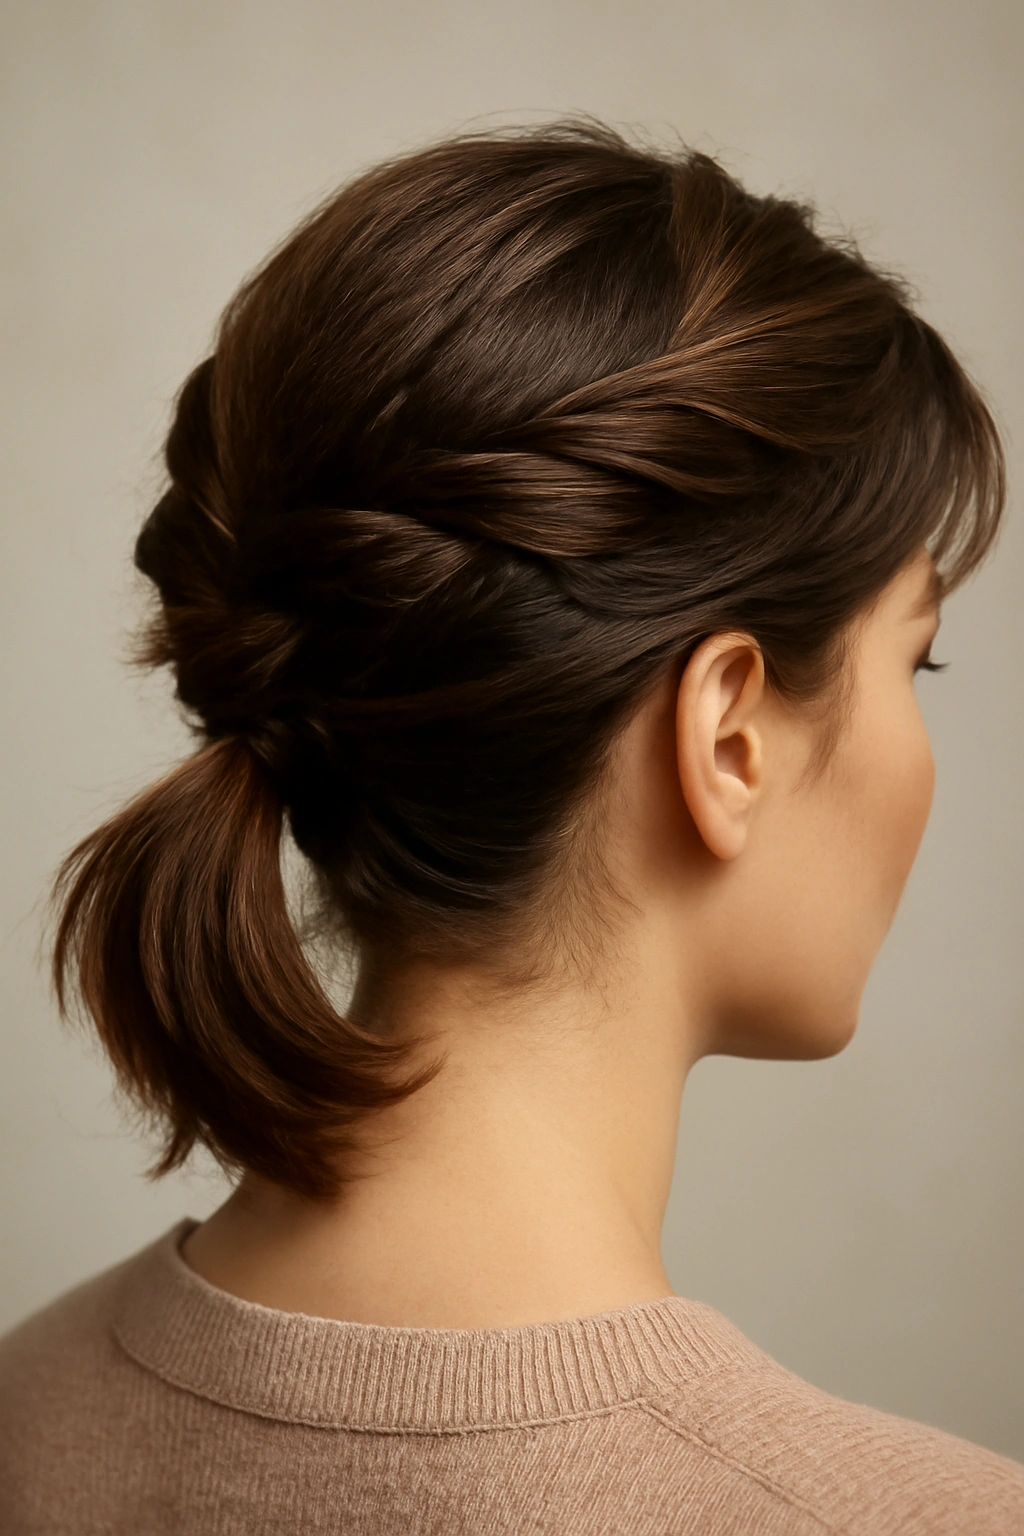
This style wraps a twist around the crown area before gathering everything into a low ponytail, creating the illusion of more volume and height. It’s a technique that works exceptionally well for short hair because those twists at the crown add visual texture and dimension without requiring length. The twist also anchors the ponytail more securely than a basic elastic, which means it genuinely holds up all day.
What Makes the Twist Hold
The twist mechanism acts as a natural grip point that helps secure the ponytail at multiple levels. You’re not just relying on an elastic at the base—the twisted crown section creates tension and structure that prevents the whole thing from sliding down or loosening as the day goes on. This is especially valuable for short hair, where loose elastics are more noticeable and disappointing.
Step-by-Step Technique for Maximum Hold
- Section off a small piece of hair from one side of your head, roughly from your ear level going back
- Twist that section toward the back of your head, keeping the twist snug but not painfully tight
- Once you’ve twisted all the way to the back, secure that twist temporarily with a bobby pin while you gather the rest of your hair
- Pull your hair into a low ponytail at the base of your neck, incorporating the twisted section into the ponytail as you go
- Hide the elastic with a small section of hair from the ponytail (wrap it around the band and pin it underneath)
- Use a lightweight hairspray to set the twisted crown section so individual pieces don’t escape during the day
Worth knowing: This style looks significantly more interesting if you don’t make the twist perfectly smooth—embrace slightly textured, slightly undone twists that show dimension.
3. The Double-Band Statement Ponytail
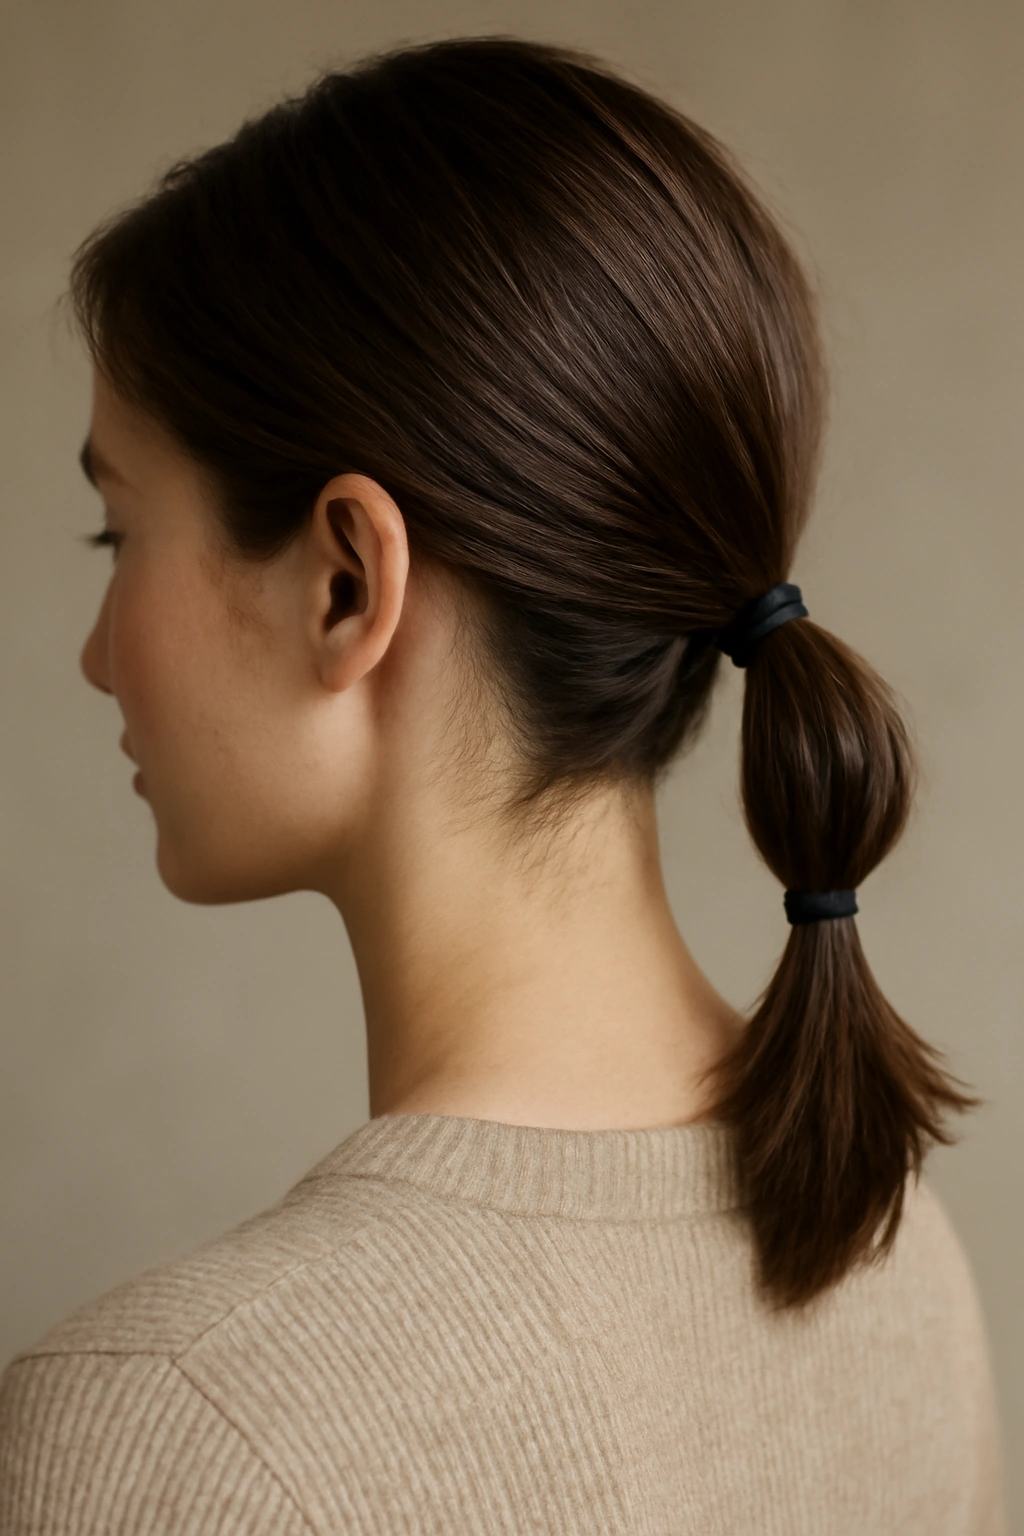
The double-band ponytail uses two elastics positioned an inch or two apart along the length of the ponytail, creating defined sections that look intentional and design-forward. For short hair, those defined bands create visual interest and break up what could otherwise look like a small, plain ponytail. The bands also serve a practical purpose: they help secure the ponytail at multiple points, which is essential for all-day hold with shorter lengths.
Why Double Bands Actually Improve Hold
One elastic supporting short hair throughout the day can gradually slip. Two bands distributing that weight and tension keep the ponytail in place far more effectively. The bands also create a visual anchor that makes the style feel styled, not accidental. You’re turning what could be a simple or basic ponytail into something that looks deliberately constructed and fashionable.
How to Style It Right
- Create a basic ponytail at whatever height you prefer (low, mid, or high—this style works at any level)
- Position your first elastic where you normally would at the base of your ponytail
- Measure down about one to two inches and secure your second elastic, making sure both are equally tight
- For a more dimensional look, gently tease or fluff the hair between the two elastics to create a slight bulge
- You can hide the elastics entirely by wrapping a small section of ponytail hair around each one and pinning underneath, or leave them visible for a more editorial, fashion-forward look
- Use a medium-hold hairspray to keep texture in place between the bands
Insider note: Match your elastic colors to your hair color for a seamless look, or choose a contrasting color (like metallics or bold colors) for a statement style that photographs beautifully.
4. The Braided Wrap Ponytail
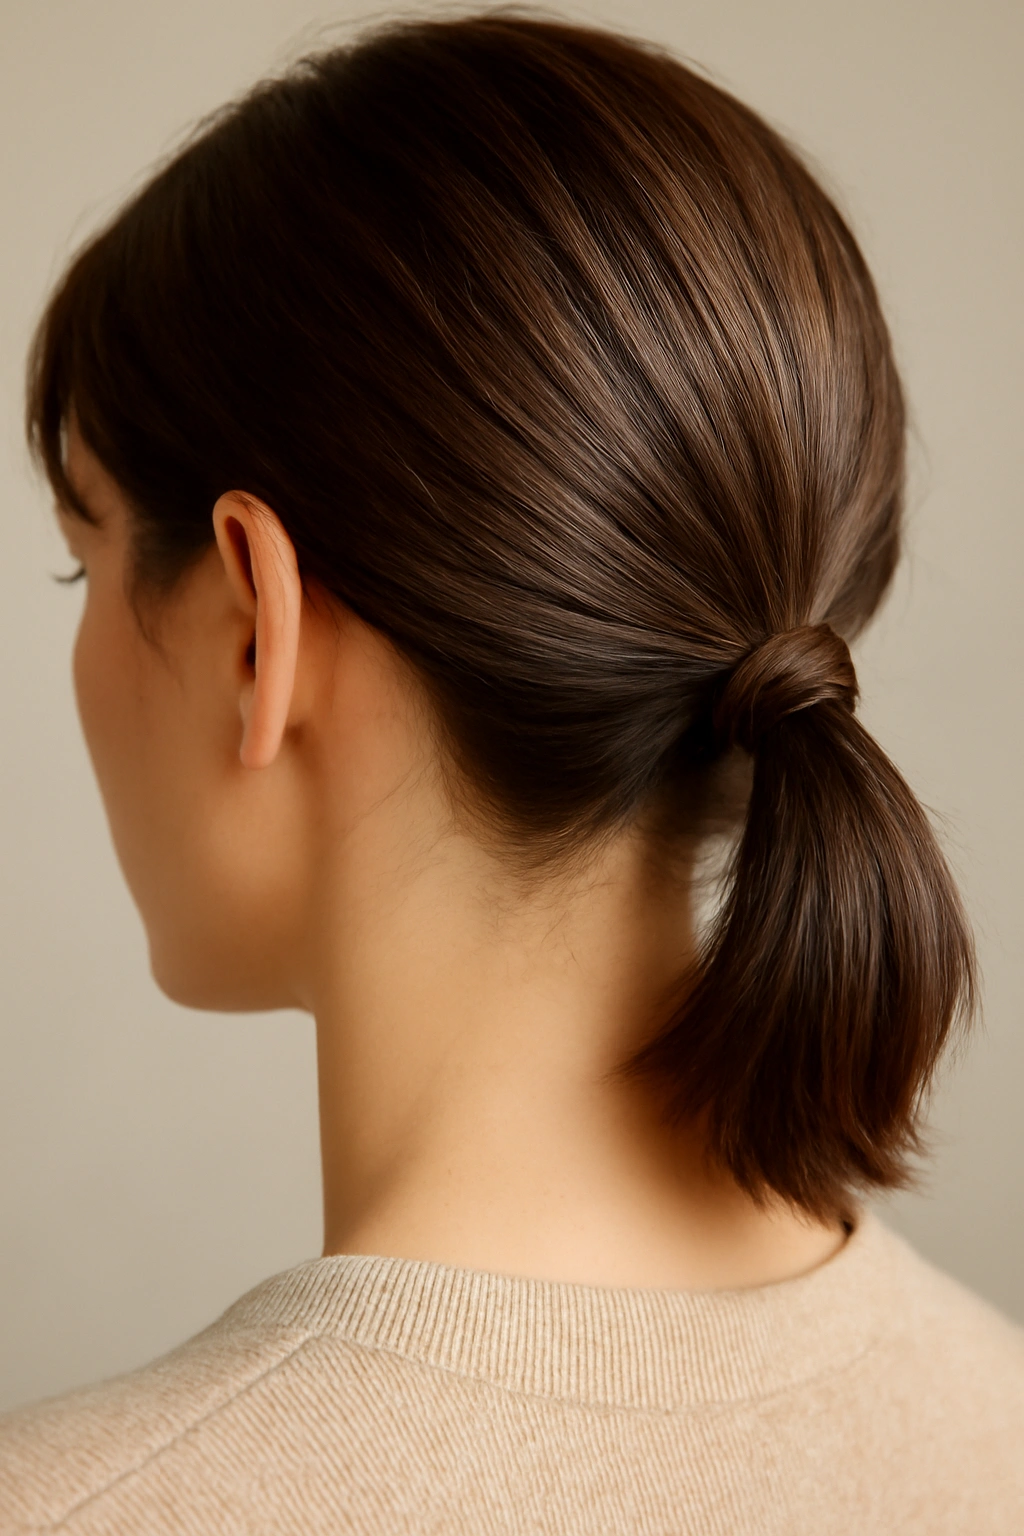
A braided wrap ponytail takes a basic low ponytail and wraps a thin braid around the base where the elastic sits, completely disguising the hair tie and creating a polished, detailed finish. This technique is magic for short hair because it turns a simple ponytail into something that looks intentional and professionally styled. The braid adds texture and visual interest in exactly the right place—the base of the ponytail where a bare elastic would look minimal.
Why This Style Survives the Full Day
The braid serves both aesthetic and functional purposes. Visually, it makes the ponytail look more secure and intentional. Functionally, wrapping the braid tightly around the elastic actually helps hold the elastic in place and prevents it from slipping as the day goes on. You’re creating friction and tension through the braid mechanism itself, not just relying on the elastic alone.
The Complete Braiding Process
- Create your base ponytail first, positioned wherever you’d like it (low, mid, or high—this works anywhere)
- Take a thin section of hair from the ponytail itself (about the thickness of a pencil)
- Braid that section in a simple three-strand braid, keeping the braid on the looser side so it doesn’t pull uncomfortably
- Wrap the finished braid around the base of the ponytail, underneath the elastic, working your way around in a circle
- Secure the braid’s end with a bobby pin tucked underneath and hidden
- Gently tease or fluff the wrapped braid slightly so it doesn’t look flat or stringy
- Set with hairspray to keep all the details in place
Pro tip: The thinner you make the braid section, the more delicate and refined the style looks—aim for a braid that’s about the thickness of a pencil or slightly thinner.
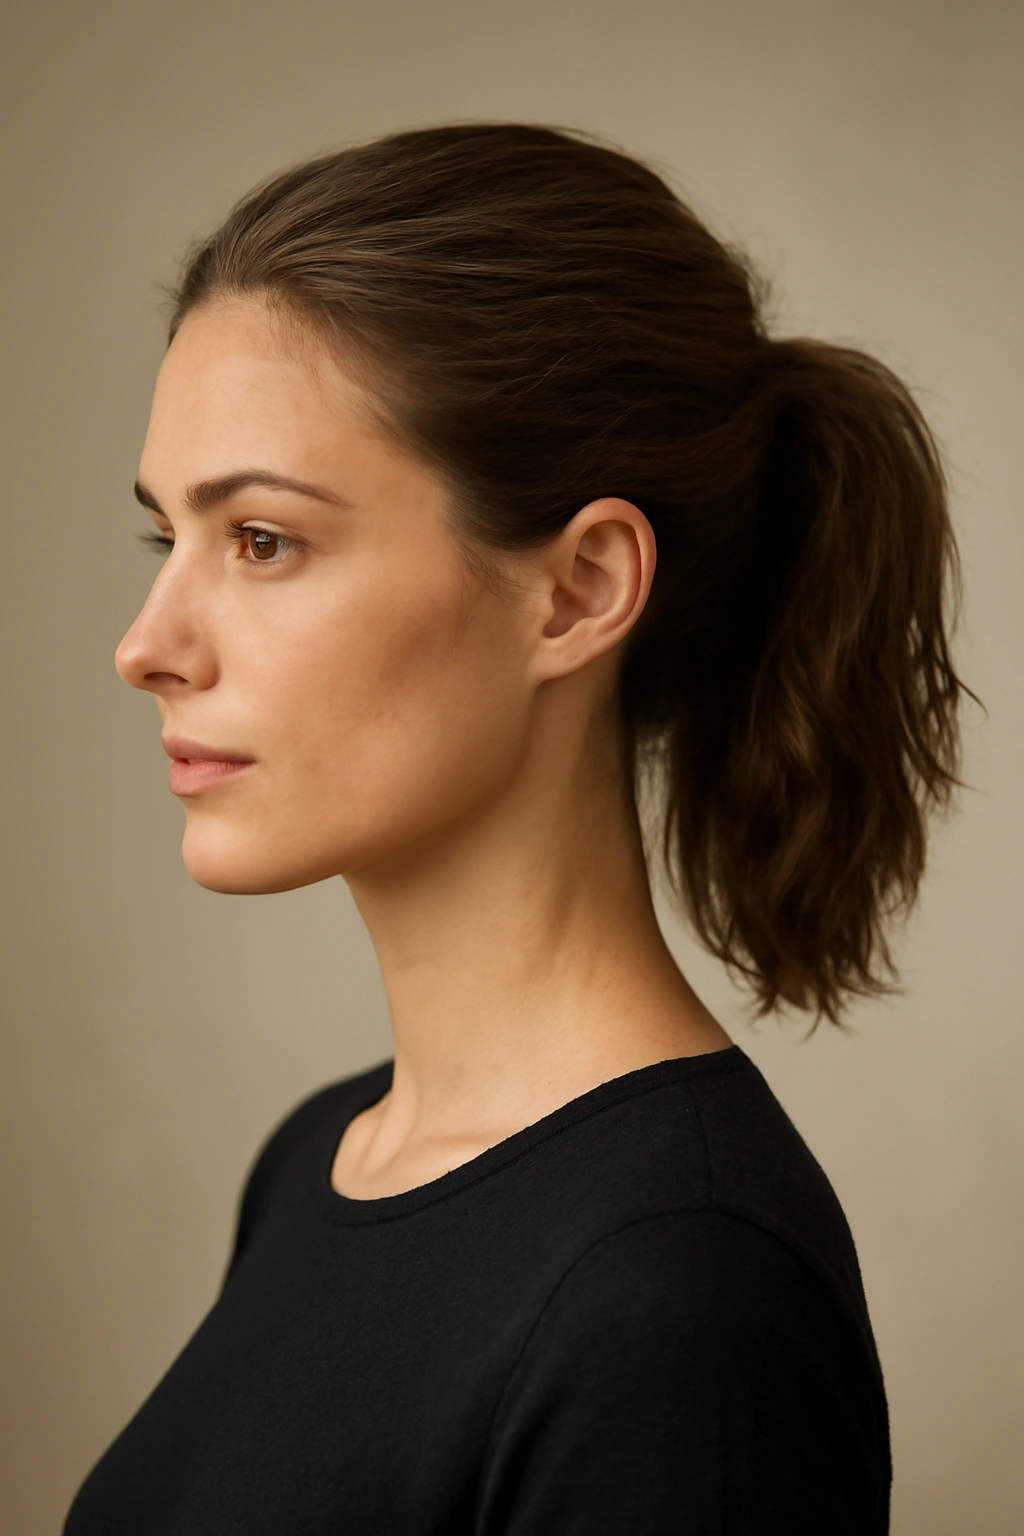
5. The Tousled High Pony
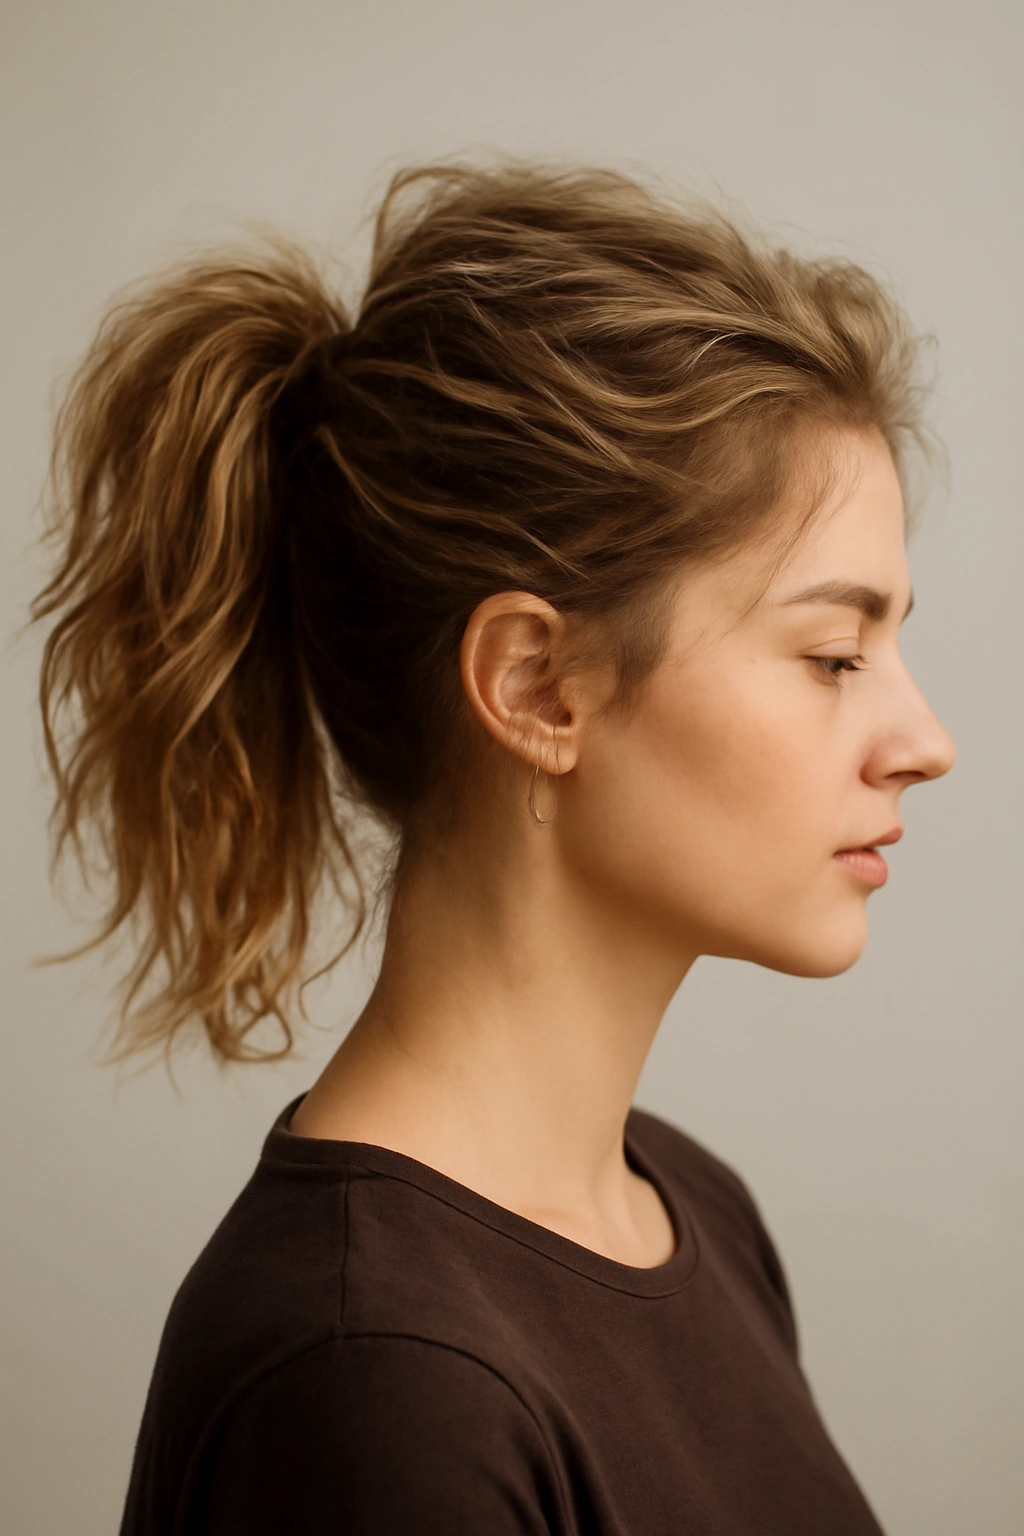
A high ponytail positioned at the crown of your head is bold and youthful, and when executed with intentional texture and slight messiness, it looks effortlessly stylish rather than overly done. For short hair, the high placement is extremely flattering because it elongates the neck and creates the illusion of more height. The “tousled” element keeps it from looking too sleek or severe—you’re creating movement and texture that prevent short hair from appearing stick-straight and lifeless.
Creating the Right Level of Texture
Tousled doesn’t mean messy or undone—it means intentionally textured with movement that looks deliberate. For short hair, this texture is critical because it prevents the ponytail from looking too small or sparse. You’re building visual density through waves, slight crimping, or backcombing, not trying to look like you just woke up.
Build and Set the Tousled Look
- Apply a texturizing spray or dry shampoo to the roots and throughout your hair for grip and volume
- Blow-dry your hair upside down or with your head tipped back to build maximum lift at the crown
- Once dry, use a curling iron or waver to create loose waves or texture throughout your hair
- Backcomb very gently at the crown area to create lift and texture without looking frizzy
- Gather your hair into a high ponytail, making sure the placement is at the very crown (not slightly back—high and centered creates the most flattering line)
- Gently loosen and fluff the ponytail so it’s not slicked back, leaving a few face-framing pieces slightly loose for softness
- Use a flexible-hold hairspray that sets texture without making hair stiff
Worth knowing: If your short hair is naturally straight, this is the style that benefits most from a texturizing product or a quick wave from a styling tool—the texture is absolutely essential for the “tousled” effect.
6. The Bubble Ponytail
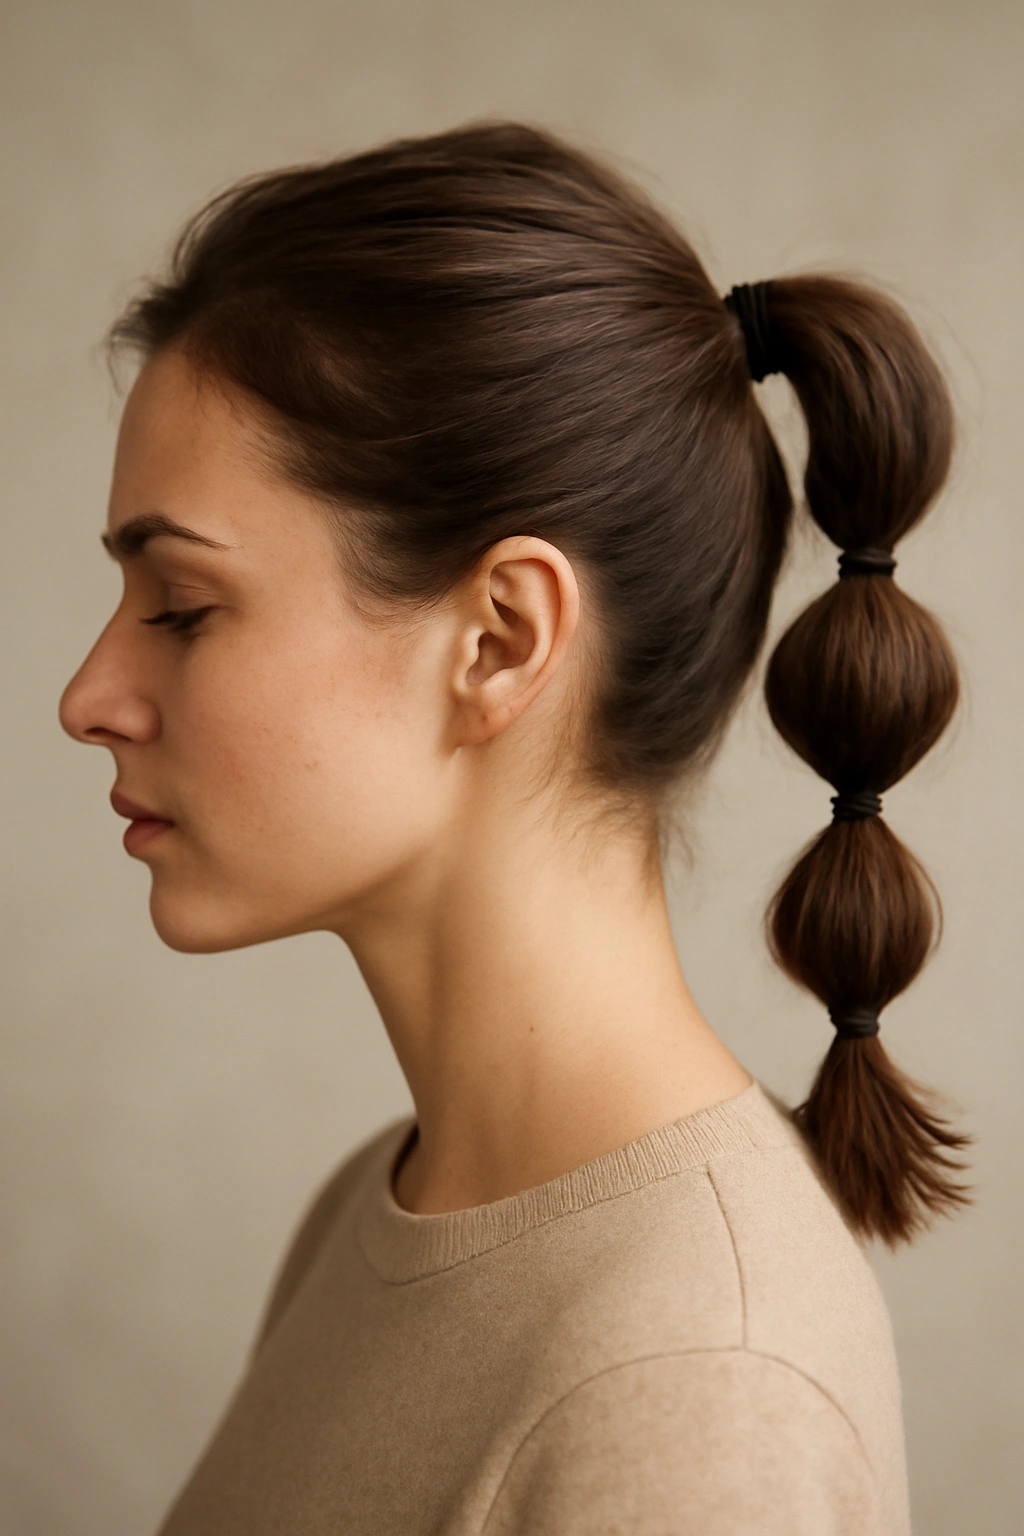
A bubble ponytail is created by gathering your hair at the crown, then securing multiple elastics down the length of the ponytail, creating distinct rounded “bubbles” of hair. For short hair, this creates an adorable, dimensional look that’s playful without being juvenile. Each bubble adds visual interest and makes what could be a simple ponytail look intricate and designed. The technique also distributes tension across multiple points, which helps the style hold securely throughout the day.
How Bubbles Maintain All-Day Hold
By segmenting the ponytail with multiple elastics, you’re preventing it from becoming loose or droopy at the base. Instead of one elastic supporting the entire length, you have multiple elastics each supporting a smaller section. This is especially practical for short hair, where the total length might be only four to six inches—segmenting into two or three bubbles keeps everything secured and looking intentional from morning to evening.
Creating Perfect, Even Bubbles
- Start with a high ponytail secured with your first elastic at the crown
- Measure down about one to one-and-a-half inches (adjust based on how many bubbles you want) and secure a second elastic
- Continue down the length of your ponytail, spacing elastics evenly
- For short hair, you’ll typically have two to three bubbles total, depending on ponytail length
- Gently fluff and shape each bubble so it’s rounded and full rather than flat
- You can tease gently inside each bubble to enhance the rounded shape
- Set with a light hairspray to maintain the bubble definition without making hair crunchy
Insider note: Leave a small section of the ponytail tip visible below the last elastic for a polished finish—a bubble ponytail that ends with an elastic at the very end looks incomplete.
7. The Side-Swept Wrapped Pony
This style gathers hair to one side of your head in a low ponytail, then wraps a section of hair (or a decorative element like a scarf or ribbon) around the base. The side placement is flattering for most face shapes and creates an asymmetrical, fashion-forward look that’s immediately more interesting than a centered ponytail. For short hair, the side placement also helps hide any length limitations while creating a statement style that definitely holds your attention all day.
Why Side Placement Changes Everything
A side ponytail instantly looks more intentional and styled than a centered ponytail, especially with short hair. You’re drawing attention to one side of your face while creating a visual line that’s flattering and modern. The asymmetry also helps short hair look more dimensional—you’re not creating a uniform shape, you’re creating an asymmetrical silhouette that’s more interesting and dynamic.
Building the Complete Side Style
- Apply texturizing product to damp hair and blow-dry to create grip and volume
- Once dry, create loose waves or texture throughout using a curling iron or waver
- Gather your hair to one side of your head (typically toward your back shoulder, not directly at your ear) into a low ponytail position
- Secure with an elastic, keeping the ponytail slightly loose and textured rather than slicked-back smooth
- Take a thin section of hair from the ponytail and wrap it around the elastic, securing underneath with a bobby pin
- Alternatively, wrap a thin silk scarf, ribbon, or decorative band around the base for a finished, polished look
- Pull out a few face-framing pieces on the opposite side of your face for softness
- Set with hairspray
Pro tip: The side ponytail looks best when you leave some texture visible and don’t smooth it back too tightly—embrace the slightly undone, textured version rather than a sleek, severe side pony.
8. The French Braid Pony
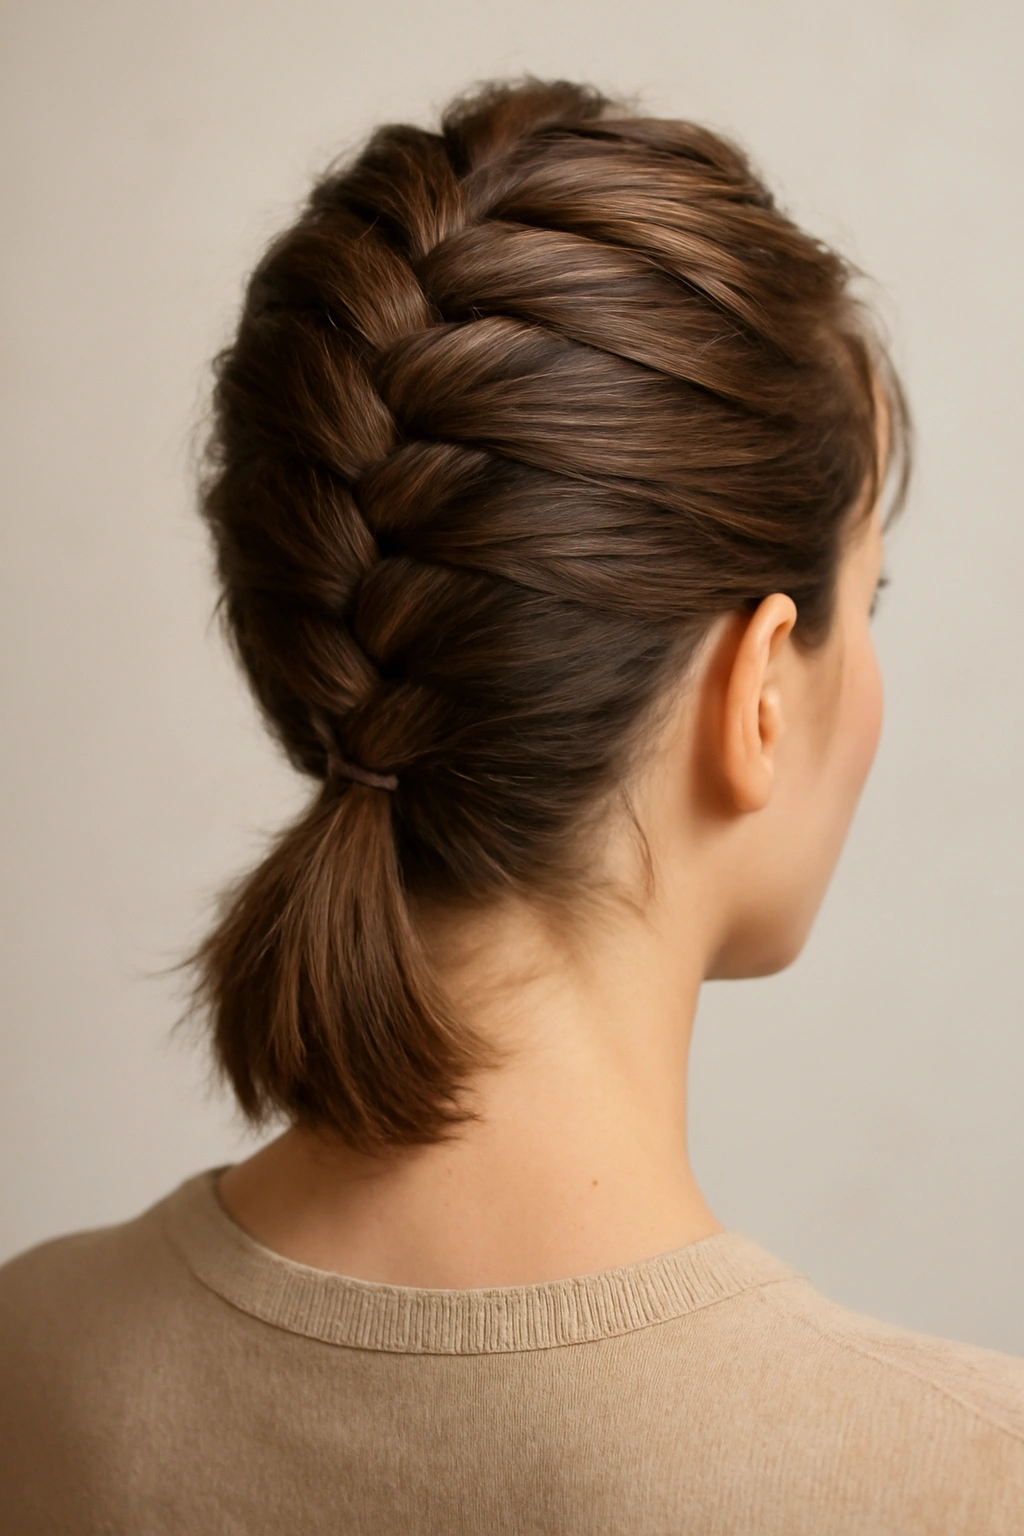
This style braids the top section of your hair (starting at the hairline and incorporating more hair as you go down) and then releases the remaining hair into a ponytail below the braid. For short hair, the braid adds visual interest and dimension at the crown while the ponytail below keeps everything secured and polished. The combination of braid texture plus ponytail structure creates a style that’s more interesting than either alone and holds far more securely throughout the day.
Why the Braid Anchor Works for Short Hair
The braid mechanism creates multiple secure grip points from your hairline all the way to where the ponytail begins. This distributed tension keeps your short hair secured in place without relying on a single elastic at the base. The braid also adds visual height and dimension at the crown, which is especially flattering for shorter lengths that might otherwise look flat or minimal.
Executing the French Braid-to-Pony Transition
- Start at your hairline with three small sections of hair and begin a traditional French braid
- As you braid, incorporate more hair from the sides as you move toward the back of your head
- Continue braiding until you reach roughly the crown or mid-back of your head (depending on how much of your hair you want in the braid versus the ponytail)
- Secure the braid temporarily with a bobby pin at your stopping point
- Gather all of your hair (including the braided section) into a ponytail below where the braid ends
- Release the bobby pin that was holding the braid and let the braided section flow into the ponytail
- Secure the ponytail with an elastic and hide the band with a wrapped hair section if desired
- Gently loosen the braid strands slightly for a softer, less structured appearance
- Set with hairspray
Worth knowing: This style is significantly easier if you do a loose, slightly imperfect braid rather than trying for a perfect, ultra-tight one—the slightly undone texture looks more modern and holds better.
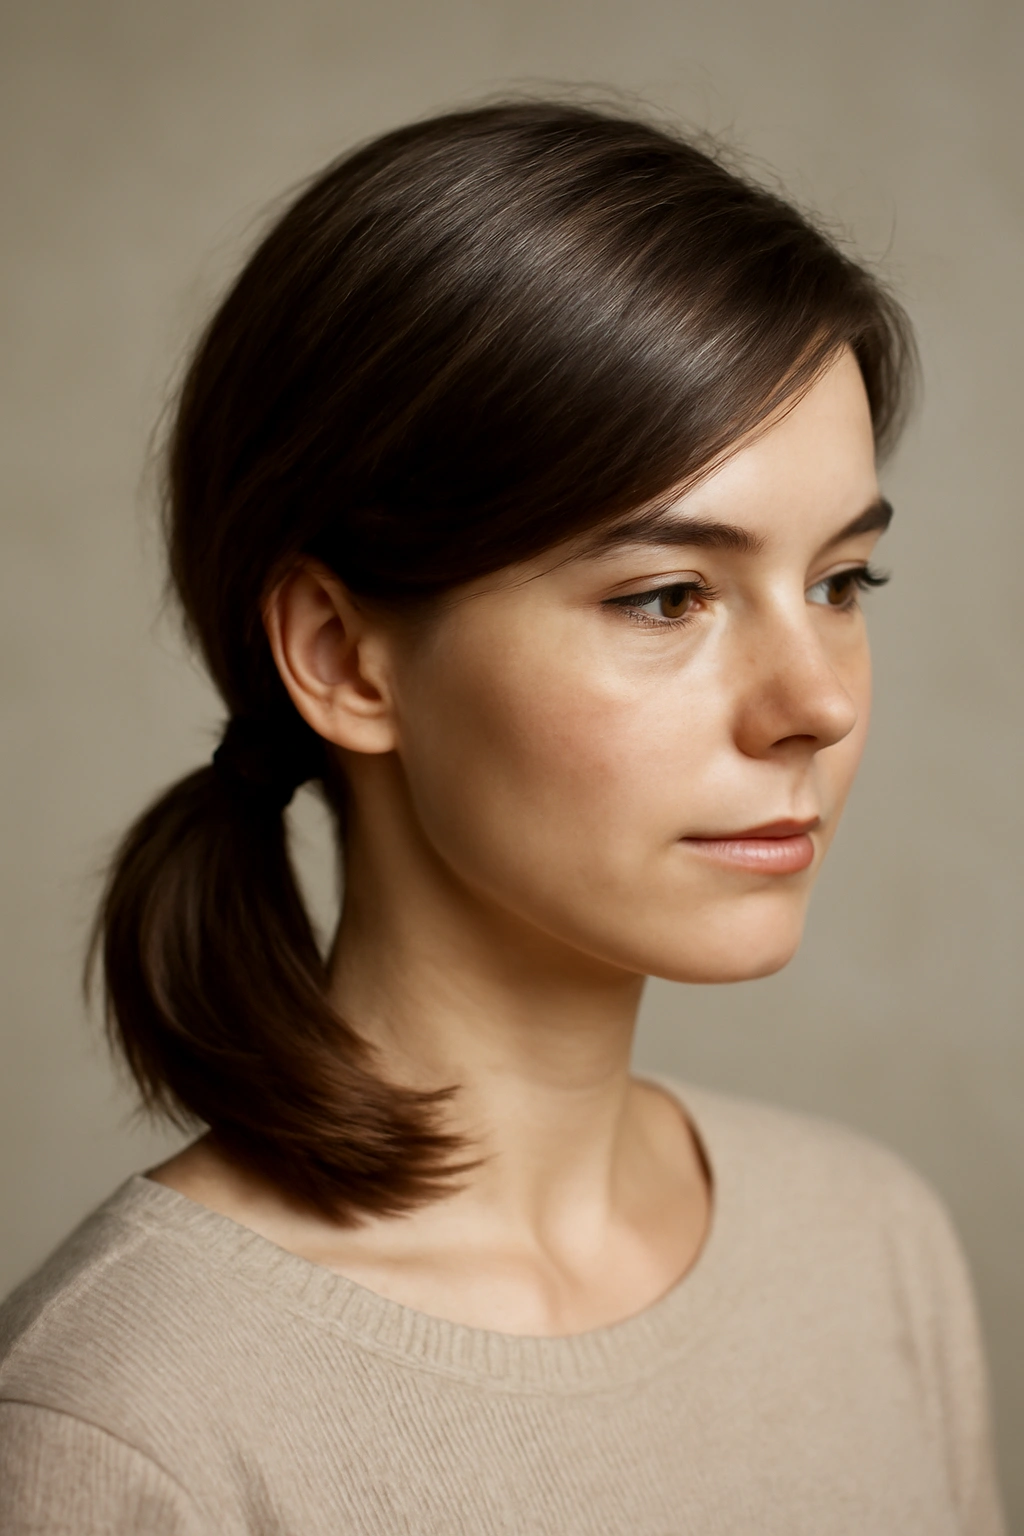
9. The Sleek Slicked-Back Pony
A sleek, slicked-back ponytail is the polar opposite of tousled styles—it’s smooth, controlled, and polished. For short hair, this clean aesthetic is incredibly chic because it showcases your face, your bone structure, and the precision of the style itself. The sleekness requires specific technique and product to maintain all day, but once mastered, this is one of the most professional and elegant short ponytails you can wear.
How to Maintain Sleekness Without It Looking Plastic
The challenge with a slicked-back short ponytail is achieving smooth, controlled hair without it looking stiff, shiny, or unnatural. The trick is using the right products in the right amounts—enough to smooth and control, not so much that your hair looks wet, greasy, or crunchy. You’re going for refined, not severe.
Creating a Slicked Ponytail That Lasts
- Start with clean or second-day hair (natural texture is actually easier to slick back smoothly than freshly washed hair)
- Apply a lightweight smoothing serum or gel to damp hair, focusing on the roots and mid-lengths
- Blow-dry your hair smooth using a paddle brush, directing the dryer downward to lay your cuticles flat and smooth
- Once fully dry, apply a tiny amount of edge control product or smoothing gel to any baby hairs or flyaways around your hairline and temples
- Gather your hair into a ponytail at your desired height (low is most polished; high is more athletic)
- Use a fine-tooth comb to smooth the ponytail section as you secure it with an elastic
- For maximum sleekness, wrap a hair section around the elastic to hide it completely
- Finish with a light, flexible-hold hairspray that keeps everything smooth without stiffening hair
Pro tip: The sleek look actually photographs better than it looks in a mirror, so if it feels a bit too controlled or smooth to you in person, it probably looks perfectly polished in real life.
10. The Layered Faux Hawk Ponytail
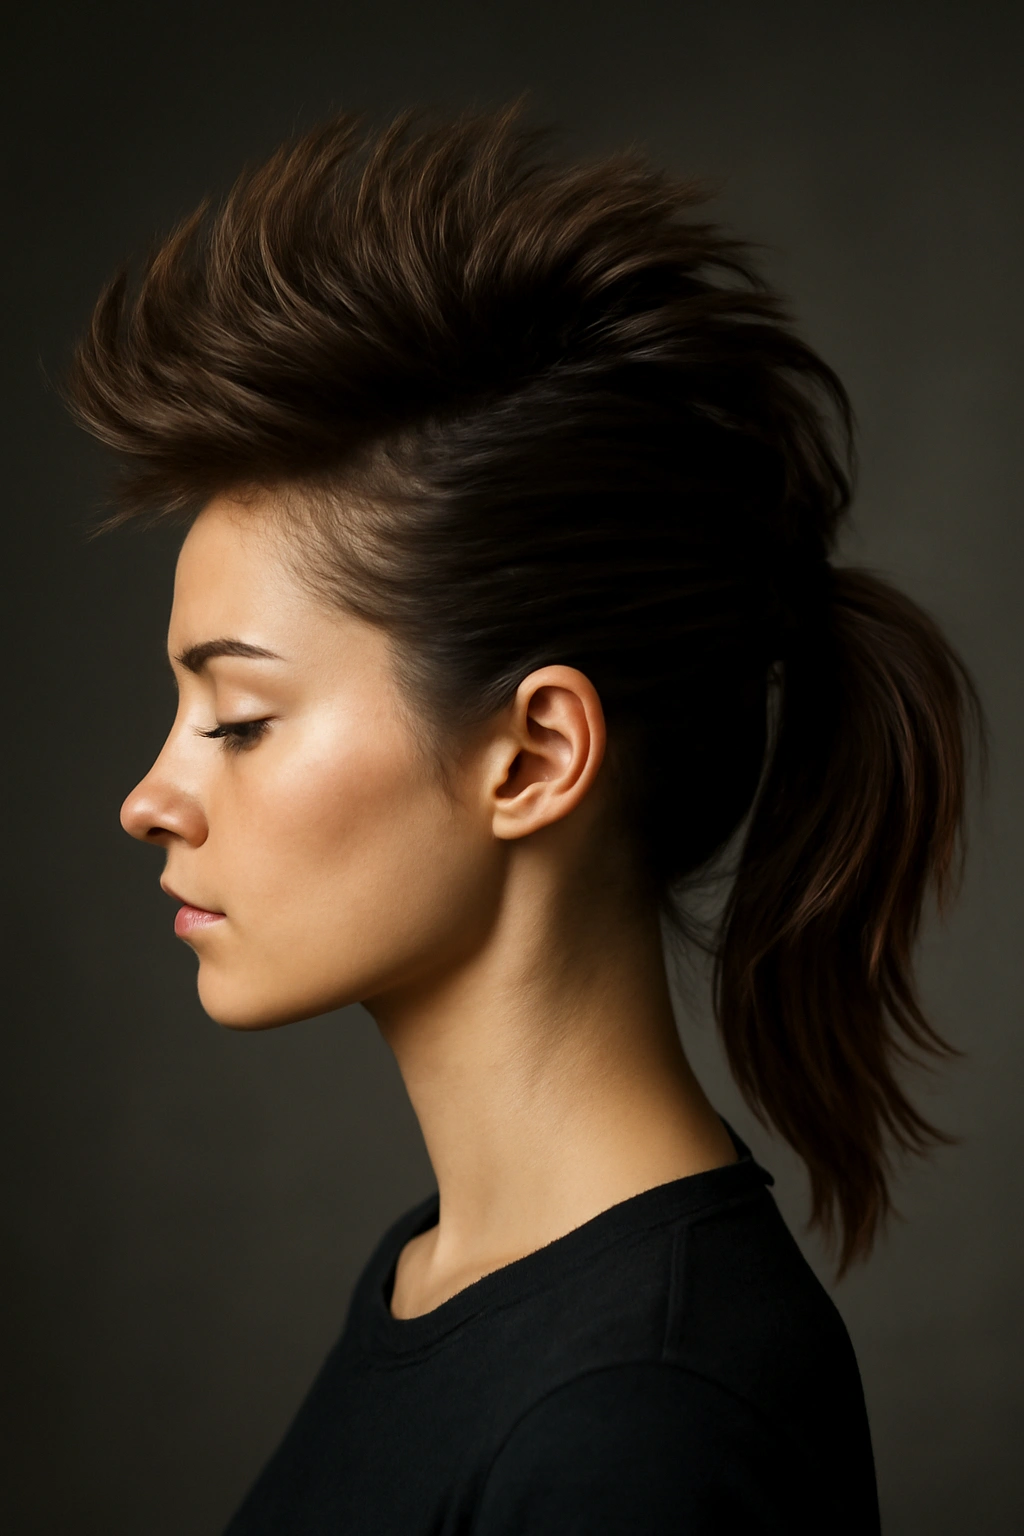
A layered faux hawk ponytail creates the edgy, bold effect of a mohawk without committing to actual side-shaved hair. You’re creating height and dimension at the crown while ponytailing the sides and back, resulting in a style that’s fashion-forward and definitely turns heads. For short hair, this style is fantastic because it uses what you have to create visual drama and interest. It holds up beautifully because the crown section is textured and teased, while the sides are secured in a ponytail—you get both style and security.
The Visual Impact of the Faux Hawk
A faux hawk reads as bold and intentional, which makes short hair immediately look styled and purposeful rather than simply short. The height at the crown elongates the face while the textured crown section creates visual interest. The ponytail sections on the sides and back keep everything secure and controlled, so you get edginess without any looseness or slipping throughout the day.
Building the Faux Hawk Structure
- Apply volumizing mousse to damp roots and blow-dry your hair with your head tipped forward to build maximum lift at the crown
- Once dry, section off the crown area—roughly a two to three-inch section from your forehead back to your crown
- Backcomb or tease the crown section thoroughly to create height and texture (this is where you build the “hawk”)
- Smooth the outer layer of the crown section lightly with a comb so it’s not frizzy, but keep the textured base
- Gather the hair on both sides (from roughly ear level going back) into a low ponytail at the base of your neck, leaving the crown section out and teased upward
- You can also create a second, very small ponytail just above the main ponytail for an extra graphic element
- Gently shape and fluff the crown section so the teased hair creates height and dimension
- Use a strong-hold hairspray to set both the textured crown section and the ponytail
Insider note: The imperfect, textured version of this style looks more modern than a perfectly smooth version—embrace the texture and don’t try to make it too neat.
Pro Tips for All-Day Ponytail Hold
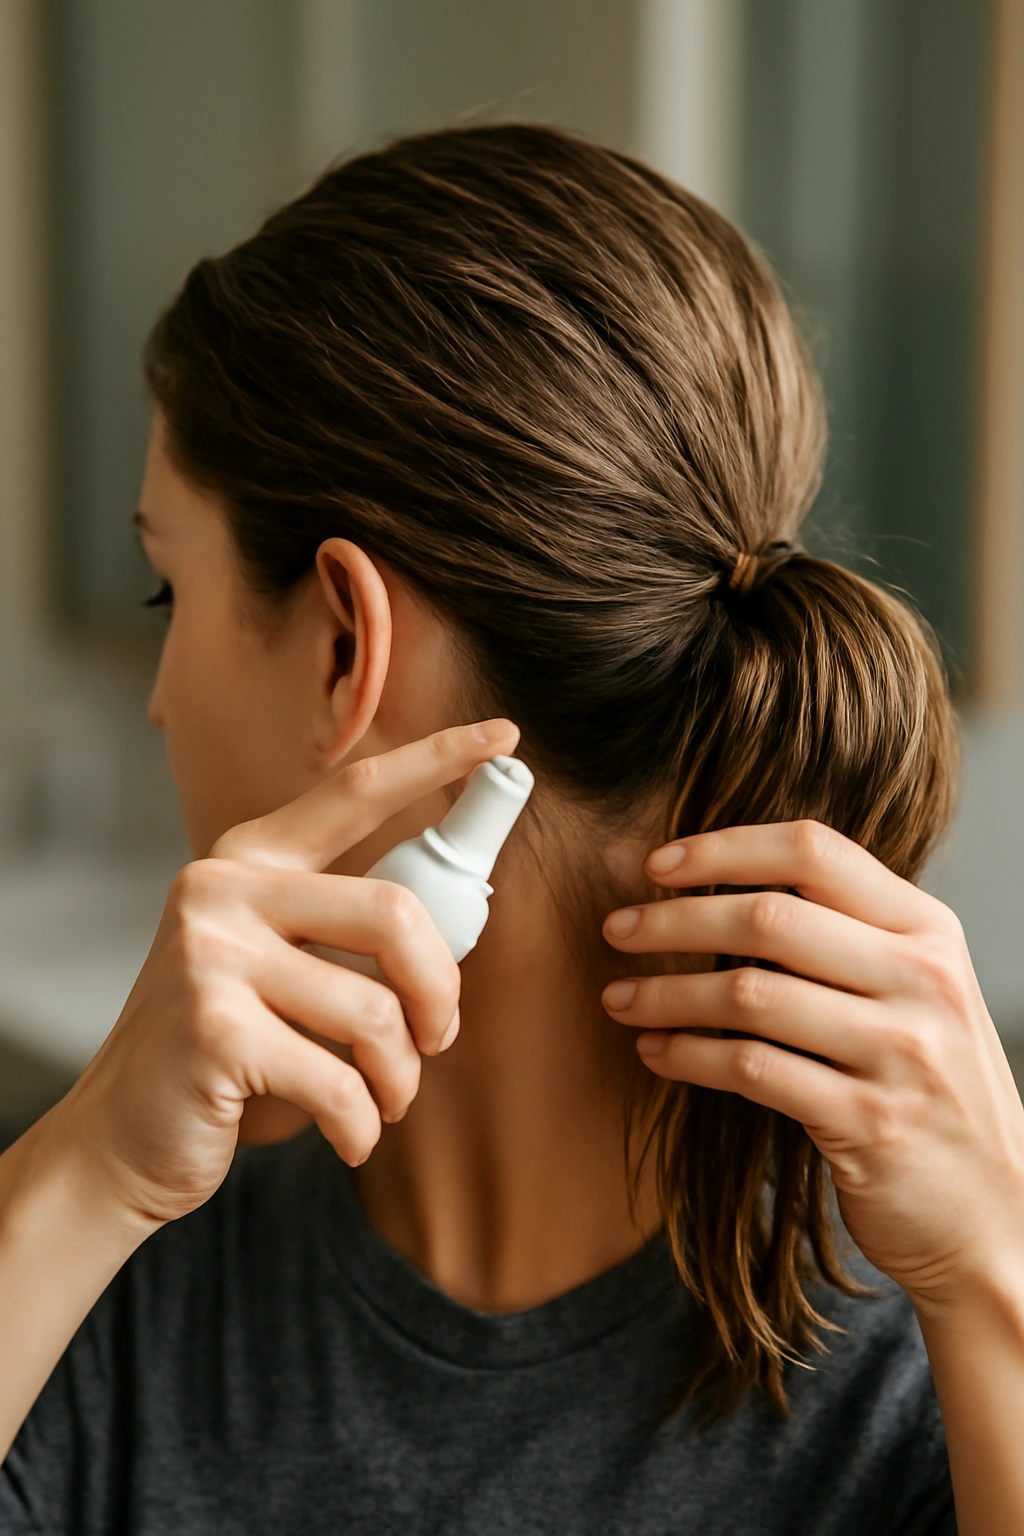
The best short ponytail starts with the right foundation and maintained throughout the day with strategic touch-ups. Product choice matters significantly when you’re working with shorter lengths because every application is visible and can either enhance or weigh down your style. Understanding what holds, what slips, and what keeps your hair looking fresh hours after you’ve styled it is the difference between a ponytail that lasts and one that unravels by lunch.
Start your ponytails on second-day hair whenever possible. Fresh from the shower, hair is smooth and slippery, which works against ponytail longevity. Second-day hair has natural texture and grip that helps elastics stay in place. If you need to style on wash day, apply a texturizing spray or dry shampoo to damp hair before blow-drying—this creates texture that helps hold ponytails far better than smooth, freshly-washed hair.
Choose your hair products strategically for the specific style. Volumizing mousses and texturizing sprays build grip and hold for tousled, textured ponytails. Smoothing serums and lightweight gels work for sleek styles. Avoid heavy oils or thick pomades on short hair—they typically weigh it down and make ponytails look limp. A light hairspray (not extra-hold or maximum-hold) is your friend because it sets texture and style without making hair feel stiff or crunchy.
Bobby pins are essential for securing short ponytails, but placement matters. Always use at least two bobby pins, never one. Cross them in an “X” shape at the base of the ponytail, angling them slightly backward into the hair. This distributes tension and prevents the ponytail from twisting or slipping as the day goes on. Hide the bobby pins completely under the ponytail hair or beneath a wrapped hair section so they’re not visible.
Silk elastics are absolutely worth the investment for short hair. Regular elastics grab hair too harshly and can cause breakage, which is particularly noticeable and devastating with short lengths. Silk elastics grip well without damaging hair, and they’re significantly less visible. Choose elastics that match your hair color for a seamless look.
Throughout the day, do strategic maintenance touch-ups rather than waiting until the ponytail completely falls apart. If you notice the elastic is slipping, remove your bobby pins, tighten the elastic slightly, and re-secure your pins. If you see flyaways, use a tiny drop of edge control or a light application of smoothing serum on your fingertips to smooth them down. These micro-adjustments take thirty seconds and keep your ponytail looking intentionally styled all day.
Keep a small styling kit in your bag: bobby pins, a hair tie that matches your hair, a tiny bottle of texturizing spray, and a travel hairspray. These take up almost no space and let you touch up your ponytail whenever you need to. A quick spritz of texturizing spray and some gentle fluffing can revive a ponytail that’s been sitting in place for hours.
Final Thoughts
Short hair ponytails are absolutely achievable, and with the right techniques and products, they hold up beautifully throughout an entire day. The key is building texture and grip into your foundation, choosing the right style for your hair type and the occasion, and understanding that a bit of strategic texture actually works in your favor rather than against it. The styles that hold best aren’t the ones that are perfectly smooth or sleek—they’re the ones that have intentional texture, secure placement, and multiple grip points working together.
The beauty of short hair ponytails is that they force you to be intentional about styling. You can’t hide behind length, which means every detail matters. But that also means when you get it right, people notice. A well-executed short hair ponytail reads as polished, intentional, and styled—not by accident, but because you clearly know what you’re doing. That confidence shows, and it translates into a style that works as hard as you do throughout your day.