Half up hairstyles are the ultimate solution when you want to look polished without committing to a full updo. They strike that perfect balance between effortless and intentional—your hair stays down for movement and comfort, but the top section is secured away from your face, creating instant sophistication. Whether you’re heading to the office or planning a weekend brunch, a well-executed half up style elevates your whole look in just five to ten minutes.
The beauty of half up hairstyles is their versatility. You can dress them up with strategic pins and smooth finishes for a professional setting, or keep them intentionally relaxed and textured for weekends. They work on nearly every hair type and length (shoulder-length and beyond), and they’re forgiving enough that you don’t need professional-level styling skills to pull them off. The key is understanding the foundational techniques—how to create volume where you want it, which sections to pull from, and how to secure everything so it stays put through a busy day.
The best half up styles also work as problem solvers. If your roots are greasy but your ends are clean, a half up style refreshes your look without needing a full wash. If you’re having a bad hair day, strategic styling can turn flat sections into intentional texture. They’re practical enough for an office environment where your hair shouldn’t be in your face, yet interesting enough that you won’t look like you styled your hair in thirty seconds. Let’s explore twelve elegant, easy-to-execute half up hairstyles that work for almost any occasion.
1. Sleek Half Bun with Face-Framing Layers

This is your go-to for professional environments where you need clean, pulled-together hair that says “I have my life together.” The sleekness comes from smooth gel or pomade applied to the top section, which creates a refined finish that photographs well and stays put under office lighting.
Start by brushing your hair back smoothly and creating a clean center or side part, depending on your face shape. Using a fine-tooth comb and a smoothing product (gel, pomade, or a smoothing cream), brush the top section of your hair back from your face, gathering it into a half-up section at the crown. Pull it back tightly enough that you have control, but not so tight that you create tension headaches by day’s end.
Why This Style Works for Work
The sleek finish reads as intentional and professional without feeling costume-like. Your face is completely clear, which is essential if you’re on video calls or meeting clients. The bun sits high enough that it doesn’t interfere with jacket collars or blazers, and it won’t become matted or dented if you’re wearing a headset or glasses all day.
How to Secure and Finish It
Twist the gathered section into a small, tight coil and wrap it into a bun at the crown, securing with bobby pins that match your hair color. Use a light hairspray to tame any flyaways and create hold without making the whole style look stiff. If you want the face-framing effect, leave 1-2 inches of hair at each temple loose so the front pieces create a flattering frame around your face rather than pulling everything back flat.
Pro tip: Before securing the bun, wrap a thin section of hair around the base to hide the bobby pins and create a polished, intentional look—this small detail makes the difference between looking put-together and looking like you just threw your hair up quickly.
2. Twisted Half Ponytail with Textured Waves
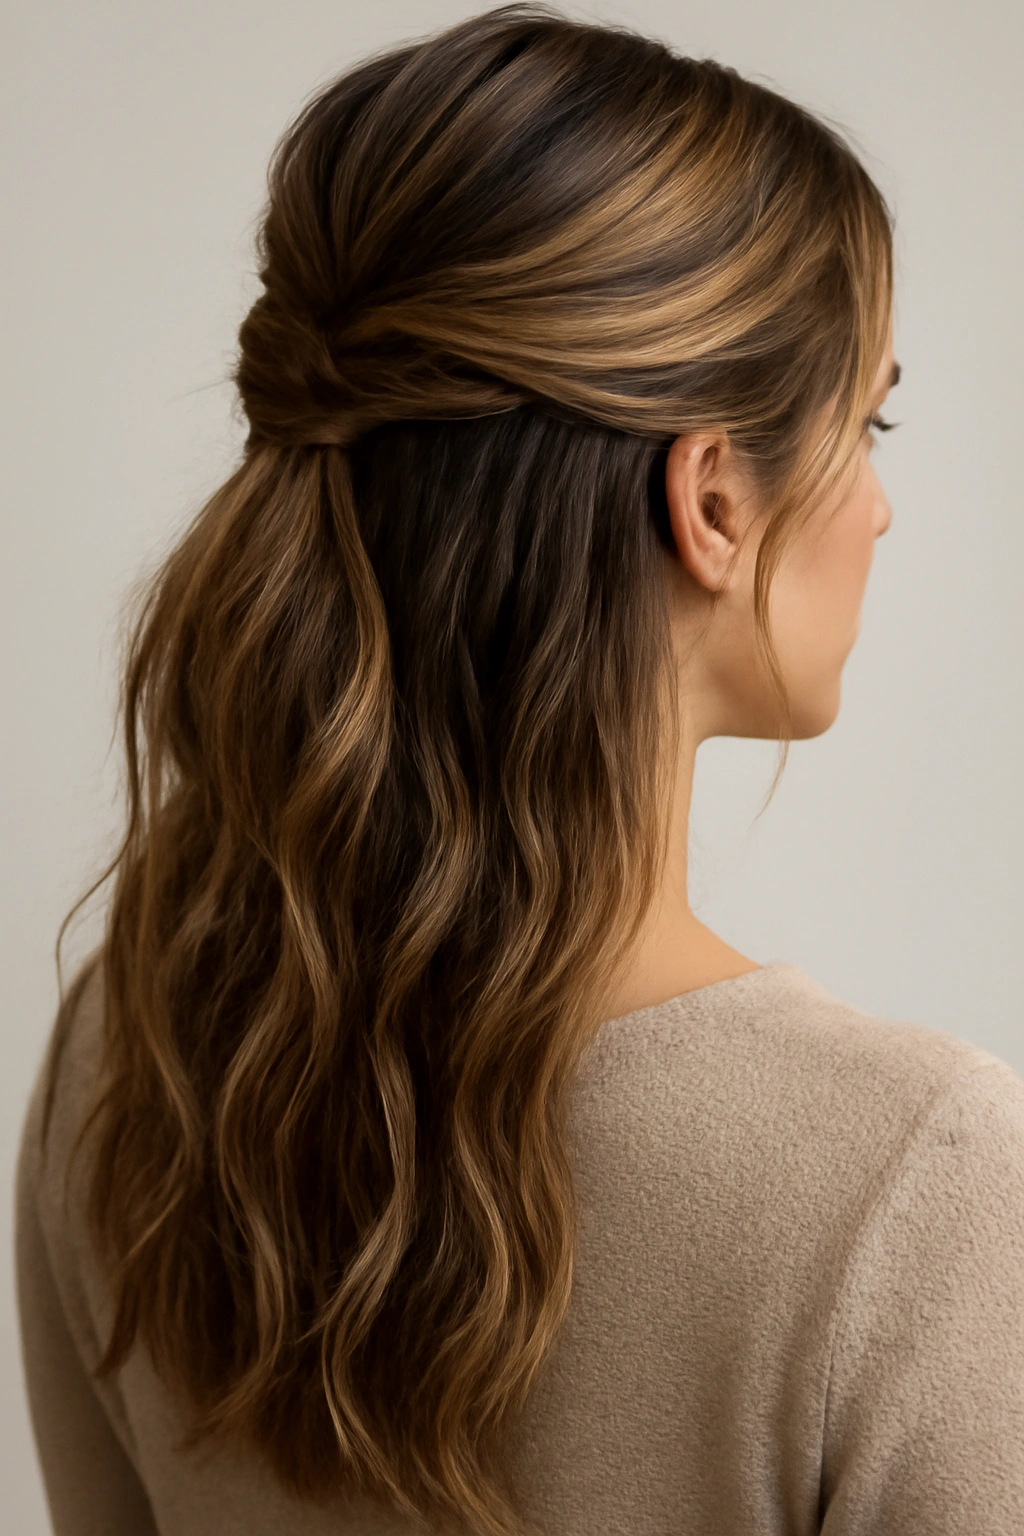
This style works beautifully for weekends because it combines structure with movement. The twist creates definition without looking too formal, and the waves below the ponytail give you that effortlessly styled appearance that suggests you woke up looking like this (even if you didn’t).
Begin with hair that has some texture or wave to it—if your hair is straight, apply a texturizing spray or sea salt spray first to give your waves something to grip. Take a section of hair from one side of your part, twist it loosely as you move toward the back of your head, then gather that twisted section along with the hair directly behind it into a half-up ponytail at the crown or slightly lower.
Why This Works for Weekends
The casual nature of the twist feels intentional without being overdone. You’re not spending thirty minutes perfecting sleekness, but you’re also not just throwing your hair into a basic ponytail. The textured waves visible below the ponytail create movement and visual interest that looks modern and slightly undone—exactly the vibe for weekend activities.
Creating the Right Texture
If your hair is naturally wavy or curly, this style requires minimal effort. If you have straight hair, you have options: use a 1.25-inch curling iron to create loose waves through the bottom section before tying the ponytail, or rely on texturizing spray and twisting sections to create crimps that read as waves. The key is keeping the waves soft and loose rather than tight and defined—tighter waves look more formal, while loose waves look weekend-casual.
Worth knowing: The twist section doesn’t need to be perfectly tight. Slightly loose, slightly imperfect twists actually look more modern than tight, wound-up twists. If your twist starts to unwind slightly as the day goes on, that’s a feature, not a bug.
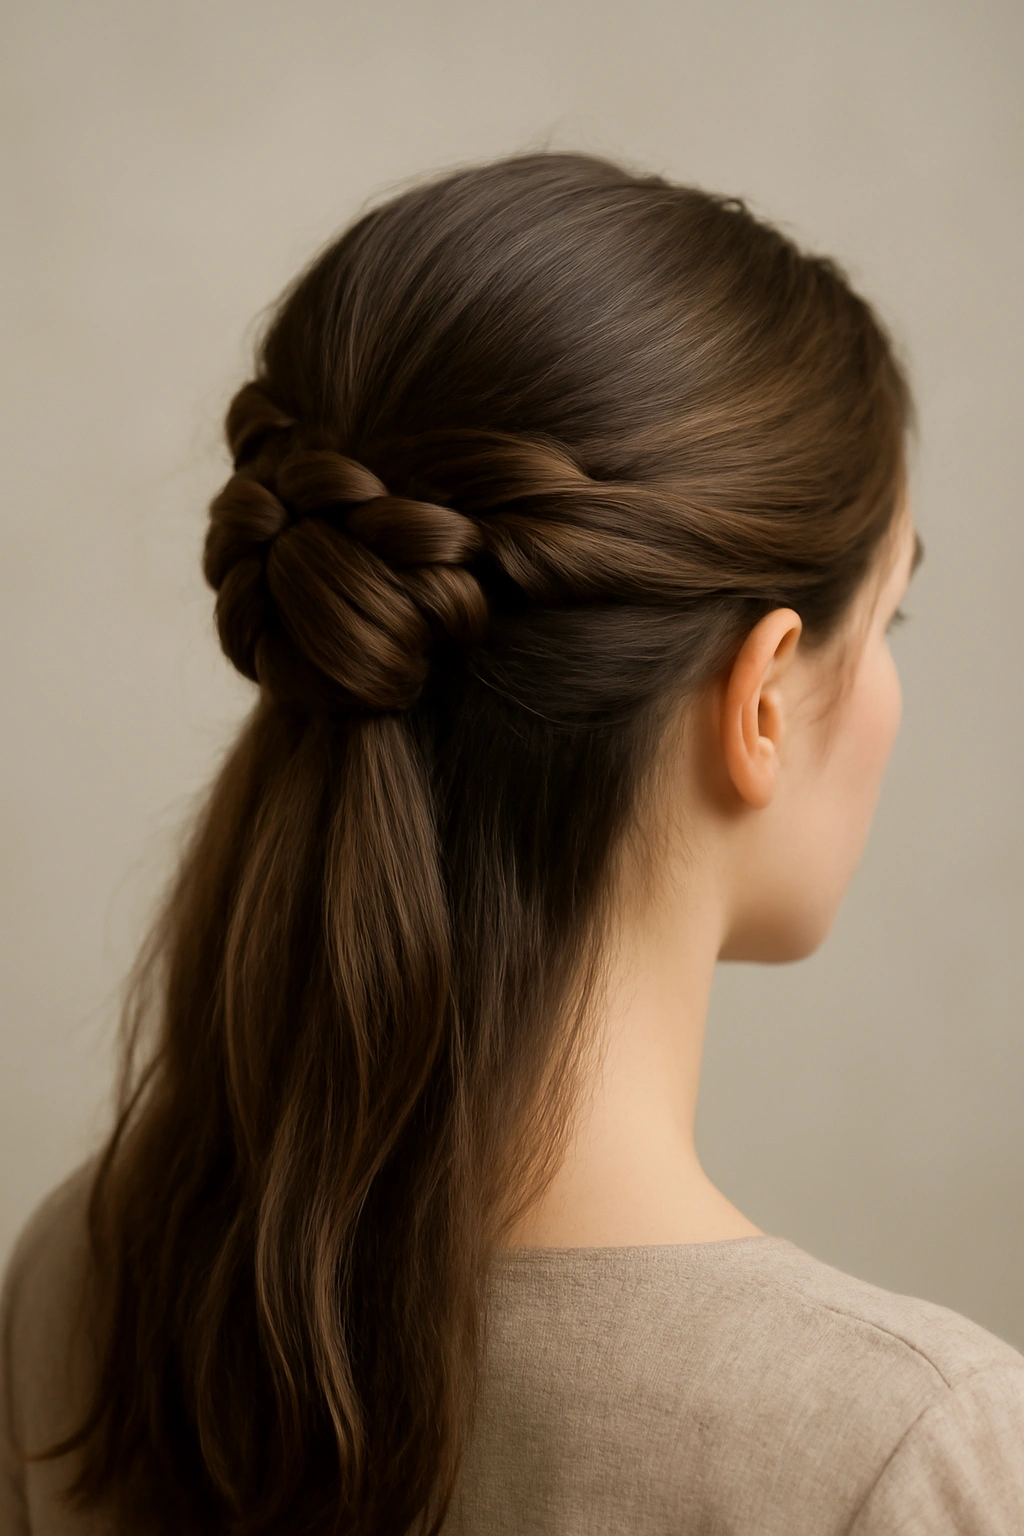
3. The Braided Half Crown
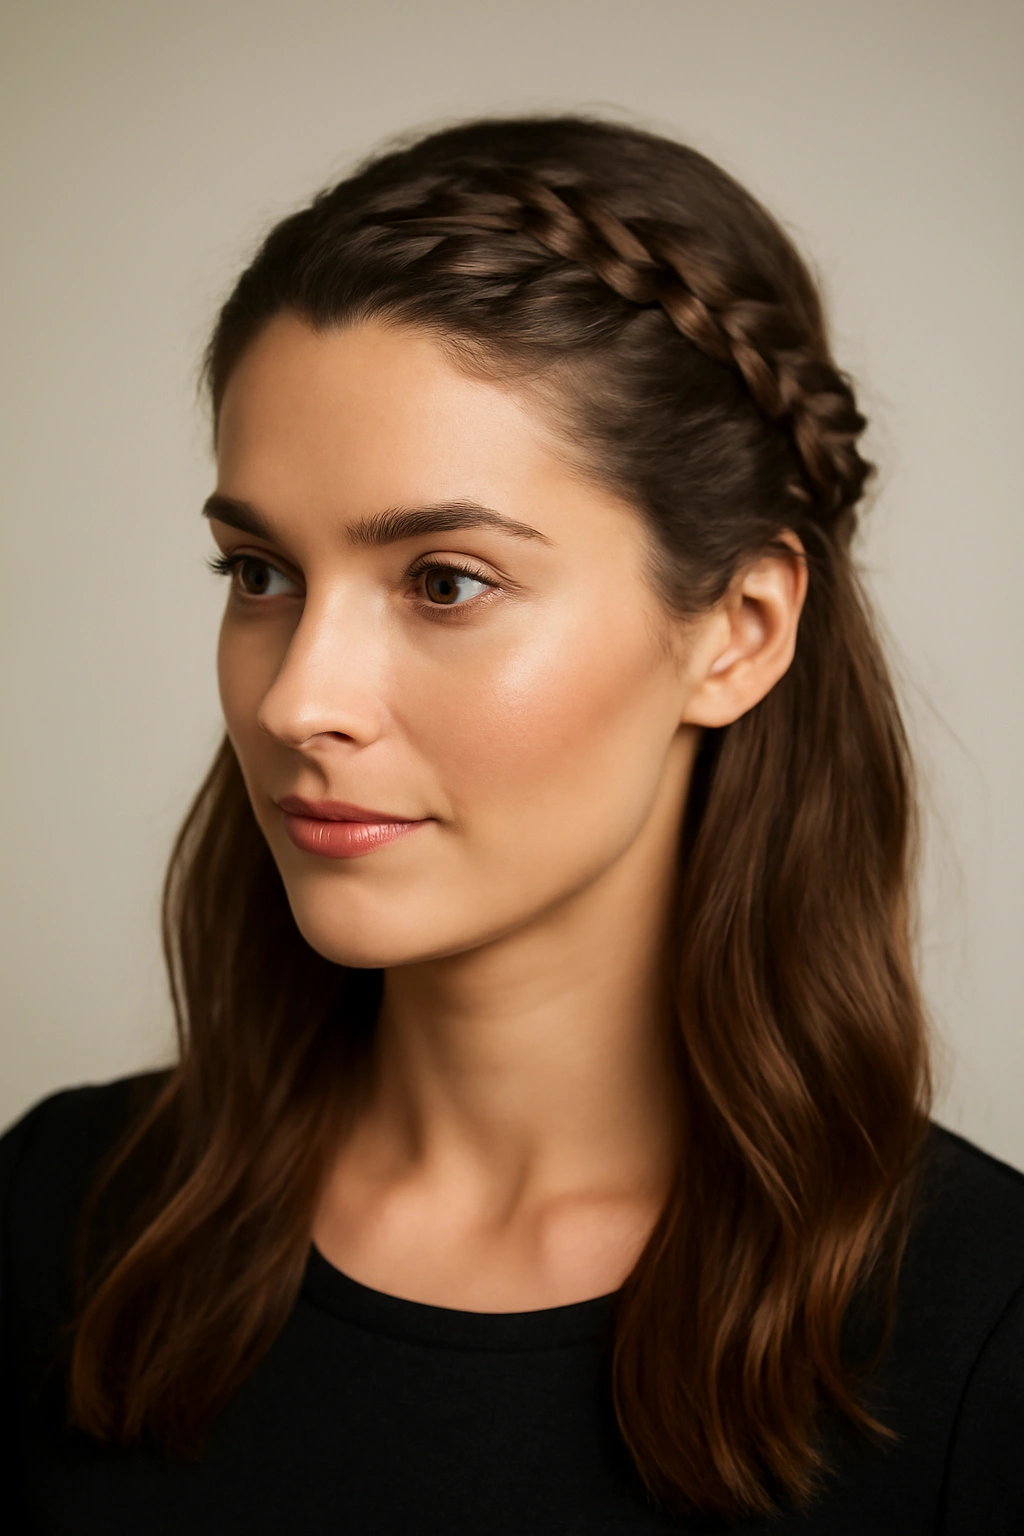
A braided half crown combines the elegance of braiding with the practicality of keeping hair back from your face. This style works for both work and weekends depending on how you finish it—a tight Dutch braid reads more formal, while a loose, relaxed braid leans weekend.
Create your part and begin a three-strand braid at one side of your head, starting at the temple. As you braid, angle the braid slightly upward and backward toward the crown, loosely incorporating any hair that naturally falls into your braiding path. Once you reach the crown, secure the braid with a bobby pin that matches your hair color, tucking the end under or slightly to the side.
Why Braiding Creates Definition
Braids inherently create visual interest and texture. Even if your hair is fine or straight, a braid gives it dimension and structure. For work environments, a braid signals competence and care—it’s technically demanding enough that people notice you put effort in, but common enough that it never reads as unprofessional. For weekends, braids instantly add a relaxed, less-refined vibe.
Adjusting the Braid Style
The tightness of your braid changes everything. Tight, neat braids suit office settings and formal occasions. Loose, slightly messy braids (created by gently pulling at the sides of each braid section) look more casual and modern. For a weekend style, pull the braid slightly looser immediately after braiding to soften the edges. This takes thirty seconds and transforms the braid from “finished” to “effortlessly textured.”
Quick tip: If you braid at the temple on one side, you can leave the other side completely down and face-framing, creating asymmetrical styling that feels more interesting than braiding both sides.
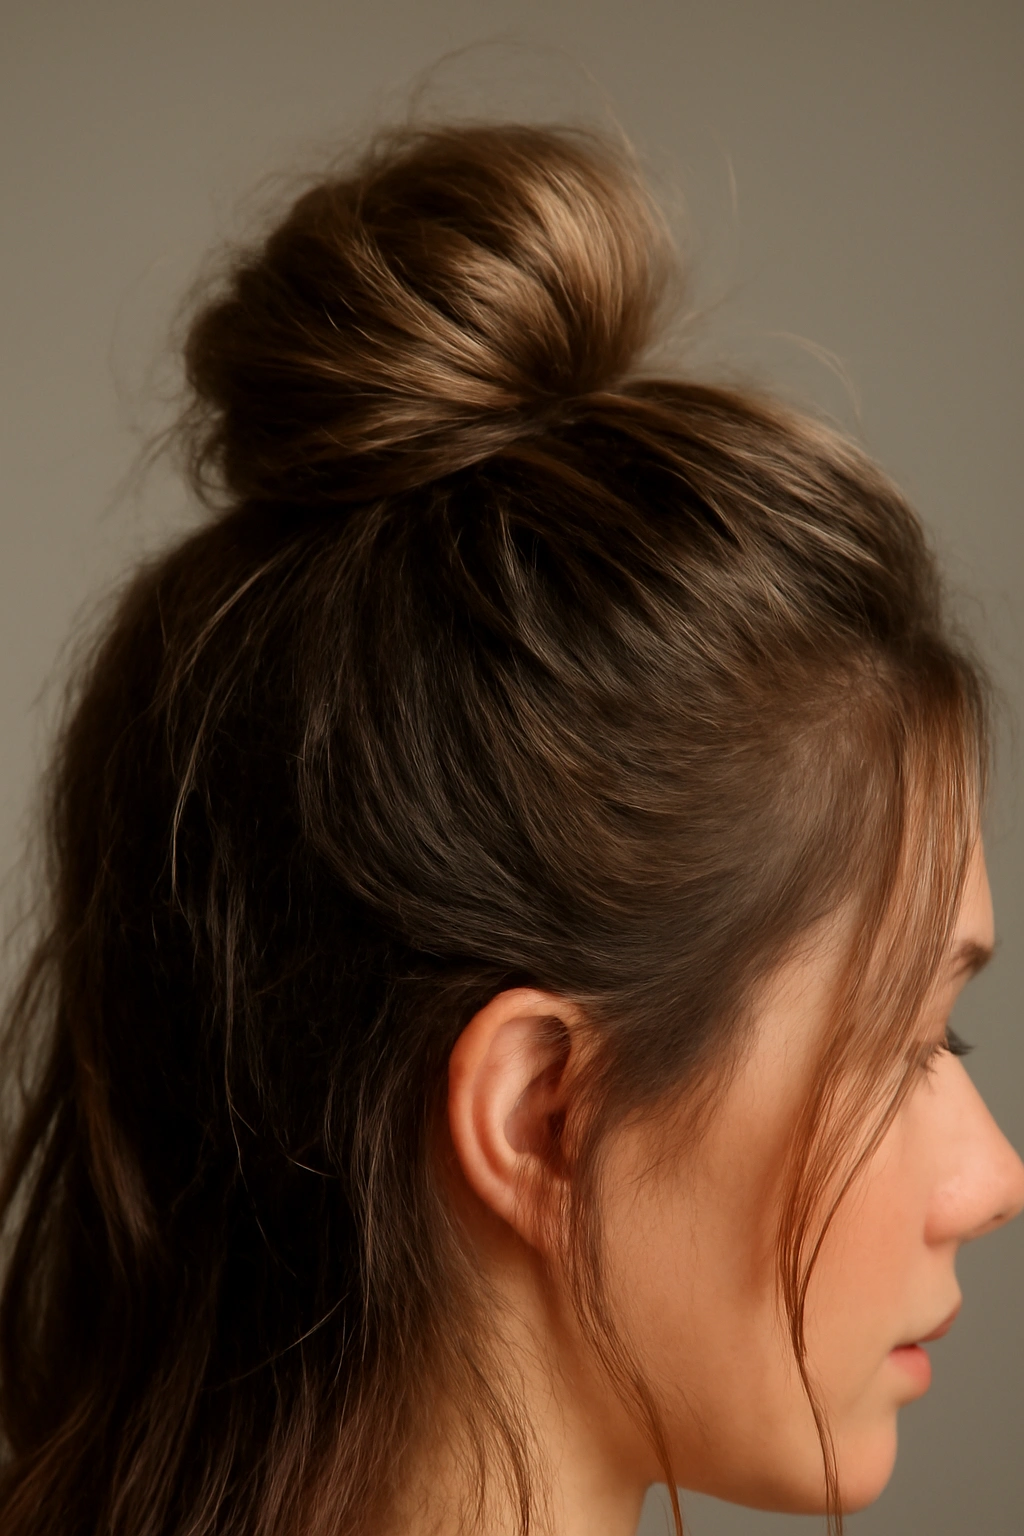
4. Casual Half Messy Bun
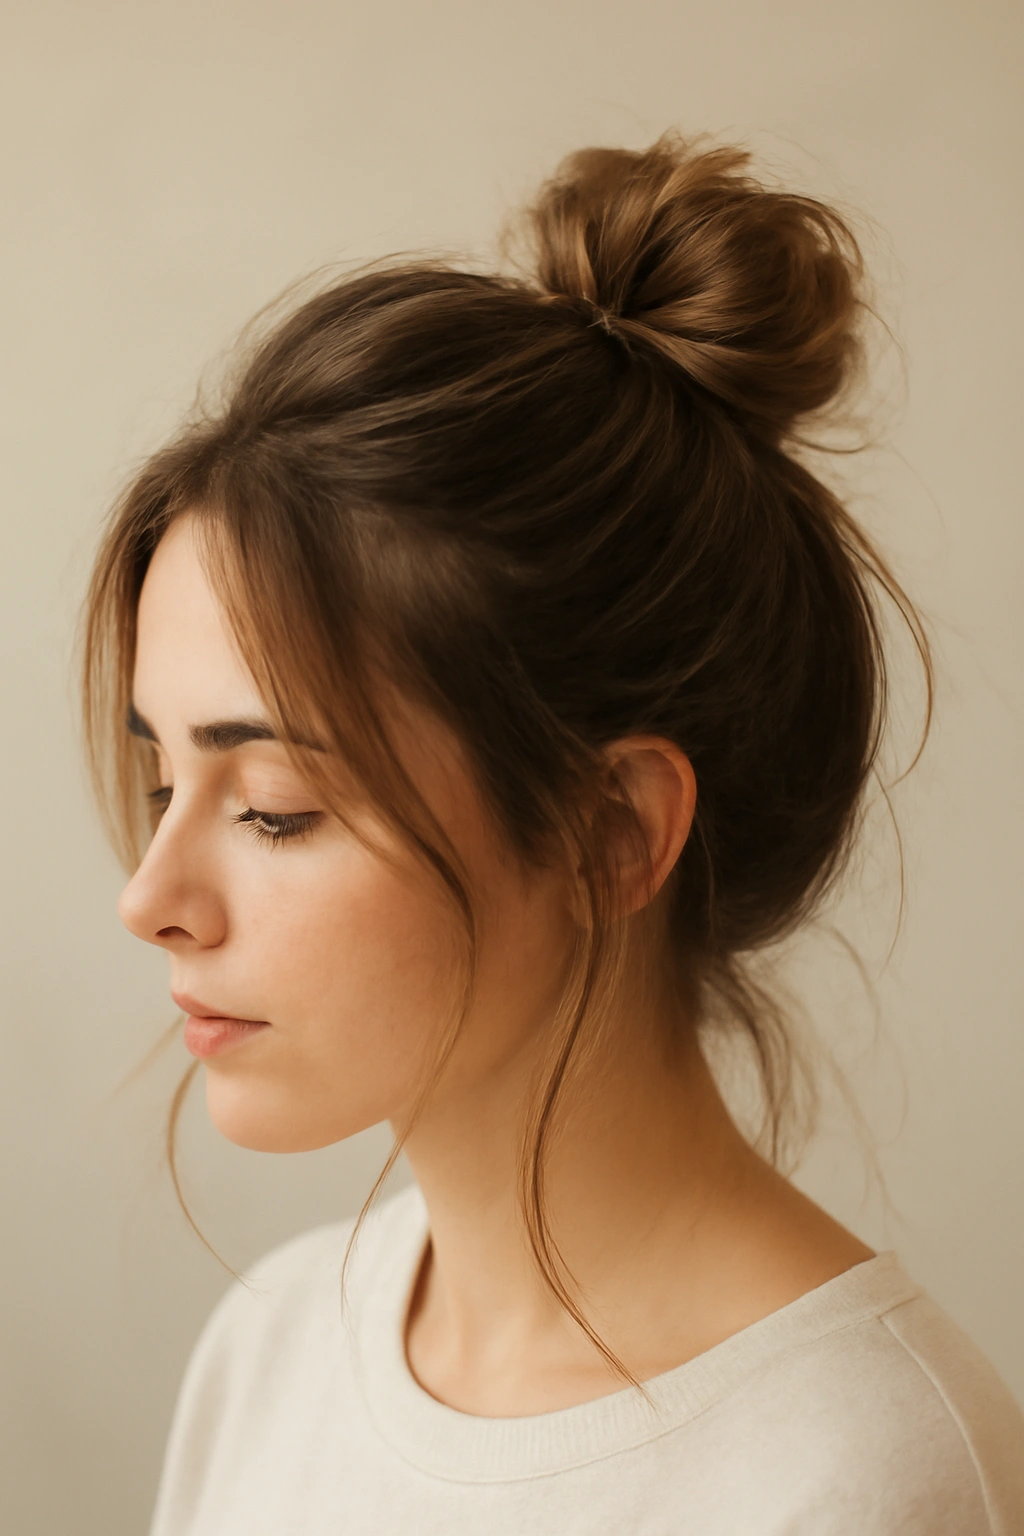
When the goal is to look intentionally undone while still being put-together, a half messy bun is your answer. “Messy” here doesn’t mean unkempt—it means relaxed, slightly undone, with flyaways and wisps that look purposeful rather than accidental.
Gather the top section of your hair into a ponytail at the crown. Instead of braiding or creating a tight bun, loosely twist the ponytail section and wrap it into a coil, tucking the ends under and securing with bobby pins. The key is leaving pieces loose—don’t smooth down flyaways, and don’t pull the ponytail so tight that every hair is in perfect alignment.
Why This Works for Both Settings
The beauty of the messy bun is its adaptability. On a day when you’re heading to the office but not meeting clients, this style says “I’m practical and not overthinking appearances.” For weekends, it says “I’m comfortable and confident without needing perfection.” It’s the styling equivalent of wearing your favorite jeans—appropriate everywhere, required nowhere.
Creating Intentional Imperfection
The trick to a good messy bun is making the messiness intentional rather than accidental. Pull the gathered section loosely, leave two or three smaller pieces loose around your face, and allow some texture or wave to show. If your hair is naturally straight, apply texturizing spray before gathering the bun section so the hair has dimension and doesn’t look slick or flat.
Insider note: A half messy bun looks significantly better if you’ve not washed your hair for one to two days—the slightly greasier texture holds shape better and creates more visual texture than freshly washed hair, which wants to slip and slide.
5. Half Ponytail with Contrasting Texture
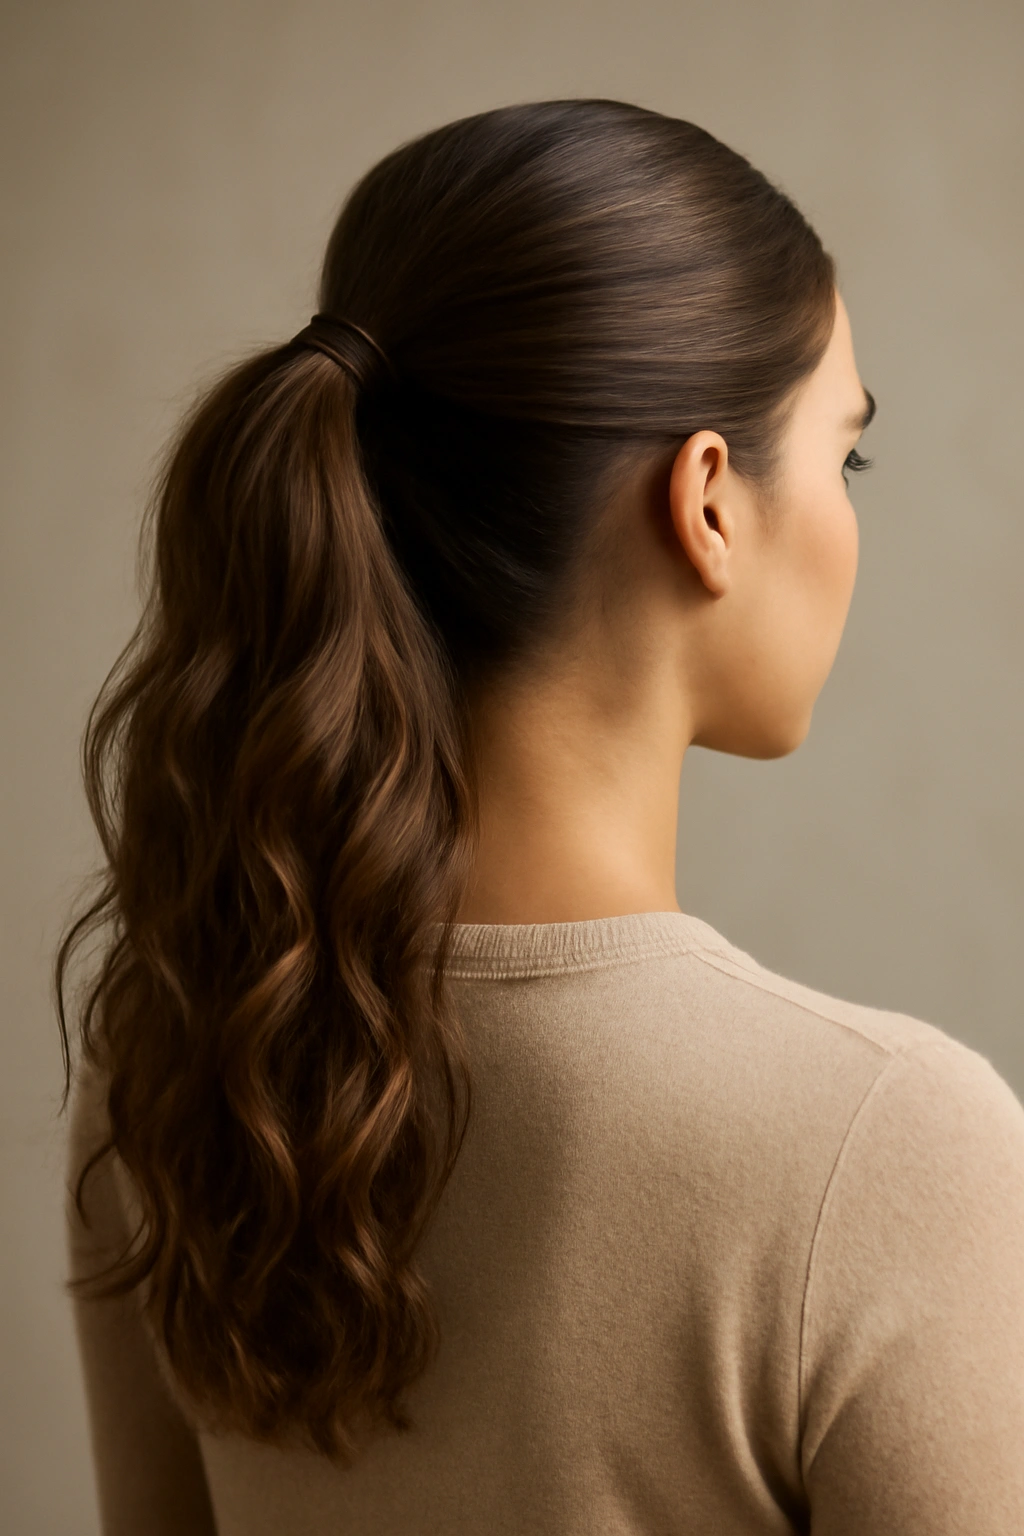
This style plays with the contrast between smooth and textured sections, creating visual interest with minimal additional effort. The idea is that the top half pulled back is sleek, while the bottom half hanging down has pronounced texture or waves.
Smooth the top section back with a gel or smoothing cream, gathering it into a half-up ponytail at the crown. Meanwhile, the bottom section should have distinct wave or curl texture—whether that’s from a curling iron, heatless curls, or your natural texture. The contrast between the smooth top and the textured bottom creates a style that’s both polished and visually interesting.
The Psychology of Textural Contrast
When two different textures sit next to each other, each one reads as more defined. A smooth section next to a wavy section makes the smoothness look intentionally sleek, and the waves look intentionally textured. If everything is uniform texture, the eye skims over it. With contrast, the style becomes a statement.
Building the Textured Section
For waves, use a 1.5-inch curling iron and wrap sections of the bottom hair away from your face, leaving each curl in place for a few seconds, then releasing. Work in sections horizontally from the bottom up, curling alternating directions (away, toward, away) for movement that falls naturally. Once all sections are curled, brush through gently with your fingers or a wide-tooth comb to create soft waves rather than tight spirals.
Quick fact: The size of your curling iron matters. Smaller irons (1 inch) create tighter, springier waves that look more defined. Larger irons (1.5-2 inch) create softer, looser waves that look more modern and elegant.
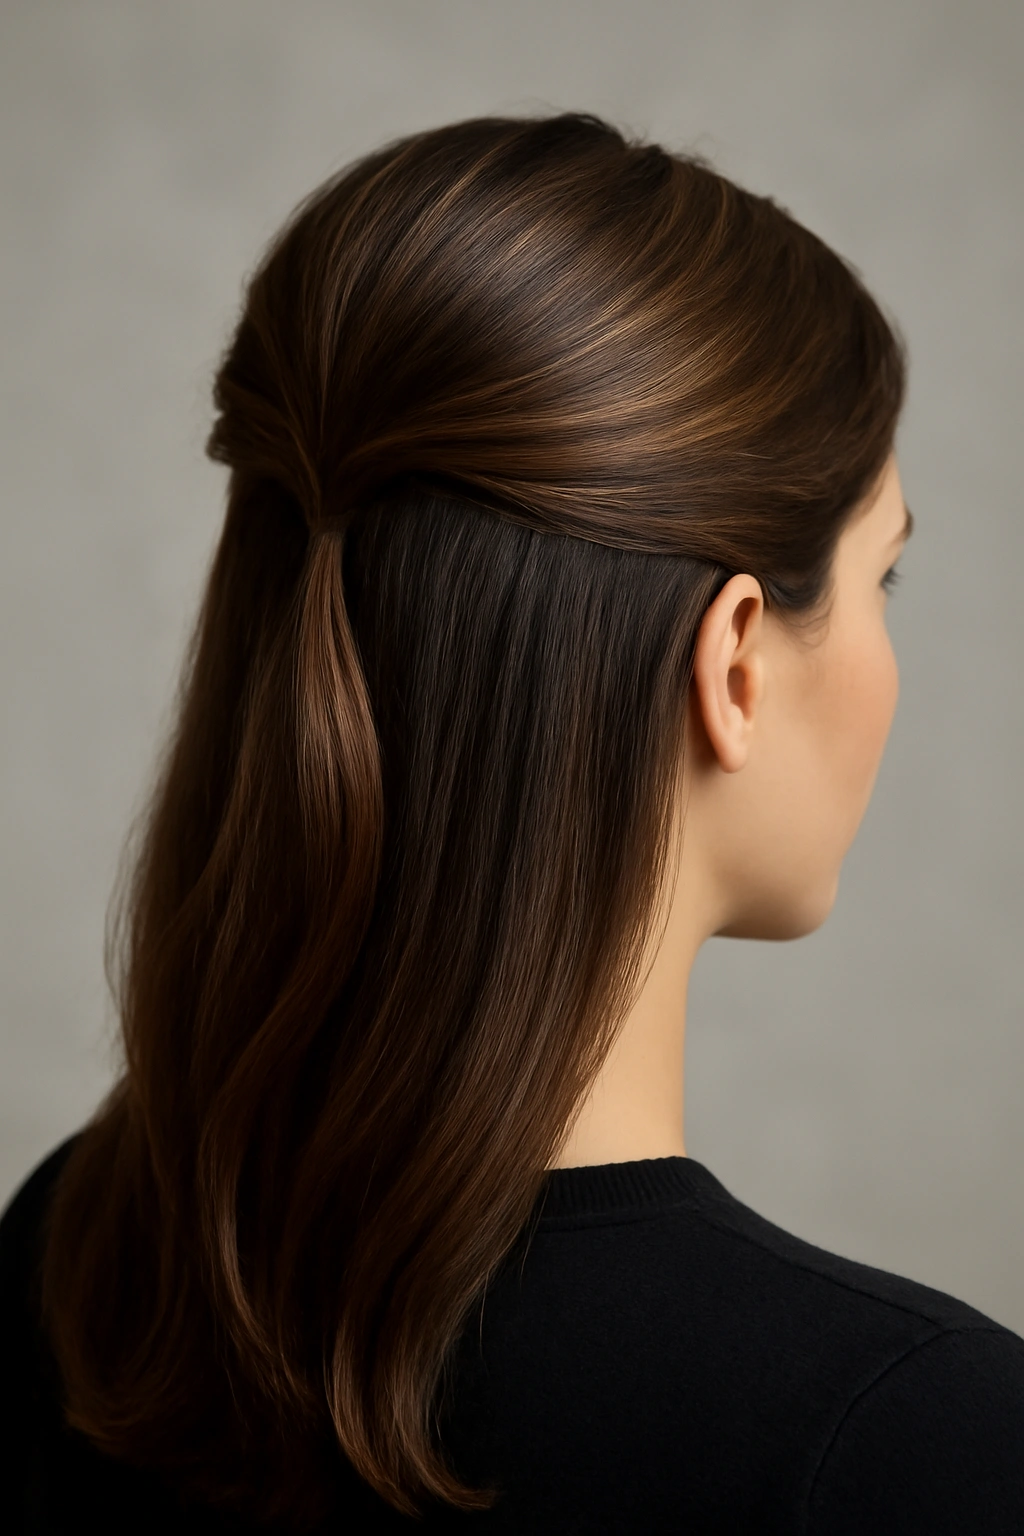
6. The Sleek High Half-Up Section
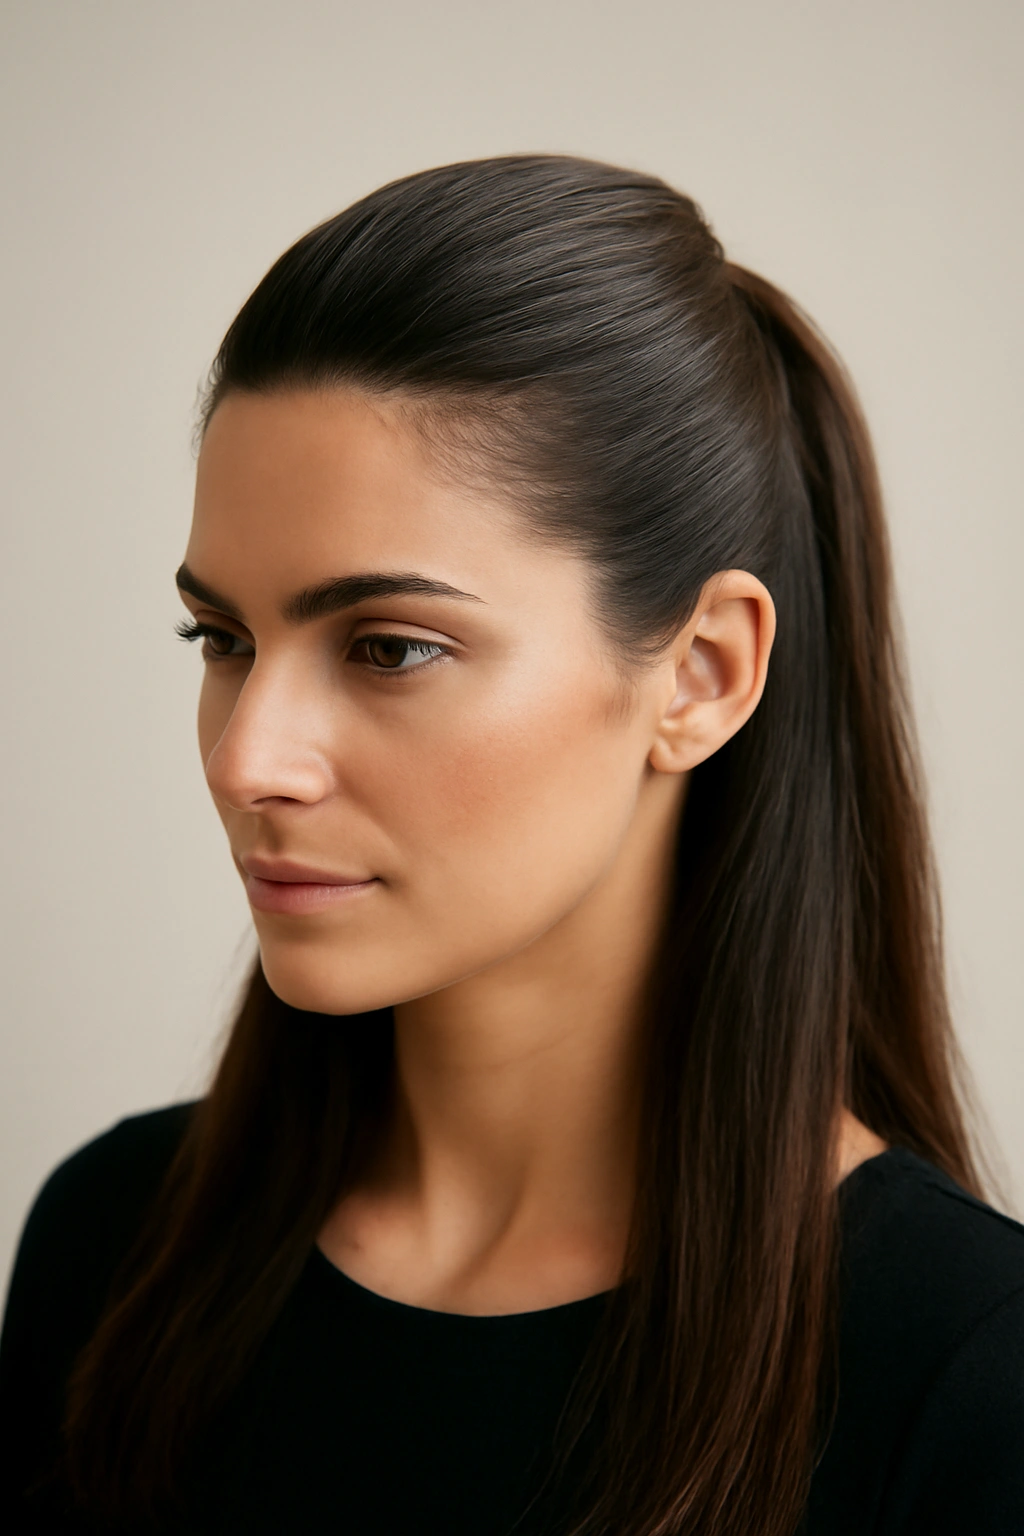
This is minimalism at its best—a high, sleek half section that requires no braiding, no twisting, no complicated techniques. It’s pure simplicity, which is why it’s perfect for mornings when you’re rushing but still want to look intentional.
Apply smoothing product to your hands and brush the top section of your hair straight back from your face, creating a sleek finish. Gather this section into a high ponytail at the crown—think of it as the very top of your head, not the back. Secure with a clear elastic or a bobby pin, depending on whether you want the ponytail to be visible or hidden.
Why Simplicity Is Underrated
A sleek half section works because it’s so clean and uncluttered. There’s nowhere to hide—if it’s going to work, it has to be genuinely smooth and well-executed. This makes it perfect for professional settings where any style that’s too casual or unpolished stands out. The simplicity also means it takes literally five minutes, making it ideal when you’re running late but still need to look like you made an effort.
Achieving That Glossy Smoothness
The secret to a professional sleek look is product and technique. Use a gel, pomade, or smoothing cream—not just water or hairspray. Brush the top section back with a fine-tooth comb after applying product, making sure every hair is in alignment. If you have flyaways, apply a tiny dab of smoothing serum to your fingers and smooth them down individually rather than trying to hairspray them into submission.
Pro tip: A sleek half section looks even more polished if you add a decorative hair clip or pins at the base of the ponytail. A tortoiseshell clip, a metallic barrette, or even a simple claw clip adds a finished detail that suggests intention.
7. Twisted Ribbons Half Bun
Incorporating a ribbon or decorative element transforms a basic half bun into something that reads as more sophisticated and intentional. You’re not adding much weight or complexity—just a visual accent that elevates the whole style.
Begin with your hair styled with some wave or texture. Gather the top section into a half-up ponytail at the crown. Before securing it into a bun, weave a ribbon through the gathered section—you can use a satin ribbon, a thin scarf, or even a decorative hair accessory designed for this purpose. Then twist the ponytail into a bun and secure with bobby pins, keeping the ribbon visible as part of the finished look.
Why Ribbons Feel Special
A ribbon adds an intentional detail that changes how polished the style appears. It’s not complicated—you’re literally just adding a ribbon—but the detail signals that you cared enough to do something beyond a basic bun. This works for both professional settings where a subtle ribbon feels elegant, and for weekends where a patterned or colorful ribbon adds personality.
Choosing the Right Ribbon
Thin ribbons (less than half an inch wide) work best because they don’t add bulk to the bun. Satin ribbons in metallic colors (gold, silver, rose gold) read as more elegant and sophisticated. Printed or patterned ribbons add a fun, weekend vibe. For work, stick with solid colors that match or complement your outfit—a white ribbon with a white blouse, a black ribbon with a black blazer, or a neutral tan ribbon that goes with everything.
Worth knowing: You don’t need to buy special ribbons—thin fabric scraps, skinny scarves, or even decorative twine from craft stores work beautifully. The key is choosing a material that’s not too stiff (avoid craft ribbon that’s plasticized) or too stretchy.
8. Half Up With Curved Waves and Pins
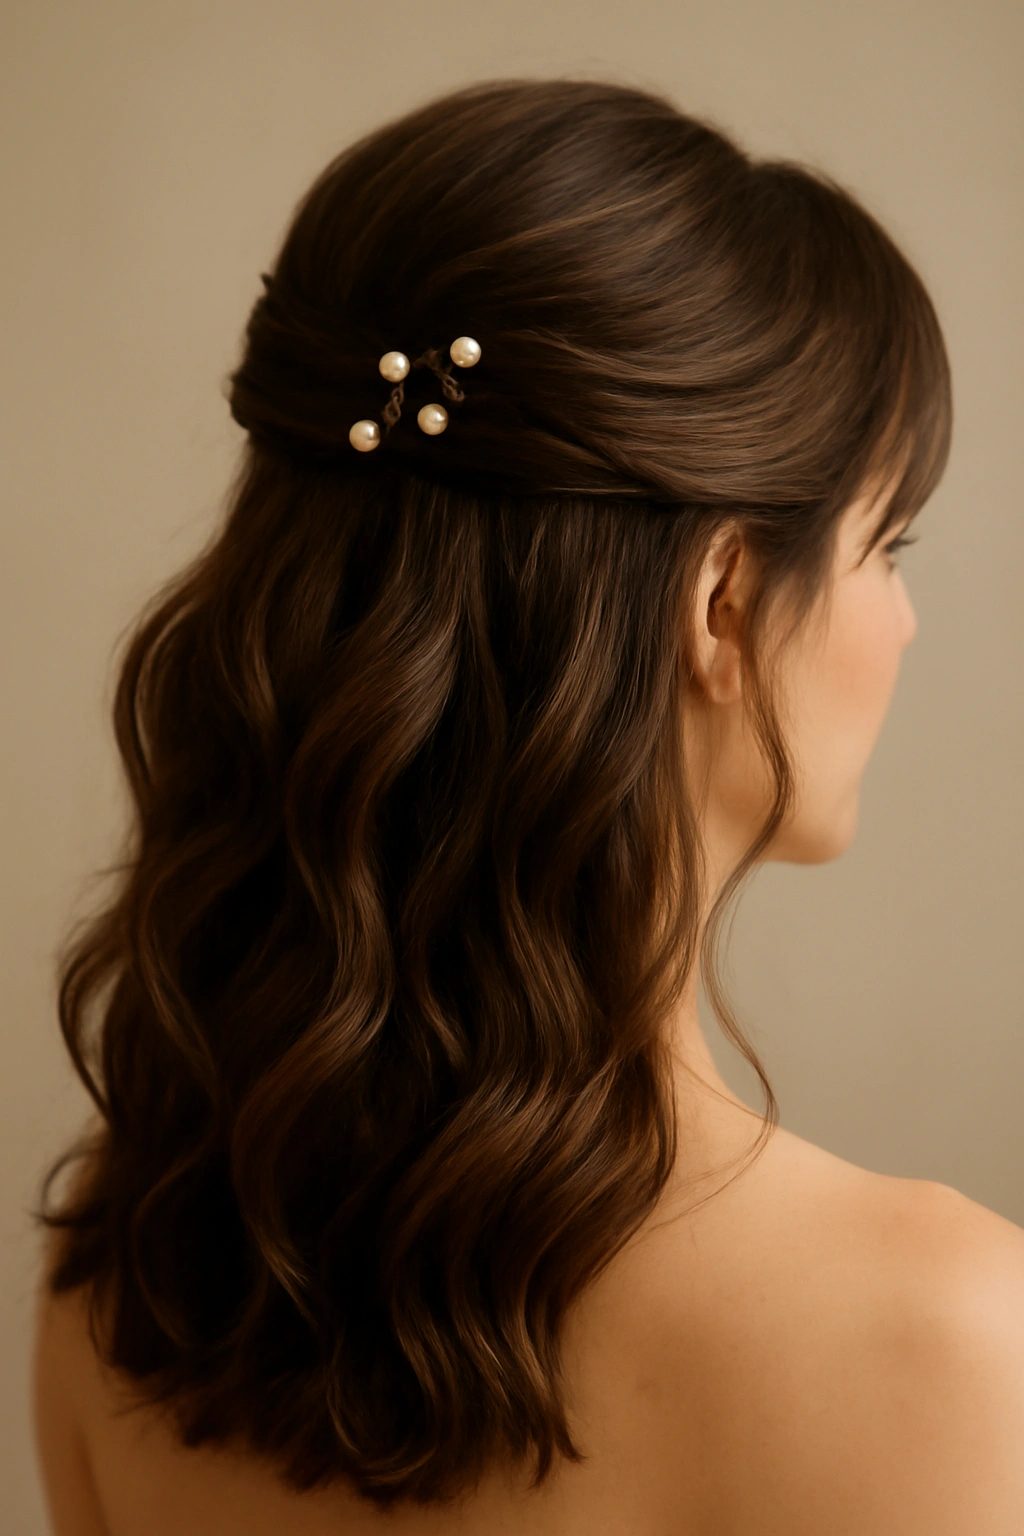
This style combines architectural styling (curved waves that create dimension) with decorative pins that anchor the half-up section. The result is a style that’s both structured and romantic, elegant enough for formal settings but interesting enough for creative workplaces.
Use a large-barrel curling iron (1.5-2 inch) to create soft waves through all your hair, curling sections away from your face for a flattering direction. Once all sections are curled and cooled, gently brush through to soften the waves into a loose wave pattern rather than tight curls. Then gather the top section loosely and secure it at the crown with two or three decorative bobby pins or hair clips placed visibly at the securing point.
The Strategic Use of Visible Pins
Instead of hiding the pins that secure your style, make them part of the design. Use gold bobby pins if you have warm undertones, silver if you have cool undertones, or tortoiseshell for a universally flattering option. Placing two or three pins side by side, or slightly offset, creates a finished detail that looks intentional and designed rather than purely functional.
Creating Waves That Last
Waves created with a curling iron hold better when you allow them to cool completely in the curled position. After wrapping a section around the barrel, pin the curl in place or hold it loosely for 5-10 seconds before releasing. This allows the hair to set into the wave shape. Once all sections are curled and cooled, you can brush through more aggressively without losing the wave pattern.
Quick tip: Apply wave-setting spray before curling and hairspray after to maximize longevity. The spray before gives you something grippy to curl around, and the spray after sets the wave shape into place.
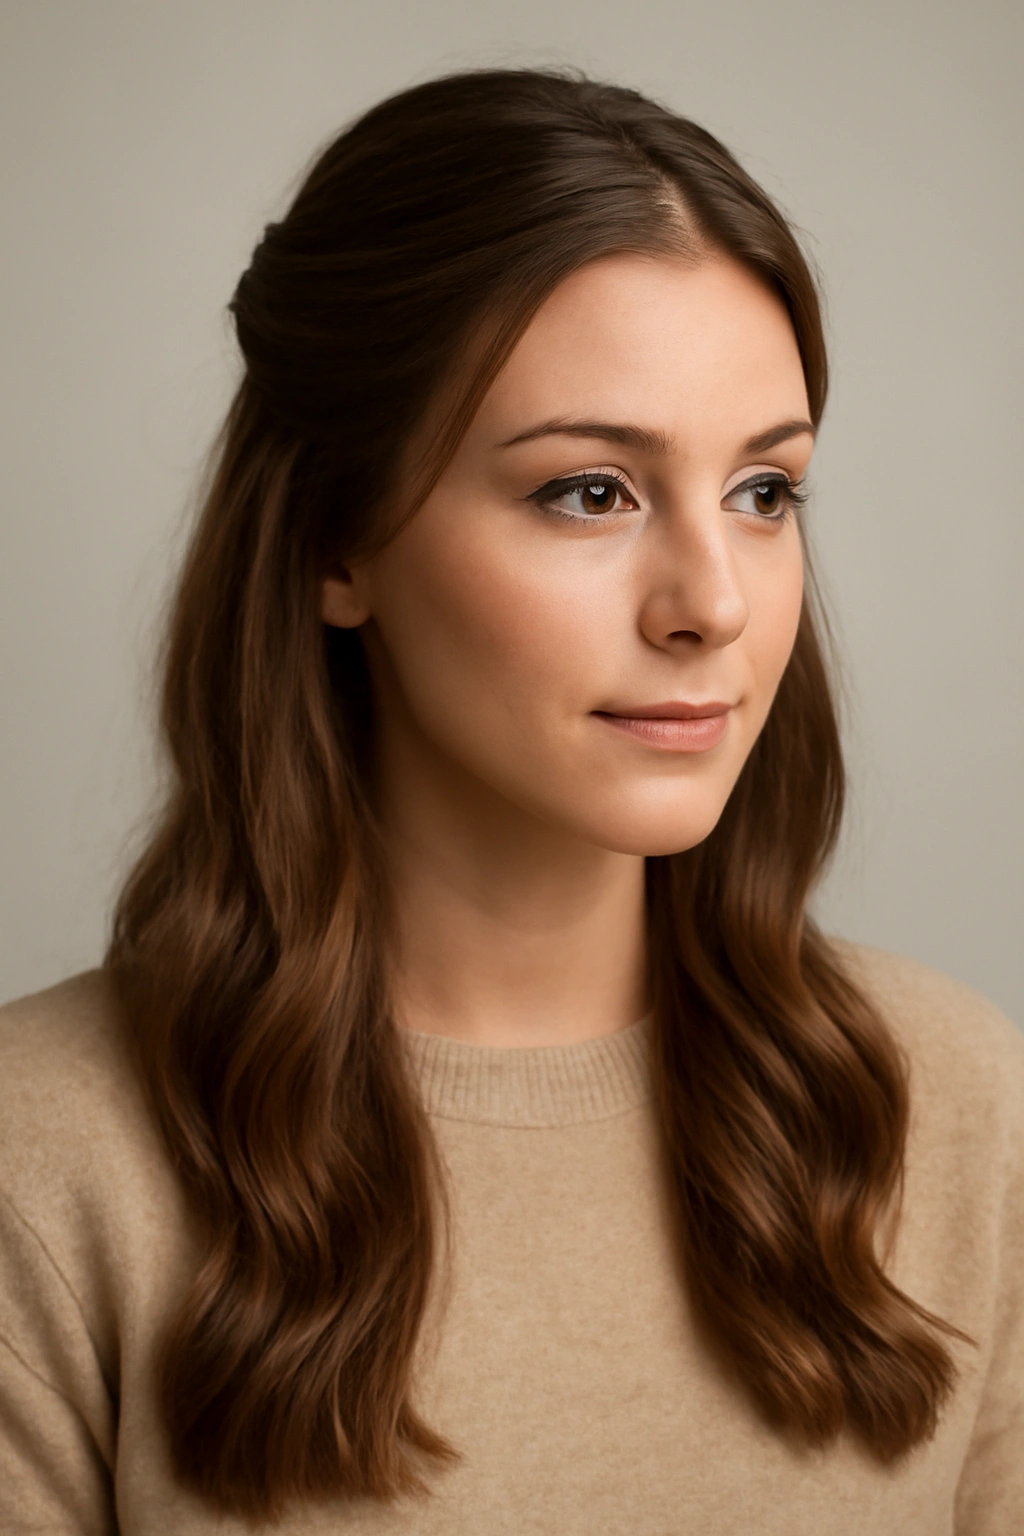
9. The Wispy Face-Framing Half Up
This style prioritizes softness and movement, with intentionally loose, wispy pieces left down around your face rather than pulling everything back tight. It’s flattering, feminine, and works equally well for professional and casual settings.
Create a deep side part and gather the top section from your fuller side, but leave pieces at the temple and along your cheekbones completely loose. These wispy pieces frame your face softly while the gathered section sits at the crown. The secured section can be a ponytail, a twist, or a small bun—the style of the top section matters less than ensuring the face-framing pieces are soft and loose.
Why Wispy Pieces Flatter
Wispy, face-framing pieces create softness around your face and draw attention inward toward your features rather than emphasizing the overall head shape. They’re especially flattering if you prefer not to show your forehead, or if you want to soften angular features. For work, they read as feminine and thoughtful rather than unprofessional. For weekends, they add a romantic, undone quality.
Keeping Wisps Soft
The key to beautiful wispy pieces is keeping them actually soft and loose, not slicking them back with gel. Use a light texturizing spray or a tiny bit of curl cream on the ends of the wispy pieces to encourage them to wave gently rather than stick straight down. If your hair is straight, you can lightly curl just the wispy pieces with a small curling iron for a bit of bend.
Worth noting: Wispy pieces work best on hair that’s at least shoulder-length, because shorter hair doesn’t have enough length to create the soft frame effect. If you have shorter hair, focus on the half-up section being interesting rather than trying to force face-framing pieces that are too short.
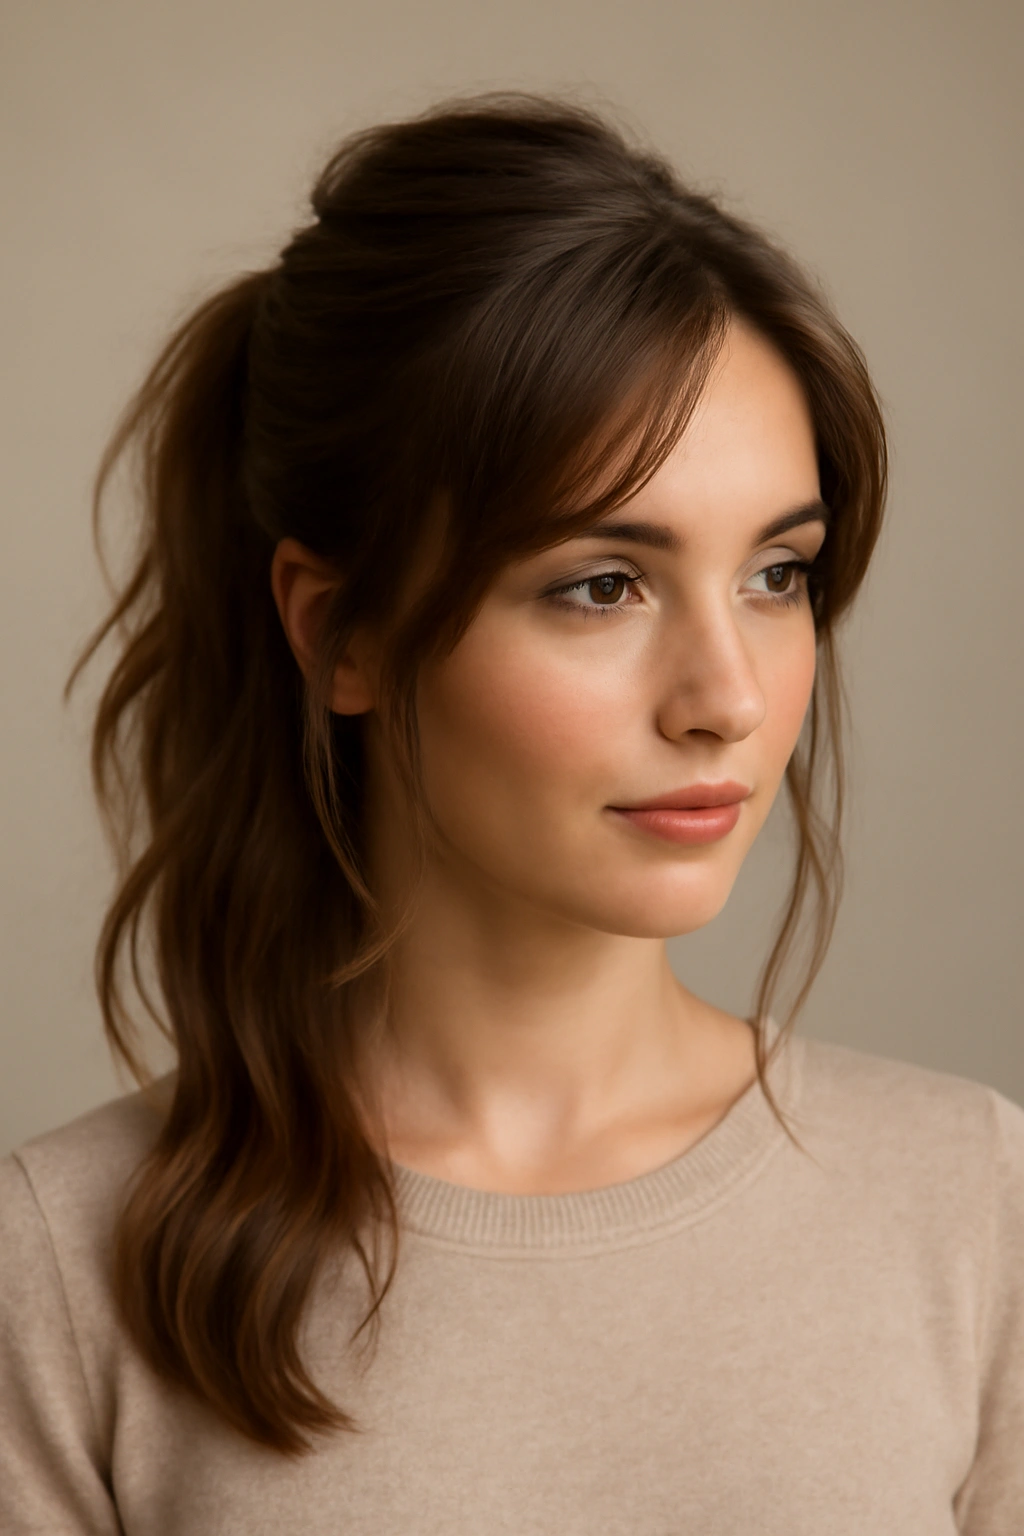
10. Textured Half Bun with Volume at Crown
This style emphasizes height and fullness at the crown, creating a flattering silhouette and visual interest. The volume at the crown lifts the face and makes this style particularly flattering for people who prefer styles that don’t pull the face upward too dramatically.
Before gathering your half section, use a teasing brush to backcomb the crown area, creating volume and texture. This doesn’t need to be heavy backcombing—just enough that you’ve loosened the hair structure slightly and created a bit of height. Then gather your half section loosely, allowing the teased crown to show rather than smoothing it down completely. Secure the half section into a small bun, leaving some pieces loose for a relaxed feel.
Building Volume Intentionally
Backcombing creates volume by literally loosening the hair structure, making it take up more space. Start at the roots of the crown section and brush backward (toward the scalp) with short, quick strokes. Do this for 5-10 seconds per small section, working across the crown area. Then smooth the top layer slightly—just enough that it doesn’t look matted or obviously teased, but rough enough that the volume shows.
The Messy Quality That Works
Unlike sleek styles where you’re aiming for polish, this style benefits from being slightly undone. The teased volume, the loosely gathered section, and the intentional wisps all add up to a style that looks effortlessly put-together. For weekends, this is ideal. For work, it depends on your workplace culture—more creative, relaxed environments will appreciate the style, while very traditional offices might prefer sleeker options.
Insider tip: A light hairspray (not heavy hold) keeps the teased volume in place without making it look stiff or unnatural. If you use too much product, you’ll compress the volume and defeat the purpose of backcombing.
11. The Boho Half Updo with Loose Curls
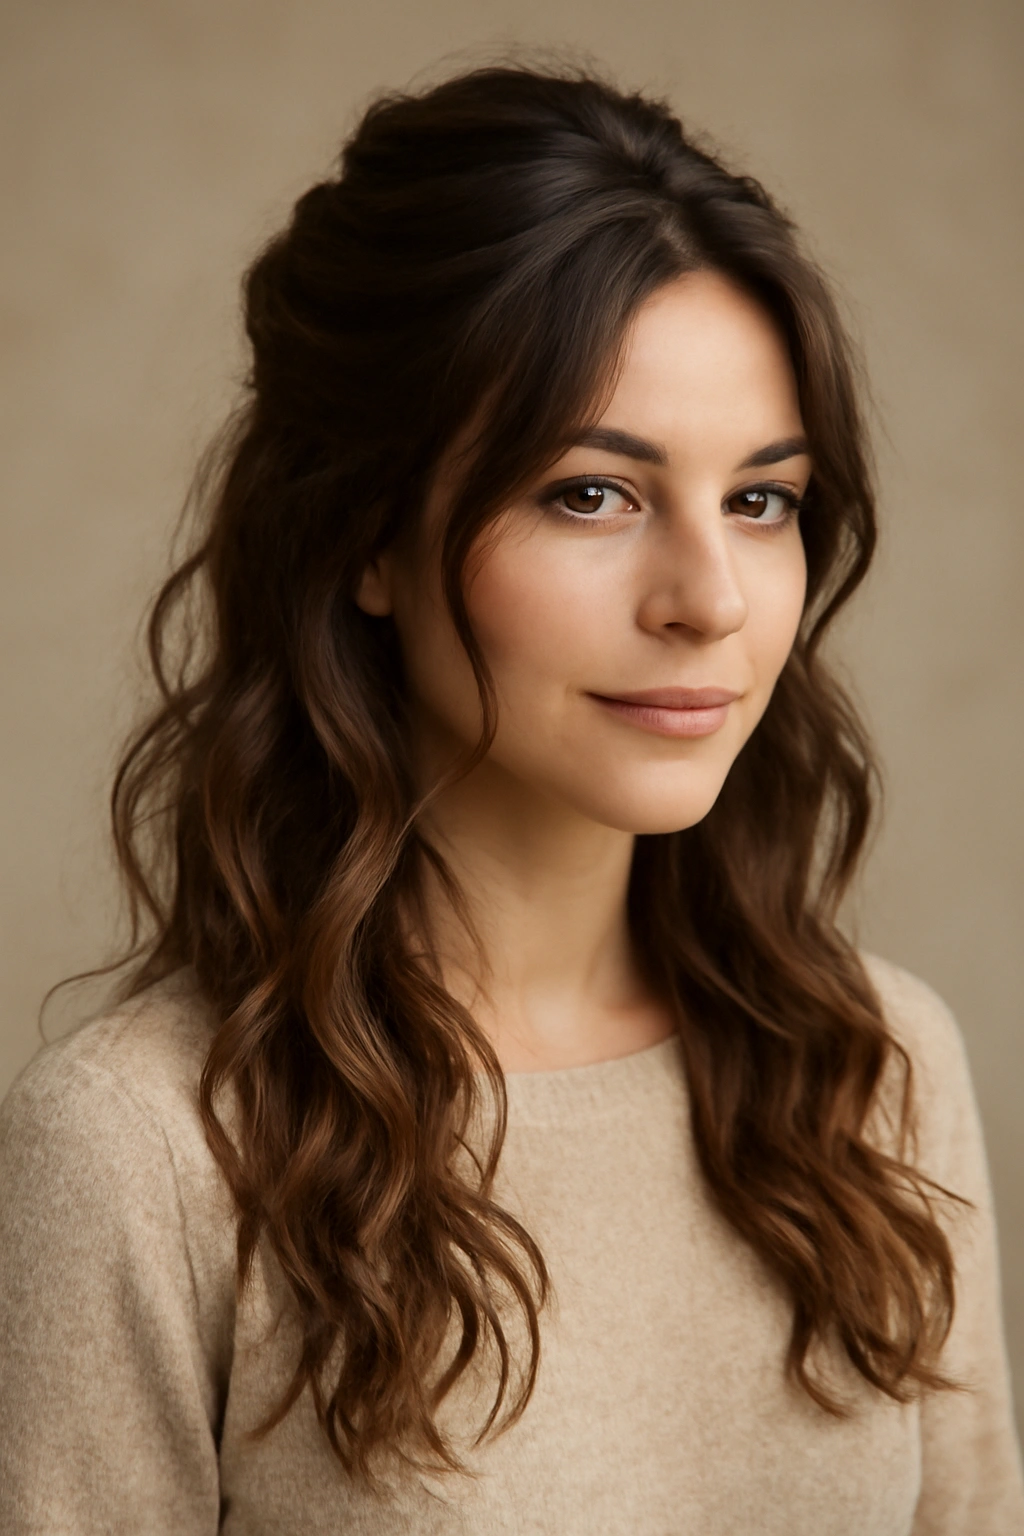
Boho-inspired styling means loose, romantic, slightly undone waves combined with a casually gathered top section. This style is perfect for weekends, creative workplaces, or any setting where you want to look put-together but not overly polished.
Create soft curls through all your hair using a curling iron or heatless curling methods (braiding damp hair overnight or using flexi-rods). The curls should be loose and romantic rather than tight and defined—think old-Hollywood waves rather than modern spiral curls. Then gather the top section loosely, not worrying about making it smooth or sleek. Let the gathered section be slightly undone, with pieces escaping and curls framing your face.
The Boho Philosophy
Boho style is about embracing texture and movement rather than controlling every hair. The goal is to look like you have naturally beautiful hair that you simply gathered loosely, not like you spent two hours styling. This works wonderfully if your hair is naturally wavy or if you’ve created loose waves. It’s less effective on stick-straight hair that hasn’t been curled, because the contrast between the flat bottom section and the gathered top looks too defined rather than effortlessly romantic.
Creating That Romantic Wave
Heatless curling methods work beautifully for boho styling because they create soft, organic-looking waves rather than defined curls. Before bed, braid damp hair into 3-4 loose braids. Release in the morning and gently finger-comb the waves apart. The result is soft, romantic waves that look natural and move beautifully. If you prefer using heat, use a curling iron with a larger barrel (1.5-2 inch) and wrap sections loosely, then brush through once cooled.
Quick fact: Boho waves actually hold better on slightly dirtier hair (day 2 or 3 after washing) because the natural oil adds texture and grip. Freshly washed hair is slippery and the waves fall flat quickly.
12. Chic Half Up with Curved Sections
This final style uses curved, strategic sections pinned away from the face to create a sophisticated, editorial look. It’s more structured than boho styles but less formal than sleek styles—perfect for workplaces that appreciate thoughtful, well-executed styling.
Instead of gathering all your top hair into one section, create two curved sections on either side of your part, running from your temples toward the back. Smooth each curved section with a smoothing product and pin it at the crown, creating a V-shape or a slight curve rather than straight lines. The sections curve gently backward, following the natural contours of your head.
The Geometry of Curved Sections
Curved lines are inherently more flattering than straight lines because they’re softer and more forgiving. Instead of pulling your face upward in a straight line (which can look harsh), curved sections pull the face upward on a gentle arc, which is less jarring and more elegant. This style works well for various face shapes because the curves adapt to your natural head shape.
Pinning for a Polished Finish
Use bobby pins that match your hair color and place them where the two curved sections meet at the back of your head, or place them slightly offset on either side. You can hide the pins under the pinned sections, or let them peek through slightly for a more modern, editorial look. The key is that each curved section should feel anchored but not rigid.
Worth knowing: This style requires hair that’s at least shoulder-length for the curved sections to have enough length to create a real curve rather than just pulling straight back. On shorter hair, straight-back sections work better than attempting curved lines.
Final Thoughts
Half up hairstyles are the intersection of practicality and intentionality—they keep hair off your face without requiring a full updo commitment, and they work across every environment from boardrooms to weekend brunches. The key to executing them well is understanding that the structure of your style matters as much as the final appearance. Whether you’re creating sleek lines for a professional setting or embracing texture for a casual weekend, the difference between a rushed style and a polished style often comes down to simple details: smoothing product applied before gathering, a decorative pin placed intentionally, wispy pieces left intentionally loose rather than accidentally escaping.
The beauty of these twelve styles is that they work in rotation. You could master one style and use it all week, or you could vary them depending on your plans—sleek styles for high-stakes days, textured or boho styles for creative meetings or weekends, and minimal-effort styles for mornings when you’re running late but still want to look intentional. None of these styles requires special skills or expensive products; they all rely on understanding the fundamentals of gathering, securing, and styling your hair in ways that read as intentional rather than accidental.
Start with one or two styles that match your natural hair texture and daily lifestyle. If you have naturally wavy or curly hair, the textured and boho styles will require less styling effort. If you have straight hair, the sleek and curved styles will be most forgiving. Once you’ve mastered one style, the techniques translate to the others—you’re building the same basic skills of sectioning, smoothing, gathering, and securing, just with different finishing touches. Within a few tries, half up hairstyles become something you can execute in five minutes on even your most rushed mornings.