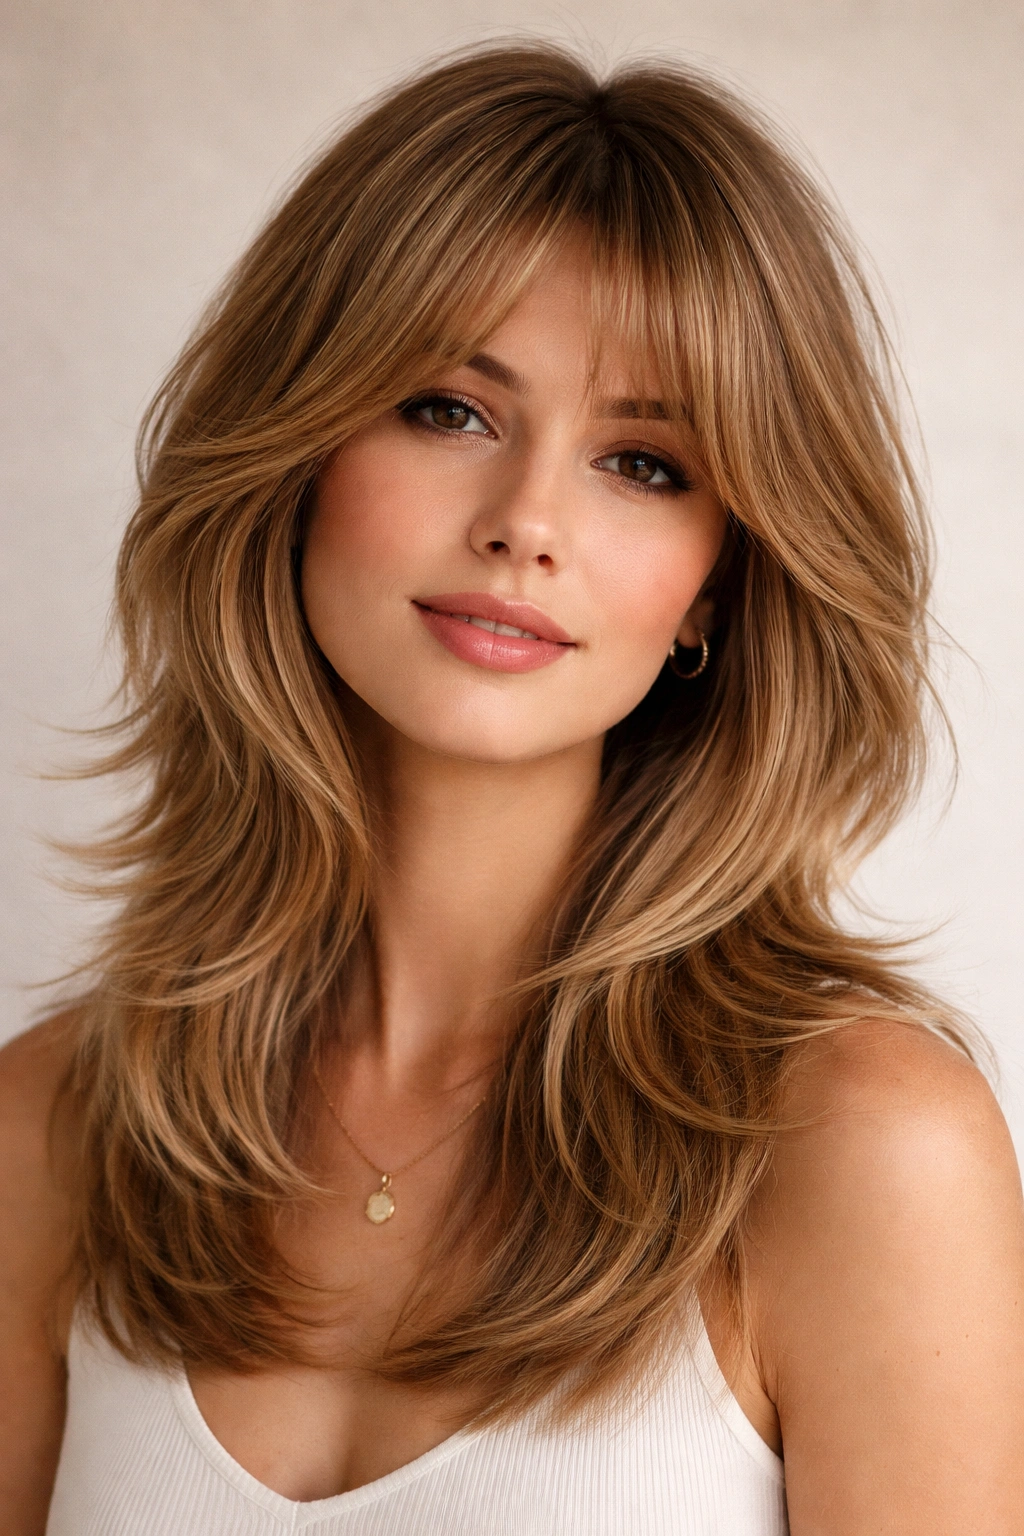
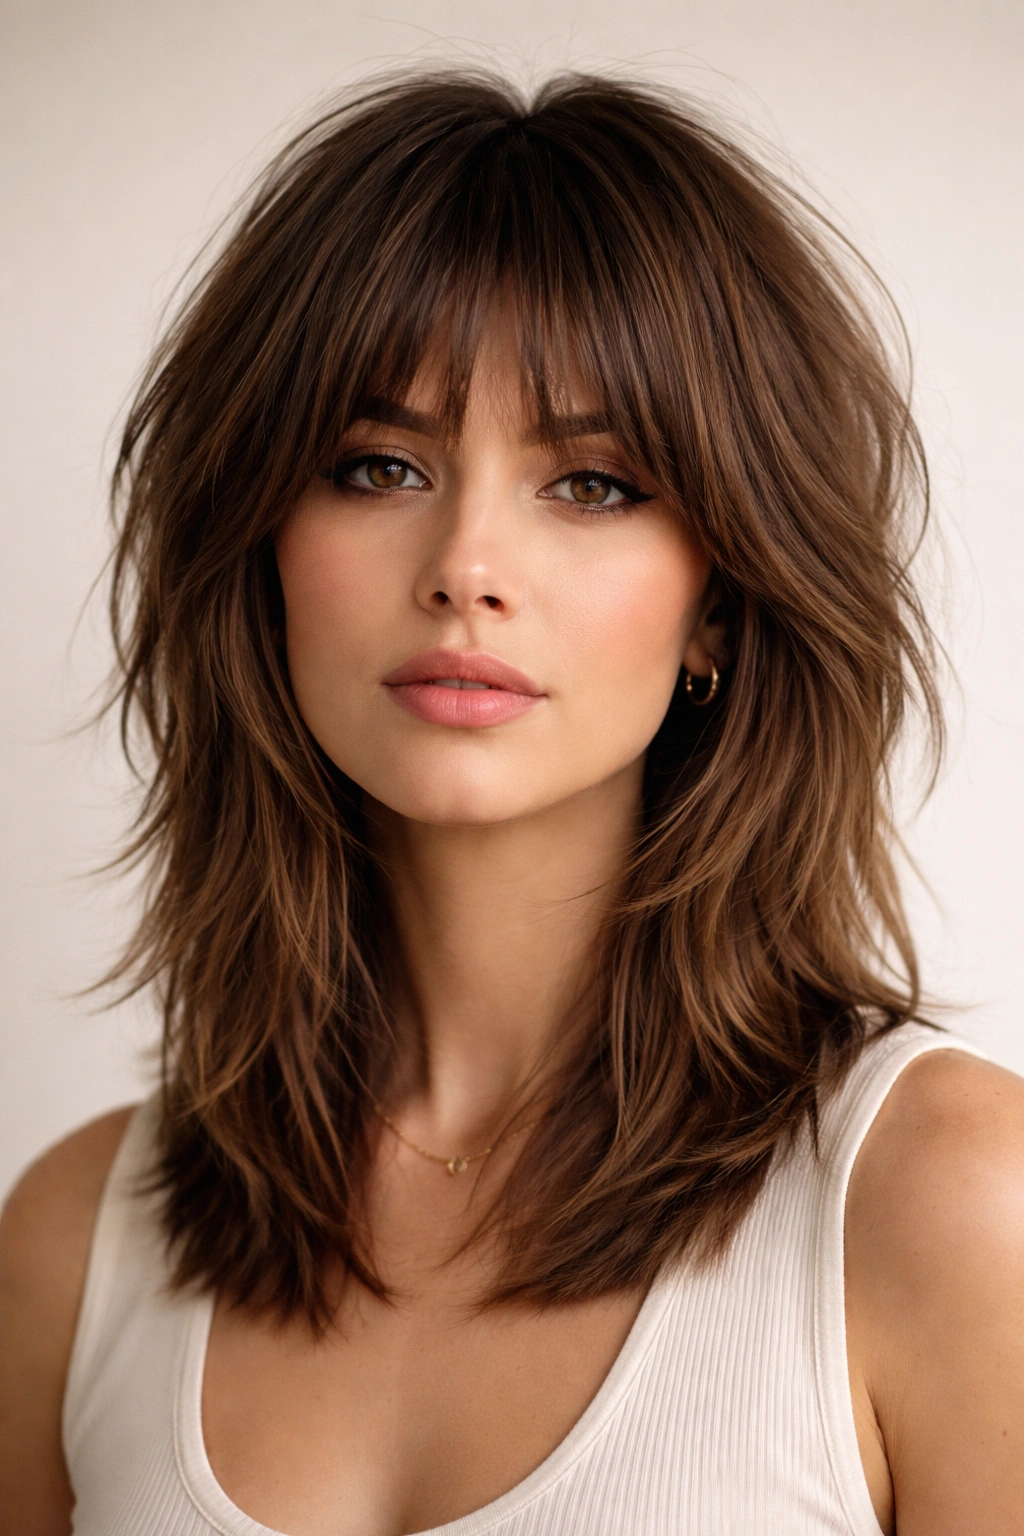
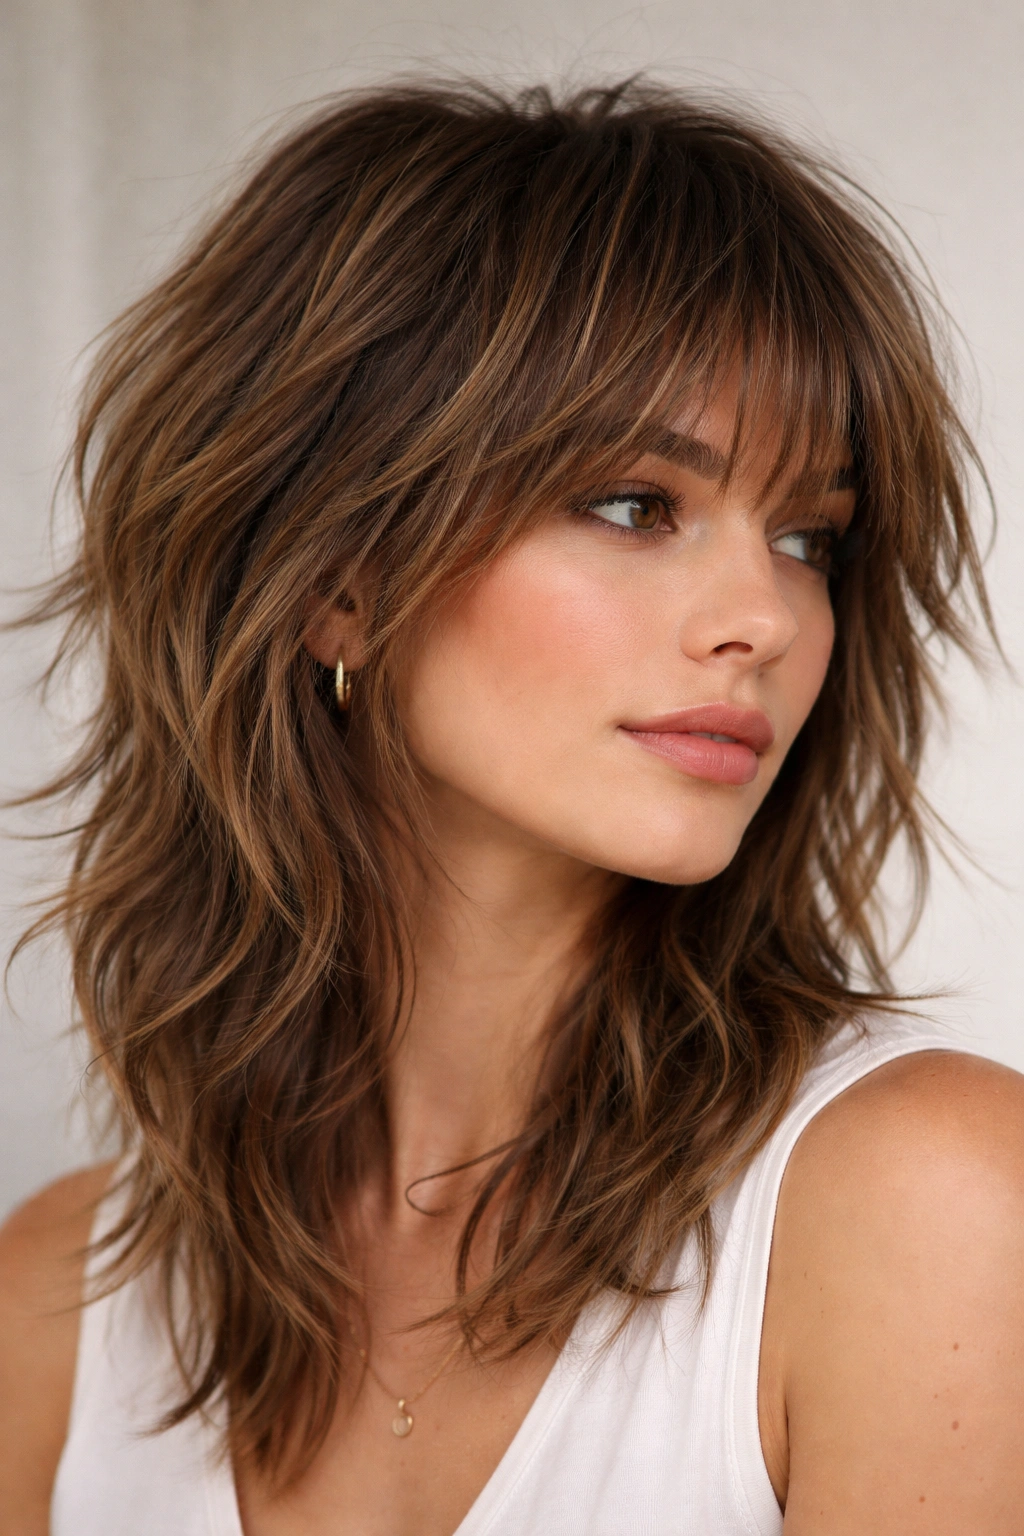
The shag haircut has made a remarkable comeback, and for good reason. Originally popularized in the 1970s and reimagined countless times since, this layered, textured style offers something genuinely special: volume where you want it, movement that catches light, and a sense of effortless style that feels both edgy and wearable. What makes the medium shag so versatile is how beautifully it adapts to different hair types — whether you’re working with thick, heavy hair that needs strategic thinning or fine, delicate strands that benefit from the illusion of density through clever layering and texture.
The key to a successful shag lies in understanding how layers interact with your specific hair type. For those with thick hair, a skilled stylist uses shorter, more aggressive layers to reduce bulk while maintaining shape and movement. For fine hair, the approach flips entirely — longer layers and strategic point-cutting create the appearance of volume and fullness without sacrificing the delicate texture you have. A medium shag sits at the sweet spot between length and manageability, typically hitting somewhere between chin and shoulder length, giving you enough hair to work with while avoiding the weight that can drag fine hair flat or make thick hair feel unruly.
Beyond the cut itself, what makes a shag truly shine is understanding how to style it for your texture. Some shag styles lean into undone, piece-y texture; others emphasize smooth, blended layers. Some work beautifully with bangs; others feel fresher without them. The styling approach, the products you use, and even how you dry your hair dramatically shape whether a shag becomes your signature look or a style you’ll regret.
1. Classic Feathered Medium Shag
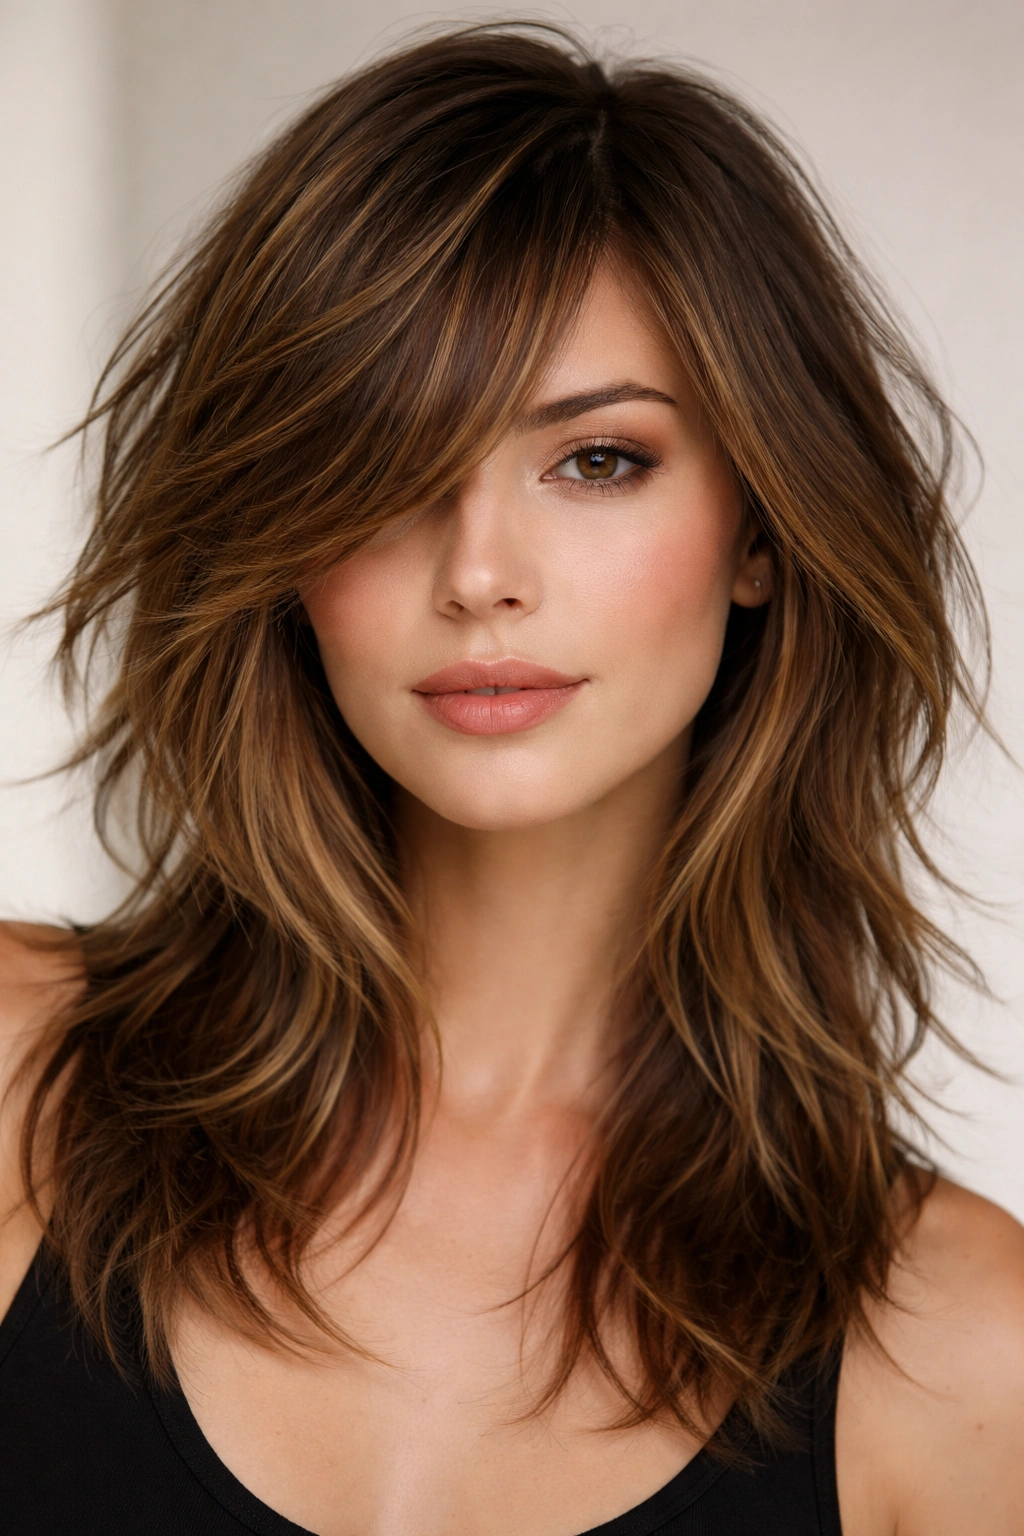
The feathered shag is where the original 1970s inspiration meets modern sophistication. This style features longer layers throughout that flip and feather away from the face, creating a light, airy quality that feels perpetually tousled. The cut typically starts with a base length around shoulder-height, with layers cut every inch or so moving upward, each layer slightly shorter than the one beneath it. This creates a cascade effect where hair naturally separates and moves.
Why It Works for Both Hair Types
For thick hair, feathering removes bulk strategically while keeping enough length to anchor the style and prevent excessive fluffiness around the crown. The shorter layers on top help distribute weight evenly rather than letting it all concentrate at the ends. For fine hair, feathering creates the illusion of volume because the layers catch light differently at various heights, making thinner hair appear fuller and more textured. The key difference in cutting: with fine hair, the stylist uses longer layers and slightly less aggressive texture work to avoid creating holes or thin spots. With thick hair, shorter layers and more point-cutting create necessary definition and reduce density.
Styling and Maintenance
- Blow-dry with your head tilted forward, scrunching products upward into the layers for maximum texture and lift
- Use a medium-hold texturizing spray or sea salt spray to enhance the feathered, piece-y quality
- Refresh waves with a curling iron or wand, wrapping sections loosely around the barrel and releasing quickly
- Schedule trims every 6-8 weeks to maintain the feathered shape and prevent the cut from losing its definition
- Sleep on a silk pillowcase to minimize friction damage and preserve wave texture between styling sessions
2. Blunt Shag with Layers
This variation takes the opposite approach from the classic feathered shag. Here, the overall shape maintains a more defined, blunt perimeter while interior layers add movement and dimension. The base length stays fairly consistent — often blunt across the bottom or with just a slight curve inward — while underneath, shorter choppy layers create texture and reduce weight. This creates visual contrast: the outside reads as polished and intentional, while the inside feels modern and lived-in.
The Cutting Technique
A skilled stylist cuts the perimeter first, establishing a clear, nearly straight line across the bottom. Then they work into the interior with shorter layers, often using a point-cutting or razor technique to create choppy, distinct segments rather than blended feathering. For thick hair, this approach works exceptionally well because the blunt perimeter contains the bulk while the interior layers prevent the heavy weight that can weigh down the face and neck. For fine hair, the blunt edge creates a frame that makes thinner hair appear denser and more full-bodied, while the interior layers prevent flatness and add visible texture.
Styling for Maximum Impact
- Straight or lightly waved styling emphasizes the blunt perimeter and creates the most polished version of this look
- Apply smoothing serum to damp hair before blow-drying to create a sleek, intentional finish
- Use a straightening iron or round brush to blow-dry for a more controlled look than air-drying
- Create texture with a curling iron on the interior layers after straightening, leaving the perimeter smoother
- This style photographs beautifully and works well for those who prefer a more structured, edited aesthetic
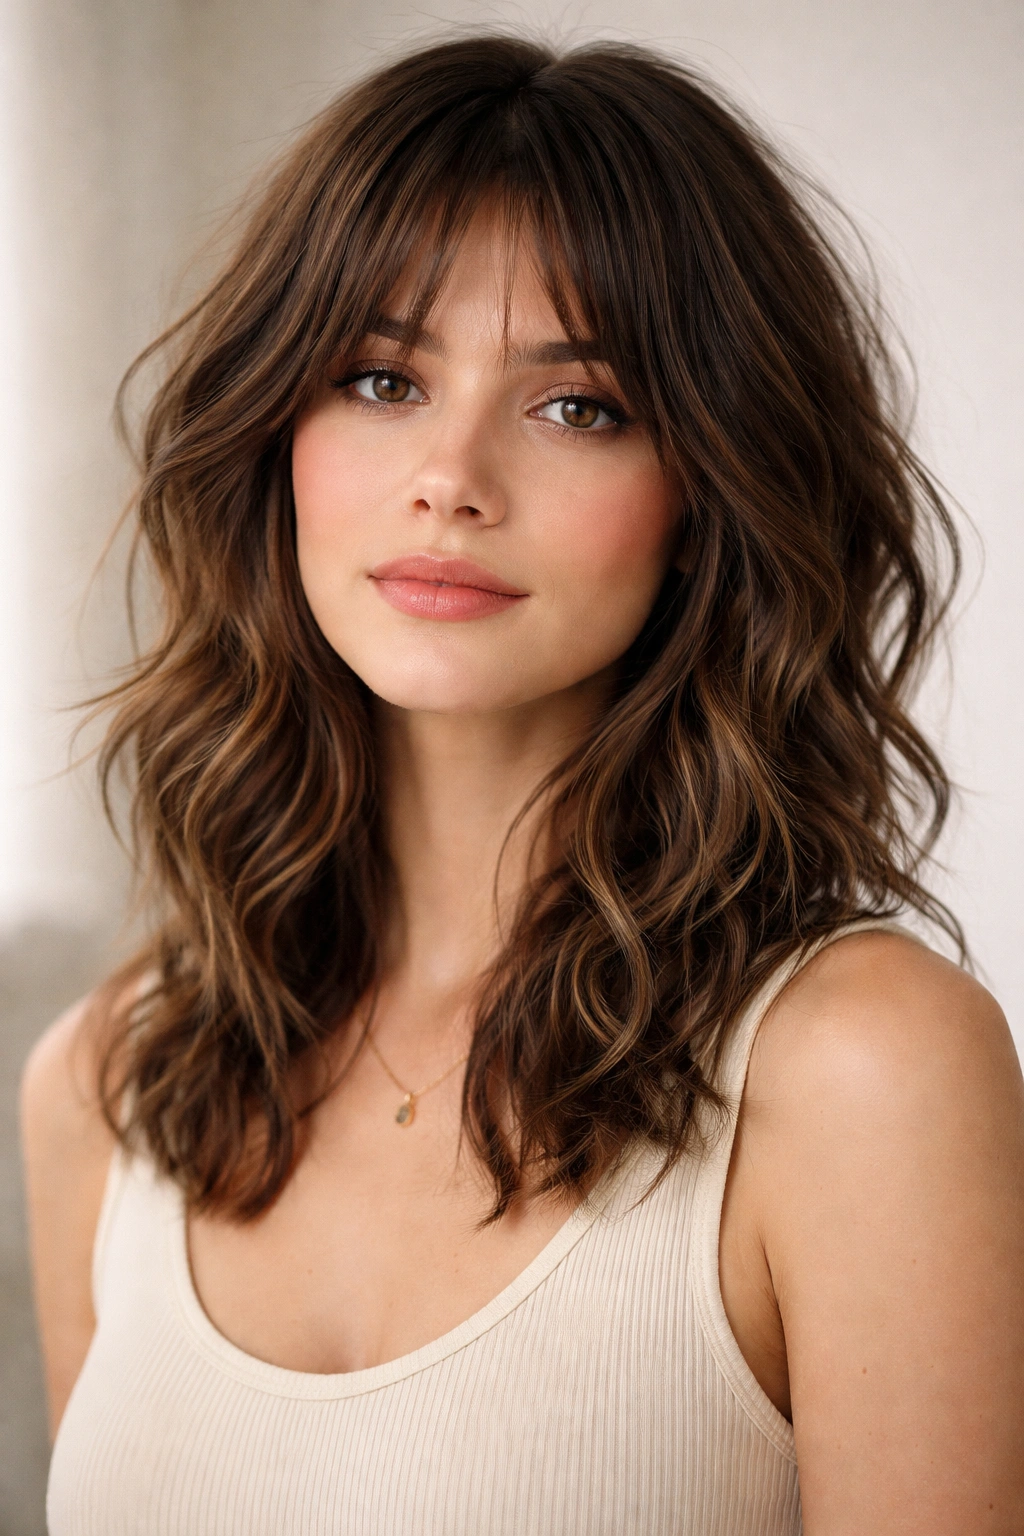
3. Textured Shag for Fine Hair
When you have fine hair, finding a shag that adds dimension without creating thin, wispy patches is critical. The textured shag specifically designed for fine hair uses a combination of techniques that maximize the hair you have while creating the appearance of more. The cut typically features longer, softer layers — not the aggressive choppy layers that can overwhelm delicate strands — combined with strategic point-cutting that creates subtle texture without removing too much length in any one spot.
The Fine-Hair Specific Strategy
Unlike shags cut for thicker hair, a textured shag for fine hair prioritizes even distribution. The stylist works to avoid concentrating too many short layers in one area, which can create visible scalp gaps. Instead, layers are spaced slightly farther apart, and the overall length tends to be a bit longer to give the style weight and anchor. Point-cutting (using the tips of the scissors to cut into the hair rather than across it) creates separation and texture without chunking it away. A tousled, piece-y appearance is created through styling technique and product rather than aggressive layering.
Products and Styling That Make the Difference
- Volumizing shampoo and conditioner formulated for fine hair are non-negotiable — they add body without heaviness
- Use a light mousse or texturizing spray applied to damp roots before blow-drying for lift at the base
- Blow-dry with a focus on the roots; fine hair needs upward airflow to maintain volume
- Avoid heavy serums or oils; instead use lightweight, water-based styling products
- Curling iron styling creates the appearance of more volume and thickness because the waves catch light from multiple angles
- Regular trims every 4-6 weeks prevent the longer style from becoming stringy or wispy at the ends
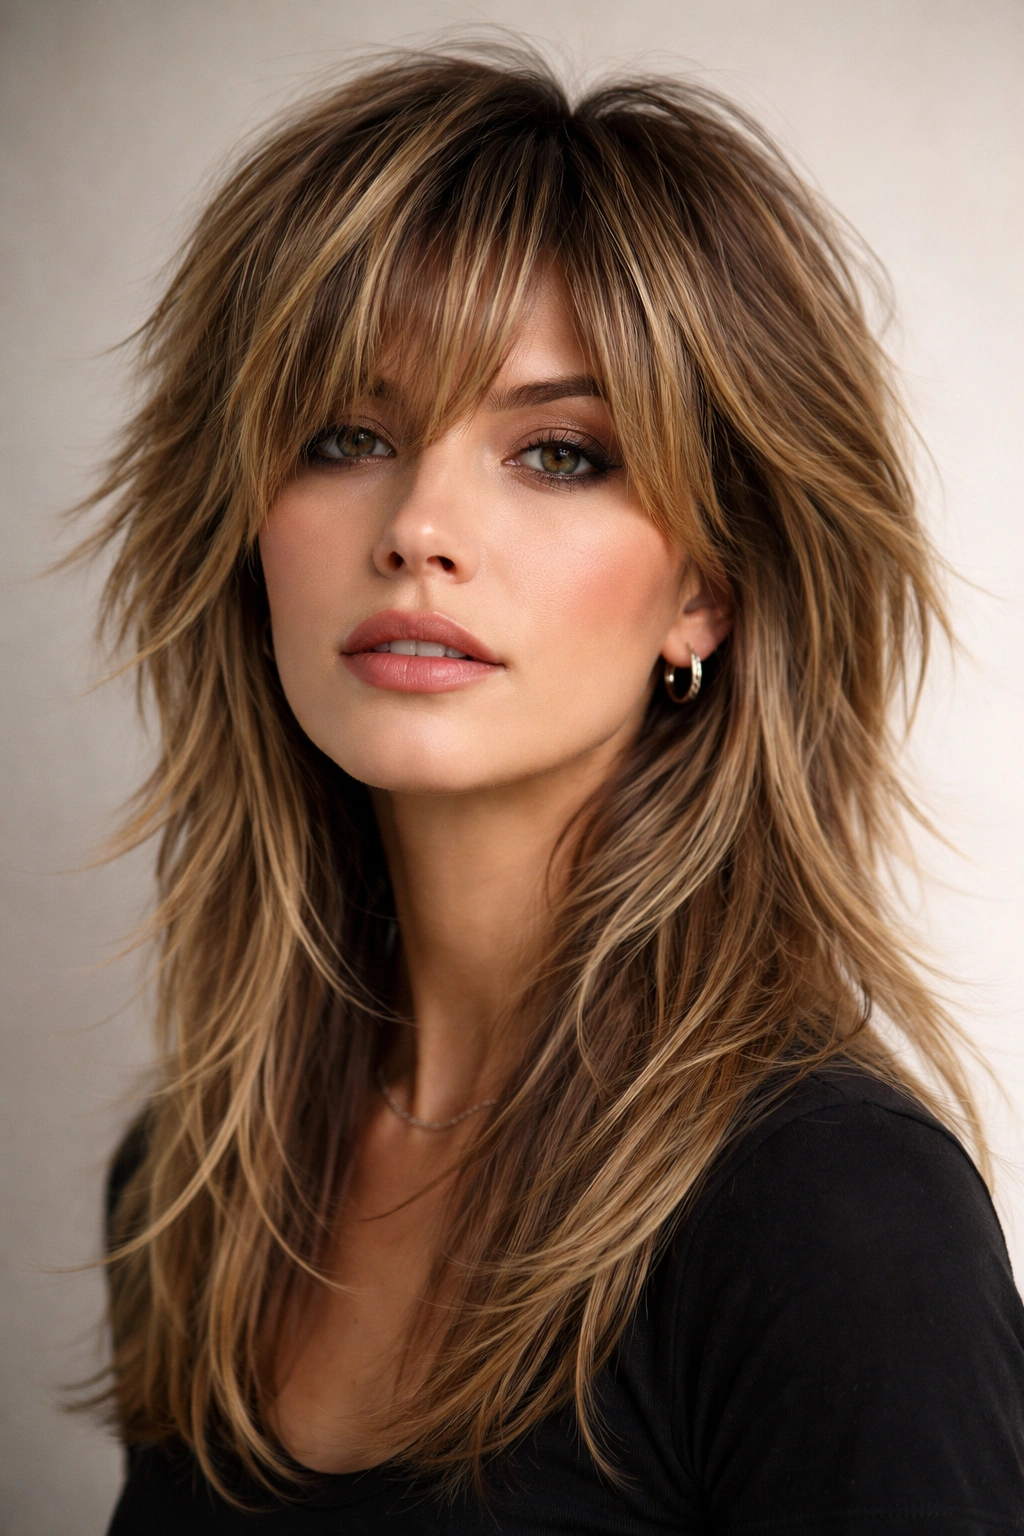
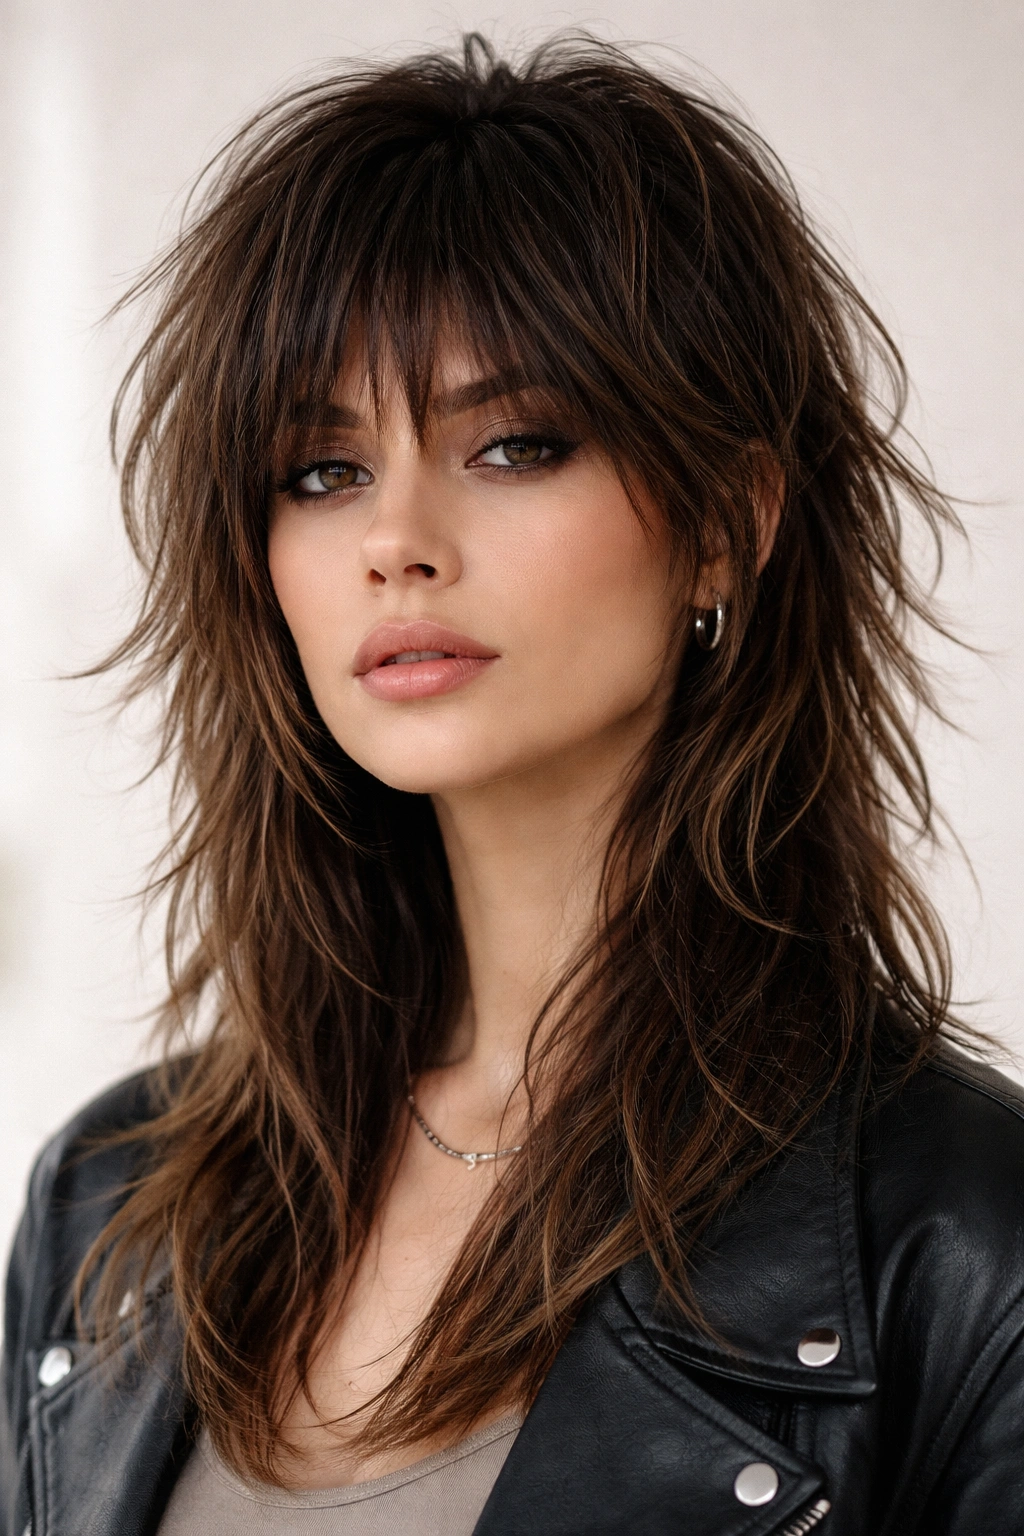
4. Choppy Shag with Volume
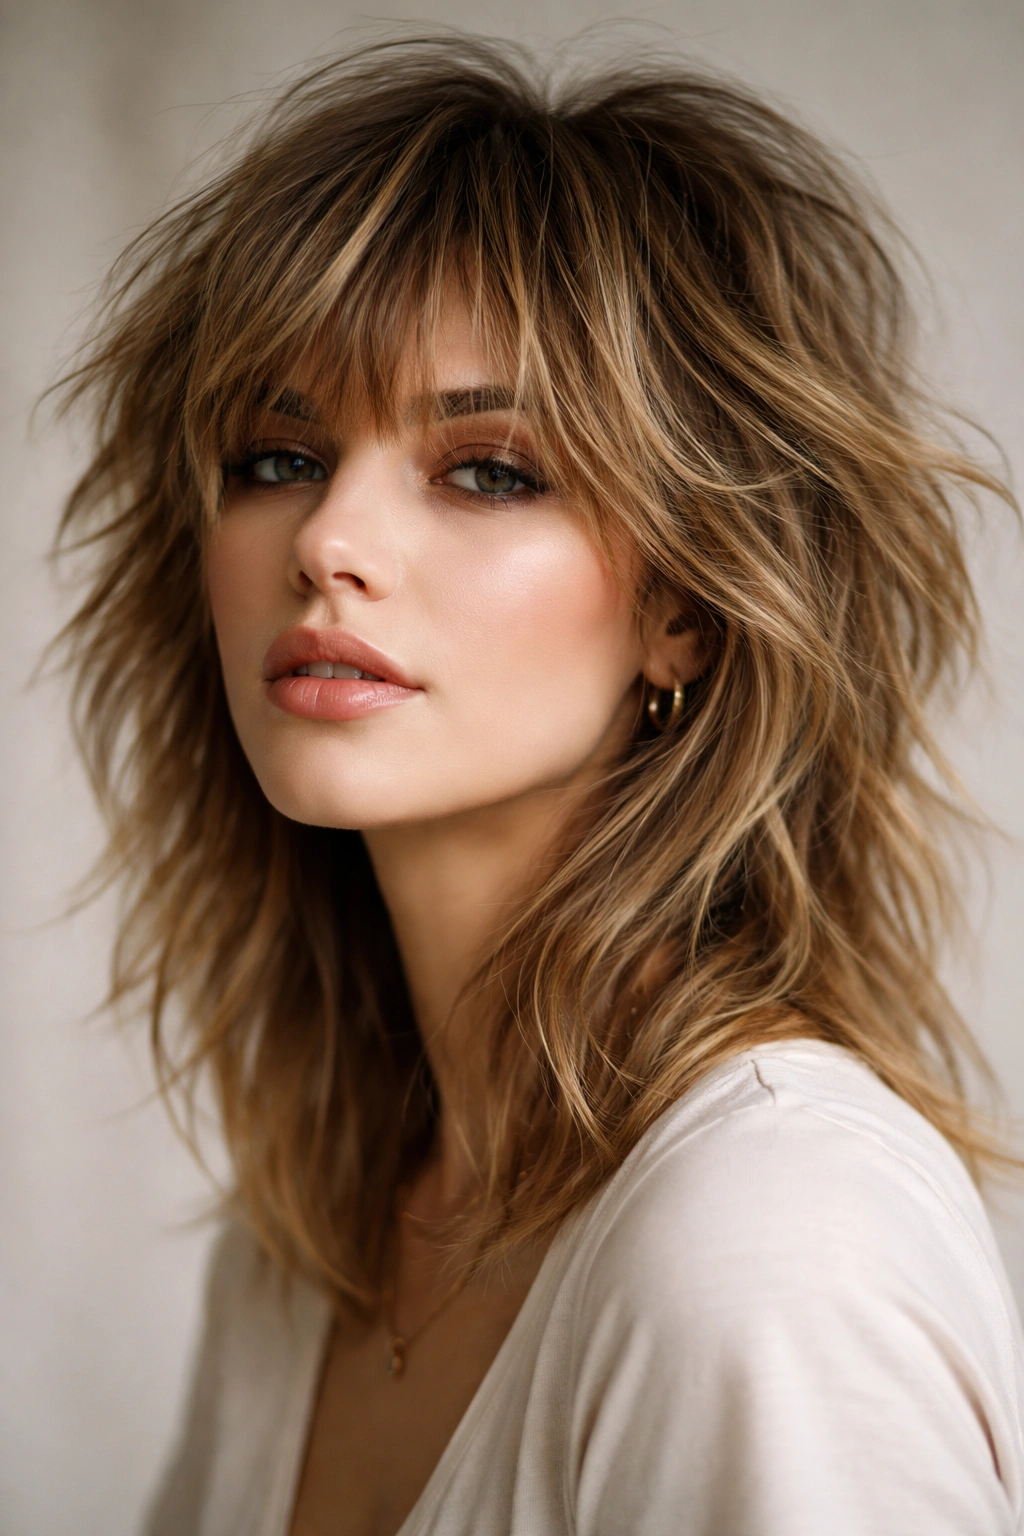
This style leans into the modern, undone aesthetic with intention. Choppy layers are cut throughout, with varying lengths that create peaks and valleys rather than a smooth gradient. The result looks tousled and textured, with distinct piece-y separation that catches light and creates visual volume. This works beautifully for thick hair that benefits from aggressive layering to remove weight while maintaining movement, and it also works for fine hair when the choppy sections are cut with enough precision to avoid creating holes.
Why Choppy Works for Thick Hair
Thick hair can easily become a shapeless bulk if not cut strategically. Choppy layers, cut with skill, actually remove necessary weight while creating definition and movement. The short layers on top reduce volume at the crown without making the bottom look wispy or thin. Point-cutting creates texture and separation so the hair doesn’t clump together in thick chunks. For someone with very thick hair, a choppy shag is one of the most effective cuts because it works with the natural texture rather than against it.
Why Choppy Works for Fine Hair Too
Fine hair also benefits from choppy layers when they’re cut thoughtfully. The variation in length creates the illusion of density because the eye reads all those different levels as fuller, more textured hair. The key is that each piece remains long enough to maintain weight. A stylist working with fine hair will create choppy layers that have slightly more variation in length but won’t cut away so much hair that you’re left with sparse spots.
Styling the Choppy Shag
- Embrace texture; this is a style that looks better tousled than perfectly smooth
- Scrunch in mousse or texturizing cream while hair is damp, then blow-dry with your fingers
- Use a diffuser attachment on your blow-dryer to enhance natural wave and texture without creating frizz
- Piece-y styling products, applied to dry hair, enhance the choppy, separated look
- This style requires more active styling than a smoother shag — it won’t look intentional if you just air-dry and go
5. Piece-y Shag Haircut
The piece-y shag emphasizes individual strands and distinct separation over blended, feathered layers. This cut uses razor or point-cutting techniques extensively, creating fragments and segments throughout rather than a smooth gradient from short to long. The effect is decidedly modern and editorial, with an almost sculptural quality. Hair appears to have natural texture and movement because the cut itself creates definition and shape.
The Cutting Technique Behind Piece-y Texture
A stylist creates piece-y separation by cutting into layers with the tips of sharp scissors or using a straight razor, angling the cuts so that different sections sit at slightly different angles. This prevents hair from lying flat and creates natural shadow and movement. For thick hair, this technique is essential because it breaks up density and creates visual lightness. For fine hair, piece-y cutting needs to be done more carefully — the stylist must ensure that each piece has enough substance and isn’t so fragmented that it appears sparse.
Achieving the Look at Home
- Don’t wash your hair the night before styling; second-day hair holds texture better
- Apply texturizing spray or sea salt spray to damp hair before blow-drying for enhanced piece-y separation
- Use fingers rather than a brush or comb when blow-drying to disrupt and separate sections
- Finish with a light hairspray that provides hold without stiffness or crunch
- Scrunching in lightweight cream or gel before drying enhances the piece-y definition
- Refresh the style between washes with a dry texturizing spray that enhances separation without requiring heat
6. Shag with Bangs for Thick Hair
Adding bangs to a medium shag creates a bold, fashion-forward statement that works particularly well for thick hair. The bangs anchor the style visually, create a frame for the face, and give the layered shag structure and direction. For thick hair specifically, bangs provide a place for some of the bulk to be strategically removed while drawing attention to the eyes and cheekbones. The combination of a textured shag with styled bangs feels intentional and powerful.
Choosing the Right Bangs
The best bang style for a thick-hair shag depends on your face shape and styling commitment. Long, piece-y bangs that graze the eyebrows blend seamlessly with the shag’s texture and require minimal styling. Blunt bangs create more dramatic contrast and visual structure but require more frequent trims as they grow out. Side-swept bangs soften the overall look while still anchoring the style. Wispy bangs cut in layers that match the shag layers create a unified, cohesive aesthetic.
Styling Bangs with Your Shag
- Style bangs separately from the rest of your hair for the most control
- Blow-dry bangs straight or with a slight curve using a round brush
- Use a flat iron for polished bangs or a curling iron for softer, waved bangs
- Apply texturizing spray or dry shampoo to bangs first if they start to get greasy, rather than washing your whole head
- Trim bangs more frequently than the rest of your shag — every 3-4 weeks — to maintain their shape and prevent them from obscuring your vision
- The weight of bangs helps anchor a shag on thick hair, preventing the top from appearing too voluminous
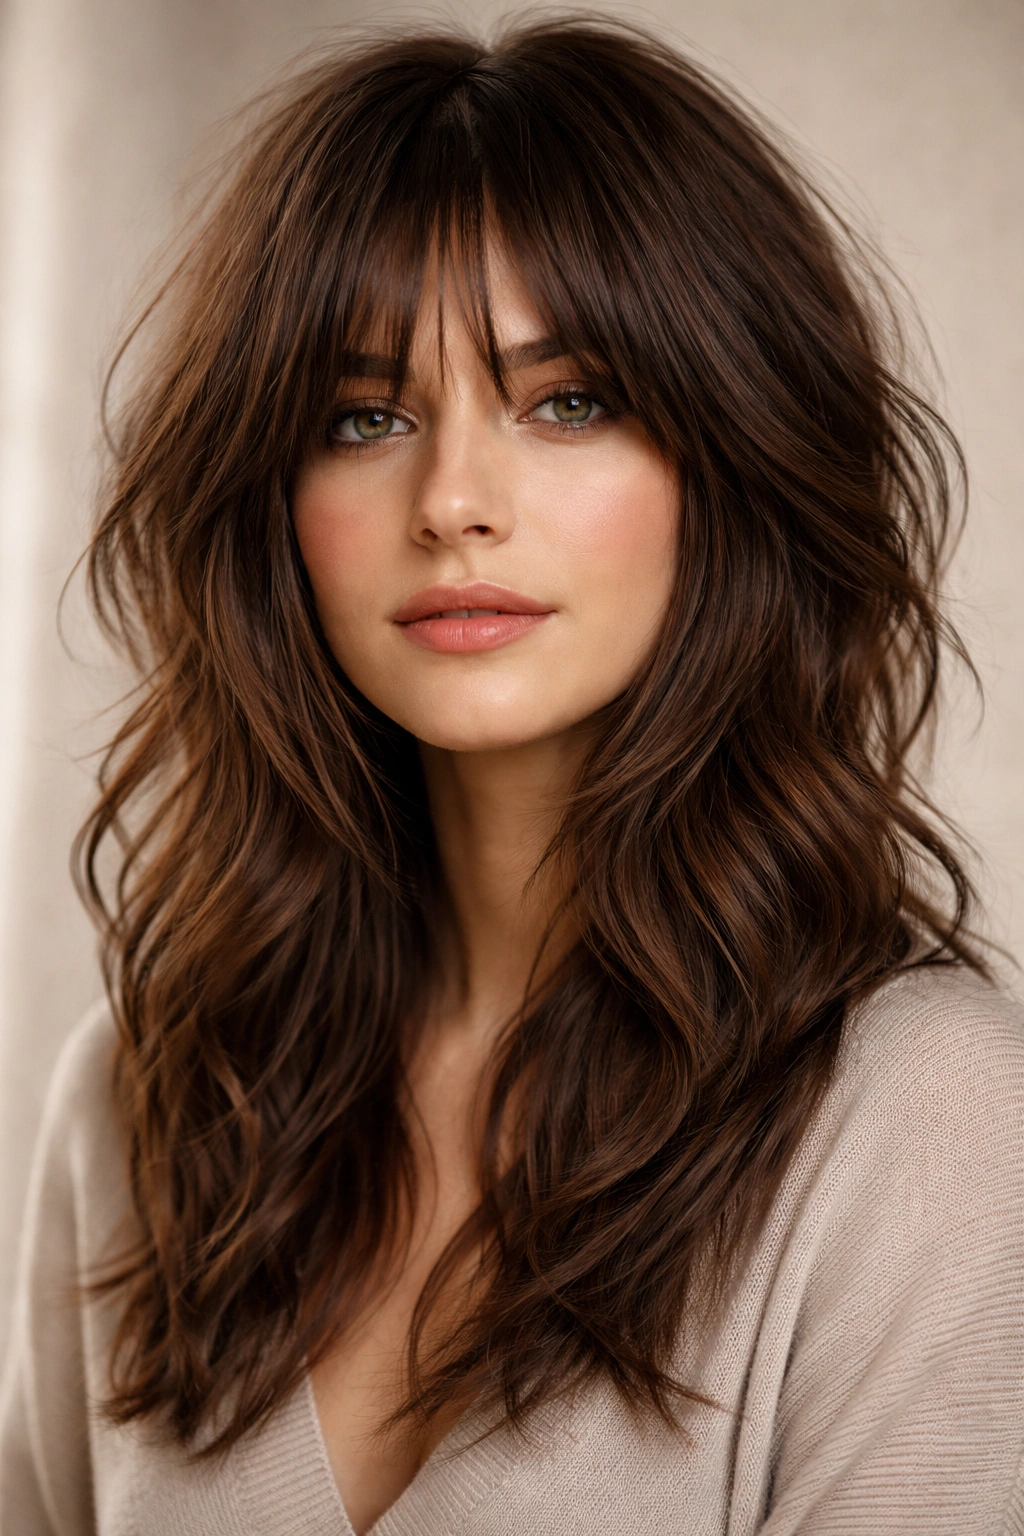
7. Wavy Medium Shag
This style assumes and celebrates natural or styled wave texture. Rather than fighting your waves or creating a style that requires constant straightening, a wavy shag works with your natural texture, making it look effortless and intentional. The cut features layers that enhance wave definition, often with more length maintained throughout to allow waves to have weight and prevent them from appearing tight and stringy. This is a perfect option for those with naturally wavy or curly-wavy hair.
Cutting for Wave Enhancement
The stylist cuts in a way that emphasizes your wave pattern rather than against it. This often means slightly longer layers than you’d see in a choppier shag, because shorter pieces can make waves look too tight. The layers are placed strategically to land where your waves naturally fall, creating shape without fighting your texture. For thick, wavy hair, this approach removes necessary bulk while enhancing movement. For fine, wavy hair, longer layers provide weight that helps waves form and fall more beautifully.
Styling Your Wavy Shag
- Apply mousse or cream styling product to soaking-wet hair, scrunching upward toward the roots
- Blow-dry using a diffuser attachment, scrunching as you go to encourage wave formation
- Consider using a wave-enhancing spray or cream designed to define natural wave texture
- Air-dry portions of your hair if you have time; waves form better with some air-drying
- Use a curling iron or wand to enhance or define waves on days when your natural texture needs a boost
- Sleep on a pineapple hairstyle (gathering hair on top of your head in a loose, high ponytail) to preserve waves overnight
8. Disconnected Shag Layers
Disconnected layers create visual contrast by keeping distinct separation between different lengths rather than blending them smoothly together. The top might be quite short and choppy while the bottom stays shoulder-length, with little transition between the two. This creates a bold, editorial aesthetic that feels very modern and intentional. The disconnection is what catches the eye and gives the style its impact.
Why Disconnected Layers Excel for Thick Hair
For thick hair, disconnected layers are an excellent solution because they create multiple “length lines” that the eye reads as shape rather than bulk. The short, choppy top removes volume where it’s often hardest to control (at the crown and around the face), while the longer bottom maintains length and movement. The lack of blending prevents the style from appearing shapeless or pyramid-like, which can happen with thick hair when all the layers blend together too smoothly.
Styling Disconnected Layers
- The top section is often styled more textured and piece-y, while the bottom can be smoother
- This creates a visual hierarchy that makes the style feel intentional rather than like you have two different haircuts
- Use texturizing spray on the top section and a smoothing serum on the lower section for maximum contrast
- Blow-dry with the top sections aimed upward for lift, then smooth the bottom sections downward
- This style gives you flexibility to style different sections differently depending on your mood
- It works beautifully for those who like to vary their style — you can tousle the top and smooth the bottom, or tousle the whole thing
9. Shag with Side Swept Styling
Rather than a blunt front or centered part, this shag style emphasizes a deep side part with one side swept dramatically across or back. This asymmetrical approach creates movement, frames the face flatteringly, and gives direction to the style. The layers still create texture throughout, but the styling and part placement make the overall effect feel sophisticated and editorial. This works beautifully for both hair types when the cut is tailored appropriately.
Achieving the Side-Swept Look
The cut itself typically features slightly longer layers on the side that sweeps back, and shorter, choppier layers on the other side. This means the longer side has more material to work with for sweeping, and the shorter side appears more textured and dimensional. The stylist often cuts the longest layers to fall just past shoulder-length so they have length to sweep with, while the shortest layers on the swept-back side are cut shorter and point-cut for texture.
Styling for Maximum Impact
- Deep side parts require some styling effort; you’ll likely need to blow-dry to set the part
- Use a flat iron or round brush to direct hair along the side part
- Apply volumizing mousse to the roots on the smaller side of the part to prevent it from appearing flat
- Use a texturizing spray on the smaller side and a smoothing serum on the swept side for maximum contrast
- Style the swept side by directing it back and allowing it to cascade; a slight wave enhances the movement
- This style photographs beautifully and creates a more polished, intentional aesthetic than a center part
10. Curly Textured Shag
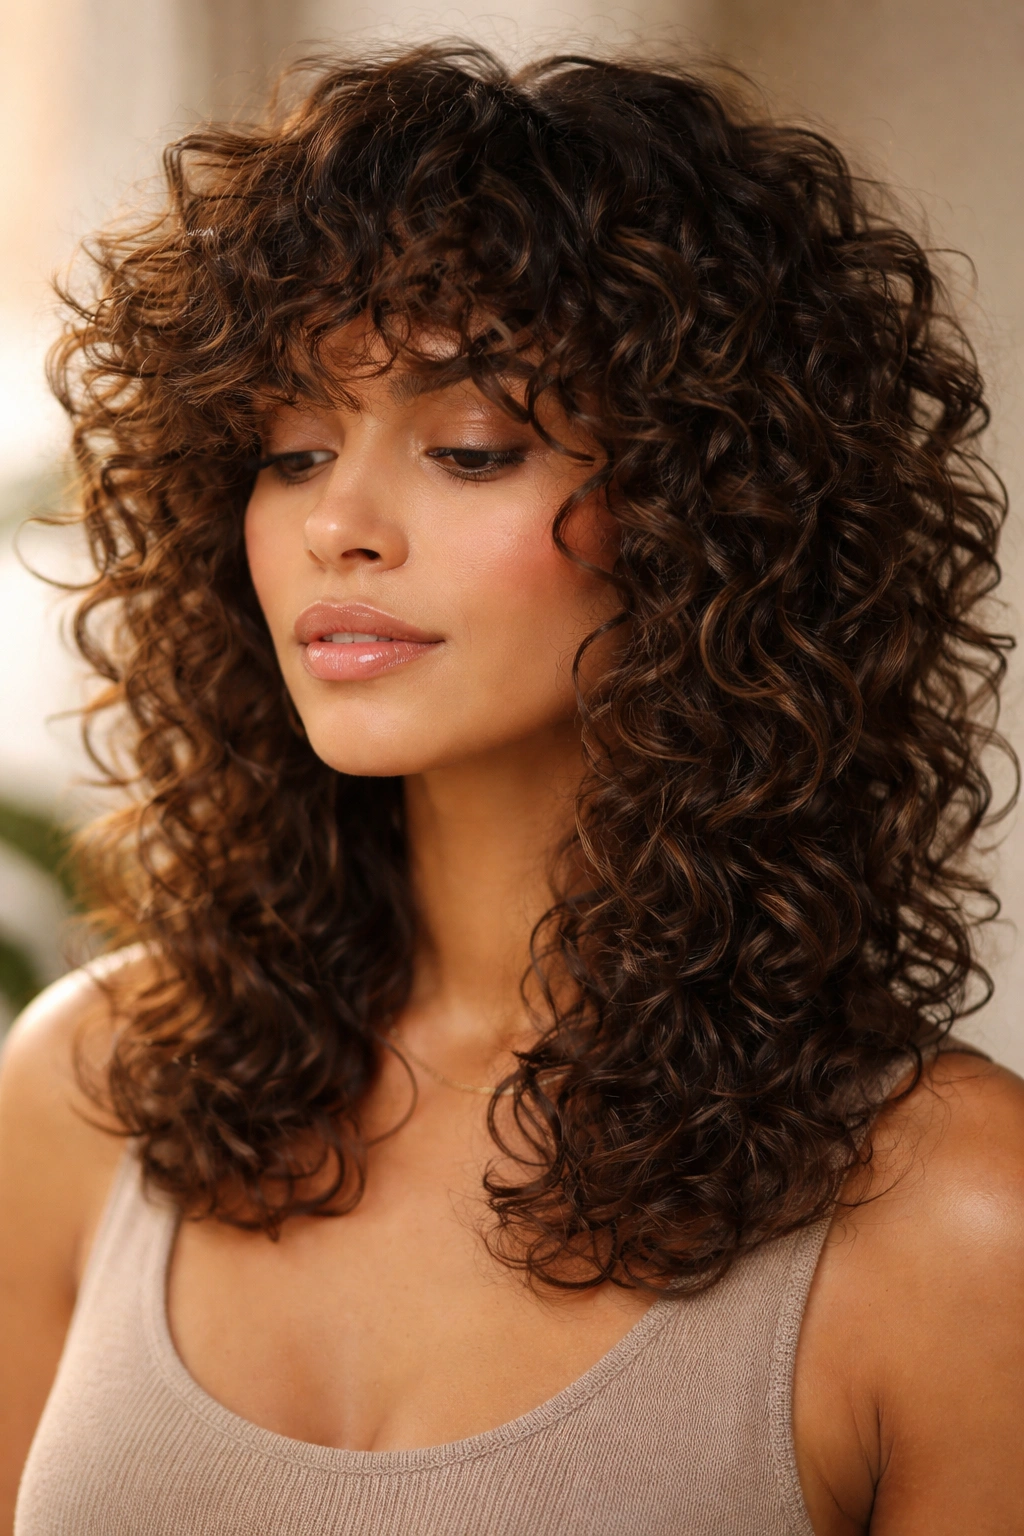
For those with naturally curly or coily hair, a shag cut specifically designed for curls creates definition, reduces frizz, and enhances the natural pattern. Rather than trying to tame curls into submission, this style celebrates them with strategic layers that encourage curl formation and movement. The cut removes bulk without destroying curl pattern, and the layers sit at angles that follow the natural fall of your curls.
Cutting Curly Hair for Shag Success
The technique matters enormously with curly hair. A stylist should cut curly hair dry or damp (when it’s in its natural state), not soaking wet, because wet curls hang much longer than dry curls — cutting them wet often results in a cut that’s too short once hair is dry. Layers should be cut at angles that follow your curl pattern, not against it. For curly shag, some stylists use a method called “Drybar” or “Devacut” techniques that are specifically designed for curly and coily hair.
Maintaining Curl Definition
- Use a curl-specific shampoo and conditioner; regular products weigh curls down
- Apply styling creams, gels, or puddings to soaking-wet hair, then plop or diffuse-dry
- Avoid touching curls while they dry to prevent frizz and disruption
- Refresh curls between wash days with a curl-refreshing spray and diffuser
- Diffuse-dry with your head upside down for lift and definition
- Regular trims every 6-8 weeks maintain curl shape and prevent the cut from becoming shapeless
11. Sleek Shag with Straight Texture
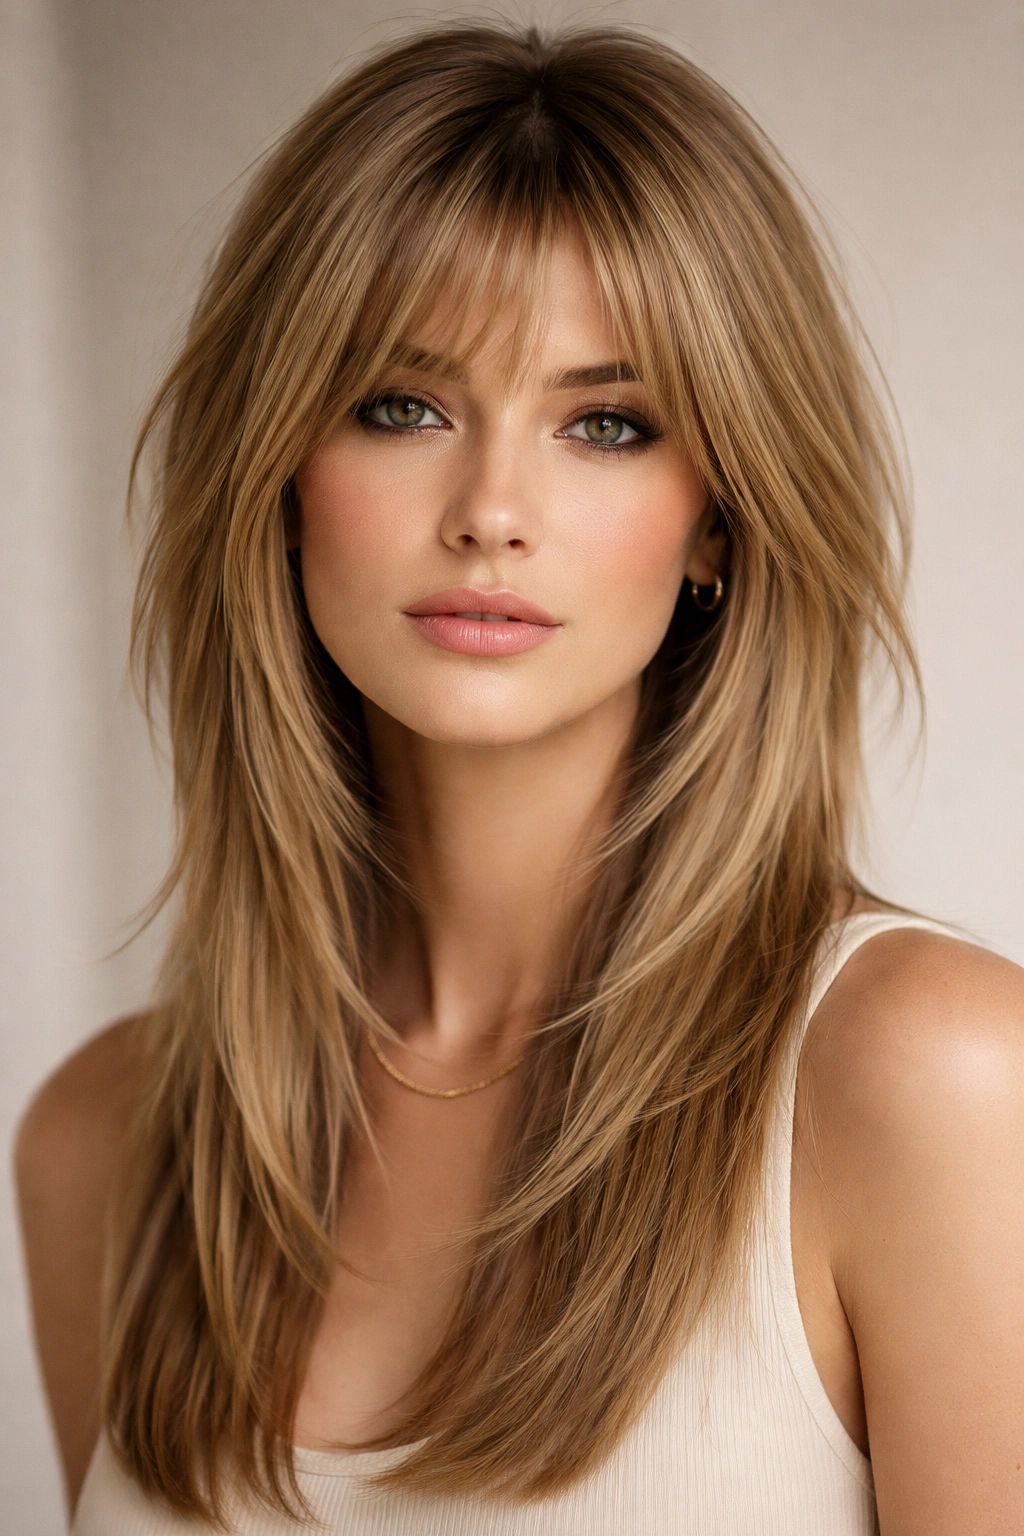
This style takes the opposite approach from the curly shag, emphasizing smooth, straight texture while maintaining shag’s signature layers and movement. The layers are there, but they’re subtle and blended, creating visual movement through cutting technique rather than tousled styling. When blow-dried straight, the layers create interesting angle and dimension. This works beautifully for those with naturally straight hair or those who straighten their hair regularly.
Cutting for Sleek Shag Success
The stylist cuts slightly longer layers that blend smoothly from short to long, rather than choppy, disconnected pieces. This creates movement through the layering structure itself, visible in how the hair falls and catches light. For thick hair, this approach removes bulk while keeping the style polished. For fine hair, the layers create the illusion of texture and dimension without fragmented, sparse-looking pieces.
Styling for Sleek Results
- Use a smoothing serum or blow-dry cream before blow-drying for frizz control and shine
- Blow-dry with a round brush or paddle brush for a polished finish
- Use a flat iron to smooth hair and create slight angles that emphasize the layers
- Finish with a light hairspray that provides hold without crunch
- This style is relatively low-maintenance compared to textured or curly shags — it can be air-dried in a pinch
- The sleek aesthetic works well for professional settings or when you want a more refined, edited look
12. Modern Mullet-Inspired Shag
This bold iteration takes inspiration from the modern mullet trend, featuring longer length in the front and back combined with shorter, choppier layers on top. The sides might be buzzed or faded, or kept slightly longer than the top but shorter than the back. It’s an editorial, fashion-forward take on the shag that makes a strong statement and works beautifully for those with thick hair who want dramatic contrast and bold style.
The Brave Choice of Mullet-Shag Fusion
This style requires confidence and commitment. The cut is intentionally asymmetrical and unconventional, creating visual interest through contrast rather than traditional balance. For thick hair, it’s an excellent solution because the short, heavily layered top removes massive amounts of bulk and weight, while the longer back maintains length and movement. The style reads as intentional and editorial rather than accidental.
Making It Work in Real Life
- This style is best with some styling effort; the more deliberately you style it, the better it reads as intentional
- Keep the top textured and tousled with product; style the back sleeker and smoother for maximum contrast
- Use a texturizing spray on top and a smoothing serum on the longer sections
- This look works better for those who enjoy spending time on their hair and embracing a bold, unconventional aesthetic
- It photographs incredibly well and makes a strong personal style statement
- Be prepared for strong reactions; this is not a subtle, safe choice, but rather a confident one
Final Thoughts

A medium shag haircut works beautifully for both thick and fine hair types because the style itself is adaptable — what changes is the cutting technique and styling approach, not the fundamental appeal. The key to success is finding a stylist who understands your specific hair type and can cut accordingly. Someone skilled with thick hair might not have the same expertise cutting fine hair, and vice versa, so don’t hesitate to ask about your stylist’s experience before committing to the cut.
The investment in finding the right stylist pays off in spades because a well-cut shag actually becomes easier to style once you understand the technique. Contrary to what the tousled, undone aesthetic might suggest, most shags benefit from some intentional styling — blow-drying with texture products, using a curling iron or straightener, or applying styling cream with specific direction. The styling is what transforms the cut into a finished look.
Finally, be honest with yourself about your styling commitment level and hair goals. Some shag variations require regular trims and consistent styling, while others are lower-maintenance. A wavy shag for naturally wavy hair, for example, requires less daily effort than a sleek shag if you have naturally curly hair, because you’re working with your texture rather than against it. The most successful shag is one that aligns with both your hair type and your lifestyle — because the best haircut is one you’ll actually maintain and style regularly.