If you’ve been thinking about your hair looking flat, lifeless, or stuck in the same style, layered cuts might be exactly what you need. Layered hairstyles add dimension, movement, and texture that instantly transform how your hair looks and feels. The beauty of layers is their versatility — they work with nearly any hair type, length, or texture, and they create the illusion of fullness while also reducing bulk for those with thicker hair.
The magic of layers goes beyond just aesthetics. A well-executed layered cut catches light differently at each layer, creating visual depth that makes your hair appear thicker, bouncier, and more dynamic. Whether your hair is straight, wavy, curly, or coily, strategic layering can enhance your natural texture and make styling easier. Many people discover that layered cuts actually reduce their daily styling time because the movement is already built into the cut itself.
What makes layered styles so popular right now is their ability to work with any face shape and hair type while giving you room to personalize your look. You can go subtle with just a few wispy layers around your face, or go bold with choppy, heavily textured layers throughout. The styling possibilities are endless — you can wear them sleek and polished one day, tousled and undone the next.
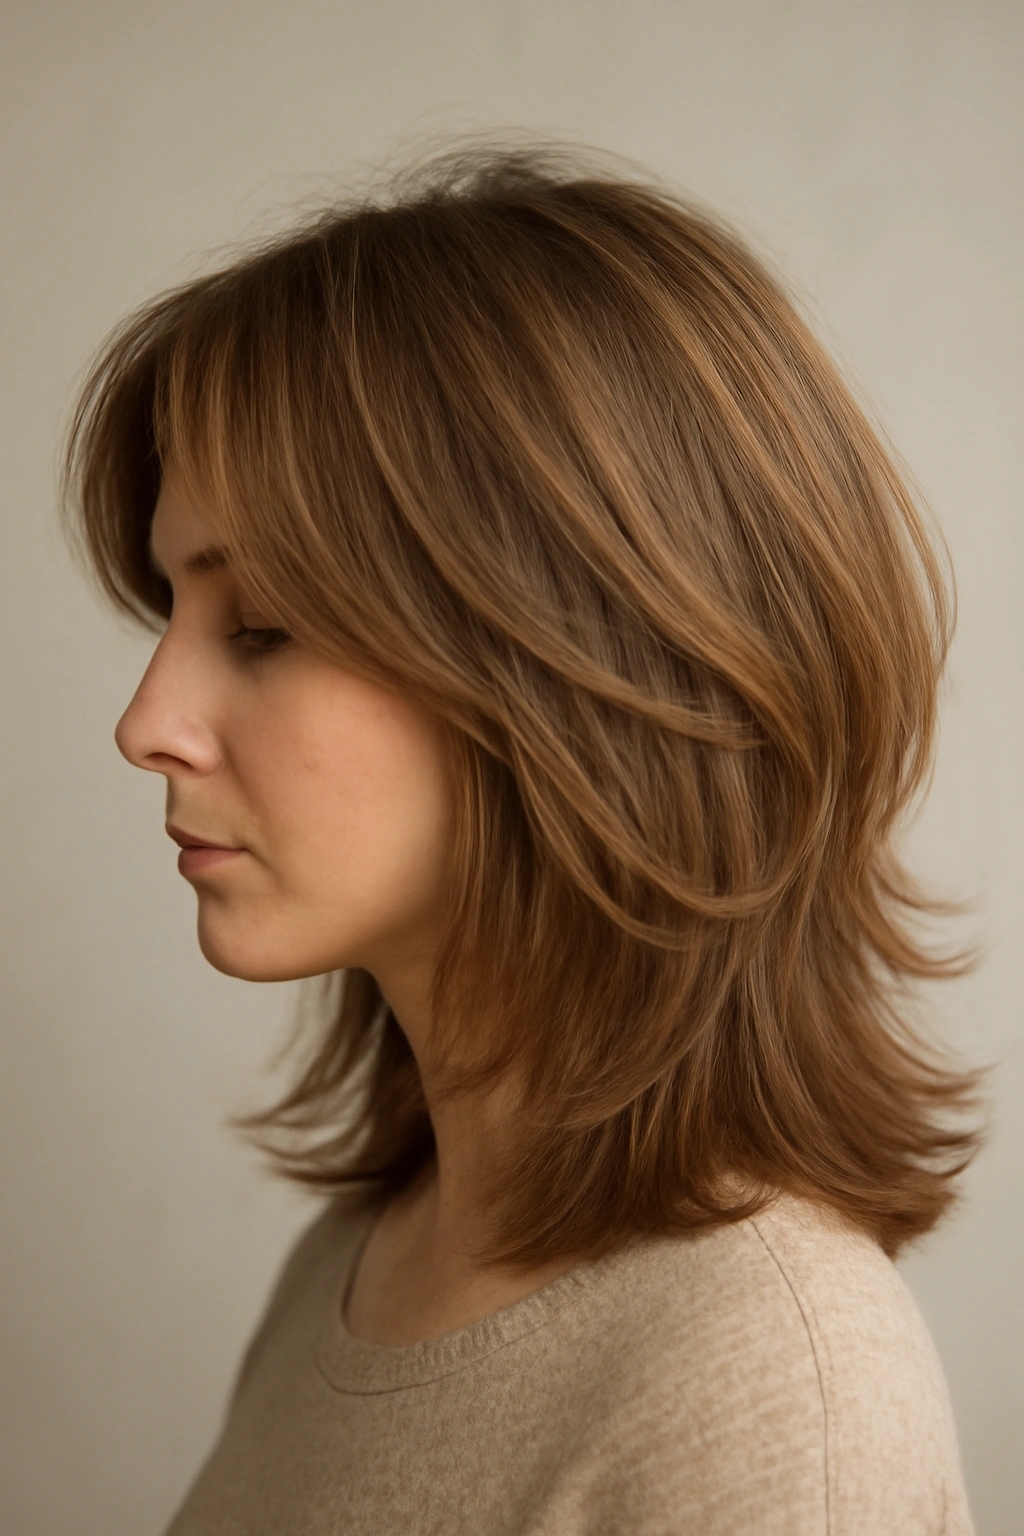
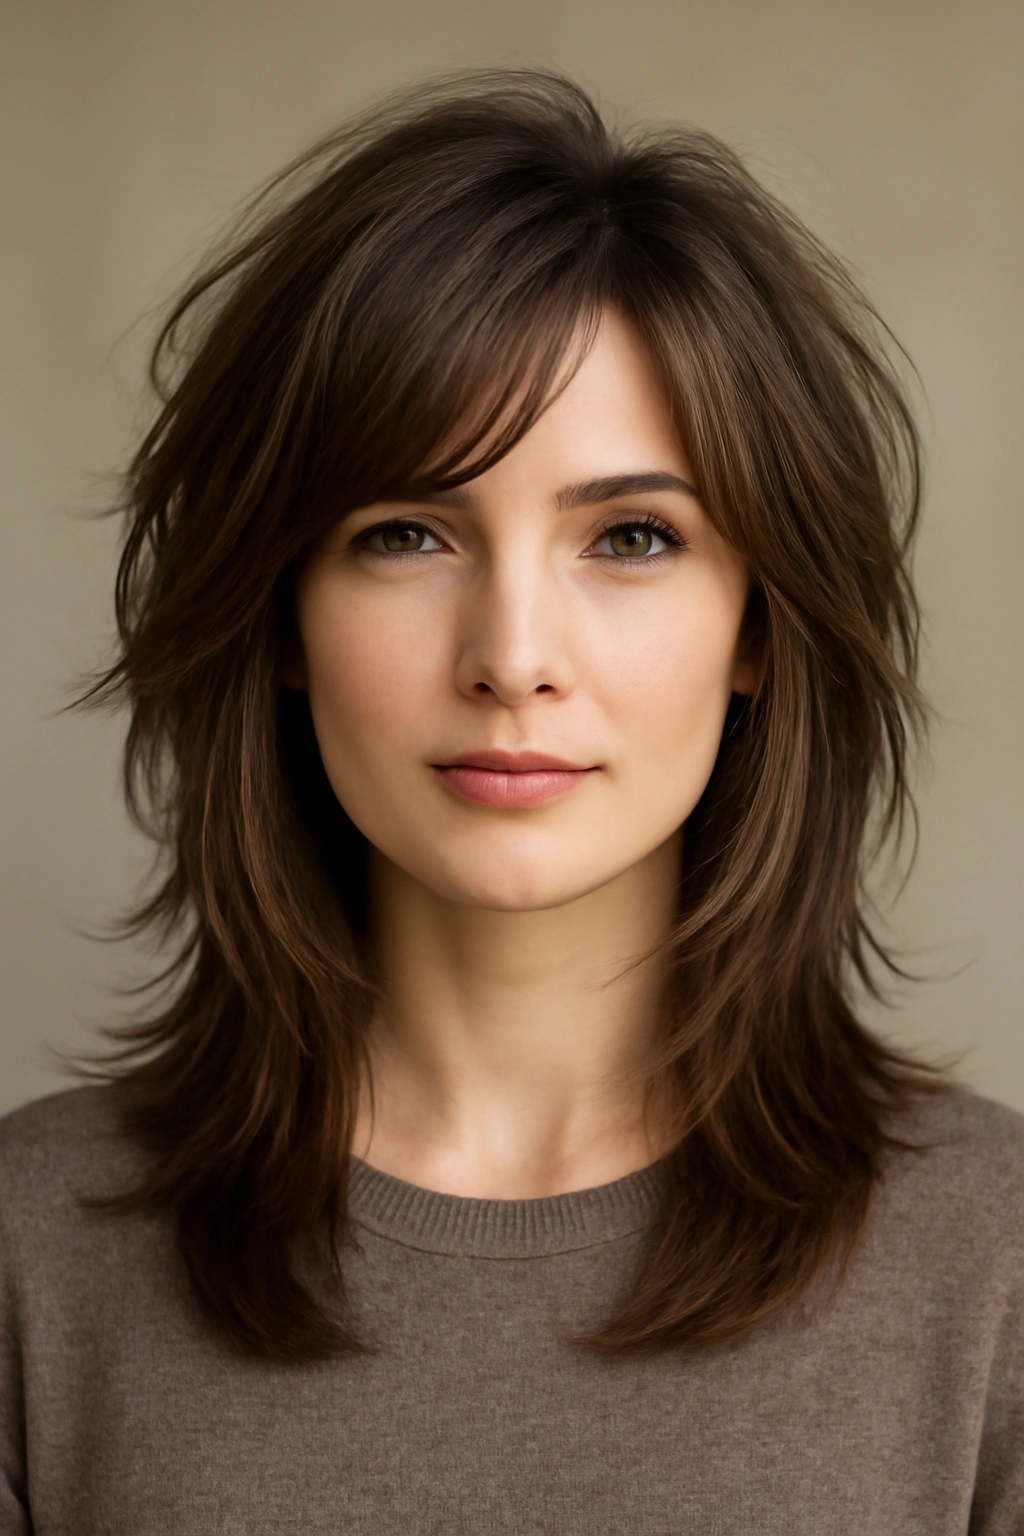
1. The Classic Shoulder-Length Layer
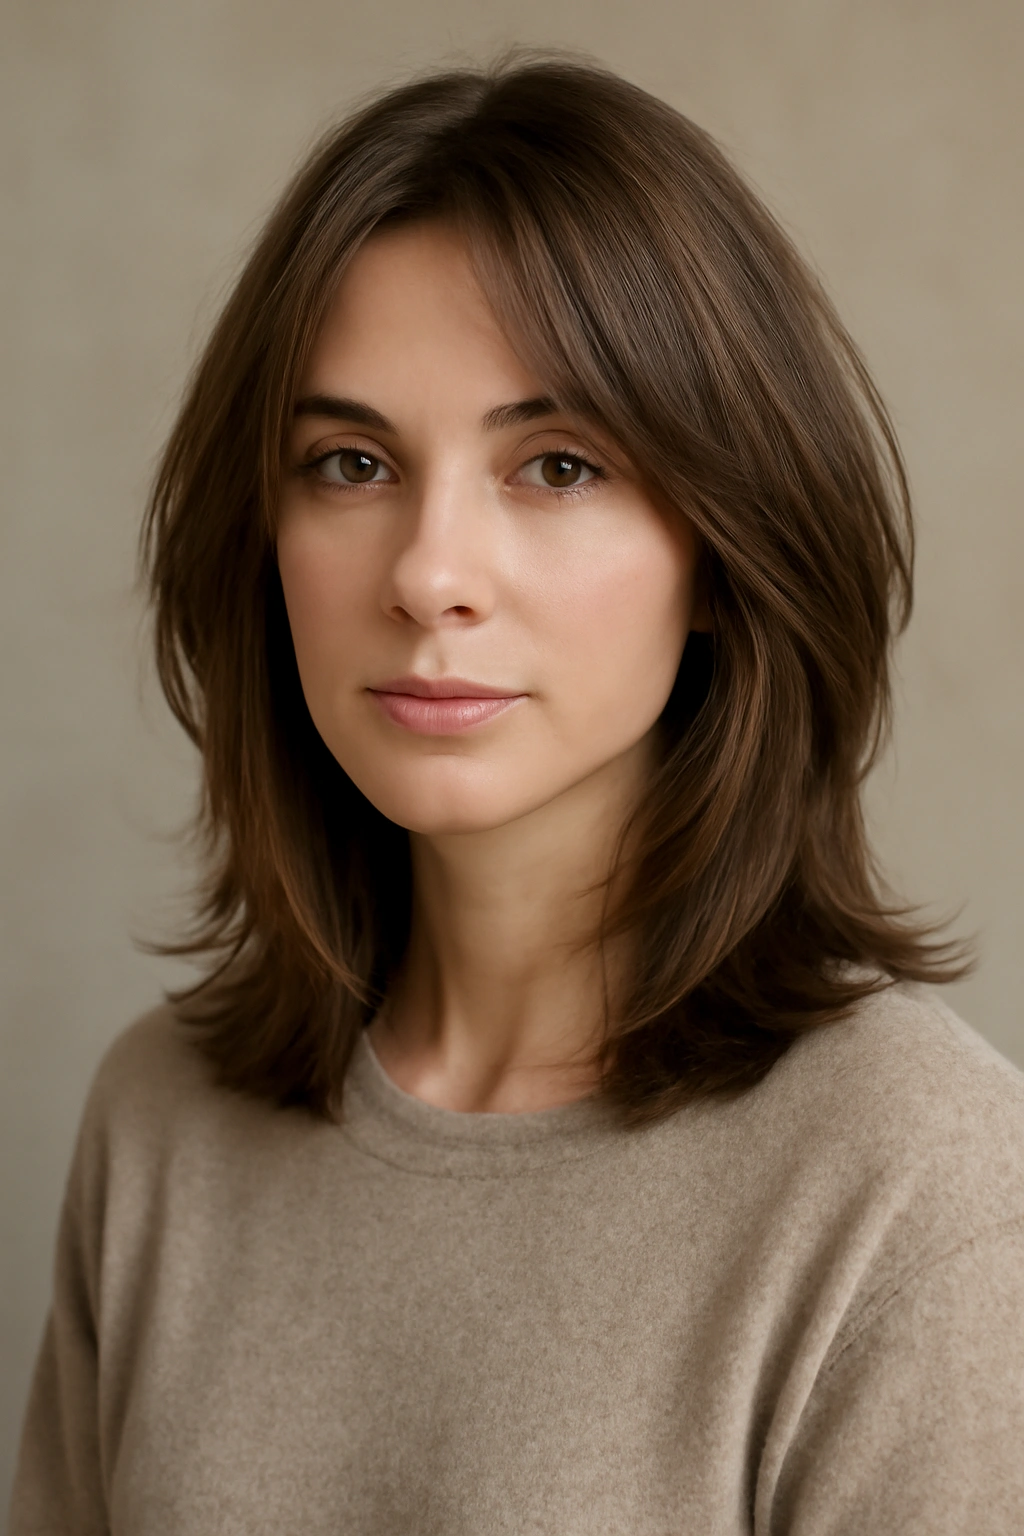
This is the foundation of modern layered cuts, and it’s timeless for good reason. A shoulder-length layered cut typically features shorter layers on top that gradually blend into longer pieces, usually hitting right at the collarbone. The result is a style that feels fresh, flattering, and surprisingly easy to manage.
Why This Works for Most People
The shoulder-length layered cut is forgiving on multiple face shapes because the longer pieces frame the face while shorter layers on top add volume where you need it most. This combination creates balance — if you have a rounder face, the longer pieces elongate it; if you have an angular face, the layers soften sharp lines. The cut also works beautifully whether your hair is naturally straight, wavy, or somewhere in between. You’re not fighting against your hair texture; you’re enhancing it.
How to Style It Best
- Blow-dry with a round brush for a polished, bouncy finish
- Use a straightener or curling iron to add waves if your hair is naturally straight
- Apply texturizing spray for effortless, beachy movement
- Wear it half-up for a casual, put-together vibe
- Pair with a side part for a softer look or center part for bold symmetry
Pro tip: This cut looks even better with a gloss or balayage — the lighter pieces catch the layered movement and amplify the dimension.
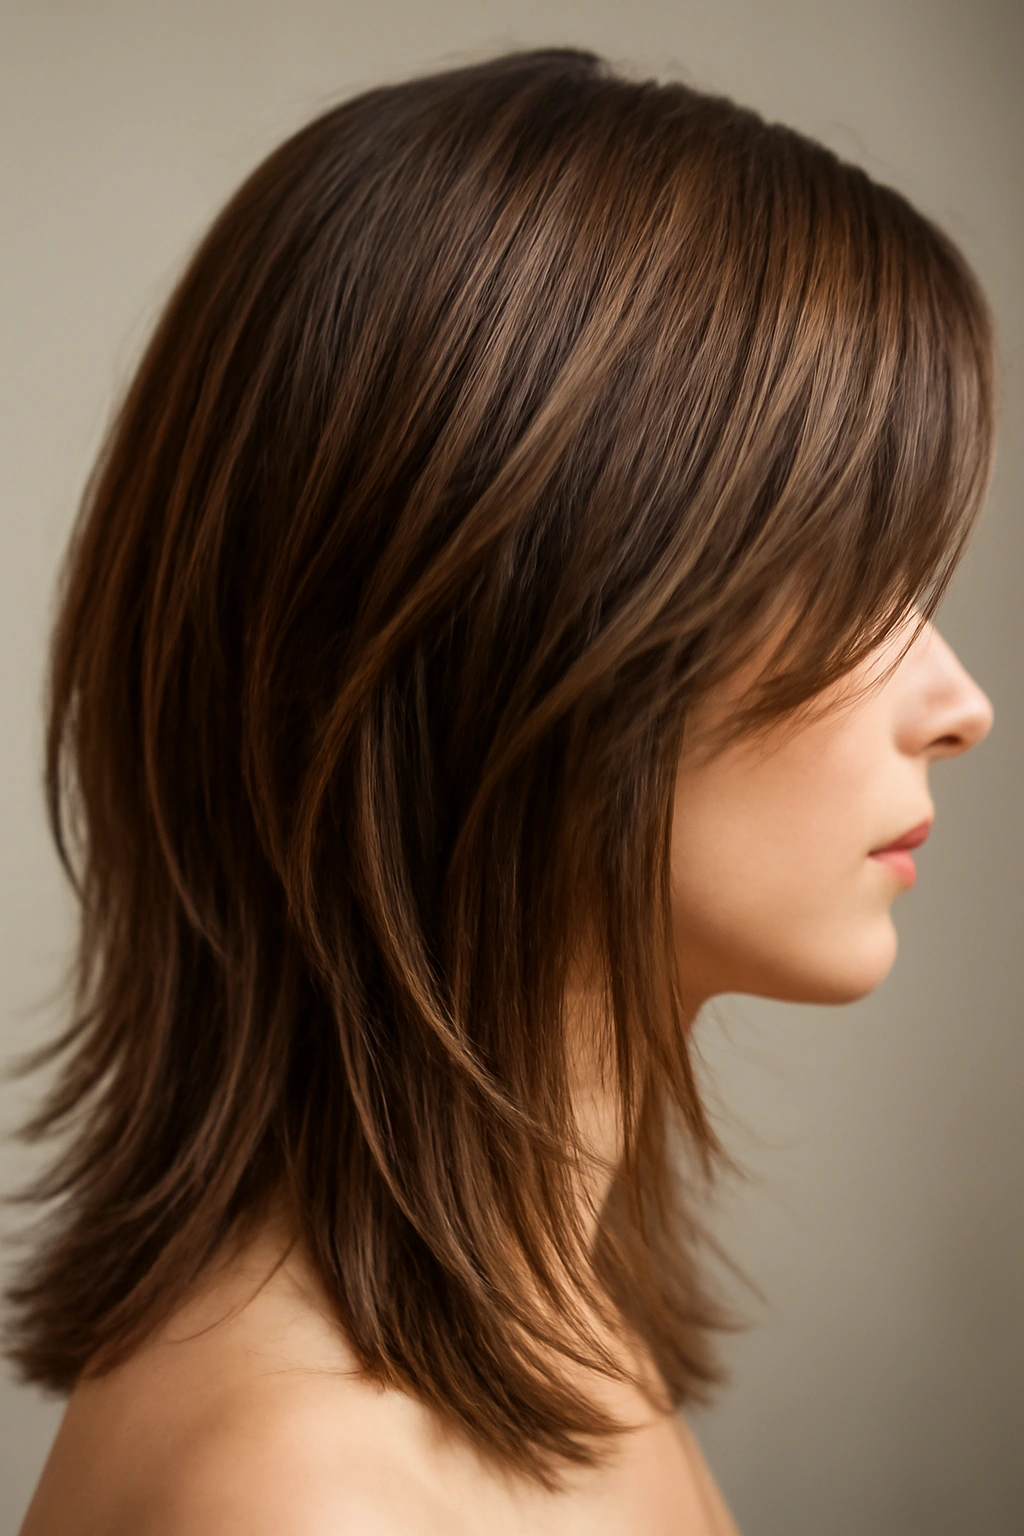
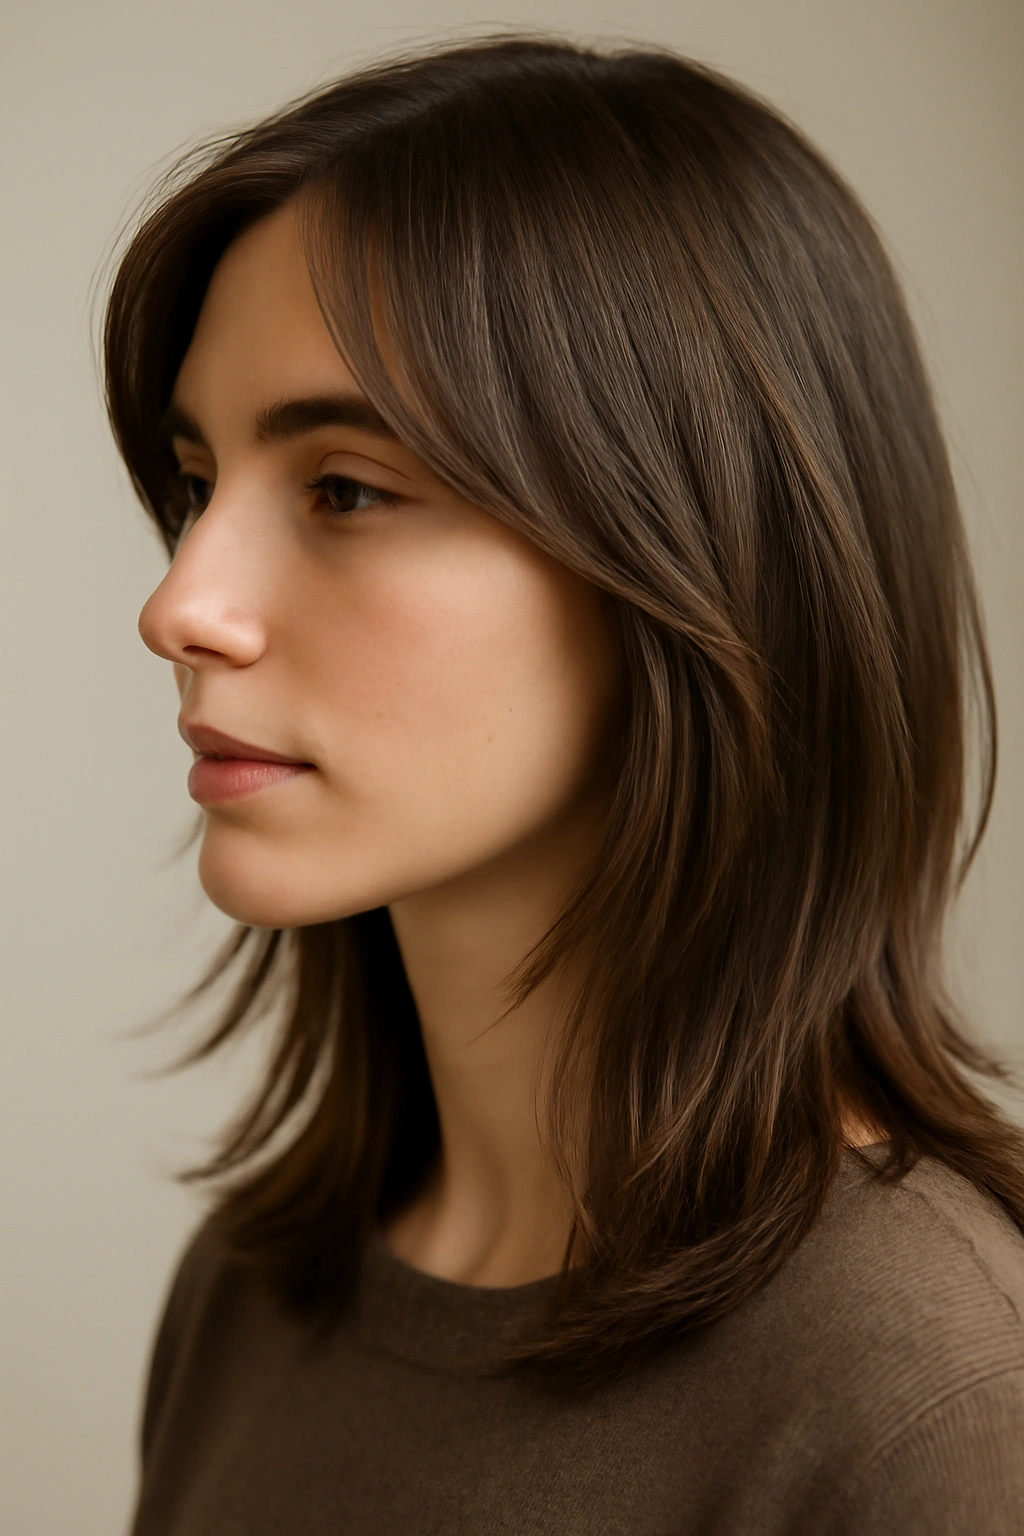
2. Face-Framing Layers with Long Hair
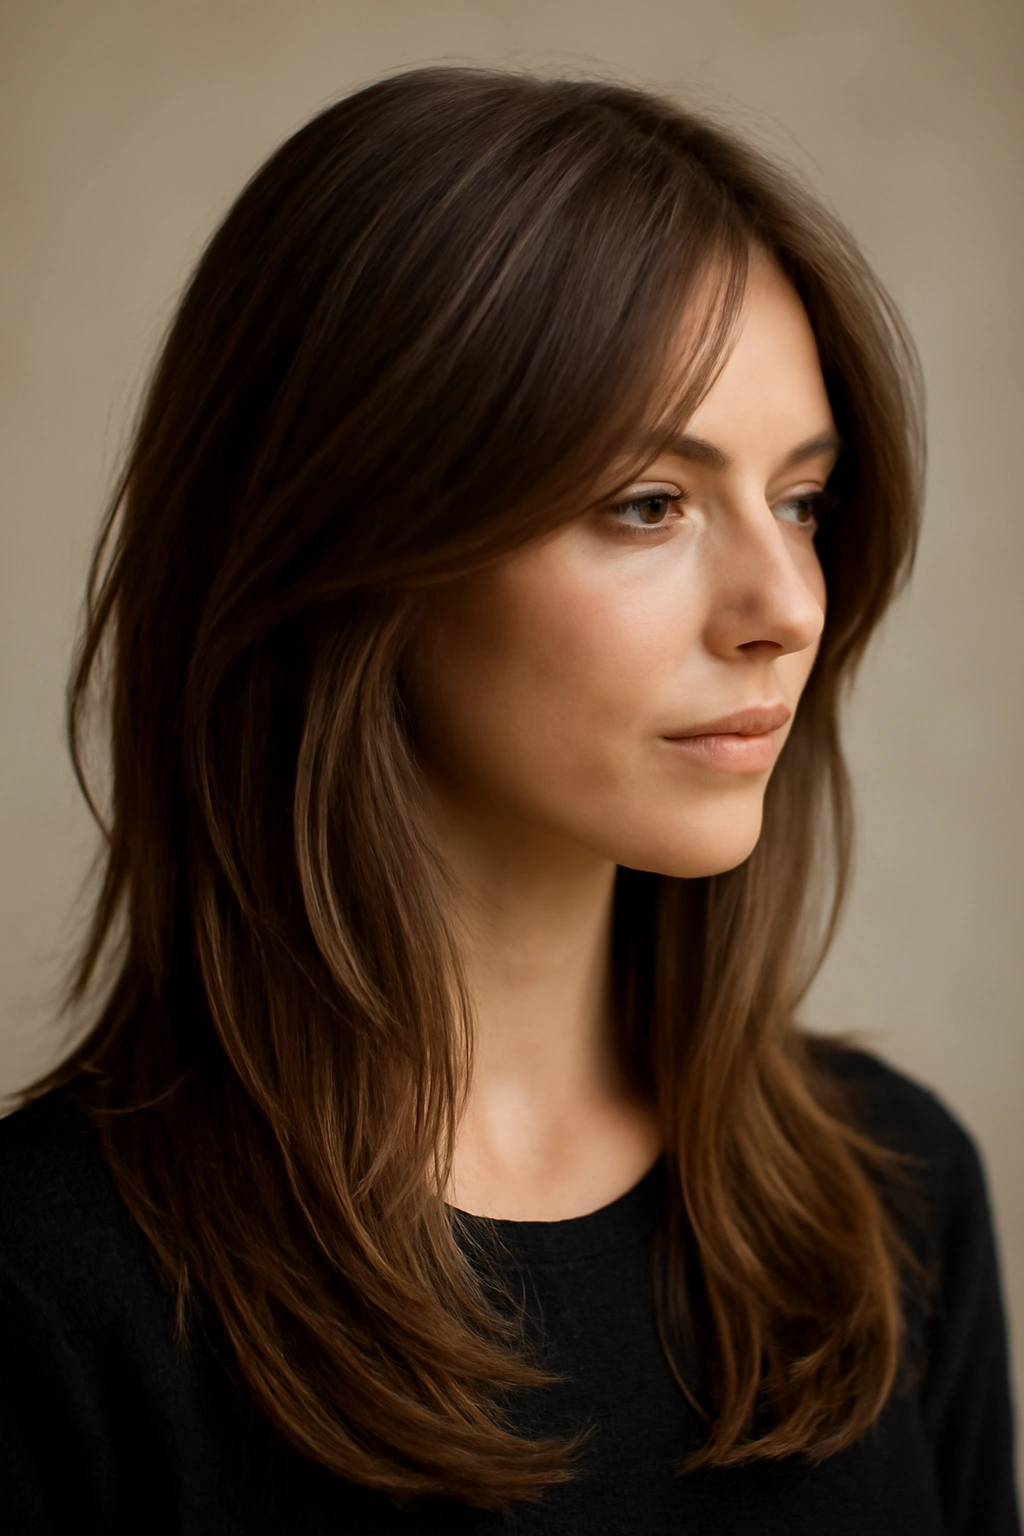
If you love long hair but want more movement and shape, face-framing layers are your answer. These shorter layers start at your cheekbones and blend seamlessly into the rest of your long lengths. You keep the overall length you love while gaining the styling versatility and visual interest that layers provide.
What Makes This Cut Stand Out
Face-framing layers create a natural focus point on your features without requiring you to cut off significant length. The shorter pieces around your face move independently from the rest of your hair, creating a sophisticated, multidimensional effect. This style is especially flattering if you have a longer face shape — the layers help add width and prevent the elongation that very long, blunt hair can create.
Best Styling Methods
- Curl the face-framing pieces slightly tighter than the rest for extra movement and definition
- Blow-dry your hair first, then use a straightener on just the bottom layers for sleek contrast
- Apply a lightweight serum to the framing pieces to keep them from frizzing
- Try a high ponytail to show off the layers and shape of your cut
- Wear it down and slightly tousled for a model-off-duty aesthetic
Worth knowing: Trim your face-framing layers every 6-8 weeks to maintain the shape and prevent them from looking overgrown or wispy.
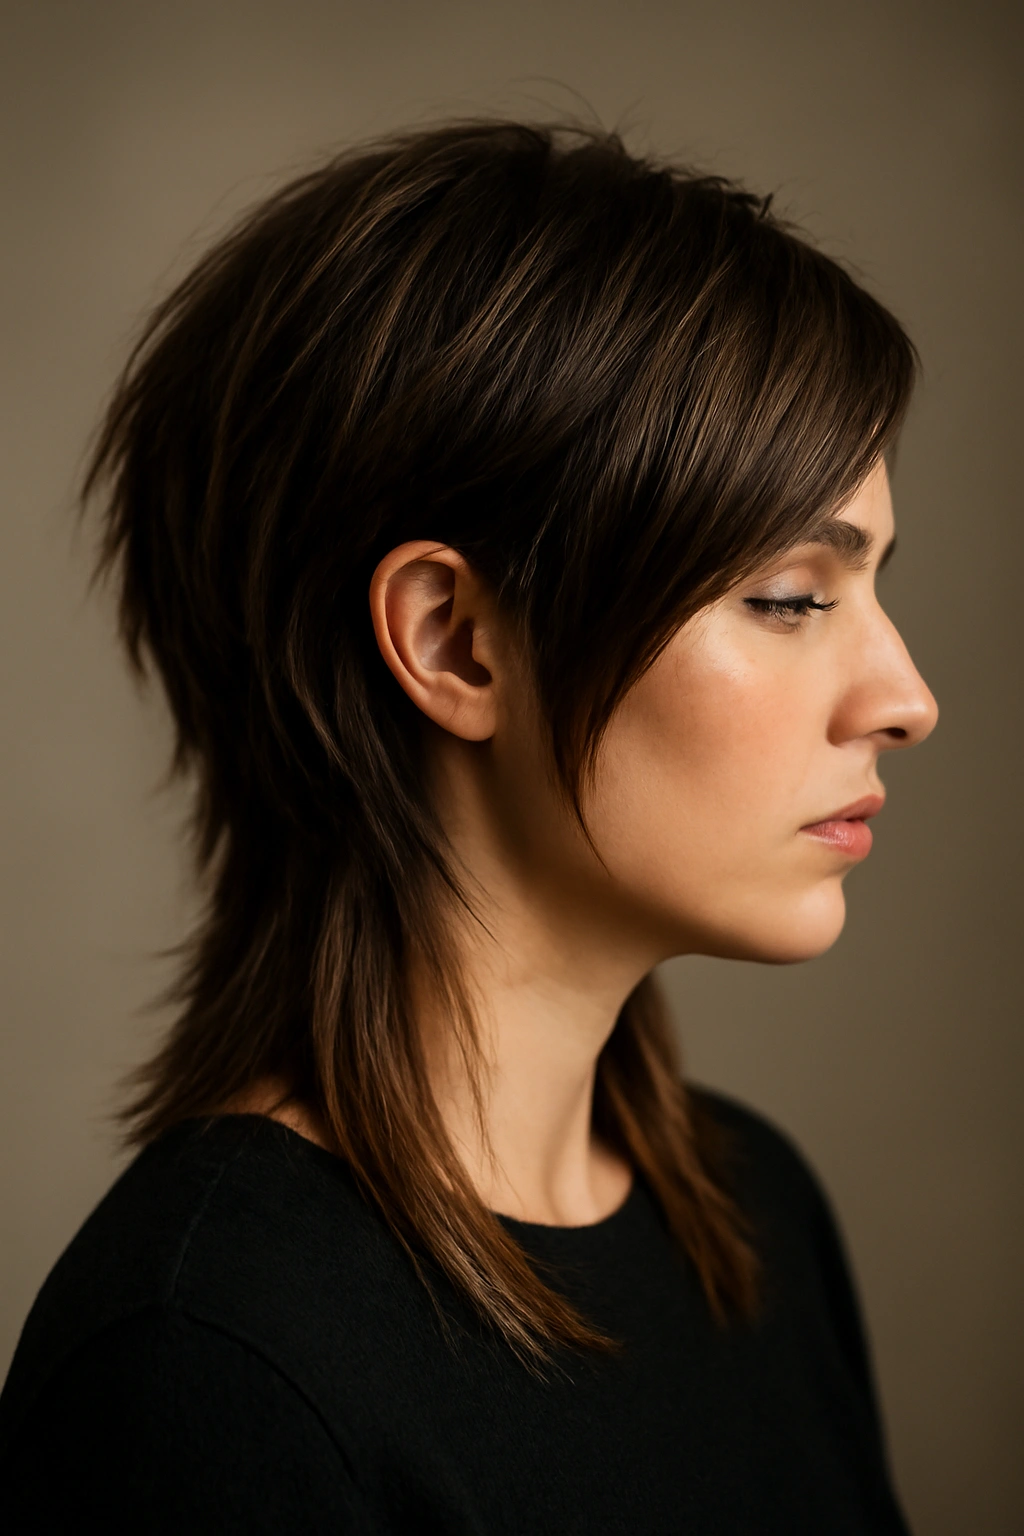
3. Shag Haircut with Textured Layers
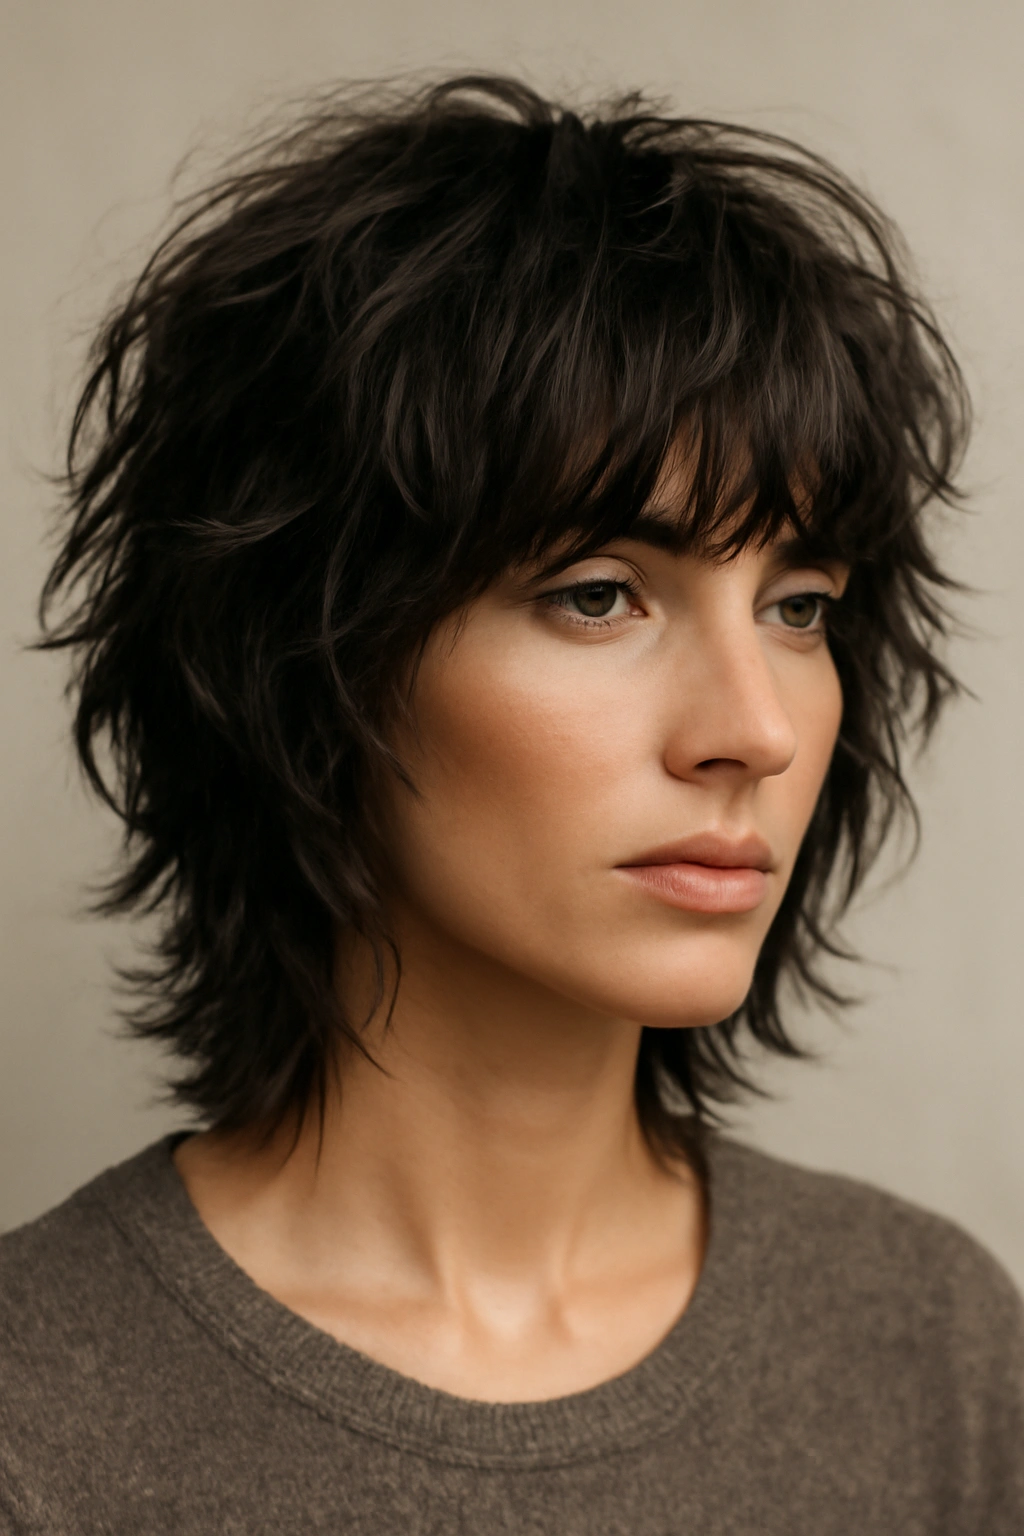
The shag is back and better than ever. This iconic cut features choppy, textured layers throughout the entire head, creating a rock-and-roll, tousled vibe that looks intentionally undone. Modern shag cuts are less severe than their 1970s predecessors and work with a much wider range of hair types.
Why Shag Cuts Feel So Current
A great shag gives you a high-fashion, editorial look that feels effortless. The choppy layers move independently, creating tons of texture and volume. This cut is perfect if you want something with serious personality — it’s not a safe, conventional choice, and that’s exactly what makes it appealing. The shag works especially well on people with naturally wavy or curly hair because the texture is already there; the layers just enhance it.
How to Maintain the Look
- Embrace texture sprays and sea salt sprays for the authentic shag feel
- Tousle with your fingers while blow-drying rather than using a brush
- Keep a texturizing cream on hand for defining individual pieces
- Get trims every 4-6 weeks because shag cuts need frequent maintenance to stay sharp
- Avoid blow-drying completely smooth — the beauty is in the controlled chaos
Insider note: If your hair is naturally straight, ask your stylist to cut the shag with slightly shorter pieces on top and longer pieces underneath — this creates movement even without curl.
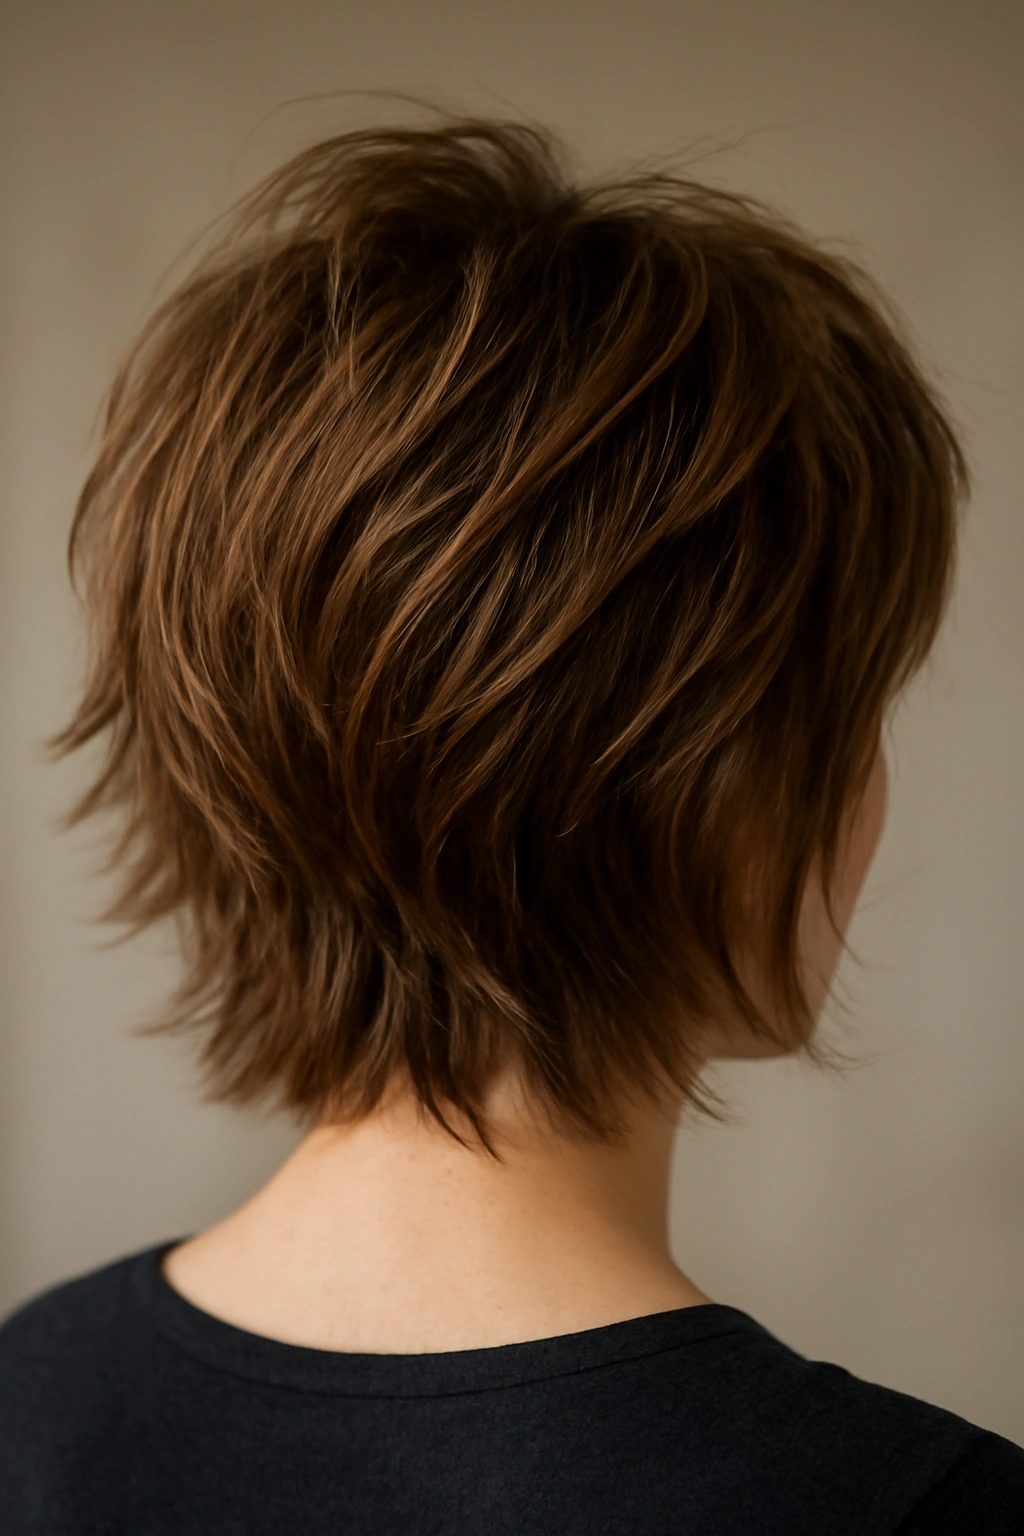
4. Choppy Pixie with Longer Layers
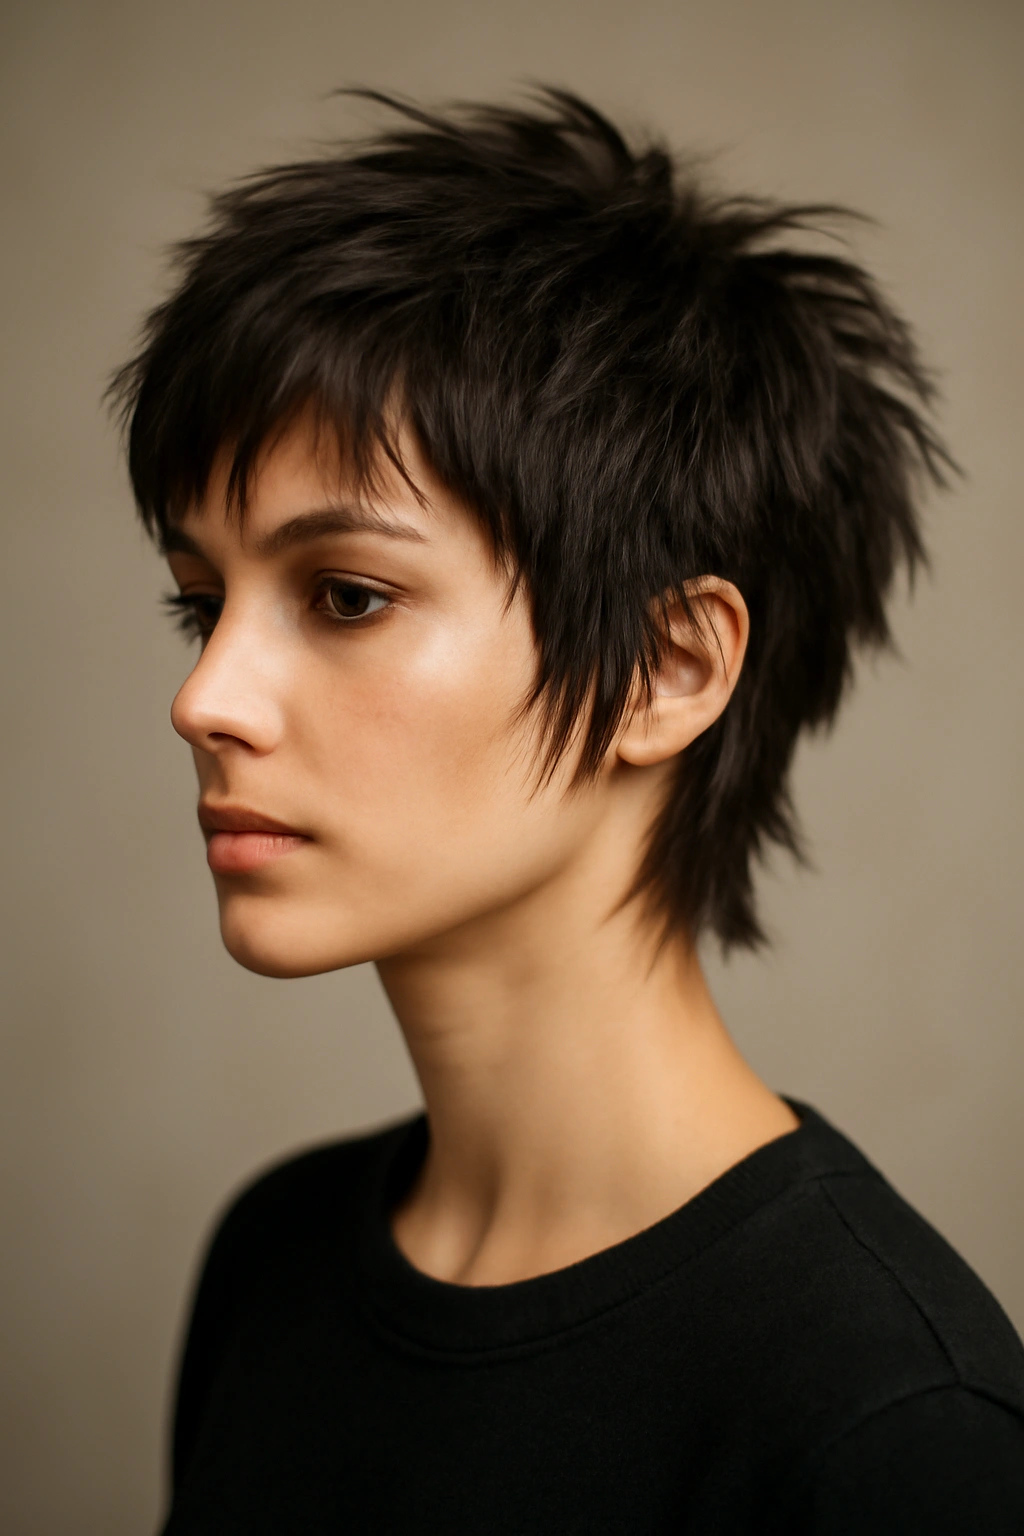
This cut blends the boldness of a pixie with the versatility of layers. Short, choppy layers on top and around the crown give you volume and edginess, while slightly longer pieces in the back and sides create movement. It’s short enough to feel daring but layered enough to style multiple ways.
Who Should Consider This Cut
The choppy pixie with layers works beautifully on people with fine hair (the layers prevent weighing it down), those with round face shapes (shorter pieces on top create height), and anyone willing to embrace a bold, fashion-forward style. This cut requires confidence, but once you commit to it, you’ll likely love the ease and the attention it gets.
Styling and Maintenance Tips
- Blow-dry with fingers for a textured, piece-y finish
- Use a small amount of pomade or wax to emphasize individual layers
- Commit to trims every 3-4 weeks to maintain the shape
- Style it sleek and side-swept for evening events
- Embrace the natural texture for a more relaxed daytime look
Real talk: This cut needs regular trims to look its best, so factor that into your hair care budget. The payoff is a low-styling-effort style that always looks intentional and cool.
5. Feathered Layers for Fine Hair
If your hair is thin or fine, feathered layers are your secret weapon. These delicate, tapered layers are cut to taper toward the ends rather than sit bluntly, creating the illusion of fullness without adding actual bulk. The result is a light, airy style that doesn’t flatten fine hair the way some cuts do.
The Science Behind Feathered Layers
Feathering works because it removes weight gradually — instead of creating sharp lines, the layers blend smoothly into each other. This technique prevents the “helmet hair” effect that can happen with blunt layers on fine hair. The feathering technique also makes it easier for your natural wave or curl pattern to express itself, adding the dimension that fine hair sometimes lacks.
Styling Your Feathered Layers
- Use volumizing mousse on damp roots before blow-drying
- Blow-dry upside down for added lift at the roots
- Use a large round brush to create movement without frizz
- Apply dry shampoo between washes to maintain texture
- Avoid heavy serums or oils that can weigh fine hair down
Pro tip: Feathered layers look incredible with a balayage or highlights because the color variation amplifies the dimension that the layers create.
6. Thick, Blunt Layers for Curly Hair

Curly hair often looks better with blunt, defined layers rather than feathery ones. Thick, intentional layers cut into curls create shape and movement that enhance your curl pattern. The layers need to be substantial enough that they don’t disappear when your hair dries and shrinks.
Why Blunt Layers Work for Curls
When you have curly or coily hair, thin, feathered layers can look stringy and undefined once your curls form. Thicker layers create distinct sections that showcase your curl pattern beautifully. The blunt ends also catch light differently, creating visual interest and dimension. This approach respects and enhances your natural texture rather than fighting against it.
Caring for Blunt-Layered Curls
- Cut your hair when it’s dry so your stylist can see how the curls actually sit
- Use the praying hands method to apply leave-in conditioner throughout the layers
- Diffuse dry rather than air-dry to define each layer
- Refresh curls with a curl-refreshing spray between wash days
- Deep condition weekly to keep curls healthy and defined
Worth knowing: A stylist who specializes in curly hair will understand how to cut layers that work with your curl pattern, not against it. It’s worth seeking out a curl specialist for this cut.
7. Micro Layers for Medium-Length Hair
Micro layering involves cutting many thin layers throughout the entire head, creating maximum texture and movement. This technique works beautifully on medium-length hair (usually collarbone to shoulder blade length) because it adds dimension without creating the bulk that multiple layers can sometimes add.
The Visual Impact of Micro Layers
Micro layering creates the most dynamic, three-dimensional look because light hits each tiny layer differently. The result is a style that looks expensive, editorial, and full of movement even if your hair is straight or doesn’t naturally have much texture. This technique is especially effective on people with thick hair who want to reduce bulk while maintaining movement.
Styling Micro-Layered Hair
- Use a blow dryer with a diffuser attachment to enhance natural texture
- Apply a texturizing spray before blow-drying for extra definition
- Curl or wave each section slightly to emphasize the layers
- Try a half-up style to show off the layered detail
- Sleep in loose braids to preserve waves and texture overnight
Insider note: Micro layers require a skilled stylist with an eye for proportion and balance. The cut can look amazing or overwhelming depending on how it’s executed, so bring reference photos and discuss your hair goals thoroughly.
8. Wispy Bangs with Layered Hair
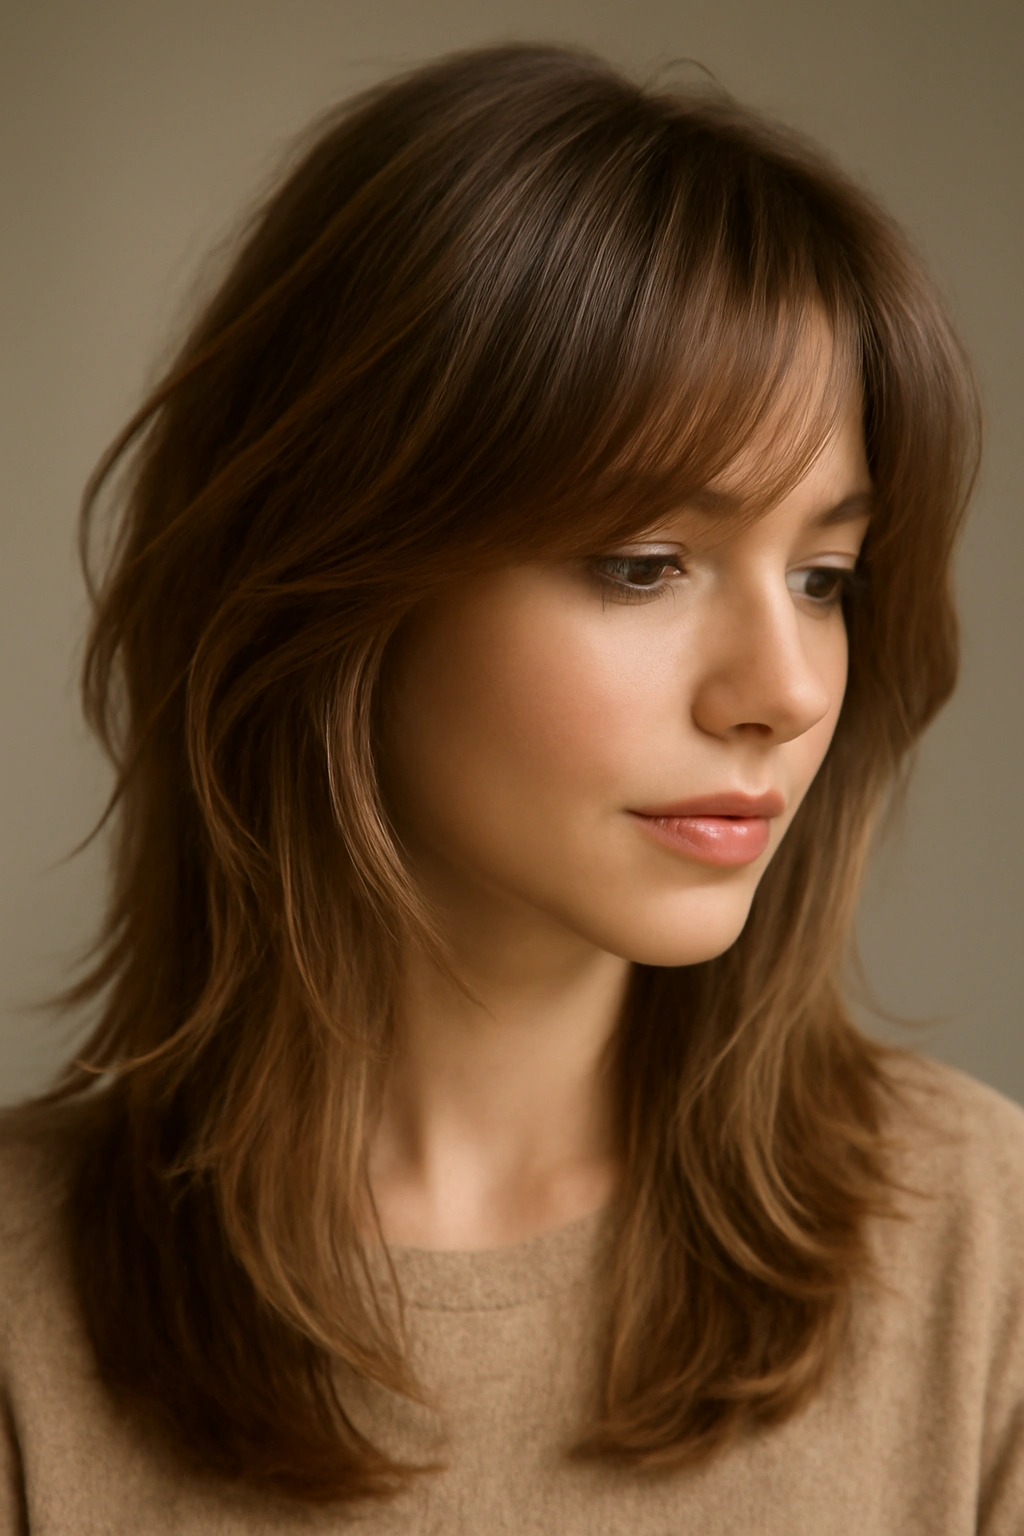
Wispy bangs paired with layered hair create a softer, more romantic aesthetic. The bangs are longer and thinner than typical bangs, blending seamlessly into the face-framing layers. This combination works beautifully across multiple hair types and face shapes.
Why This Combination Flatters Your Face
Wispy bangs are universally flattering because they’re delicate enough not to overwhelm any face shape. When paired with layered hair, they add focus to your eyes and cheekbones while the layers beneath create movement and softness. This style has a feminine, approachable quality that feels modern rather than dated.
Maintaining Wispy Bangs and Layers
- Trim bangs every 3-4 weeks to maintain the wispy, feathered quality
- Blow-dry bangs separately to style them how you want
- Use a light hand with products on the bang area so they don’t look heavy
- Side-sweep the bangs occasionally for styling variety
- Avoid cutting your own bangs — the angle and taper require professional precision
Pro tip: If you’re nervous about committing to bangs, clip-in bang extensions let you try the look before making it permanent.
9. Asymmetrical Layers for Bold Style
Asymmetrical layering — where one side is noticeably shorter than the other — makes a statement. This cut works beautifully when the shorter side is layered and textured while the longer side maintains some length. It’s fashion-forward without being impractical.
Who Rocks Asymmetrical Layers
This cut appeals to people who want to stand out, aren’t afraid of bold style choices, and appreciate fashion as a form of self-expression. It works on nearly any face shape, but it especially flatters angular faces (the asymmetry complements strong features) and long faces (the varied lengths prevent elongation).
Styling and Caring for Asymmetrical Layers
- Blow-dry the shorter side up and back for dramatic volume
- Wear the longer side straight or wavy depending on your mood
- Use styling products on the shorter side to keep it from lying flat
- Tuck the longer side behind your ear for a sleek look
- Let the asymmetry be dramatic — this cut works best when you lean into the boldness
Real talk: Asymmetrical cuts require confidence and a willingness to style them intentionally. If you’re someone who prefers a wash-and-go style, this might not be your best choice.
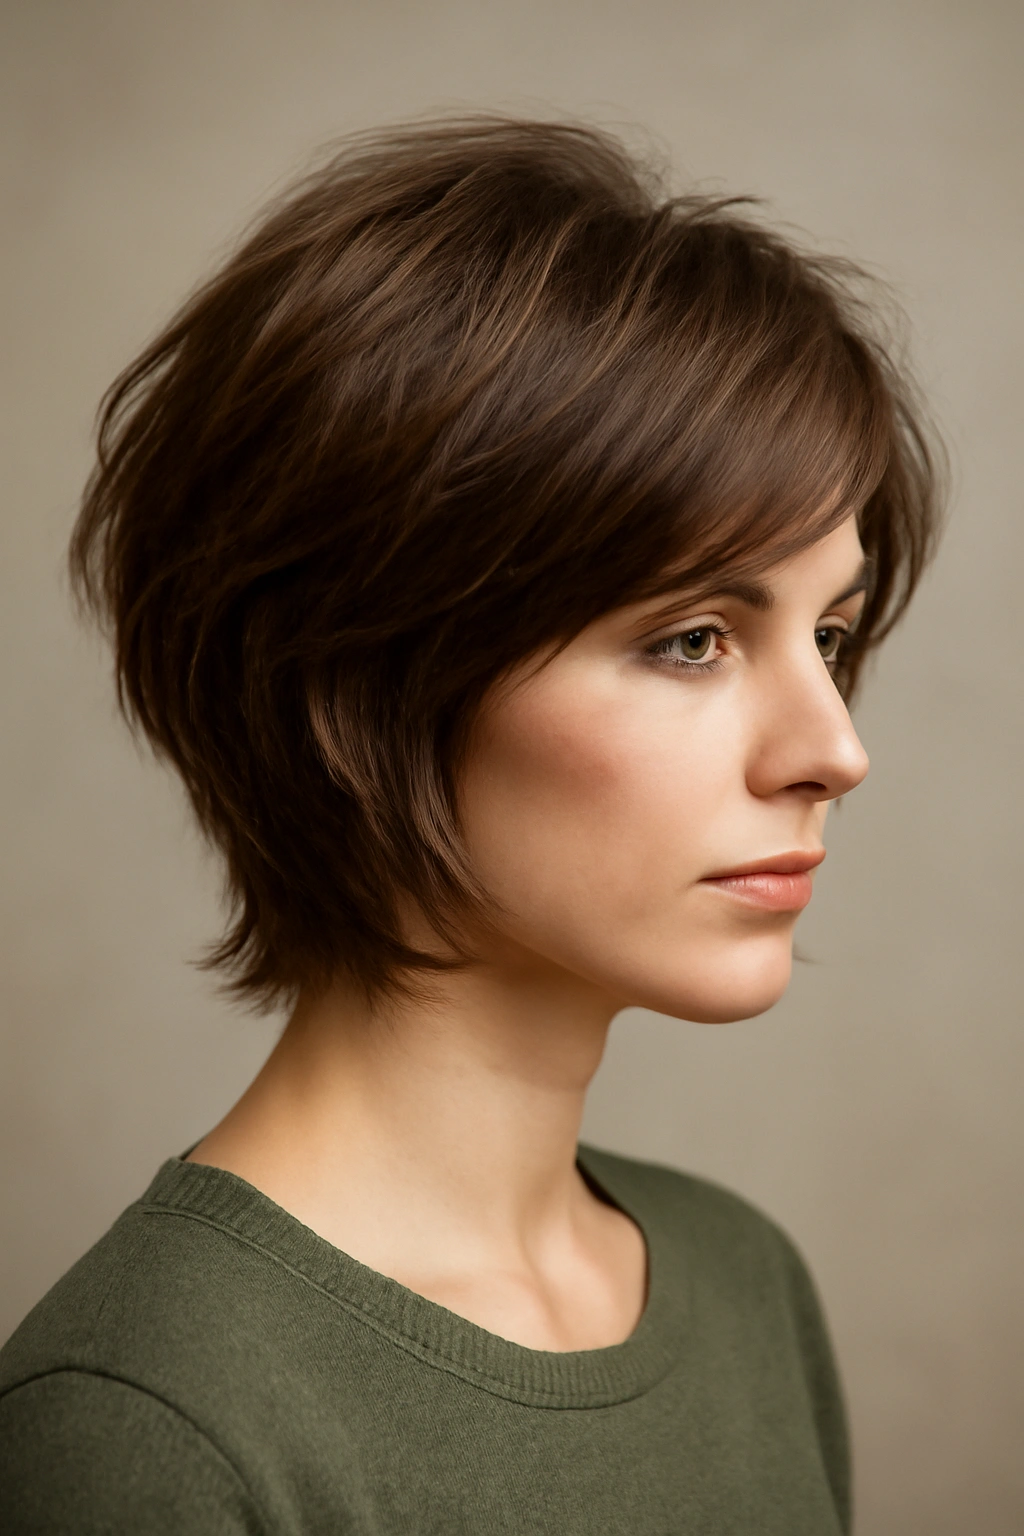
10. Textured Bob with Choppy Layers
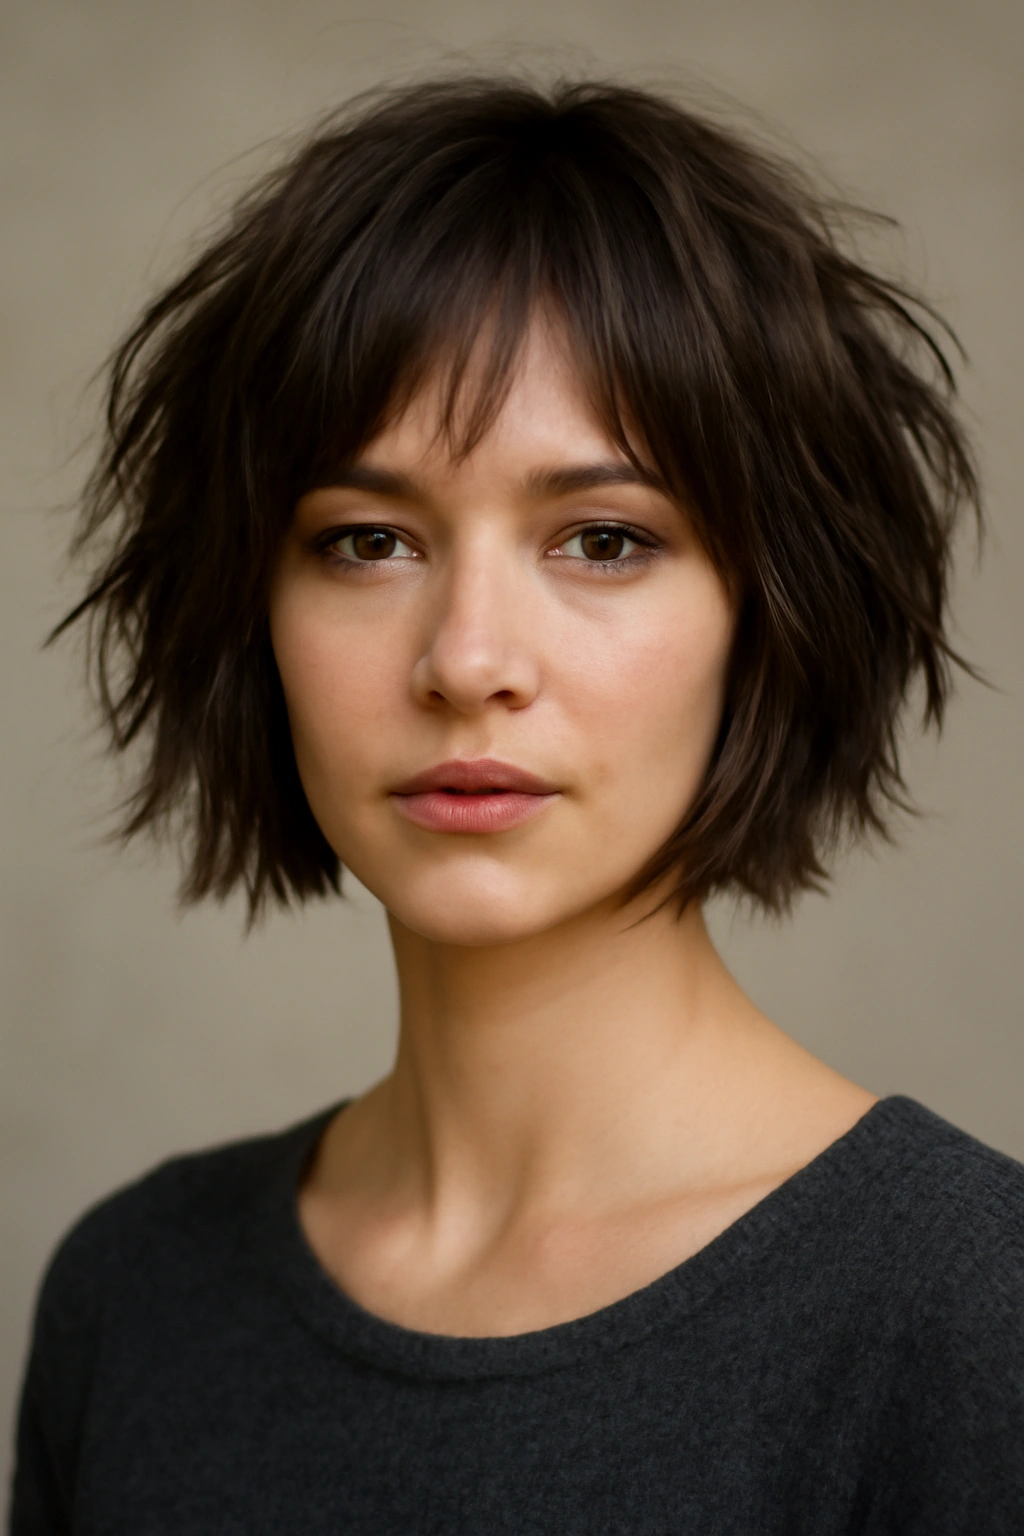
A textured, choppy bob combines the modern sophistication of a bob with the movement of layers. The cut sits around chin-length with shorter, choppy layers throughout that create texture and a slightly undone vibe. It’s polished enough for professional settings but cool enough for casual wear.
Why the Choppy Textured Bob Is Everywhere
This cut walks the perfect line between sophisticated and playful. It’s not as severe as a blunt bob, but it’s more intentional than a shag. The choppy texture creates movement and style that makes the cut look flattering on multiple face shapes. Plus, it photographs beautifully and looks great on camera, which has contributed to its popularity.
Styling Your Choppy Textured Bob
- Blow-dry with a round brush for a polished look
- Use sea salt spray for a more relaxed, beachy texture
- Style it straight and sleek for the office
- Tousle it with texturizing cream for evening out
- Experiment with center and side parts to change the vibe
Worth knowing: This cut is extremely popular right now, which means many stylists offer it. Make sure you find someone experienced with choppy, textured bobs specifically — the execution matters enormously.
11. Long Layers with Side-Swept Bangs

This classic combination features longer overall length with numerous layers throughout and side-swept bangs that blend into the face-framing layers. It’s romantic, flattering, and versatile enough to work with nearly any styling preference.
The Timeless Appeal of This Cut
Long layers with side-swept bangs have remained popular across multiple decades and generations because the combination is genuinely flattering. The side-swept bangs add softness and focus your eyes, while the layers throughout create movement and dimension. It’s a safe choice if you want layered hair but aren’t ready for anything too experimental.
Styling This Classic Combination
- Straighten or curl depending on your preferred aesthetic
- Use a volumizing spray on your roots for lift
- Style bangs to sweep across your forehead and tuck behind your ear
- Create loose waves for a romantic, effortless feel
- Blow-dry your hair fully for the most polished appearance
Pro tip: This cut looks especially stunning when paired with lighter tones or highlights in the face-framing and bang area — the color creates additional dimension.
12. Razor-Cut Layers for Maximum Texture
Razor cutting (as opposed to scissors or clippers) creates extremely sharp, defined layers with tons of texture. The razored edges give you an edgy, almost aggressive texture that’s perfect if you want serious dimension and movement. This technique works best on hair with some natural body or texture.
The Look and Feel of Razor-Cut Layers
Razor cutting creates tapered, point-y ends that feel lighter and move more dynamically than scissor-cut layers. The result is a style that looks intentionally piece-y and textured. This technique creates maximum visual interest and works beautifully on people who want an editorial, fashion-forward look rather than a soft, romantic one.
Maintaining Razor-Cut Layers
- Embrace texturizing products and sprays designed for textured styles
- Get trims every 4-6 weeks to maintain the sharp, defined edges
- Blow-dry with fingers for the most authentic texture
- Use a light hand with heavy products that could weigh down the texture
- Avoid over-brushing, which can disrupt the piece-y quality
Insider note: Razor cutting requires real skill — an inexperienced stylist with a razor can create frizzy ends rather than intentional texture. Make sure your stylist is experienced with this technique.
13. Graduated Layers at the Back

Graduated layers are shorter in the back and longer toward the front, creating a distinctive silhouette. This approach is less common than other layering techniques, but it creates a unique, fashion-forward look that gives you movement without sacrificing overall length.
What Makes Graduated Layers Distinctive
Graduated layering creates a specific shape that’s different from traditional layering. The back of your head has volume and texture, while the front retains length — this is perfect if you want to keep length for styling versatility but need the volume that layers provide. The style also naturally frames your face beautifully.
Styling Graduated Layers
- Blow-dry the back layers up and back for volume
- Keep the front pieces sleek or slightly textured depending on your preference
- Create side-swept bangs for additional dimension
- Use the contrast between back volume and front length intentionally
- This cut looks especially great worn up in a ponytail or bun
Real talk: Graduated layers are less common, so you might need to show your stylist reference photos to ensure they understand exactly what you’re looking for.
14. Tousled Layers for Beachy Texture
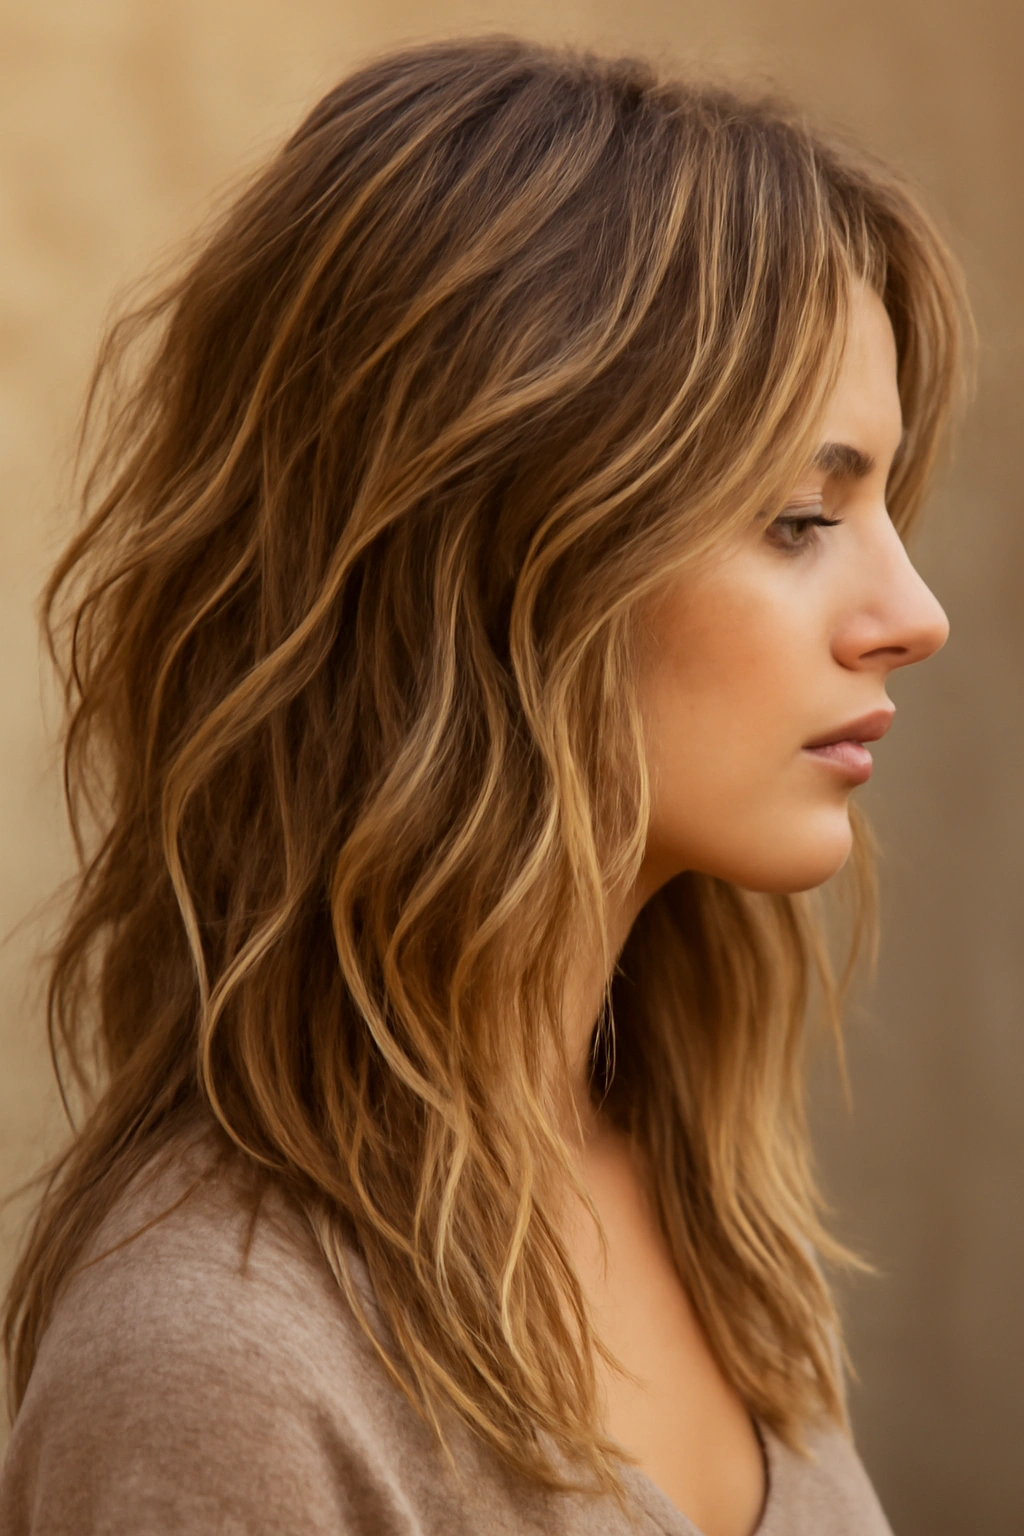
If you want the ease of a wash-and-go style with serious dimension, tousled layers are your answer. This technique uses longer layers cut strategically to enhance your natural texture and create an effortlessly undone, beachy vibe even if your hair is naturally straight.
Why Tousled Layers Feel So Effortless
Tousled layers are designed to look good without styling — the cut itself creates movement and dimension. The longer layers catch light and create visual interest without requiring you to blow-dry, curl, or straighten. This makes it perfect for people who want attractive hair without a complicated daily styling routine.
Achieving the Tousled Aesthetic
- Use a salt spray or texturizing spray on damp hair for instant texture
- Air-dry most of the way, then lightly blow-dry for shape
- Sleep on damp hair in loose braids for natural waves
- Apply texture spray in the morning to refresh the look
- Embrace the undone quality — the beauty is in the lack of polish
Pro tip: If your hair is naturally straight, ask your stylist to cut the layers at slightly different angles to create texture even when the hair is dry.
15. Pin-Straight Layers with Sharp Definition
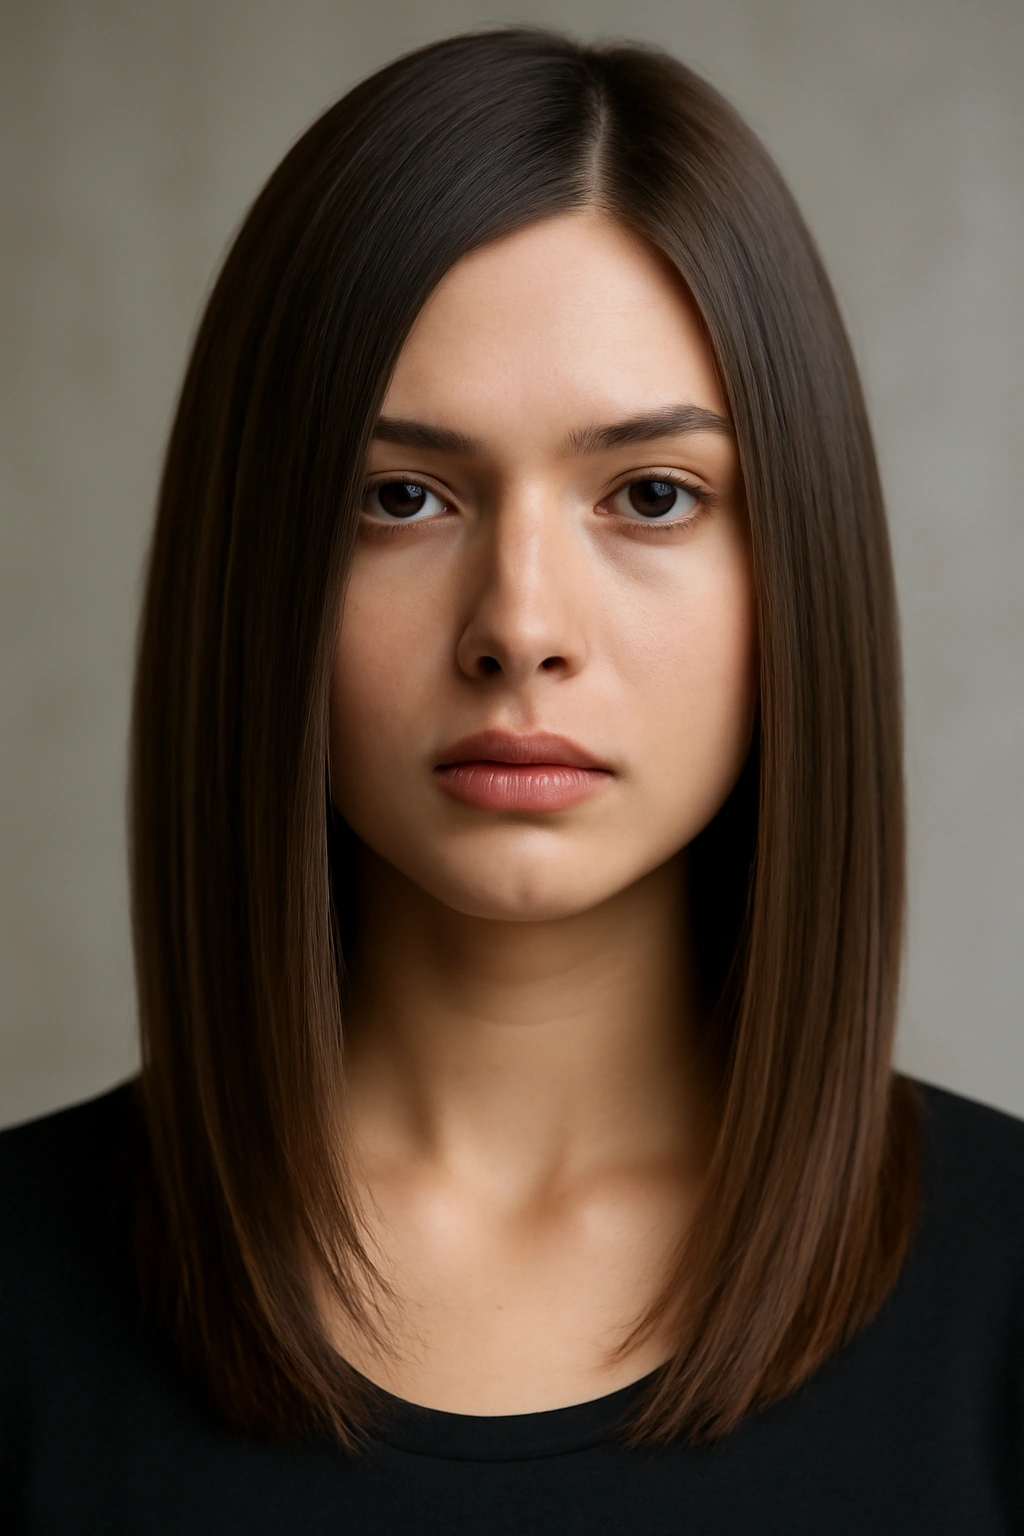
If you prefer a sleek, polished aesthetic, layers cut for a straight, sharp look provide dimension without sacrificing sophistication. These layers are cut precisely so they look defined and clean when blow-dried straight, rather than tousled or textured.
The Appeal of Sharp, Defined Layers
Sharp layers on straight hair create a modern, professional look that’s incredibly flattering. The definition makes each layer visible and intentional rather than soft and blended. This approach works beautifully in corporate or formal settings while still being versatile enough for casual wear.
Styling Sharp-Layered Straight Hair
- Blow-dry straight with a paddle brush for sleek, defined results
- Use a straightening iron to ensure each layer has crisp edges
- Apply a smoothing serum or polish for added shine
- Try a high ponytail to show off the layered detail
- Create a deep side part for additional sophistication
Worth knowing: Straight layers require regular trims to maintain the crisp definition — as your hair grows, the sharp edges become soft and undone-looking.
16. Choppy Layers Around the Crown for Lift
If your main concern is adding volume on top without cutting too much length off overall, choppy layers concentrated around the crown might be perfect. This technique puts shorter, textured pieces where you need lift while maintaining length throughout the rest of your hair.
Why Crown-Focused Layering Works
Many people have flat hair at the roots and prefer length in the body of their hair. Crown layers address this by adding lift and texture exactly where it’s needed most. This approach is especially effective for people with fine hair or anyone experiencing any volume loss. The style looks full and voluminous without the bulk of all-over layers.
Styling for Maximum Crown Lift
- Blow-dry your roots against the direction of hair growth for added lift
- Use a volumizing mousse applied directly to the roots
- Tease gently at the crown and smooth the top layer for polished volume
- Apply dry shampoo to boost texture between washes
- Sleep on your back to prevent flattening the crown overnight
Insider note: This approach is sometimes called “choppy crown layers” or “textured crown layers” — if you’re interested in this look, use these specific terms with your stylist.
17. Subtle Layers Around the Face Only
If you love your overall length but want some movement and dimension, subtle face-framing layers might be exactly what you need. This minimal approach adds interest without requiring significant styling or frequent trims. The shorter pieces start around cheekbone length and blend gently into your overall length.
The Elegance of Subtle Layering
Subtle face-framing layers provide dimension without drama. They’re perfect if you like the idea of layers but aren’t ready for a major change. The layers are noticeable enough to add movement and style, but understated enough that your overall look remains recognizable.
Maintaining Subtle Face Layers
- Trim just the face-framing pieces every 8-10 weeks
- The rest of your hair only needs trims every 12-16 weeks
- Blow-dry the framing pieces slightly differently from the rest for emphasis
- This works beautifully with waves, curls, or straight hair
- Minimal styling needed — the cut does most of the work
Pro tip: If you’re uncertain about layers, starting with subtle face-framing layers is a perfect way to test the waters.
18. Heavily Textured Layers Throughout

For maximum dimension and movement, heavily textured layers — multiple shorter layers throughout the entire head, often with razor-cutting for sharp edges — create the most dynamic, multidimensional look. This approach is bold but incredibly effective at creating volume and visual interest.
Creating Dramatic Dimension with Heavy Layering
Heavily layered cuts have the most visual impact of any layering technique. Each layer catches light differently, creating a rich, textured appearance. This approach works best on people with some natural texture or willingness to style their hair regularly. It’s not a low-maintenance cut, but the visual payoff is significant.
Styling Heavily Textured Layers
- Use texturizing spray generously for definition
- Blow-dry with a diffuser for enhanced texture
- Style with your fingers rather than a brush to maintain piece-y definition
- Apply light products rather than heavy ones
- Regular trims every 4-6 weeks to maintain the intentional texture
Real talk: This cut requires either significant daily styling or willingness to embrace a tousled, undone aesthetic. It’s not ideal if you prefer a polished, neat appearance every single day.
19. Reverse Layers (Shorter at Bottom, Longer at Top)
Reverse layering flips the traditional approach — the layers are shorter at the bottom and longer on top, creating an inverted triangle shape. This creates a distinctive silhouette that’s especially flattering for certain face shapes and can add volume where you might not expect it.
The Unique Appeal of Reverse Layers
Reverse layers create an unusual silhouette that photographs beautifully and feels modern and fashion-forward. This technique works especially well on people with round or square face shapes because the shorter ends create width at chin level. It’s also a great option if you have naturally curly or coily hair — the shorter, curlier ends on top create tons of volume.
Styling Reverse Layers
- Blow-dry your roots up and back for maximum volume at the crown
- Style the longer bottom pieces sleeker for contrast
- Use this cut as an opportunity to show off color work at the shorter layers
- This style looks especially great in updos where you can see the layered dimension
- Avoid center parts, which can emphasize the inverted triangle shape
Worth knowing: This is a less common cut, so you’ll want to bring clear reference photos and discuss the vision thoroughly with your stylist.
20. Combination Layers with Multiple Techniques
The most advanced and beautiful layered cuts often combine multiple layering techniques in one style. For example, you might have feathered layers around the face, choppy layers at the crown, and longer blended layers throughout the body. This approach uses different techniques strategically to address different areas of your head and create a cohesive, multidimensional style.
Why Combining Techniques Works
Different areas of your head sometimes need different layering approaches. Combination layering allows your stylist to customize the cut to your specific hair type, face shape, and style goals. The result is a style that’s tailored specifically to you rather than a generic template applied to everyone.
Getting Your Customized Combination Layers
- Have a detailed consultation discussing your hair goals, daily styling time, and hair type
- Bring multiple reference photos showing different elements you love
- Talk through which areas need the most movement and which should remain polished
- Expect this cut to take longer than a standard layered cut (often 2-3 hours)
- Schedule a follow-up appointment two weeks after to fine-tune if needed
Pro tip: Combination layers are best executed by an experienced stylist who understands proportion, balance, and how different techniques work together. This isn’t the time to try someone new — invest in a stylist you trust.
Final Takeaway
Layered hairstyles offer incredible versatility and the ability to enhance your natural texture while creating movement and dimension. Whether you choose subtle face-framing layers or go bold with choppy, heavily textured styles, the right layered cut can completely transform how you feel about your hair. The key is finding a skilled stylist who understands your hair type, listens to your goals, and executes the cut with precision.
The layered style that’s right for you depends on several factors: your hair texture and thickness, your face shape, how much time you’re willing to spend styling daily, and your personal aesthetic. Don’t feel pressured to commit to a dramatic change immediately — starting with something subtle like face-framing layers allows you to test the waters and understand how layers work with your specific hair. Once you find a layered style you love, you’ll understand why so many people consider it the best decision they’ve made for their hair.