The pompadour—that iconic, voluminous style that first gained fame decades ago—has experienced a major revival in contemporary styling, and it’s absolutely thriving for women with longer hair. What makes the modern pompadour so compelling is its incredible versatility: you can wear it polished and sophisticated for professional settings, textured and undone for weekend edge, or dressed up with curls and accessories for special occasions. The key to pulling off a pompadour with longer hair is understanding how to create height and drama at the crown while keeping the rest of your length wearable and integrated into the overall look.
If you’ve been hesitant about trying a pompadour because you thought it only worked on shorter hair or with a specific hair texture, think again. Longer hair actually gives you more options for pompadour styling—you can create different silhouettes, combine the pompadour with other techniques like braiding or curling, and adjust the volume to match your personal style and lifestyle. Whether your hair is thick and coarse, fine and delicate, wavy, straight, or curly, there’s a pompadour approach designed specifically for how your hair naturally behaves.
The beauty of this hairstyle is that it’s not about rigid perfection. Some of the most stunning pompadours feel deliberately imperfect—textured, slightly undone, with pieces falling loosely rather than every strand locked into place. Others nail a sleek, controlled aesthetic that photographs beautifully and turns heads in any room. The pompadour works because it frames the face, creates visual interest through dimension and height, and instantly elevates even the simplest outfit from ordinary to intentional.
1. Classic Tall Pompadour With Volume and Drama
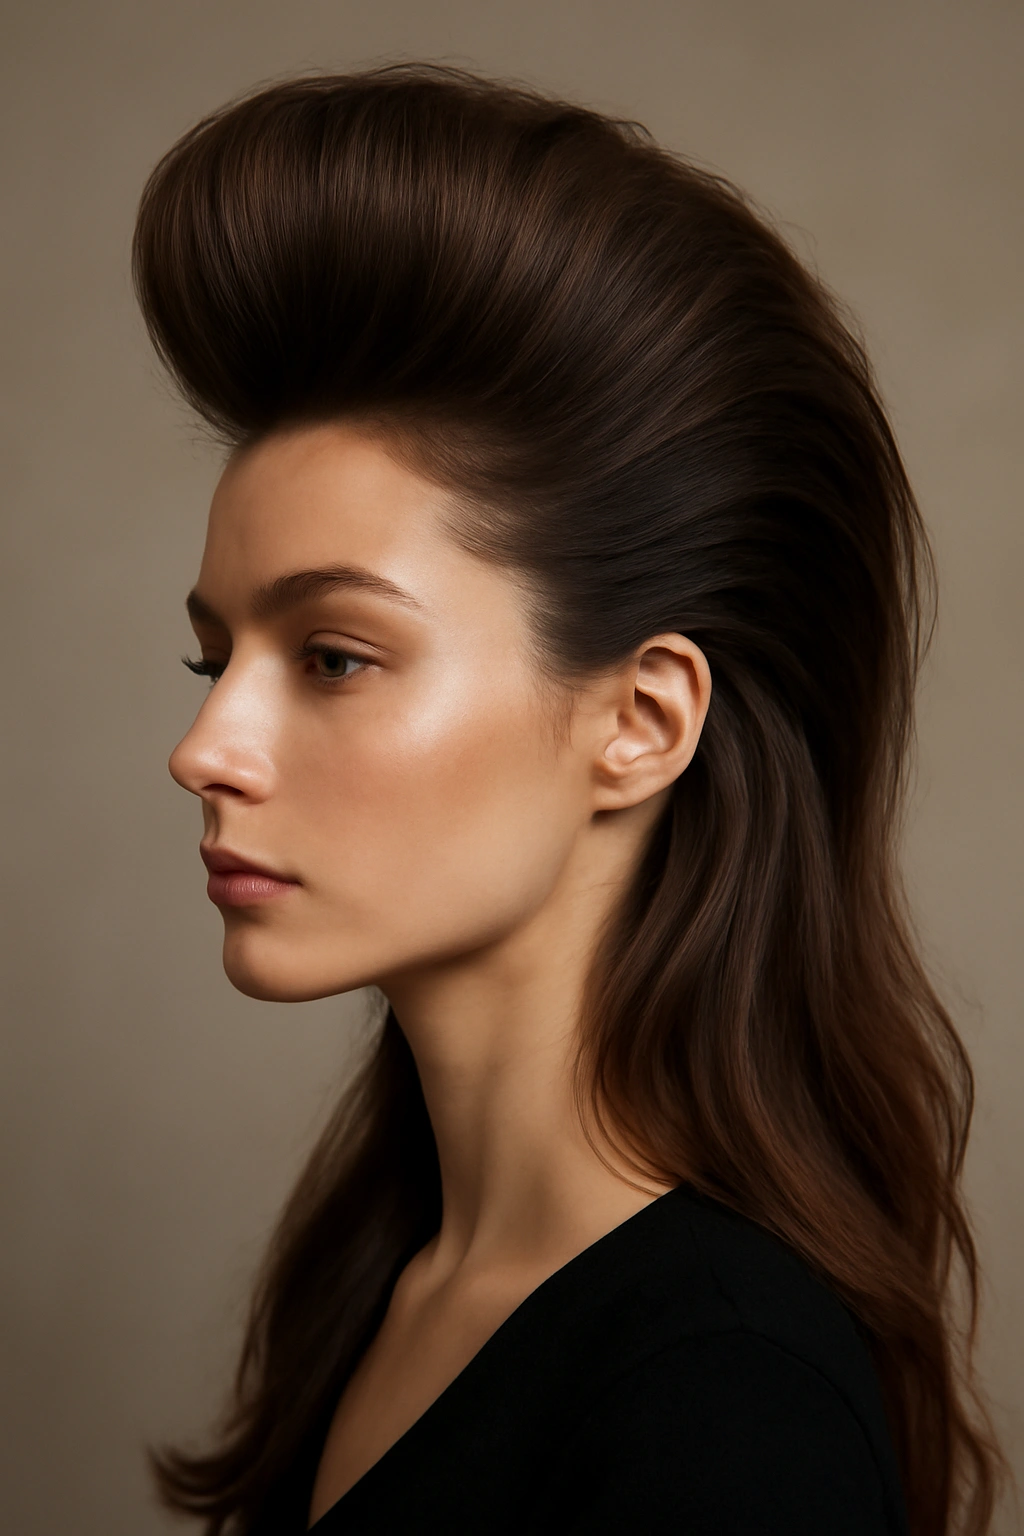
The traditional tall pompadour is all about creating serious height and volume at the crown while maintaining length and shape down the back and sides. This is the style that makes a statement—it’s bold, it’s confident, and it definitely reads as intentional styling rather than effortless texture. The key is building genuine volume at the front and crown, not just teasing hair into a pouf, but actually styling it so it holds its shape throughout the day.
How to Create the Look
To build a classic tall pompadour, start with your hair slightly damp but not soaking wet—damp hair holds styling much better than dry hair for pompadours. Blow-dry your roots with the dryer held at the base, directing air upward and slightly backward to create lift. As you dry, use a round brush to gently guide the hair back and up, building volume as you go. Once your roots are mostly dry, switch to a fine-tooth comb and backcomb (or tease) the crown and front sections gently but thoroughly—this creates the textured base that holds the pompadour’s height.
Styling Tips and Products
Apply a light hairspray or texturizing spray to the backcombed section before smoothing the surface layer. Use a paddle brush or your fingers to gently smooth the outer layer of the pompadour smooth while keeping the backcombing underneath intact. Finish with a strong-hold hairspray to lock everything in place. The entire process typically takes 15 to 20 minutes, and it’ll last through a full day if you use proper products.
- Best for: Thick hair, wavy hair, or textured hair that naturally holds volume
- How long it lasts: 8 to 10 hours with good product
- Skill level: Intermediate—requires some practice with backcombing and styling techniques
2. Sleek and Polished Pompadour for Sophisticated Settings
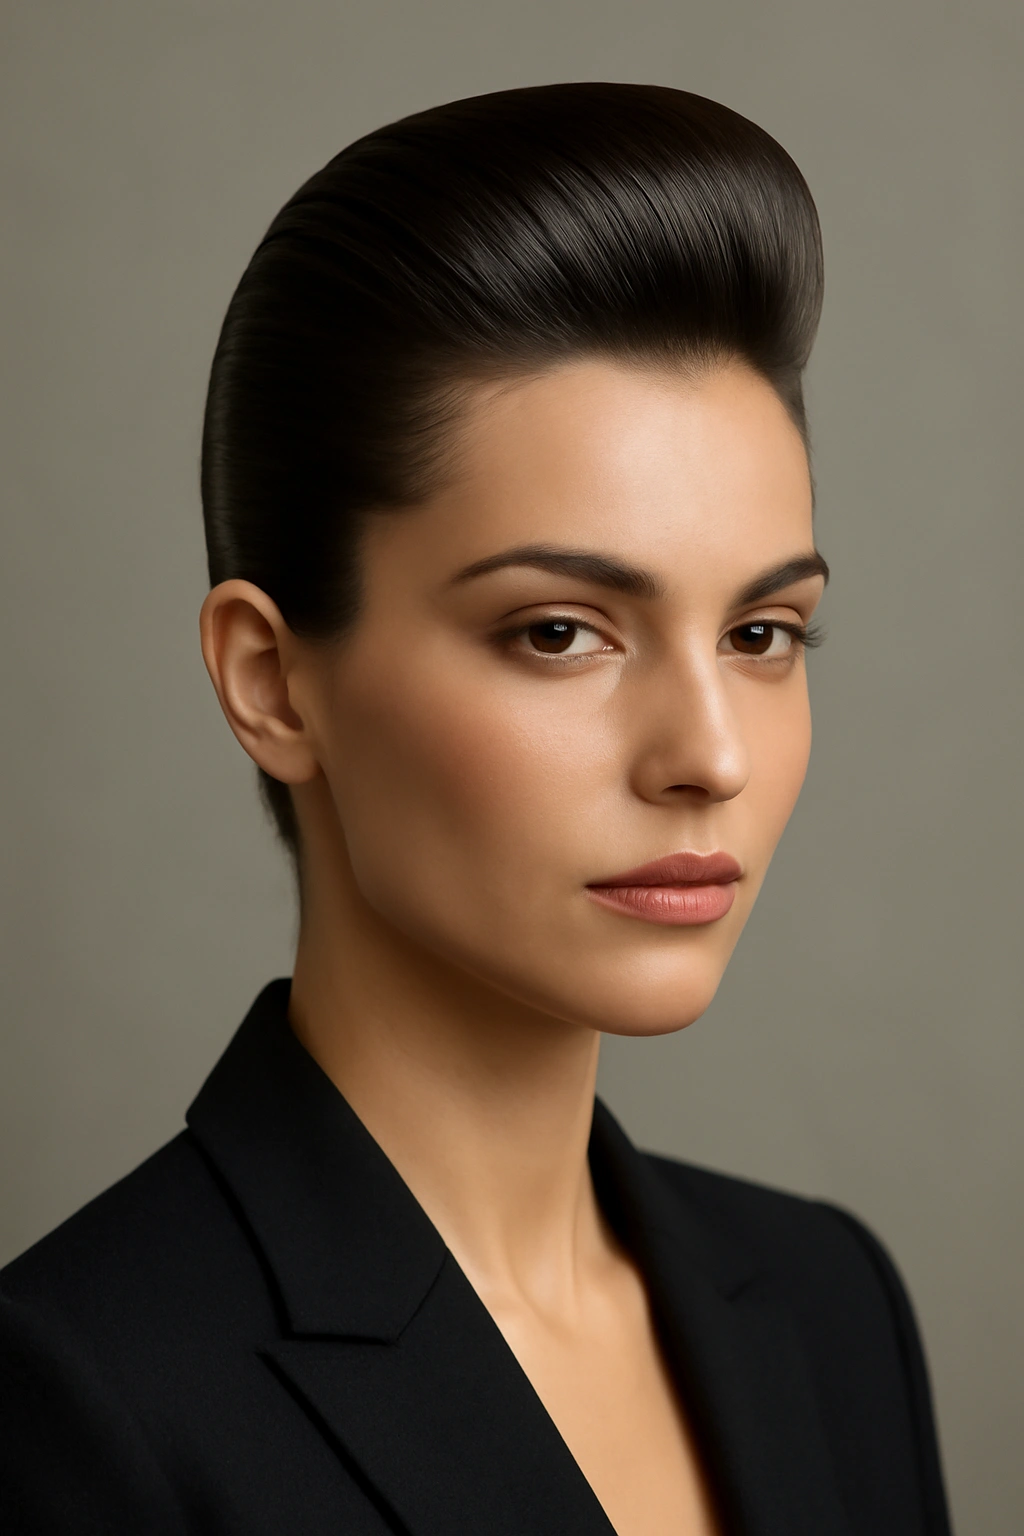
If you love the pompadour silhouette but prefer a more refined, controlled aesthetic, the sleek pompadour delivers exactly that energy. Instead of textured volume, this version uses gel or pomade to create a smooth, almost wet-look finish on the swept-back section while still maintaining architectural height and shape. It reads as effortlessly elegant—the kind of style that works equally well at a professional meeting, a gallery opening, or a dinner date.
Creating a Smooth, Polished Finish
Start with dry hair and apply a lightweight smoothing cream or serum throughout to eliminate frizz and create a sleek base. Blow-dry your hair smooth, directing the dryer downward to flatten the cuticle. Apply a small amount of pomade or strong-hold gel to your fingers and run them through the crown and front section, pushing the hair back and slightly up to create the pompadour shape. Use a fine-tooth comb to smooth any flyaways and define clean lines. The finish should look intentional and controlled without appearing stiff or unnatural.
Product Selection Matters
Not all pomades are created equal for this look. You want something with medium to strong hold that doesn’t feel heavy or sticky, and ideally something with a slight sheen rather than a matte finish. Water-based pomades work beautifully for this style because they wash out easily and don’t build up with repeated applications. Gel-pomade hybrids offer excellent control and hold without the heaviness of traditional petroleum-based pomades.
- Best for: Fine hair, straight hair, or anyone who prefers a controlled, structured look
- How long it lasts: 10 to 12 hours, even through heat and humidity
- Skill level: Beginner to intermediate—easier than the textured pompadour
3. Textured Messy Pompadour for Modern, Undone Edge
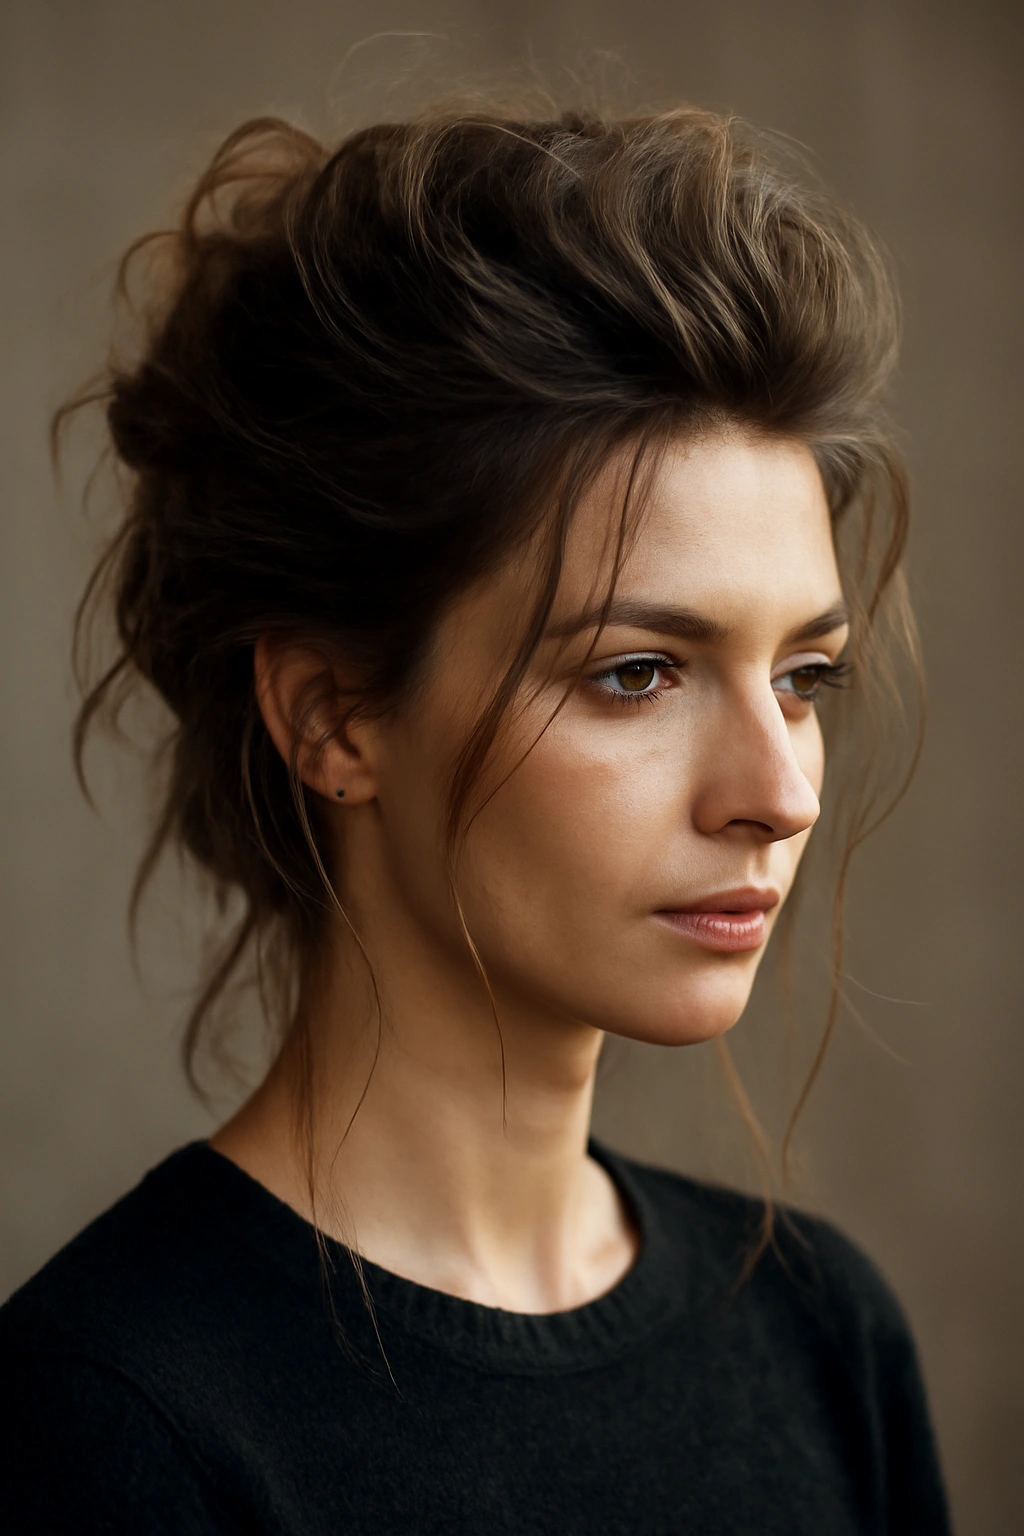
The textured messy pompadour throws out the rulebook and embraces deliberate imperfection. This version uses texture, movement, and intentionally tousled sections to create a pompadour that feels modern, slightly rebellious, and utterly fashionable. It’s the pompadour for people who don’t want their hairstyle to look overly done or precious—you’re aiming for “I woke up like this confidence” paired with obvious styling intentionality.
Building Texture and Movement
Start with texturizing spray or dry shampoo applied to damp roots and mid-lengths—this creates grip and makes your hair easier to mold into shape. Blow-dry your hair using your fingers to create loose waves and texture throughout, rather than trying to achieve smooth sections. Once dry, apply more texturizing spray or a matte pomade to the crown and front section, and use your fingers (not a brush) to push the hair back and up, deliberately creating texture and separating sections. Don’t smooth anything—the goal is visible texture and separation.
The Art of Controlled Messiness
The tricky part about this style is that it needs to look intentionally messy, not accidentally unkempt. Pull out a few pieces around the face and temples to soften the look. Make sure your volume is still concentrated at the crown and front—sagging sides destroy the silhouette. Finish with a light mist of flexible-hold hairspray that won’t crunch the texture or make your hair feel stiff.
- Best for: Wavy hair, curly hair, textured hair, or straight hair that can hold texture with products
- How long it lasts: 6 to 8 hours, depending on humidity and hair type
- Skill level: Intermediate—requires understanding of texture and balance
4. Side-Swept Pompadour for Asymmetrical Elegance
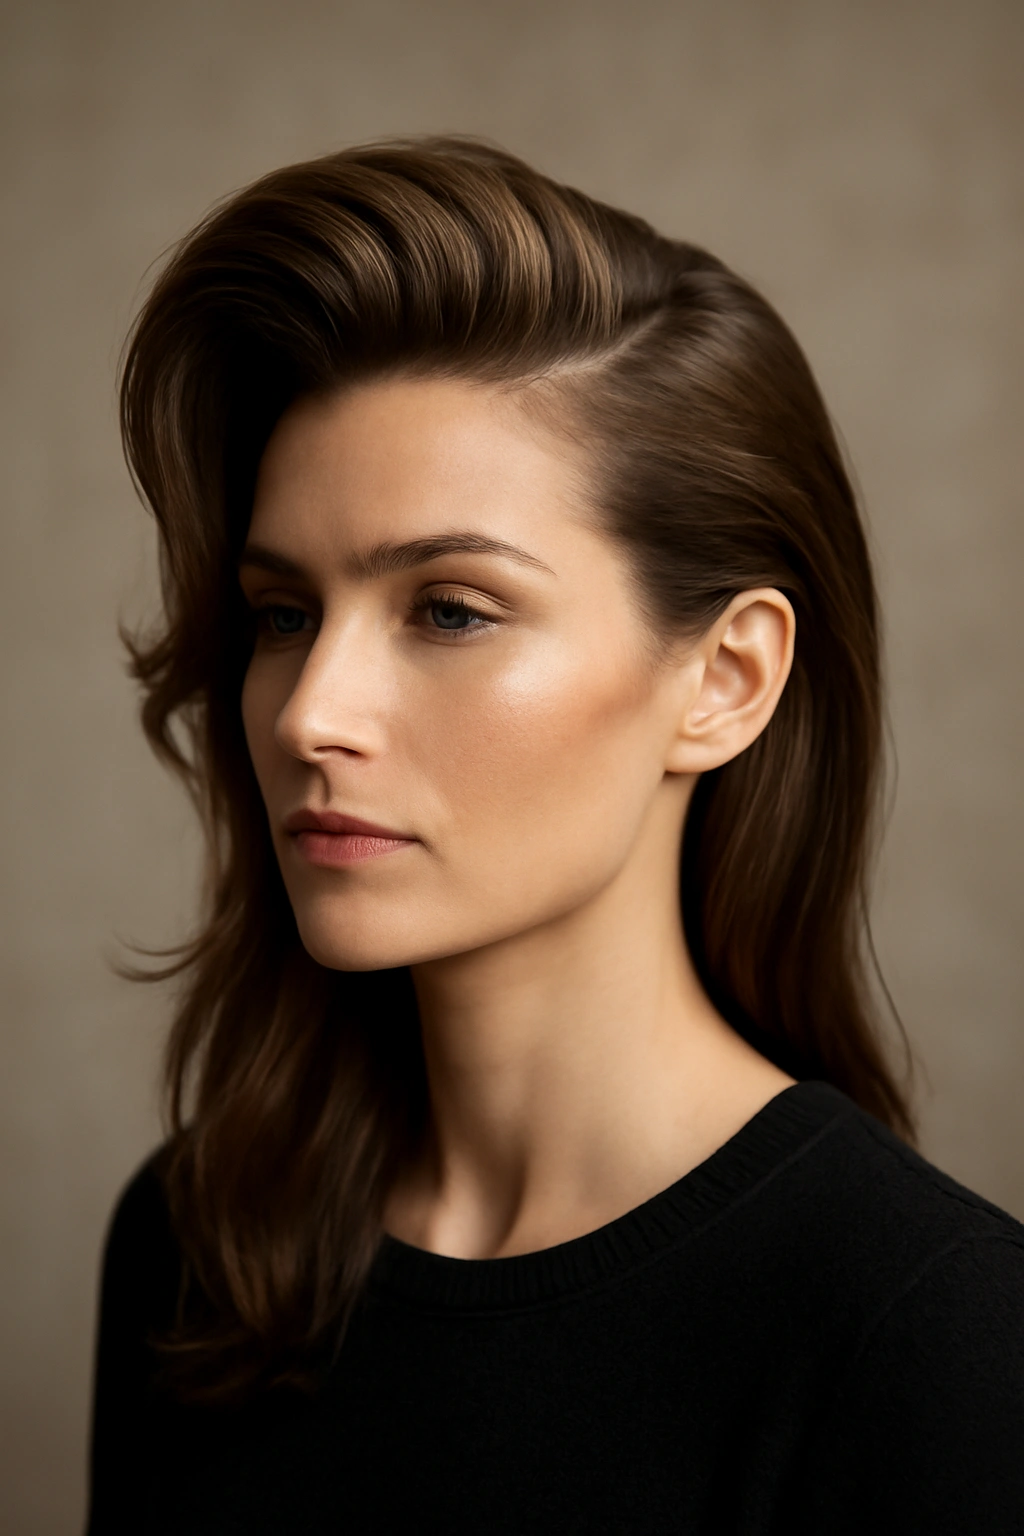
The side-swept pompadour takes the classic silhouette and tilts it dramatically to one side, creating an asymmetrical, almost art-deco feel that’s incredibly flattering and less severe than a center-parted, center-peaked pompadour. This version works beautifully with longer hair because you can sweep a substantial amount of hair to the side and drape it across the back of your head, creating an interesting diagonal line and lots of movement.
Creating the Asymmetrical Shape
Start by blow-drying your hair with a deep side part—the deeper the better for this look. Blow-dry the larger section (the side with more hair) using a round brush to create volume and lift, directing the brush backward and upward. Backcomb or tease this larger section gently to build height on that side of the crown. Smooth the outer layer, then sweep all the hair dramatically to the side, pinning it in place with bobby pins or a decorative clip hidden underneath the swept section.
Styling and Balance
The key to making this work is ensuring that your height and volume are still concentrated at the crown—just shifted to one side rather than centered. You want the swept side to have movement and flow as it travels across the back, not to look flat or plastered to your head. The non-swept side can remain smoother and closer to your head, creating nice contrast with the fuller side. Finish with hairspray to hold everything in place.
- Best for: All hair types, particularly flattering for longer hair
- How long it lasts: 8 to 10 hours
- Skill level: Intermediate—slightly trickier than a centered pompadour but very rewarding
5. Voluminous Curled Pompadour With Waves and Body
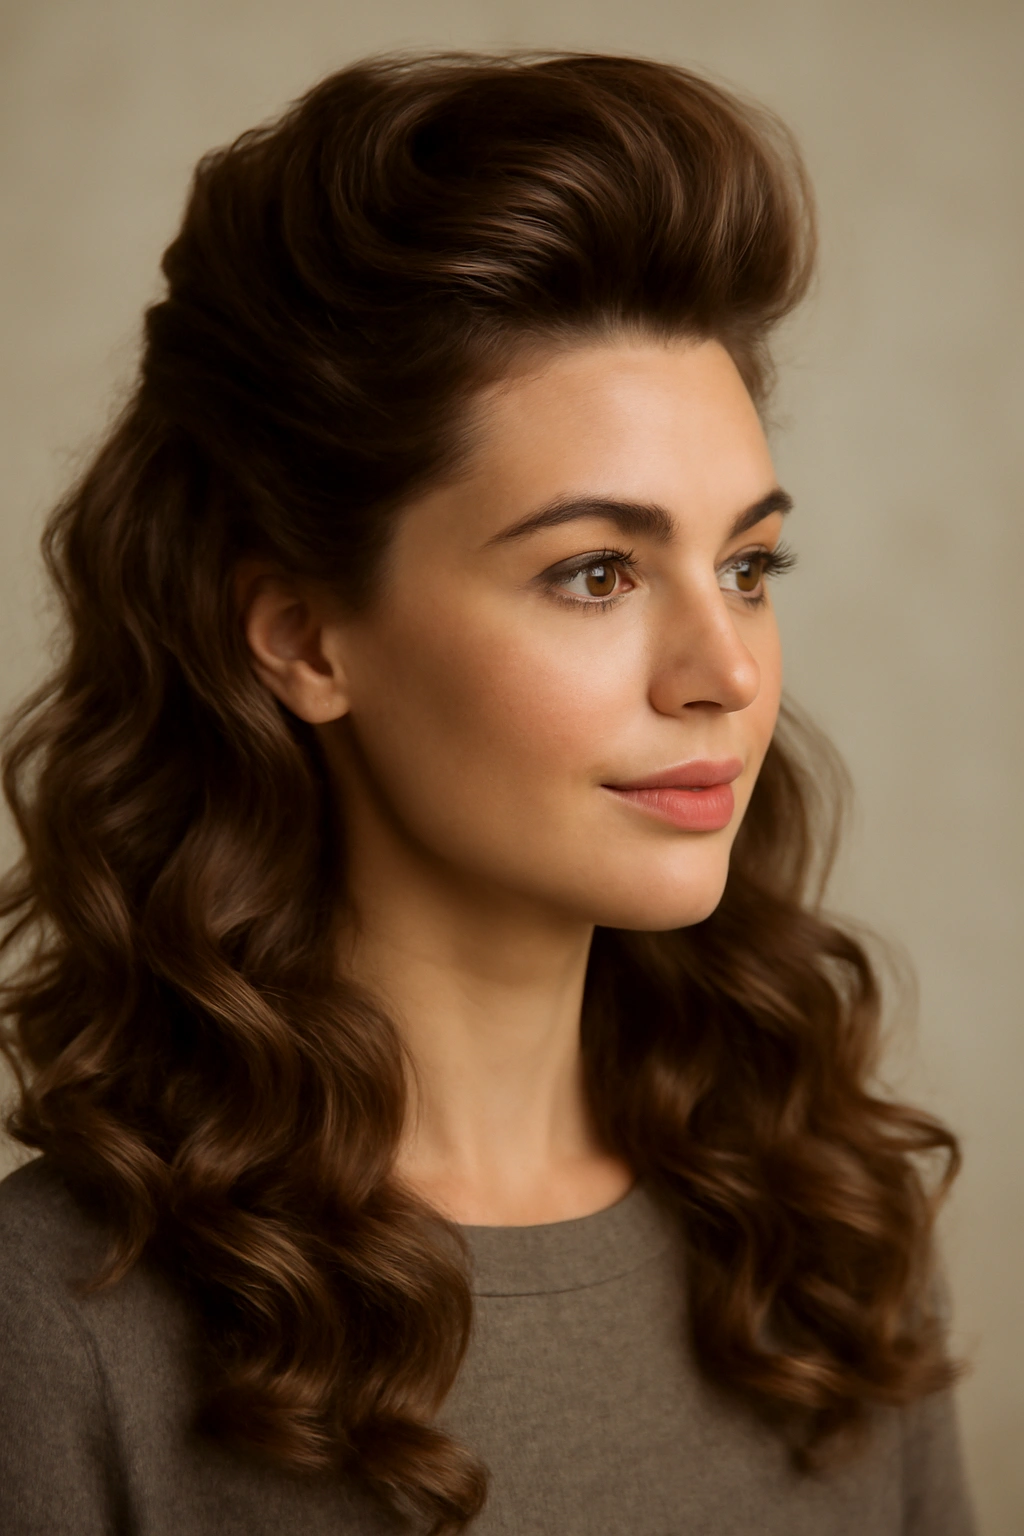
Adding curls and waves to a pompadour transforms it from architectural and modern to romantic and dimensional—this version combines the height and drama of the pompadour silhouette with soft, bouncy texture throughout the length of your hair. It’s particularly stunning if you have wavy or naturally curly hair, but you can absolutely create this look on straight hair with the right styling technique and the right tools.
Creating Curls Within the Pompadour Structure
Start by creating your pompadour base as you normally would—blow-dry with volume at the roots, backcomb the crown section for height, and smooth the surface layer. Once your pompadour structure is in place, curl the ends and mid-lengths using a 1.25-inch barrel curling iron, wrapping each section away from the face and holding for 10 to 15 seconds. Work in small subsections so your curls are defined and bouncy rather than loose and limp.
Combining Structure With Softness
The magic of this style is that you’re maintaining the clean, architectural pompadour shape at the crown while the curls and waves add softness and movement below. Don’t curl the very crown section where your pompadour height is—you want that to stay sleek and structured. Focus your curls on the mid-lengths down to the ends. Once all your curls are set, gently run your fingers through them to break them up slightly and create a softer, more romantic wave rather than tight ringlets.
- Best for: Medium to thick hair, or anyone with naturally wavy or curly texture
- How long it lasts: 10 to 12 hours if you use quality hairspray
- Skill level: Intermediate to advanced—requires coordination with curling iron and pompadour styling simultaneously
6. Undercut Pompadour With Shaved or Faded Sides
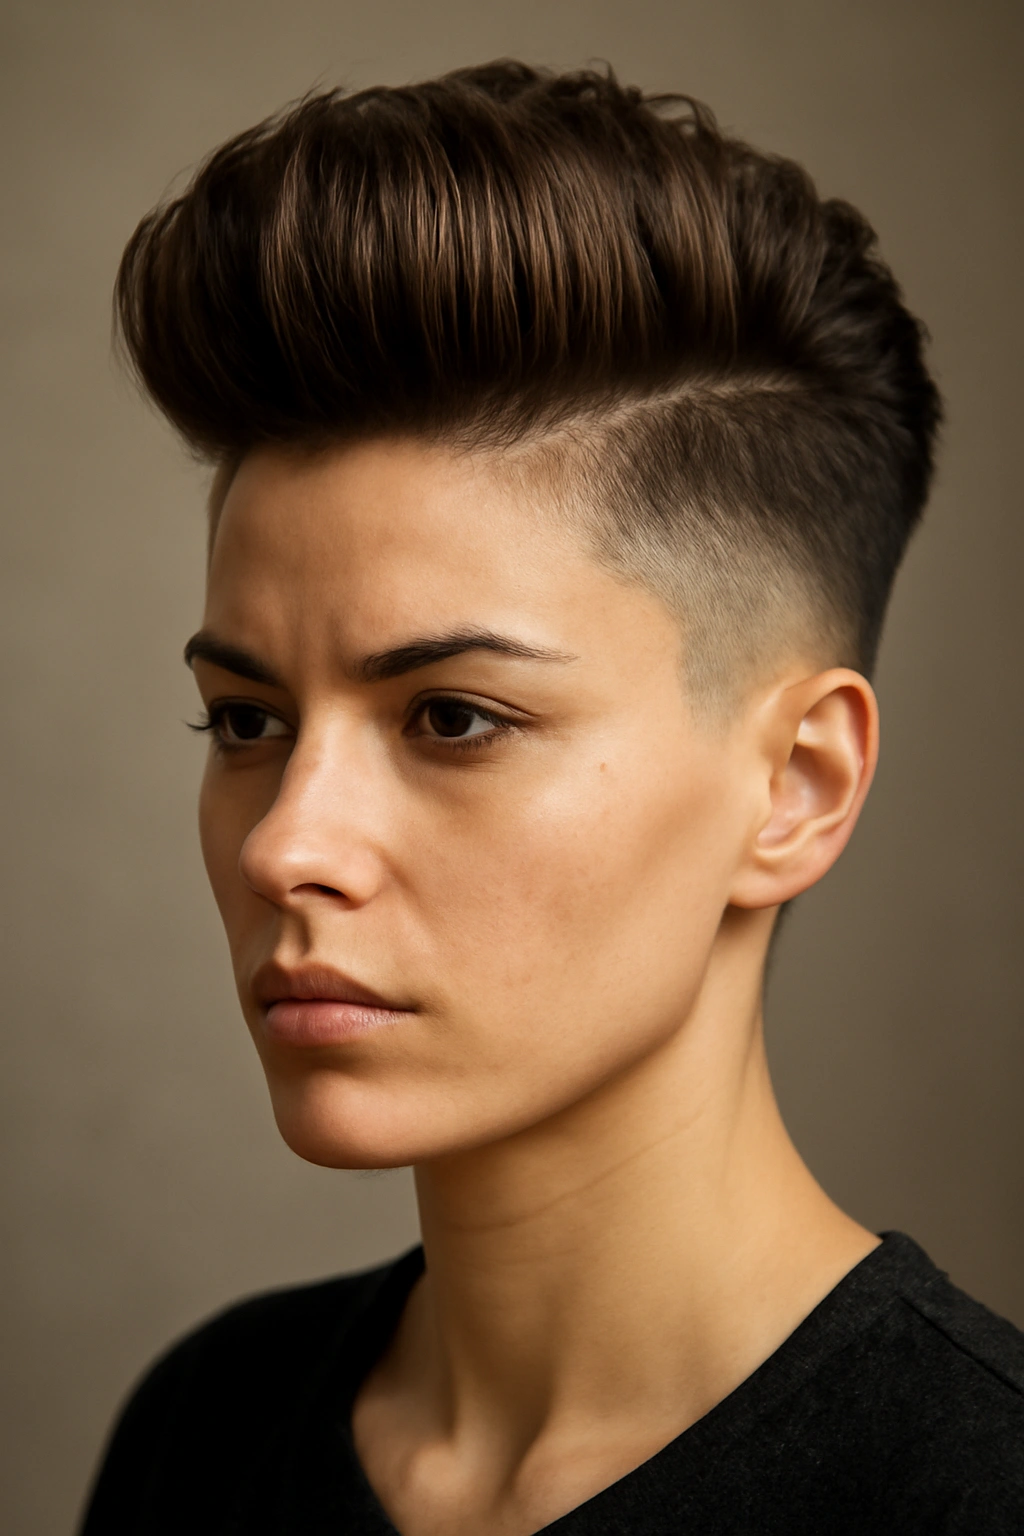
The undercut pompadour combines maximum volume and height at the crown with closely faded or shaved sides, creating a stark, dramatic contrast that’s bold and undeniably modern. This version pushes the pompadour into edgy territory—it’s a style that makes a statement and demands confidence. With longer hair at the crown and top, you have plenty of material to create impressive height while the clean sides keep the overall look balanced and not overwhelming.
The Undercut Structure
An undercut means the sides (and sometimes back) are cut very short—typically faded from 1/2 inch at the sides up to longer length at the crown. This requires regular maintenance, ideally every 3 to 4 weeks, to keep the fade sharp and clean. The contrast between the closely cut sides and the longer crown section is what makes this style so visually striking. Discuss with your stylist exactly how short you want the undercut and how dramatic you want the fade to be.
Styling the Pompadour Crown
With the sides handled by the cut itself, styling focuses on creating maximum volume and shape at the crown and front. Use the same techniques as a classic tall pompadour—blow-dry with volume at the roots, backcomb for height, and smooth the outer layer. The undercut actually makes styling easier because there’s no longer hair on the sides to weigh down your pompadour or create bulk where you don’t want it. Finish with strong-hold pomade or gel to keep everything in place.
- Best for: Anyone wanting a bold, fashion-forward statement
- How long it lasts: 10+ hours with good products
- Skill level: Intermediate—the cut does much of the work; styling is straightforward
- Maintenance: Requires regular trims every 3 to 4 weeks to maintain the fade
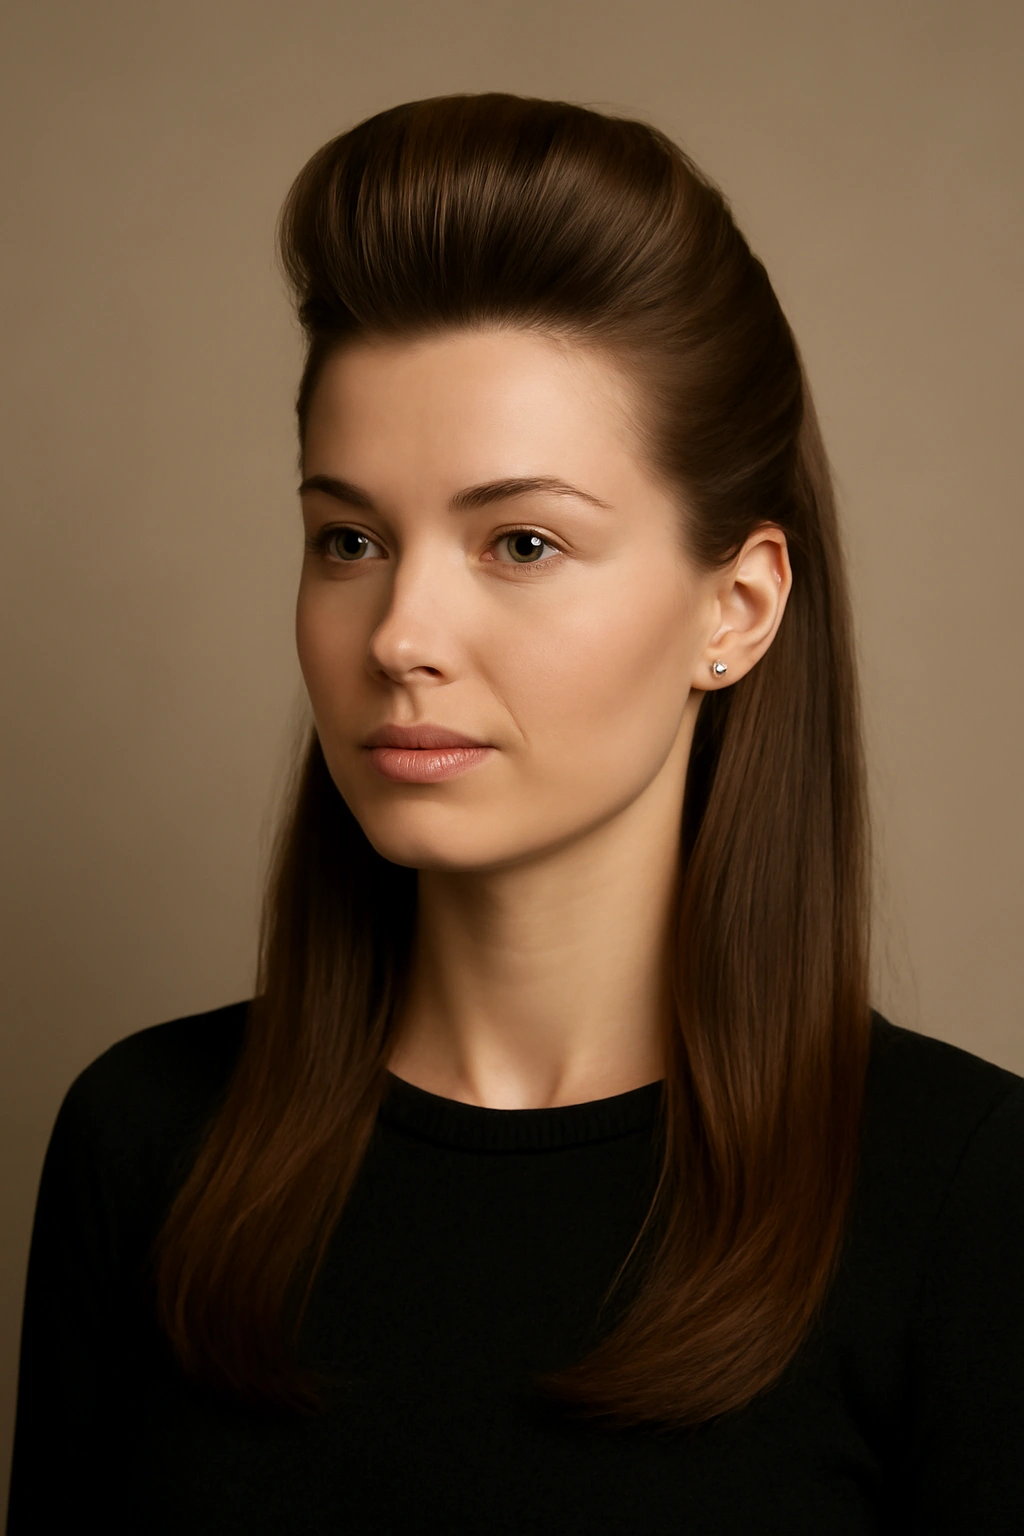
7. Half-Up Pompadour for Wearable Everyday Styling
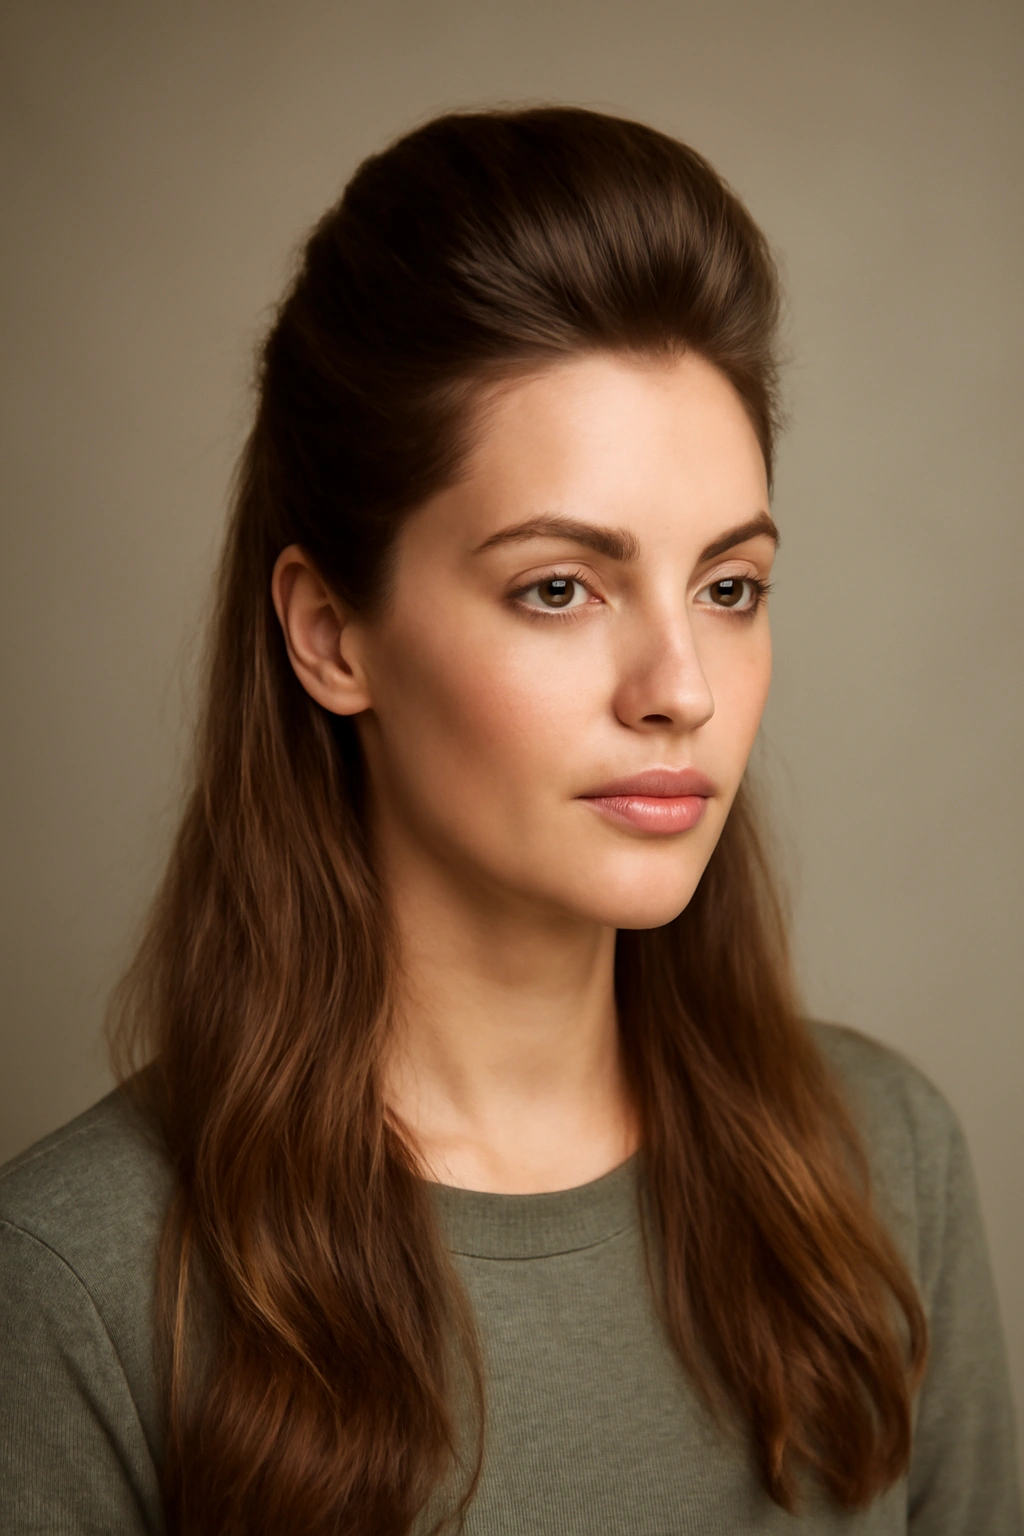
The half-up pompadour takes the drama of a full pompadour and makes it more practical for everyday wear and longer hair—you’re creating volume and height at the crown while keeping the bottom half of your hair down, loose, and flowing. This version is perfect for days when you want to style your hair intentionally but also want the option to let it down easily, or when you’re dealing with a lot of length and want to avoid the weight of a full-length pompadour.
Creating the Half-Up Structure
Blow-dry your roots with volume, focusing on the front and crown section. Backcomb or tease the crown section gently to create a height base, then smooth it with a fine-tooth comb. Gather the front and crown section—roughly the top half of your hair—and secure it in a high ponytail or bun using a clear elastic or bobby pins hidden underneath. Leave the bottom half of your hair completely down, loose, and flowing. This creates a pompadour silhouette on top while maintaining length and movement on the bottom.
Styling Options for the Bottom Section
Since your bottom half is down and loose, you have flexibility in how you finish it. You can leave it completely straight and sleek for contrast with the textured top, you can curl or wave it for a romantic feel, or you can add texture with a texturizing spray. Some people style the half-up pompadour with the bottom section in loose waves that mirror the texture of the top—this creates visual cohesion while the half-up structure keeps the style from feeling too heavy.
- Best for: Long hair, fine hair, anyone wanting less commitment than a full pompadour
- How long it lasts: 10+ hours, depending on how you secure the top section
- Skill level: Beginner to intermediate—straightforward and forgiving
- Bonus: You can easily release the bottom section if you want to change your look midday
8. Braided Pompadour for Texture and Visual Interest
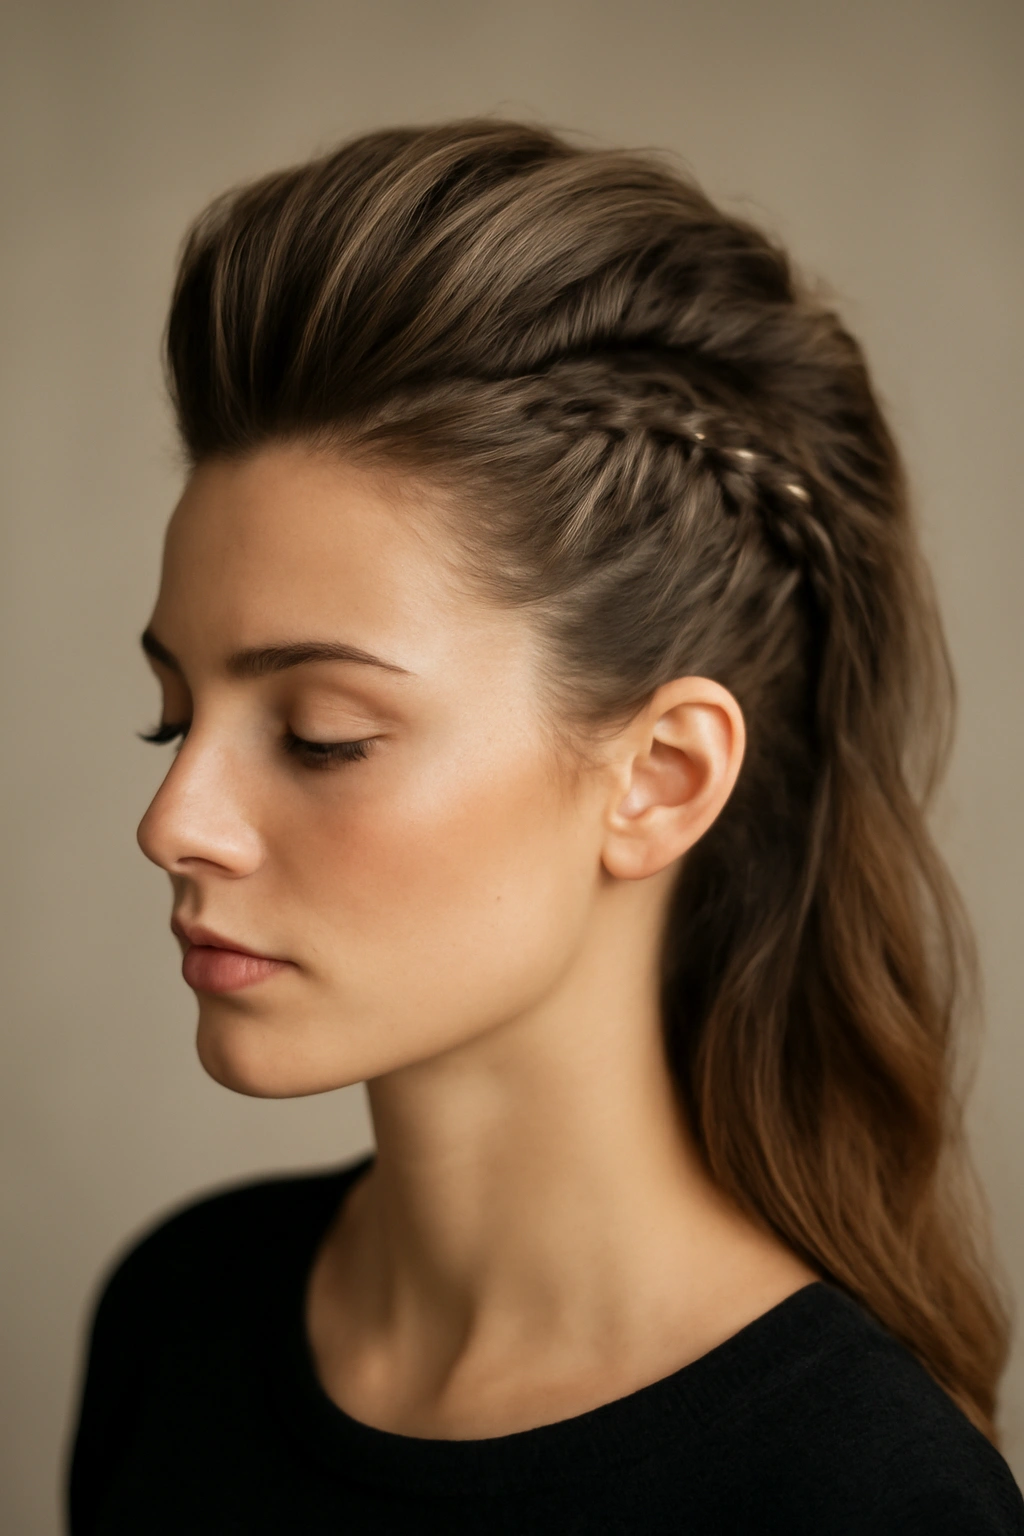
Incorporating braids into a pompadour creates unexpected texture, visual interest, and a more intricate, fashion-forward aesthetic. You can do this by creating the pompadour and then braiding the swept-back section, or by starting with braids and building the pompadour around them. Either way, this version works beautifully with longer hair and gives you a style that’s definitely a step above a standard pompadour in terms of detail and craftsmanship.
Braid Integration Methods
One approach is to create a standard pompadour, then divide the swept-back section into two or three subsections and create loose braids from each section, securing them together at the nape. Another method is to French braid from your front hairline backward, building height as you braid, then continue the braid down the back of your head and secure the end with a small elastic. You can also create two side-swept braids that meet at the back, creating a braided pompadour crown effect.
Achieving Dimension and Texture
Braids automatically create texture and visual movement within your pompadour, which keeps it from feeling flat or one-dimensional. Gently pull on the braid edges slightly to loosen and widen the braids—this creates a fuller, more romantic aesthetic rather than tight, structured braids. Combine braids with soft waves in the unbraided sections for a cohesive, flowing look that still maintains pompadour structure and height.
- Best for: Medium to thick hair, anyone with braiding skills or patience to learn
- How long it lasts: 12+ hours, braids add holding power
- Skill level: Intermediate to advanced—requires braiding proficiency
- Time required: 20 to 30 minutes depending on braid complexity
9. Colored and Highlighted Pompadour for Visual Drama
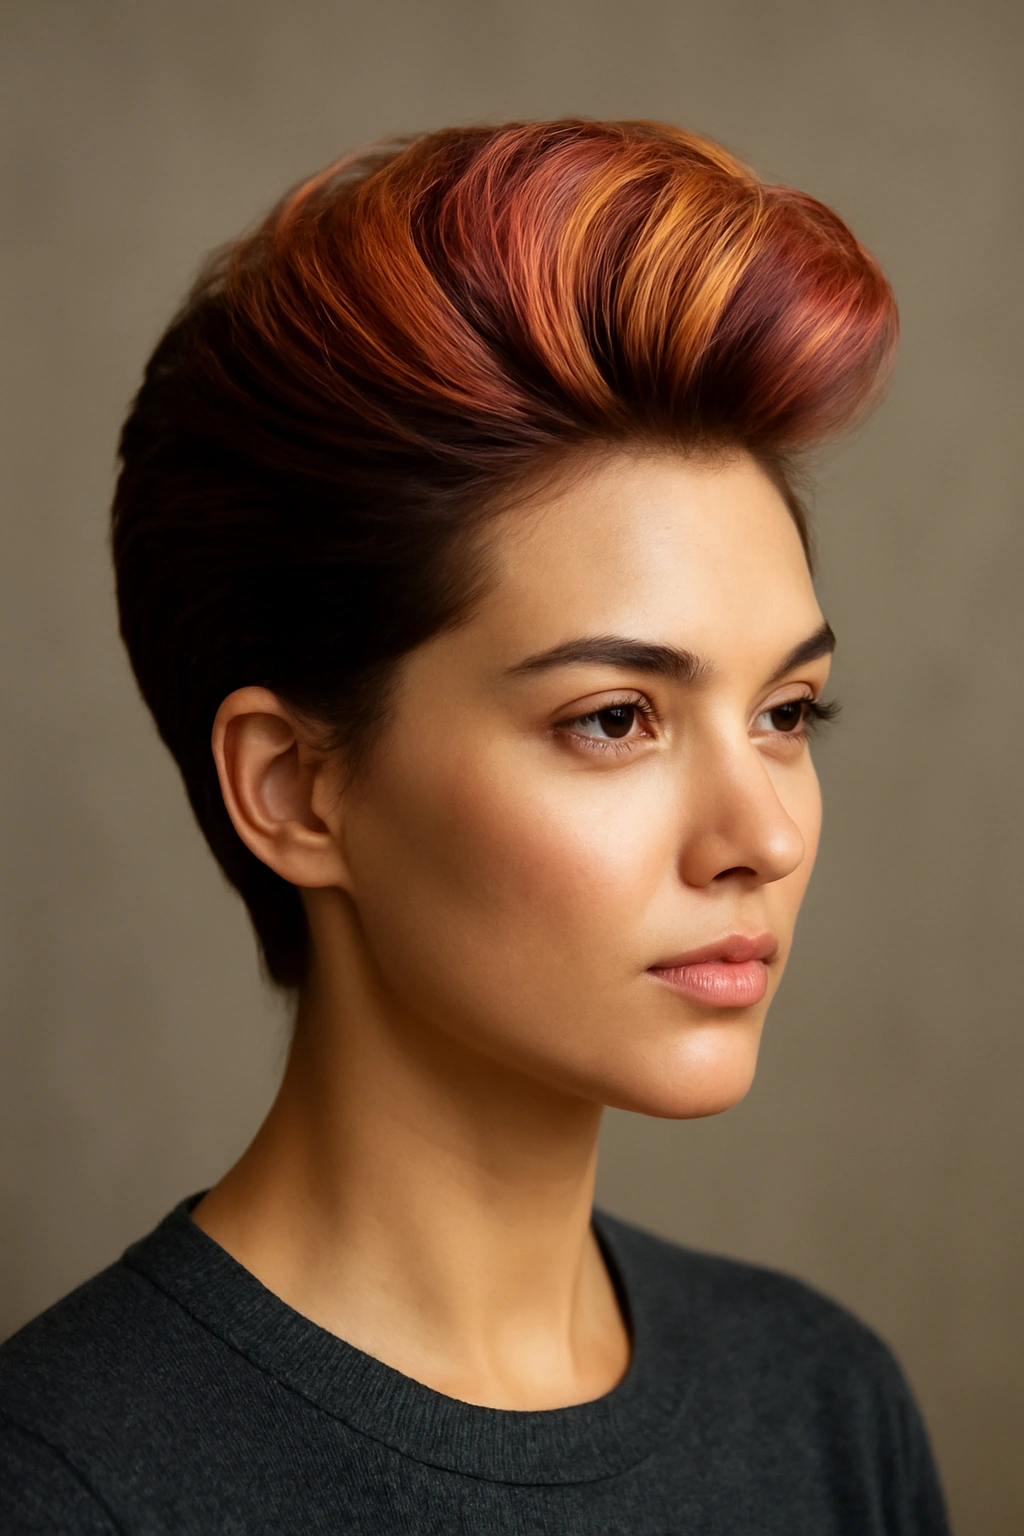
Taking your pompadour into color territory—whether that’s all-over color, balayage, dimensional highlights, or an undercut dye—amplifies the style’s visual impact and creates stunning contrast and dimension. Longer hair gives you a big canvas for color, and a pompadour that already creates architectural height becomes even more striking when you add color dimension. Blonde highlights, dimensional brunette, jewel tones, or even a bold fashion color all look incredible in a pompadour.
Color Placements That Complement the Pompadour
If you’re working with highlights or balayage, consider placing lighter tones where you have the most volume and height—this draws the eye upward and emphasizes the pompadour’s best feature. Darker tones on the sides or lower sections recede visually, which can be beautiful if you want the focus on your crown. If you’re doing an undercut, many people color the undercut area differently from the longer crown section—maybe darker, or even a contrasting color—which creates stunning visual impact when the side of your head is visible.
Maintenance Considerations
Colored hair requires more maintenance than natural hair, and pompadours already require styling and product upkeep. Plan for root touch-ups every 4 to 8 weeks depending on how visible your roots are and how far your hair grows. Use color-safe products and invest in a good heat protectant if you’re heat-styling regularly. The good news is that dimension and highlights hide regrowth much better than a solid color, so you have more flexibility with timing.
- Best for: Anyone seeking bold visual impact, excellent for all hair types
- How long it lasts: 8 to 10 hours styling; color lasts 6 to 8 weeks
- Skill level: Intermediate—the pompadour styling is straightforward; color is handled by a professional
- Budget consideration: Color and highlights increase ongoing maintenance costs
10. Slicked-Back Wet-Look Pompadour for Modern Minimalism
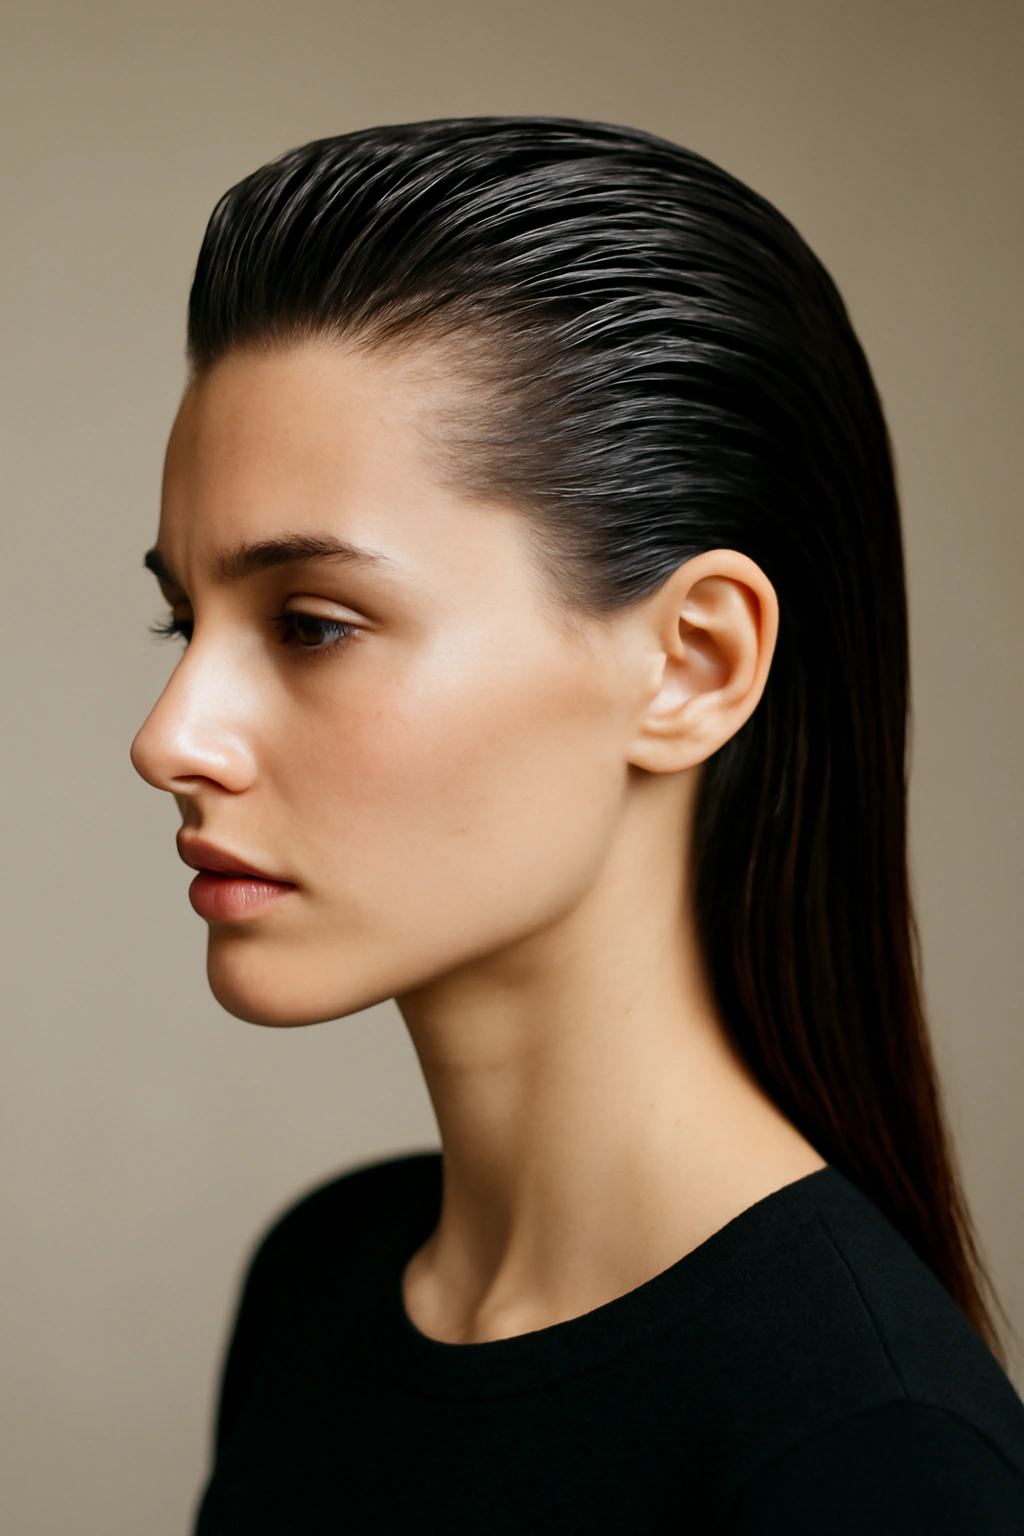
The slicked-back wet-look pompadour is the most contemporary, minimalist interpretation of the style—you’re using gel or pomade to create a smooth, sleek, almost liquid appearance while still maintaining the pompadour’s signature height and back-swept shape. This version reads as very modern, very intentional, and somehow both edgy and elegant simultaneously. It works particularly well if you have straight or slightly wavy hair and want a style that photographs beautifully and turns heads with its simplicity.
Achieving the Wet-Look Effect
Start with damp hair and apply a medium-to-strong hold gel or wet-look pomade throughout, focusing on the crown and front section. Use a fine-tooth comb to slick all the hair back and slightly upward, creating that signature wet-look shine and shine. The trick is using enough product to achieve the effect without making your hair look weighed down or greasy—you want “glossy and intentional” not “soaking wet.” Work in small amounts of product and build as needed rather than applying too much at once.
Balancing Shine and Structure
This style lives at the intersection of sleek and sculptural—you want obvious shine and smoothness, but the shape should still be clearly defined. The pompadour should have visible volume and height at the crown, not look flat or pinned down. Use a comb to define a clean line where your volume section is, and make sure the sides remain relatively smooth while the crown maintains structure. Finish with a flexible-hold hairspray that maintains shine without crunching the look.
- Best for: Straight hair, fine to medium hair, anyone who loves a modern, polished aesthetic
- How long it lasts: 12+ hours, gel and pomade wear longer than lighter products
- Skill level: Beginner to intermediate—straightforward application
- Bonus: This style is particularly photogenic and photograph well in natural light
Final Thoughts
The pompadour has proven itself to be one of the most versatile and adaptable hairstyles available, especially when you’re working with longer hair and have room to experiment with different approaches. Whether you prefer your pompadour polished and controlled, textured and undone, incorporated with braids or curls, or slicked back with a wet-look shine, there’s a version that aligns with your personal aesthetic and lifestyle demands.
The real secret to pulling off a pompadour successfully is understanding your specific hair texture and what products and techniques work best for you. Fine hair might thrive with lightweight gel and minimal teasing, while thick or textured hair can handle stronger hold products and more dramatic backcombing. Wavy hair naturally creates texture and movement that enhances a pompadour, while straight hair might need texture products or a curling iron to achieve the same effect.
Don’t be discouraged if your first attempt doesn’t look magazine-ready—pompadours require some practice, and the more you style yours, the faster you’ll get at creating it and the better you’ll understand exactly where your hair needs volume and how much product to use. Start with the version that feels most aligned with your style and commitment level, master that one, and then branch out into other variations as you gain confidence. Your longer hair is actually an asset here, giving you all the material you need to create a pompadour that’s distinctly yours.