Shoulder-length hair sits in that perfectly versatile sweet spot—long enough to feel like a change, short enough to manage without constant heat styling and maintenance. But here’s what most people miss: a shoulder-length cut doesn’t mean one universal shape that works for everyone. The same style falls completely flat on one hair type and absolutely transforms someone else’s look because of how the cut interacts with texture, density, and natural wave pattern.
Whether your hair is fine and straight, thick and coily, wavy and prone to frizz, or somewhere in between, the cut itself needs to be designed around how your specific hair naturally moves and sits. A wispy layered bob with choppy edges might look effortlessly textured on someone with fine, straight hair—but on someone with thick curls, those same choppy layers can turn into a shapeless poof. Similarly, a sleek, blunt cut that looks polished on straight hair can reveal every ounce of frizz and texture on wavy or curly hair that isn’t specifically shaped to work with that movement.
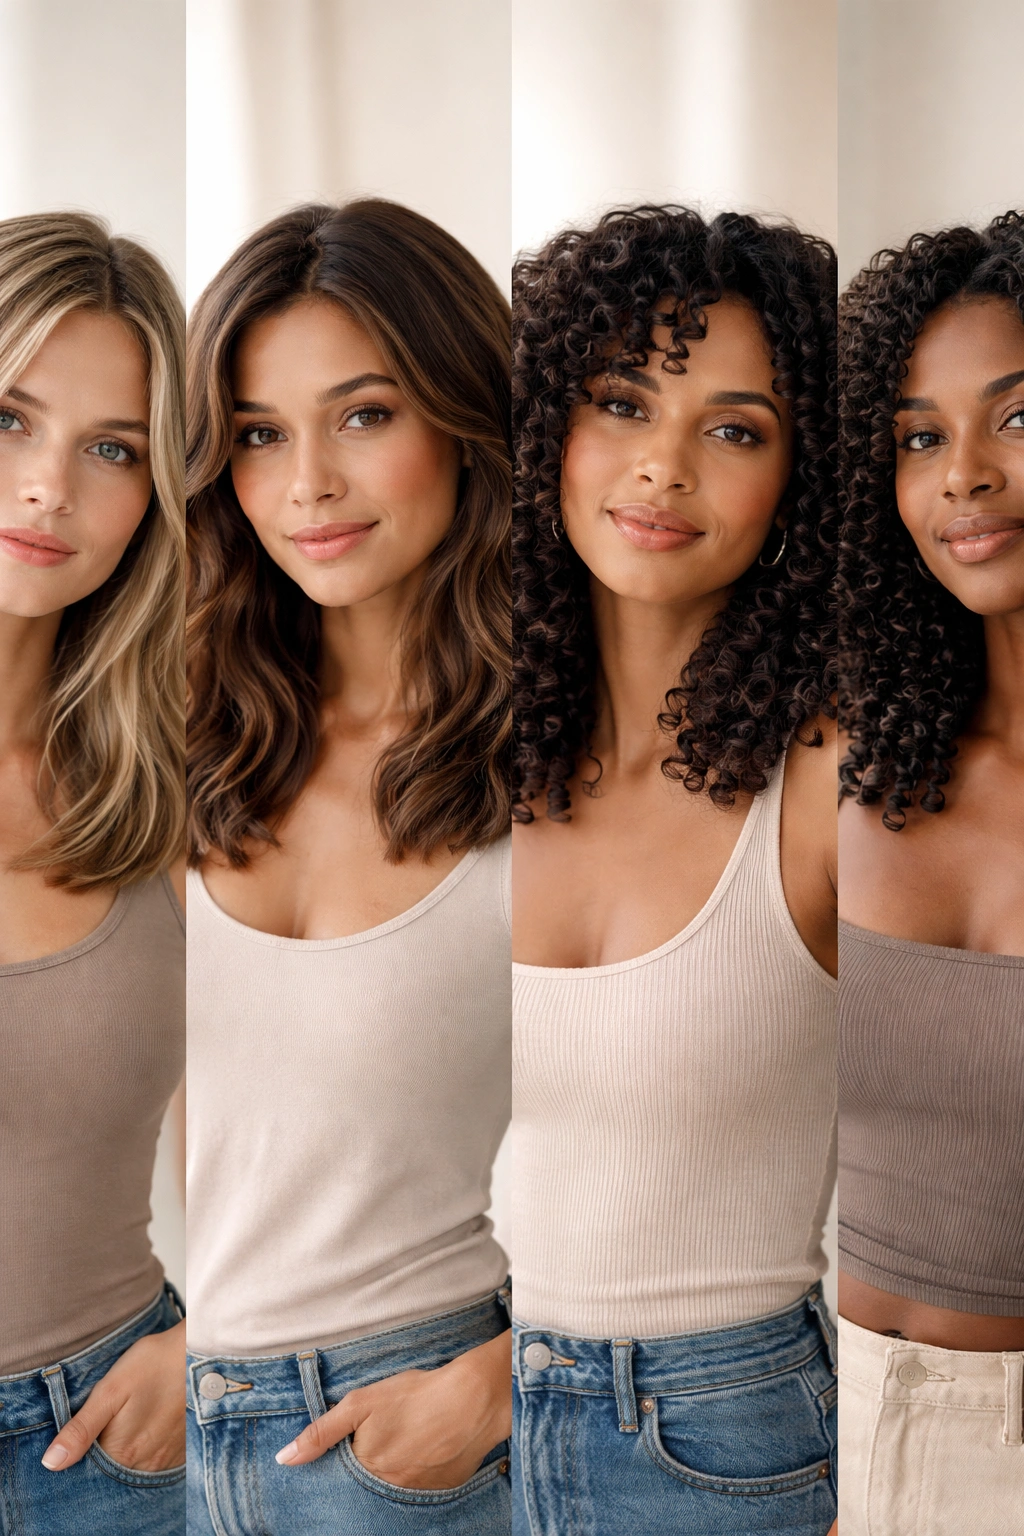
The 20 shoulder-length haircuts below are organized to show you exactly which styles work best with your hair type, why they work, and what you need to communicate to your stylist to get the cut right. Each one comes with the specific styling needs, the best styling methods, and honest insights about who this cut suits and why. Whether you’re working with pin-straight hair, loose waves, ringlet curls, or coils, you’ll find cuts here that don’t just work with your texture—they actually celebrate it.
1. Straight Hair: The Sleek Blunt Bob
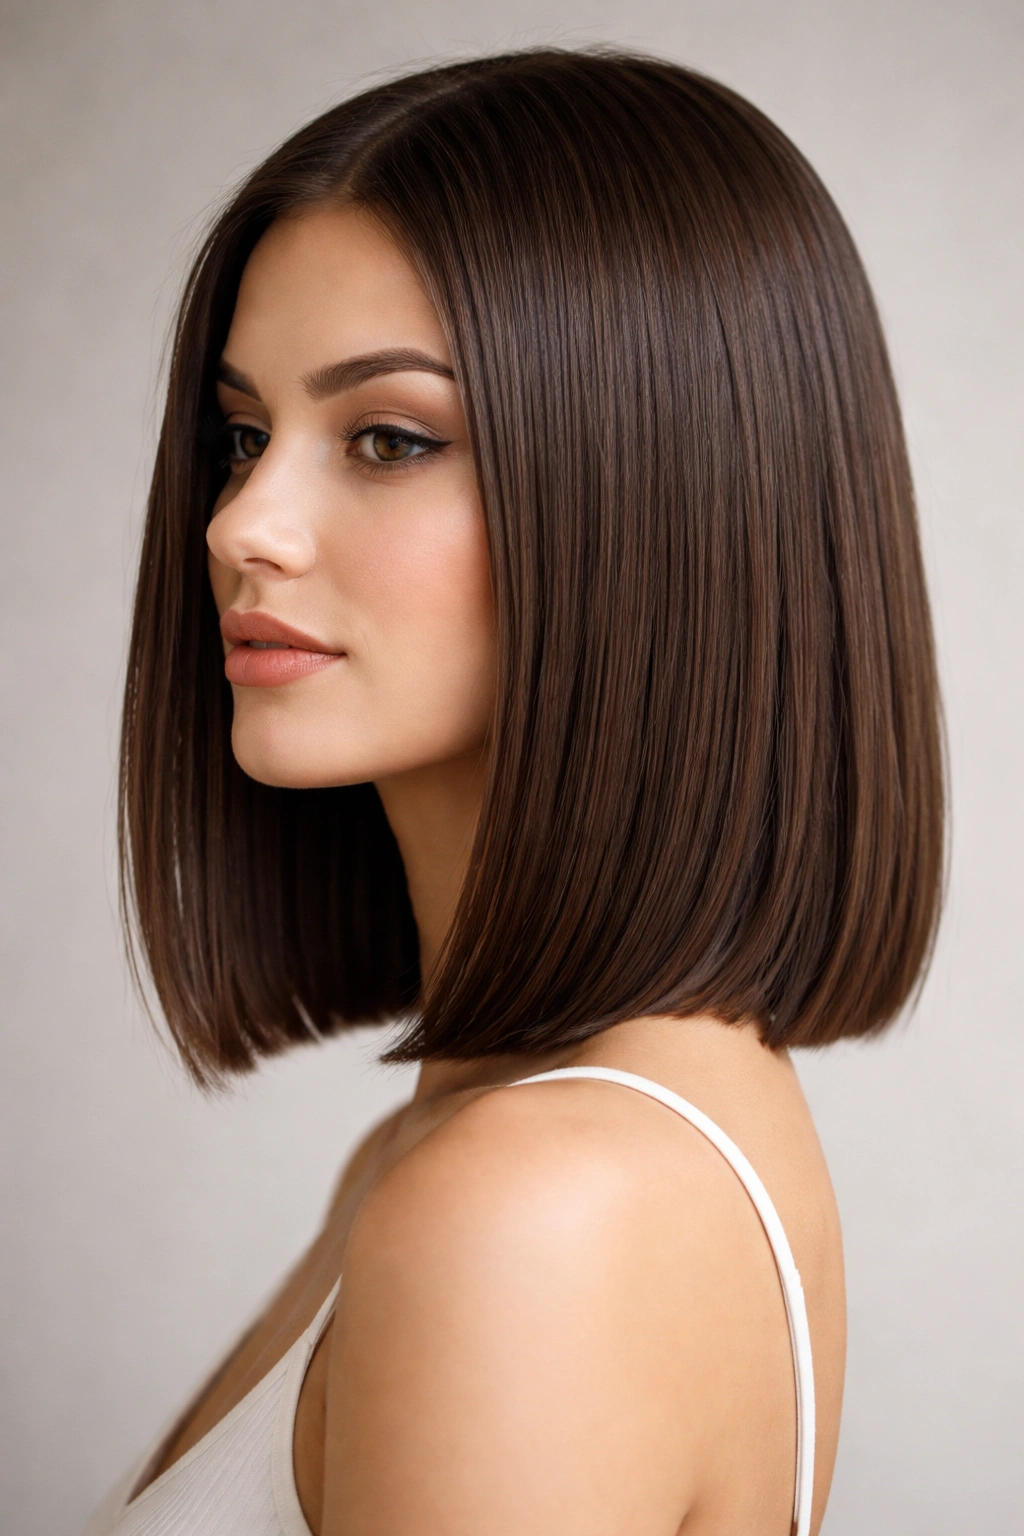
A blunt-cut shoulder-length bob is the gold standard for straight hair because the weight and density of the hair creates that perfect, polished line without any effort. This cut works by keeping all the hair at one clean length, typically right at the shoulder, which means your naturally straight strands fall into that sharp, defined shape immediately. The key is finding a stylist who understands that blunt doesn’t mean harsh—a truly skilled blunt cut has subtle texture at the ends to prevent that one-note look, but the overall line stays crisp and intentional.
Why It Works for Straight Hair
Straight hair lacks natural texture, so a blunt cut creates visual interest and structure where the hair itself doesn’t provide it. The clean line feels sophisticated, modern, and requires minimal styling—your hair does most of the work just by being straight. This cut also photographs beautifully and holds its shape throughout the day without drooping or losing definition.
How to Style and Maintain It
A quick blow-dry with a paddle brush and a light serum keeps this cut looking sleek. You’ll want trims every 6-8 weeks to maintain that blunt line. If you want a little movement without losing the effect, work a curling iron through just the ends for a subtle flip. Weekly silk pillowcases help prevent creasing and keep your strands healthy.
Quick Facts
- Requires the least daily styling effort of any shoulder-length cut
- Makes straight hair look thicker and more intentional
- Works best on medium to thick straight hair
- Pairs beautifully with bangs for added dimension
Pro tip: Ask your stylist to leave the ends slightly textured rather than razor-sharp blunt—this prevents that severe, costume-like look while keeping the clean line.
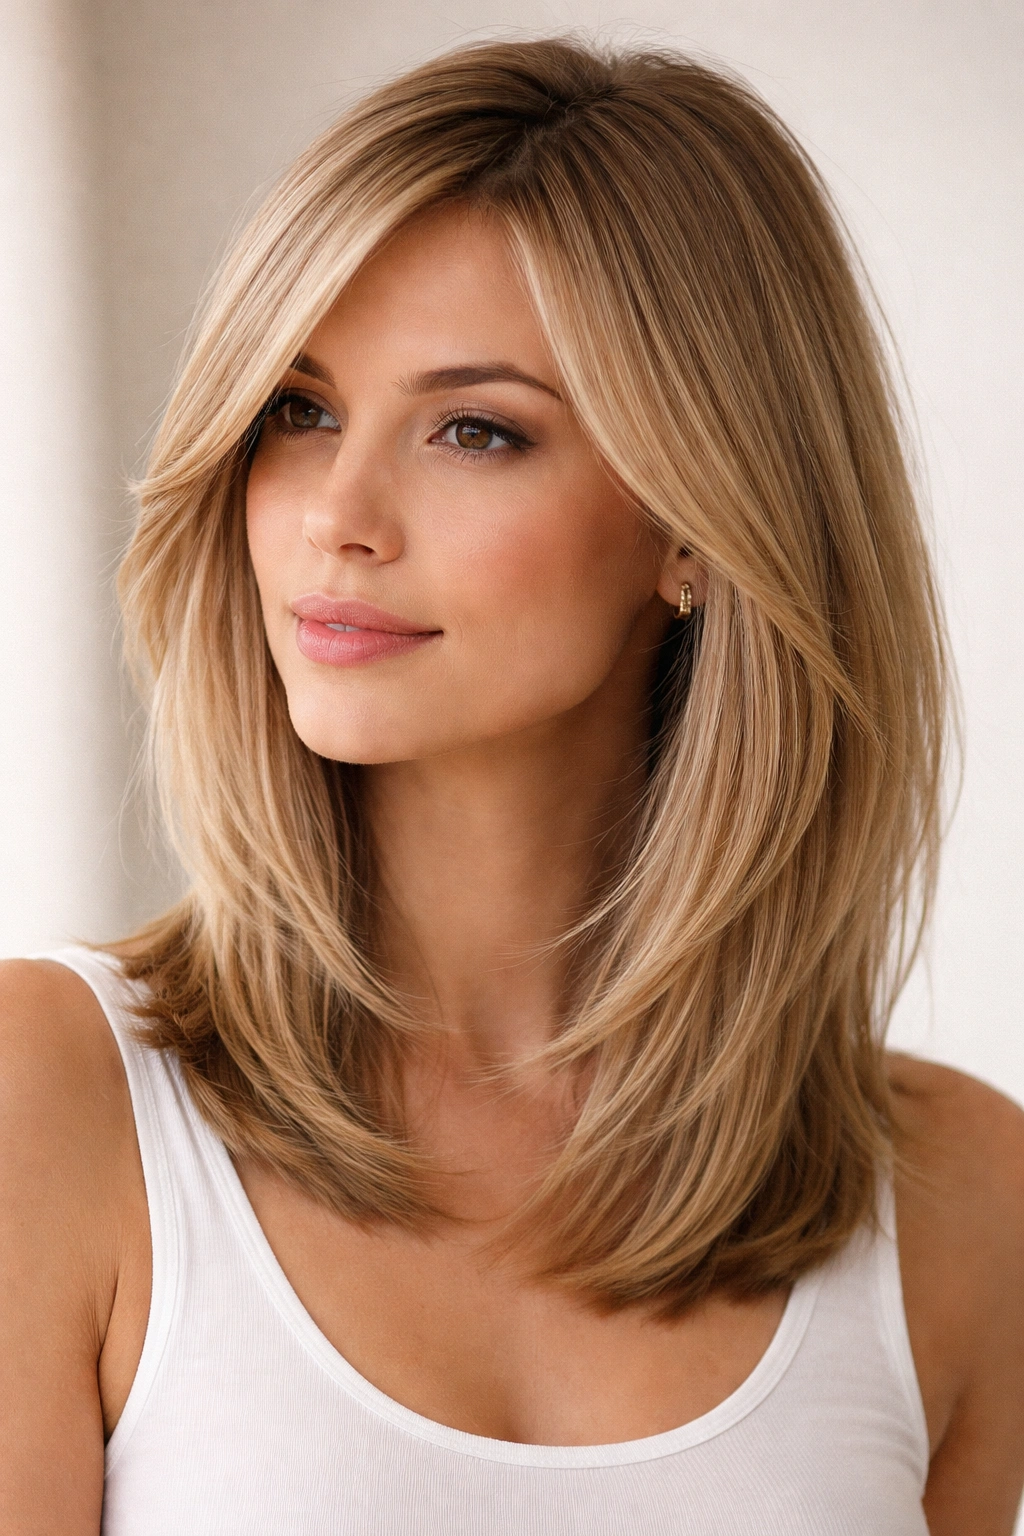
2. Straight Hair: The Sleek Lob with Subtle Layers
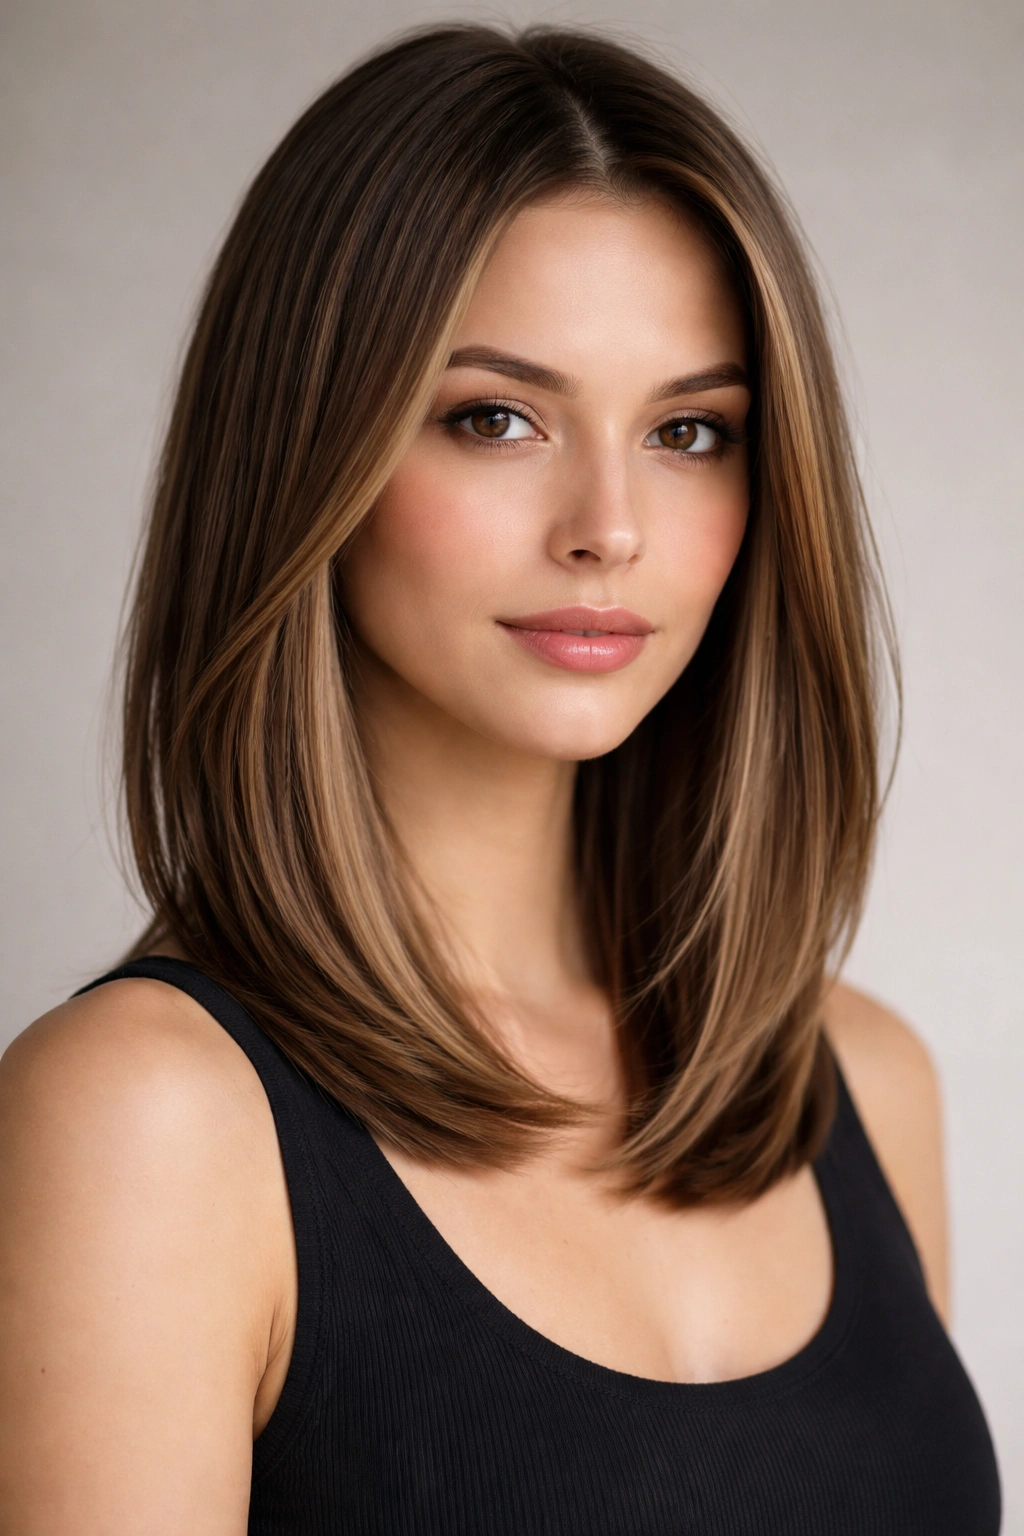
A lob (long bob) on straight hair works when the layers are extremely subtle—you’re talking about removing maybe half an inch more from the face-framing pieces while keeping the bulk of the hair at shoulder length. This gives you movement and dimension without sacrificing the sleekness that makes straight hair so striking. The face-framing layers create a softening effect that prevents the cut from feeling too severe or matronly.
Why Subtle Layers Matter Here
Straight hair can look one-dimensional without any texture breaks, but too many layers create a wispy, disconnected appearance that doesn’t play to straight hair’s strengths. Subtle layering adds just enough movement to be interesting while keeping that polished, intentional feeling. The layers should be noticeable only when you move—not scattered throughout the cut.
Styling Techniques for Maximum Impact
A round brush blow-dry emphasizes the layers and creates soft movement. You can also use a flat iron to create subtle waves or leave it completely straight for a more minimalist vibe. The key is that this cut works beautifully in multiple states—straight, subtly waved, or with soft curls if you want variation throughout the week.
Quick Facts
- Offers slightly more forgiveness than a blunt bob
- Works on all straight hair densities, from fine to thick
- Requires styling every 2-3 days to look intentional
- Can transition into multiple styling directions
Insider note: This cut ages beautifully over time because the subtle layers prevent that grown-out, overgrown look—you can stretch trims to 8-10 weeks without it looking unkempt.
3. Straight Hair: The Blunt Cut with Bangs
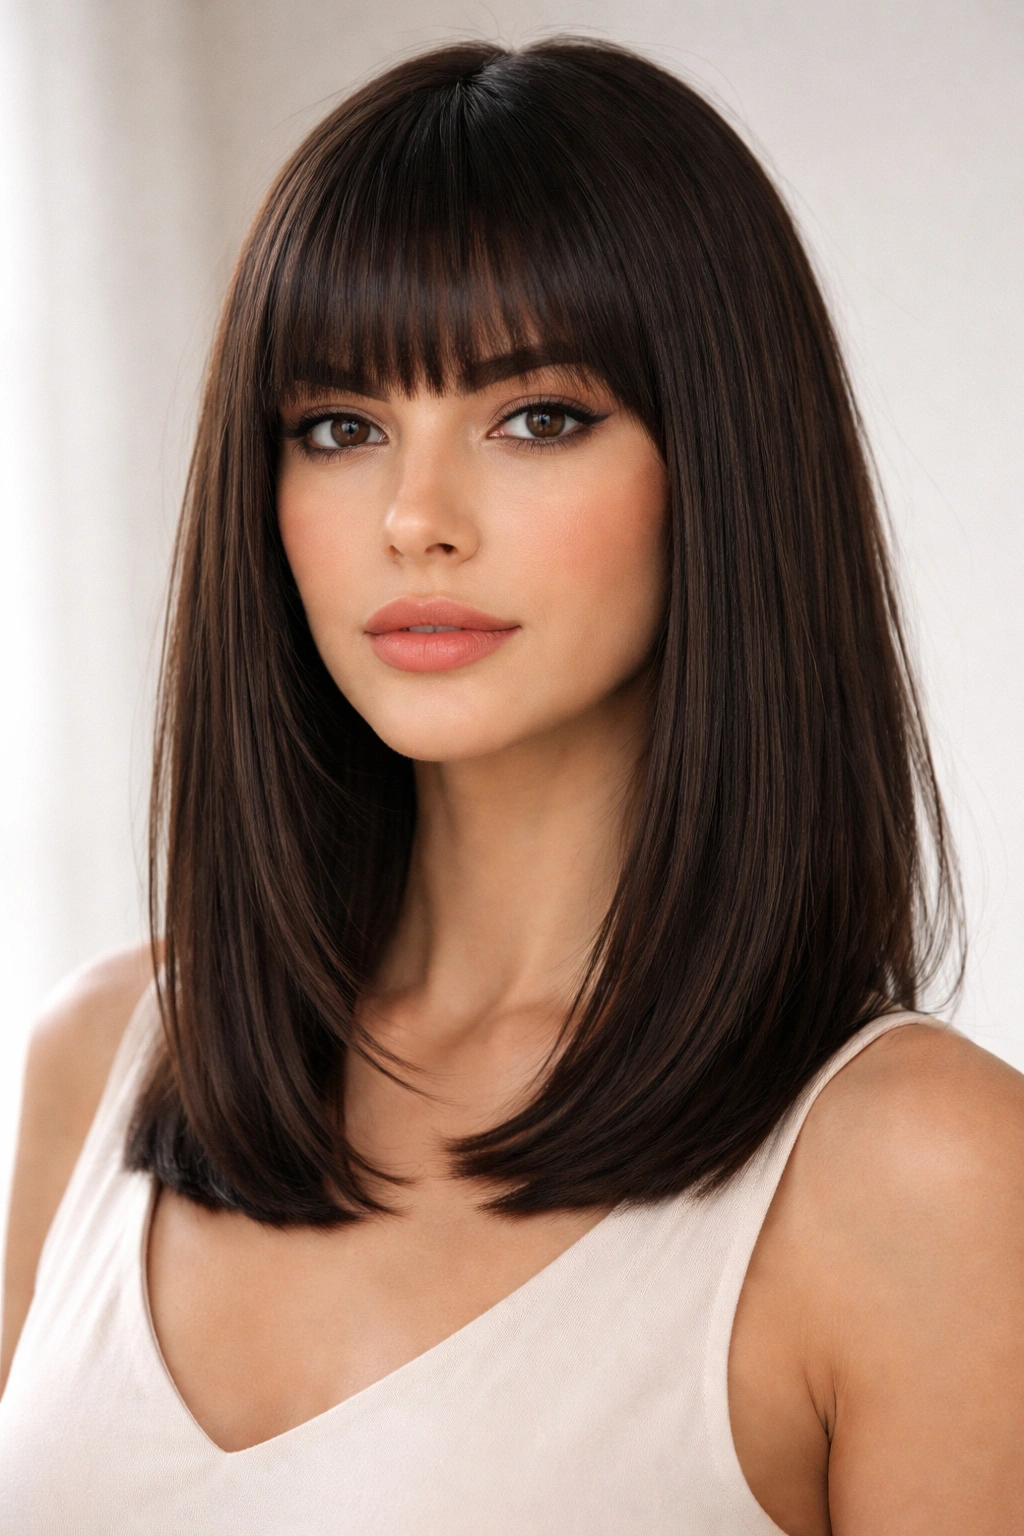
Adding bangs to a blunt shoulder-length cut instantly elevates it from pretty to striking. On straight hair, bangs have maximum visual impact because they sit exactly where you position them—no curl or wave undermines the style. A full fringe creates drama and frames the face, while longer, side-swept bangs give you that effortlessly French-girl vibe without as much maintenance.
Bang Styles That Work on Straight Hair
Blunt, full bangs work beautifully on straight hair with good density and a cooperative hairline. If your hair is fine or you have a cowlick-prone forehead, longer side-swept bangs are more forgiving. Choppy bangs sit somewhere in between—textured enough to work with various hair densities, but still creating that intentional bang line that looks best on straight hair.
Daily Maintenance and Styling
Bangs on straight hair need to be blown out to look their best—they don’t just dry into perfection. A small round brush and a blow dryer take just 2-3 minutes. You’ll need bang trims every 3-4 weeks to maintain that sharp line, so factor that into your maintenance budget and timeline.
Quick Facts
- Full bangs require the most commitment (trims every 3-4 weeks)
- Works best on medium to thick straight hair
- Creates maximum face-framing effect
- Pairs well with minimal makeup because the bangs do the visual work
Worth knowing: If you’ve never had bangs, start with longer, side-swept bangs—they’re much easier to grow out if you change your mind.
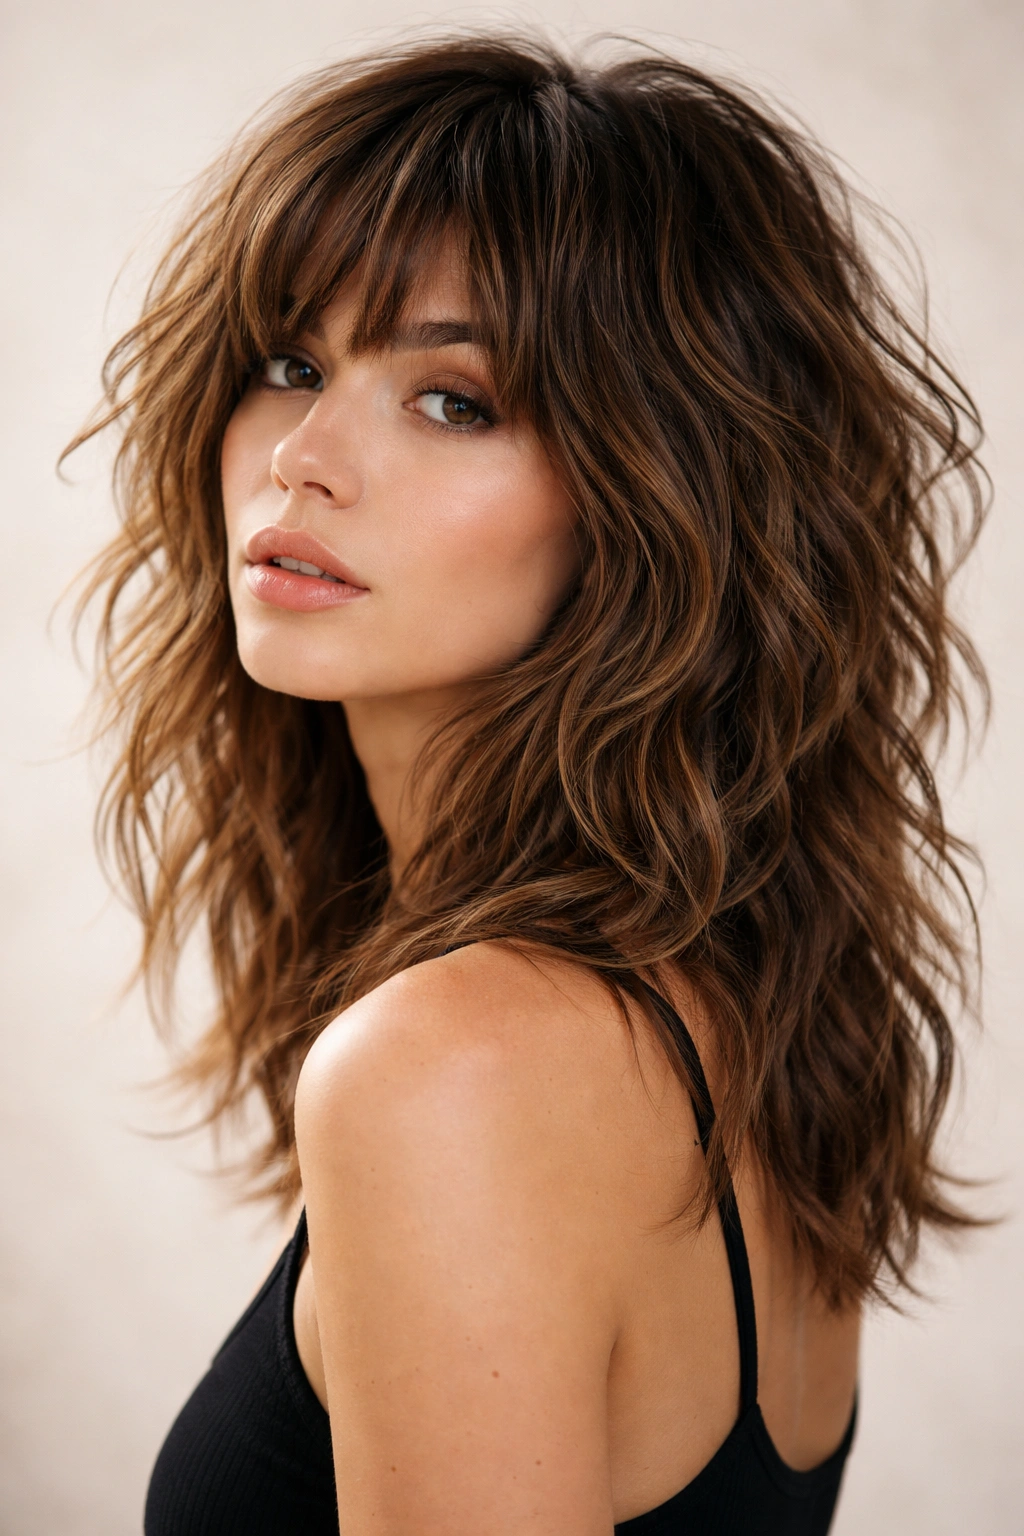
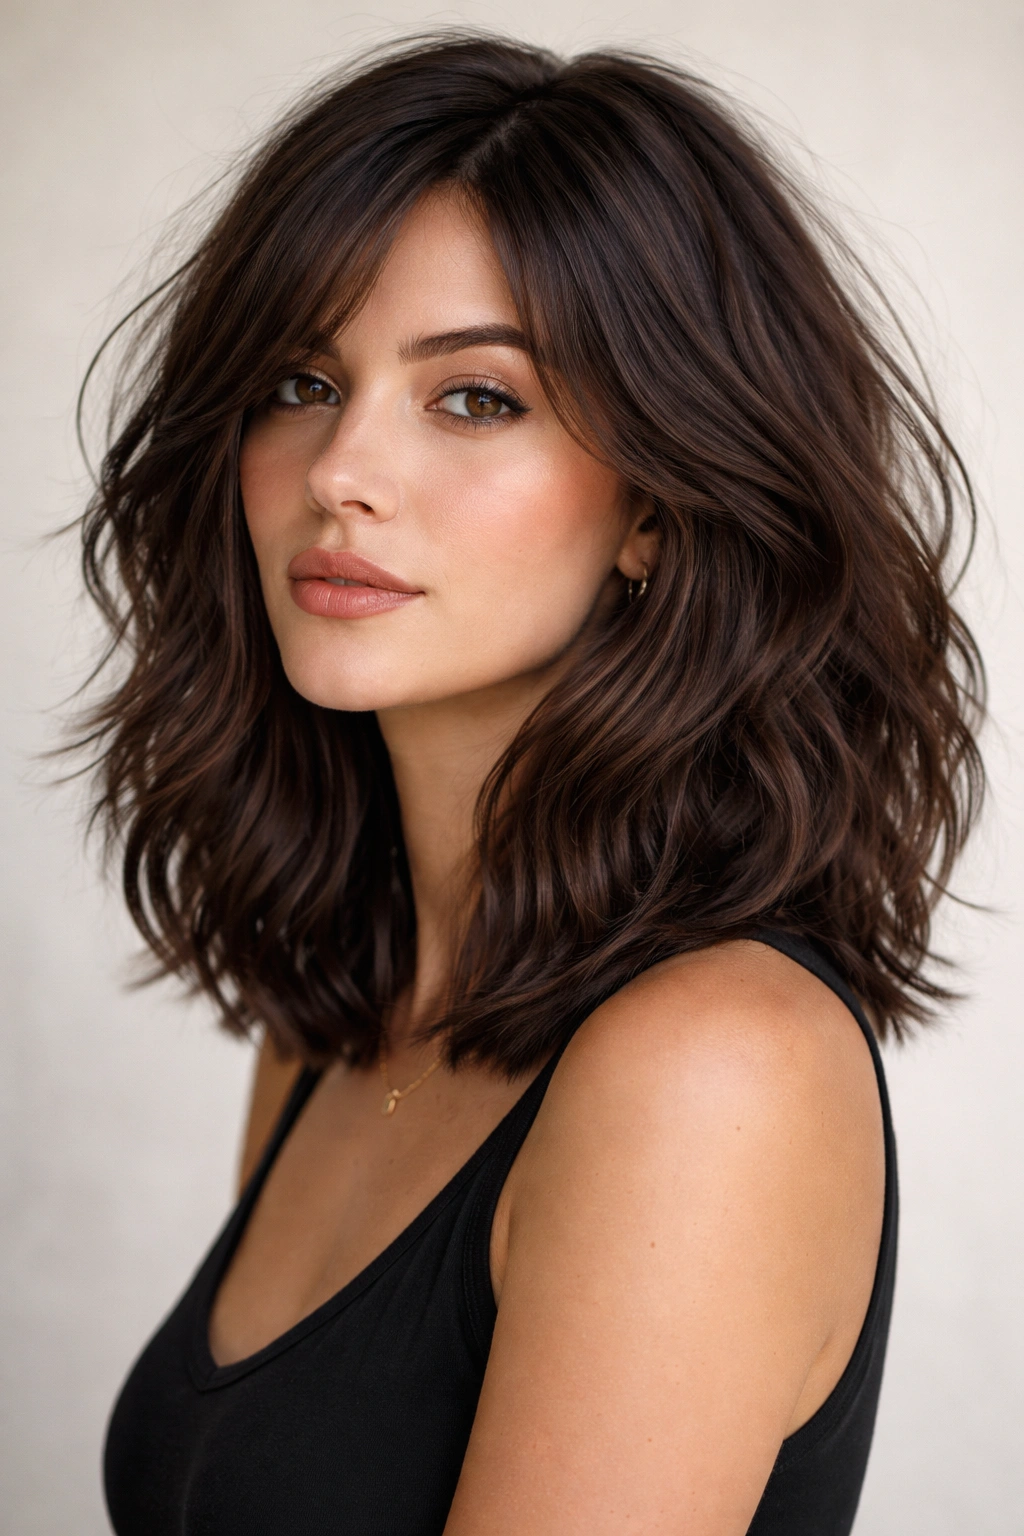
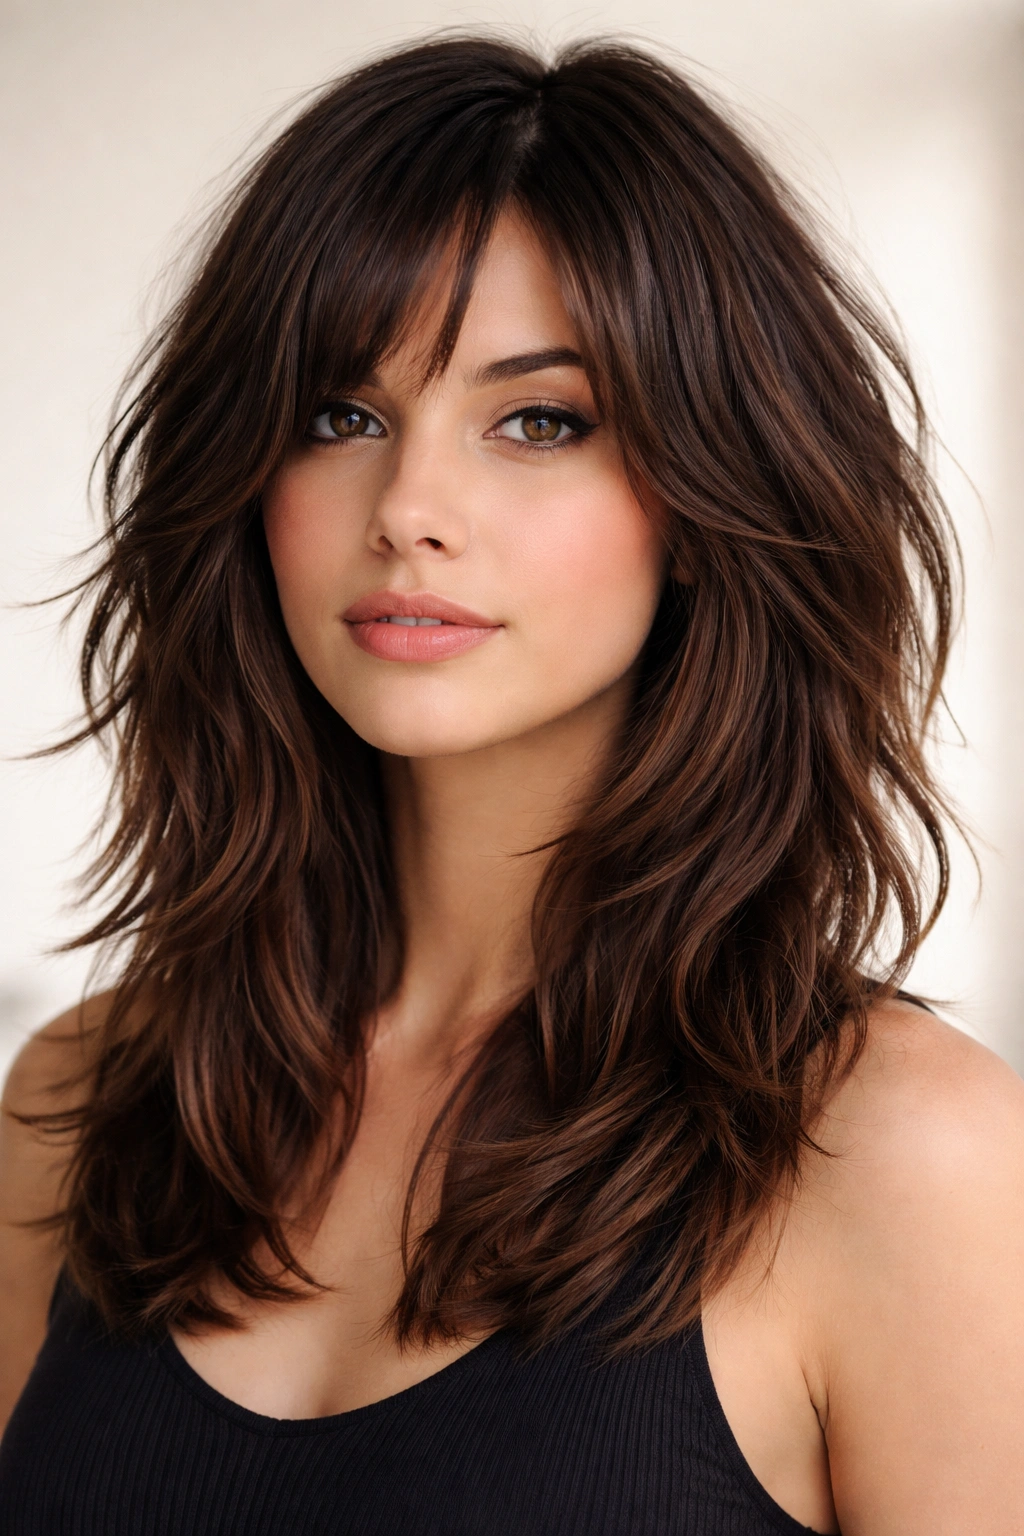
4. Wavy Hair: The Textured Shag
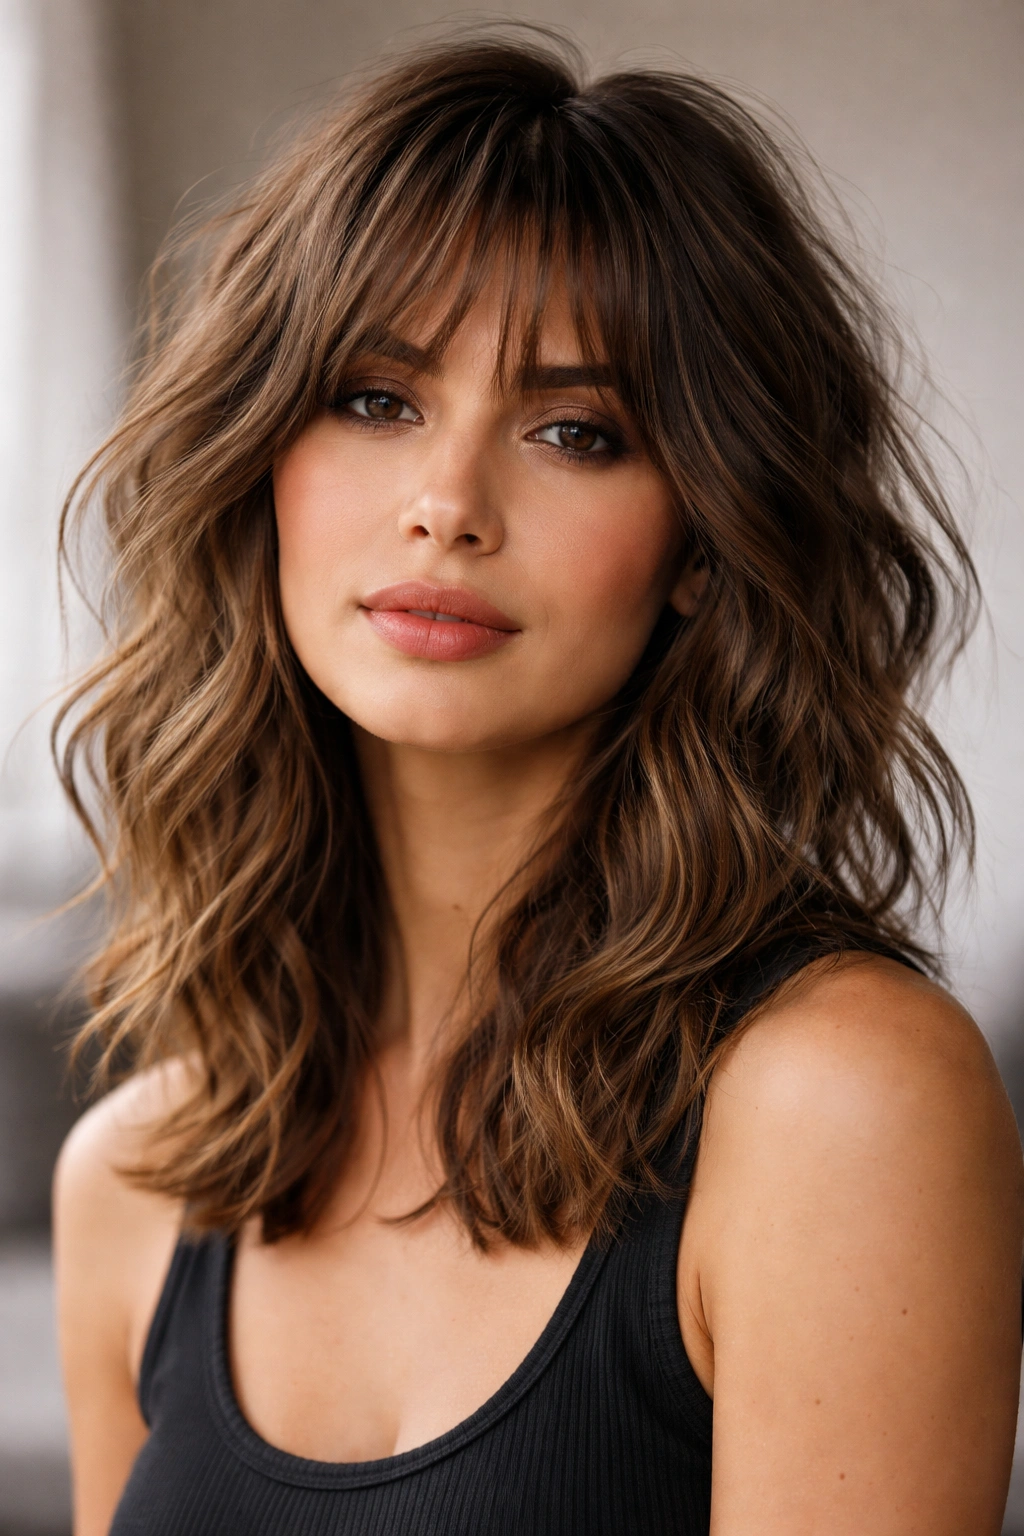
A shag cut on wavy hair is where magic happens. The layered, choppy structure of a shag cut works with your wave pattern rather than against it, creating dimension, movement, and texture that looks intentional and effortless. A good shag on wavy hair looks like you just rolled out of bed with perfect hair—except it takes a little styling to achieve that effect.
Why Shags Love Wavy Hair
Wavy hair has natural texture and movement that a shag amplifies. The layers create more surface area for your waves to grip onto, resulting in deeper, more visible waves throughout the cut. The choppy, slightly undone aesthetic that defines a shag suits the informal, textured nature of wavy hair perfectly. You’re not fighting your waves—you’re celebrating them.
Styling for Maximum Wave Definition
Use a curl-enhancing cream or mousse on damp hair, then either air-dry or diffuse-dry with a diffuser attachment. You want to encourage your waves to form rather than forcing them with a round brush. Finger-combing or using a wide-tooth comb while damp helps define the wave pattern without creating frizz. Scrunching motion—literally scrunching the product and damp hair upward—helps waves form.
Quick Facts
- Requires 1-2 styling sessions per week for best results
- Works on all densities of wavy hair
- Needs products specifically designed for wave enhancement
- Trims every 6-8 weeks to maintain shag texture
Real talk: A shag on wavy hair looks better as it grows out because the layers continue creating movement. This is one of the few cuts where that in-between stage actually works in your favor.
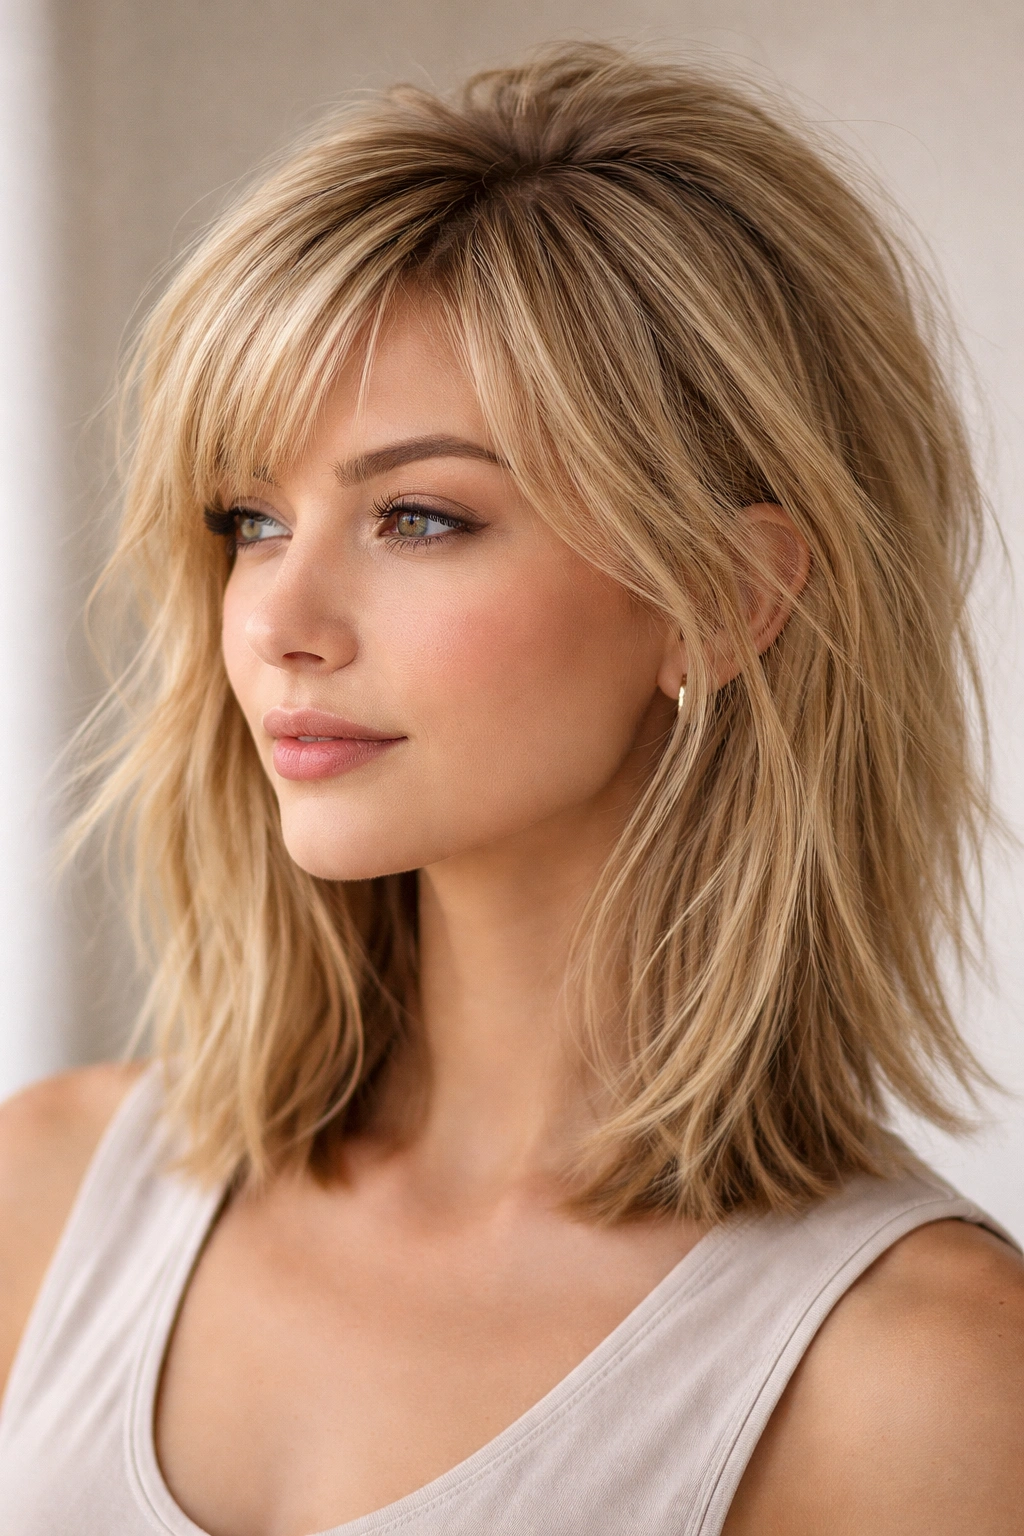
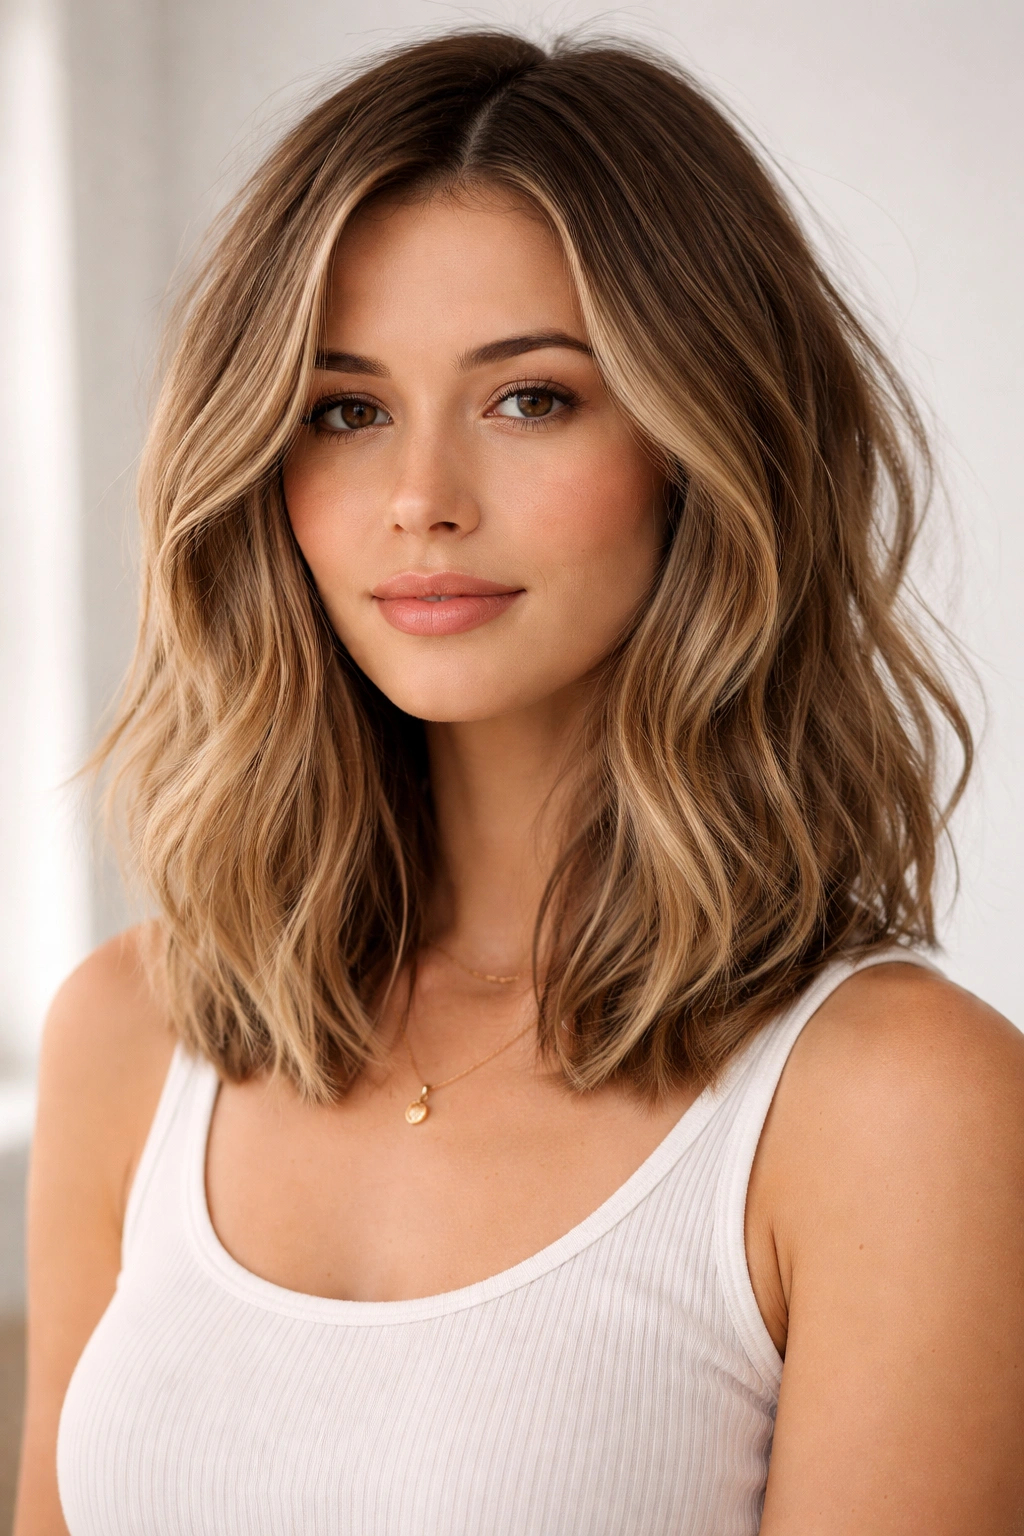
5. Wavy Hair: The Beachy Waves Lob
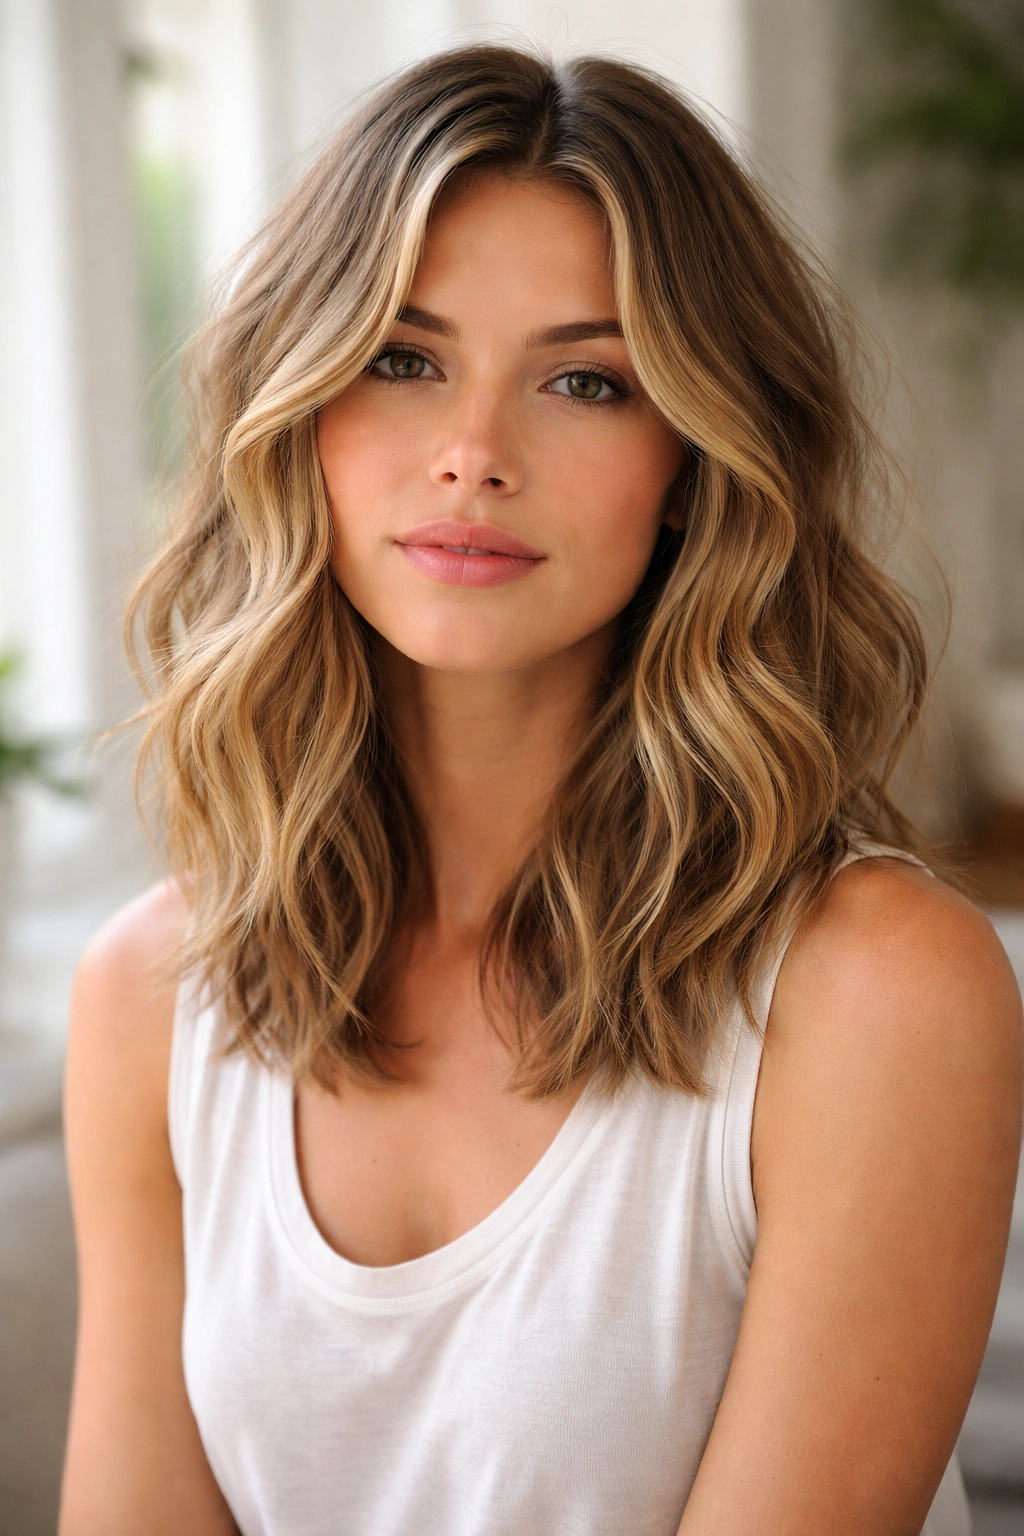
A lob on wavy hair, when cut with the wave pattern in mind, creates those coveted beachy waves that people spend money on beach waves treatments to achieve. The cut should have subtle face-framing layers that encourage your waves to fall in flattering directions. The overall length stays around shoulder-level, giving you that versatility between putting it up and wearing it down.
Cutting to Work With Your Wave Pattern
A skilled stylist cuts a wavy lob with the waves, not against them. This means the layers and angles follow the natural fall of your hair when it’s dry. Many stylists make the mistake of cutting wavy hair when it’s wet and straight, resulting in a cut that looks awkward when your waves dry. Ask your stylist to cut your hair dry, or at minimum, to understand how your specific wave pattern moves.
Product and Styling Routine
A lightweight leave-in conditioner and a sea salt spray are your best friends. These products enhance your natural waves without weighing them down. You can scrunch them in and let your hair air-dry, or use a diffuser for more controlled waves. The beauty of this cut is that it looks good whether waves are loose and relaxed or more defined—you have flexibility.
Quick Facts
- Works best on medium to thick wavy hair
- Requires products but minimal heat styling
- Maintains beachy texture even when you’re far from the beach
- Very popular right now across all age groups and hair colors
Insider note: If your waves are more subtle, ask your stylist for slightly more layers—this helps create more visible wave definition and prevents the cut from looking like a blunt bob when you have days where your waves don’t cooperate.
6. Wavy Hair: The Textured Wolf Cut
A wolf cut combines the choppy layers of a shag with the fuller overall length of a lob, resulting in a cut that’s wilder and more fashion-forward than either cut alone. On wavy hair, a wolf cut looks rebellious and cool because your waves naturally add to that lived-in, intentional texture.
Understanding the Wolf Cut Structure
A wolf cut has shorter, choppy layers on top that create height and texture, while the underneath stays longer and fuller. This creates a mullet-inspired silhouette that’s modern rather than retro. The face-framing pieces are typically textured and layered, drawing attention to your face and cheekbones.
Styling for Wolf Cut Success
Air-drying with a curl cream or wave spray gets you 80% of the way there. You can also use a diffuser or even finger-wave while damp and let it set. The cut is designed to look good tousled and slightly undone, so don’t feel like you need to perfect every wave. Adding a little texture spray or dry shampoo at the roots creates extra volume and that intentionally messy vibe the cut is made for.
Quick Facts
- Requires 4-6 weeks between trims to maintain texture and shape
- Best on medium to thick wavy hair
- Works beautifully with layers that encourage your waves
- Suits confident, fashion-forward styling preferences
Pro tip: This cut looks even better with lived-in hair color or subtle highlights—the texture and dimension work together to make the whole look more interesting.
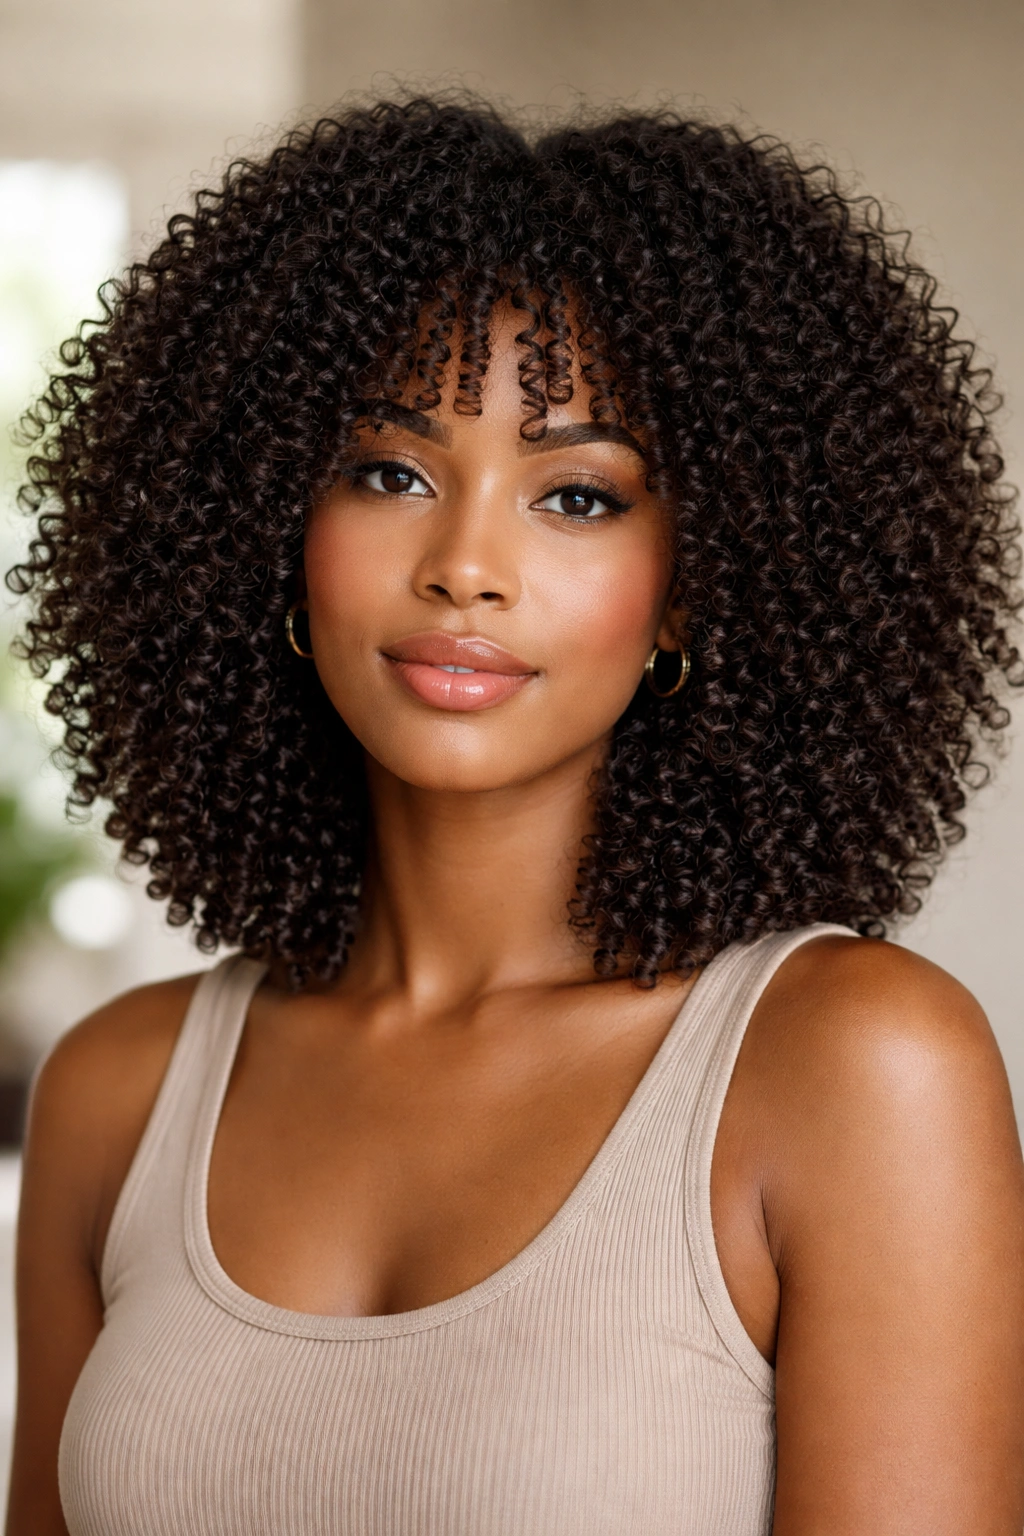
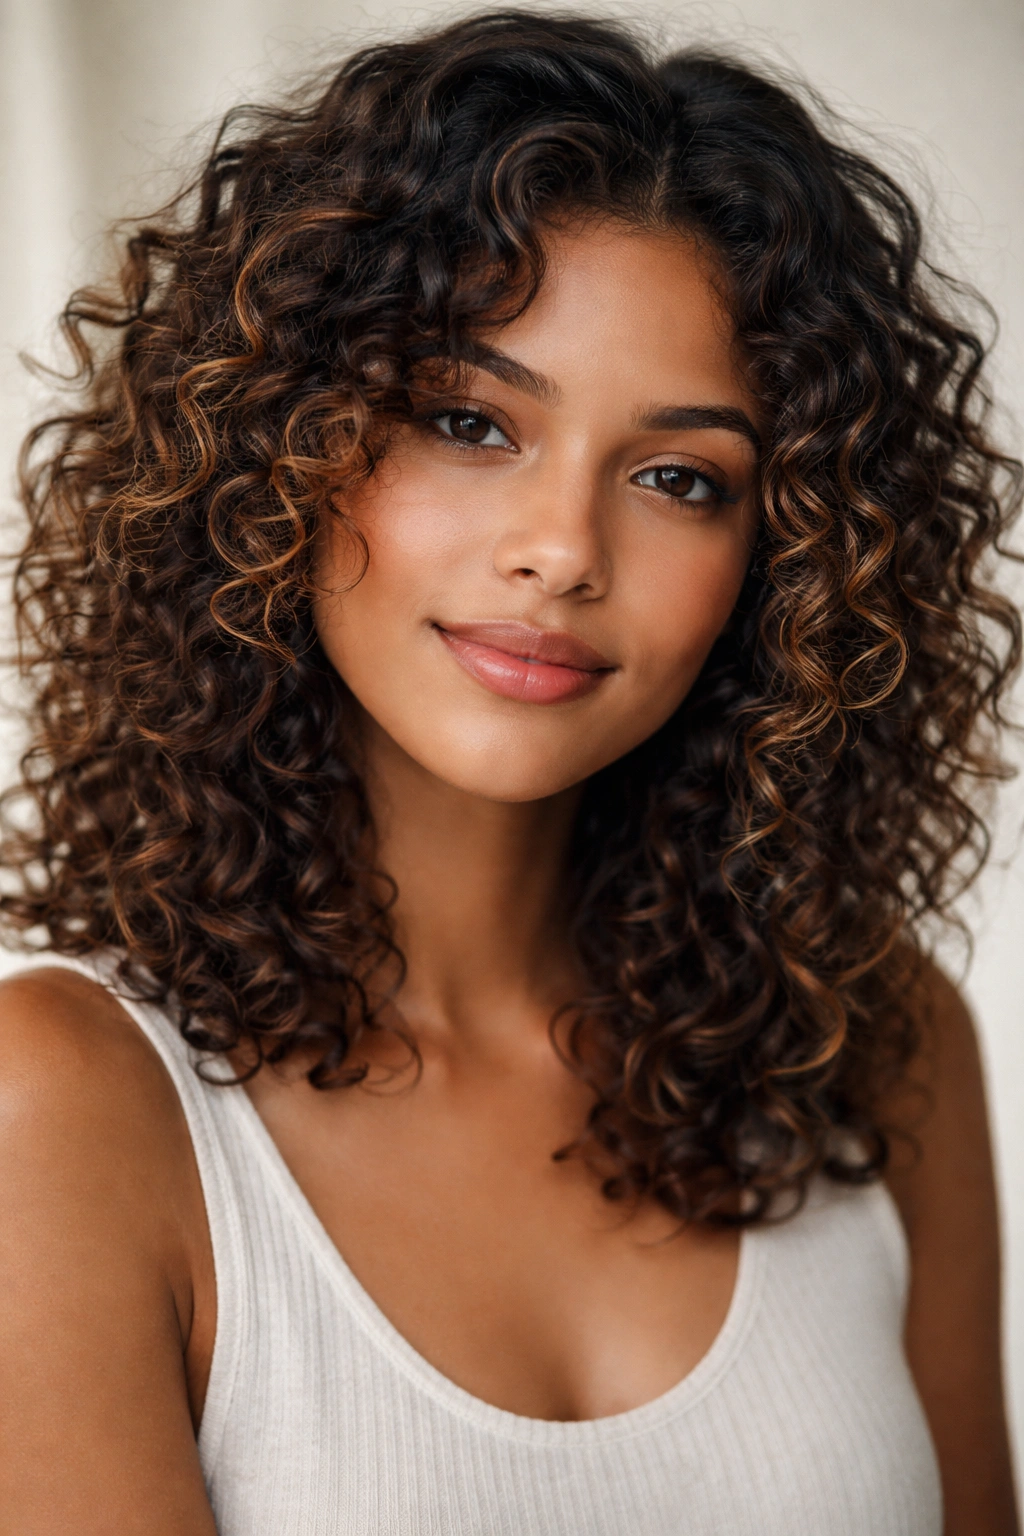
7. Curly Hair: The Shoulder-Length Curly Bob
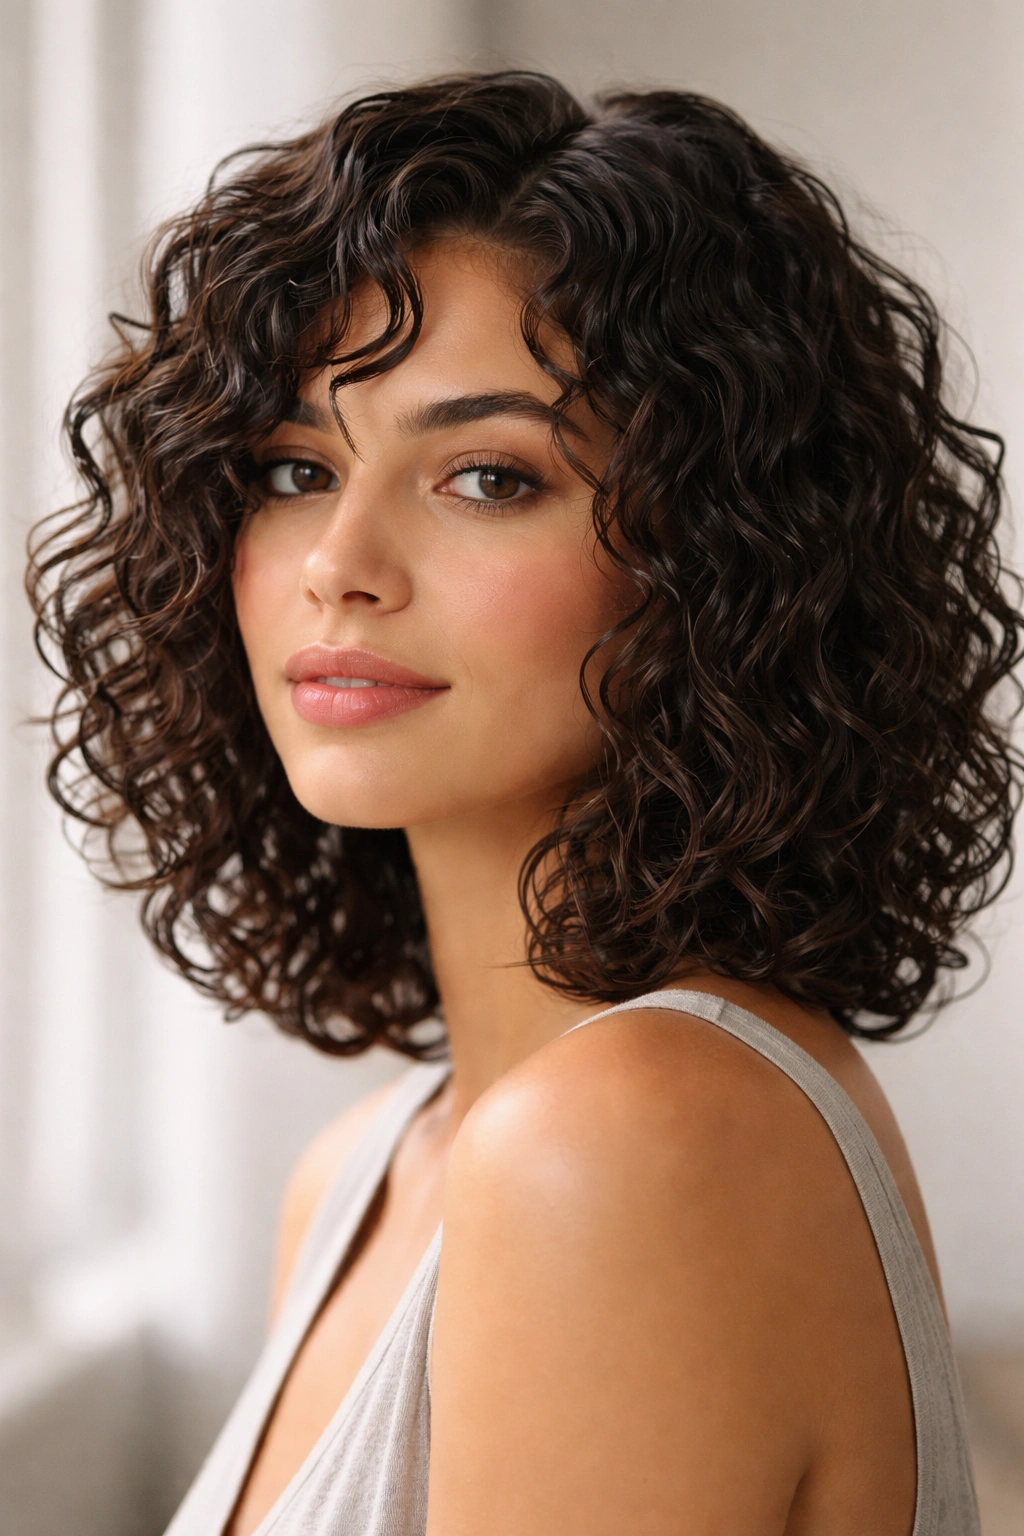
A curly bob cut specifically for curls—not a straight bob that happens to be worn by someone with curls—is a completely different animal. A true curly bob has shorter layers throughout that encourage curl formation and prevent that heavy, bulbous shape that straight-cut bobs create on curly hair. The cut works with your curl pattern rather than against it, which means your curls actually look better as they grow in.
Cutting Curly Hair Correctly
This is critical: your curls should be cut while wet and in their natural state, not blown straight. Many stylists make the mistake of cutting curly hair straight and then being shocked when it shrinks and looks wrong. Ask your stylist how much your hair shrinks (typically 20-40% depending on curl type) and make sure they’re accounting for that when they cut. Some curly-hair specialists use the “rake and shake” method—running their fingers through wet curls rather than cutting with scissors in a traditional way—which respects the curl pattern better.
Product Routine and Styling
Curly hair needs moisture and definition products. A good leave-in conditioner, a curl cream, and a gel layered together create hold and reduce frizz. The “praying hands” method (smoothing products between your palms and then smoothing them over each curl) or the “raking” method (running your fingers through curls to distribute product) work better than brushing. Plopping (wrapping your wet hair in a t-shirt or microfiber towel) and then air-drying or diffuse-drying creates defined curls without frizz.
Quick Facts
- Requires a stylist who specializes in curly hair
- Curls naturally create a flattering shape at shoulder length
- Needs consistent moisture and protein balance in products
- Looks better every trim because the shorter layers encourage curl formation
Insider note: If your curls are inconsistent (some tighter, some looser), a curly bob works even better because the varied layers complement the varied curl pattern.
8. Curly Hair: The Textured Shag for Curls
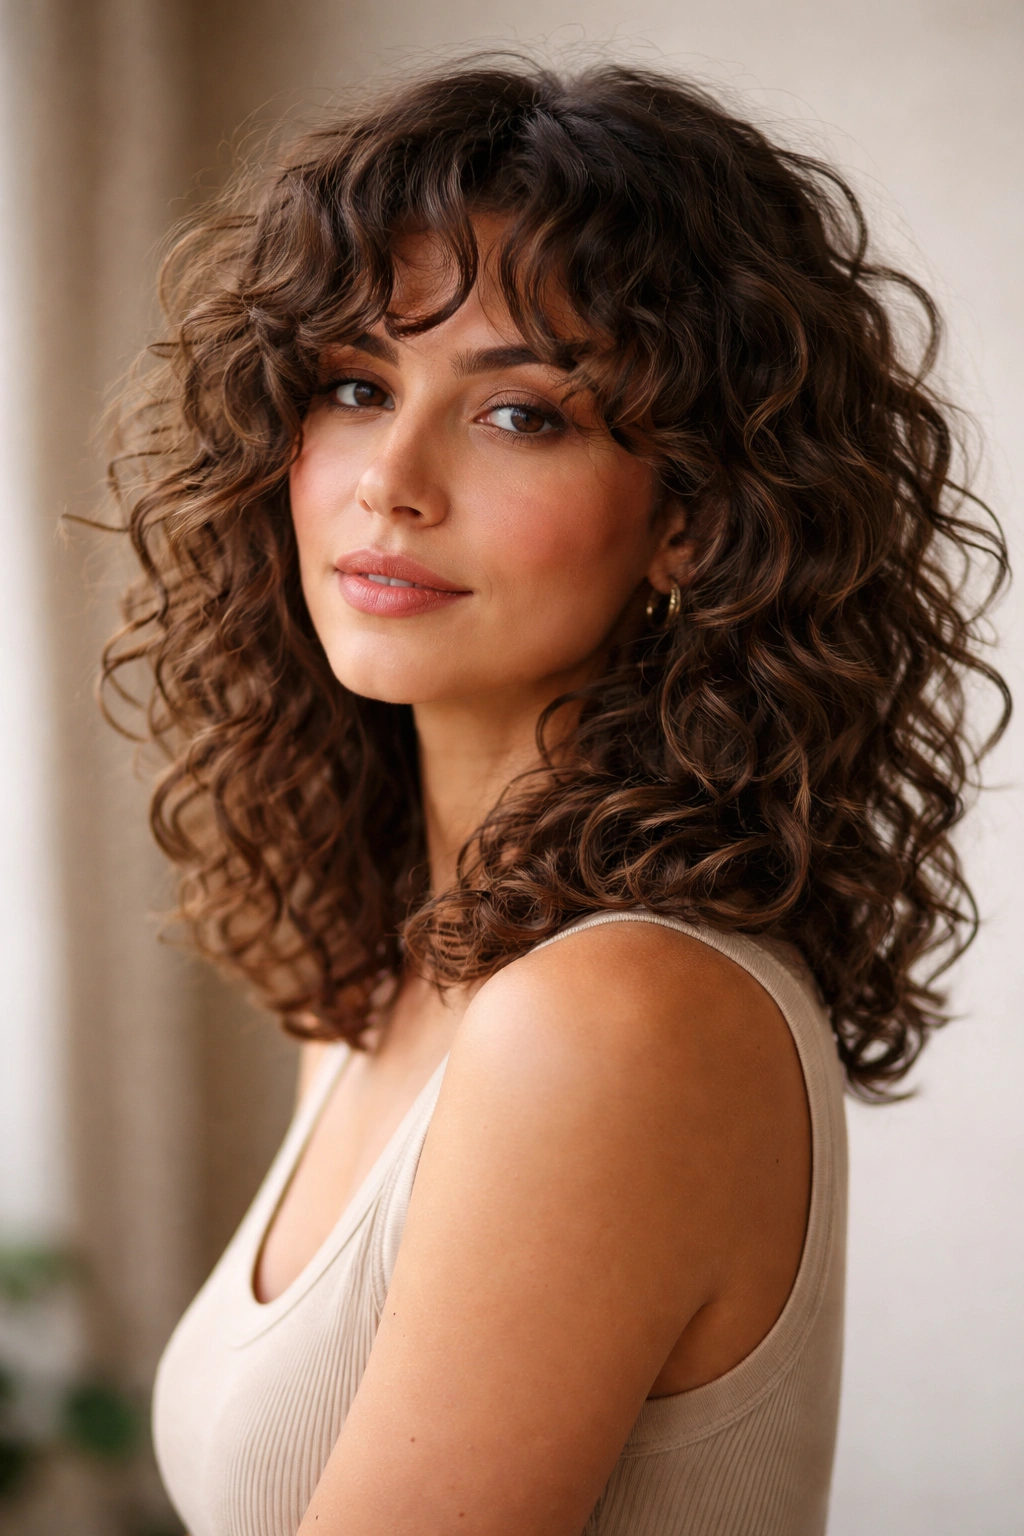
A shag designed specifically for curly hair is looser and less choppy than a shag for straight or wavy hair. The cut still has that shorter-on-top, longer-underneath structure, but the layers are subtler because your curls already provide plenty of texture. The goal is to enhance your curl pattern without creating such short layers that you end up with frizzy pieces that don’t curl properly.
How This Differs from a Straight-Hair Shag
A curly shag should have fewer layers, spaced farther apart, cut at longer lengths. The choppy, disconnected texture of a traditional shag can make curly hair look overly fluffy or difficult to manage. A well-cut curly shag has movement and dimension but still looks intentional and controlled, not chaotic.
Enhancing Your Curl Pattern
Curl-enhancing cream or gel scrunched into soaking-wet hair, then diffuse-dried or plopped and air-dried, brings out the best in this cut. The layers encourage your curls to bounce and separate rather than clumping together. Some people find that a gentle hand with styling—using just their fingers to separate curls as they dry—works better than combing or brushing.
Quick Facts
- Works beautifully on medium to tight curls
- Requires a stylist experienced with curly hair
- Needs products designed for curl definition, not just moisture
- Looks fuller and bouncier than a curly bob
Real talk: This cut requires honest communication with your stylist about your curl type. If you have coily hair, you might actually want a curly bob instead—it depends on your specific curl pattern and density.
9. Curly Hair: The Shoulder-Length Curly Mullet
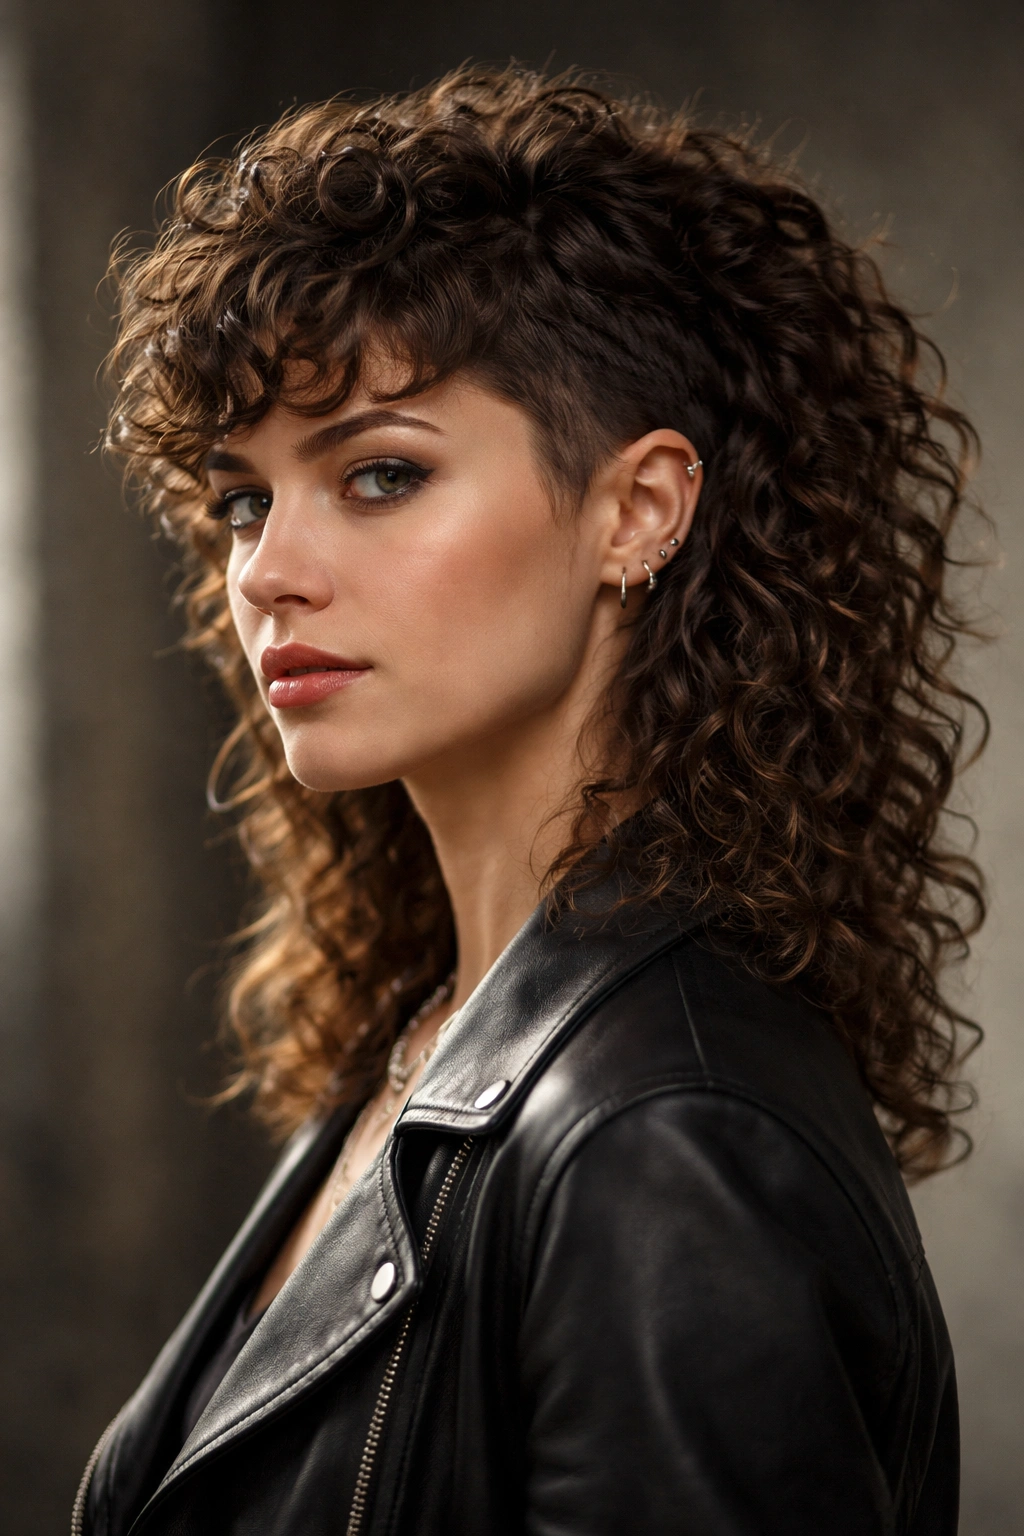
A mullet on curly hair—business on top, party in the back—is a bold, fashion-forward cut that plays with the juxtaposition of your curl texture. The front and sides are shorter, more controlled, and more flattering to your face, while the back stays longer and curlier, creating a playful, edgy vibe. This cut works best on people who want to make a statement.
The Balance Point: How Short in Front, How Long in Back
The front typically sits around ear-length or just below, while the back can hit shoulder length or slightly longer. This creates that distinctive mullet shape while still being wearable in professional settings because the front is short enough to look intentional and modern rather than just unkempt.
Styling and Maintenance
The front and sides need curl cream and gel to keep curls defined without frizz, while the back can be curlier and less controlled for that contrast. You can wear this cut up in a high pony with the longer curls at the back fully on display, or wear it down for a softer vibe. The key is that the length difference creates natural movement and dimension.
Quick Facts
- Requires confidence and a willingness to stand out
- Works best on medium to thick, tightly coiled curls
- Surprisingly versatile—can be styled soft or edgy
- Needs a stylist comfortable with unconventional cuts
Insider note: This cut photographs beautifully for social media because the contrast and texture are visually striking.
10. Coily Hair: The Shoulder-Length Coily Crop with Density
Coily and kinky hair textures benefit from a cut that respects density and encourages coil formation rather than frizz or loosening. A shoulder-length cut on coily hair can be achieved in several ways—a short, uniformly cropped cut with coils all one length, or a slightly longer version with subtle layers. The key is cutting with the grain of your coils, understanding how much your hair shrinks when dry, and leaving enough density that you don’t end up with thin, sparse-looking coils.
Understanding Shrinkage and Length
Coily and kinky hair shrinks dramatically—sometimes 50% or more—when it dries. What looks like armpit-length hair when soaking wet might be shoulder-length when dry and fully coiled up. Work with your stylist to understand your shrinkage pattern so you can get the length you actually want. Many coily-haired people stretch their hair when it’s wet to get a clearer picture of actual length.
Products and Styling for Coiled Hair
Rich leave-in conditioners, creams, and gels designed for coily hair are essential. Finger-combing or using a wide-tooth comb on soaking-wet hair, then applying products in sections, helps distribute moisture and definition products evenly. Plopping or using a microfiber towel prevents frizz. Some people use the LOC method (leave-in conditioner, oil, cream) layered in that order for maximum moisture and definition.
Quick Facts
- Requires a stylist who understands coily and kinky hair
- Shrinkage is real—account for 30-50% shrinkage from wet to dry
- Benefits from moisture-rich products and protective styling
- Looks fuller and more textured than the same cut on any other hair type
Worth knowing: Coily hair is stronger than it looks—you don’t need to baby it, but you do need products that provide both moisture and protein for balance.
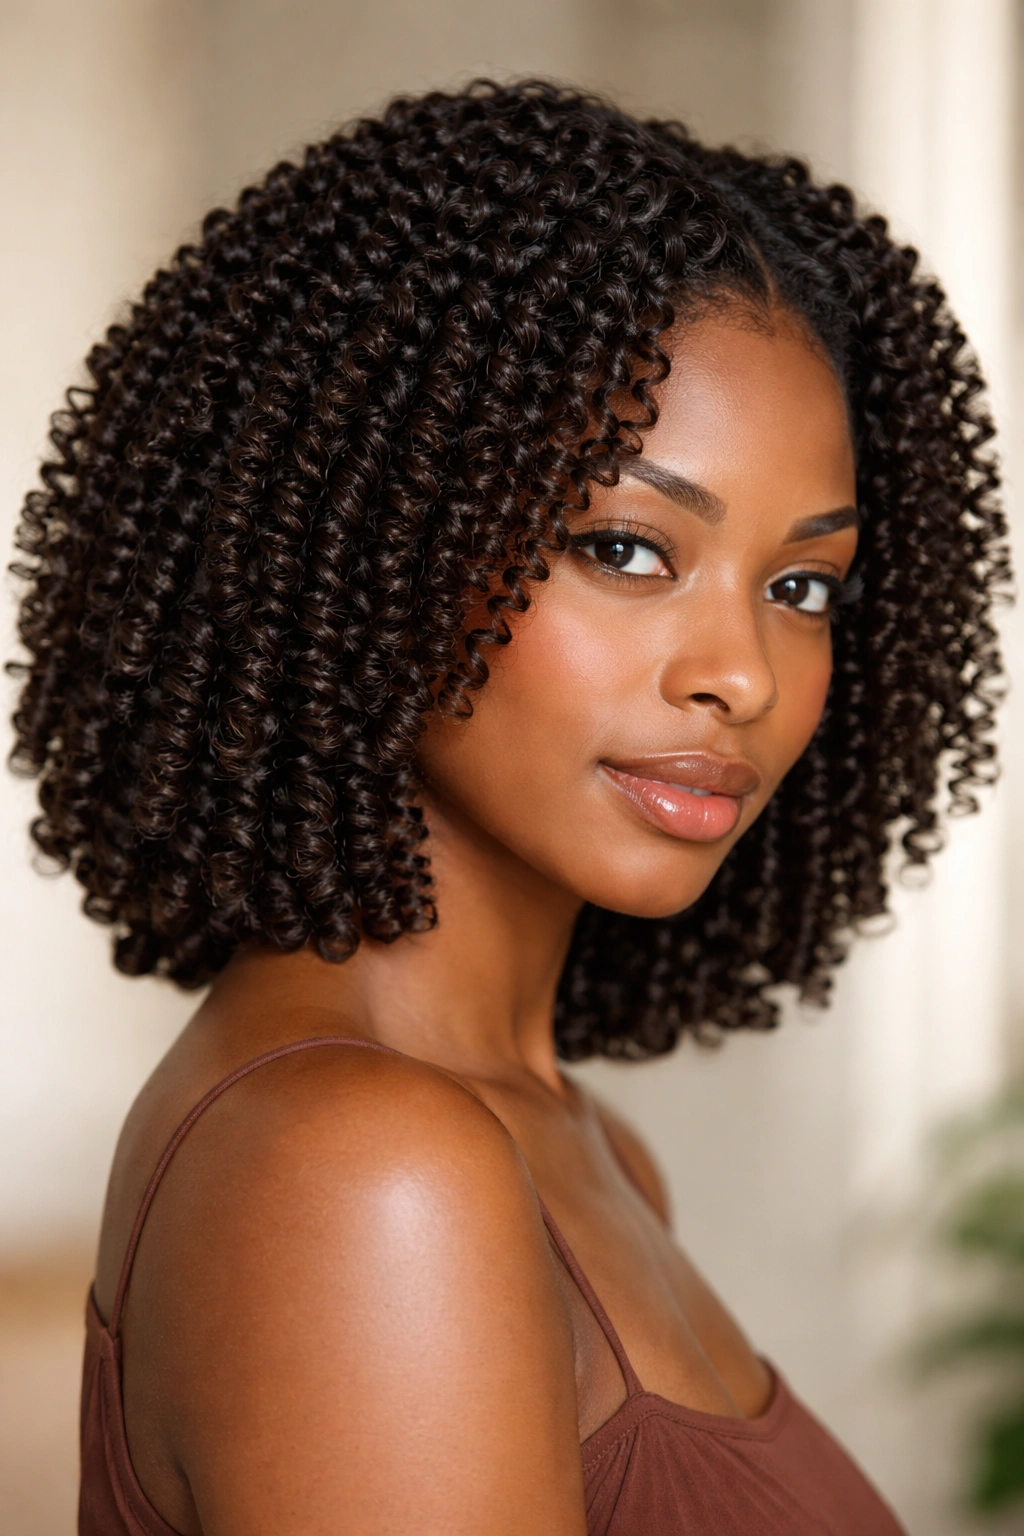
11. Coily Hair: The Styled-Out Coil Cheveux (Texture and Definition)
Taking coily hair to the next level involves more intentional styling—using products, techniques, and sometimes heat (carefully) to create defined, bouncy coils that are visually striking and well-separated. This isn’t natural, wash-and-go hair; it’s intentionally styled hair that celebrates coil texture through technique and product. A shoulder-length cut gives you enough length to work with for dramatic styling while still being manageable.
Techniques for Maximum Coil Definition
Rod-setting or banding coils while damp creates uniform curl patterns and bouncier coils. Some people use flexi-rods, curlformers, or even paper bags to create coils while hair dries. This technique requires time but creates stunning definition that makes each coil visible and separate. Others use the “shingling” method—smoothing products through individual coils with their fingers for definition without the commitment of rod-setting.
Heat Styling Considerations
Low heat from a diffuser attachment on a low setting can work for coily hair, but high heat can damage coils and create frizz. Some people find that finger-combing products through damp coils and letting them air-dry completely gives them more control and less frizz than any heat styling. The best method depends on your specific hair structure and how much time you want to invest.
Quick Facts
- Requires more time investment than wash-and-go styling
- Works best on medium to thick coily hair
- Products and technique matter as much as the cut itself
- Creates the most visually striking, defined texture on coily hair
Pro tip: If you’re learning coil styling techniques, start with products you can wash out easily so you can experiment without commitment.
12. Thick Hair (Any Texture): The Heavy-Duty Textured Lob
Thick hair can actually become a styling challenge if the cut doesn’t account for that density. Too much hair all at one length becomes heavy and shapeless. A textured lob—layers throughout to remove weight and create movement—keeps thick hair manageable while looking intentional. The layers break up that massive amount of hair into smaller sections that can move and breathe.
Layering Strategy for Thick Hair
Rather than just removing length, a layered cut for thick hair removes internal bulk and creates breakage points so the hair doesn’t hang as one heavy block. The layers should be cut at different lengths throughout—some face-framing, some mid-length, some creating choppy texture at the ends. This prevents the cut from looking thinned out while still managing that thick density.
Styling to Show Off Texture
A texturizing product, sea salt spray, or mousse applied to damp hair and either air-dried or diffuse-dried helps show off the layers and texture. Thick hair often has some natural wave or texture that a layered cut can amplify. If your thick hair is straight, blow-drying with a round brush over the layers adds movement. If it’s wavy or curly, encouraging your natural texture with the right products makes the layers visible and beautiful.
Quick Facts
- Layers are essential for managing thick hair
- Can accommodate more dramatic, choppy layers than thinner hair
- Works well with texture sprays and sea salt products
- Requires trims every 6-8 weeks to maintain shape as it grows
Insider note: Thick hair actually looks better with visible layers and choppy texture—it’s a way to make that abundance of hair work in your favor rather than against it.
13. Thick Hair (Any Texture): The Choppy, Face-Framing Layers
If you love the idea of lots of movement and dimension, choppy, heavily layered hair might be perfect for you—but only if your hair is thick enough to support it. Choppy layers on thin hair look wispy and disconnected, but on thick hair, they create a modern, fashion-forward, intentionally undone look that photographs beautifully. The shorter layers at the front frame your face, while longer layers underneath create movement.
Understanding Choppy vs. Blended Layers
Choppy layers are disconnected and visible—you can see the line where each layer starts and stops. Blended layers are feathered smoothly from longer to shorter. Choppy works on thick hair; blended works better on fine hair. If your hair is thick and you want movement, choppy is your friend because each layer is substantial enough to hold its shape.
Styling for Choppy Texture
Texturizing paste, matte clay, or even a light gel twisted through the layers emphasizes the choppy structure. Blow-drying with a diffuser or round brush creates volume and separates the layers. You can also embrace the undone texture by using dry shampoo or texture spray and running your hands through your hair for that “I woke up like this” vibe—which, with thick hair and choppy layers, is actually achievable.
Quick Facts
- Works best on medium to very thick hair
- Requires styling products to show off the choppy texture
- Creates maximum movement and dimension
- Needs trims every 5-6 weeks to maintain the choppy effect
Real talk: Choppy layers require you to be comfortable with texture and movement. If you prefer polished, sleek styles, this isn’t your cut.
14. Thin or Fine Hair: The Blunt Bob for Volume
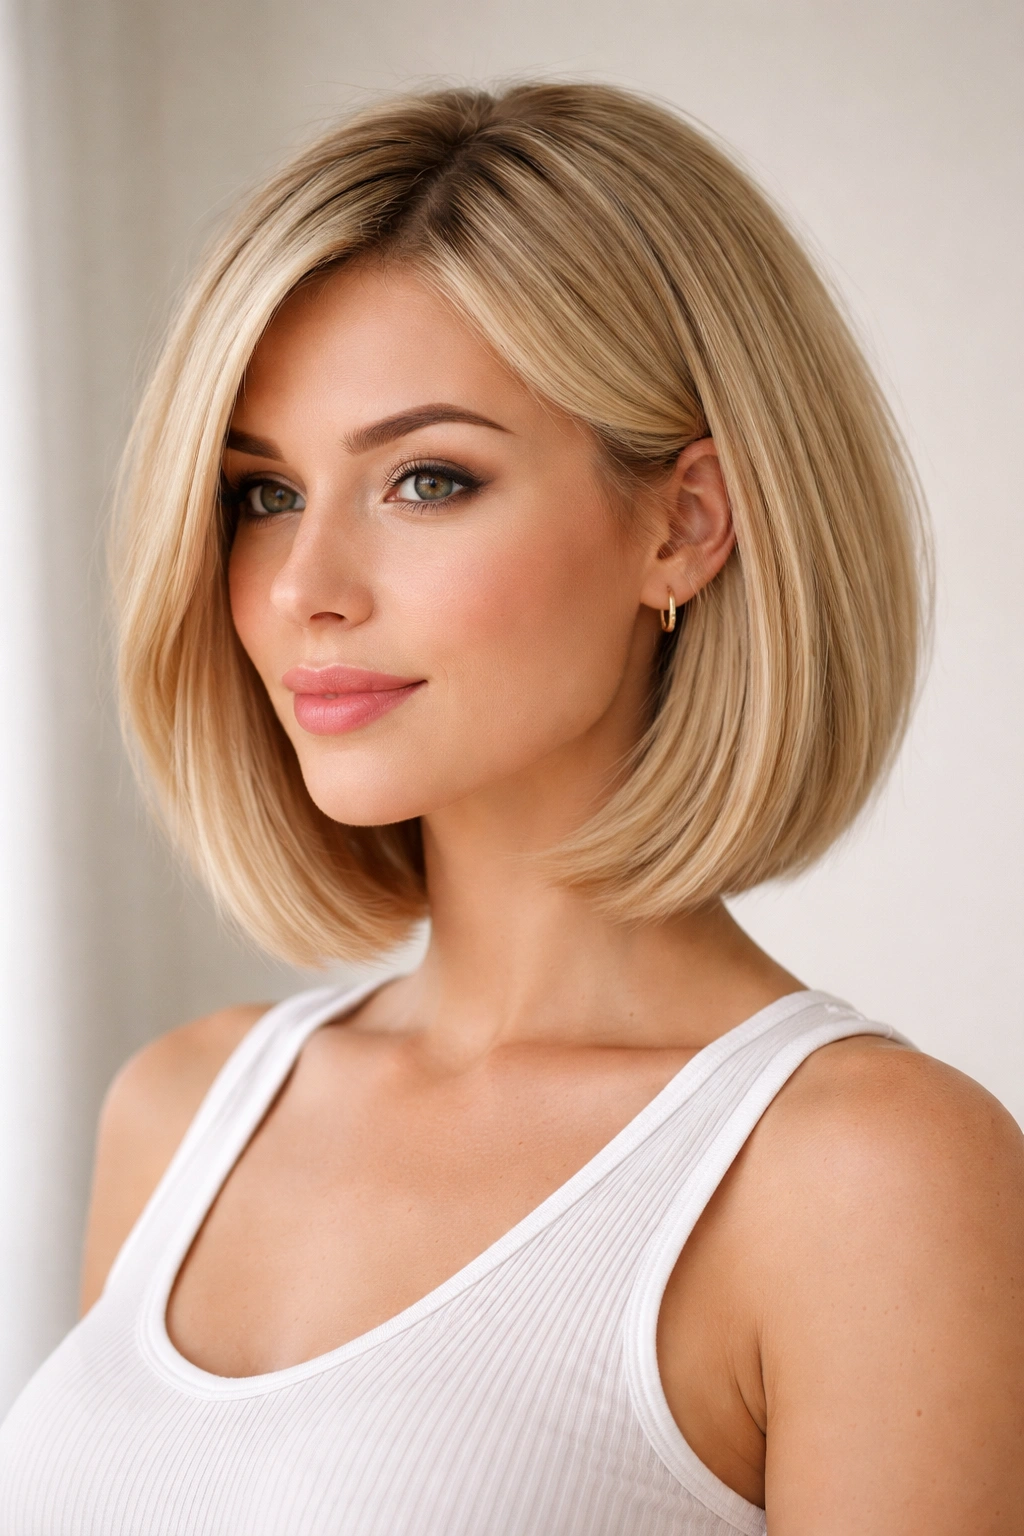
On thin or fine hair, a blunt bob can actually look better than you’d expect, as long as the cut accounts for your hair’s natural behavior. Rather than cutting blunt all the way around, a skilled stylist cuts blunt at the crown (creating volume and lift) but slightly shorter through the sides and back (preventing that hollow, space-helmet look that thin hair can get with a truly blunt all-around cut). This creates an illusion of fuller hair while working with your hair’s reality.
Density Strategies for Fine Hair
The cut should create maximum optical density. This means no choppy, disconnected layers—those show scalp on fine hair. Instead, layers should be blended and subtle, with most of the hair staying at one length to create density. The layers are just there to prevent that one-note, boring appearance, not to create visible texture.
Styling for Fine Hair Volume
Volumizing mousse applied to damp roots, then blow-dried with a round brush, creates lift and fullness. A light hairspray holds the volume without weighing fine hair down. The blunt line is actually your friend because it creates a crisper silhouette that makes hair look fuller. You’ll want regular trims every 6-8 weeks because fine hair shows every bit of damage and breakage.
Quick Facts
- Should have minimal layers to maintain density
- Looks best with volumizing products at the roots
- Needs regular trims to maintain shape and prevent breakage
- Works beautifully with a lightweight styling cream or mousse
Insider note: Fine hair looks thicker immediately after a cut because of the blunt line. Plan important events within 2-3 weeks of getting a trim for maximum fullness.
15. Thin or Fine Hair: The Subtle Layers Lob
A lob on fine hair works when the layers are extremely subtle and blended rather than choppy. The goal is to add dimension and a little movement without creating holes or gaps that show your scalp. Face-framing layers that blend smoothly into the rest of the hair create softness without sacrificing that density that makes fine hair look fuller.
The Blending Technique
Blended layers should be so smooth that most people won’t immediately notice them—the effect is softness and subtle movement, not choppy texture. Your stylist should use blending techniques like point-cutting or feathering that create a gradual transition from longer to shorter rather than a stark line.
Product and Styling Approach
A lightweight leave-in conditioner and a gentle volumizing mousse keep fine hair looking full without weighing it down. Blow-drying with a paddle brush and a blow dryer on a lower heat setting prevents damage while creating volume. This cut also works beautifully with a dry shampoo or volumizing powder that adds texture and grip to fine strands without the heaviness of traditional dry shampoos.
Quick Facts
- Requires a stylist who understands fine hair specifics
- Subtle is key—avoid choppy, dramatic layers
- Needs lightweight products designed for fine hair
- Trims every 6-8 weeks maintain the shape and prevent split ends
Worth knowing: Fine hair benefits from styling twice a week rather than daily—less manipulation means less breakage and longer-lasting style.
16. Thin or Fine Hair: The Textured Crop with Volume at the Crown
For fine hair that wants the modern texture and movement of a shorter cut without going full pixie, a textured crop at shoulder length works beautifully. The cut is textured (not blunt), with most of the texture concentrated at the crown to create height and volume. The sides and back are longer but still cropped, preventing that limp, flat appearance that short cuts can create on fine hair.
Creating Volume Without Bulk
The texture comes from subtle, blended layers that create movement without showing your scalp. The cut is designed to work with volumizing products at the roots to create the illusion of thickness. The slightly longer back and sides provide enough weight to anchor the shorter, textured crown pieces.
Styling for Maximum Effect
A volumizing mousse applied to the roots of damp hair, then blow-dried with a round brush, creates the height this cut depends on. You can also use a blow-dryer on low heat with your hands to rough-dry and create texture. A light texturizing spray keeps the movement in place without flattening your hair.
Quick Facts
- Best on fine hair that wants something edgier than a traditional lob
- Requires blow-drying for best results—air-drying can look flat
- Works well with volumizing products
- Trims every 4-5 weeks keep the textured shape crisp
Pro tip: Ask your stylist for slightly longer layers than you might think you want—fine hair can look too short and severe if the texture is too aggressive.
17. Curly/Textured Hair (Mixed Patterns): The Embrace-Your-Texture Shoulder-Length
If your hair has multiple curl patterns—some tighter, some looser, some wavy, some coily—a cut that celebrates that mixed texture rather than fighting it becomes your best friend. A shoulder-length cut with layers that work with your varied texture creates beautiful dimension and movement that you couldn’t achieve on straighter hair. The key is cutting with your hair’s natural state and letting those varied patterns do the work.
Working With Mixed Curl Patterns
Rather than viewing your mixed texture as a problem, a good stylist sees it as an asset. Longer layers in some areas, shorter layers in others, with face-framing pieces that enhance your facial features—this cut accommodates the fact that your hair naturally wants to do different things in different places. The result is multidimensional and interesting.
Styling Mixed-Texture Hair
You might use different products in different sections depending on curl tightness. Wavier sections might need just a leave-in conditioner and sea salt spray, while tighter coils might need a heavier cream. Scrunching products in while hair is soaking wet, then plopping and air-drying, brings out all your texture without frizz. Some sections might air-dry beautifully while others benefit from a diffuser.
Quick Facts
- Requires a stylist comfortable with mixed textures
- Celebrates your natural hair rather than forcing it into one pattern
- Works beautifully with lived-in, dimensional hair color
- Looks better as it grows because the varied texture continues to add interest
Insider note: If you’ve always thought your hair was “difficult,” a cut designed for mixed texture might transform how you feel about your hair entirely.
18. Straight to Wavy Transitional Hair: The Lived-In Lob
Transitional hair—hair that’s mostly straight with subtle waves, or mostly wavy with some straighter sections—benefits from a lob with subtle layers that work with those inconsistencies. Rather than trying to make your hair into one unified texture, a lived-in lob embraces the fact that your hair naturally varies. The result looks effortlessly stylish rather than like you’re fighting your hair.
Layers for Transitional Hair
The layers should be subtle enough to maintain density (so you don’t end up with thin, wispy pieces) but visible enough to create movement where your hair naturally has it. Face-framing layers should be longer and well-blended, not choppy. The goal is that your varied texture reads as intentional and beautiful, not as damage or poor upkeep.
Styling for That Effortless Look
A wave cream, sea salt spray, or volumizing mousse applied to damp hair and either air-dried or diffuse-dried works with your natural texture. You can also blow-dry with a round brush to smooth things out, or finger-wave while damp for more intentional waves. The beauty of this cut is that it looks good multiple ways—you have flexibility depending on your mood and time available.
Quick Facts
- Works best on hair that’s mostly one texture with subtle variations
- Looks intentional and modern rather than unkempt
- Requires minimal special products
- Looks better as it grows because the waves become more visible
Real talk: This cut is for people who want a “that girl” effortless vibe without spending 30 minutes on their hair every morning.
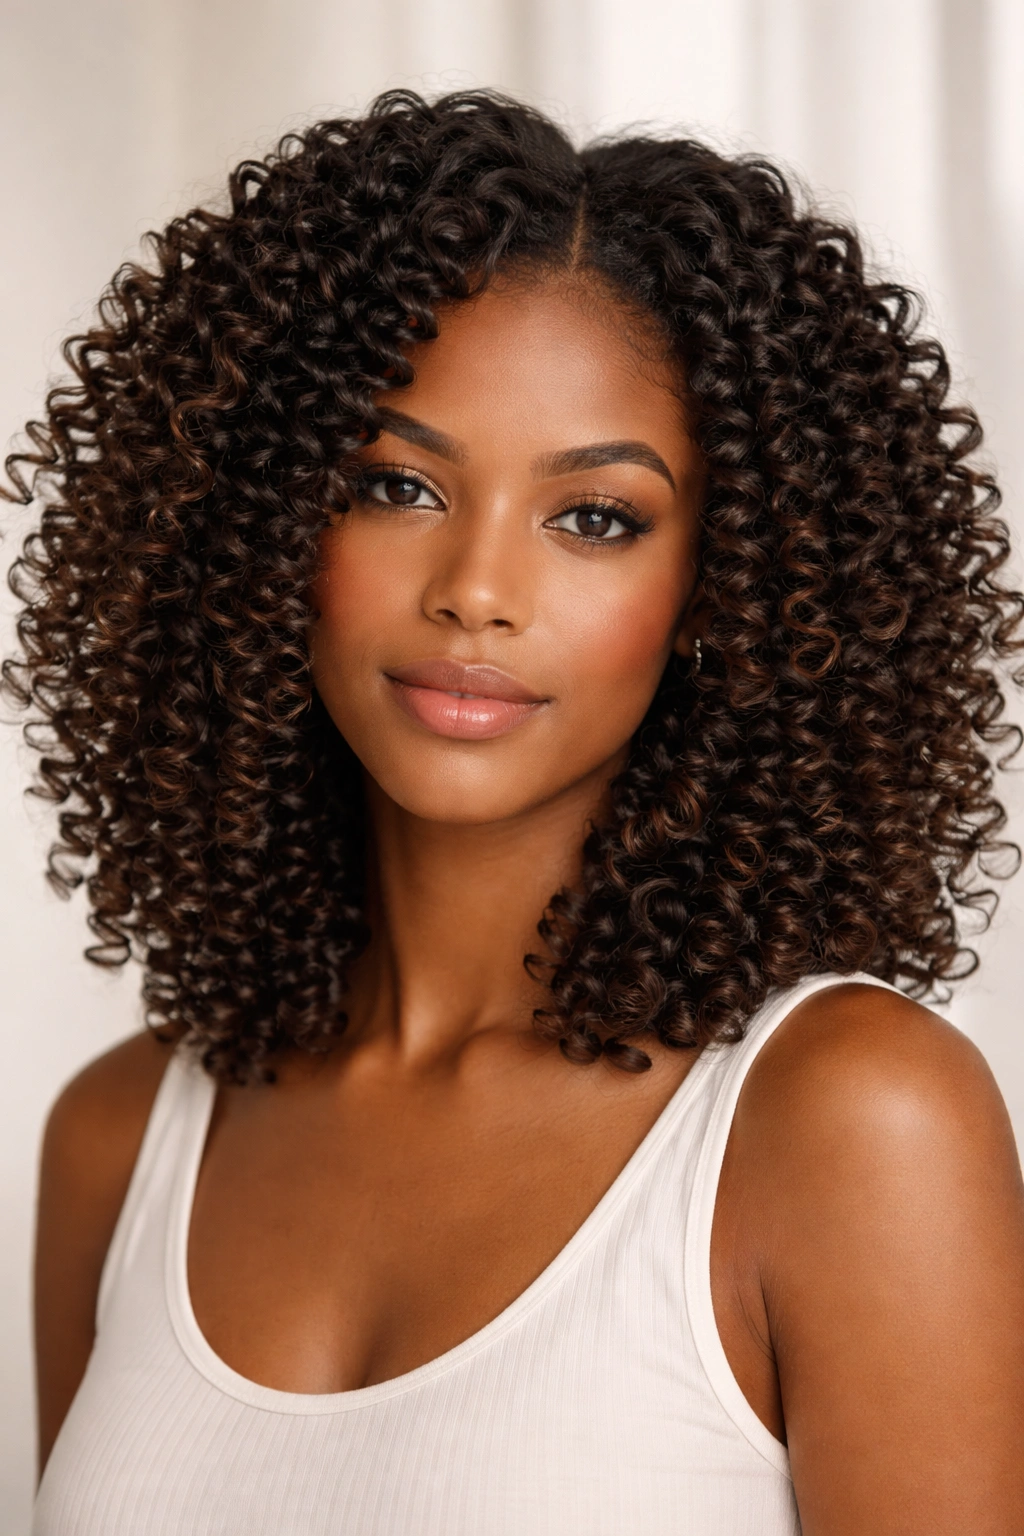
19. Highly Textured/Coily Hair: The Protective Shoulder-Length Coil Set
For coily and kinky hair, a shoulder-length cut that’s protected (meaning the ends are sealed with moisture and protein) and set with intentional styling creates a polished, gorgeous look that lasts weeks. This isn’t wash-and-go hair—it’s a commitment to protective styling and moisture maintenance. But the payoff is thick, full, beautifully defined coils that are undeniably striking.
The Role of Protective Styling
Protective styling for coily hair means setting your coils in a way that keeps the ends tucked in and protected from environmental damage, and that keeps moisture locked in. Rod-setting, banding, braiding-outs, or twisting-outs all accomplish this while creating defined, bouncy coils. A shoulder-length cut gives you enough length to work with for these techniques while still being manageable for daily life.
Maintenance and Refresh Routine
Once your coils are set, a light spritz of water and a little product refreshes them through the week. You might sleep on a satin pillowcase or bonnet to protect the set. Depending on the styling method and your hair’s rate of new growth, a set lasts 1-4 weeks. This requires more time investment than wash-and-go hair, but many people find it meditative and beautiful.
Quick Facts
- Requires knowledge of protective styling techniques
- Works best on medium to thick coily hair
- Creates visually stunning, defined texture
- Needs consistent moisture and protein balance
Worth knowing: Learning protective styling techniques takes practice—don’t expect perfection on your first attempt. Many people find YouTube tutorials and communities invaluable.
20. All Hair Types: The Textured Modern Shoulder-Length Cut
The modern textured shoulder-length cut works on virtually every hair type when customized for your specific texture and density. It’s characterized by lived-in, intentional texture (never blunt), subtle face-framing, and a length that sits right at the shoulders. The cut assumes you’ll work with your hair’s natural texture rather than against it, and it delivers results that feel personal and intentional rather than cookie-cutter.
Customization by Hair Type
On straight hair: subtle choppy layers and face-framing create movement. On wavy hair: layers work with your wave pattern. On curly hair: shorter layers encourage curl formation. On coily hair: layers are cut with the coil pattern in mind, not against it. On fine hair: blended, subtle layers maintain density. On thick hair: choppy layers create movement and manageability.
The Universal Styling Approach
Work with your hair’s natural texture using products designed for that texture, and style with minimal heat when possible. Whether that means sea salt spray and air-drying, curl cream and diffuse-drying, or a texturizing paste and finger-combing, the principle is the same: enhance what your hair naturally wants to do.
Quick Facts
- The most versatile shoulder-length cut available
- Works across all hair types when customized correctly
- Requires honest communication with your stylist about your hair’s natural state
- Looks better as it grows because the texture continues to add interest
Pro tip: When consulting with a stylist, bring photos of the cut you want and specify your hair type. The best version of this cut is customized to you.
Final Thoughts
Finding the right shoulder-length cut means understanding your hair type first—its texture, density, wave pattern, and how it naturally behaves. The 20 cuts above cover options for straight, wavy, curly, coily, fine, thick, and mixed-texture hair, but the reality is that customization is everything. A cut that’s perfect for thick, coily hair doesn’t work for fine, straight hair, and vice versa.
The most important part of getting a great shoulder-length cut is working with a stylist who listens to your hair type and designs the cut specifically for how your hair actually behaves, not how you wish it would behave. Bring reference photos, be honest about your styling commitment level, and have a real conversation about what products and techniques your hair needs to look its best.
Shoulder-length hair sits in that versatile middle ground where you can experiment with layers, texture, and styling without the commitment of longer hair or the maintenance of very short hair. Use that to your advantage—try the cut that speaks to you, commit to the styling approach your hair type requires, and enjoy the transformation.