10 Pretty Natural Hair Updos for Special Occasions
There’s something incredibly powerful about stepping into a special occasion with your natural hair styled beautifully. Whether you’re heading to a wedding, graduation, date night, or celebration, an updo that works with your natural texture instead of against it makes you feel confident, radiant, and authentically yourself. The challenge, though, is finding updos that actually hold throughout the evening, look polished enough for the occasion, and don’t require hours of styling time or damage your curls, coils, and waves.
Natural hair updos sit at a unique intersection—they need to be secure enough to stay put when you’re dancing or moving, pretty enough to photograph beautifully, and kind enough to your hair that you can take them down at the end of the night without breakage or frustration. The good news is that natural hair’s inherent texture and volume are assets in updo styling. The grip that coils and curls provide actually makes updos hold more easily than you might think, and the natural fullness creates gorgeous dimension that pin-straight hair sometimes struggles to achieve.
What makes the difference between an updo that feels special and one that just looks like you threw your hair up is intentionality—choosing a style that complements your face shape, respecting your hair’s moisture and elasticity needs, and using the right techniques to position your curls strategically. The updos in this guide work beautifully on all natural hair types and textures, from loose waves to tight coils, and they’re designed so you can actually recreate them yourself or describe exactly what you want to your stylist.
Let’s walk through ten stunning updo styles that celebrate your natural hair while keeping it secure, beautiful, and healthy throughout your special occasion.
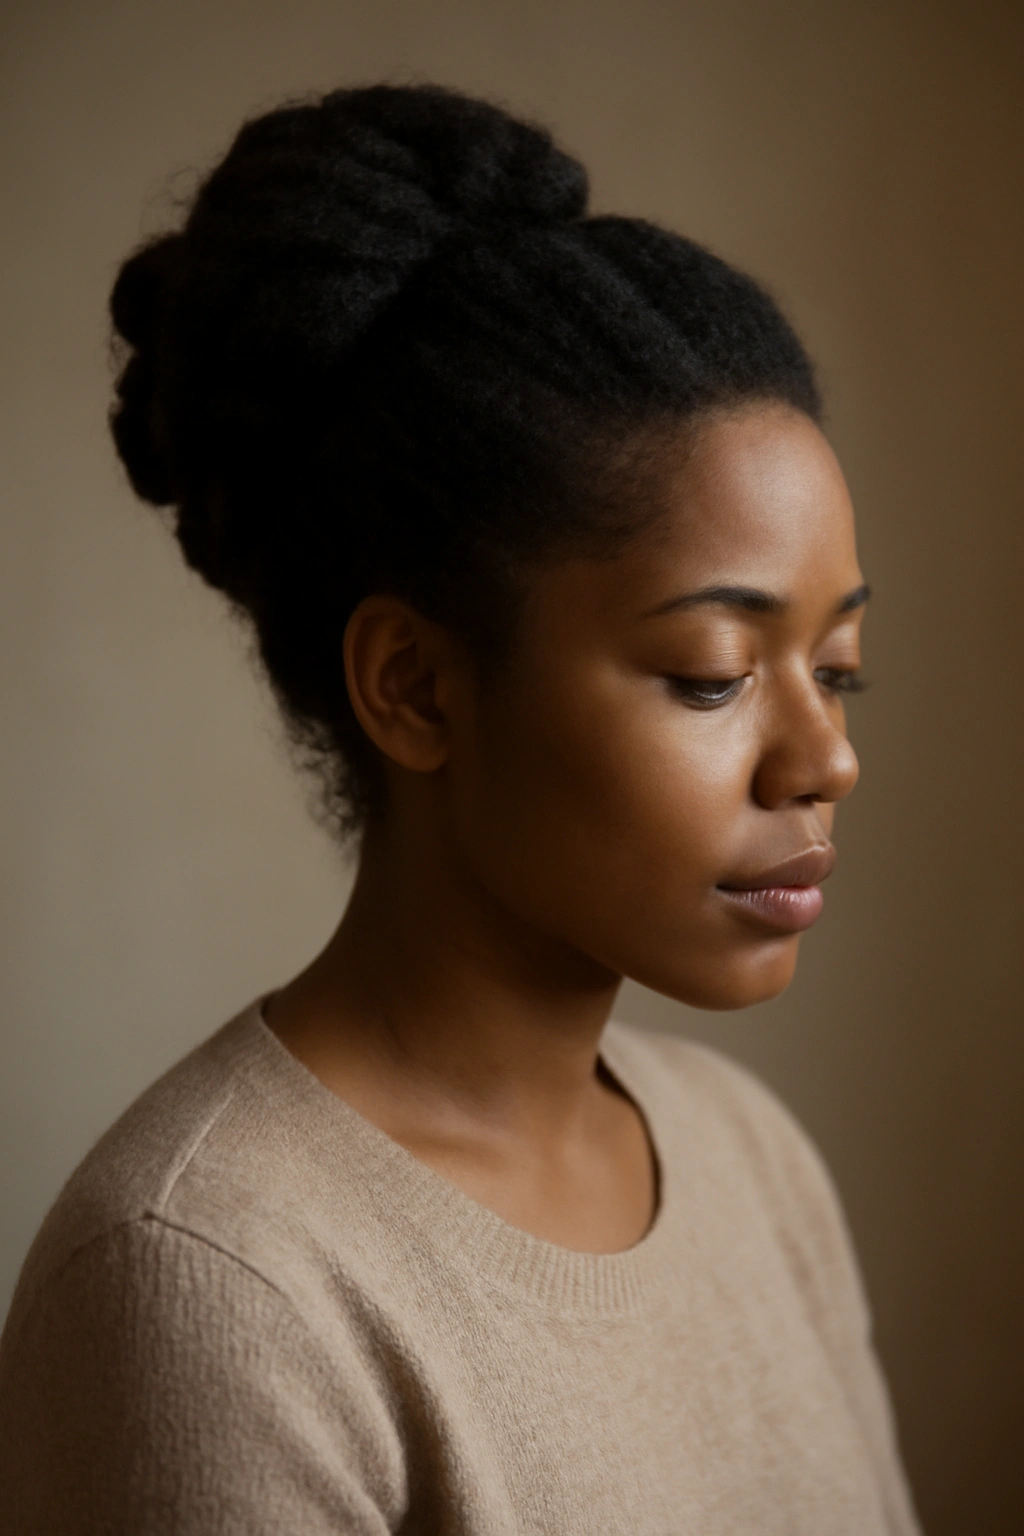
1. The Sleek High Bun
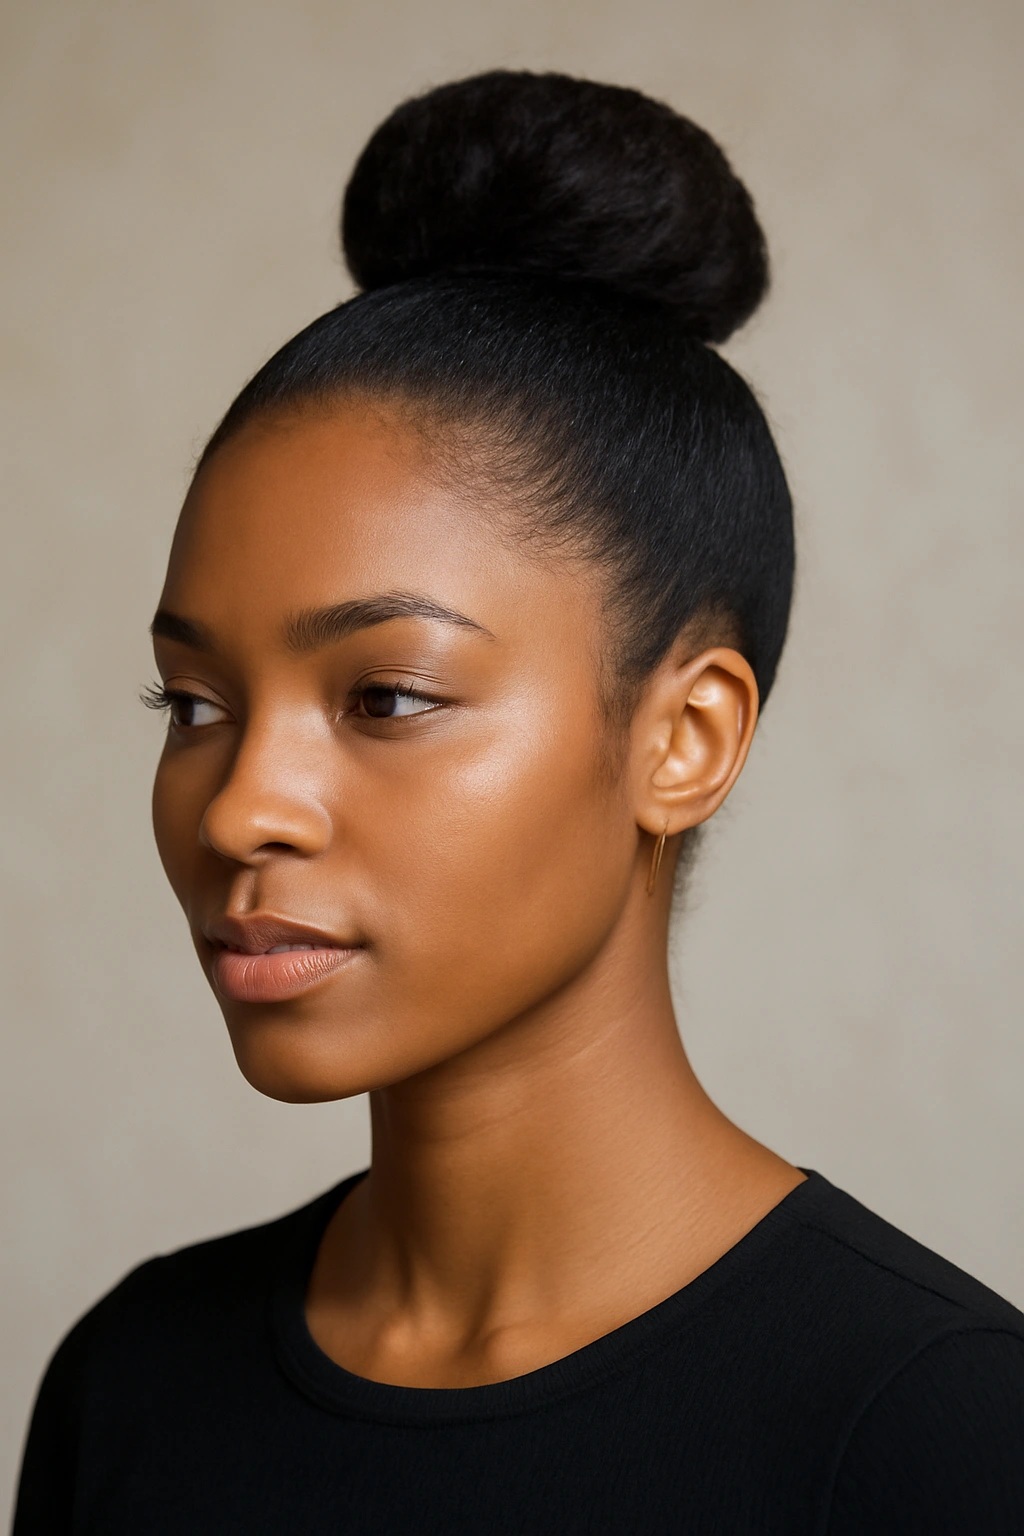
A sleek high bun is the ultimate statement style—polished, sophisticated, and undeniably elegant. This works beautifully for formal occasions because it’s clean and intentional without feeling stiff or overly processed. The key to pulling this off on natural hair is smoothing your curls into a defined shape while keeping the style looking intentional rather than fighting against your texture.
How to Create This Look
Start by applying a smoothing cream or gel to damp hair, then blow-dry your curls smooth using a paddle brush. You want the hair smooth enough to look sleek but not so much that you’ve lost all texture—a little subtle curl is actually more interesting than completely straight hair. Once your hair is dry, gather it at the crown into a high ponytail, securing it with a sturdy elastic band. Twist the ponytail loosely, then wrap it around the base to form the bun shape. Use bobby pins to anchor it securely, tucking any flyaways with a small amount of edge control gel around your face and hairline for a polished finish.
What Makes It Special for Occasions
This bun works on virtually any hair texture because you’re not trying to make your curls disappear—you’re simply containing them into a defined shape. The height at the crown elongates your face and neck, which photographs beautifully. It also works with nearly every outfit, from a flowing gown to a structured dress to a sharp suit. The style stays secure all night because the high positioning and twisted base keep hair locked in place. Best of all, it takes maybe ten minutes once you’ve blow-dried your hair, so you can spend your styling time on makeup or getting ready rather than fussing with your hair.
Pro Styling Tips
If you have naturally coily hair and smoothing it completely feels like too much effort or product, you can create a gorgeous “textured sleek” version by using a smoothing serum on already-dry curls instead of blow-drying. This gives you a refined appearance while keeping more of your natural curl pattern intact. For extra security throughout the evening, use a lightweight hairspray or resin-based hold gel on the gathered ponytail before twisting and wrapping—this prevents any slippage. If you prefer more volume at the crown, gently lift and tease the base of the bun slightly before wrapping the ponytail ends around it.
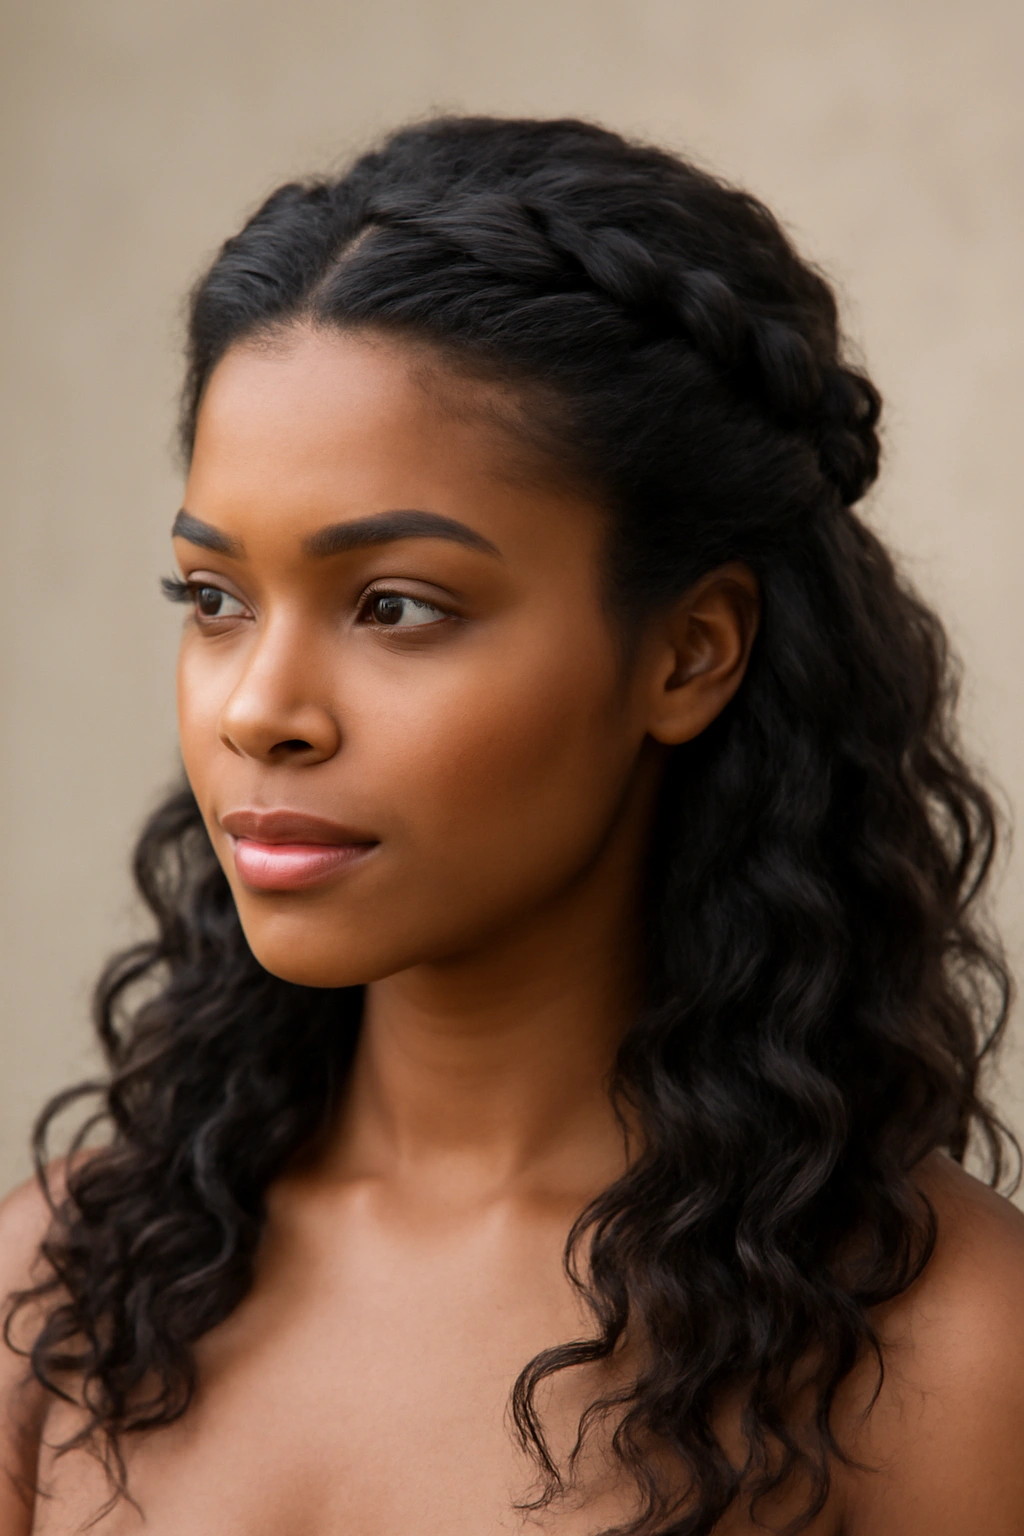
2. The Twisted Crown Updo
The twisted crown is pure elegance—it looks like you spent hours crafting an intricate hairstyle when really you’ve just twisted sections of hair around your crown and pinned them in place. This style works on every texture and actually showcases natural texture beautifully because the twists catch light and create gorgeous dimension.
Step-by-Step Construction
Begin with curled or textured hair (blow-dried curls, soft waves, or natural coils all work). Part your hair down the middle from your forehead to the nape of your neck. Starting at one ear, take a two-inch section of hair and twist it toward the back of your head, holding tension as you go. The twist should spiral around toward the back, creating a spiral pattern that frames your face. Once you’ve twisted the section to the back of your head, pin it in place with bobby pins that match your hair color, tucking the end under and securing it to the crown area. Repeat on the other side, creating a mirror-image twist. Once both sides are pinned, gather the remaining back section into a low ponytail or bun, and tuck the twisted sections into it for an integrated, finished look.
Why Natural Hair Excels at This Style
The texture of natural curls and coils actually grips the bobby pins better than straight hair does, which means this style stays incredibly secure throughout the evening. The twists showcase curl pattern beautifully—you can see the dimension and movement in each twisted section. This style also works whether you blow-dried your curls smooth or left them in their natural state, so it adapts to whatever time and effort you want to put into styling.
Styling Variations
For a softer, more romantic version, create the twists but don’t pull them tight—let them be loose and a bit undone, with face-framing pieces escaping gently. For a more dramatic version, create thicker twists (three or four inches wide) instead of thin ones, which creates bolder lines and more visual impact. You can also add decorative bobby pins or hair cuffs along the twists for extra special-occasion sparkle.
3. The Soft Low Pony with Layered Braids
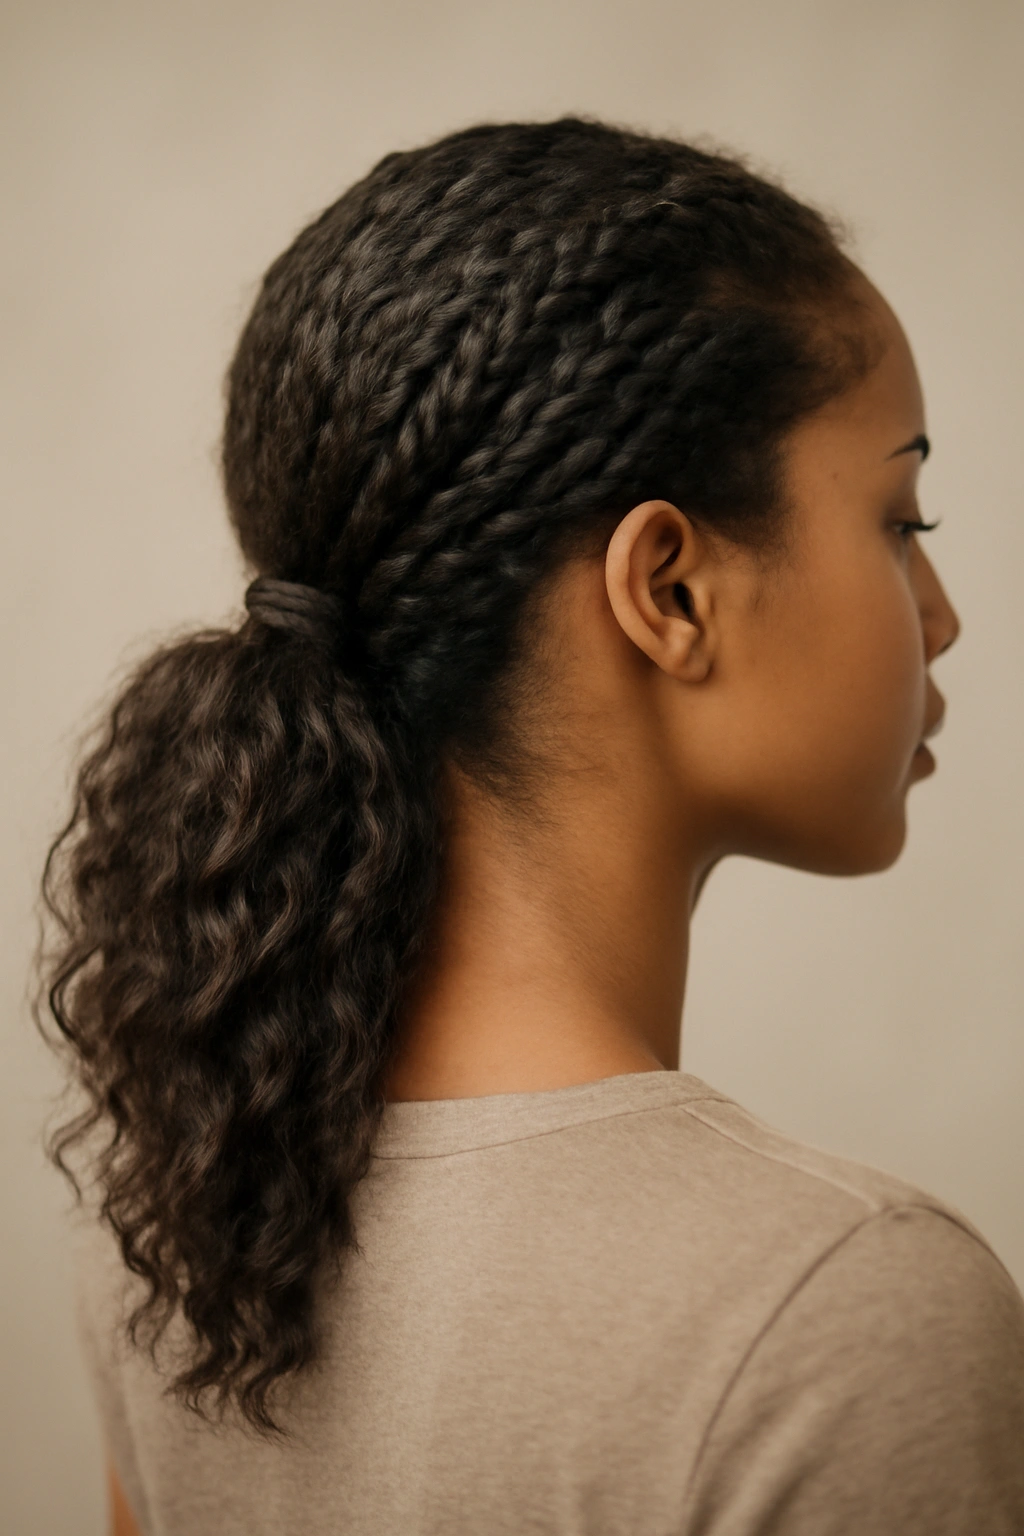
This style is deceptively simple but creates serious visual impact. It combines the ease of a low ponytail with the intricate detail of braids, giving you a style that looks complicated but comes together surprisingly quickly on natural hair.
Building the Look
Gather your hair into a low ponytail at the nape of your neck, securing it loosely with an elastic band. The key to “softness” here is not pulling too tightly—you want the ponytail to sit gently, not stretched. Divide the ponytail into three sections. From the center section, create a three-strand braid starting at the elastic and braiding down the length of the ponytail. Beside it, create two more thinner braids from the side sections. Braid each all the way to the ends, then secure each with a tiny elastic. Once all three braids are complete, gently pull and loosen each braid slightly to create a fuller, softer appearance—this is called “pancaking” and it makes thin braids look thicker and more luxurious. Tuck the braid ends under the base of the ponytail and secure with bobby pins.
Why This Works for Special Occasions
The combination of loose and structured elements is incredibly flattering. The soft ponytail base feels modern and relaxed, while the detailed braids add sophistication and intentionality. This style photographs beautifully because you can see the braid detail, and it works on straight, wavy, and curly natural hair alike. It’s also incredibly secure—the multiple braids create multiple anchor points, so even an hour of dancing won’t loosen it.
Customization Options
If three braids feel like too much detail, you can do just one center braid flanked by two twisted sections instead. If you want more romance, leave a few face-framing pieces unbraided and slightly curled. For added glamour, weave a thin ribbon or decorative thread through the braids as you create them.
4. The Wrap-Around Bun
This bun style is architectural and modern—it looks like you’ve wrapped a rope of hair around a center point, creating a sculptural shape that’s both artistic and incredibly secure. It’s particularly stunning on natural hair because the wrap creates visual lines that showcase texture.
Creating the Wrap
Start with your hair in a low ponytail at the nape of your neck. Secure it with an elastic band, then take a thin section from the underside of the ponytail base—about one-quarter of the ponytail’s thickness. Twist this section tightly, then wrap it around the base of the ponytail, spiraling upward as if you’re wrapping a rope. As you wrap, you’re incorporating more and more of the ponytail into the wrapped section, creating a spiral bun shape. Pin as you go, tucking the end securely. The result is a bun that looks like a piece of hair art—clean, defined, and completely original.
The Science Behind the Hold
This style holds so well on natural hair because you’re creating multiple tension points as you wrap, and natural hair’s texture grips bobby pins securely. The spiral structure also distributes the weight of your hair evenly, so there’s no one stress point that could cause slippage or breakage.
Styling Notes
This bun looks most elegant when you use a smoothing product or serum to create definition in the wrapped sections—you want each layer of the spiral to be visible and distinct. It works beautifully with formal gowns, suits, or structured dresses. For a softer version, create the wrap but don’t make it quite so tight, and let a few wisps escape around the nape of your neck.
5. The Textured High Knot
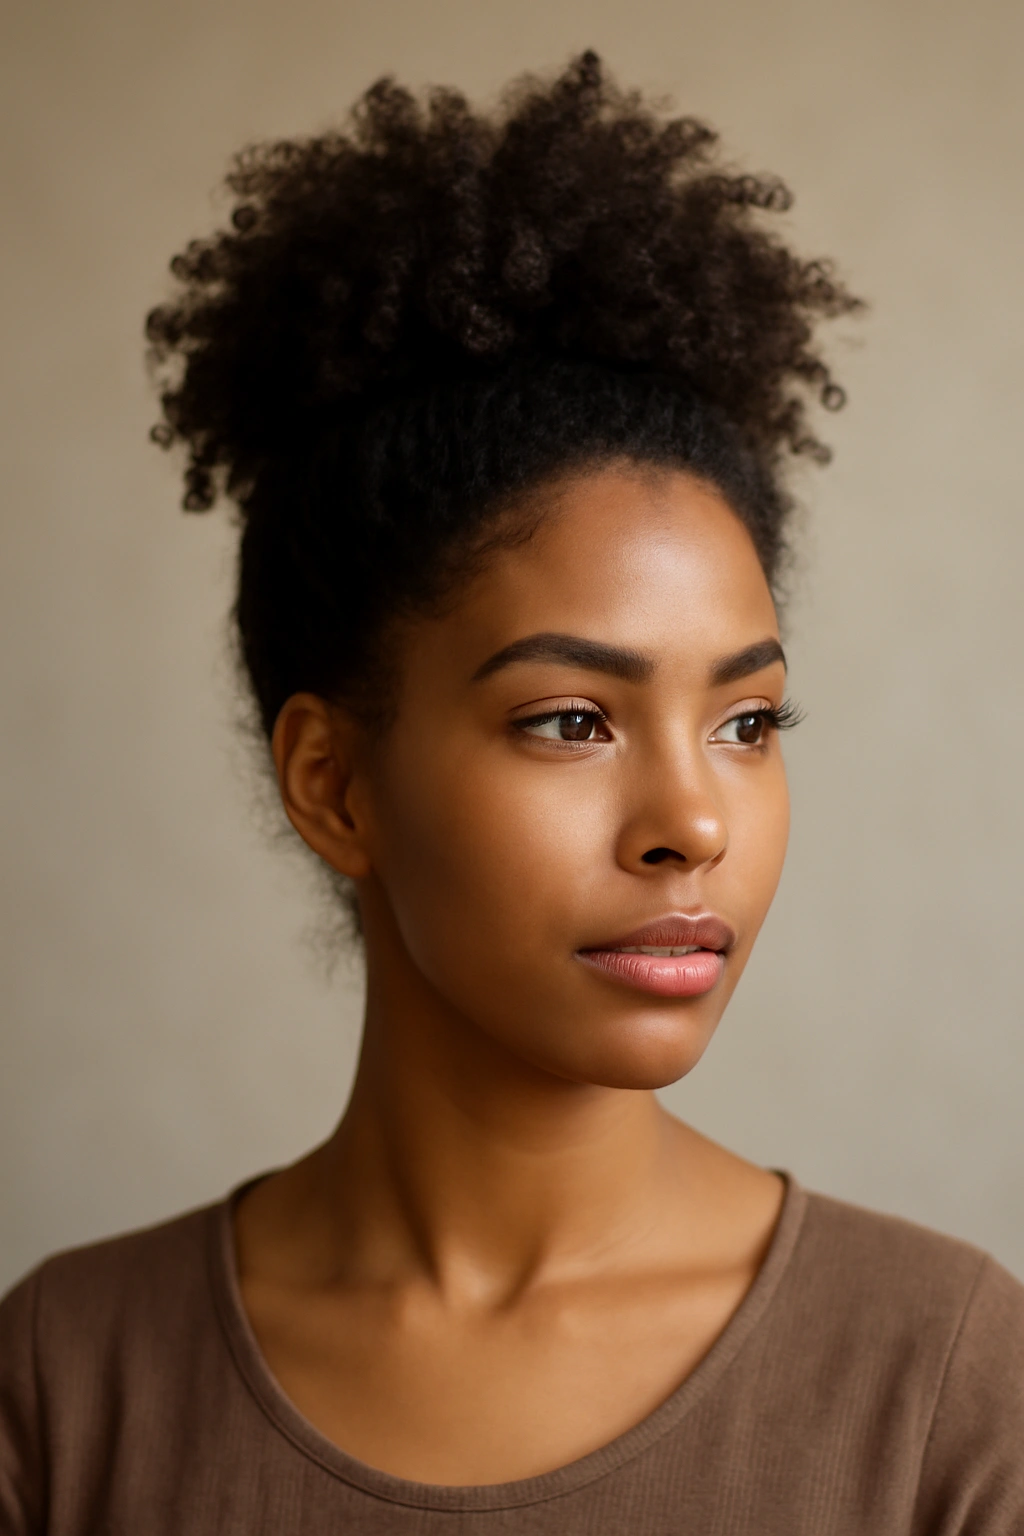
A high knot is simpler than a bun and works beautifully when you want to celebrate your natural curl or coil texture. Instead of smoothing everything into a sleek shape, you’re gathering your curls into a defined knot that showcases their beauty and volume.
How to Build It
Blow-dry your hair into curls or work with your natural curl pattern, applying a curl cream or gel to enhance definition. Gather all your hair at the crown into a high ponytail, securing it with a sturdy elastic. Instead of twisting the ponytail smoothly like you would for a bun, simply tie it into a loose knot—literally crossing one section of the ponytail over the other and pulling tight. The knot creates a sculptural shape while your curls puff out around it, showing off their natural beauty. Pin the knot in place with bobby pins, and secure any flyaways with a light edge control around your face.
Why Texture Matters Here
The beauty of this style is that it doesn’t fight against your natural texture—it celebrates it. Your curls puffing out around the knot aren’t considered flyaways; they’re part of the style’s intentional design. This means the more defined and voluminous your curls, the better this style looks. It’s particularly stunning on tight coils or dense curls that create a full, rounded silhouette.
Occasion Styling
This style works beautifully for outdoor events, garden parties, or any occasion where you want to feel naturally elegant rather than strictly formal. The height elongates your face, and the volume around the sides is incredibly flattering. It also photographs beautifully in natural light because curls catch light and create gorgeous shadow and shine effects.
6. The Side Swept Updo with Tucked Twists
This asymmetrical style is romantic and sophisticated—you’re sweeping your hair to one side and securing it with twists that wrap around and tuck into place. It works on every texture and has a modern elegance that photographs beautifully.
Step-by-Step Execution
Start with curled or textured hair. Create a deep side part—off to one side so that more hair falls on one side than the other. Beginning at the crown on the fuller side, create a twisted section that spirals down and around toward the back of your head. As you twist, add hair from the crown area to the twist, creating a larger and larger twisted section that wraps around the side of your head. Once you’ve gathered hair from the crown and temple, pin this twist in place at the back of your head. Then take the remaining hair from the nape and back and create one or two more twists, pinning them so they interlock with the first twist. The result is a side-swept style that looks intricate but is actually a series of simple twists layered on top of each other.
The Asymmetry Advantage
Side-swept styles are incredibly flattering because the asymmetry is inherently flattering to most face shapes. The sweep to one side creates visual interest and movement, while the tucked twists in the back keep everything secure. This style works on long hair, medium-length hair, and even shorter natural hair—the key is having enough length to gather into twists, which can be just six to eight inches.
Variation for Different Hair Densities
If you have very dense hair, create fewer, thicker twists. If you have finer hair, create more, thinner twists and pancake them gently to create the illusion of fullness. Either way, the asymmetry of the style is forgiving and looks beautiful.
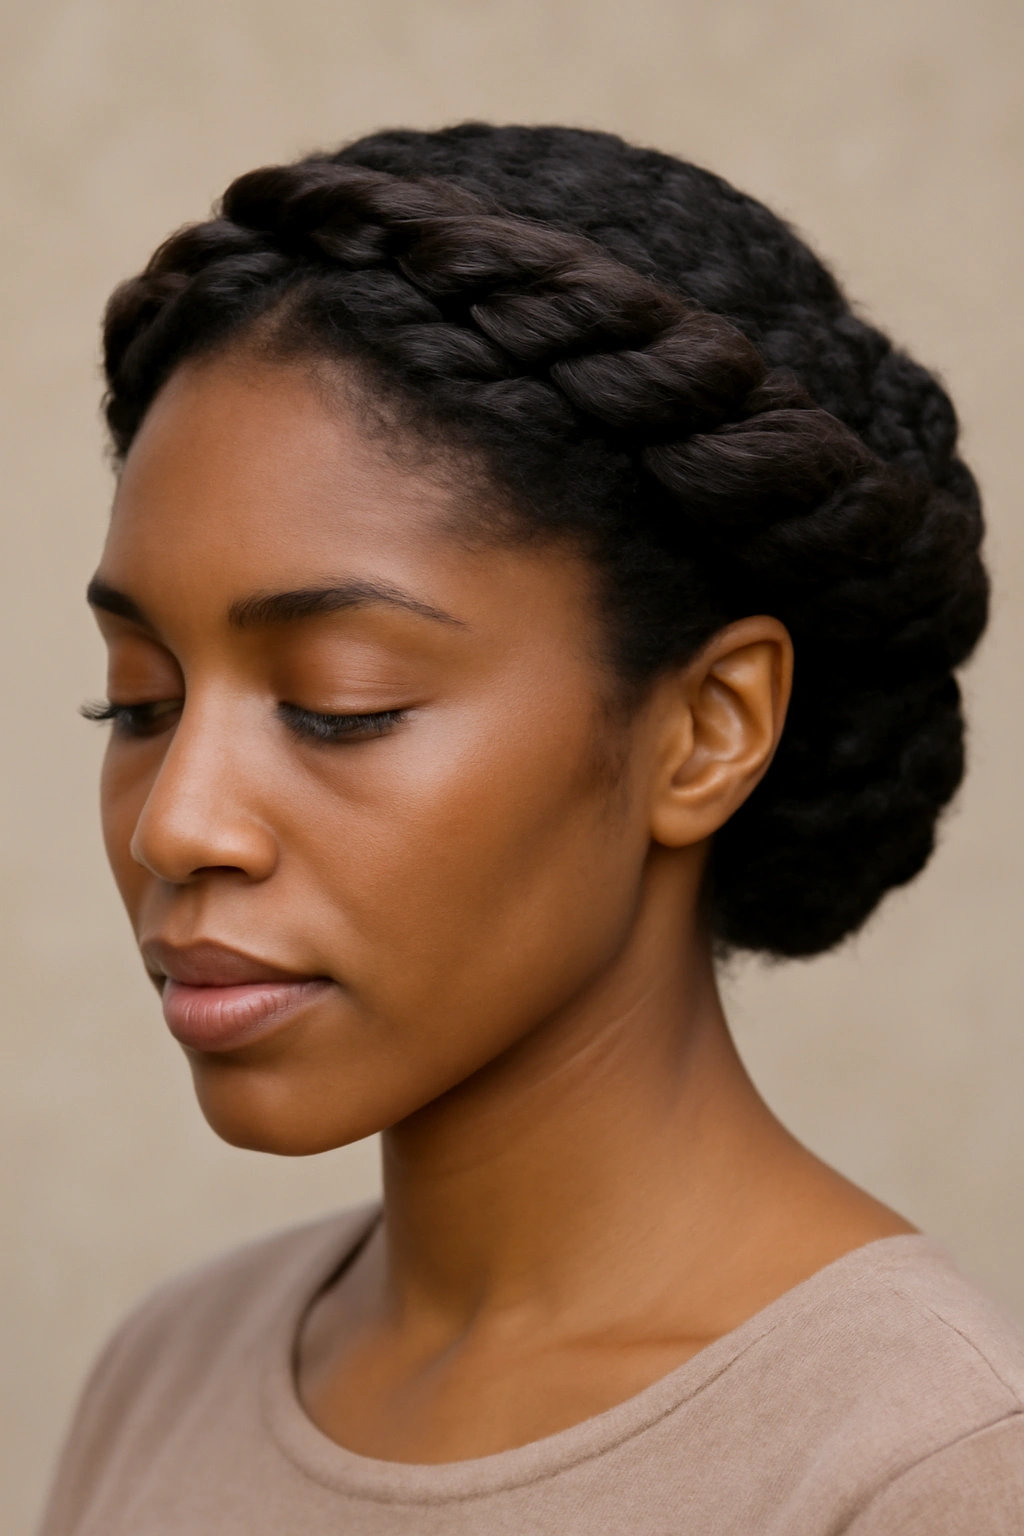
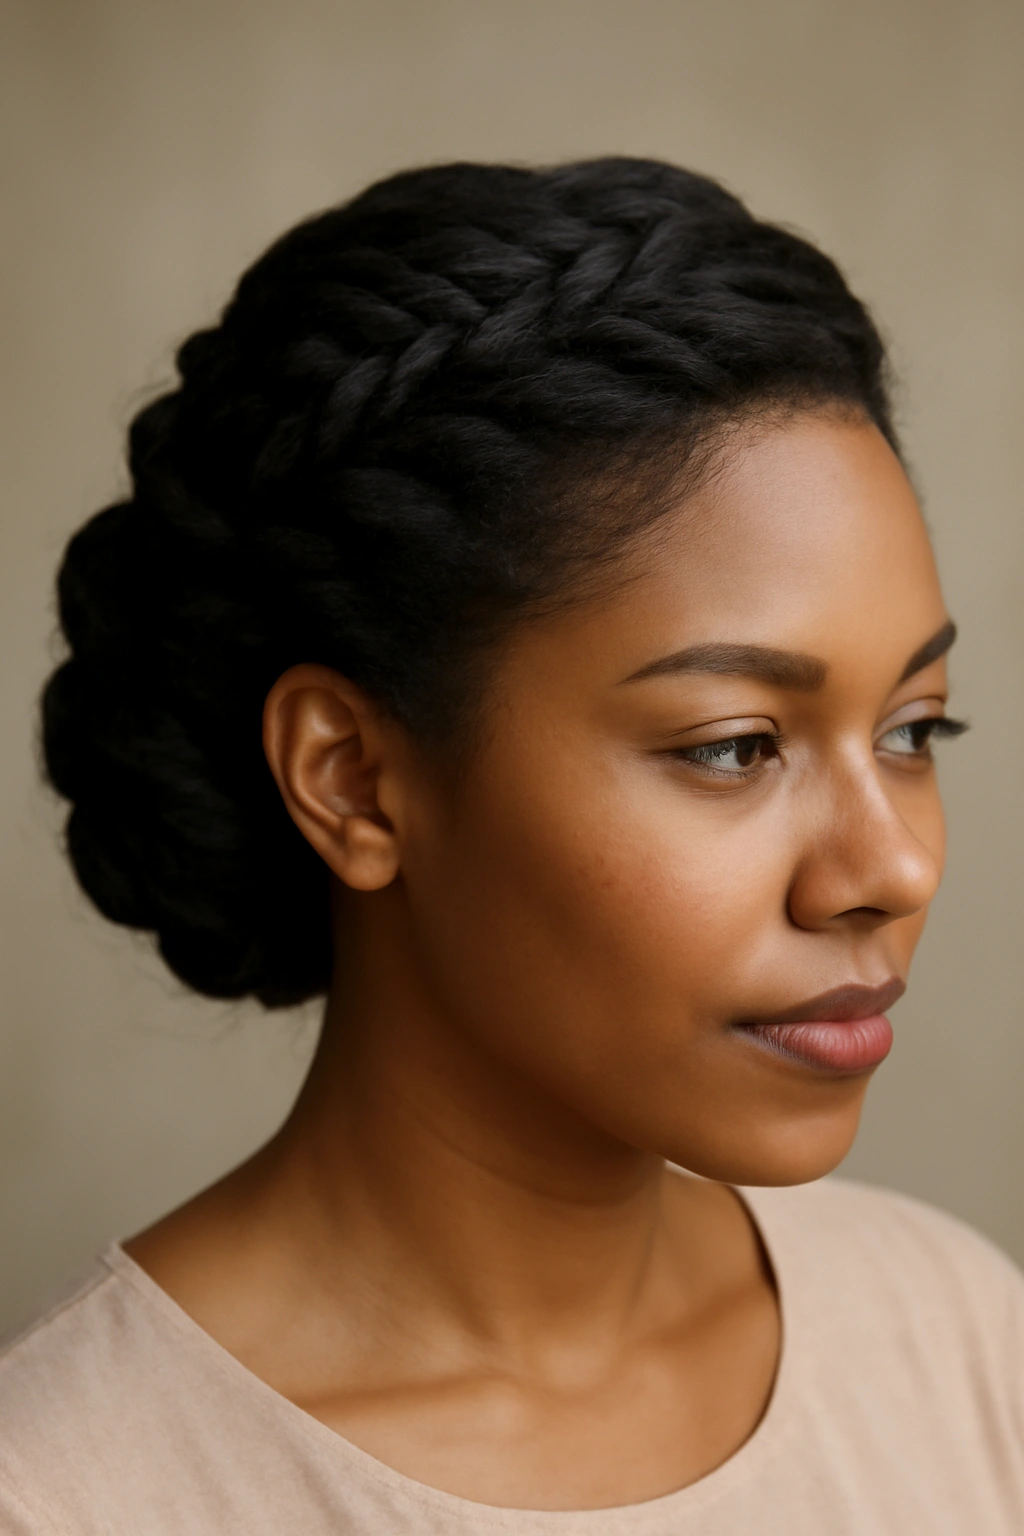
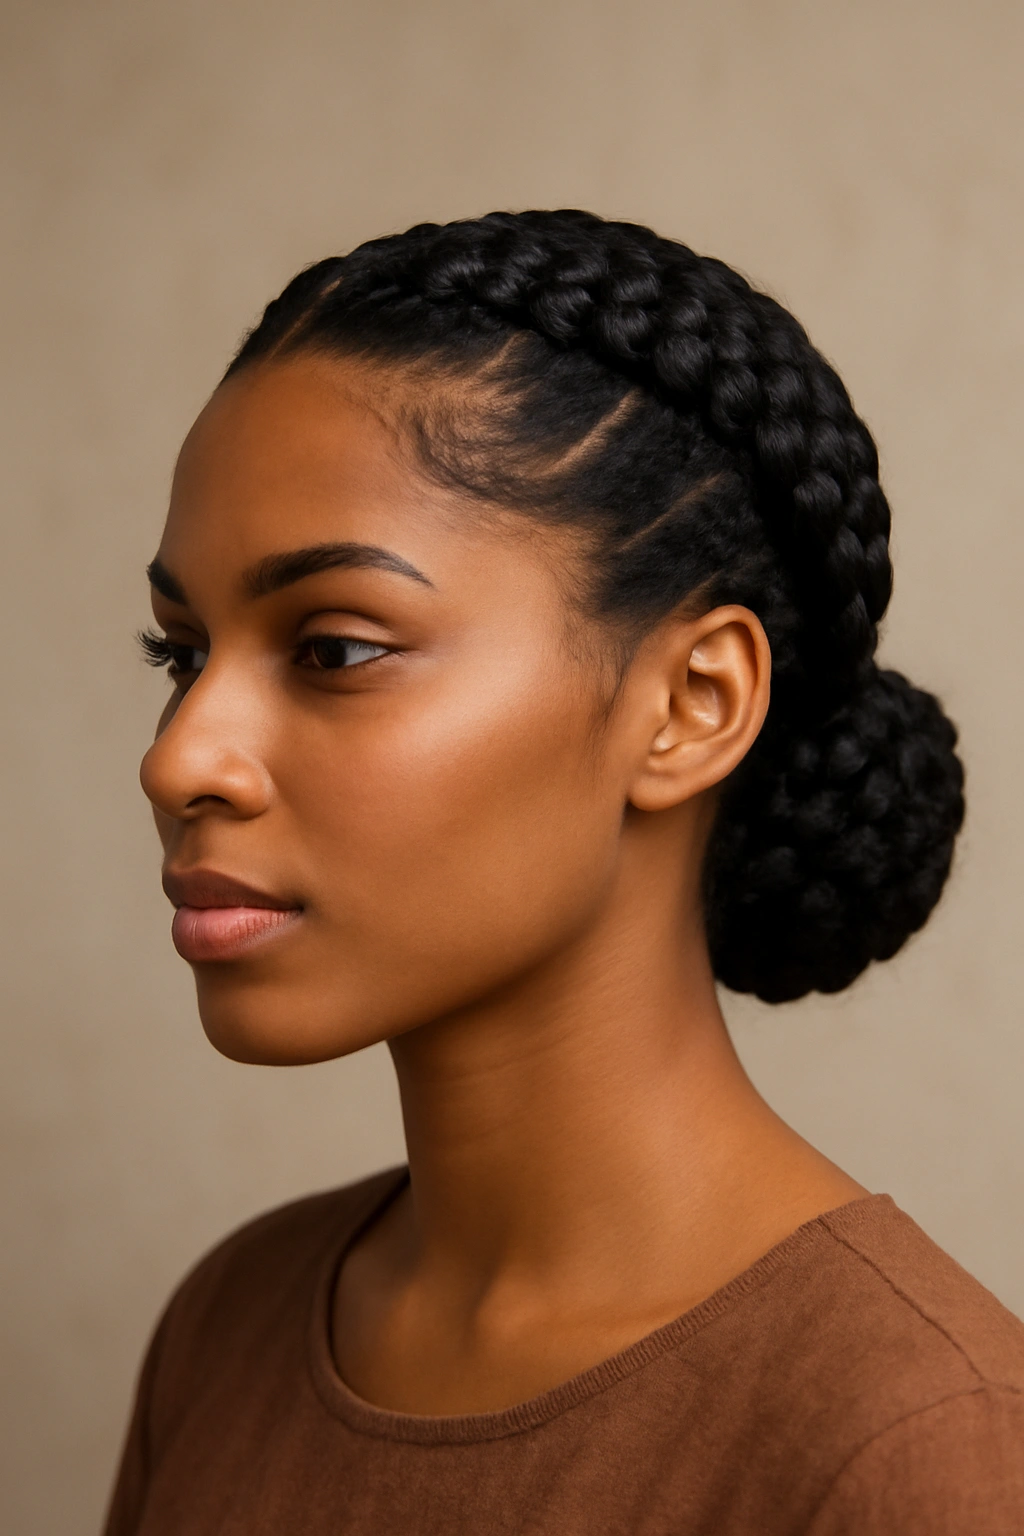
7. The Goddess Braids Upstyle
Goddess braids are thick, beautiful plaits that sit close to the scalp and create an elegant frame around your face and crown. When you style them upward and gather them into an updo, you get a look that’s absolutely regal.
Creating Goddess Braids
Begin with moisturized, detangled natural hair. Section your hair into two halves with a center part. Starting at your hairline on one side, create a thick Dutch braid (braiding under rather than over, which sits closer to the scalp) that travels back toward the crown. As you braid, take sections from the scalp to feed into the braid, creating a braid that’s anchored close to your head. Continue braiding all the way back to the nape of your neck. Repeat on the other side, creating a mirror-image braid. Once both braids reach the nape, gather the ends of both braids together and twist or braid them together, then wrap this combined section around itself to create a low bun. Secure everything with bobby pins.
Why This Style Feels Special
Goddess braids instantly elevate a look because they’re intricate, they frame your face beautifully, and they showcase your natural hair texture in a sophisticated way. The braids travel around your crown like a crown itself, which is why they’re so appropriate for special occasions. They’re also extremely secure—braids that are anchored close to the scalp simply won’t slip, no matter how much you move throughout the evening.
Maintenance During the Event
The beauty of this style is that it requires almost no maintenance once it’s done. The braids are locked in place from the moment they’re created, so there’s nothing to worry about throughout your event. You can dance, hug people, be active—the braids stay put.
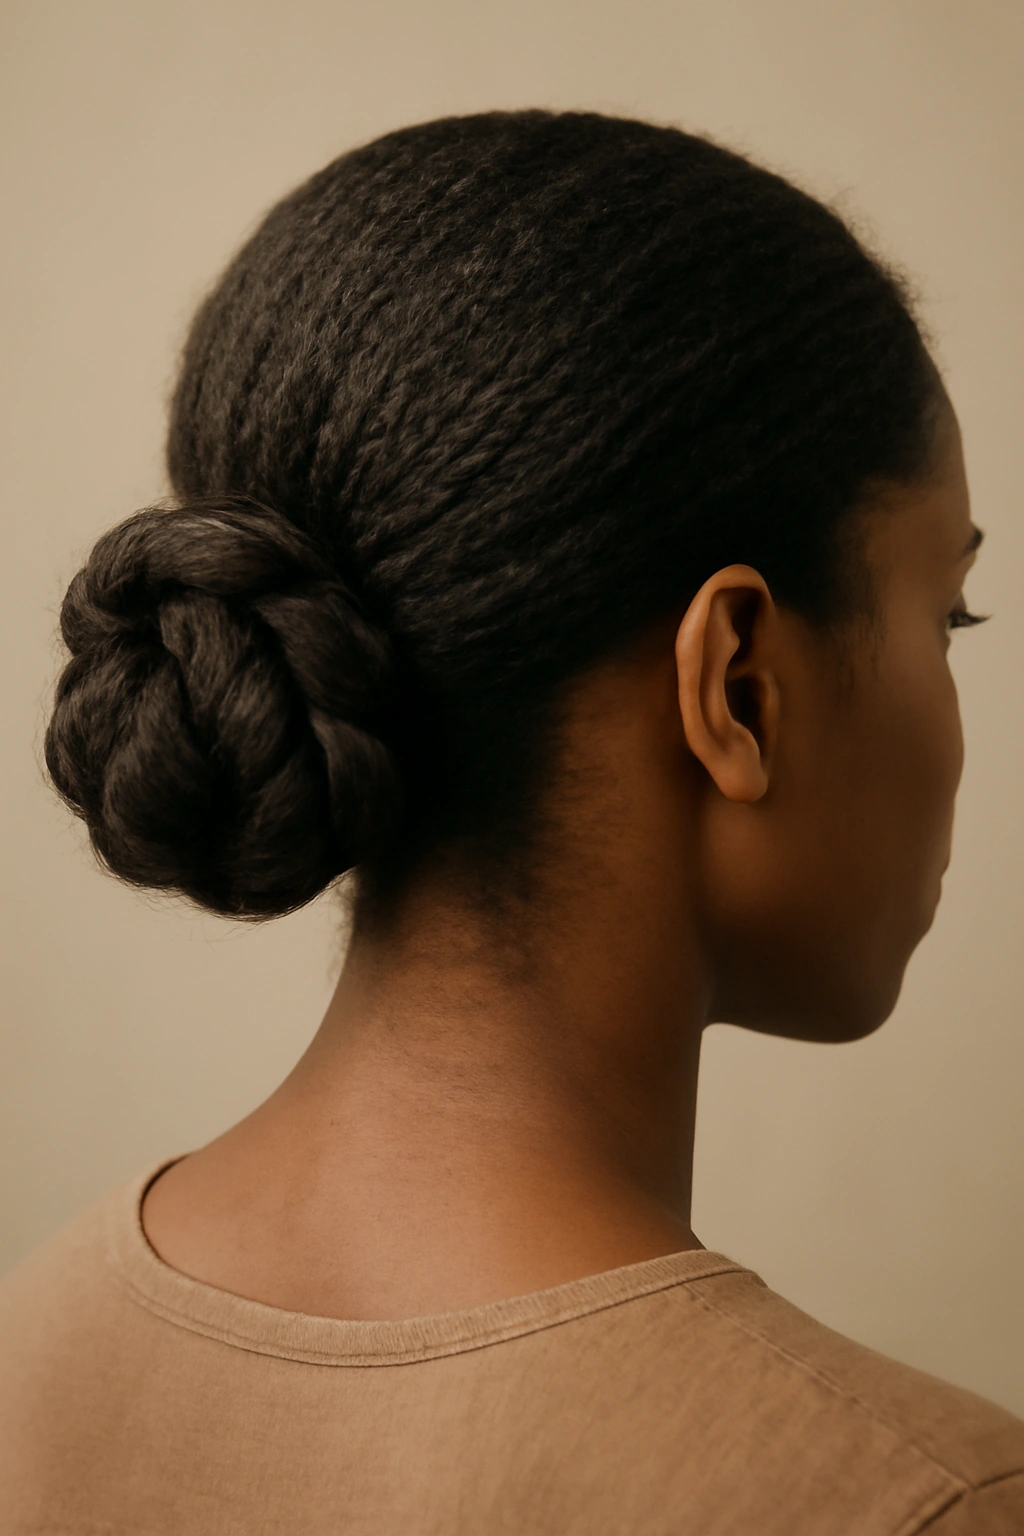
8. The Sculpted Low Bun with Defined Edges
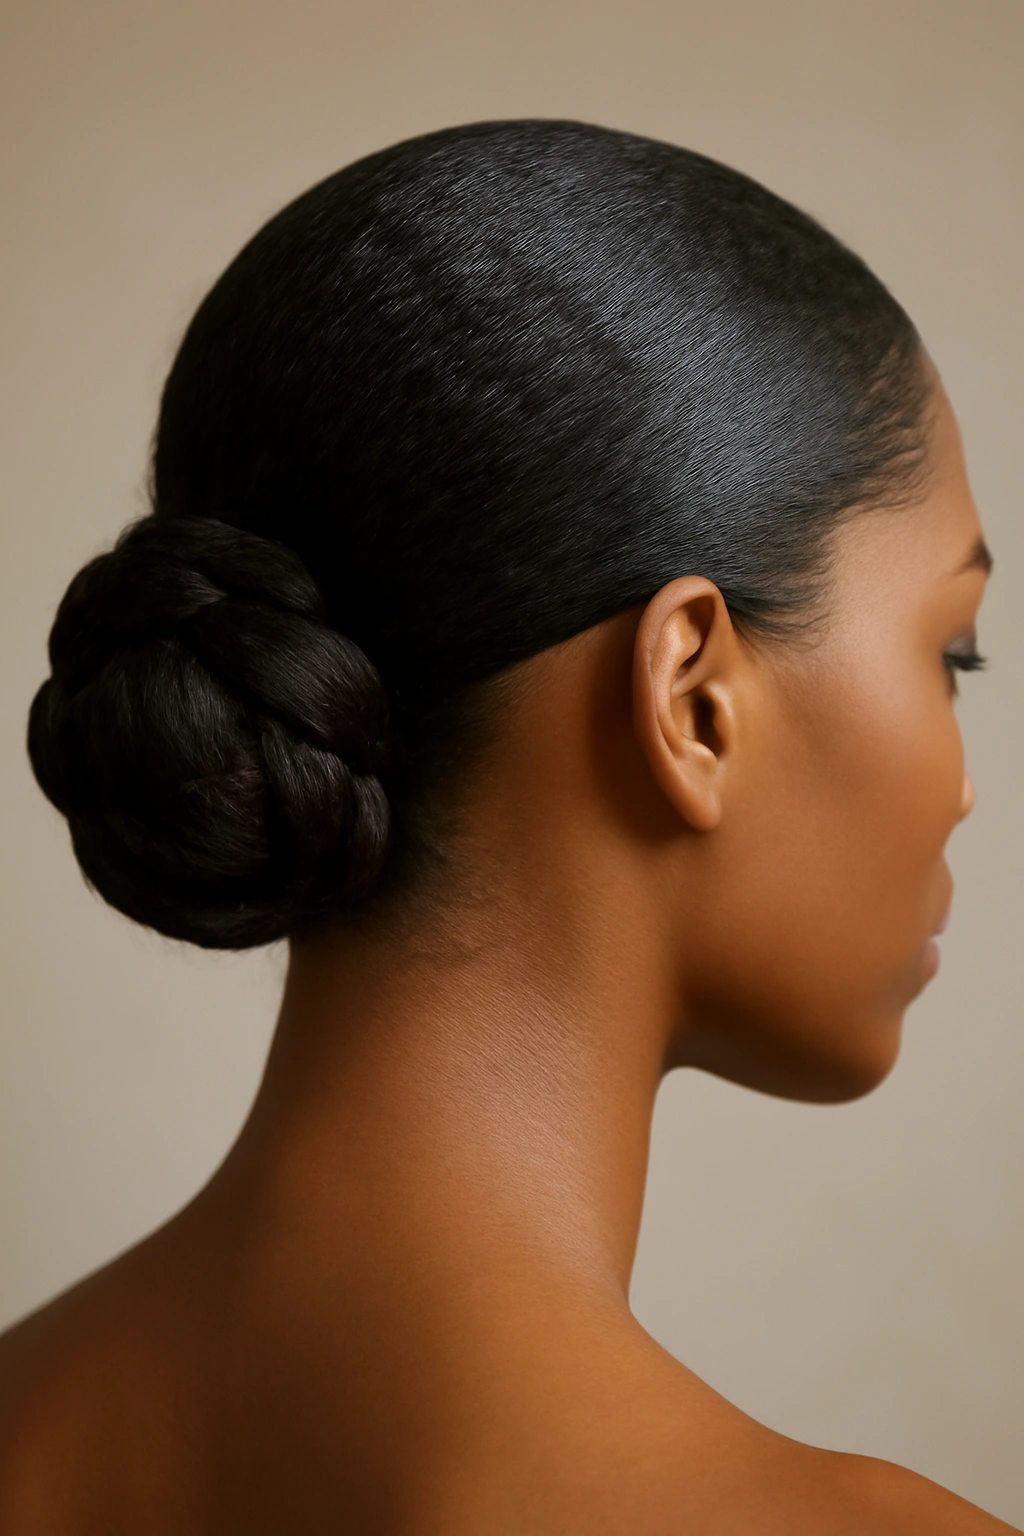
A low bun at the nape of your neck is timeless elegance, but what makes this version special is the attention to sculpted edges and definition. You’re creating a bun that has architectural precision while still honoring your natural hair texture.
Building the Bun
Gather your hair into a low ponytail at the nape of your neck. Before securing it, apply a smoothing serum or edge control to your hairline and edges to create definition and polish. Secure the ponytail with an elastic band. Divide the ponytail into two or three sections. Gently twist each section, then wrap all the twisted sections around the base of the ponytail, creating a bun that has visible twisted layers. Pin securely as you go. The key to this style is working with a mirror and paying attention to the shape—you want the bun to be rounded and smooth rather than lumpy or uneven.
Edge Control and Finesse
This is where paying attention to your edges transforms a simple bun into a polished, special-occasion style. Use edge control or a light gel to smooth your hairline and sculpt any baby hairs into place. Define your part clearly. These small details are what separate a casual bun from a special-occasion bun.
Who This Suits
This style works beautifully for formal occasions—weddings, galas, professional events. It’s elegant without being trendy, and it photographs incredibly well. The low placement is flattering on most face shapes and works with nearly every outfit.
9. The Half-Up Crown with Lifted Twists
This style combines the best of both worlds—you’re wearing your hair down so you can show off your curls and length, but you’re securing the crown area with twists that frame your face and keep hair off your forehead. It’s romantic, elegant, and works on every texture.
How to Create It
Start with your natural curls or waves already styled and defined. Take a one-inch section of hair at your temple and twist it back toward the crown, adding hair as you go. This twist should spiral around toward the back of your head, skimming your temple and ear. Repeat on the other side, creating a mirror-image twist. Once both temple twists are created, gather them at the back of your head along with the hair from your crown, and secure everything with an elastic band, creating a half-up, half-down style. The curls and waves fall loose below the half-up section, framing your face and shoulders.
The Balance of Structure and Movement
What makes this style special is the balance between the defined, structured twists at the crown and the soft, free-flowing curls below. This combination is inherently flattering and romantic. The twists frame your face and elongate your neckline, while the loose curls create movement and showcase your natural texture.
Occasions That Suit This Style
This works beautifully for semi-formal events, garden parties, engagement photo sessions, and any occasion where you want to feel romantic and elegant without being strictly formal. It’s also incredibly practical for events where you’ll be active—the secured crown keeps hair out of your face, but you still get to wear your curls down.
10. The Gathered Curl Topknot
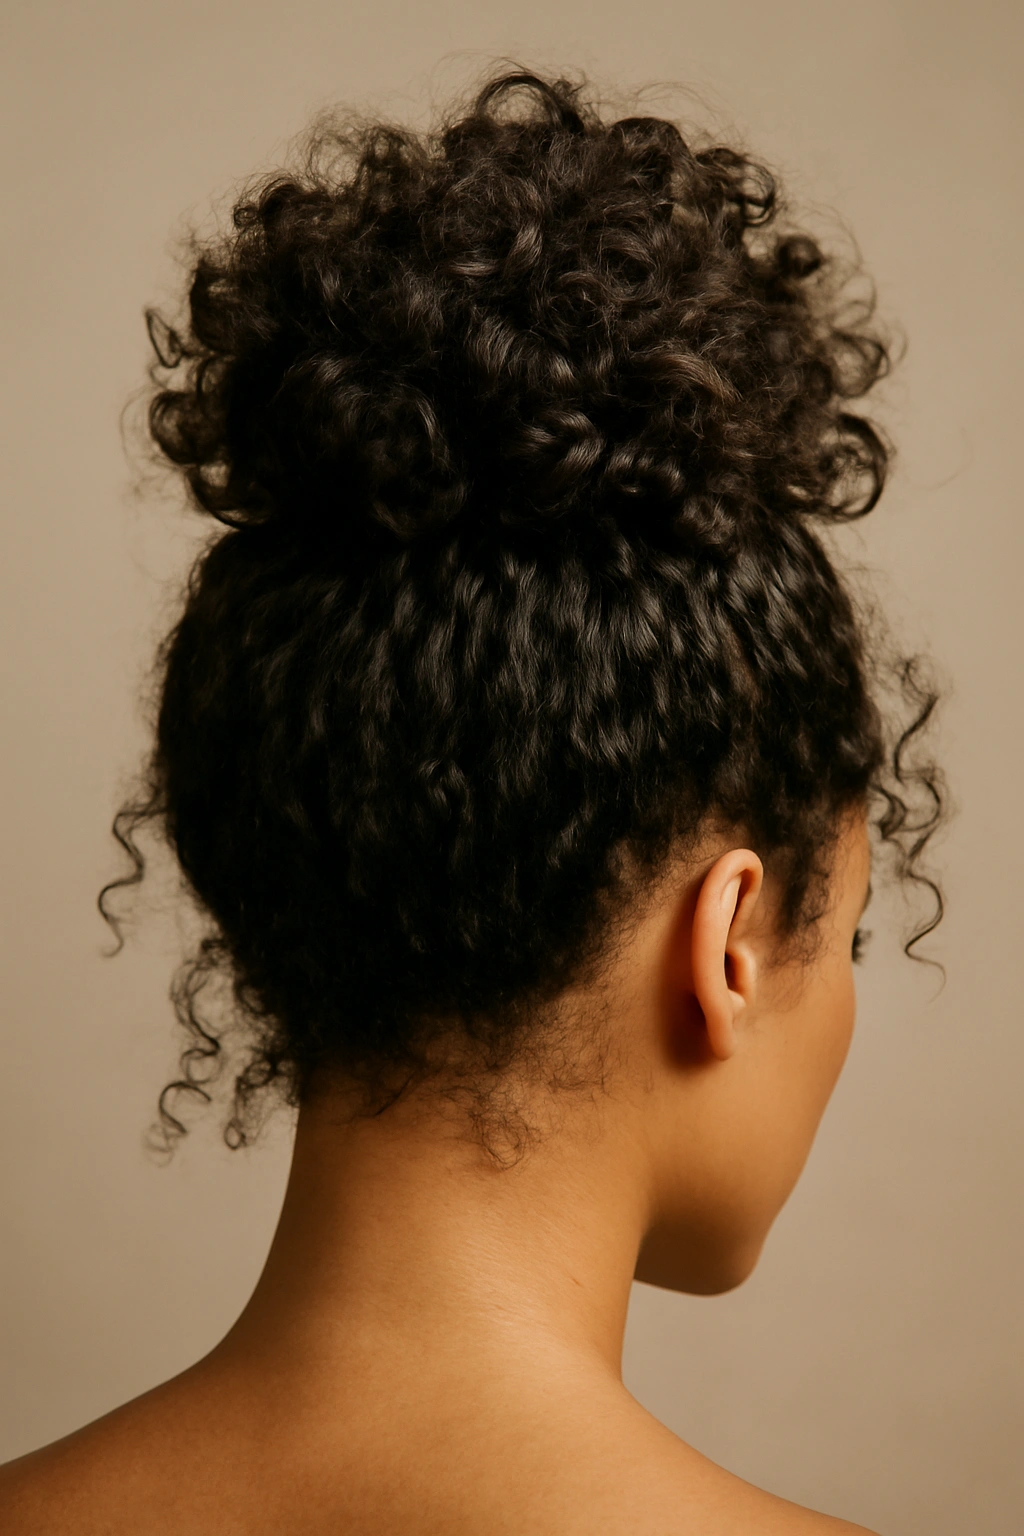
A topknot is playful and modern, but a gathered curl topknot is elegant and sophisticated. You’re creating a knot with your curls still showing, positioning it on top of your head for maximum impact and visual interest.
Creating the Topknot
Start with voluminous, well-defined curls. Flip your head forward and gather all your hair at the crown of your head (with your head flipped back, this will be high and centered). Secure it with an elastic band. Instead of twisting the ponytail smoothly, create a loose knot by crossing sections of the ponytail over each other and pulling gently—you want the knot to be a bit undone and organic-looking rather than tight and precise. Pin the knot in place, allowing curls to puff out around it in all directions. You want the final look to have movement and volume, not a sleek, controlled appearance.
Volume and Texture as Assets
The curly texture of natural hair is actually perfect for this style because your curls naturally create the volume and movement you’re going for. The tighter and more defined your curls, the more structured and intentional the topknot will look. This style works beautifully on coily, curly, and wavy hair—any texture that has natural volume and definition.
Styling Context
This style works for fun, semi-formal occasions where you want to feel polished but not overly serious. It’s great for date nights, parties, festivals, and any event where you can be a bit playful. It photographs beautifully from above and the side, so it’s perfect if you’ll be taking selfies or being photographed throughout the evening.
Final Thoughts
Every one of these updo styles celebrates your natural hair rather than fighting against it. The texture, volume, and beauty of natural curls, coils, and waves are assets in updo styling—they create grip for bobby pins, they add visual interest and dimension, and they photograph beautifully. The key to a successful natural hair updo is choosing a style that works with your specific texture, using products that enhance rather than weigh down your hair, and paying attention to the details that transform a regular updo into a special-occasion style.
The best updo is one that makes you feel confident and beautiful, that holds securely throughout your event, and that you can take down without causing damage to your hair. All ten of these styles meet those criteria. Start by trying one or two that appeal to you most, practice them a few times before your event, and don’t hesitate to ask a trusted stylist for help if you’re learning something new. Your natural hair is gorgeous, and it deserves to be styled in a way that celebrates exactly what makes it beautiful.