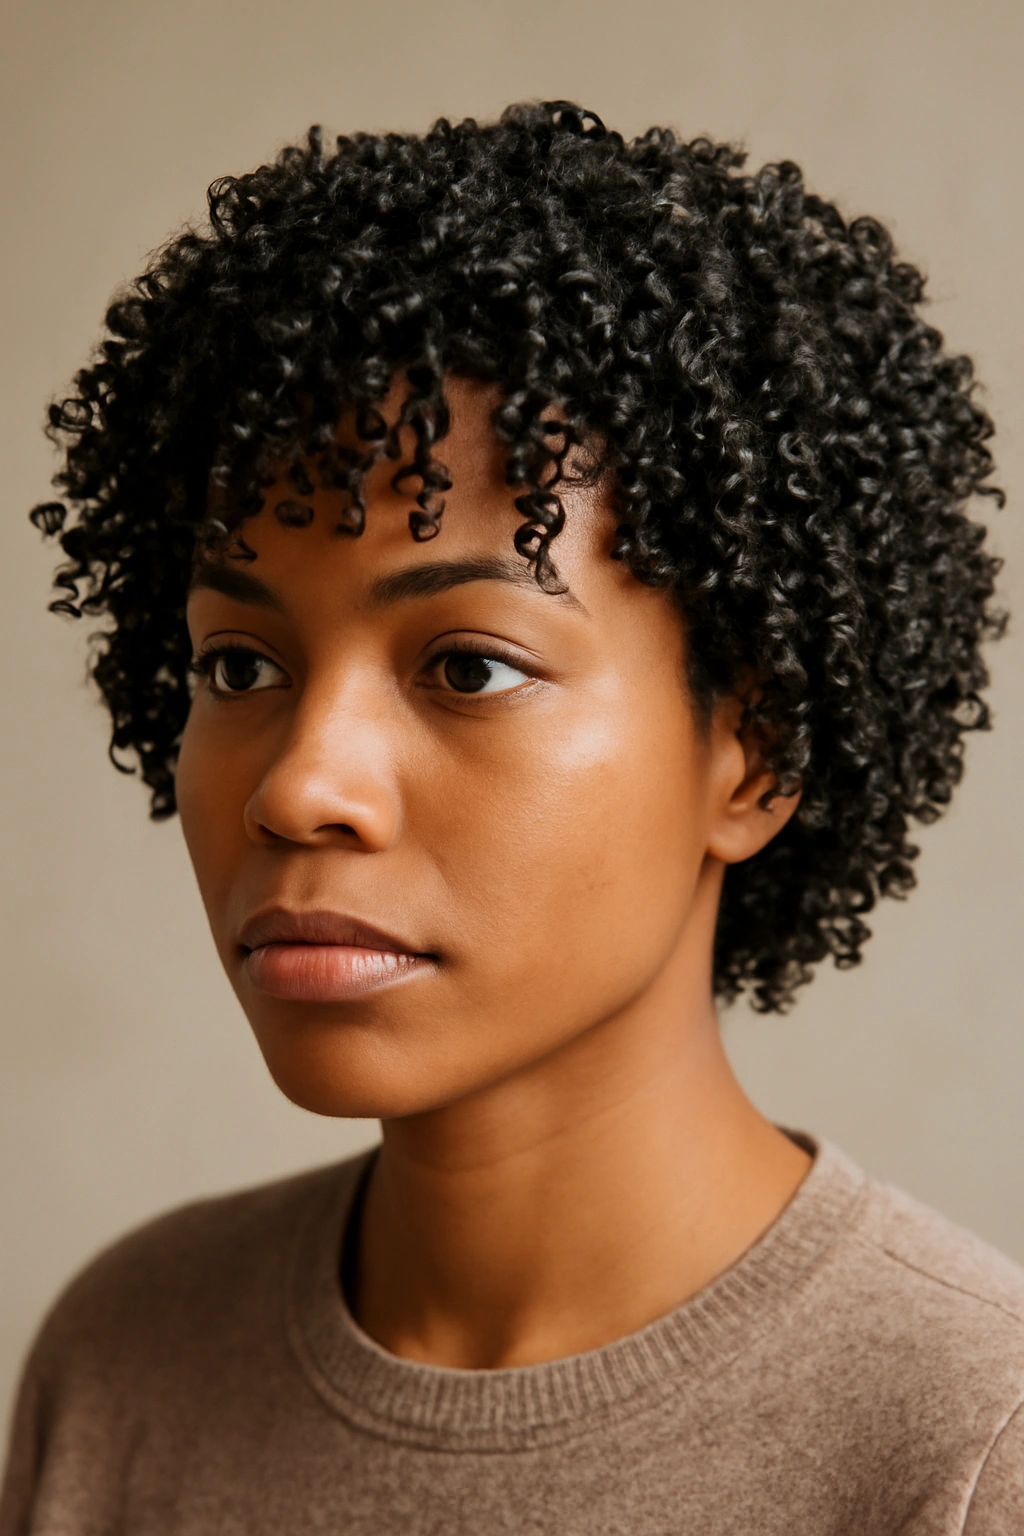
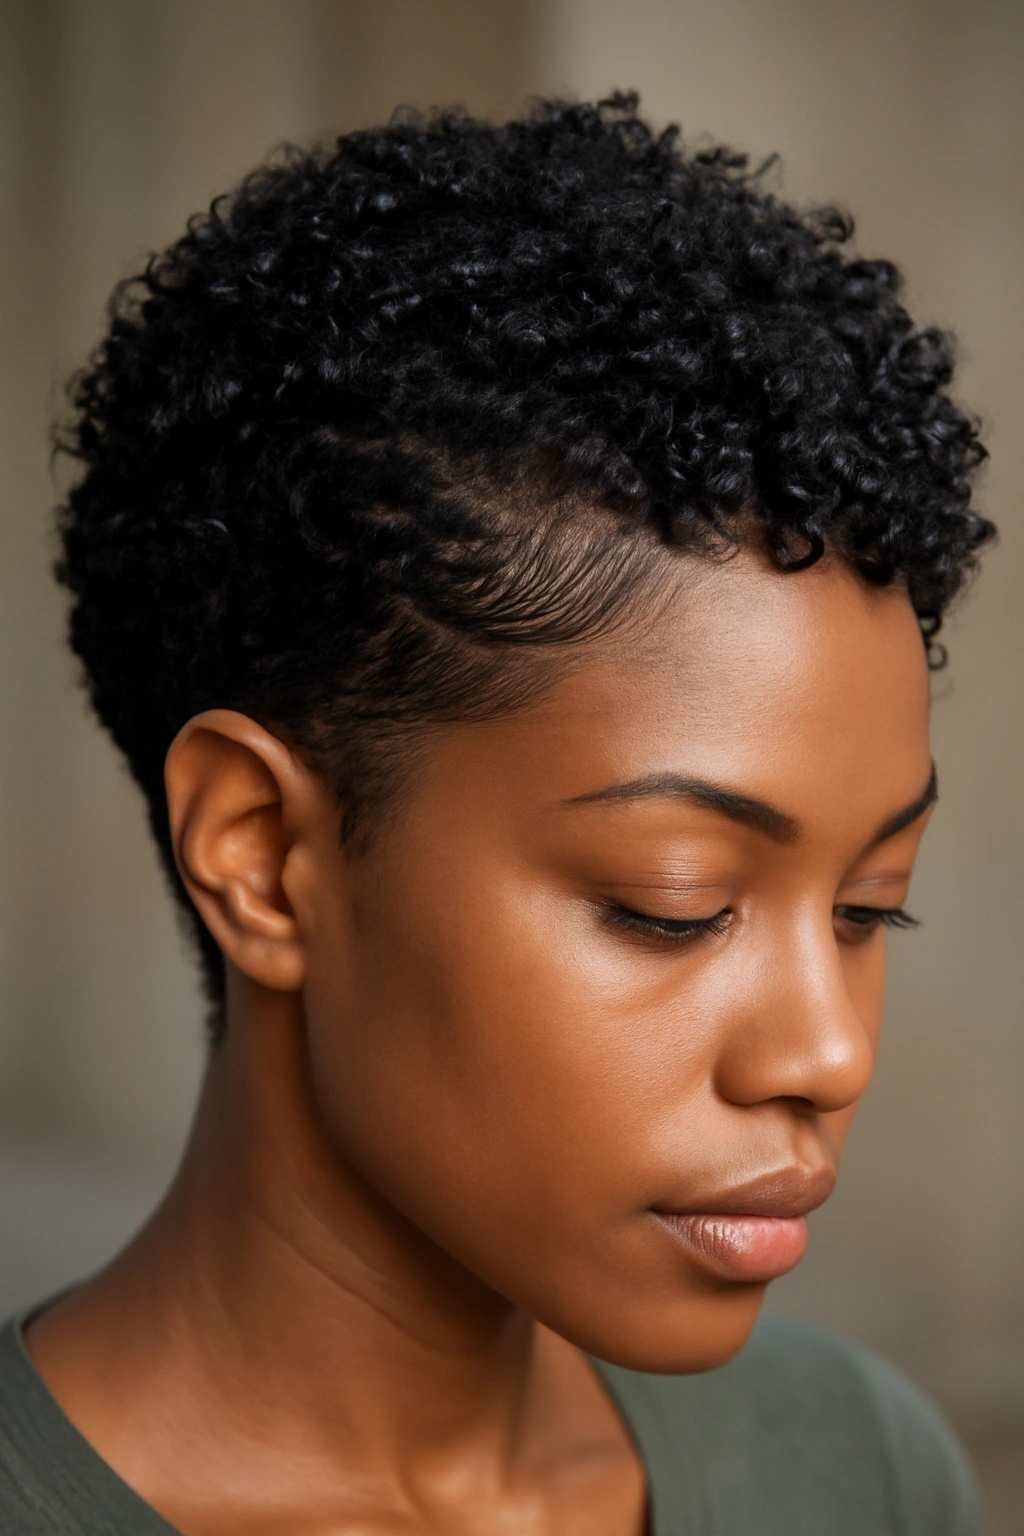
Short curly hair doesn’t have to mean complicated mornings. The truth is, your natural texture is already doing the hardest work—you just need to know which styles let your curls shine without requiring a PhD in styling. Whether you’re rushing out the door or have a full thirty minutes, there’s a quick curl style that fits your life and your hair.
The challenge with short curls isn’t lack of options—it’s too many options and not enough time to figure out which ones actually work on you. You’ve probably scrolled through endless inspiration photos only to find that the styles either demand tool skills you don’t have, require products you can’t find, or take longer than your entire morning routine allows. The best short curly styles are the ones that work with your natural curl pattern rather than against it, that look intentional whether you spent two minutes or fifteen, and that actually survive the day without falling flat or frizzing into a cloud by noon.
What separates genuinely easy styles from the ones that look easy but secretly require practice is understanding how your curl pattern behaves when it’s partially dry versus fully set, which products lock moisture in without weighing curls down, and which simple techniques create definition without effort. This guide walks through twelve of the most reliable, genuinely-quick styles that work on different curl types, different textures, and different life schedules.
1. The Wash-and-Go with Gel Cast
The wash-and-go is the gold standard for effortless mornings because it requires almost nothing from you except patience while your hair dries. The secret that transforms a basic wash-and-go into a polished style is understanding the gel cast—that slightly crunchy texture your curls get when gel has fully dried. Once you break the cast by scrunching your curls from bottom to top with your hands or a microfiber towel, you’re left with defined, bouncy curls with real structure and shine.
How to Build Your Wash-and-Go
Wash your hair with a sulfate-free shampoo and condition generously, focusing on the mid-lengths and ends. While your hair is still soaking wet, apply a leave-in conditioner to dripping-wet curls—this is the moment your hair is most porous and will actually absorb moisture. Add a curl-defining gel to soaking-wet hair, scrunching upward from the ends toward your roots. Let it air dry completely, which might take two to eight hours depending on your porosity, density, and climate. Never—and this matters—never touch your curls while the gel is still wet. Once they’re bone-dry and the gel cast has formed, scrunch from the bottom upward to release the definition.
Common Wash-and-Go Mistakes to Avoid
- Too much product too early: Adding more product partway through drying throws off the balance and creates frizz or crunchy buildup. Get it right on soaking-wet hair.
- Touching wet curls: Even smoothing down a single piece of hair while it’s drying disrupts the curl formation and creates frizz.
- Skipping the leave-in conditioner: This step determines whether you get defined curls or dry, crispy ones. Don’t skip it.
Pro tip: If your mornings are tight, try a “pineapple” overnight method—flip your head upside down into a loose silk scrunchie at the top of your head before bed, then shake it out in the morning for instant texture with minimal frizz.
2. Finger Coils with Defined Curls
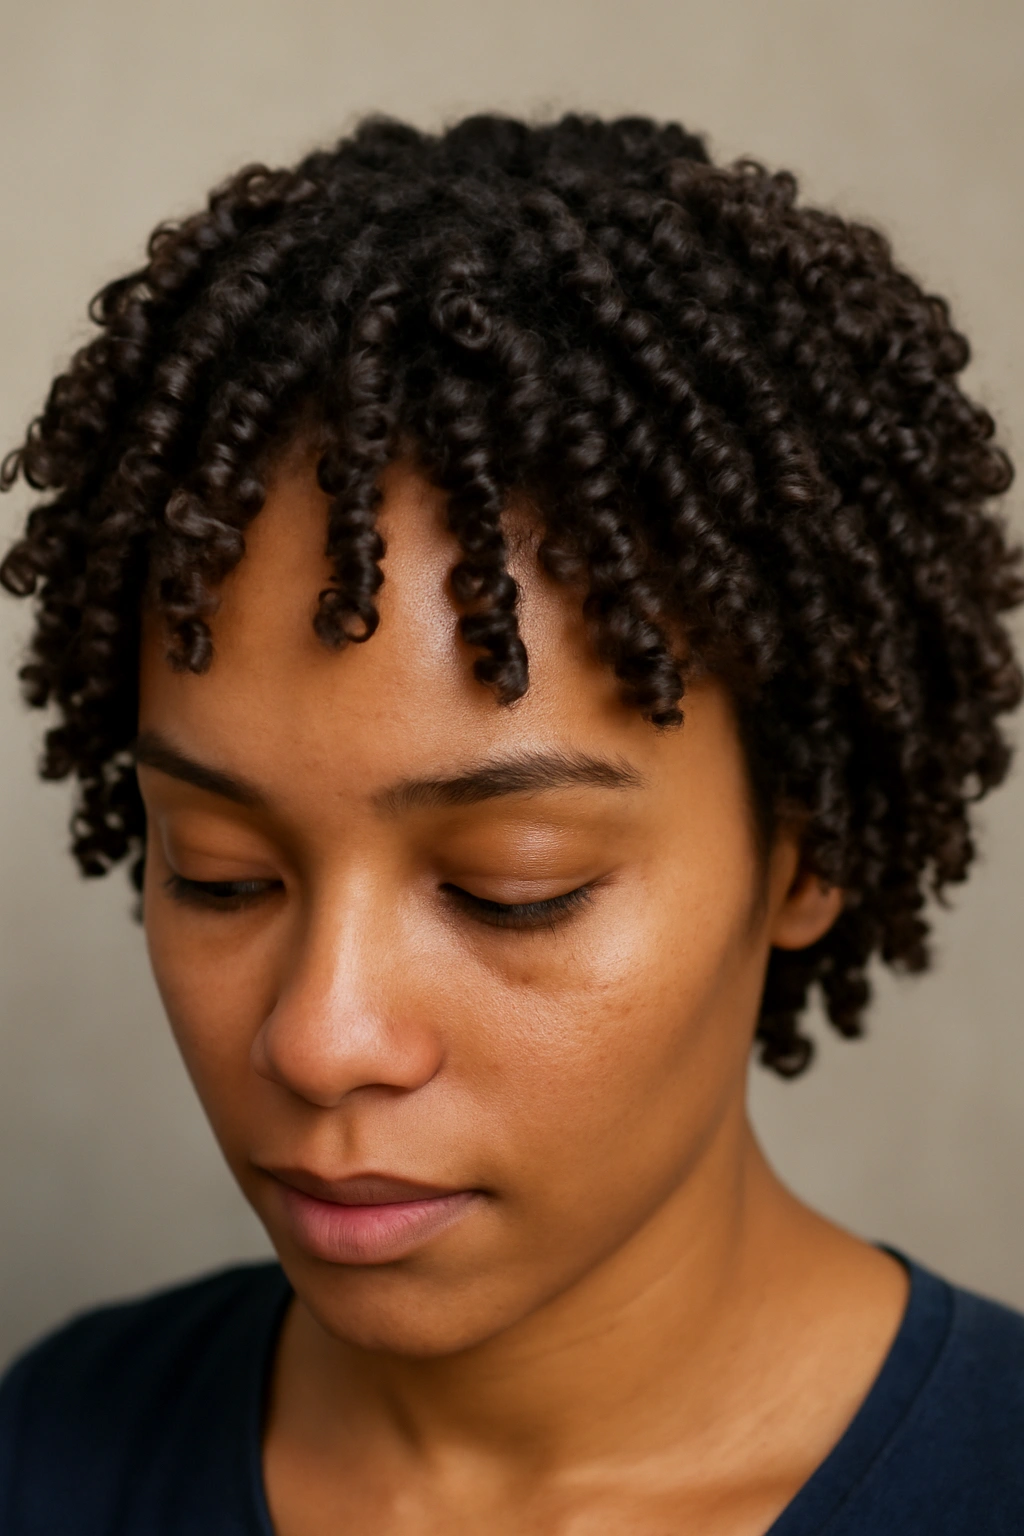
Finger coils let you control exactly where your curls sit and how defined they look, which is especially valuable if your natural curl pattern is inconsistent or your hair falls flat without some intervention. This style takes just five to eight minutes in the morning if you’re strategic, and the coils stay locked in place all day because you’re working with your hair’s natural moisture and shape rather than against it.
The Finger Coil Technique
Spray your hair with a spray bottle of water mixed with a small amount of leave-in conditioner to dampen it—not soaking, just damp enough that you can work with it. Take a section about the size of a quarter, smooth it between your fingers, and use your pointer finger to wind the section into a coil, starting from the root and spiraling down. Let each coil set as it is; don’t try to reposition it once you’ve created it. Work section by section around your whole head, focusing on areas that tend to fall flat or lose definition.
Why Finger Coils Work for Texture Control
Finger coils create intentional shape where your hair might otherwise lose definition throughout the day. They’re especially valuable if you have loose or wavy curls that need extra definition, or if you have mixed curl patterns across your head. The coils also give you control over direction and size—smaller coils create tighter, bouncier texture; larger coils look looser and more relaxed.
What Product Balance Actually Looks Like
Use just enough leave-in conditioner that your hair holds moisture but doesn’t drip. Add a light gel or curl cream to medium-length strands, not at the root. Too much product and coils look heavy and greasy; too little and they fall apart within an hour.
Insider note: Finger coils work best on damp hair, not soaking wet. If your hair is too wet, coils take forever to set and unravel. If it’s too dry, you create frizz instead of definition.
3. Tousled Textured Curls with Mousse
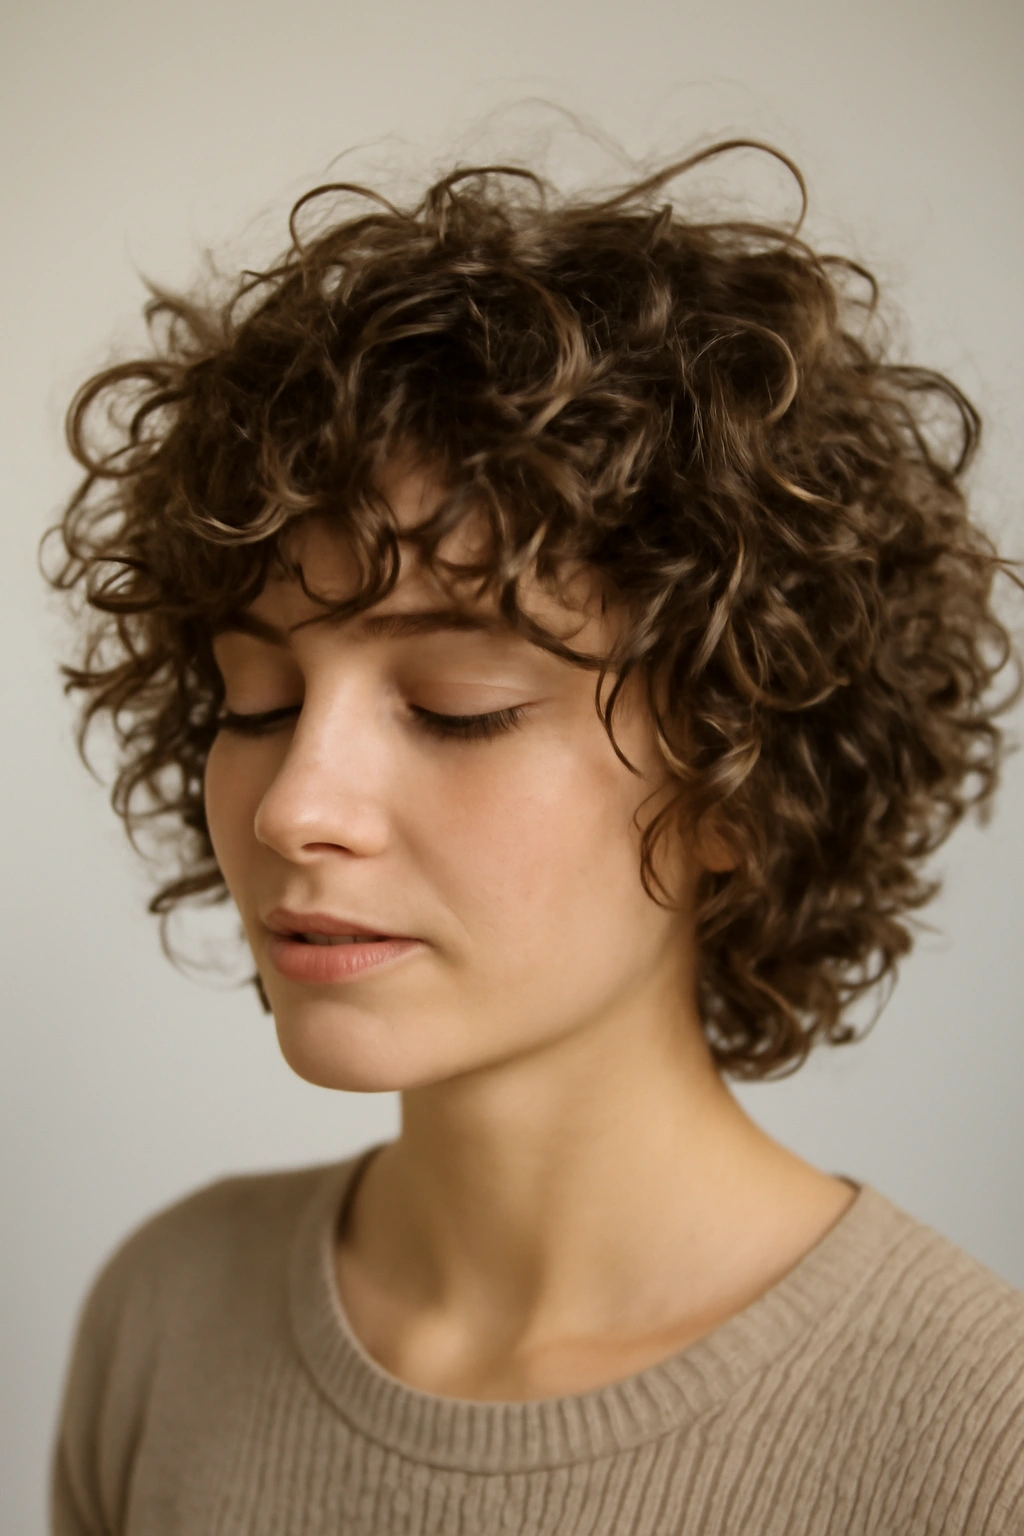
When you’re going for an undone, effortlessly textured look rather than perfectly defined ringlets, mousse is your secret weapon. Mousse adds volume and grip to curls while staying light enough that curls don’t feel stiff or crunchy. This style works beautifully on days when you want your curls to look intentionally messy rather than carefully sculpted.
Building Tousled Texture with Mousse
After shampooing and conditioning, apply mousse to soaking-wet hair, scrunching it upward from the ends toward the scalp. The mousse distributes through wet hair much more evenly than gel does. Squeeze gently, creating small pockets of air rather than compressing your curls flat. Scrunch a couple more times as your hair begins to dry, encouraging maximum volume. Let it finish air-drying, then flip your head forward and back to release curl definition and add even more movement.
The Science of Why Mousse Creates Better Movement
Mousse is basically whipped gel—it has much less film-forming power than gel, which means curls move and shift more naturally throughout the day without that locked-in look. Your curls still hold their shape, but they look alive and loose rather than structured. This makes mousse especially valuable for short curls that can otherwise look tight or overwhelmingly bouncy.
Styling for Intentional Texture
The key to making mousse-styled curls look intentional rather than accident-prone is deliberately encouraging volume at the crown and textured movement throughout. Scrunch upward, not downward. Add second waves by gently flipping and separating curl clumps once your hair is 60-70% dry.
Worth knowing: Mousse shows dirt and product buildup more visibly than gel does, so you’ll need to wash more frequently to keep curls looking fresh.
4. The Messy Top Knot with Loose Tendrils
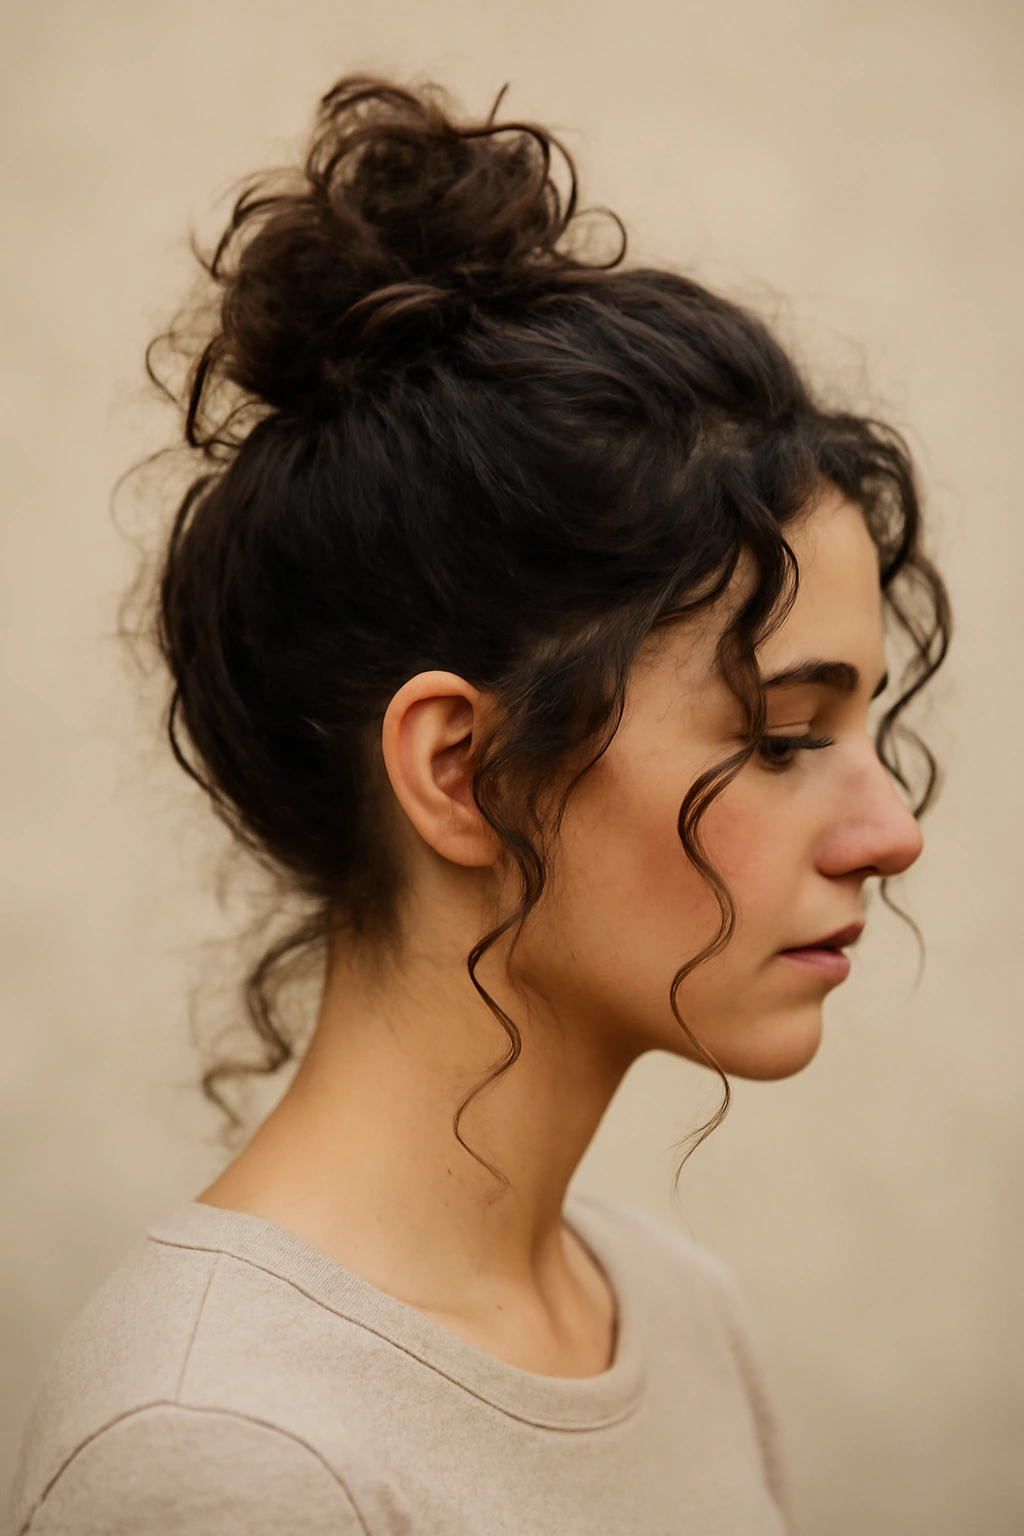
The messy top knot is the ultimate time-saver for mornings when your curls aren’t cooperating, you haven’t washed your hair, or you just need a polished look without actual effort. Done right, it looks intentional and put-together, not like you’re hiding a bad hair day—though, let’s be honest, that’s part of the appeal.
Assembling the Perfect Messy Knot
Pull your damp or dry curls up into a high ponytail at the crown, using a stretchy silk hair tie. Leave a few face-framing pieces loose around your temples and face. Twist the ponytail loosely, then wind it around the base to form a knot shape. Secure with bobby pins, tucking them so they’re invisible. Pull a few strategic strands from the knot to create intentional texture—not tight and perfect, but deliberately undone. The face-framing pieces should fall in natural waves or coils, not stick-straight.
Why This Works for Curly Hair
On straight hair, a messy bun can look like you didn’t try. On curly hair, a messy bun looks curated because your texture naturally creates visual interest. Your curls give the knot dimension and movement that automatically reads as intentional rather than lazy. This is one of the few styles where your natural texture actually works for you rather than requiring you to fight it.
Styling to Avoid the “Slept-On” Look
Use a silk hair tie instead of elastic—this prevents the knot from getting creases or kinks that make it look truly messy rather than deliberately undone. Pull the knot just slightly loose once it’s secured so it looks relaxed but structured. The face-framing pieces should have texture or wave to them, which means this style actually works better if you haven’t washed your hair the night before.
Pro tip: Mist the loose strands with a very light hairspray to encourage them to hold their wave throughout the day without looking stiff.
5. Defined Curls with a Deep Side Part
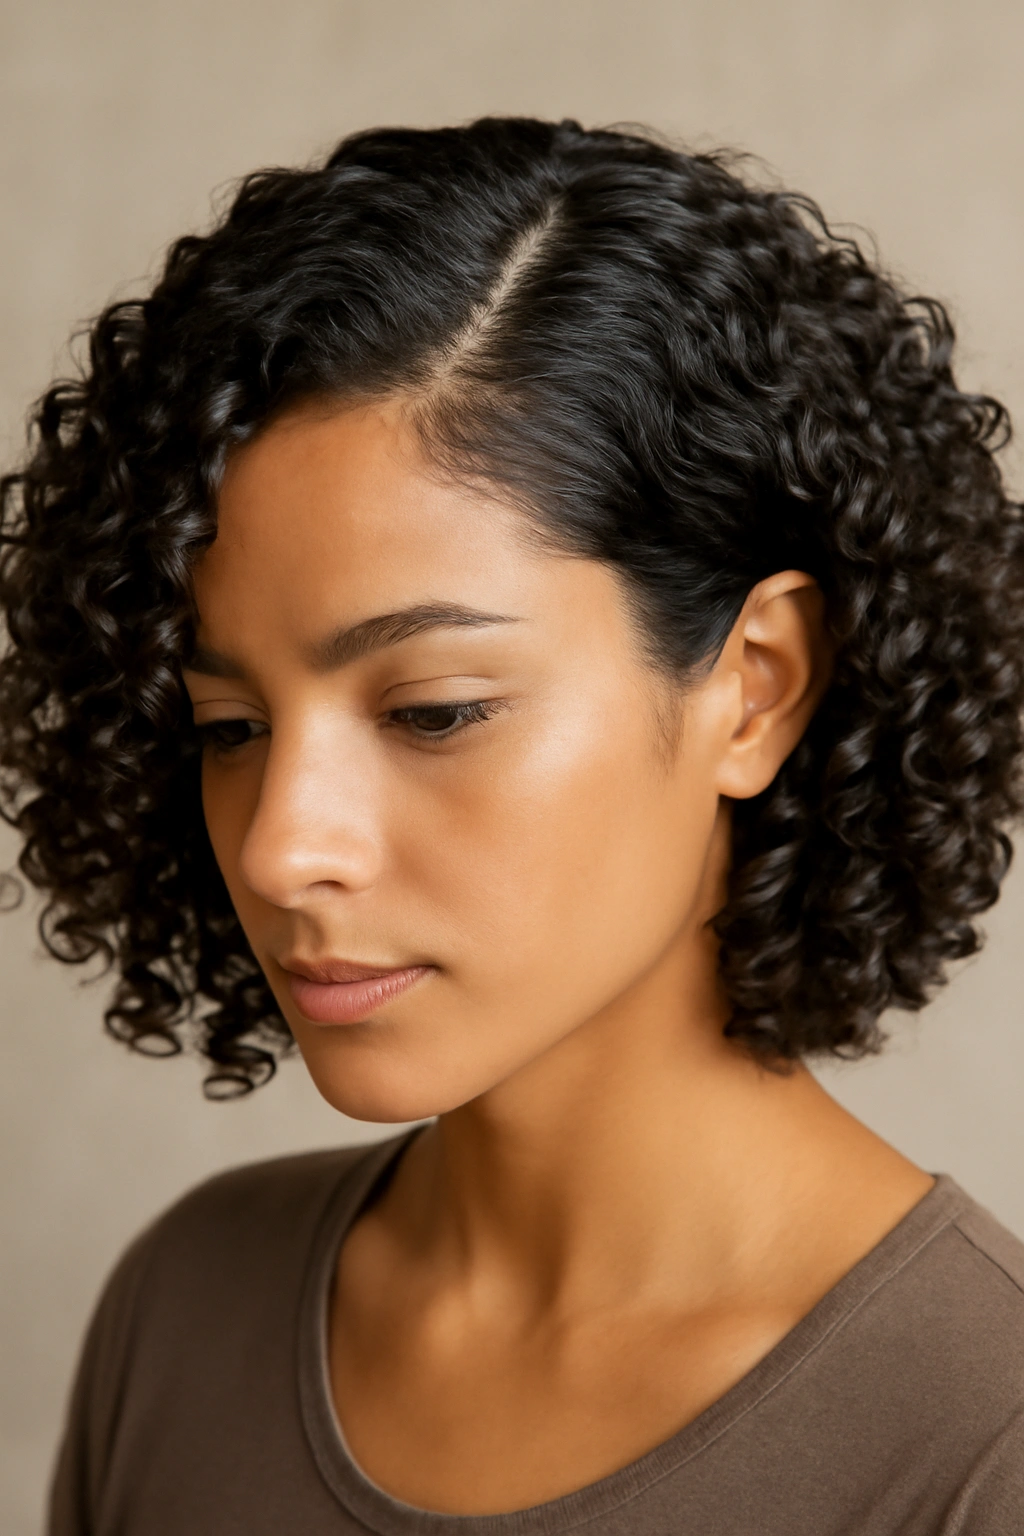
A deep side part completely changes the face-framing and balance of short curls, creating an asymmetrical look that instantly feels more intentional and polished than a center part. This works especially well if you have a forehead you want to minimize or if you like a slightly more dramatic styling moment without actually doing much.
Creating a Dramatic Deep Side Part
With clean, damp hair, apply your leave-in conditioner and curl gel while your hair is still very wet. Using a rattail comb or edge control brush, create a deep side part by brushing the front section sharply to one side, starting from the side of your head rather than the middle. The deeper the part, the more dramatic the effect. Style your curls as you normally would—whether that’s a gel cast wash-and-go or finger coils—but let the part guide how curls fall. The smaller section of hair on the part’s back side will look sleeker; the larger section on front will be fuller.
The Geometric Impact of Side Parts on Curls
A side part naturally shapes your head differently than a center part, creating visual interest and directing focus. On curly hair, which already has lots of texture, a strategic side part adds another layer of intentionality. It’s one of the few styling changes that takes zero additional time but makes your entire look feel more considered and polished.
Keeping Your Part Sharp All Day
Use a small amount of edge control or gel on a brush to smooth the part line cleanly. Only apply it to the actual part line, not to large sections of hair, or you’ll create the opposite effect—a stiff, overly-groomed look rather than polished. Refresh the part by brushing it smooth a few times throughout the day if you notice it’s begun to blend back together.
Styling note: Deep side parts photograph beautifully and look especially striking in professional or formal contexts. It’s one of the easiest ways to elevate a casual curl style into something that looks deliberately styled.
6. Twisted Crown with Loose Curls
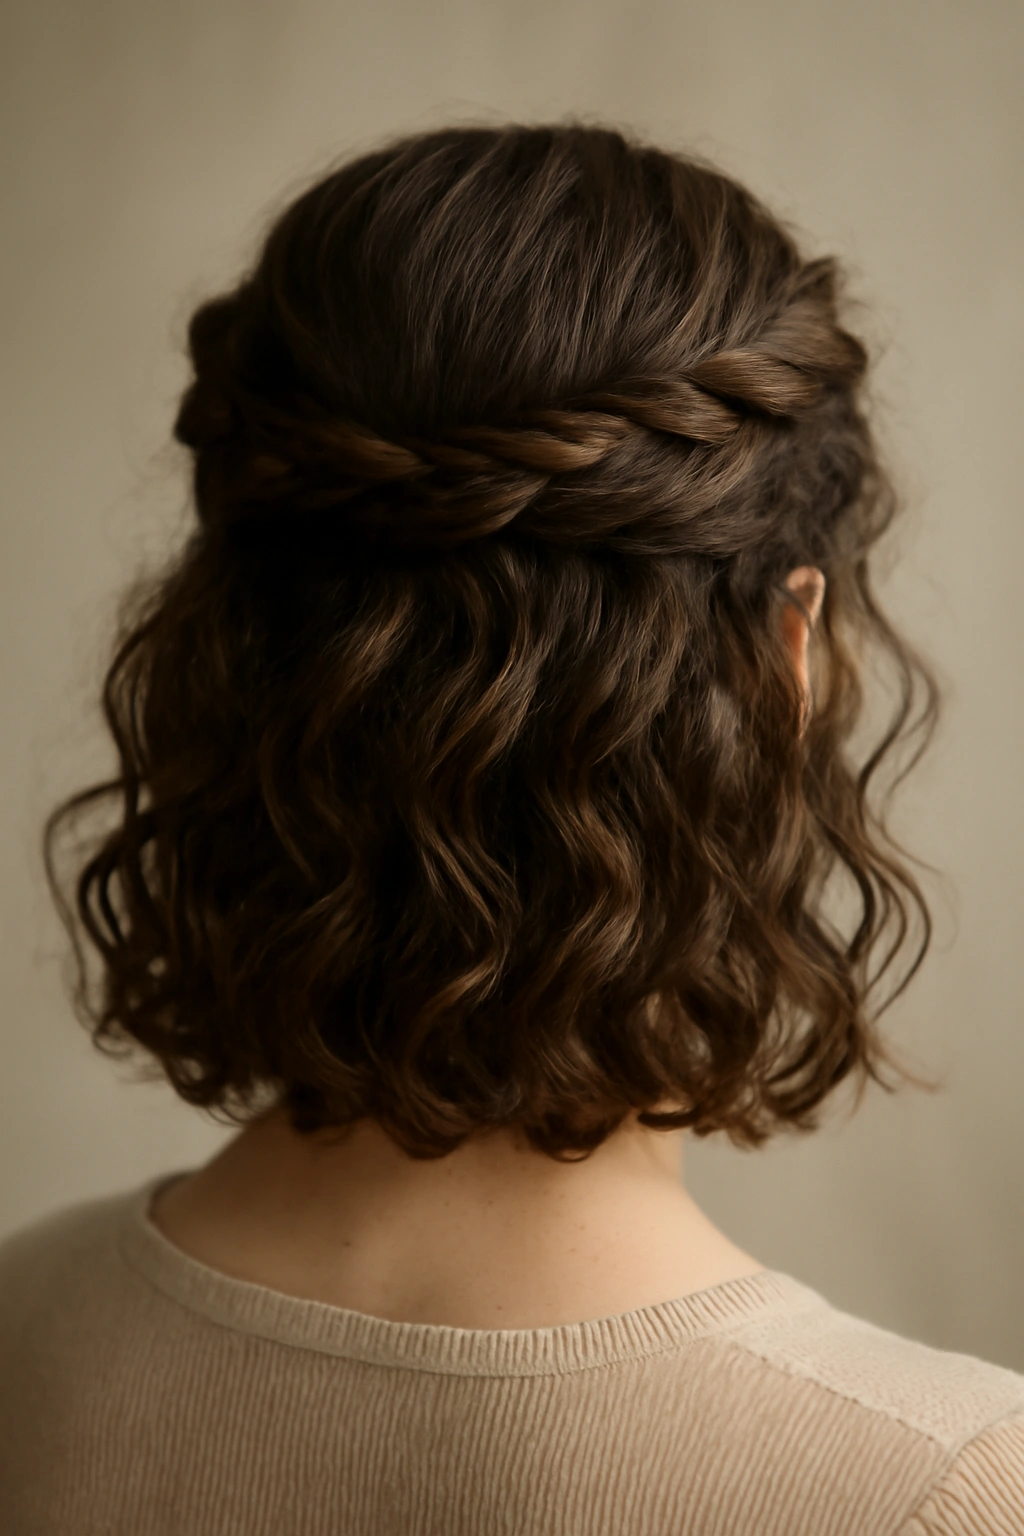
A twisted crown combines the ease of a half-up style with the sophistication of something that looks intentionally styled. You’re removing just enough hair from your face to keep it off your skin while leaving the bulk of your curls down and mobile, which means maximum ease with excellent visual payoff.
Building a Twisted Crown
Start with damp or slightly damp curls. Take a section of hair from one side of your head, approximately two inches from your part, and twist it loosely as you move toward the back of your head—think of twisting a piece of rope. Keep the twist loose so individual curls can poke through and create texture. Once you reach the back, secure the twist with bobby pins on the opposite side, tucking them into the twist so they’re hidden. The twist should look undone and textured, not sleek and tight.
Two Methods That Create Different Effects
Loose, textured twist: Keep your hands relaxed and let curls twist naturally without pulling them taut. This creates a romantic, soft look with maximum visible texture. Scrunch the twist gently once you’ve secured it to encourage curls to show through the coils.
Sleeker twist: Keep your hands firmer and twist more tightly, keeping the coils compact and visible. This creates a more polished, intentional look that photographs well and works great for professional contexts.
Making the Twist Actually Stay Put
The key is using bobby pins correctly—hook them into the actual twisted hair structure rather than just laying them on top. Use two or three pins rather than one, positioning them horizontally rather than vertically. Never underestimate how much security a well-placed bobby pin provides.
Insider note: The twisted crown looks best on day-two or day-three hair when you’ve lost a bit of initial definition but still have good texture. On freshly-washed hair with super-defined curls, the twist can look too formal.
7. Defined Curls with Scrunched Volume at the Crown
Short curly hair can sometimes look flat at the crown even when the rest of your curls are bouncy and full. This style specifically targets that issue by deliberately encouraging maximum volume at your roots through strategic scrunching and product placement.
The Volume-Building Technique
Apply your leave-in conditioner and gel to soaking-wet hair. Flip your head forward so your crown is pointing toward the floor, and scrunch product upward into the crown section with both hands simultaneously, working multiple times. The more you scrunch while your hair is soaking wet, the more volume you’ll build once it dries. Stand up, flip your head back, and continue scrunching the mid-length and end sections. The crown has already gotten extra volume; now you’re just enhancing definition through the rest of your curls.
Why This Technique Creates Real Lift
When you scrunch while your hair is completely saturated with product and water, you’re literally creating air pockets and shaping the curl structure to stand up from your scalp. As your hair dries, it holds that shape. This is different from trying to create volume once your hair is already dry, which generally just creates frizz.
Product Strategy for Lasting Volume
Use enough gel that product coats every strand, but not so much that curls feel heavy or crunchy once dry. Lighter gels work better for this style than thick, heavy ones, which can weigh down your crown. If your hair is very dense or fine hair that doesn’t hold volume naturally, use a volumizing mousse instead of gel.
Pro tip: Scrunch-dry with a microfiber towel or t-shirt for the first five minutes after styling—this helps set the shape and locks in volume before your hair fully air-dries.
8. Sleek Pineapple Ponytail
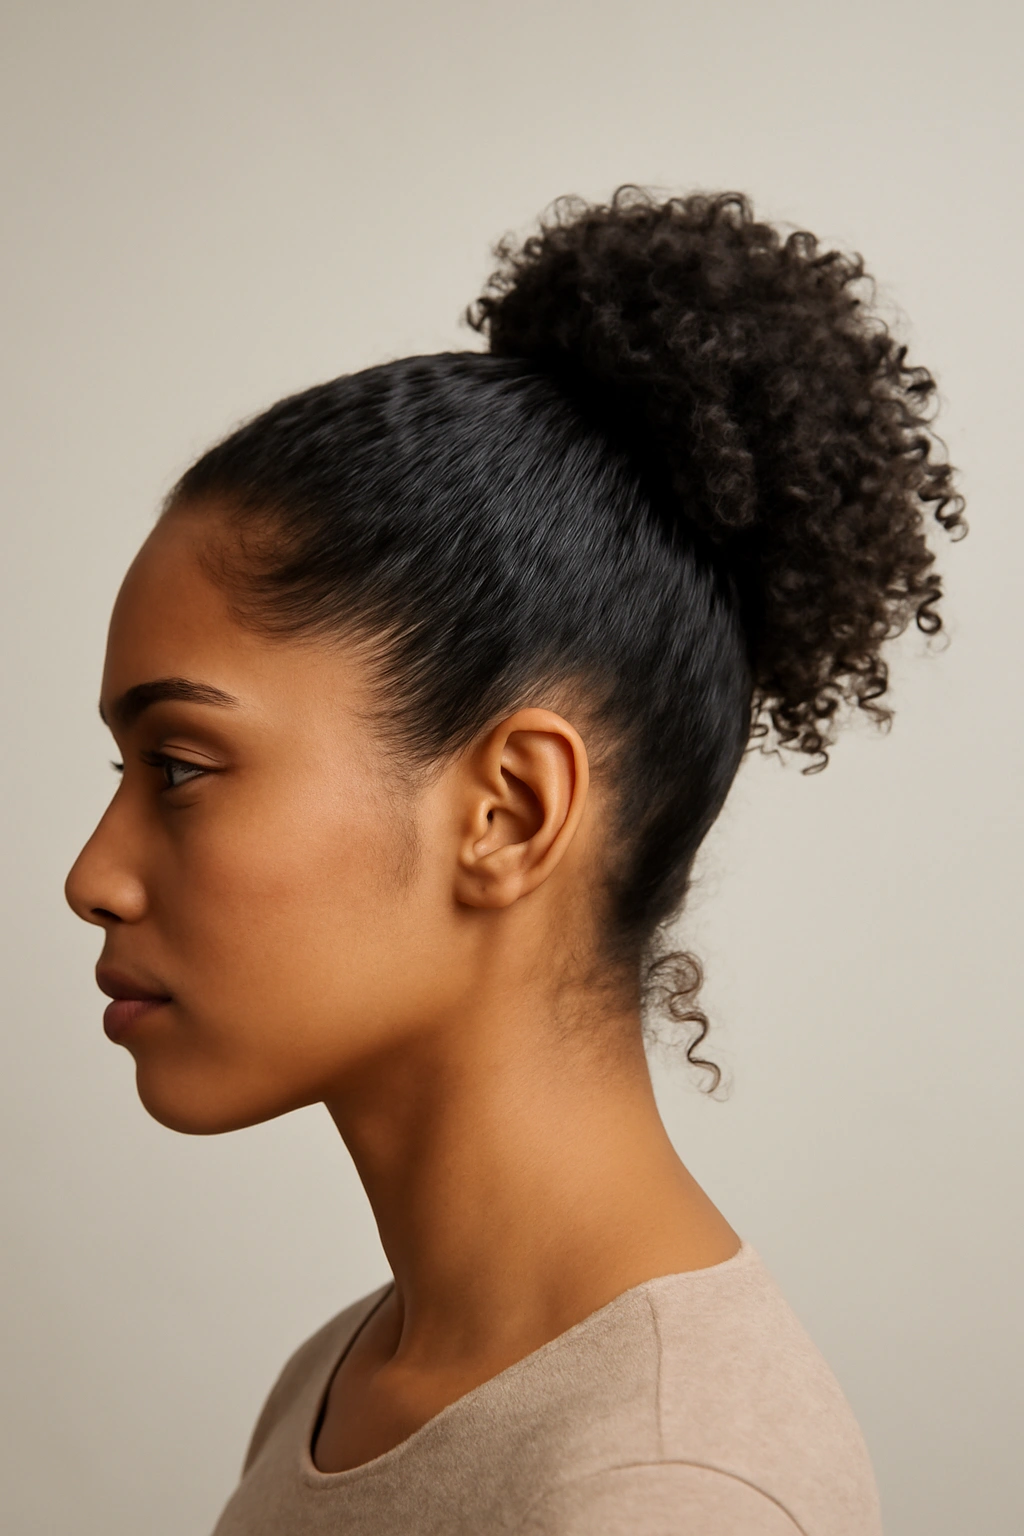
The pineapple ponytail is technically a nighttime sleeping style, but it also works beautifully as a daytime quick style when you want polish without effort. The pineapple shape, created by gathering hair at the top of your head, prevents curls from getting crushed or matted while you sleep—or simply keeps them gathered, smooth, and polished if you’re wearing it as an actual style.
Creating the Pineapple Ponytail
Gather your curls at the crown, pulling them up and back into a high ponytail positioned toward the top-back of your head rather than directly at the center. Use a smooth silk hair tie, not elastic, to prevent creasing. The ponytail should be loose enough that curls can spring out at the base and sides, not so tight that you’re pulling your hairline. If you’re wearing this as a daytime style, leave some face-framing pieces loose.
The Visual Effect on Short Curls
A pineapple ponytail on curly hair creates height and definition that actually works with your texture rather than against it. The gathering pulls curls up and away from your face while allowing them to still bounce and move. On short curls, it creates an interesting silhouette that reads as intentionally styled.
Preventing the Flattened-Curl Problem
The whole point of pineapple-ing is preventing curls from getting crushed. Use a silk hair tie, never elastic. Make sure the ponytail is tight enough to hold curls secure but loose enough that curls can still breathe—too-tight pineapples actually crush curls more than loose ones. Keep the ponytail high at the crown, not at the nape of your neck, so gravity works with you rather than pulling your curls down.
Worth knowing: A pineapple ponytail isn’t really a “styled” style—it’s more a way to contain your hair. But if you dress it up with a few loose pieces and some light hairspray, it absolutely reads as intentional, especially in casual or athletic contexts.
9. Moisture-Locked Defined Curls with Edge Control
This style focuses on what actually separates polished, defined curls from chaotic texture: proper moisture and clean, intentional edges. This is less a specific “style” and more a method for making your natural curls look deliberate and finished rather than simply curly.
The Moisture Foundation
Start by clarifying your curls with a chelating shampoo once a month to remove product buildup. When you style, use a sulfate-free shampoo and rinse with cool water to close your cuticles and lock in shine. Apply leave-in conditioner generously to soaking-wet hair, focusing on mid-lengths and ends. Let that absorb for a minute before adding gel or styling product.
The Intentional Edge Strategy
Wet your hairline with a light hairspray or water mixture. Apply a small amount of edge control or gel with a soft brush, smoothing down baby hairs and your hairline with purpose. The goal is polished edges without the appearance of heavy grooming. This takes thirty seconds but completely elevates how finished your entire style looks. Smooth around your hairline, along your part line if you have one, and around the perimeter of your style.
Product Layering for Definition and Shine
Apply leave-in conditioner first (moisture), then gel or curl cream (definition and hold), then a very light hairspray once you’re finished styling (lock it all in place). Each layer has a specific job. Skipping the leave-in conditioner leaves your curls dry and crunchy; skipping the hold product leaves them undefined; skipping the hairspray means everything falls apart by afternoon.
Styling note: The difference between “I don’t know how to style my curls” and “I have intentionally styled curls” is often just clean edges and intentional placement. Spend a full minute on your hairline and edges, and your entire look improves.
10. Half-Up Curls with Face-Framing Texture
A half-up style gives you the best of both worlds—it removes just enough hair from your face to keep it out of your way while leaving enough down to show off your curl texture. This style works in any context, from casual to professional, and actually looks better the less polished and perfect it is.
Building a Half-Up Curl Style
Part your hair as you normally would, or create a deep side part if you want drama. Taking a section from each side of your head (starting about two inches from your face), smoothly brush those pieces back toward the center crown. The smoother the top piece is, the more intentional the style looks—use a soft brush and a tiny bit of edge control or gel to encourage smoothness. Gather those two sections at the crown and secure with a small elastic hair tie. The remaining curls fall free.
The Balance Between Sleek and Textured
The top section should look intentionally smooth—it frames your face and adds polish. The remaining curls fall loose and textured. This contrast is what makes the style work. If your entire head is equally textured, the style reads as “unstyled curls.” If the bottom is smooth but the top is undone, it looks careless. The intentional polished top and textured bottom is the magic.
Variations for Different Occasions
Casual: Leave the gathered section loose and textured, only smoothing the very top. Keep face-framing pieces soft and loose.
Professional: Smooth the gathered section more deliberately and secure it tightly. Polish your edge control application around your hairline for extra neatness.
Romantic: Keep everything very loose, let several face-framing pieces fall free, and let the gathered section have obvious texture rather than being perfectly smooth.
Pro tip: If your half-up gathering feels too tight or severe, gently pull the gathered section loose once it’s secured. You want it to look relaxed and intentional, not strained.
11. Textured Wash-and-Go with Curl Refresher Method
This is the method for getting second or third-day curls to look just as good as fresh curls without actually washing. The curl refresher technique requires only a spray bottle and two minutes, making it perfect for mornings when you want great curls without the full wash-and-style commitment.
The Curl Refresh Formula
Mix water with a small amount of leave-in conditioner in a spray bottle—the ratio should be about 4 parts water to 1 part conditioner. Spray your curls lightly (not soaking) first thing in the morning, encouraging moisture back into yesterday’s curls. Scrunch gently a few times to reactivate the curl pattern. If your curls have completely fallen flat, scrunch more vigorously. Apply a tiny bit of gel or curl cream to your palms and scrunch again, focusing on areas that have lost definition.
Why Refreshing Works Better Than Rewashing
Refreshing actually preserves the best parts of your previous day’s curls while restoring moisture and definition. By day two, your curls have had time to fully set and usually have excellent definition—you’re just restoring hydration. A full wash can sometimes make your curls bouncier but less defined; a refresh keeps them defined while restoring movement.
Common Refresh Mistakes That Create Frizz
- Too much water: You want damp hair, not soaking wet. Soaking wet curls need full styling with product.
- Wrong product: Using only water creates frizz. The conditioner in your spray bottle is essential for moisture and definition.
- Over-scrunching: More scrunching doesn’t always equal better results. Scrunch gently until your curls feel moist and defined, then stop.
Insider note: This method works best if you’ve kept your curls in a pineapple or loose braid overnight rather than letting them move freely while you sleep. If your curls are completely matted or deformed, refresh won’t fix it—you’ll need a full wash.
12. Soft Coils with Lightweight Hold

This final style is about creating intentional definition through soft coil-ing without the crunchy gel cast that some people find uncomfortable or unflattering. You’re aiming for structured curls that feel soft and look natural rather than styled.
Building Soft Coils Without Heavy Gel
Use a lightweight curl cream or mousse instead of traditional gel. Apply leave-in conditioner to soaking-wet hair first, then add curl cream or mousse. Take small sections and loosely coil them around your finger, similar to finger coils but much looser. The coils should feel soft and loose, not tight or compressed. Let them set as your hair air-dries or sits in a diffuser.
The Difference Between Soft Coils and Tight Finger Coils
Soft coils are faster to create and look more natural and relaxed. They’re perfect if you find traditional finger coils too time-consuming or if they look overly styled for your preference. Tight finger coils create more defined, bouncy curls; soft coils create a softer, more natural-looking texture.
Product Weight Matters for the Final Look
Heavy gel makes soft coils look defined and shiny but also creates a potential gel cast if you’re not careful. Lightweight mousse or curl cream keeps coils looking soft and natural but might not provide as much hold if your curls are very loose or fine. The right choice depends on your hair type and how much hold you need.
Styling for Low-Effort Mornings
You can create soft coils the night before while your hair is still damp and finish drying them in the morning with a diffuser. You can also create them on damp hair in the morning and let them set over two to three hours while you go about your day. This is more flexible than gel-based styles that require either full air-drying or specific moisture levels.
Pro tip: Soft coils look best if you don’t touch them while they’re setting. Once they’re completely dry, gently separate them with your fingers to create looser texture if desired.
Final Thoughts
The best short curly style is the one you’ll actually do on a regular morning when you’re tired and have ten minutes. Every style here is genuinely achievable without specialty tools, without perfect technique, and without lengthy product lists or complicated steps. Your curls are already doing the hardest work—these styles just give that texture shape, intention, and confidence.
Start by experimenting with two or three styles that match your mornings best. If you’re always rushed, lean toward the wash-and-go or quick refresh methods. If you enjoy a few minutes of hands-on styling, finger coils or soft coils might become your go-to. The goal isn’t having one perfect style—it’s building a rotation of reliable styles that work with your actual life, not against it. Once you find the methods that make you feel confident and put-together without stress, you’ll actually use them consistently enough that they become genuinely effortless.