Article: Ways to Wear Naturally Curly Hair
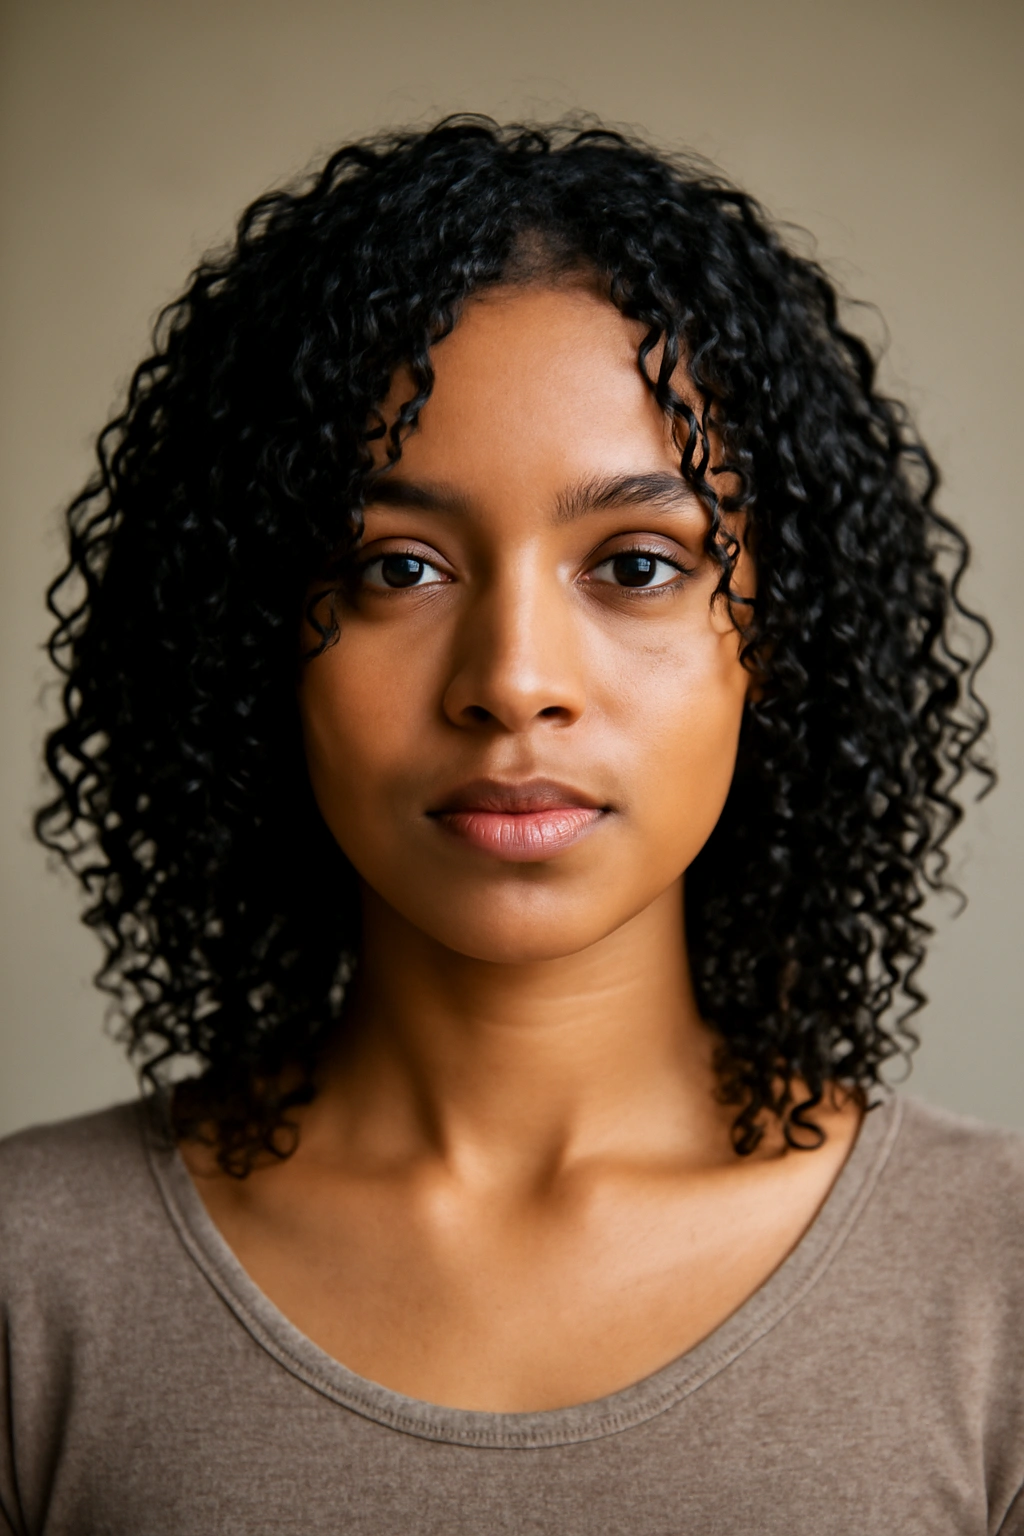
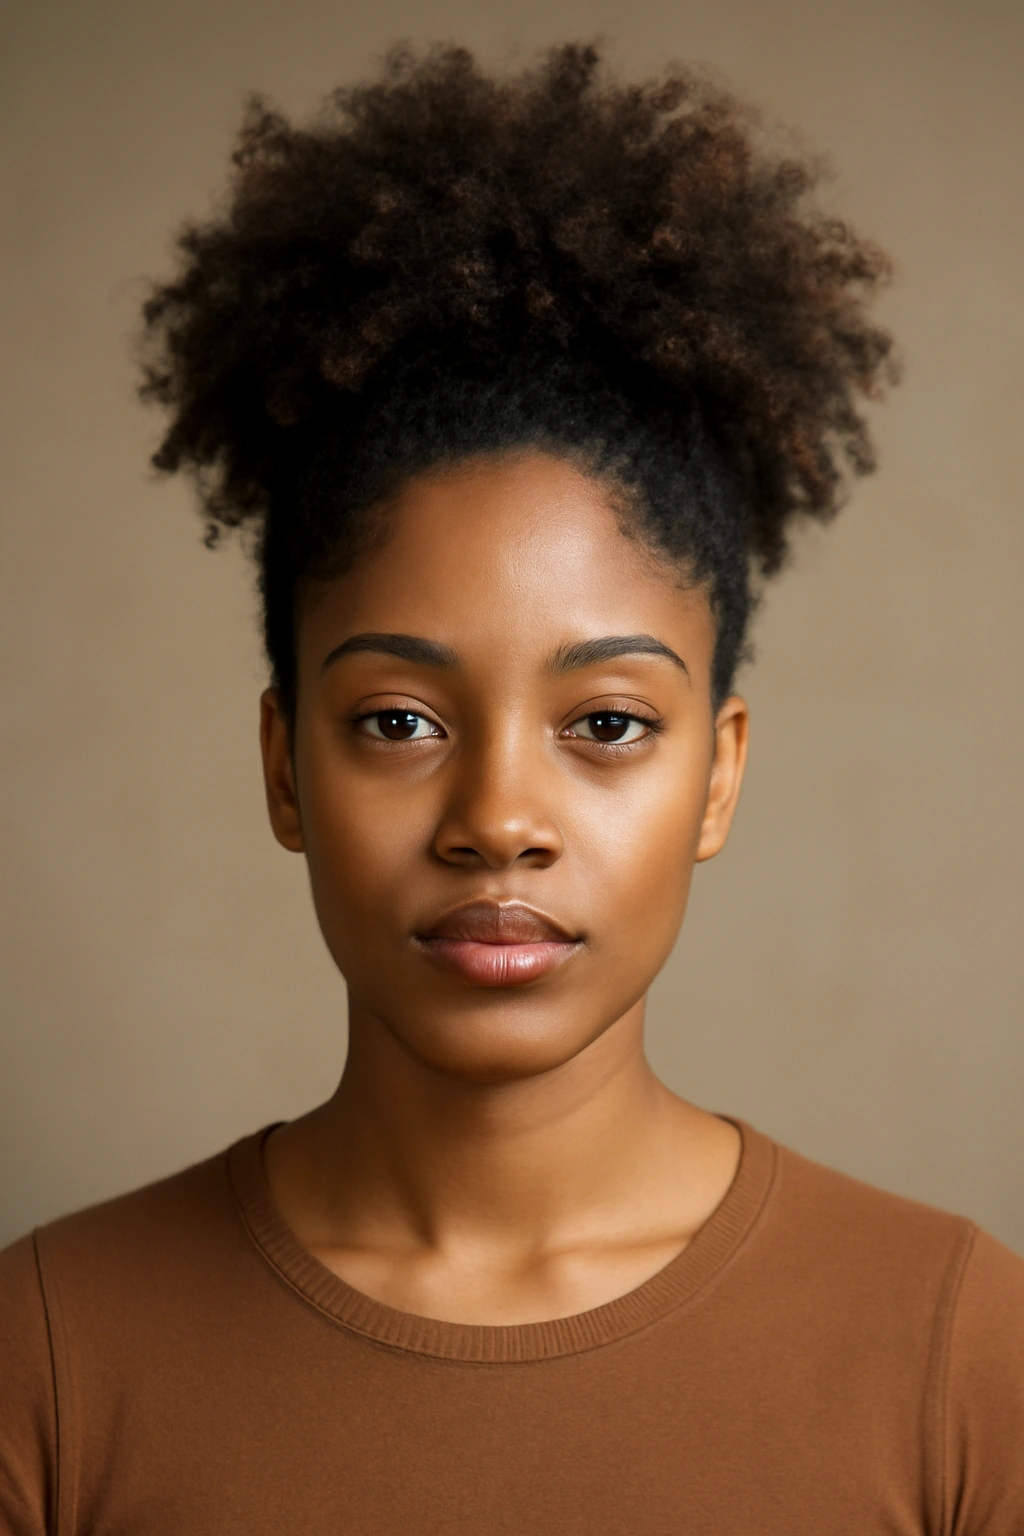
Curly hair is its own kind of versatility—and that’s something many straight-haired people will never fully understand. While they’re limited to mostly the same look day after day, you’ve got an entire wardrobe of hairstyles hidden in your curl pattern. The real magic isn’t fighting your natural texture; it’s learning how to work with it in ways that make you feel like yourself, whether that’s a sleek definition one day or a soft, voluminous puff the next.
The shift from viewing curly hair as something that needs to be “fixed” to seeing it as a styling asset completely changes your relationship with your hair. Once you understand how your specific curls respond to moisture, styling products, and techniques, you unlock options that don’t exist for other hair types. What works for your curl pattern might look completely different on someone else’s curls—and that’s the point. These aren’t rules; they’re possibilities.
The best part? Most of these styles take less time than you’d think once you nail the technique. A style that seems complicated the first time becomes almost meditative once you’ve done it a few times. You’ll find yourself reaching for certain looks on lazy mornings, choosing others for days when you want to feel extra, and discovering new favorites you didn’t expect to love. Your curls have been trying to show you what they can do all along—you just needed to give them the right direction.
1. The Wash-and-Go
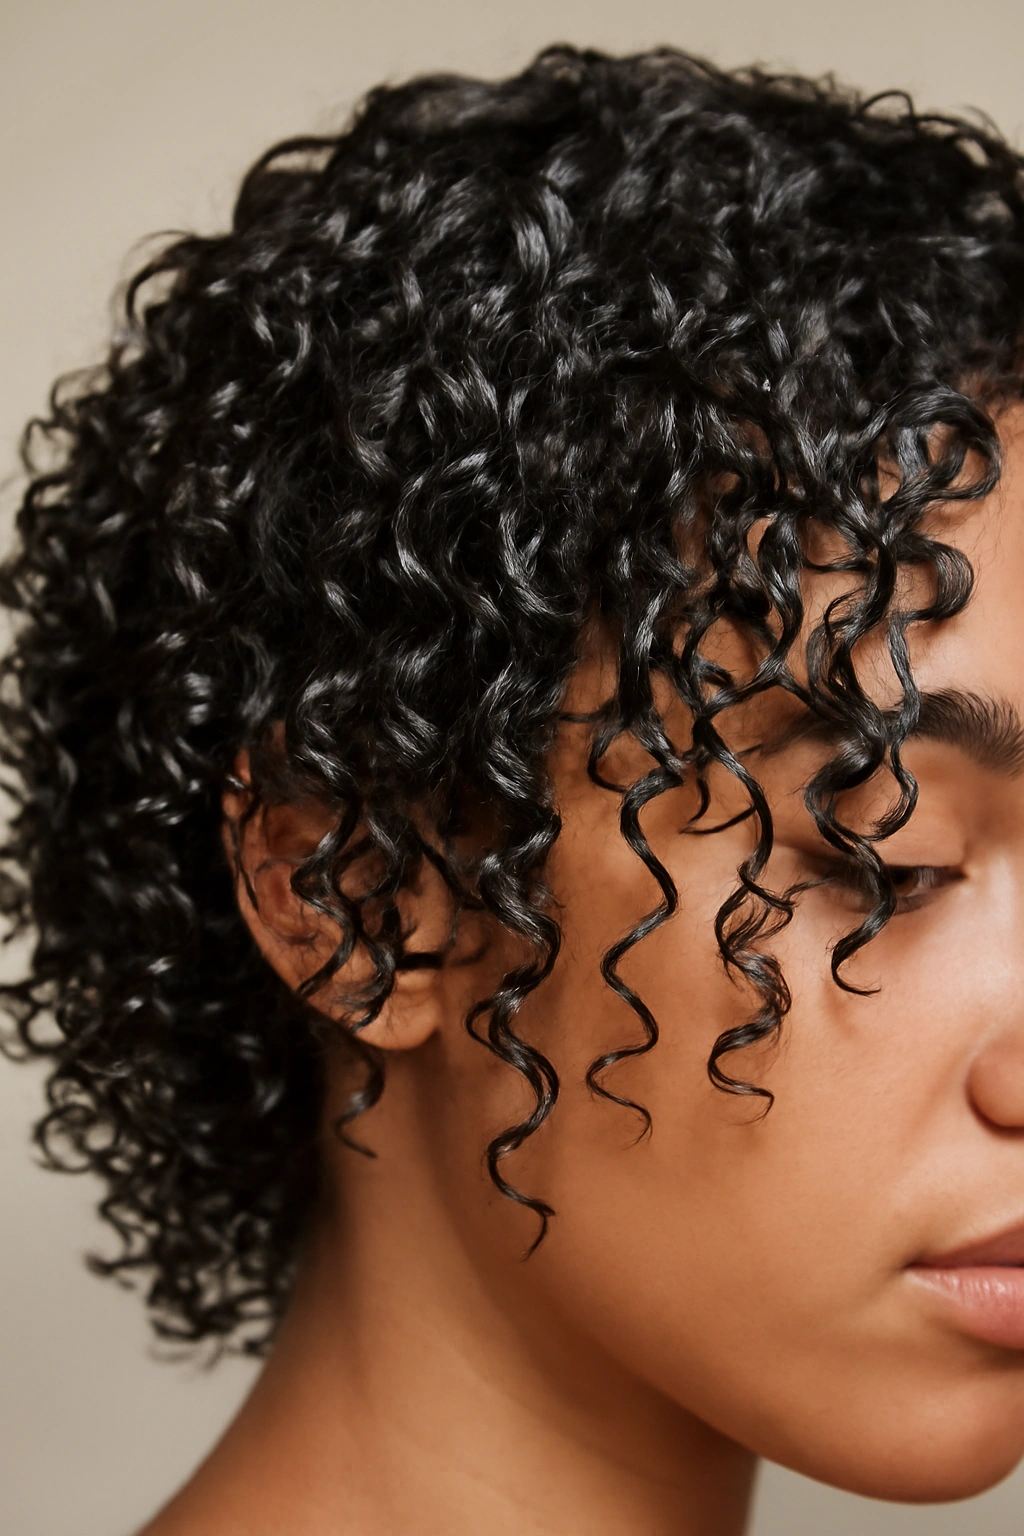
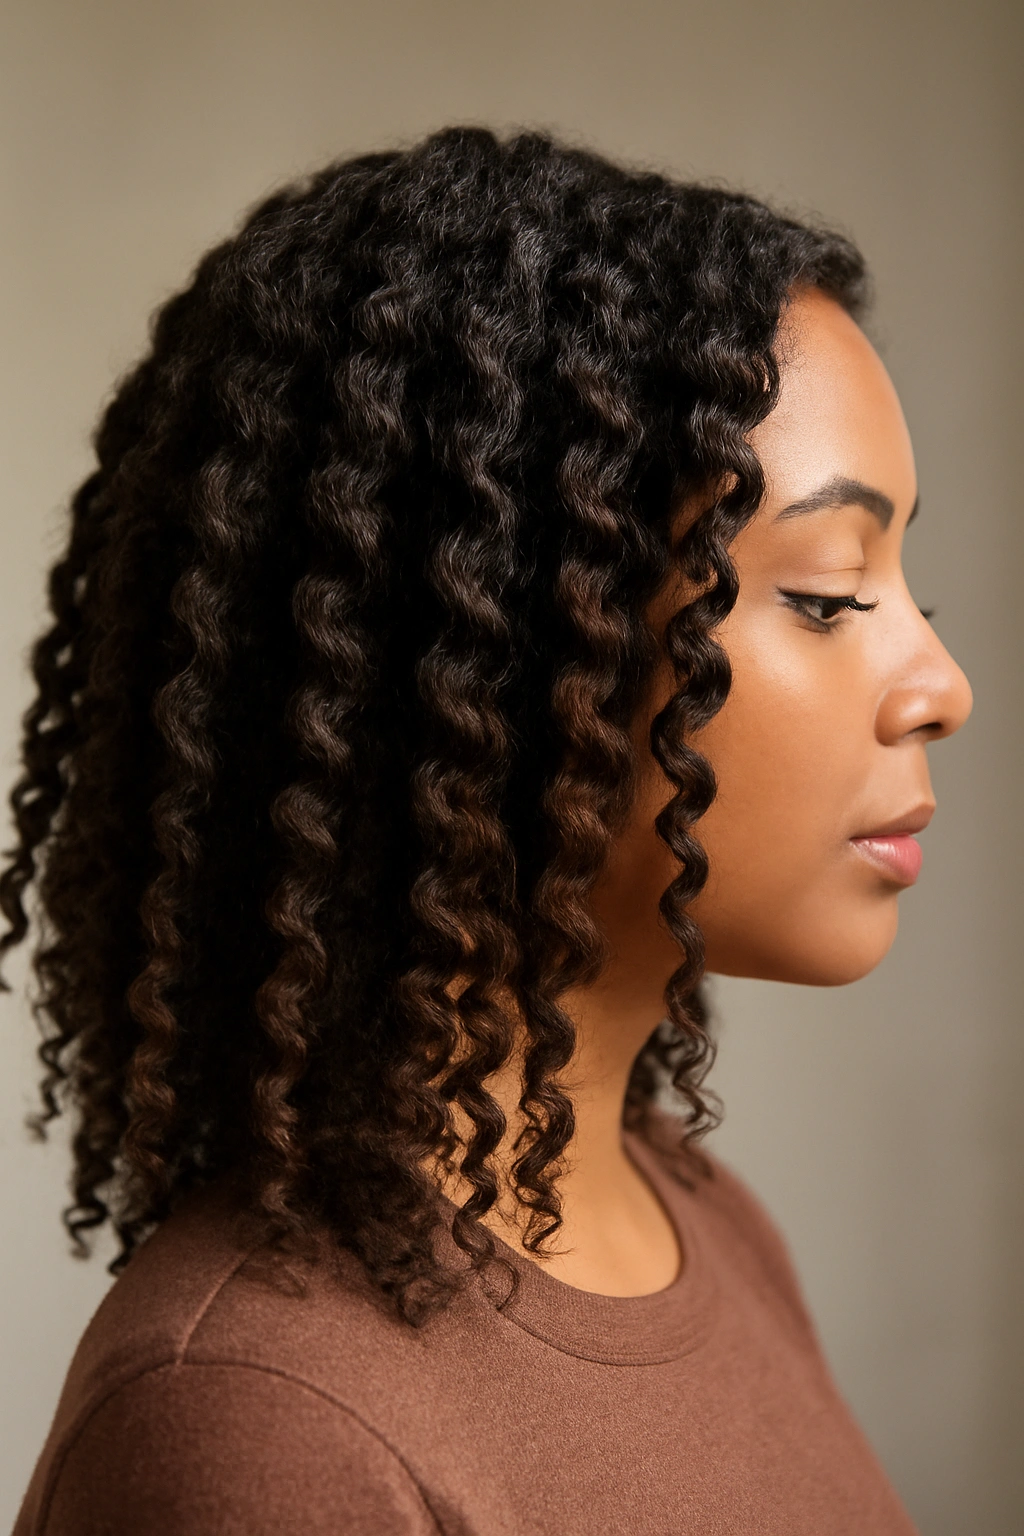
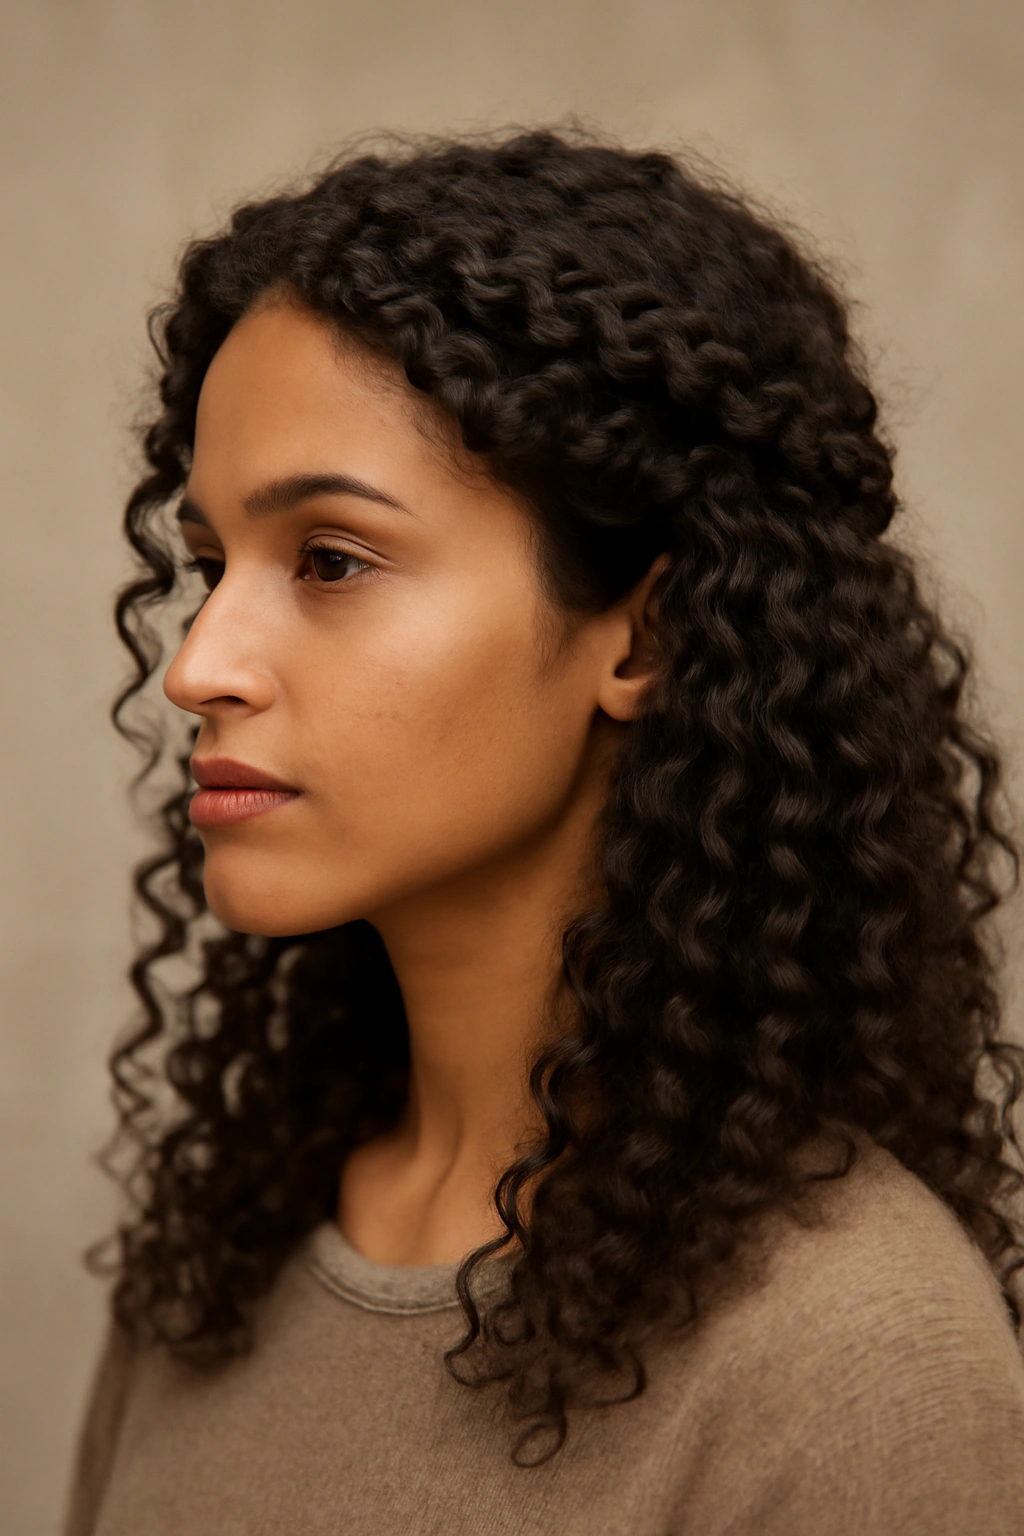
A true wash-and-go is the holy grail of curly hair styling because it works with your hair’s natural moisture and curl pattern rather than against it. This style is exactly what it sounds like: you wash your hair, apply your products to soaking-wet strands, scrunch and shape as needed, and let your curls do their thing as they dry. The key is that your hair dries into its natural curl formation without manipulation, heat, or setting techniques.
Why This Style Works So Well
The wash-and-go respects your curl’s memory and natural shape. When your hair is wet and freshly cleansed, your curls are at their most receptive to absorbing moisture and products. By applying leave-in conditioner, curl cream, or gel while your hair is soaking wet, you’re coating each strand evenly and allowing your curls to clump together naturally as they dry. This creates definition and movement that feels effortless because it actually is—you’re not forcing your hair into a shape it doesn’t want to hold.
How to Perfect Your Wash-and-Go
- Start with a sulfate-free shampoo or co-wash to cleanse without stripping moisture
- Apply leave-in conditioner generously to soaking-wet hair, section by section
- Add your styling cream or gel while hair is still dripping wet; this is crucial for even distribution
- Use the praying hands or scrunching method to encourage curl clumping
- Consider plopping with a microfiber towel or t-shirt for 10-20 minutes to speed drying while maintaining curl shape
- Air dry completely or use a diffuser attachment on low heat for faster results
- Avoid touching or separating curls while they’re drying—this causes frizz and breaks up clumps
Pro tip: The wetter your hair is when you apply products, the smoother and more defined your curls will be. Timing matters as much as product choice.
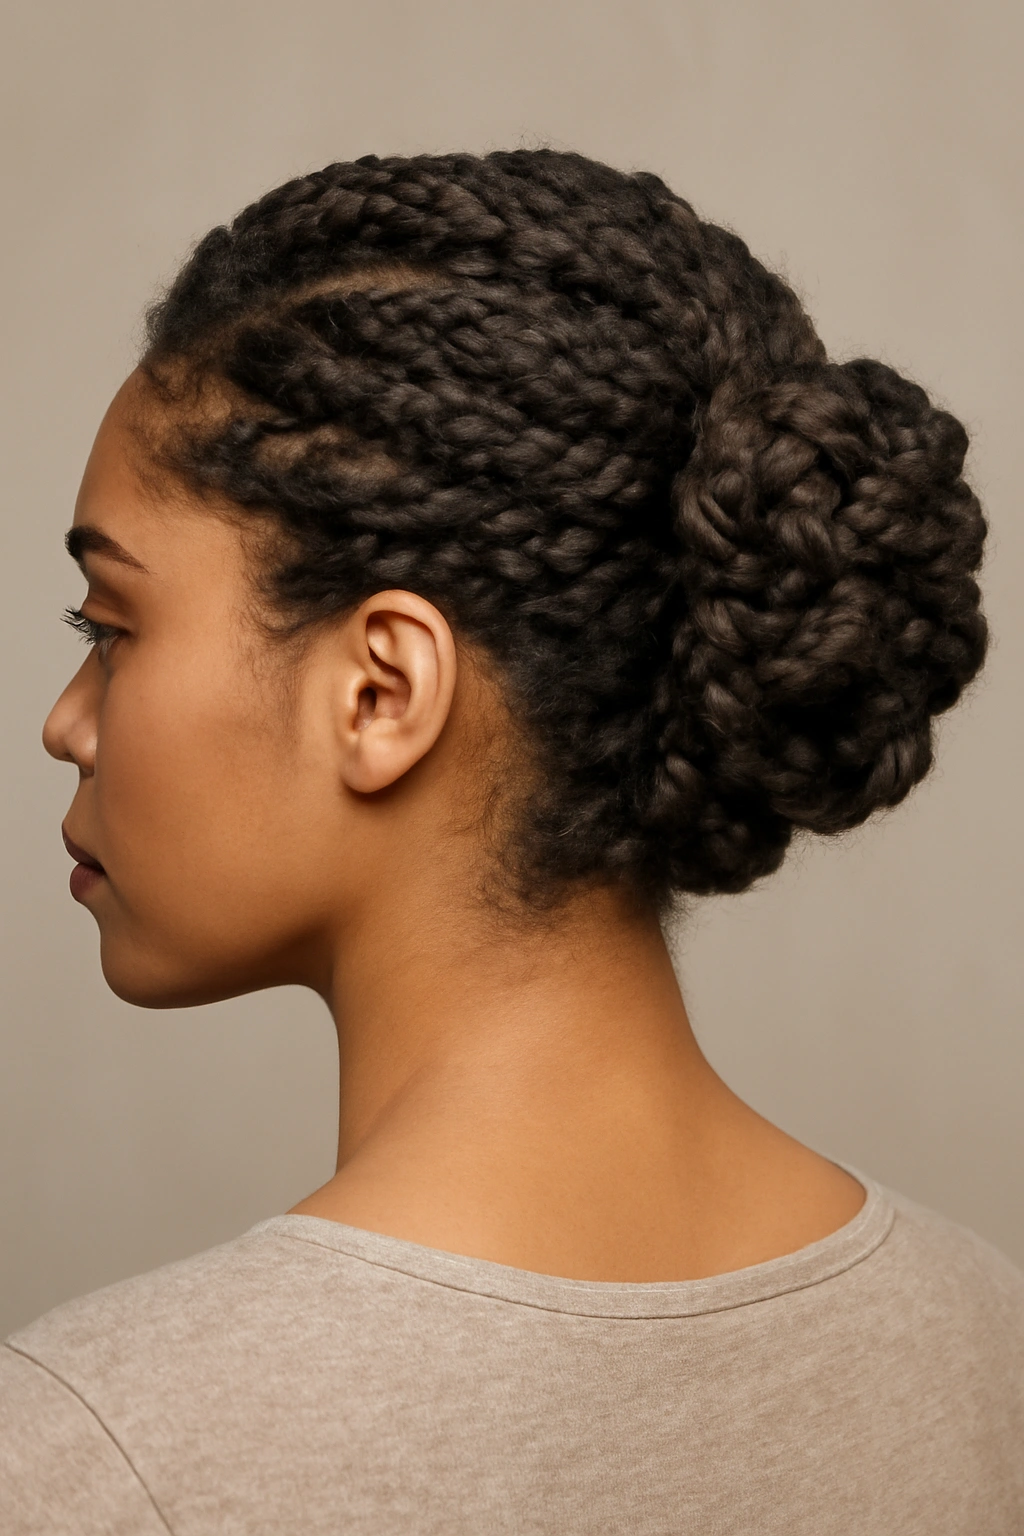
2. The Pineapple Updo
Named for its resemblance to a pineapple’s crown, this style gathers your curls on top of your head in a high, voluminous ponytail while you sleep or during the day. It’s one of the most protective ways to wear curly hair because the curls aren’t rubbing against your pillowcase or getting crushed under the weight of your whole head throughout the night. The pineapple is especially smart for preserving a style you spent time creating—you can sleep in it and wake up to refreshed curls.
The Science Behind Overnight Preservation
When curls rub against cotton or rough fabric, the friction causes frizz and disrupts the curl pattern. A pineapple keeps your curls bunched together at the crown where they’re protected and where they can hold their shape without interference. Hair that would normally flatten on one side and frizz on the other stays intact, bouncy, and defined. You’re essentially creating a cushion of hair that protects itself.
Steps to Master the Pineapple
- Use a loose, soft scrunchie—never a tight elastic that creates a crease in your curls
- Flip your head upside down and gather curls high on your head, centering them above your crown
- Secure loosely enough that you can fit two fingers between the scrunchie and your hair
- If you have shorter hair, try a high side pineapple instead, gathering curls to one side
- You can refresh the pineapple the next day by lightly misting with water and re-scrunching
- For deeper curls that need extra support, wrap the pineapple loosely with a silk or satin scarf
Worth knowing: This works best on second or third-day hair that already has some shape and product set, rather than fresh-washed curls that are still full of moisture.
3. Defined Curls with Gel
When you want your individual curl pattern to shine with serious definition and shine, gel casting is the technique that delivers. This is about applying enough gel to your wet curls that they form a protective cast as they dry, holding each curl in a distinct, defined shape with a polished finish. The result is curls that look intentional, shiny, and magazine-ready—this is the style for days when you want people to know you have curly hair and you’re proud of it.
Understanding Gel and Curl Definition
Gel works by coating each strand and drying into a thin, flexible shell that holds the curl’s shape while sealing in moisture. The stronger the hold, the more defined and long-lasting the style—but you need to choose a gel that’s right for your hair. Light gels work for fine hair and loose curls; medium and strong holds suit tighter curl patterns and thicker hair. The cast feels stiff when it’s first dry, but it softens throughout the day into a more natural, flexible texture. Scrunching out the crunch at the very end removes that hardness while keeping the definition.
The Gel Casting Process
- Apply gel to dripping-wet hair, either through your strands or by praying-hands method
- Use enough that each curl is visibly coated and holds together as a defined ringlet
- Avoid touching your hair while it dries completely—any movement breaks the cast and causes frizz
- Drying time varies; you can air dry for maximum definition or use a diffuser to speed things up
- Once your hair is 100% dry and feels stiff, scrunch gently from the ends upward to break the cast
- This final scrunching softens the hair while preserving definition and shine
- Your curls should now feel soft but hold their defined shape throughout the day
Pro tip: The “crunch” of wet gel is temporary—many people assume their hair will feel that stiff all day and skip this style. It doesn’t. Scrunching out the crunch is essential to the whole process.
4. The Twist-Out
A twist-out creates beautiful, elongated waves and curls by twisting damp sections of hair around your finger, then unraveling them once they’re dry. The technique works because the twisting temporarily trains your hair into a new shape, and as it sets with product, it holds that shape when you release the twist. You end up with curls that are sometimes bigger than your natural curl pattern, with a softer, wavier quality that’s distinct from your wash-and-go.
Why Twist-Outs Create Different Texture
Your natural curl pattern is genetic—you can’t permanently change it. But you can temporarily enlarge or reshape your curls by twisting, braiding, or using rods. A twist-out essentially stretches your curl vertically as it dries, so a naturally tight curl becomes a looser, bouncier wave. The number of twists, how tightly you twist, and the size of each section all affect the final result. Bigger twists create bigger waves; tighter twists create more defined curls.
How to Create a Lasting Twist-Out
- Start on damp (not dripping wet) hair; if it’s too wet, it’ll take forever to dry and won’t hold the twist
- Apply leave-in conditioner and a styling cream or light gel to each section
- Divide hair into sections—8 to 12 larger sections for loose waves, more sections for tighter definition
- Twist each section from root to tip, wrapping the hair around your finger and twisting it away from your body
- Use a bobby pin to secure each twist at the end, or pin them to your scalp with clips
- Let them air dry completely—this takes several hours—or use a diffuser on low heat
- Once fully dry, carefully unravel each twist by releasing the pin and gently unwinding the section
- Separate and shape as desired; you can scrunch for more volume or smooth for more polish
- Apply a light finishing oil or serum if desired for shine without weighing curls down
Insider note: If you have a lot of hair, you can twist-set at night and let them dry overnight, then unravel in the morning. This saves time and often creates prettier waves because the twists have been set longer.
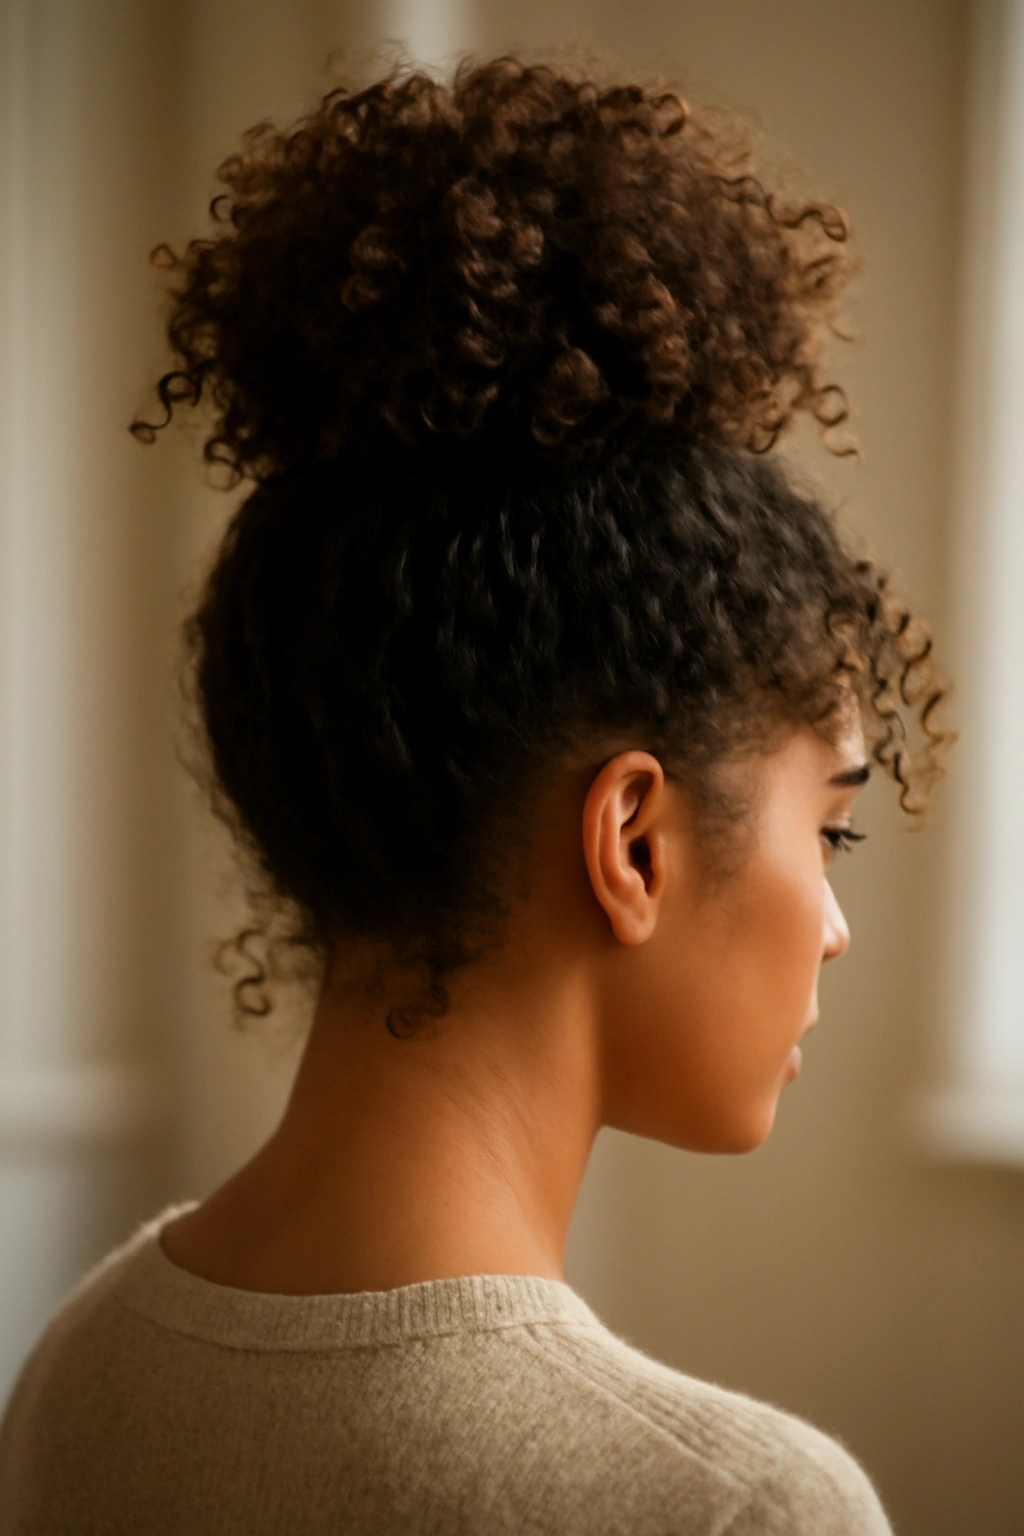
5. The High Puff
A high puff is a voluminous topknot made from your natural curls gathered at the crown. It’s different from a traditional bun because you’re celebrating your curls’ texture and volume rather than smoothing them. The high puff is inherently chic, playful, and put-together—it works for gym sessions, professional settings, casual hangouts, and anywhere in between. The height and position make it feel intentional and styled without requiring hours of work.
Building Volume and Balance
The key to a gorgeous puff is gathering enough hair at the crown to create real volume while keeping the center of gravity balanced so it doesn’t pull uncomfortably at your roots. A well-built puff should sit comfortably on top of your head, not feel heavy or cause tension. You’re essentially corralling all your curls and letting them fluff outward from the point where they’re secured. The fuller and more voluminous your curls are, the more striking the puff becomes.
Creating a Statement High Puff
- Flip your head upside down to gather hair with maximum volume
- Use a brush or wide-tooth comb to smooth the sides gently, or skip this step for a curlier, more textured look
- Gather hair at the crown with your fingers, creating a tall ponytail positioned directly on top of your head
- Secure with a thick, smooth scrunchie or hair tie—avoid tight elastics that create creases
- Wrap a small section of hair around the base of the scrunchie to hide it and create a polished finish
- Gently pull and shape the puff upward and outward to maximize volume
- For added height, tease at the base of the ponytail before gathering
- You can smooth the front hairline with edge control if you want a sleeker look, or leave pieces out for texture
- The puff should feel secure but not tight—you should be able to wear it all day without headaches
Pro tip: A puff on freshly washed, product-laden curls is extra voluminous because the product adds structure. Try it the same day you wash for maximum impact.
6. The Braid-Out

Similar to a twist-out, a braid-out uses the same principle of setting your hair into a shape while it’s damp, then releasing that shape once it’s dry. Braids create a slightly different texture than twists—typically more defined, structured waves with a zigzag pattern. A braid-out is perfect for days when you want a polished, almost elegant look that still celebrates your natural hair texture. This style also lasts for days; you can unbraid, wear the style, then rebraid to refresh it.
The Structural Difference Between Twists and Braids
A twist wraps your hair around itself in a spiral; a braid interlocks three sections. This difference means a braid creates more defined, angular waves compared to the rounder waves a twist produces. Braids also tend to hold a set longer because three sections interlocked is more structurally stable than two sections twisted. For this reason, braid-outs can last three or four days if you’re careful, while twist-outs sometimes loosen after a day or two.
Setting Perfect Braid-Outs
- Start with damp hair and apply leave-in conditioner and a light styling product
- Divide hair into large or medium sections depending on how defined you want the waves
- Three-strand braid each section from root to tip, keeping even tension throughout
- Braid more tightly for more dramatic, defined waves; braid loosely for softer, subtle waves
- Secure braids with small elastics or bobby pins
- Allow to dry completely—air drying overnight is ideal, but a diffuser works too
- Unravel each braid carefully, starting from the bottom and working toward the root
- Use your fingers to gently separate and shape the waves
- Fluff at the roots to maximize volume
- The first day the waves are perfectly defined; by day two they’ve relaxed slightly into a softer, more undone look
Worth knowing: Braid-outs look completely different on day one versus days two through four as they relax. Each version is beautiful—tighter and more deliberate on day one, softer and more romantic by day three.
7. The Half-Up, Half-Down Style
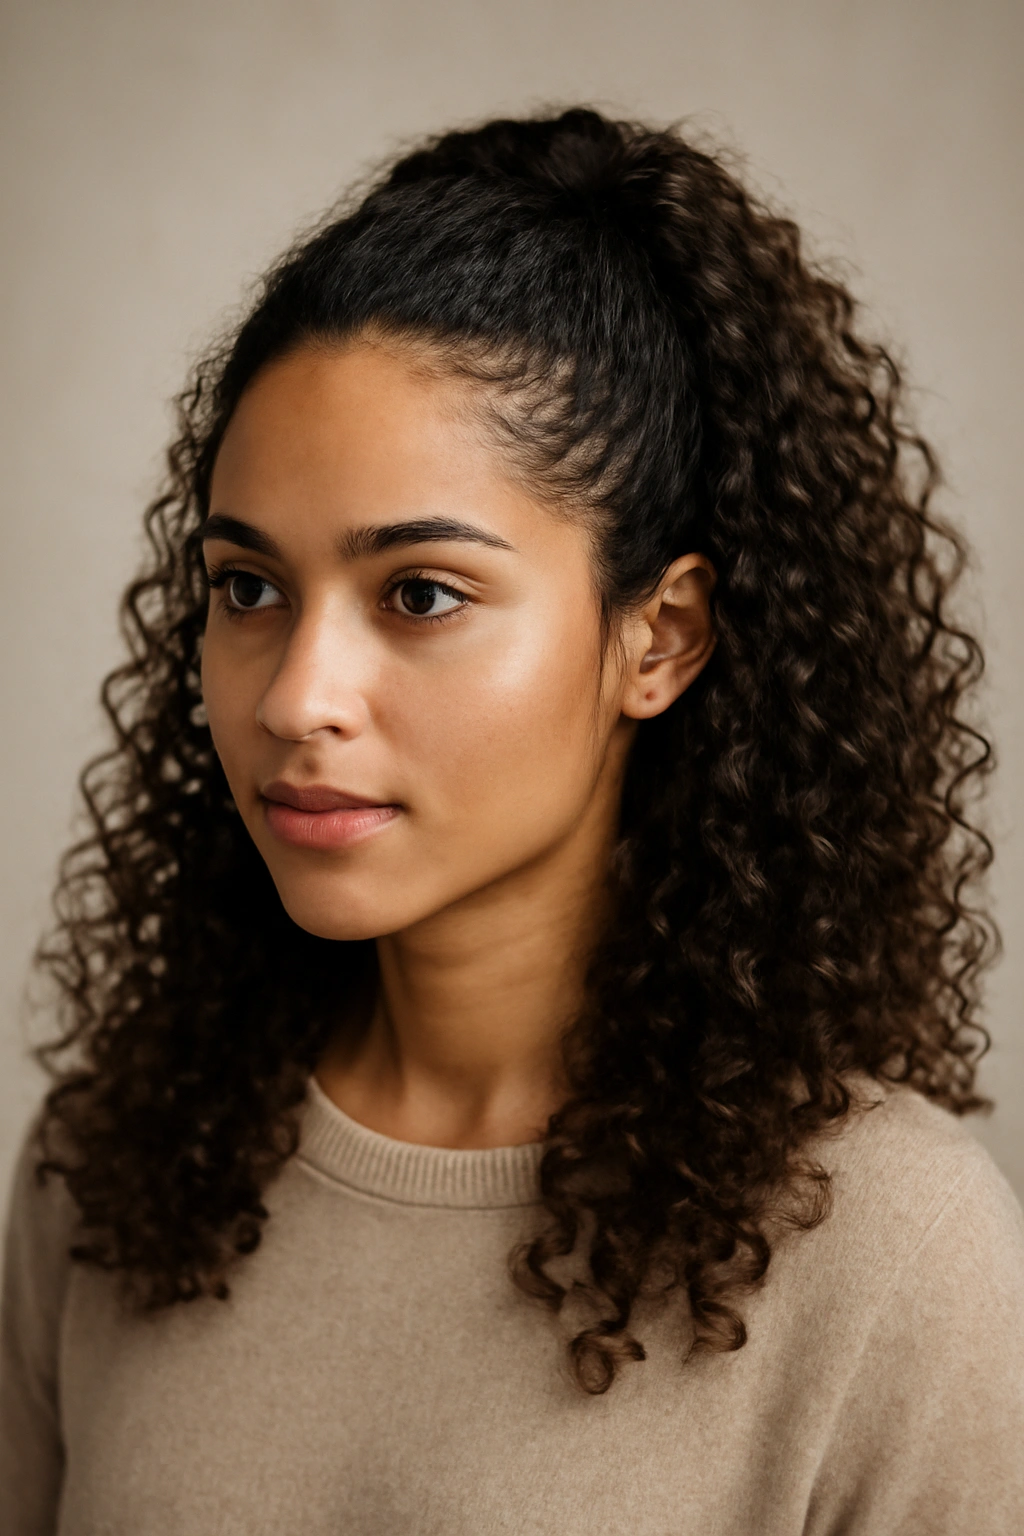
A half-up style keeps your hair partly back while letting the bulk of your curls flow freely—it’s the perfect compromise between “completely down” and “pulled back.” This style adds definition to your face, creates the illusion of a different face shape, keeps hair from falling into your eyes, and looks effortlessly put-together. It’s appropriate for nearly any setting and works on every curl pattern, from loose waves to tight coils.
Why Half-Up Works for Any Occasion
This style is chameleon-like in its ability to suit different contexts. Wear it with glossy curls and a sleek top section for a polished, professional look. Pair it with textured waves and a loose back section for a romantic, flowing vibe. Use it on a puff with face-framing pieces for a playful, youthful feel. The adaptability makes it a go-to that you’ll return to again and again. It also requires minimal styling—you’re essentially just securing a portion of hair, which means you can create this look with whatever your curls naturally did that day.
Methods for a Flattering Half-Up
- Brush or smooth the top section gently if you want a sleek, intentional look, or leave it curly for texture
- Gather the top half of your hair (roughly from ear to ear across the crown) and secure with a scrunchie, clip, or elastic
- You can create this directly at the crown, slightly off-center, or even as a high half-up at the very top of your head
- For a more elegant version, twist the top section before securing it, creating a subtle spiral
- You can also create two smaller half-ups on either side and cross them in the back for a more intricate look
- Pull and fluff the secured section gently to create volume and make it feel less tight
- Leave face-framing pieces down on either side for softness
- Add a decorative clip, claw, or pearl pin to the base of the half-up for extra visual interest
Pro tip: A half-up on second-day curls often looks better than on wash day because the curls have relaxed slightly and feel less heavy at the roots.
8. Wet-Look Curls with Gel and Shine
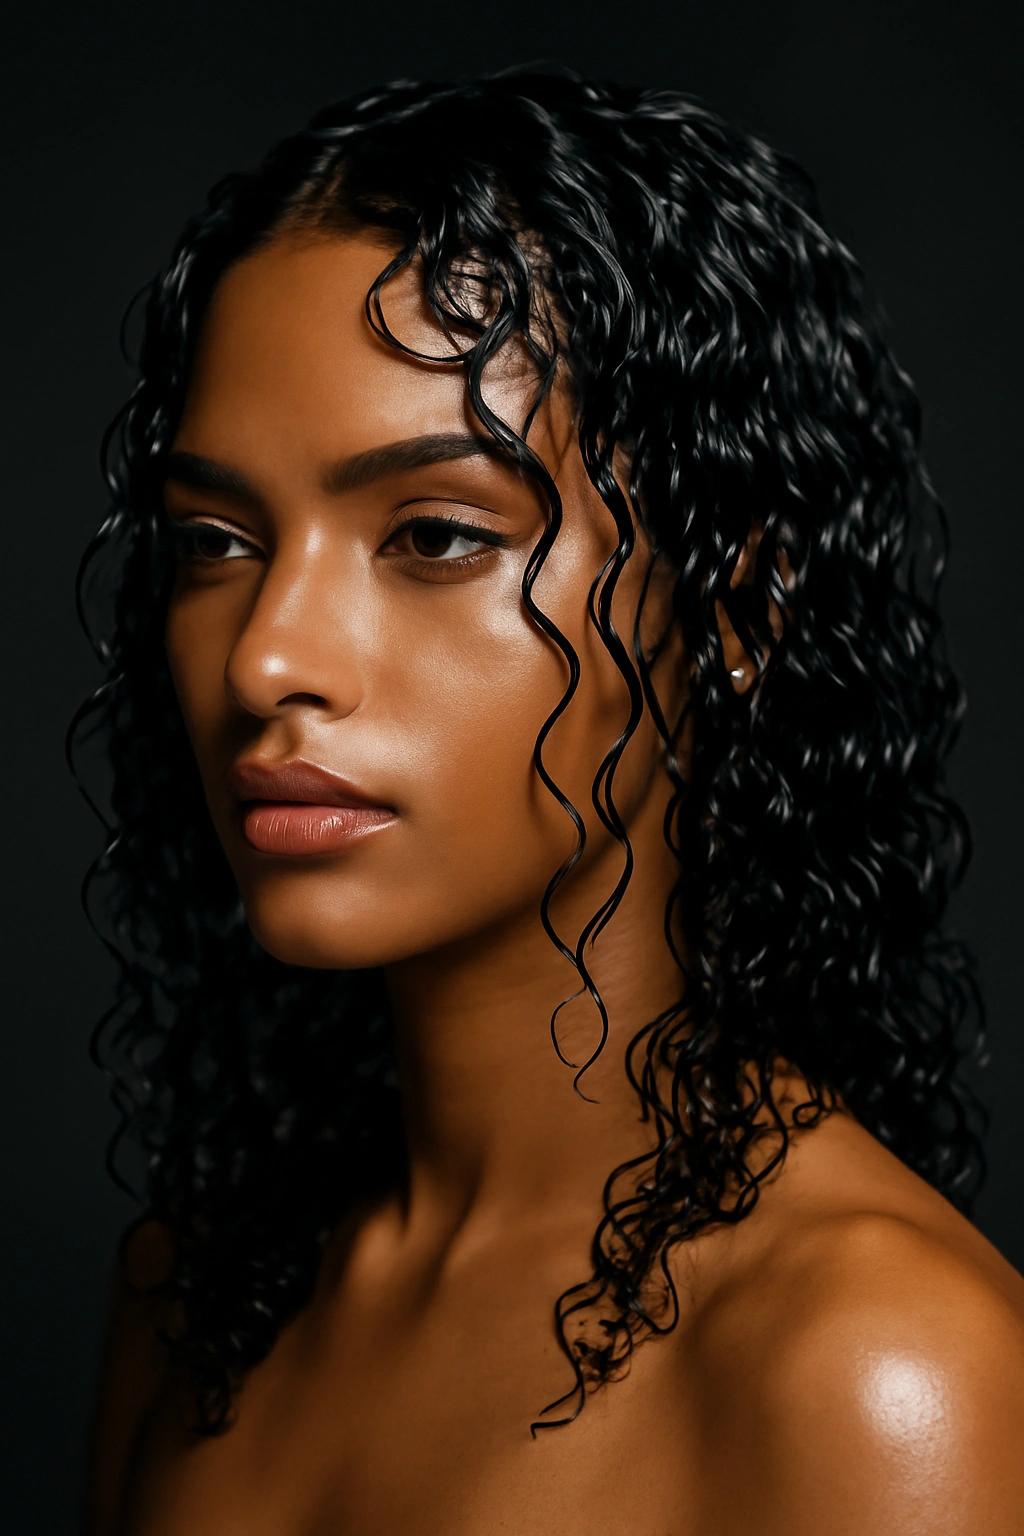
A wet-look style keeps your curls visibly glossy and defined, with a slick appearance that celebrates both the curl pattern and the shine of the product. This look is bold, unapologetic, and undeniably chic. It works for nights out, special occasions, or any time you want your curls to be the statement. The wet look has come back into style repeatedly because it’s flattering, modern, and honestly just makes curly hair look powerful.
Creating and Maintaining the Wet Look
A wet look requires a strong-hold gel or a combination of gel and a shine-enhancing product applied to damp hair. The key is coating every strand evenly so the shine is consistent and the curls appear wet even after they’ve fully dried. You’re not actually using water; you’re using product to create the illusion of water, which keeps curls separated, defined, and luminous. The strong hold keeps them that way throughout the day or night.
The Wet-Look Application
- Start with clean, damp hair
- Apply a leave-in conditioner first for moisture and slip
- Use a strong-hold gel, either by smoothing it through with your fingers or using the praying-hands method
- For extra shine and wet appearance, follow gel with a liquid gel or shine spray designed for curly hair
- You want visible product on the hair—this isn’t about being subtle
- Scrunch gently to encourage curl formation and clumping
- Either air dry or use a diffuser; the drying method affects how the curls set
- Once dry, the gel creates a firm cast that feels wet even though it’s not
- Scrunch out the crunch if you prefer a softer feel, or leave the stiff cast for maximum hold and shine
- This look lasts multiple days without needing reapplication if you’re careful not to crush the curls
Insider note: The wet look is especially effective on people with tighter curl patterns because the gel really showcases the defined, separated coils. If you have looser waves, you might need a heavier gel to achieve the same dramatic effect.
9. Bantu Knots and Coil-Outs
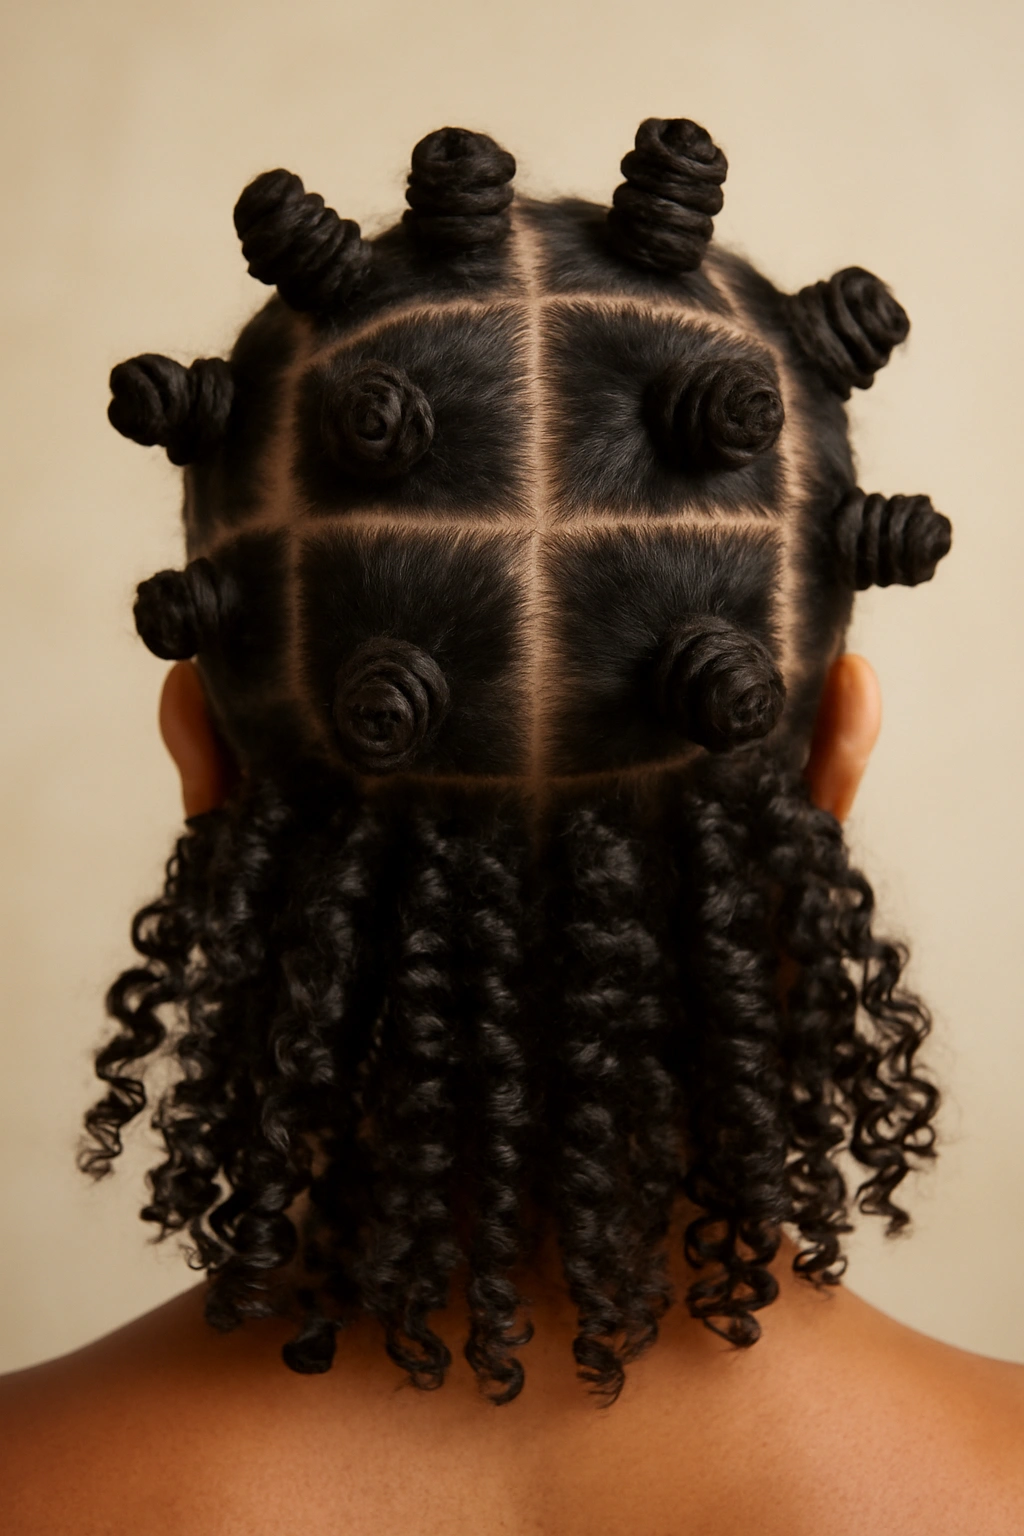
Bantu knots are a traditional protective style where you twist sections of hair and coil them into knots. When you unravel them, you get perfectly spiraled curls. This style is both a protective style itself and a setting method for creating gorgeous coil-outs. Bantu knots have cultural significance and a beautiful aesthetic—they’re striking whether you wear them as the actual style or as a means to achieve coiled waves.
The Cultural and Practical Significance
Bantu knots originated as a protective style that kept hair healthy and strong. They’re named for Bantu peoples, and they’ve been worn across the African diaspora for generations. Beyond their cultural importance, they’re genuinely effective at creating uniform, beautiful curls while minimizing manipulation and protecting your hair. You can wear bantu knots as your actual style—they’re undeniably beautiful—or you can set them overnight and unravel them to create voluminous, perfectly coiled curls.
Creating Bantu Knots and Coil-Outs
- Start with damp hair and apply leave-in conditioner and styling cream
- Divide hair into sections—the size depends on how tight or loose you want the resulting coils
- Take one section and two-strand twist it from root to tip
- Coil the twisted section around itself at the end, forming a knot, and secure with a bobby pin
- Repeat for all sections; you can create small tight knots or larger, looser knots
- Let dry completely—air drying overnight is best, but a diffuser works
- Carefully unpin and uncoil each knot, starting at the end and working toward the root
- The result is perfectly spiraled coils that have definition and bounce
- You can wear bantu knots as-is for several days, refreshing them with water and product each morning
Pro tip: Create smaller, tighter knots for tighter coils or larger, looser knots for looser waves. The size of the knot directly correlates to the size of the resulting coil.
10. Sleek and Smooth Gel Ponytail
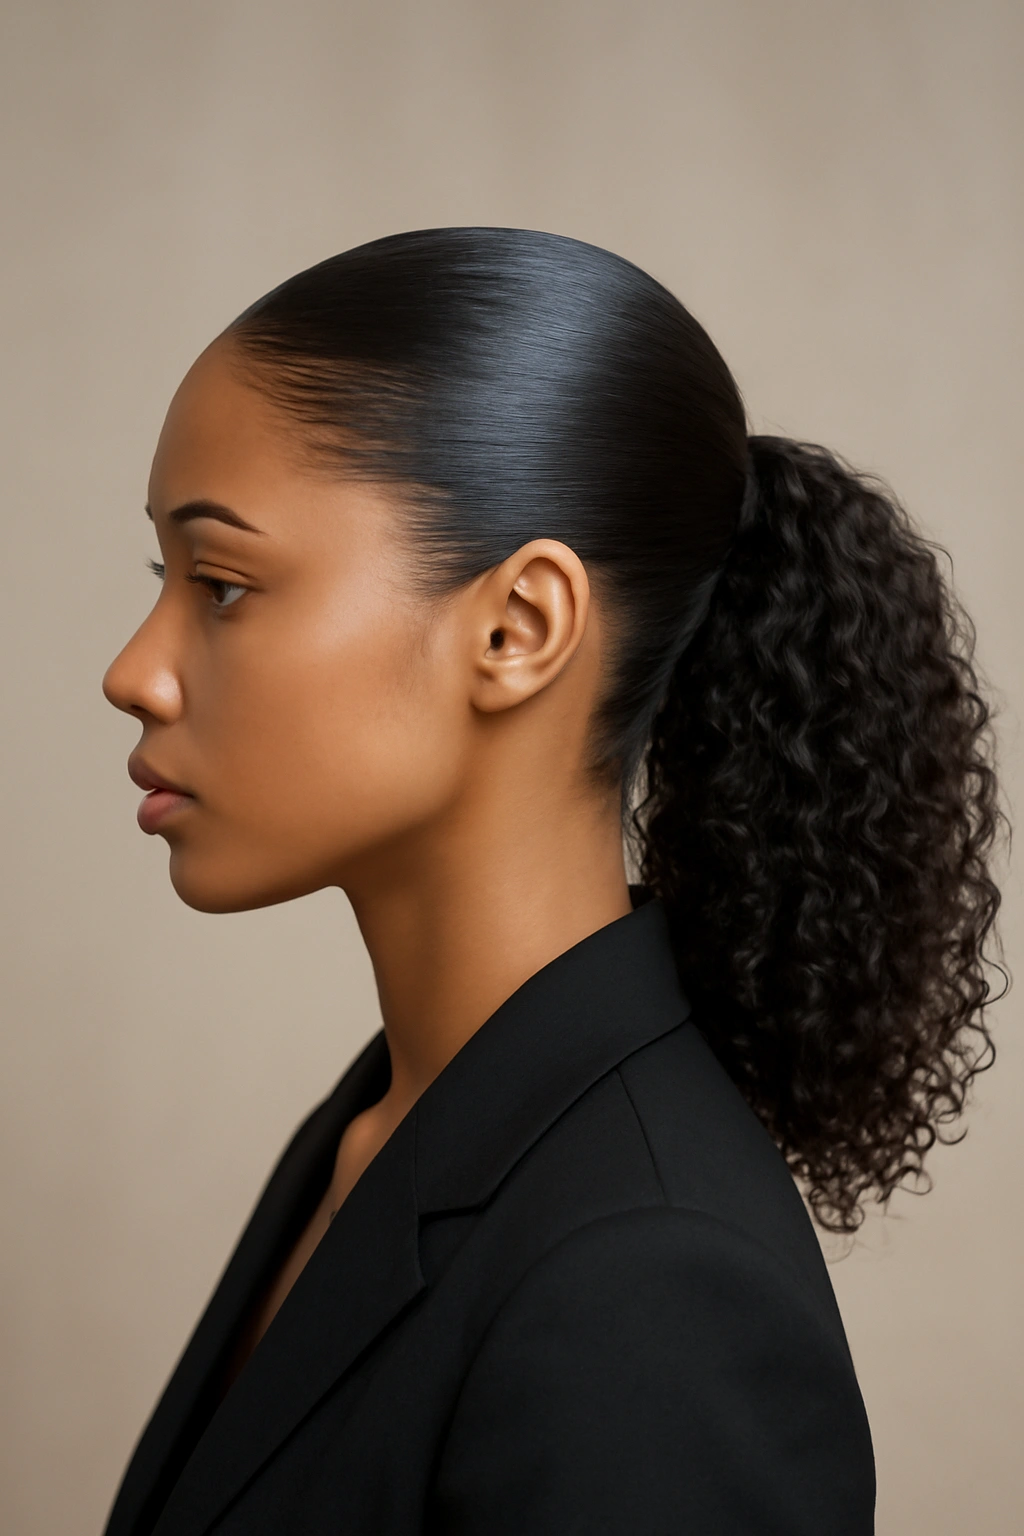
A sleek ponytail smooths the front and sides with gel, then gathers curls into a clean, polished ponytail. This is a workhorse style that bridges casual and professional—you can wear it to the gym, to an office, or to dinner depending on how you finish it. The smoothed sections show off your face shape and create a modern, intentional look, while the curly ponytail keeps your natural texture visible.
Building the Sleek Foundation
The smoothed sections of hair that frame your face should be glossy, crease-free, and tight enough to feel intentional but not so tight that you’re pulling uncomfortably at your hairline. You’re essentially creating a contrast between the smooth front and the textured curls in the ponytail. This contrast is what makes the style look sophisticated rather than just “hair pulled back.” A good edge control or gel is essential for achieving the sleekness without flaking or looking dry.
Constructing a Polished Sleek Ponytail
- Use a fine-tooth comb or brush to gently smooth the front and sides of your hair
- Apply a strong-hold gel or edge control to the smoothed sections, working from your hairline toward the crown
- Create a clean part if desired, either down the middle or to one side
- Gather the rest of your hair into a ponytail at the back, making it as high or low as you prefer
- Secure with a sleek hair tie or metal cuff—this looks more polished than a regular elastic
- Take a small section of hair from the ponytail and wrap it around the base, securing with a bobby pin
- This wrapping hides the elastic and creates a finished look
- For extra smoothness, use a light shine spray on the smoothed sections
- You can add a decorative clip, cuff, or scarf to the ponytail for personality
Worth knowing: This style works on any curl pattern but looks especially striking on tight curls or coils where the contrast between the smooth front and textured back is most dramatic.
11. Finger Coils for Defined Texture
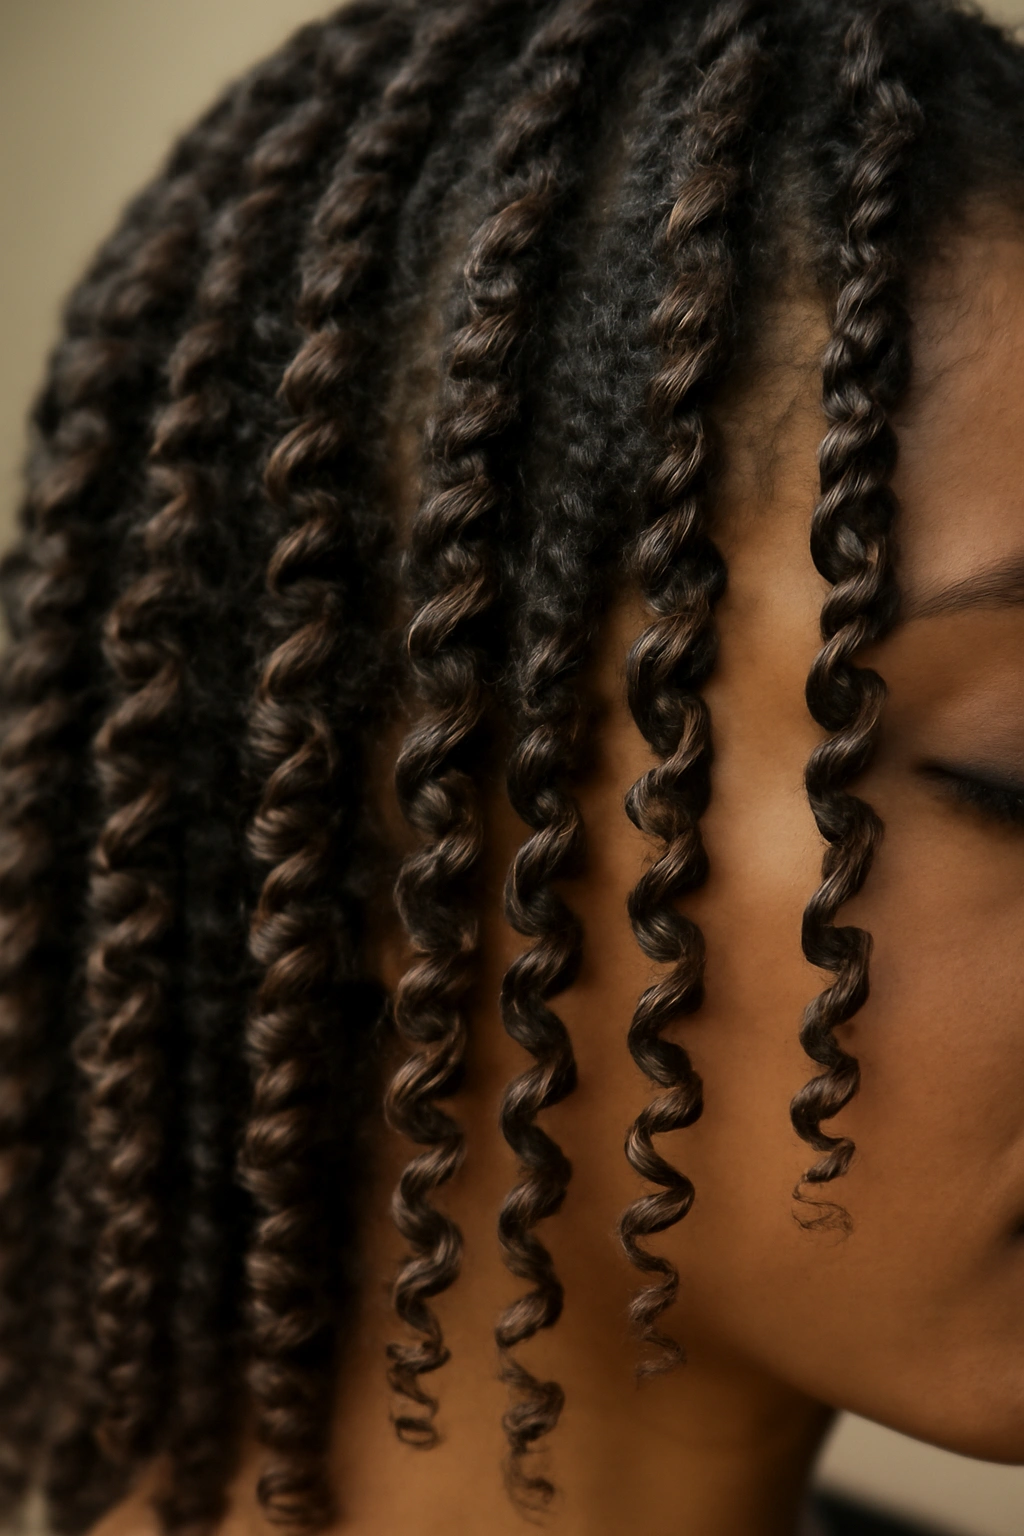
Finger coils involve wrapping sections of damp hair around your finger to create uniform, elongated curls. They’re finer and more controlled than wash-and-go curls because you’re essentially dictating the exact curl pattern rather than letting your hair do its natural thing. Finger coils take more time than other methods, but the result is sophisticated, defined curls with consistent size and shape. This style says you’ve invested care into your hair, and it looks it.
The Precision of Finger Coiling
Unlike wash-and-go where your hair falls into its natural pattern, finger coiling lets you control the size and tightness of each curl. You can make curls uniform and neat, or vary the sizes for a more textured look. Finger coils also create slightly different texture than your natural pattern, typically larger and more elongated. This is useful if you want a different look or if you’re trying to stretch out overly tight curls that feel tight rather than bouncy.
The Finger Coil Process
- Work with damp hair; if it’s soaking wet, the coils will take too long to dry
- Apply leave-in conditioner and a light to medium-hold product to each section
- Take a small section of hair (roughly the width of your pinky finger for fine coils)
- Wrap the section around your index finger from root to tip, twirling as you go
- Slide your finger out of the coil, and the curl should maintain its shape
- Pin the end if needed to keep it from unraveling as it dries
- Repeat for all hair, creating coils all over your head
- Allow to dry completely—air drying takes several hours; a diffuser is faster
- Once fully dry, gently release each coil; they’ll unwind slightly but maintain a defined curl shape
- Separate coils gently with your fingers to add volume and remove any flatness
- The result is uniform, intentional-looking curls with beautiful definition
Pro tip: Finger coils look most striking on second-day hair that’s already slightly set. They’re also easier to do on coarser or thicker hair that holds the shape easily.
12. The Low Puff
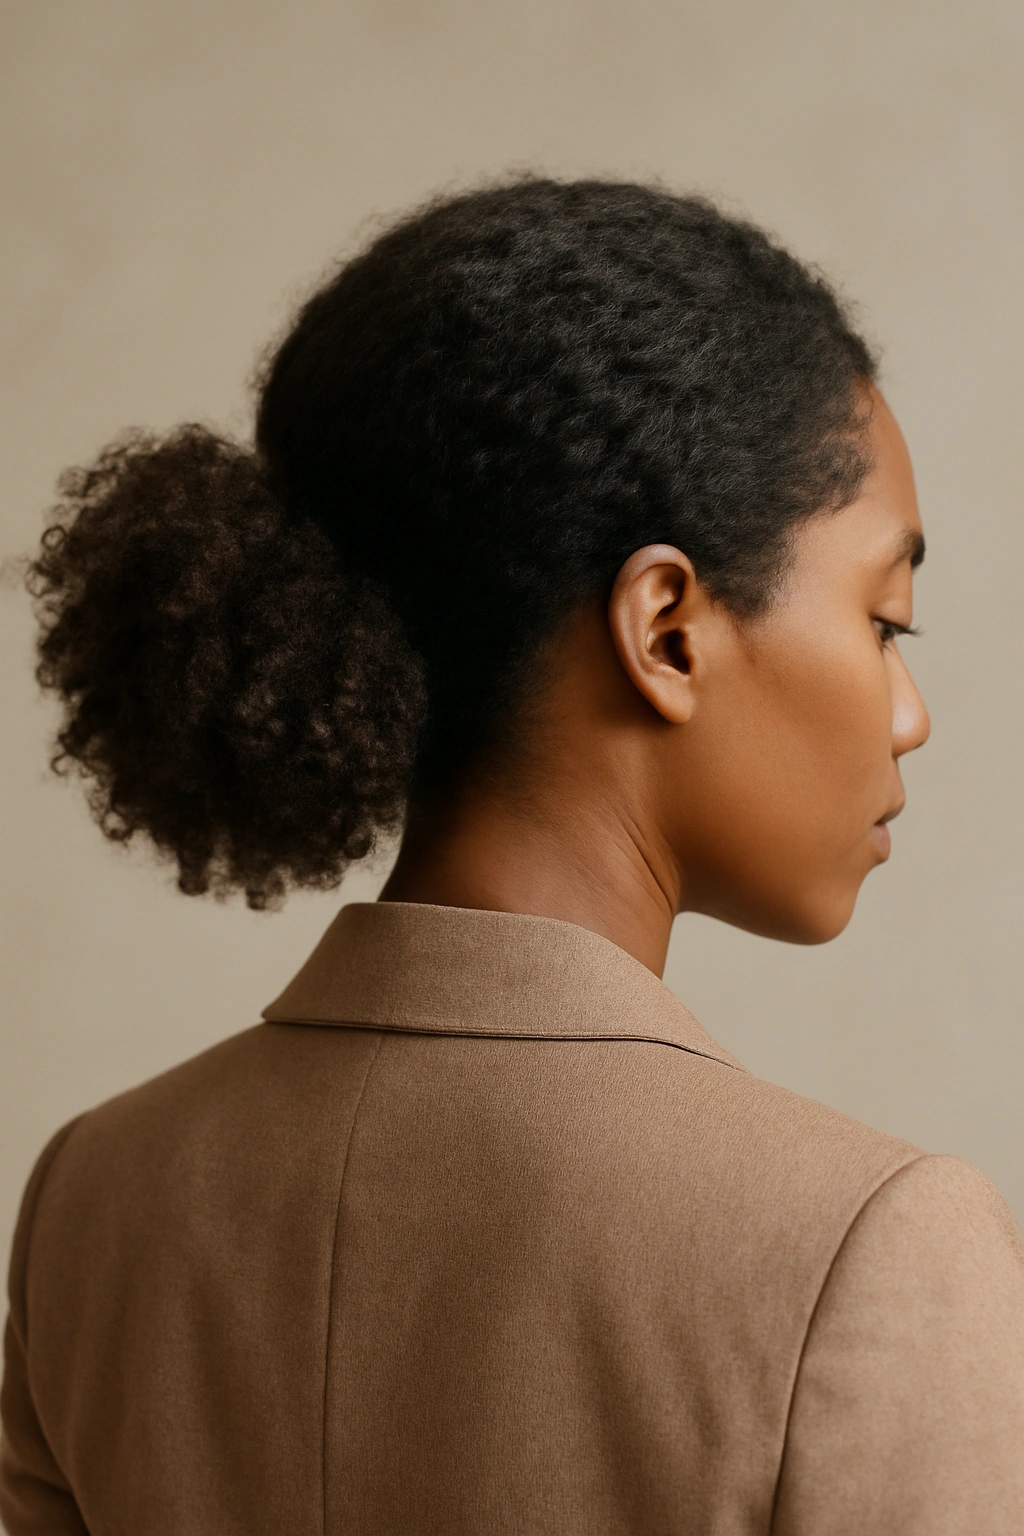
A low puff gathers curls at the nape of your neck in a voluminous ponytail—it’s the laid-back sibling of the high puff. Where a high puff is playful and youthful, a low puff reads more sophisticated and elegant. It’s perfect for professional settings, can be dressed up or down, and is incredibly practical for keeping hair off your neck on warm days. The low puff shows off your face entirely and creates a sleek silhouette from the front while maintaining all your curl texture in back.
Styling a Low Puff for Maximum Impact
A low puff should look intentional and voluminous, not like you’ve just scraped your hair into a ponytail. The gathering point should be low on the back of your head, roughly at the nape or slightly higher. You want enough hair gathered that when secured, the puff puffs upward and outward, creating visible volume. The sides can be sleek or textured depending on the vibe you want—smooth sides create a formal look, while leaving textured pieces creates a softer, more romantic aesthetic.
Building Your Low Puff
- Gather your curls at the nape of your neck, using a brush to smooth the sides if desired or leaving them textured
- You can create a deep side part and gather the larger section into the low puff for an asymmetrical look
- Secure with a thick, smooth scrunchie or claw clip positioned at the nape
- Gently pull and fluff the gathered curls upward to create volume
- You can wrap a small section of hair around the base of the scrunchie to hide it
- Leave face-framing pieces down on either side for softness, or pull everything back for a sleeker look
- Add a silk or satin scarf wrapped around the base of the puff for color, pattern, and protection
- Pin down flyaways with edge control for a polished finish if desired
Insider note: A low puff is an excellent protective style for keeping the ends of your hair tucked away and protected from daily friction. Wear it for several days in a row, then give your hair a break.
13. Braids and Protective Styling
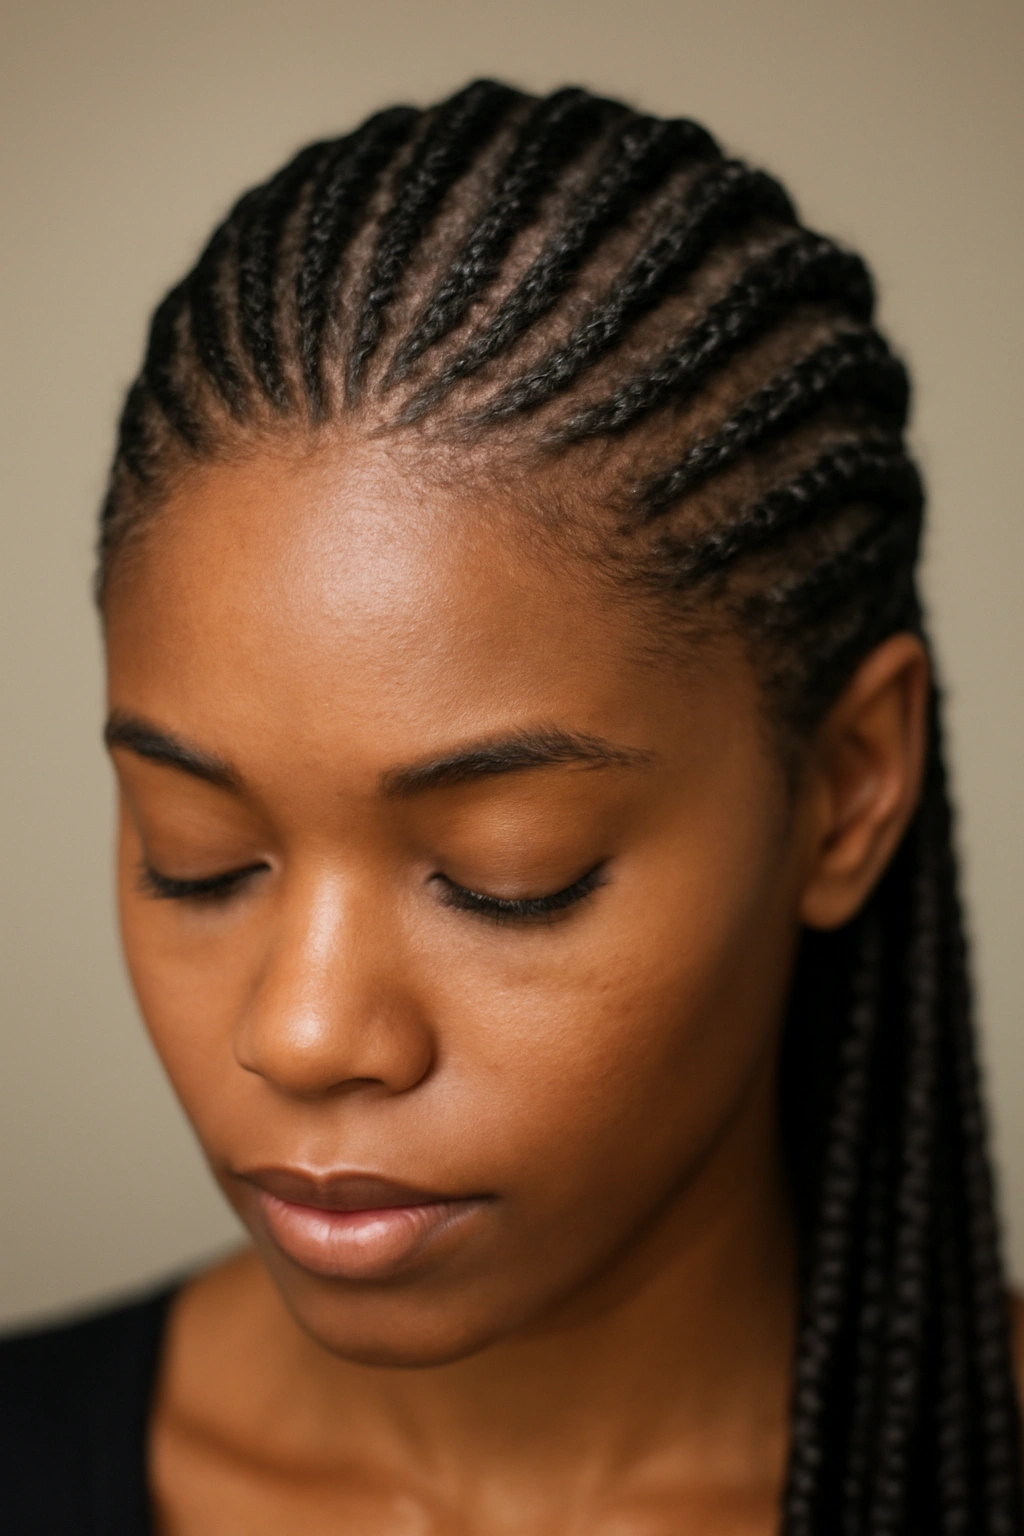
Braids, whether cornrows, box braids, or traditional three-strand braids, serve double duty as a beautiful style and a protective method. Protective styling keeps the ends of your hair tucked away, minimizes daily manipulation and friction, and allows your hair to retain length and health. Beyond the practical benefits, braids are gorgeous—they’re elegant, show artistry and skill, and celebrate your hair’s texture and length.
Why Braiding Protects Your Hair
The ends of your hair are the oldest part and most vulnerable to breakage and dryness. Keeping them tucked inside braids or protective styles prevents them from rubbing against your clothes, being caught in things, or being manipulated daily. Braids also reduce the amount of daily styling your hair requires; you can wear braids for days or weeks and your hair is continuously protected. This reduction in manipulation and environmental exposure translates to healthier hair that retains length better.
Braid Styles and Variations
- Cornrows: Flat braids that run along the scalp, starting from your hairline and extending back; can be arranged in patterns, curved, or geometric designs
- Box braids: Individual braids that start at the scalp and extend downward; each braid is separate, creating a blocky pattern
- Goddess braids: Thicker, looser braids that often cascade or are positioned asymmetrically for an effortless, luxe vibe
- Faux locs: Braids that mimic the appearance of locs without commitment; they’re typically chunky and styled loosely
- French braids: Traditional three-strand braids that start at the crown and extend down the back or can be created along the side
- Dutch braids: Reverse French braids where the sections are braided under rather than over, creating a raised, more textured appearance
Keep braids in for 2-4 weeks depending on how tightly they’re braided and how well you care for them. Refresh the scalp regularly with moisturizing products, and avoid pulling too tightly to prevent tension alopecia.
14. Twist and Pin Updos
Twists can be gathered and pinned into elaborate updos that look complex but are actually quite approachable once you understand the technique. You’re essentially creating twisted sections, then rolling them into a knot or shape at the back or crown, securing with bobby pins. These styles range from casual and slightly undone to sleek and formal, making them appropriate for everything from everyday wear to special events.
Building Twisted Updo Structures
A twisted updo starts with creating several two-strand or three-strand twists (or a combination of both), then manipulating those twists into a shape. You might spiral a twist into a knot at the back, loop twists around each other, or create a twisted crown that wraps around your head. The beautiful thing about twisted updos is their versatility—you can make them romantic and wispy, sleek and modern, or casual and playful depending on how you construct them.
Creating a Basic Twisted Updo
- Apply leave-in conditioner and styling product to damp hair
- Create two-strand twists or three-strand braids starting from your hairline or from the front sections
- You can create multiple twists of varying sizes
- Gather the twisted sections toward the back or crown of your head
- Pin twists into a knot, roll, or circular shape using bobby pins
- Leave some twists loose and unpinned to create an undone, romantic look, or pin everything tightly for a sleek finish
- Add flyaway pieces framing your face for softness
- Use edge control to smooth the front hairline if desired
- You can add decorative pins, pearls, or cuffs to the updos for extra glamour
Pro tip: Twisted updos work especially well on second or third-day hair that has some texture and hold already, rather than fresh-washed hair that feels heavy and soft.
15. Curls with a Twist—Textured Crowns and Halos
A textured crown or halo style creates the illusion of a crown of texture by twisting, braiding, or arranging your curls around your head from ear to ear. The rest of your hair flows freely below. This is one of the most romantic and ethereal looks you can create with curly hair because it frames your face with texture while maintaining the flowing movement of your curls. It works for nearly any occasion and looks equally beautiful on loose waves and tight coils.
Creating the Crown Effect
A crown can be created several ways: you can braid or twist one or more sections from one ear, across the crown, to the other ear, leaving the back and sides down. You can create multiple smaller twists or braids positioned just above your hairline to create a halo effect. You can also smooth the top of your hair slightly while leaving the sides and back textured. The key is creating visual interest and dimension at the crown while keeping the bulk of your curls loose and flowing.
Building Your Textured Crown
- You can work with dry or damp hair, depending on whether you want the crown to feel structured or soft
- Create a section from one ear to the other across the crown, either as a single braid, multiple twists, or a twisted crown
- For a double crown, create a mirror-image braid or twist on either side of your head
- Leave the front hairline free or incorporate a few curls into the crown for a softer look
- Pin the crown sections in place using bobby pins that blend with your hair color
- The back and sides remain down and textured in your natural curl pattern
- Accessorize with flowers, pearls, or decorative pins woven through the crown for special occasions
- This style works on hair of any length but is most dramatic on shoulder-length or longer hair
Worth knowing: A textured crown is actually quite protective because you’re not manipulating the bulk of your hair, just creating a framework around the crown. You can sleep in this style and have gorgeous curls the next day.
Final Thoughts
Your curly hair isn’t a challenge to solve—it’s a canvas with built-in options that straight-haired people simply don’t have. Each of these fifteen styles shows a different side of what your curls can do, from the barely-there elegance of a wash-and-go to the bold statement of gel-casted curls to the romantic flow of a crown. The real skill isn’t learning one perfect way to wear your hair; it’s understanding what your curls respond to and building a toolkit of techniques you can mix and match.
The best style you can wear is the one that makes you feel like yourself—whether that’s a sleek puff on a busy weekday or elaborate braids for a special occasion or the effortless simplicity of air-dried curls. As you experiment with these styles, you’ll discover which ones become your go-tos, which ones make you feel most confident, and which ones actually work with your specific curl pattern. Your curls have their own personality and preferences, and once you learn their language, everything becomes easier. Give yourself permission to play, to try things that don’t work and try again, and to fully embrace the versatility that’s already there in your hair.