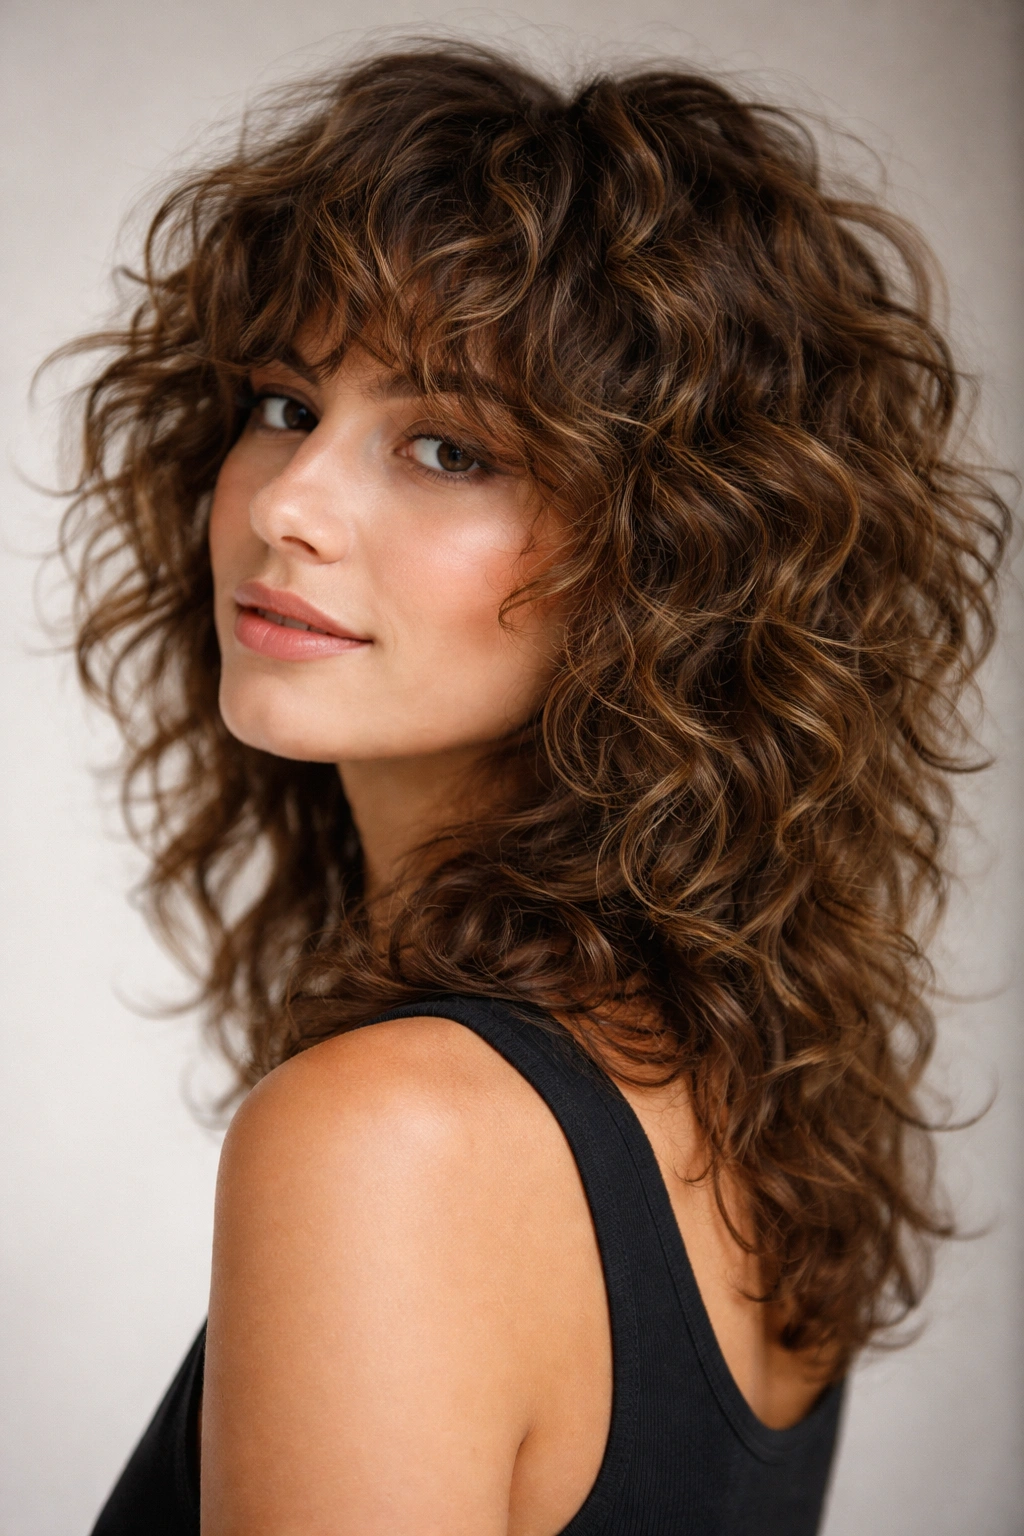
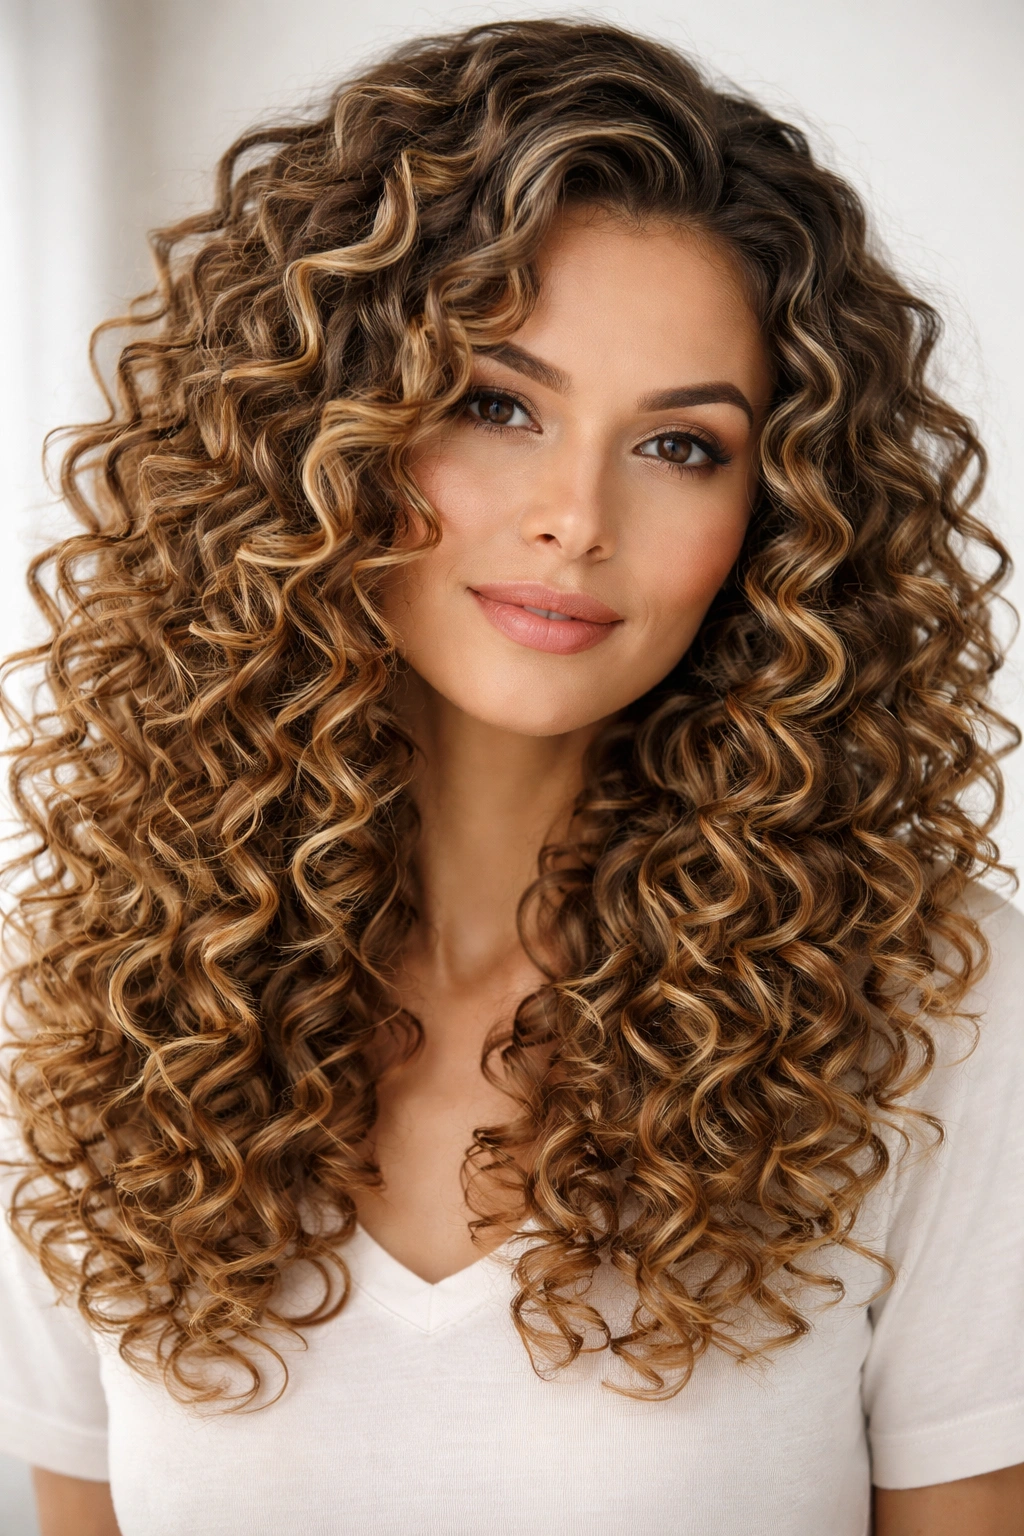
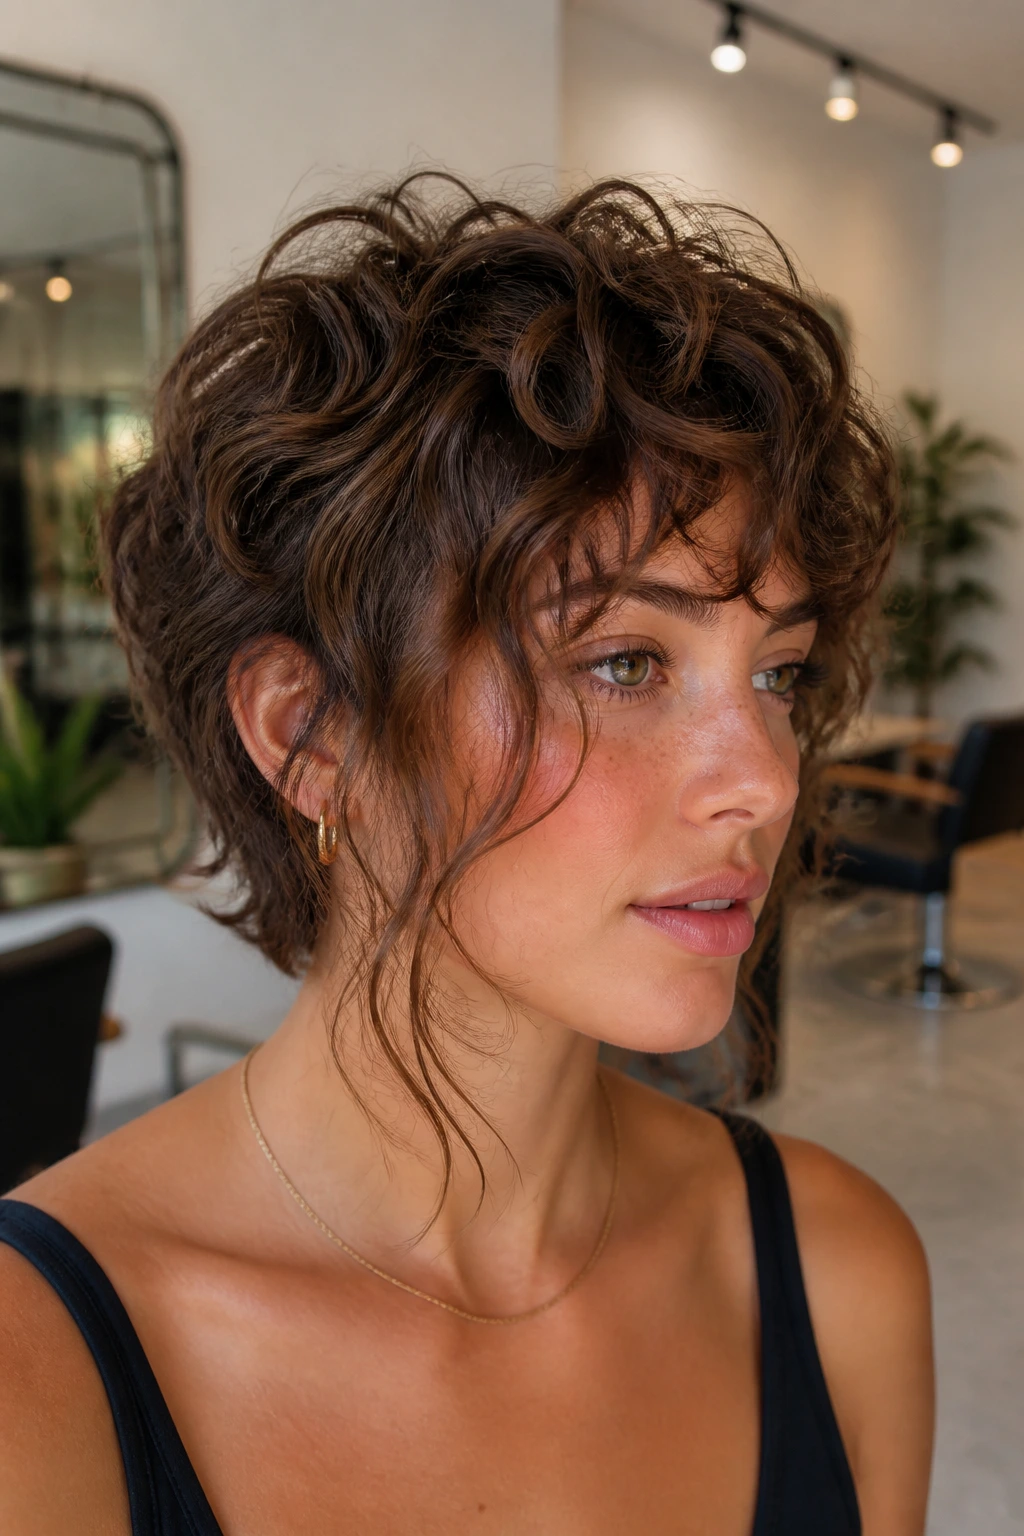
The curse of curly hair isn’t the curls themselves—it’s watching them flatten, frizz, or lose definition halfway through the day. You wake up with gorgeous bounce and shape, step into humidity or go through a regular day, and suddenly your carefully styled curls have surrendered to gravity, heat, and moisture. The difference between a haircut that looks fresh at 8 a.m. and struggling by 3 p.m. comes down to smart cutting techniques, strategic layering, and understanding how your specific curl pattern responds to structure.
The right haircut doesn’t just work with your natural curl texture—it actively reinforces it. When a stylist cuts curly hair with intention, they’re creating angles and weight distribution that encourage your curls to spring back and hold their shape rather than collapse under their own weight or expand into a shapeless cloud. A well-executed curly cut works like architecture for your hair, using the principles of tension, density, and movement to keep curls defined, bouncy, and intact from morning through evening.
What makes a curly cut hold its shape all day comes down to a few non-negotiable factors: proper layering that reduces bulk without eliminating support, a cutting technique that works with your curl pattern rather than against it, and an overall length and shape that plays to your hair’s natural strengths. This means understanding the difference between choppy layers (which can cause frizz and breakage) and textured layers (which enhance curl definition), and knowing exactly where to cut to maximize bounce without creating a triangle effect.
Whether you have tight coils, loose waves, springs, or something in between, there’s a curly haircut out there that will hold its shape beautifully—and actually improve your curl definition over time.
1. The Textured Shag
A textured shag brings movement and dimension to curly hair while maintaining impressive structure throughout the day. This cut features choppy, deliberately uneven layers that vary in length, creating a rock-and-roll vibe that looks intentionally tousled rather than accidentally messy. The shorter layers on top add volume at the crown while longer layers below create weight that anchors the style and prevents excessive expansion.
Why It Works for Shape Retention
The magic of a textured shag lies in its strategic density distribution. Shorter layers throughout the cut catch light differently and create the illusion of more movement, while the longest pieces provide an anchor point that prevents the entire style from puffing outward. Each layer sits at a slightly different angle, which means curls support each other and maintain definition even as they move throughout the day.
What to Ask Your Stylist For
- Choppy, uneven layers starting from ear height and moving shorter toward the crown for maximum volume
- A slightly longer bottom layer (chin-length or slightly longer) to anchor the entire style
- Texturizing cuts rather than blunt layers to enhance curl definition and prevent harsh lines
- Extra choppy texture around the face to frame and define facial features
- Layers spaced about 2-3 inches apart vertically for movement without sacrificing structure
Pro tip: Ask your stylist to show you how to style this cut with a diffuser—the textured layers shine when curls are encouraged upward from the roots rather than brushed out.
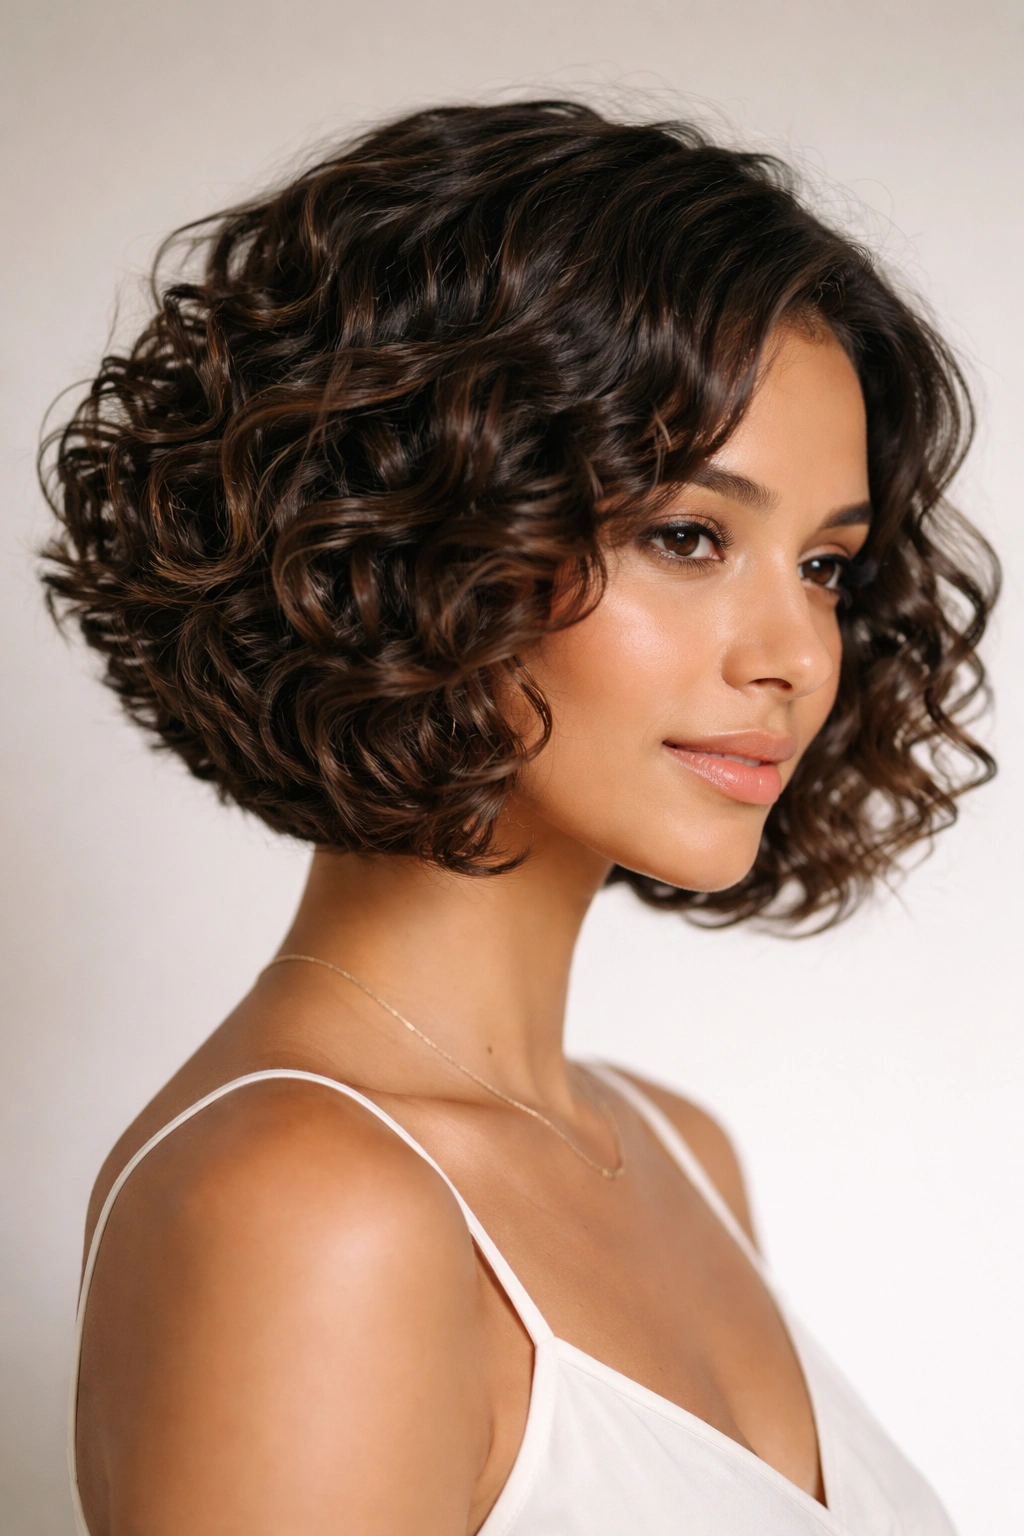
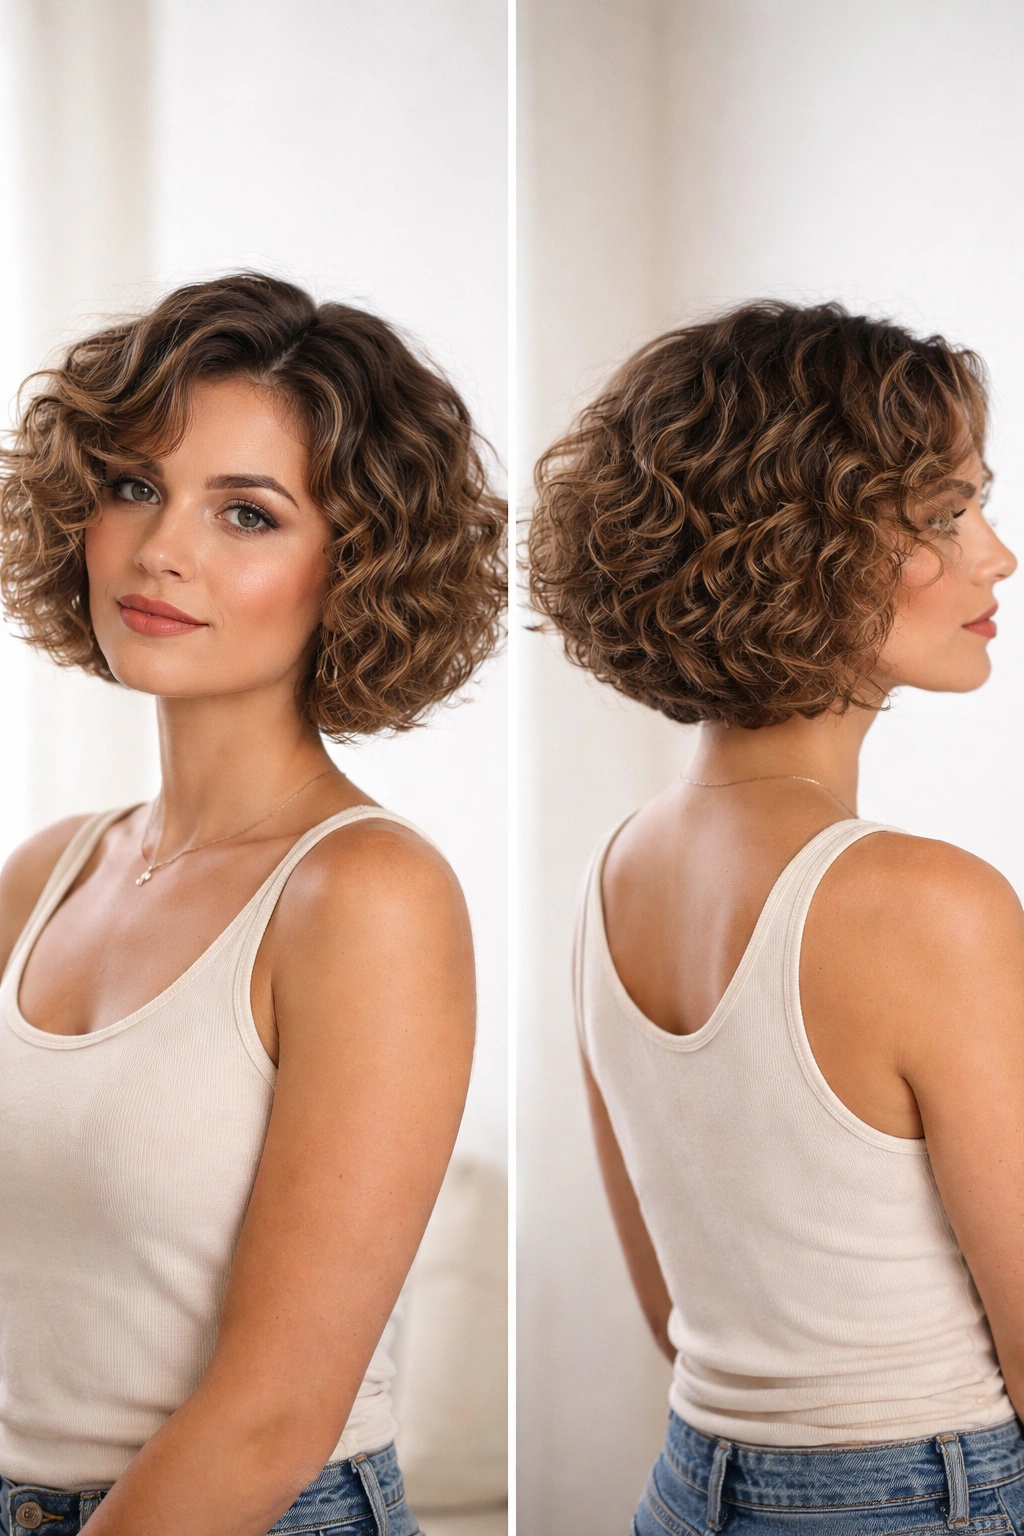
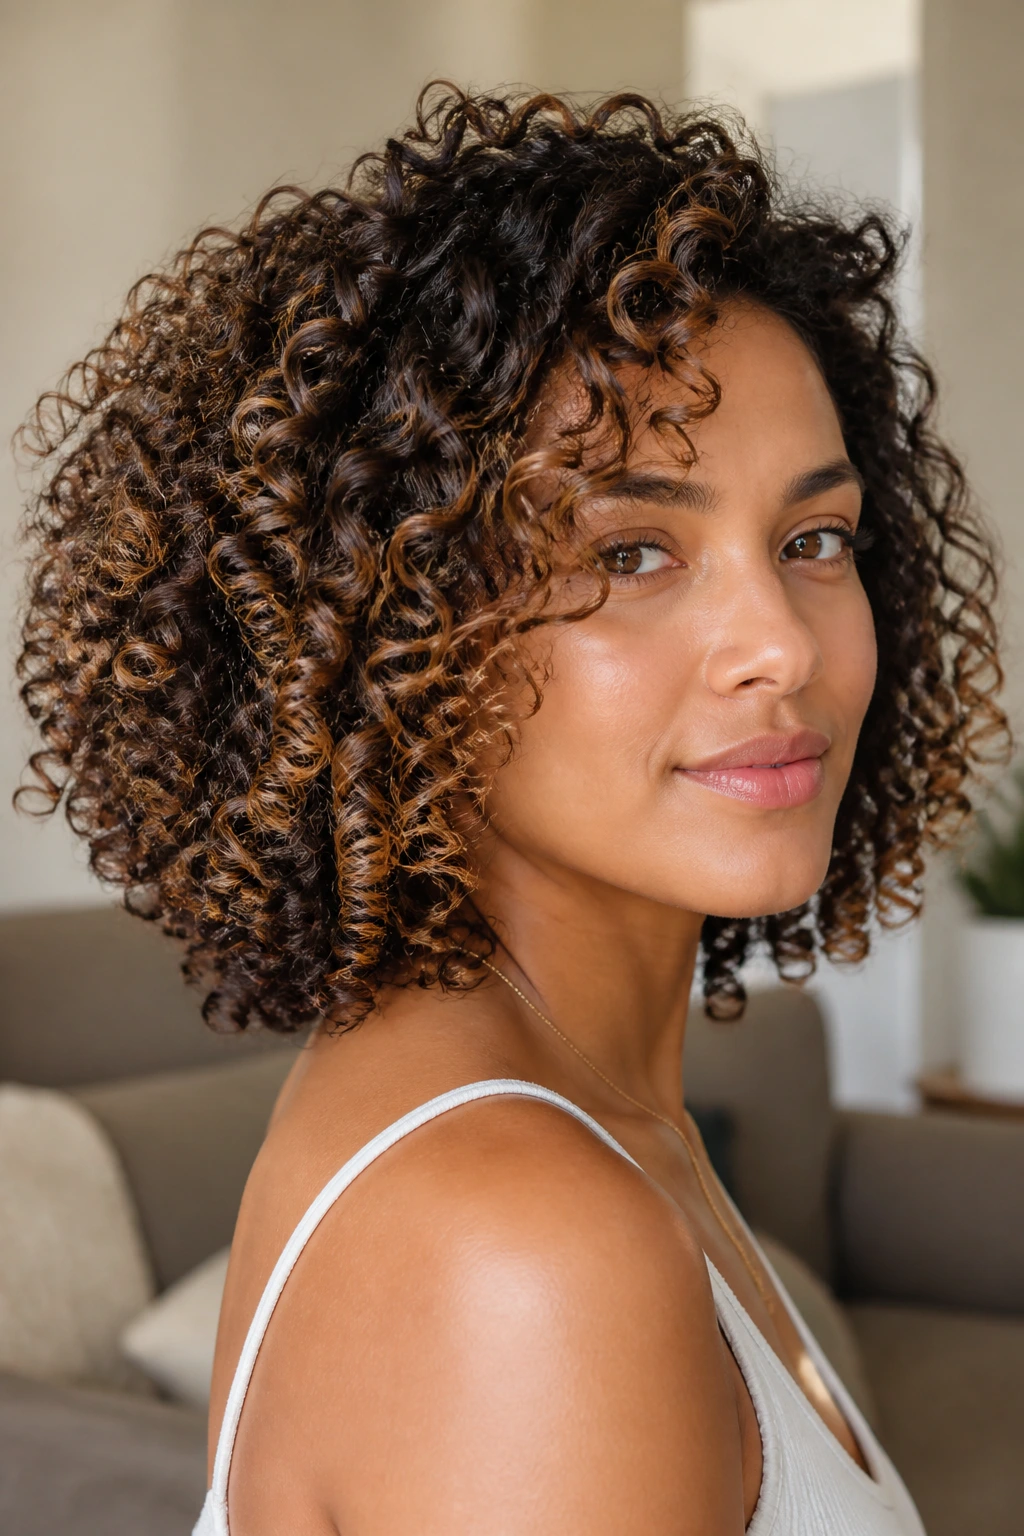
2. The Curly Lob
A curly lob (long bob) hits somewhere between the chin and shoulders, providing the perfect sweet spot for shape retention. This length is long enough that curls maintain their natural hang and weight without becoming stringy, yet short enough that you’re not fighting against gravity all day. The beauty of a lob is that it works across almost every curl pattern, from waves to coils.
Why This Length Holds Up All Day
The shoulder-to-chin range is the Goldilocks zone for curly hair. Short bobs risk becoming a triangle if your curls shrink significantly when dry; longer hair can get weighed down and lose bounce. A lob splits the difference—curls have just enough length to hang and create definition, but not so much weight that they collapse. The natural density at this length keeps curls compressed and defined.
Styling Tips for Maximum Hold
- Start with a refreshing spray or light water mist to reactivate curls without full washing
- Apply leave-in conditioner or curl cream from mid-length through ends to keep definition crisp
- Use a diffuser on low to medium heat, never brushing curls once they’re dry
- Flip your head upside-down while styling to create maximum volume at the roots
- Sleep with curls in a pineapple (high ponytail on top of your head) to preserve the shape overnight
Worth knowing: A lob actually improves as your curls settle—the first couple hours might feel slightly looser, but by afternoon the weight of the style helps define curls even more.
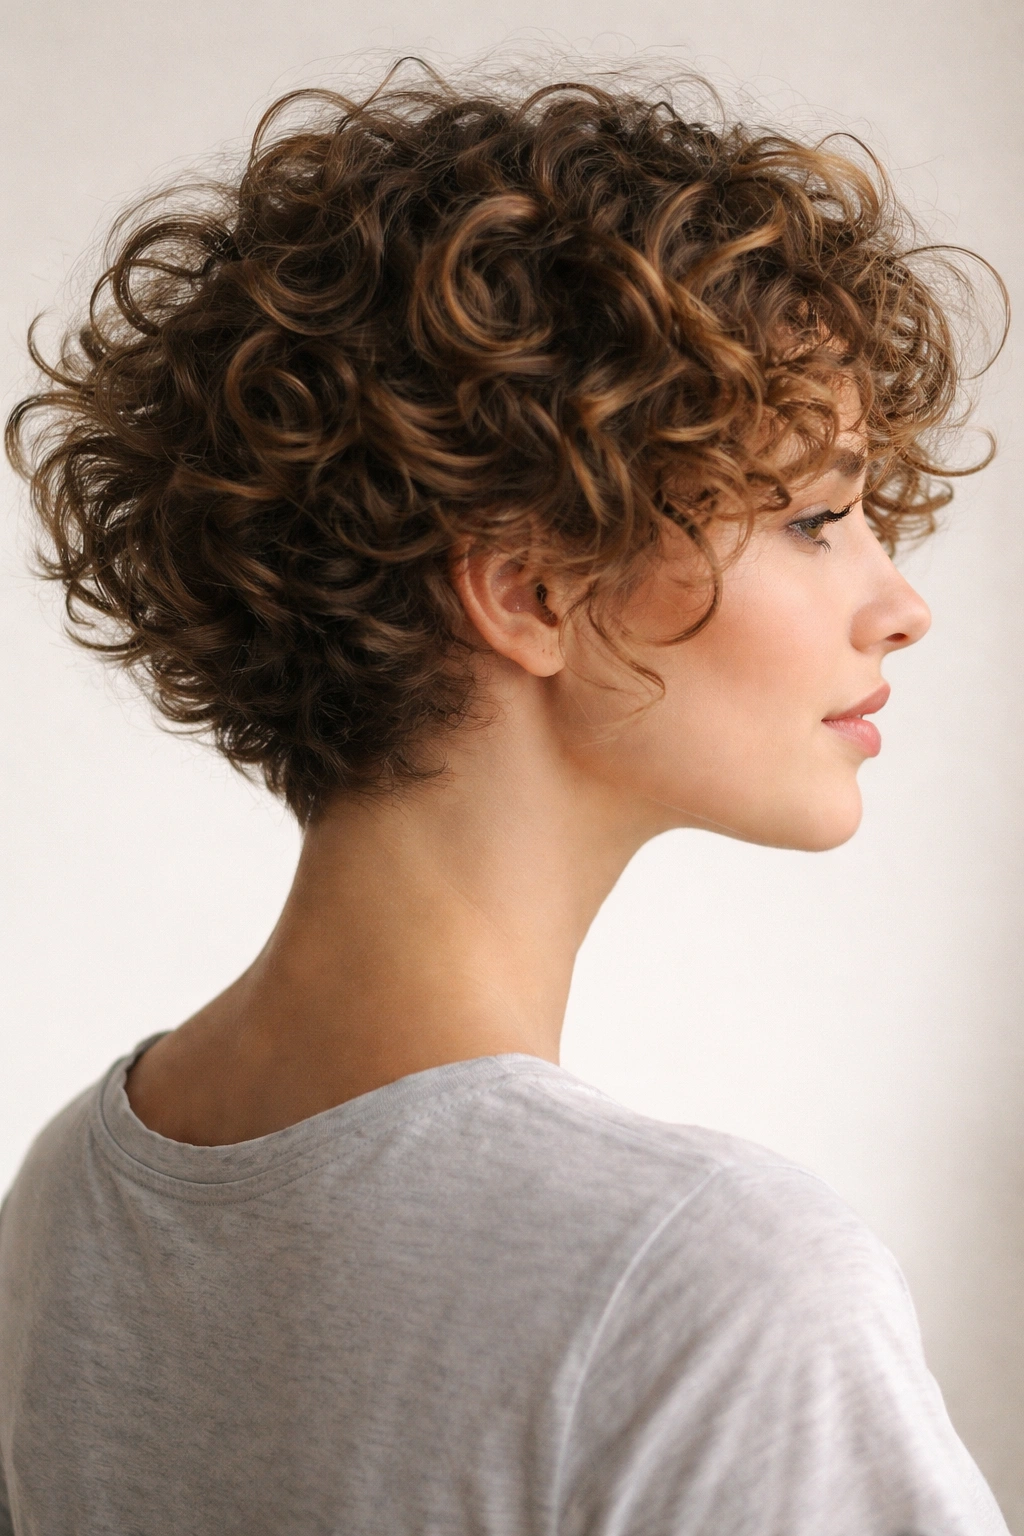
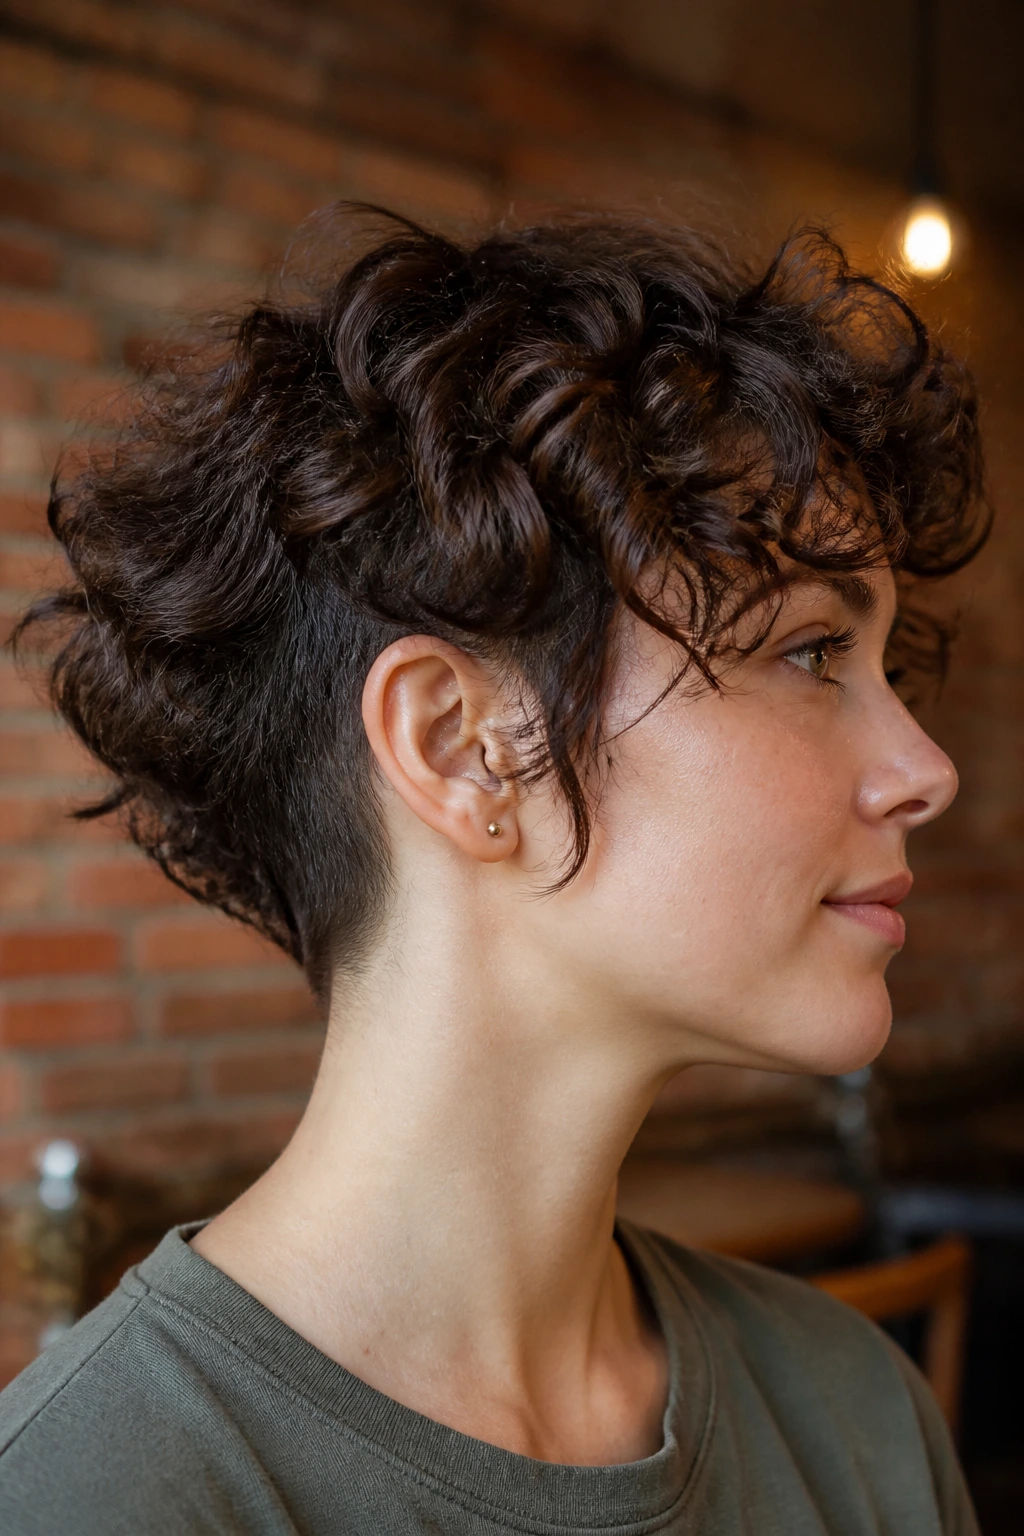
3. The Tight Coil Pixie Cut
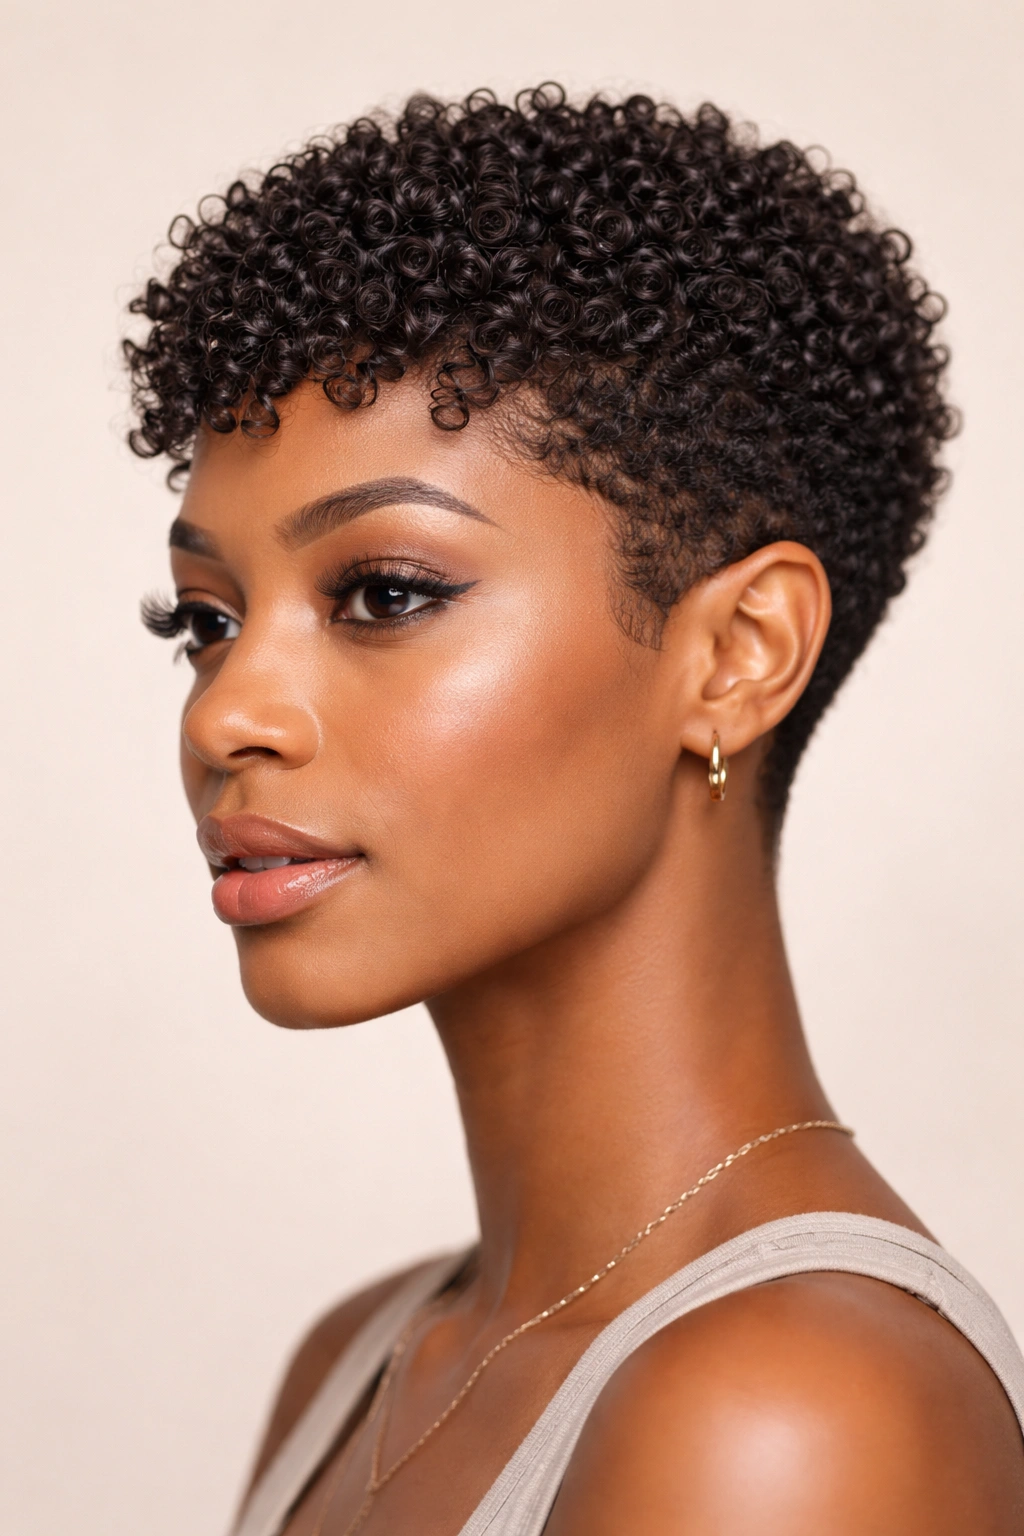
For those with tight coils or very curly hair, a super short pixie cut can be surprisingly shape-holding. When cut precisely to follow your natural curl pattern and kept very short (1/2 inch to 1 inch of length), coils have virtually no distance to travel and maintain perfect definition all day. This cut celebrates your curl texture rather than fighting it.
The Science Behind the Hold
Tight coils don’t need length to hold shape—they hold shape because of their structure. A properly executed pixie on coily hair cuts each curl individually, following its natural path rather than trying to work against the texture. The shorter the cut, the less opportunity for gravity or moisture to disrupt that structure. This style actually improves the appearance of curl definition over time.
Maintenance and Styling Approach
- Have your stylist cut your hair when it’s completely dry to see your true curl pattern and cut accordingly
- Expect to get trims every 4-6 weeks to maintain the shape as new growth comes in
- Style with a curl cream or gel applied to damp hair and allowed to air dry or diffuse-dried
- Sleep on a silk or satin pillowcase to prevent friction that can disrupt coils
- Reactivate curls in the morning with a light mist of water and a bit more cream, no washing needed
Insider note: This cut requires a stylist with real expertise in coily hair—not all stylists understand how to cut tight curls without creating damage or destroying the curl pattern.
4. The Layered Bob with Longer Face Frame
A strategically layered bob keeps curls from looking flat while the longer face-framing pieces prevent that awkward triangle shape. This cut features a shorter back and progressively longer layers that reach at least chin-length in front, creating soft movement that frames the face beautifully. Layers throughout add texture and movement without sacrificing the overall structure of the bob shape.
Why Longer Face Frames Matter
The longer pieces framing your face do two important jobs: they add visual balance (so a layered cut doesn’t look too short in back), and they create anchor points that help the entire style hold its shape. When these pieces are cut at the right angle, they naturally encourage curls to fall in a flattering way while supporting the layers around them. This creates an interdependent structure where each curl helps maintain the shape of its neighbors.
Cutting Technique That Works
- Layers should be cut at 90-degree angles (straight out from the head) rather than 180-degree angles to create hold rather than removal of weight
- The shortest layers should sit at the crown or just behind the ears, never bluntly across the very back
- Face-framing pieces should be at least 2 inches longer than the shortest back layers
- Texturizing should be subtle—point-cutting rather than aggressive choppy layers to avoid frizz
- Consider a slight undercut at the nape if you have thick curly hair, to prevent bulkiness at the back
Pro tip: Ask your stylist to cut this style while your hair is naturally dry and in its usual texture state—styling it differently during the cut can result in a shape that doesn’t match how you actually wear it.
5. The Curly Shag Mullet
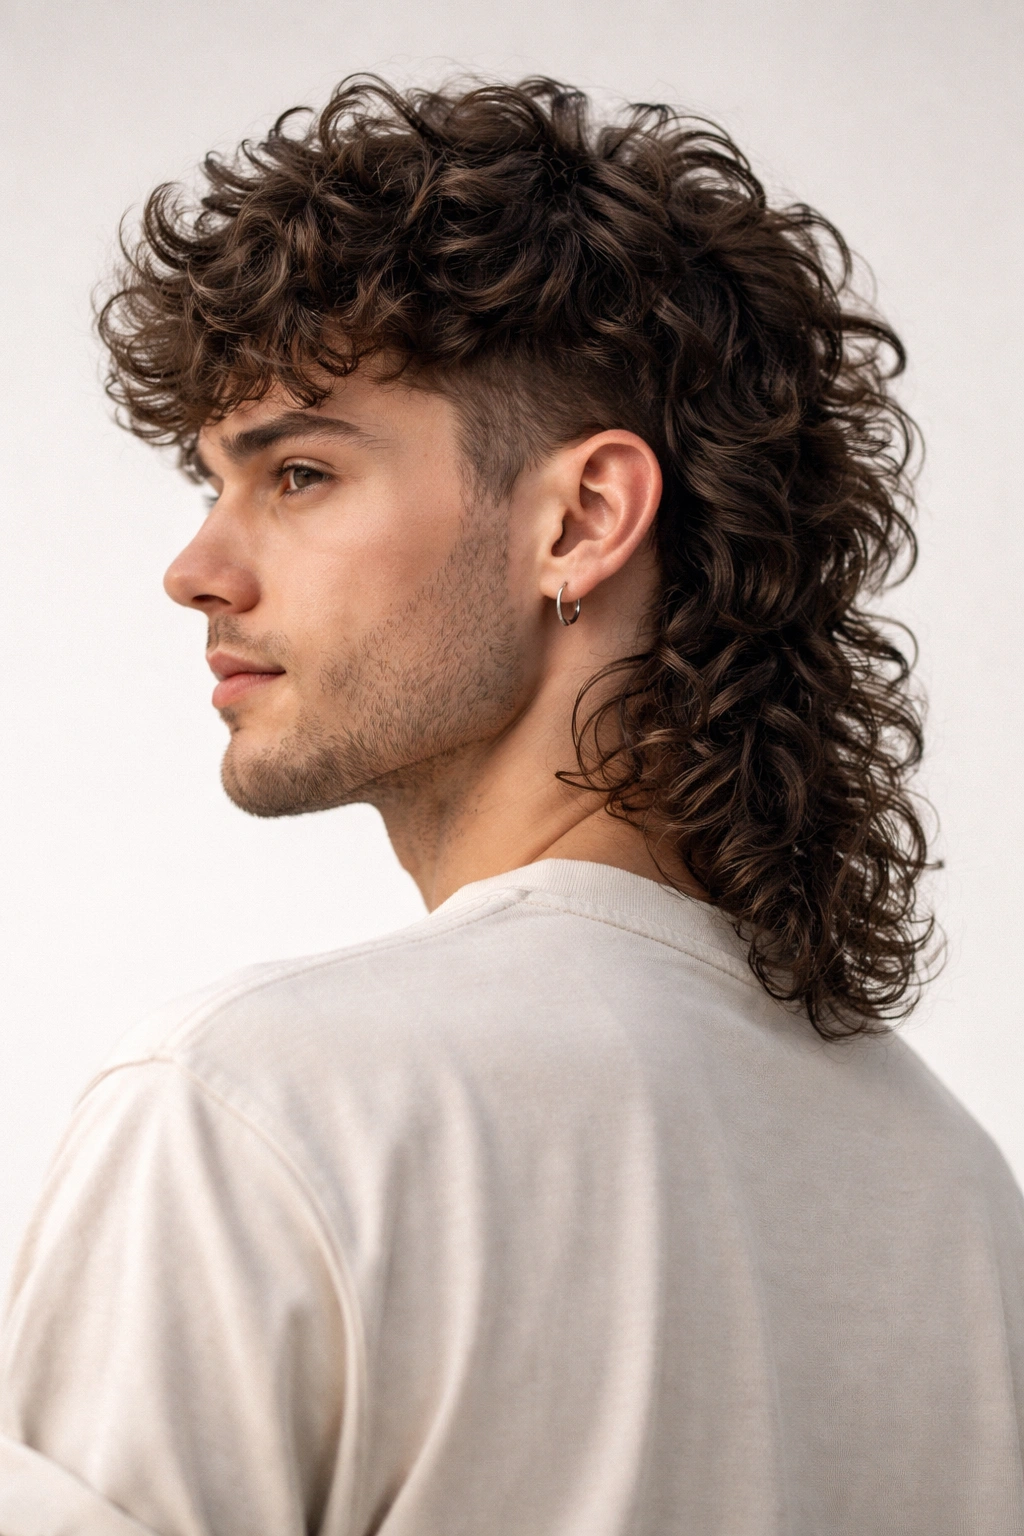
This style plays with the retro mullet concept but executes it for curly hair with modern texture and movement. The cut is shorter on top and sides while maintaining longer length in the back, creating an edgy, intentional look that holds shape beautifully. The difference from the ’80s version is the texturing approach and the way layers blend rather than create harsh lines.
Modern Mullet Execution for Curls
The key to a curly mullet is ensuring the short front and sides don’t create too much volume while the longer back maintains weight and definition. Layers throughout prevent the style from looking bulky, and the contrast between lengths creates the visual interest that makes this cut so striking. Done well, this style actually becomes easier to style over the course of the day as the longer back provides anchor weight.
Structural Elements That Hold the Shape
- Sides cut short enough (2-4 inches) to sit close and frame the face without fluffing outward
- A gradual blend from short sides to longer back rather than an abrupt line
- Shorter, textured layers throughout the top section for volume and movement
- Back length extending at least to the shoulder blade to provide weight
- Subtle texturizing on the back length to enhance curl definition rather than create bulk
Worth knowing: This style benefits from a strong curl cream or lightweight gel applied to damp hair—the defined sections read as intentional rather than undecided.
6. The Spiral Perm Inspiration Cut
If you have naturally spiraling curls, a cut designed specifically for that spiral pattern will hold its shape beautifully all day. The stylist cuts following your curl spirals rather than against them, creating a style where each curl locks into place naturally. This approach celebrates your specific curl pattern rather than trying to force a generic curly haircut onto your unique texture.
Understanding Your Specific Curl Pattern
Your curls might spiral clockwise in some sections and counterclockwise in others, or they might spiral consistently around your head. A stylist who understands your pattern can cut strategically so that your curls naturally support each other. When you cut with the spiral rather than across it, curls sit closer together and maintain definition from root to tip.
Customization Based on Your Spirals
- Have your stylist map your curl direction before cutting—identify where spirals go the same direction and where they differ
- Cut some pieces slightly shorter or at different angles depending on their spiral direction to optimize how they sit together
- Use texturizing very strategically—sometimes removing bulk from one side of a spiral helps it compress better
- Consider one longer curl pattern section on one side if your spirals create naturally longer hair on that side
- Work with a stylist who’s willing to cut dry and slowly, following each section’s natural pattern
Pro tip: Take photos of your dry curls from multiple angles before your appointment—this helps your stylist see exactly how your spirals move.
7. The Heavily Textured Shoulder-Length Cut
A shoulder-length cut with strategic, subtle texturizing throughout creates a style that holds shape because of aggressive density management. Every layer is intentional, and none are so short that they create frizz or so long that they collapse. This cut requires precision but delivers results that look fresh from morning through evening.
The Texturizing Technique That Works
Rather than choppy, obvious layers, this style uses point-cutting and texturizing to remove weight while maintaining density. The stylist removes weight from inside the curl structure rather than creating blunt shorter pieces. This maintains the integrity of each curl while reducing the total weight pulling the style down. It’s a subtle approach that looks seamless and natural rather than carved out.
Maintenance Requirements
- This cut requires a stylist with real expertise in curly texture—not every stylist can execute it well
- Trims every 6-8 weeks keep the texturizing effective and prevent ragged ends
- Curls should be refreshed with water and leave-in conditioner every couple of days, not full-washed
- Styling with a diffuser on low heat brings out definition that might be invisible on air-dried texture
- The style actually looks better by mid-week after curls have settled than it does right after washing
Worth knowing: This style requires daily or every-other-day refresh styling to maintain its full shape, but the payoff is consistent definition.
8. The Curly Curtain Cut
The curtain cut (or center-parted, face-framing style) brings face-framing length while keeping the back and sides shorter, creating a modern, very wearable shape. Layers flow from a center part toward both sides, and this directional cutting prevents the pyramid effect some curly styles create. The style flatters most face shapes and works across multiple curl patterns.
Why This Cut Maintains Shape
The longer pieces in front create anchor points that help support the entire style, while the shorter sides and back prevent excessive volume. The layers flow in one direction (away from the center part), which means curls stack in a way that reinforces the overall shape. Even as individual curls move or frizz slightly throughout the day, the structural framework keeps everything looking intentional and defined.
Getting This Cut Right
- Ask your stylist to cut this while you have your hair parted down the center in its natural state
- Face-framing pieces should be at least chin-length, ideally extending to the collarbone
- Layers should be cut in a way that guides hair away from the face, not into it
- The back and sides can be significantly shorter without creating a weird contrast
- Texturizing around the face prevents the longer pieces from looking stringy or separated
Pro tip: This style benefits from a slicked-back, gelled look on some days and a more natural, softly parted look on others—the shaping allows for this versatility.
9. The Precision-Lined Twist-Out Cut
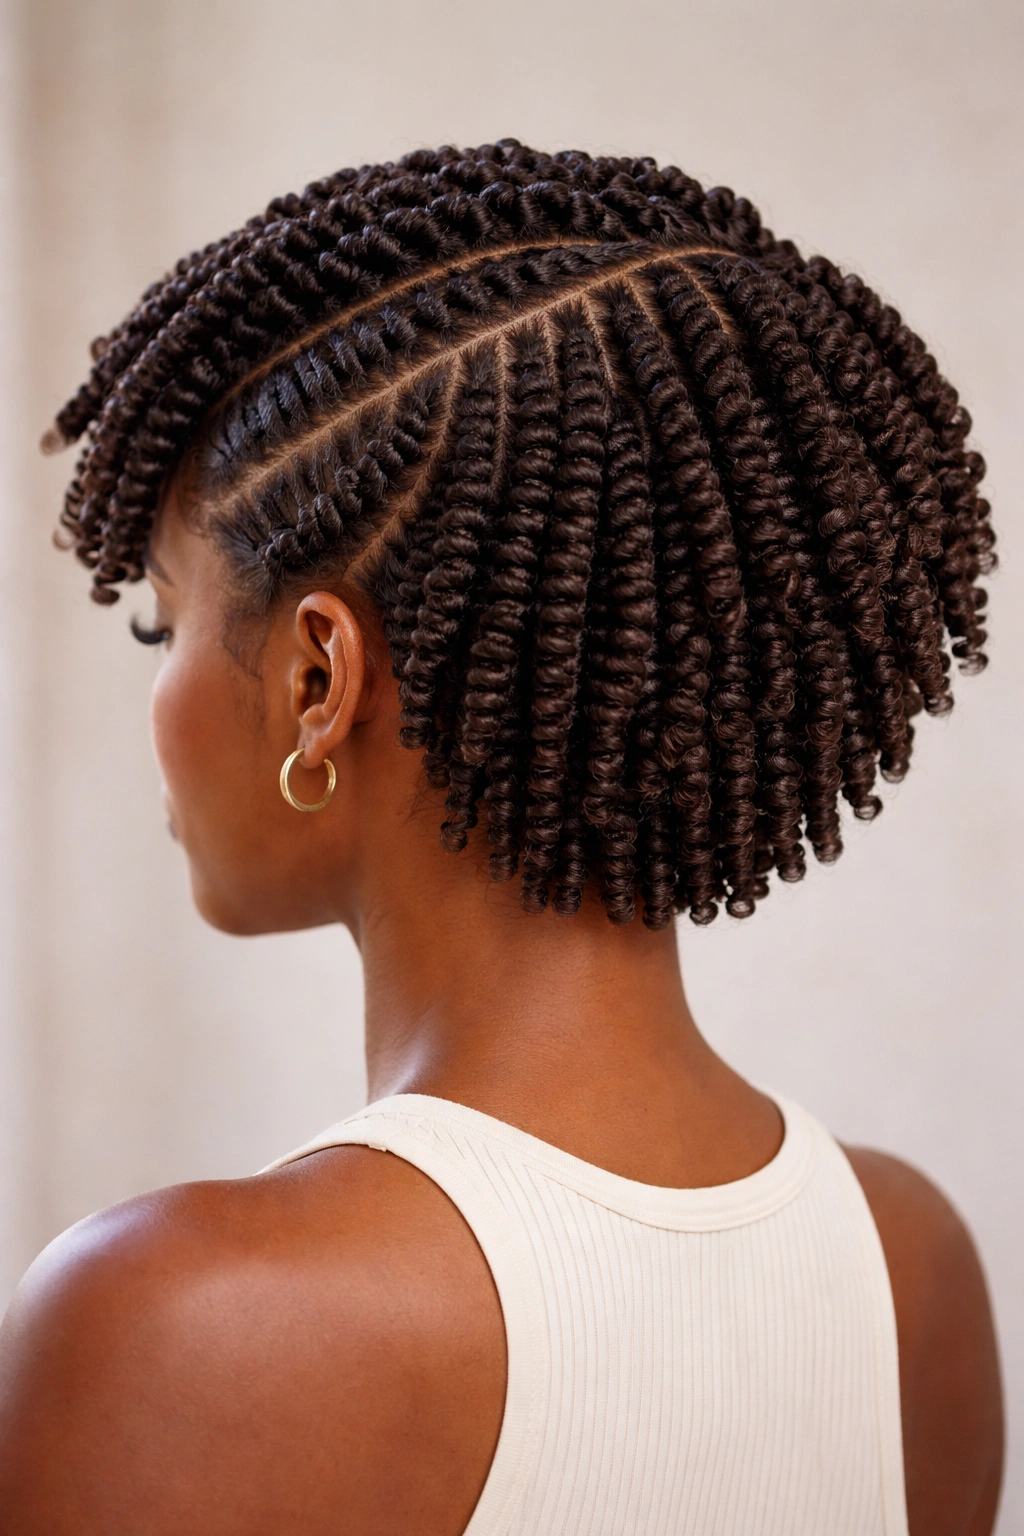
For those who wear their curly hair in protective twists or braids and then take them down for a twist-out, a cut designed specifically for twist-outs creates incredible shape retention. The stylist cuts while your hair is in twisted or braided form, following the line of your twists and cutting at angles that optimize how they’ll expand when released. This approach ensures your twist-outs hold defined, voluminous shape all day.
Cutting While Twisted for Perfect Release
This technique requires your stylist to understand exactly how much your curls will expand when the twists come down. A stylist cuts the outer shape tighter than your final desired shape, accounting for expansion. The individual twist sections are cut at specific angles so that when released, they fall in a unified direction and create defined sections rather than a shapeless mass of curls.
What Your Stylist Needs to Know
- How many twists or braids you typically use for your twist-outs
- The thickness of your twists (which affects how much they’ll expand when released)
- How long you generally wear the twists before taking them down (tighter twists expand more than loose ones)
- Whether you want your twist-outs to look defined in distinct sections or more blended
- How much your hair shrinks when it dries (this varies significantly between curl patterns)
Insider note: Only a stylist who specializes in natural hair and protective styles will be able to execute this well—it’s a specific skill that’s not universal across all stylists.
10. The Volume-Maximized Crown Cut with Tapered Sides
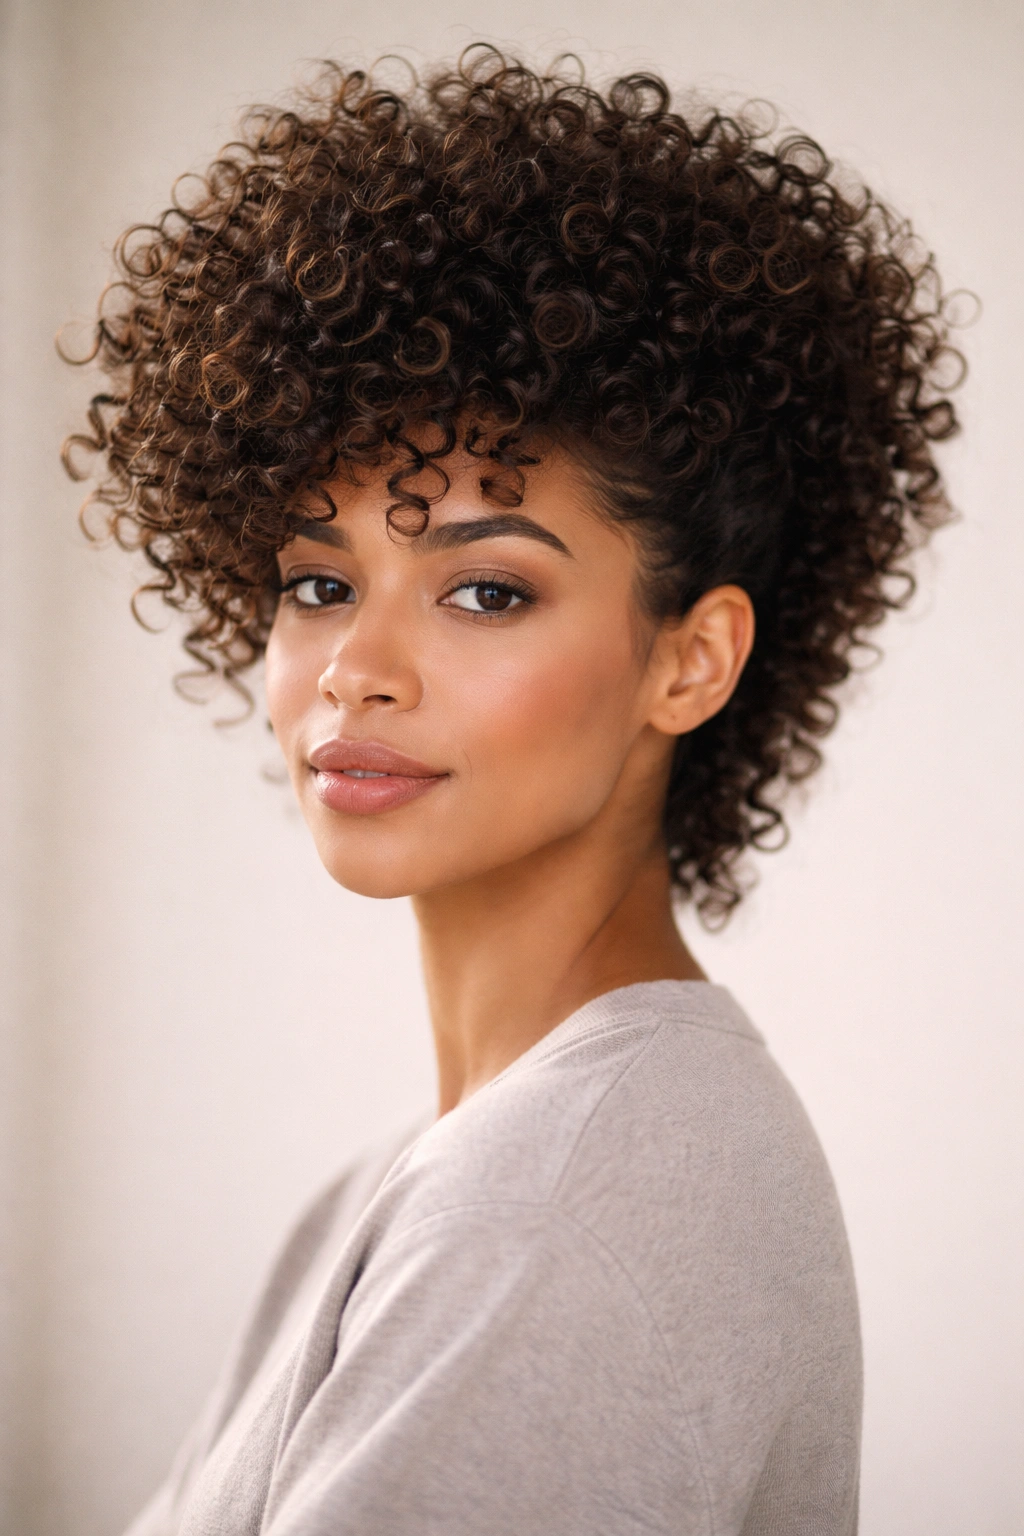
For those who love volume but struggle with their curls expanding into a shapeless cloud, a cut that maximizes volume at the crown while tapering the sides creates controlled, wearable volume. This style channels all the fullness upward and back rather than outward, creating a chic silhouette that holds its shape. The sides and back are cut closer, which prevents the triangle effect and keeps everything proportional.
The Crown Architecture That Works
The secret is removing interior weight while maintaining exterior length and density. Layers throughout the crown add movement and volume without adding bulk at the perimeter. Texturizing is strategic—removing weight from inside the curl structure while maintaining the overall perimeter shape. The result is curls that look full and voluminous at the crown but controlled and intentional everywhere else.
Styling for Maximum Shape Retention
- Apply styling products to soaking wet hair and scrunch upward to encourage volume at the crown
- Use a diffuser while tilting your head to encourage lift at the roots
- Pay special attention to the crown section when diffusing—flip your head upside-down and hold the diffuser against the roots
- Once dry, gently separate curls at the crown to enhance the volume effect
- Throughout the day, a light spritz with a refreshing spray and gentle scrunching maintains the lift
Worth knowing: This style actually looks better with slightly damp curls than bone-dry ones—the moisture helps curls sit properly while the shape provides the hold.
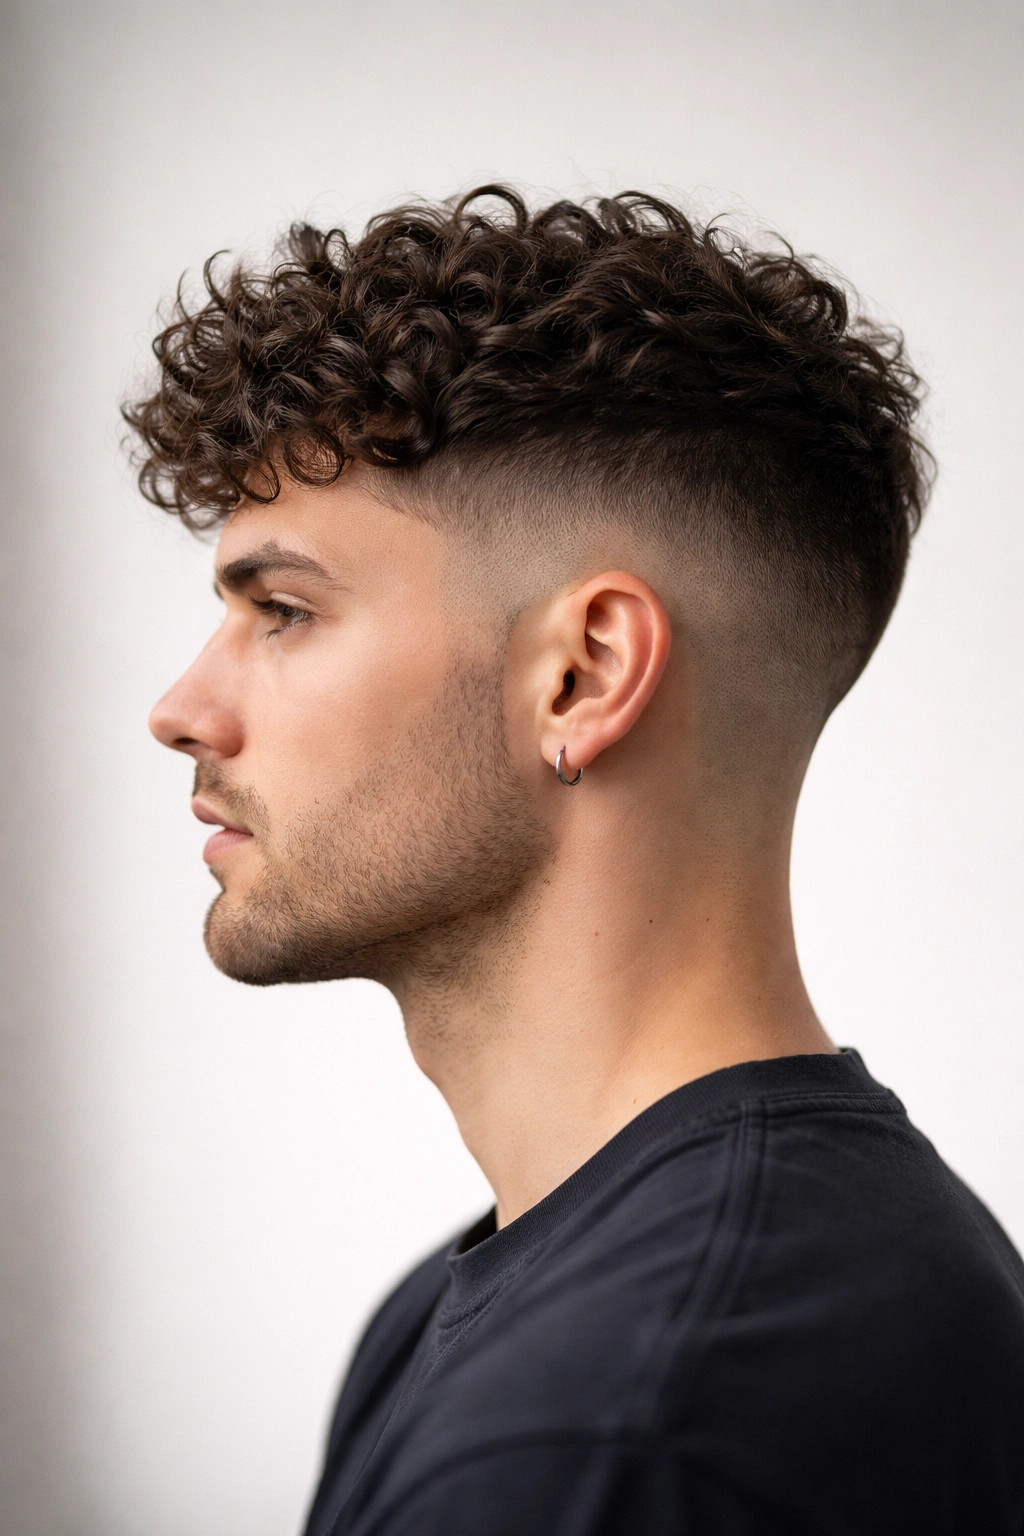
11. The Angled Pixie-Bob Hybrid

This cut splits the difference between a pixie and a lob, creating an edgy, modern style that works beautifully for curly hair. The front is longer (chin-length or slightly longer) while the back is much shorter, creating an angled, directional shape. Layers throughout add texture and prevent the style from looking blunt or severe, while the angles create built-in movement that lasts all day.
Why Angles Create Hold
Straight horizontal lines don’t hold shape well in curly hair—curls push against them and try to expand outward. Angles, however, create directional tension that actually helps curls sit properly and resist frizzing. The longer front pieces angle back toward the shorter back, creating a natural flow that encourages curls to follow the same path throughout the day.
Angle Optimization
- The shortest section should be at the back nape, roughly 2-4 inches depending on your curl pattern
- Length should angle gradually longer toward the front, reaching chin-length or longer
- Side sections bridge between the short back and long front, creating the visual transition
- Layers should follow the angle of the cut rather than being horizontal
- Texturizing should enhance the natural angles rather than work against them
Pro tip: Sleeping with this style pinned or loosely twisted helps it hold its shape beautifully the next day—the angles make it easy to reset.
12. The Defined Section Curl Cut

Rather than a uniform overall shape, this approach cuts distinct curl sections that sit independently and create a sculptural style. The stylist may cut some sections shorter, some longer, and some at different angles, creating a cut that looks complex but actually maintains shape beautifully because each curl section supports the others. This approach celebrates your unique curl pattern rather than forcing uniformity.
Section-Based Cutting Strategy
Your hair naturally wants to fall into sections—maybe you have thicker curls on one side, tighter coils in the crown, and looser waves in the back. A stylist who respects these natural sections cuts them individually, optimizing each section’s length and angle for its specific texture. The result is a cut that looks intentional and complex but actually requires less styling to maintain.
Identifying Your Natural Sections
- Determine where your hair naturally parts and divides based on curl density and pattern
- Notice whether different sections have different curl patterns or curl sizes
- Consider which sections are thickest and which are finest
- Identify any sections that naturally want to flip a certain direction
- Ask your stylist to cut sections individually, optimizing each one
Worth knowing: This approach requires communication with your stylist—come in knowing your hair’s natural divisions and behavior, and your stylist can cut accordingly.
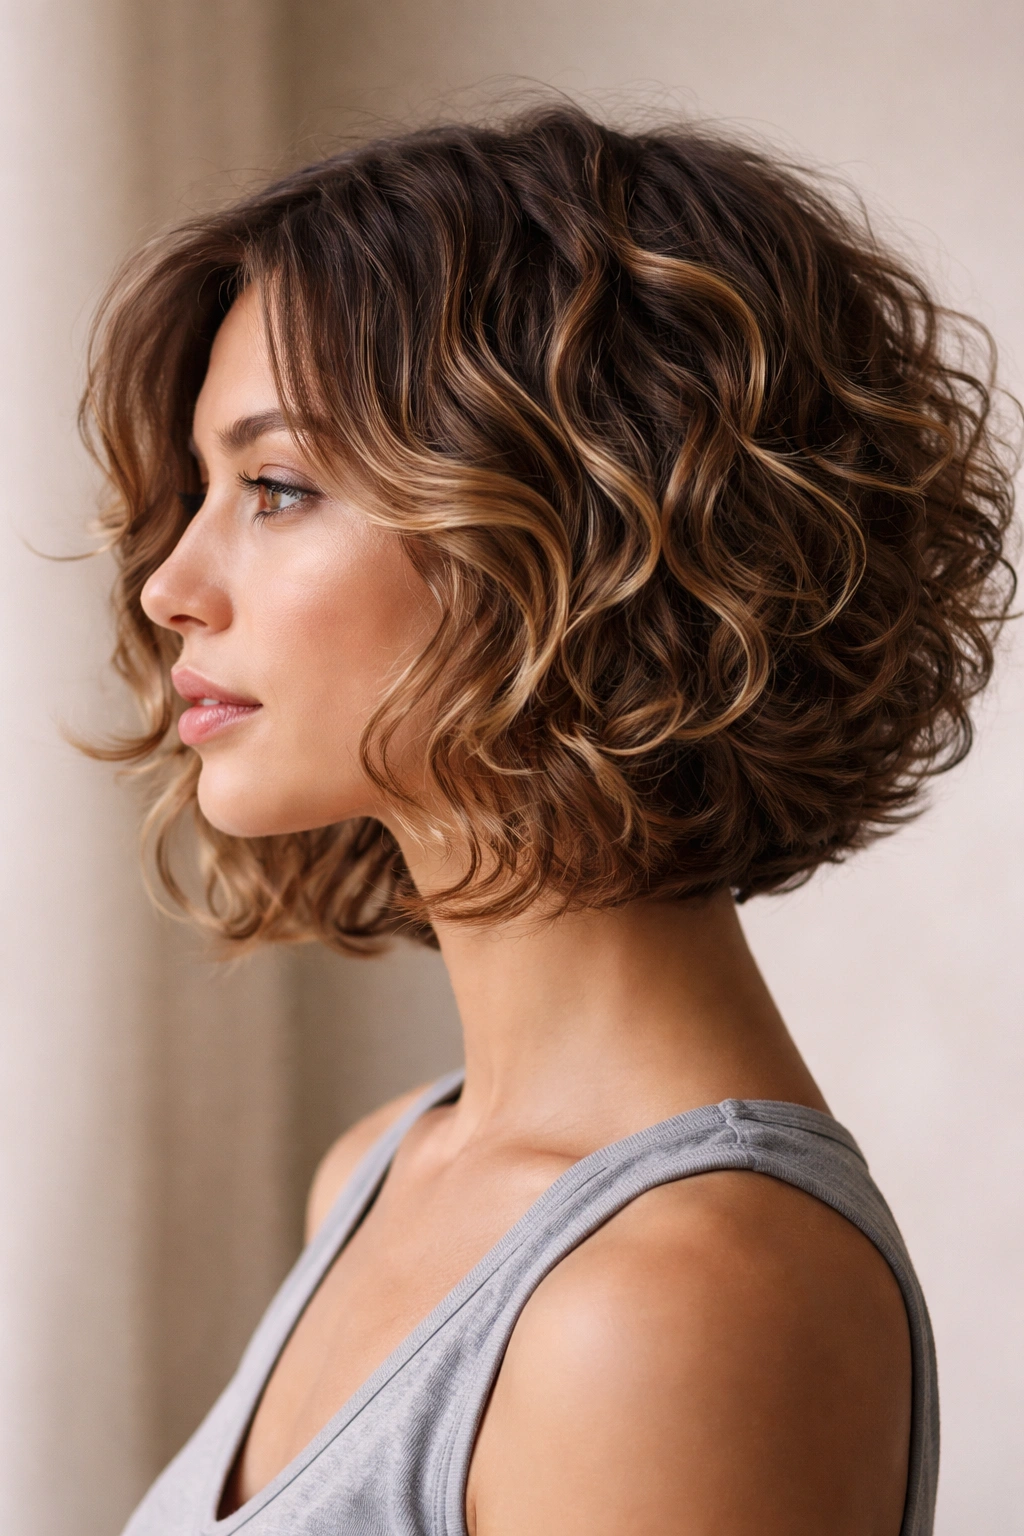
13. The Graduated Bob with Hidden Layers
This style features layers that are mostly hidden when hair is down—you see primarily a clean bob shape, but when you move or flip your head, the subtle layers create incredible movement and dimension. The layers are cut at angles that place them within the overall bob shape rather than creating obvious distinction. This provides all the shape-retention benefits of layers without the choppy aesthetic.
The Hidden Layer Technique
The stylist cuts layers that sit at the same general length as surrounding hair but at slightly different angles, so they support each other without creating obvious separation. This requires precision because the layering has to be subtle enough that it’s invisible when you’re still, but effective enough to create movement and prevent the style from looking blunt. The result is a modern bob that has more movement than it appears to have.
Cutting Without Showing Layers
- Layers should be cut at angles that follow your curl pattern rather than creating harsh lines
- The graduation should be subtle—maybe 1/2 inch to 1 inch difference between layer lengths
- Texturizing should be applied only to the very ends, not throughout the length
- Point-cutting is better than blunt cutting to maintain smooth edges
- Ask your stylist to show you how the layers look when you flip your head vs. when you’re still
Pro tip: This style often looks better slightly air-dried than fully diffused—the hidden layers create natural movement without requiring intense styling.
14. The Cropped Curly Top with Disconnected Undercut
For a bold, modern statement, a very short, cropped top with significantly shorter (nearly shaved) sides and back creates a style that holds shape perfectly. The distinct contrast between lengths is intentional and edgy. The short top section, even though it’s cropped quite short, maintains incredible definition because of the stark contrast with the sides. This look celebrates your curl texture and makes a clear statement.
Maintenance of Bold Contrasts
The sides and back will need trimming every 3-4 weeks to maintain the disconnected look, while the top can go a bit longer between trims. The cropped top section develops an interesting texture as it grows—it can be styled very short and close, or it can grow out for a softer, fluffier look. Either way, the contrast with the undercut keeps the style looking intentional.
Styling Options at Different Lengths
- When first cut, style with a light curl cream or gel for definition
- As the top grows out (1-2 weeks after cutting), it becomes fluffier and more textured
- At mid-length (4-6 weeks), you can experiment with different styling products to create different effects
- Just before your next trim, the longer top can be styled multiple ways depending on your mood
- The undercut sides remain consistent, providing a clean anchor for however you style the top
Insider note: This is the style that improves over the course of the week as the top grows out slightly—come back for fresh undercut trims every month to keep it looking crisp.
15. The Curly Mullet with Textured Layers Throughout
A more modern, less severe take on the shag-mullet trend features texturizing throughout (not just choppy layers) with a distinct longer back. This cut removes weight strategically through the entire head rather than using blunt layers, creating a style that’s less dramatic than a classic shag but still has serious movement and hold. The texturizing technique prevents frizz while the longer back maintains weight and definition.
Strategic Texturizing Approach
Every section gets point-cut or texturized to remove weight from inside the curl structure rather than creating obvious shorter pieces. The short front and sides are texturized just enough to sit close to the head, while the longer back is textured to enhance curl definition without removing essential weight. This approach sounds subtle but creates dramatic results—the style has tons of movement and definition without looking obviously layered.
Product Application for Best Results
- Apply styling products to dripping wet hair and scrunch thoroughly for maximum definition
- Use a diffuser and focus on getting the sides compact before moving to the crown and back
- Once styled, avoid touching the curls much—let them set completely before scrunching
- A refreshing spray during the day can reactivate some definition without requiring full restyling
- Sleep with the style protected (pineapple or bonnet) to preserve the shape overnight
Worth knowing: This style actually looks more impressive by mid-week, once curls have fully settled and the texturizing has created maximum definition.
16. The Chin-Length Bob with Personalized Density
Rather than a uniform density throughout, this cut places more density and length where you need it most and less where you want it. Maybe you want the crown very full and the sides compact, or you want the front longer and the back shorter. This personalized approach to density means the style naturally supports itself exactly where you need it to, creating a custom shape that holds all day.
Custom Density Mapping
Before cutting, discuss with your stylist where you want the most volume, where you want things compact, and how you want the style to sit. Maybe your curls naturally want to expand outward in your crown—cutting this area shorter and more heavily layered gives you control. Maybe your sides get flat easily—adding length and density there helps them stay bouncy. Personalizing the cut means it works with your hair’s natural tendencies rather than fighting them.
Questions to Ask About Density
- Where does your hair naturally expand the most?
- Which areas get flat or weighed down easily?
- Do you want volume in the crown, or do you prefer a flatter, sleeker look?
- Are the sides/front/back different textures or curl patterns?
- Where do you struggle most with shape retention throughout the day?
Pro tip: Bring photos of styles where you love how it looks, and discuss with your stylist what you love about those specific areas—sometimes it’s all about placement of density.
17. The Spiral Curl-Specific Taper
For those with distinct spiral curls (as opposed to kinky, coily, or wavy textures), a cut that tapers gradually from longer to shorter actually follows the natural shape of spiraling curls. The sides taper close, gradually getting longer toward the back and crown, which mimics how spiral curls naturally want to sit. This is a subtle approach that sounds simple but requires understanding exactly how your specific spiral pattern works.
Understanding Spiral Curl Structure
Spiral curls want to sit in a specific way based on how they twist. A stylist who understands your spiral pattern can cut in a way that encourages all your curls to twist the same direction and sit compactly together. When curls work together rather than against each other, they maintain definition and shape all day. A taper that respects the spiral pattern makes this happen naturally.
Executing the Spiral Taper
- Have your stylist examine your dry, unstyled hair to understand your spiral direction
- The taper should gradually increase in length as it goes from sides to back and crown
- Rather than creating obvious layers, the taper works subtly so the style looks like one cohesive shape
- Texturizing is minimal—mostly about maintaining clean lines rather than removing weight
- Curls should naturally fall in a way that shows off their spiral structure
Worth knowing: This cut might look slightly odd if you style it differently than usual—it’s designed for how your curls naturally want to sit, so working with that natural tendency creates the best results.
18. The Strategic Undercut for Control
If your curly hair naturally creates too much volume, a strategically placed undercut underneath layers removes weight in places where you don’t see it but where it matters. This approach gives you the volume and movement you want from the visible texture while removing weight from underneath to prevent mushroom shapes or excessive triangle effects. The cut looks seamless from above but has built-in structure underneath.
Invisible Weight Removal
An undercut on curly hair is very different from an undercut on straight hair. Rather than creating a disconnected short section you can see, it’s cut in a way that sits completely hidden underneath longer curls. You only notice it if you flip your head upside-down or part your hair in a certain way. But it makes a huge difference in how your overall style holds shape and sits on your head.
Where Undercuts Help Most
- Back of the head (at the nape) removes weight that causes the back to puff out
- Inside the crown can help control excessive volume at the top
- Underneath the sides can prevent flare-out while keeping visible length
- Creating these hidden undercuts requires a stylist who can think three-dimensionally about hair
- The undercut generally needs maintenance every 6-8 weeks as underneath hair grows out
Pro tip: Even though you can’t see this undercut day-to-day, it has a huge impact on how your style holds up throughout the day—the difference is often more noticeable than a visible dramatic cut.
19. The Wavy-to-Curly Transition Cut

If your curl pattern is looser on top and tighter underneath, or if you have waves in some sections and curls in others, a transition cut celebrates these variations rather than trying to force uniformity. The stylist cuts each curl pattern section at lengths and angles that work specifically for that pattern. The result is a style that looks cohesive but actually works with your natural variations instead of against them.
Working with Mixed Curl Patterns
Some people have waves in the front, curls on the sides, and coils underneath. Cutting this hair as if it were one uniform pattern leads to some sections looking great and others looking terrible. A stylist who understands your mixed patterns can cut so that every section sits properly and looks intentional. The transitions between patterns should be smooth and well-integrated, not jarring.
Identifying Your Pattern Variations
- Look at your dry, unstyled hair and notice where patterns change
- Pay attention to which sections curl tightly and which are looser
- Consider whether the change is gradual or distinct
- Ask your stylist to examine your whole head and map where patterns shift
- Discuss how you want to style different sections—will you treat them differently or try to style them all the same way?
Worth knowing: A cut that respects your mixed curl patterns actually makes styling easier, not harder—each section cooperates with your styling efforts instead of fighting you.
20. The Layered Crop with Face-Framing Length
This style keeps the overall shape cropped and short (often not much longer than 2-3 inches on top) but maintains longer face-framing pieces that extend past the ears and frame the face beautifully. The layers throughout the crop section add movement, while the longer face-framers create visual balance and add a softening element. This style works beautifully for both very curly hair and waves.
The Contrast That Works
The contrast between the very short, cropped top and the longer face-framing pieces is what makes this style work. Without the longer pieces, a very short crop can look too severe or masculine. With them, the style becomes wearable and flattering on more face shapes. The layers in the crop section allow the longer pieces to integrate smoothly rather than looking like they’re stuck on top of something else.
Getting the Balance Right
- The shortest sections should be at the crown and back, roughly 2-3 inches
- Face-framers should be at least 3-4 inches longer than the shortest back sections
- Layers in the cropped section should guide toward the face-framers, creating integration
- Texturizing should be heavier in the cropped section (to add movement) and lighter on the face-framers (to keep them smooth)
- The overall silhouette should be wider at the face level than at the crown
Pro tip: This style can be worn with the face-framers tucked behind the ears for a sleeker look or down for a softer frame—the cut allows both options.
21. The Layered Cut with Subtle Undercut Below Ear Height
This approach combines visible layers throughout with a subtle undercut in the back and lower sides that removes weight where you can’t see it but where it matters most. The visible layers create texture and movement, while the hidden undercut prevents the back and lower sides from getting too dense or heavy. The result is a style with movement and texture that also holds its shape all day without bulk.
Combining Visible and Hidden Structure
This is a more sophisticated approach than either visible layers or a hidden undercut alone. The visible layers give you the aesthetic you see in the mirror—texture, movement, defined pieces. The hidden undercut gives you the structure underneath that keeps everything sitting properly and prevents weight from accumulating where it would drag the style down. Together, they create a style that looks great and functions beautifully.
The Two-Part Cutting Strategy
- Visible layers should be obvious and intentional, cut at varying lengths for movement
- The hidden undercut should be placed strategically underneath, where density accumulates
- Texturizing throughout adds to the movement without requiring blunt layer lines
- The undercut is cut short enough to matter but subtle enough to stay hidden
- Regular maintenance (every 8 weeks) keeps the undercut effective as new hair grows in
Worth knowing: A stylist might suggest this approach based on your specific hair density and curl pattern—it’s not necessary for everyone, but when it’s the right call, it makes a huge difference.
22. The Customized Curl Pattern Celebration Cut
Rather than forcing your curls into a predetermined style, this approach has your stylist analyze your specific curl pattern and cut to enhance and celebrate exactly what you naturally have. Maybe your curls are springy and want to sit a certain way, or maybe your waves are loose and need a specific angle to look intentional. This completely personalized approach means the cut works with your hair rather than against it, creating a style that holds shape because it’s literally designed for your specific texture.
The Deep Analysis Approach
This cut starts with a long conversation and thorough examination of your dry hair. Your stylist looks at your curl pattern, size, density, direction, and any variations across your head. They ask detailed questions about how you style, what works and what doesn’t, and what your hair goals are. Then they design a cut specifically for you, not pulling from a generic style name but creating something custom to your needs.
What This Process Looks Like
- Come to your appointment with your hair in its natural, unstyled state
- Be prepared for your stylist to spend 15-30 minutes just examining and asking questions before picking up scissors
- Discuss your lifestyle, styling habits, how much time you want to spend styling, and how you feel about your hair
- Ask your stylist to explain exactly how they’re cutting and why it works for your specific pattern
- Plan for a longer appointment than you might usually expect—customized analysis takes time
- Schedule a follow-up trim in 4-6 weeks while your stylist can see how the cut is working on your specific hair
Pro tip: Bring photos not just of styles you like, but also photos of your own hair on good days—sometimes your best style inspiration is your own hair when it’s cooperating.
Final Thoughts
The difference between a curly cut that falls apart by afternoon and one that looks fresh all day comes down to cut precision, strategic density management, and understanding that curly hair requires a completely different approach than straight hair. When a stylist cuts with your curl pattern in mind rather than despite it, magic happens—your curls actually get better over time as the cut encourages proper shape and reduces damage.
The style that holds all day is the one that works with your hair’s natural tendencies, respects your specific curl pattern, and uses smart cutting techniques to create structure from within rather than relying on products and styling effort alone. Whether you go short or long, choppy or smooth, bold or subtle, the right cut means your curls will bounce through the entire day looking intentional and defined.
Start by finding a stylist who specializes in curly hair and who understands that a good curly cut isn’t just a shorter version of your regular length—it’s a completely different technique and approach. Then be honest about what you want, show them your hair in its natural state, and give them freedom to cut in a way that works for your specific curl pattern. The payoff is a style that actually makes your life easier, not harder.