Coily and curly hair has an incredible natural versatility that straight-haired folks often wish they had access to. The texture, volume, and bounce you’re working with aren’t limitations—they’re your biggest styling assets. The challenge isn’t whether you can create beautiful hairstyles; it’s knowing which ones actually work with your curl pattern and how to execute them so they hold and look intentional rather than accidental.
The right natural hairstyle does more than just look good—it can enhance your curl definition, reduce frizz, protect your hair from damage, and honestly, help you feel more confident in your own skin. Whether you’re rocking tight coils, loose waves, or something in between, there’s a whole world of styles beyond the classic wash-and-go that deserve space in your rotation.
The styles below range from low-manipulation looks that take five minutes to more intricate designs that give you that polished, put-together feeling. Some work best on soaking-wet hair, others shine on second or third-day curls. All of them celebrate your texture rather than fighting against it. Pick the ones that match your curl pattern, your styling comfort level, and your lifestyle—because the best hairstyle is the one you’ll actually maintain.
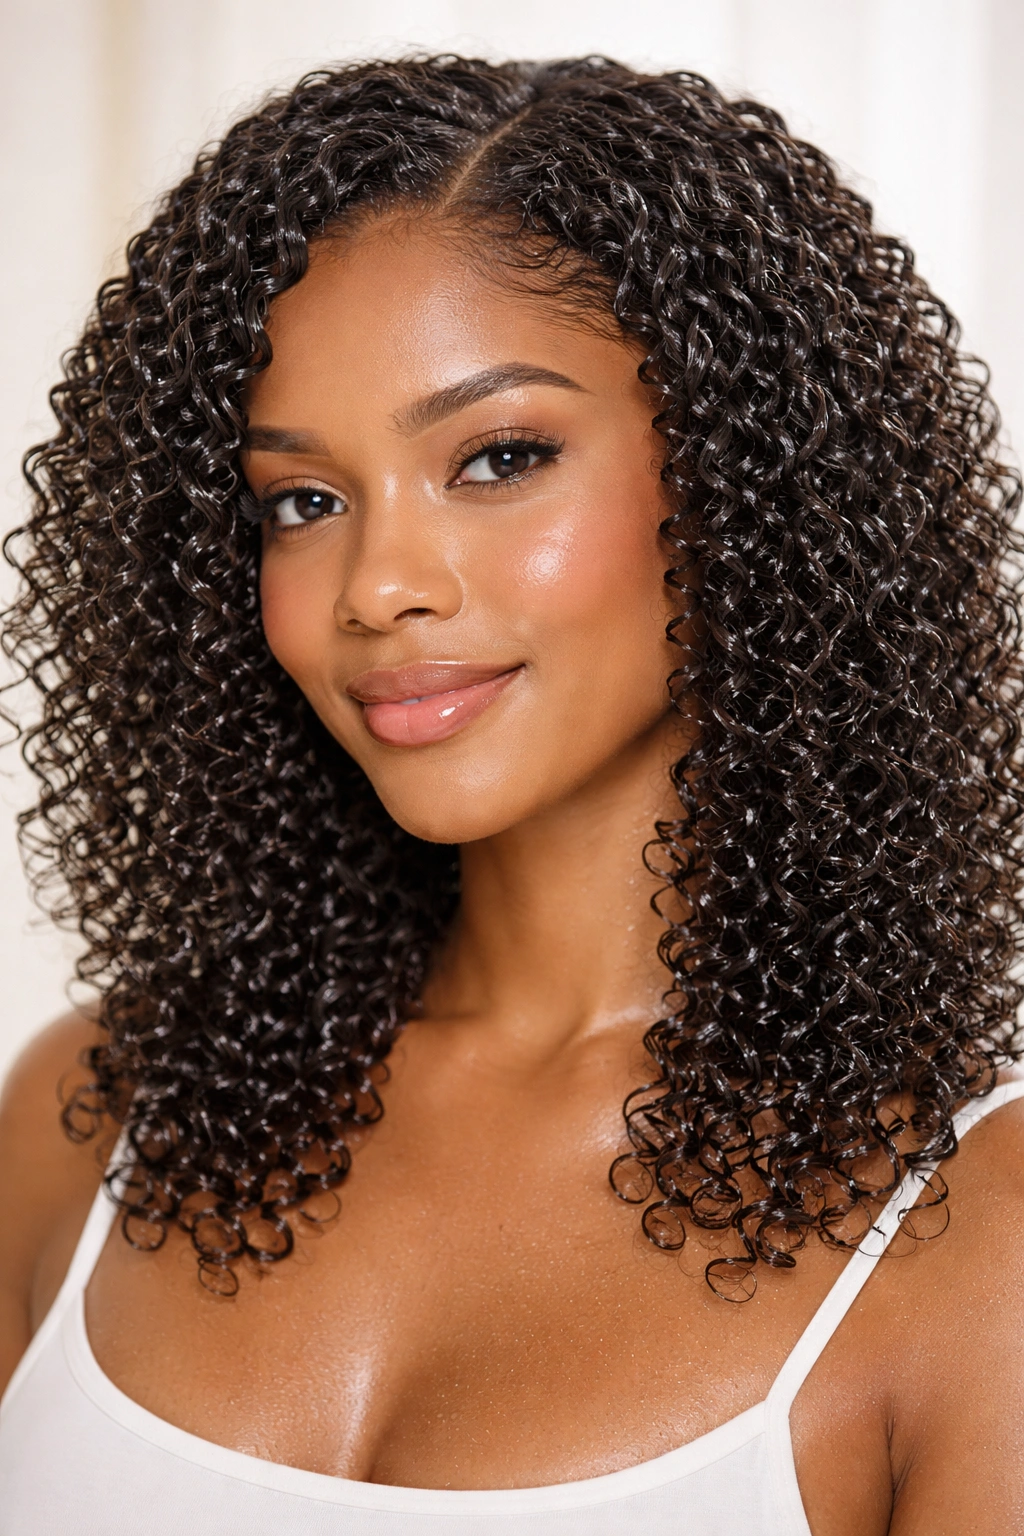
1. Wash-and-Go
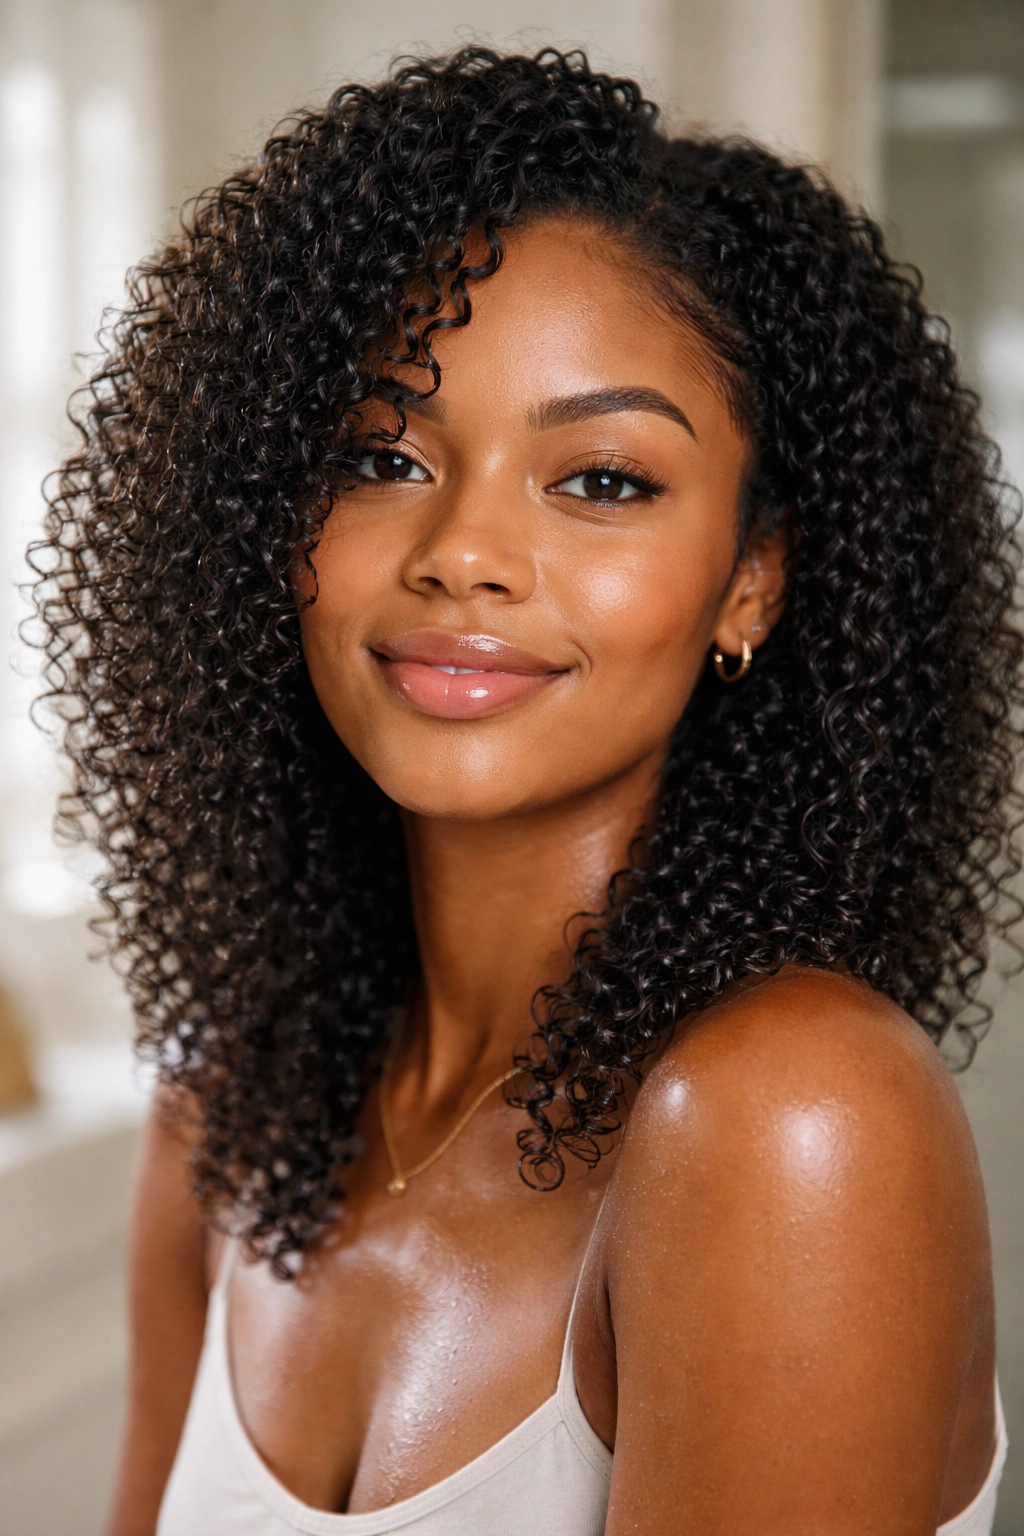
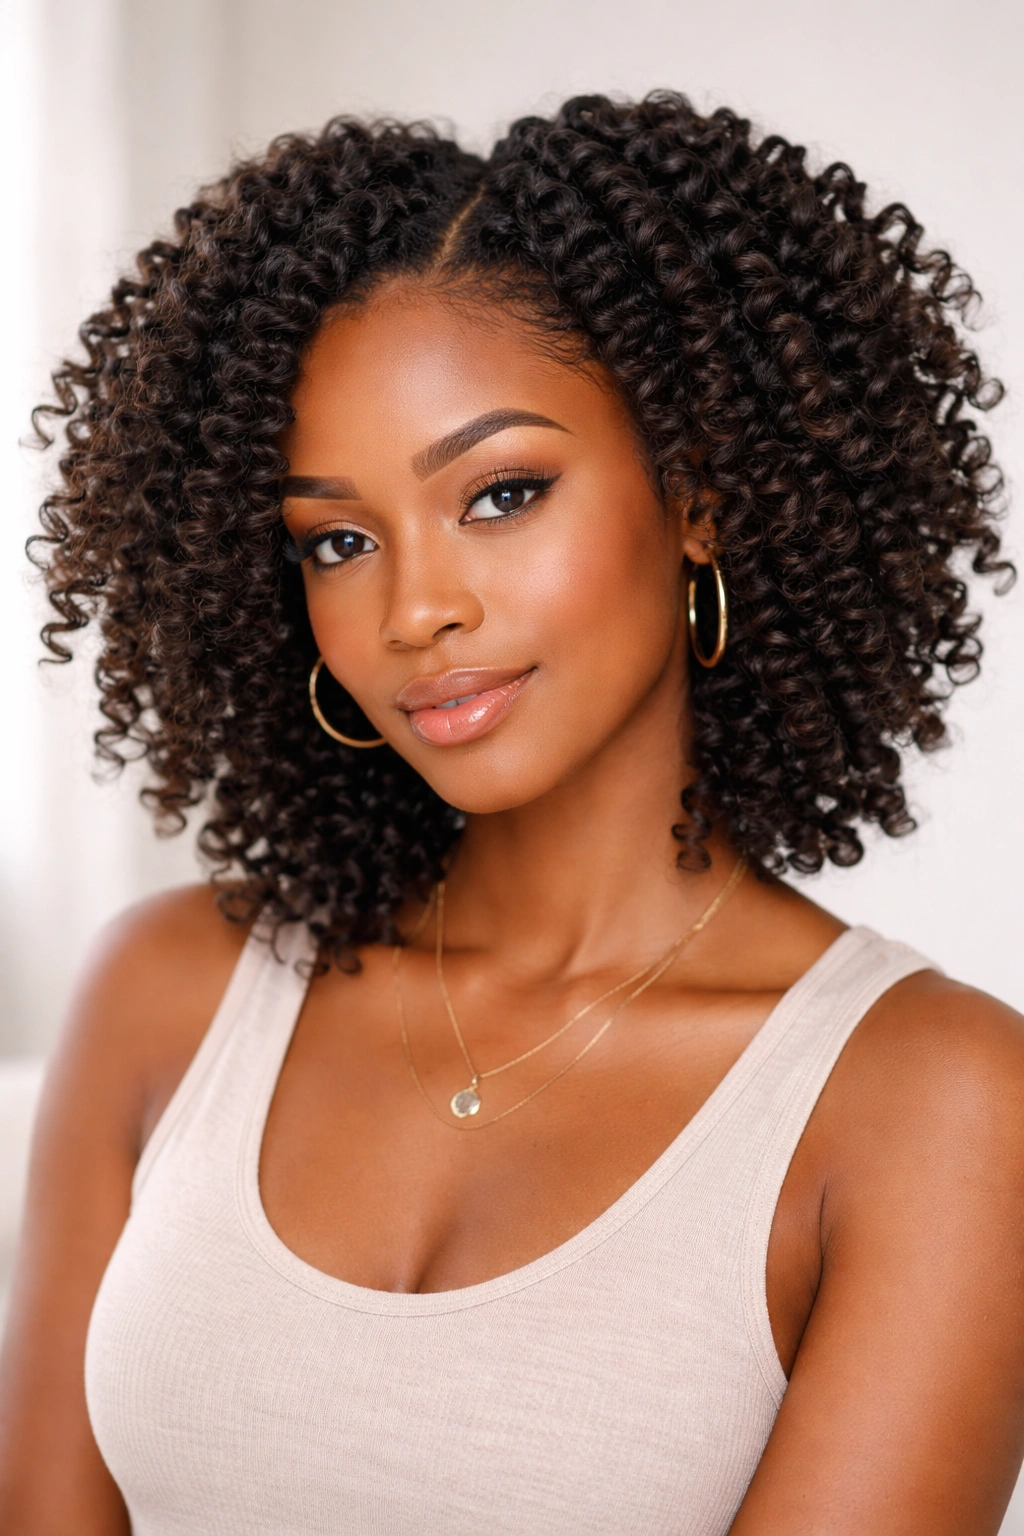
The wash-and-go is the foundation of natural hair freedom—freshly washed, conditioned, and styled while soaking wet, then left to air dry or diffused into its natural curl pattern. It’s not lazy hair care; it’s intentional minimalism that lets your curls show exactly what they can do without manipulation.
Why It Works for Curly and Coily Hair
Your natural curl pattern has a memory built into it. When you hydrate your curls fully with water and a lightweight leave-in conditioner, then let them dry without disrupting their formation, they’ll clump together and define themselves automatically. This is especially effective for people with natural curl clumping patterns—your hair literally wants to curl this way.
Styling Tips and Maintenance
Apply a leave-in conditioner and curl cream or gel to soaking-wet hair section by section. Rake the products through gently to distribute them evenly, then encourage curl clumping by scrunching upward. For faster drying, use a microfiber towel or cotton t-shirt to plop out excess water. If you diffuse, keep the heat on low and finish with a cool shot to set the curl. The key is touching your hair as little as possible while it dries—every time you move it, you risk disrupting the curl pattern.
Pro tip: Your wash-and-go looks best on freshly washed hair, usually lasting beautifully for one to two days before you’ll want to refresh it with a spray bottle and some curl cream on day two.
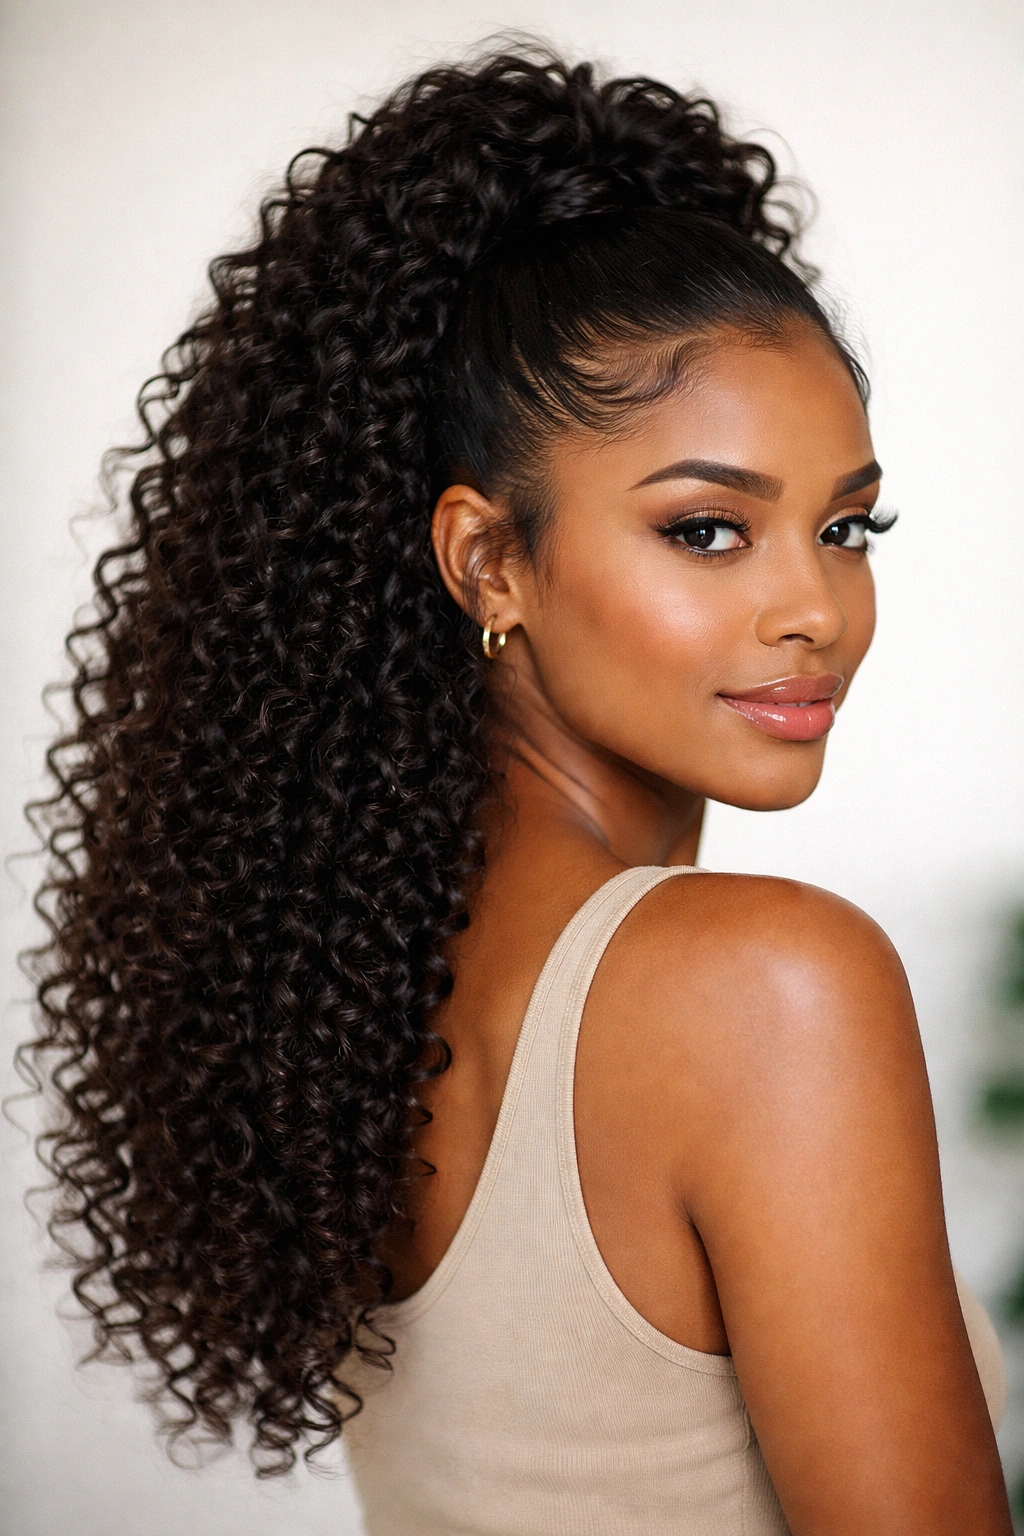
2. Pineapple
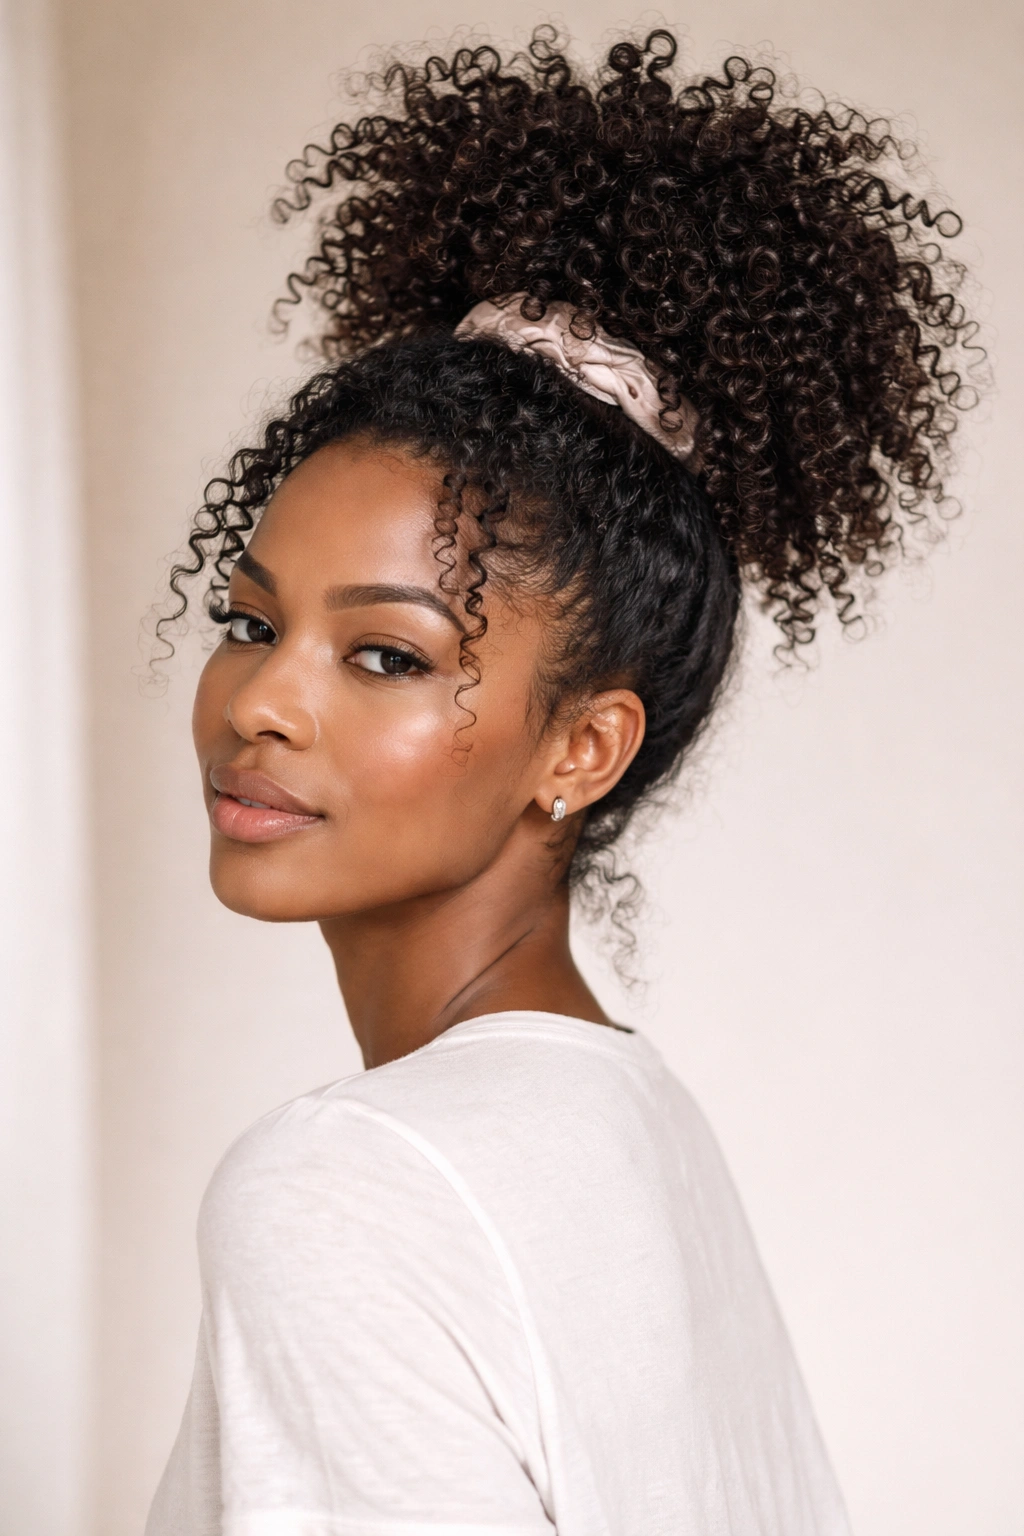
The pineapple is a second or third-day refresh method where you gather your curls into a high, loose ponytail at the crown while you sleep. The gentle gathering prevents curls from getting flattened on one side while you toss around in bed, and it keeps the definition you worked hard to create.
Why It Preserves Curl Definition Overnight
When you lie directly on your curls, the pressure from the pillow flattens them against your head in unpredictable ways. A high ponytail keeps the bulk of your curls lifted and suspended away from the pillow, so they maintain their shape. Your curls can still compress slightly, but they’re working against gravity rather than a hard surface, which makes them bouncier and more defined when you release them in the morning.
How to Execute It Properly
Use a silk or satin hair tie—never elastic bands that create creases and breakage. Flip your head forward and gather your curls loosely at the very crown, securing them in a soft, high ponytail. The key word is loose—you’re not creating a tight, pulled-back look; you’re just gently gathering. Some people wrap a silk bonnet over the pineapple for extra protection. In the morning, spray lightly with water, gently shake it out, and re-scrunch any curls that need definition refreshing.
Worth knowing: Pineappling works best on hair that already has good definition. If your curls are already looking a bit tired on day three, the pineapple won’t resurrect them—refresh the whole head instead.
3. Two-Strand Twists
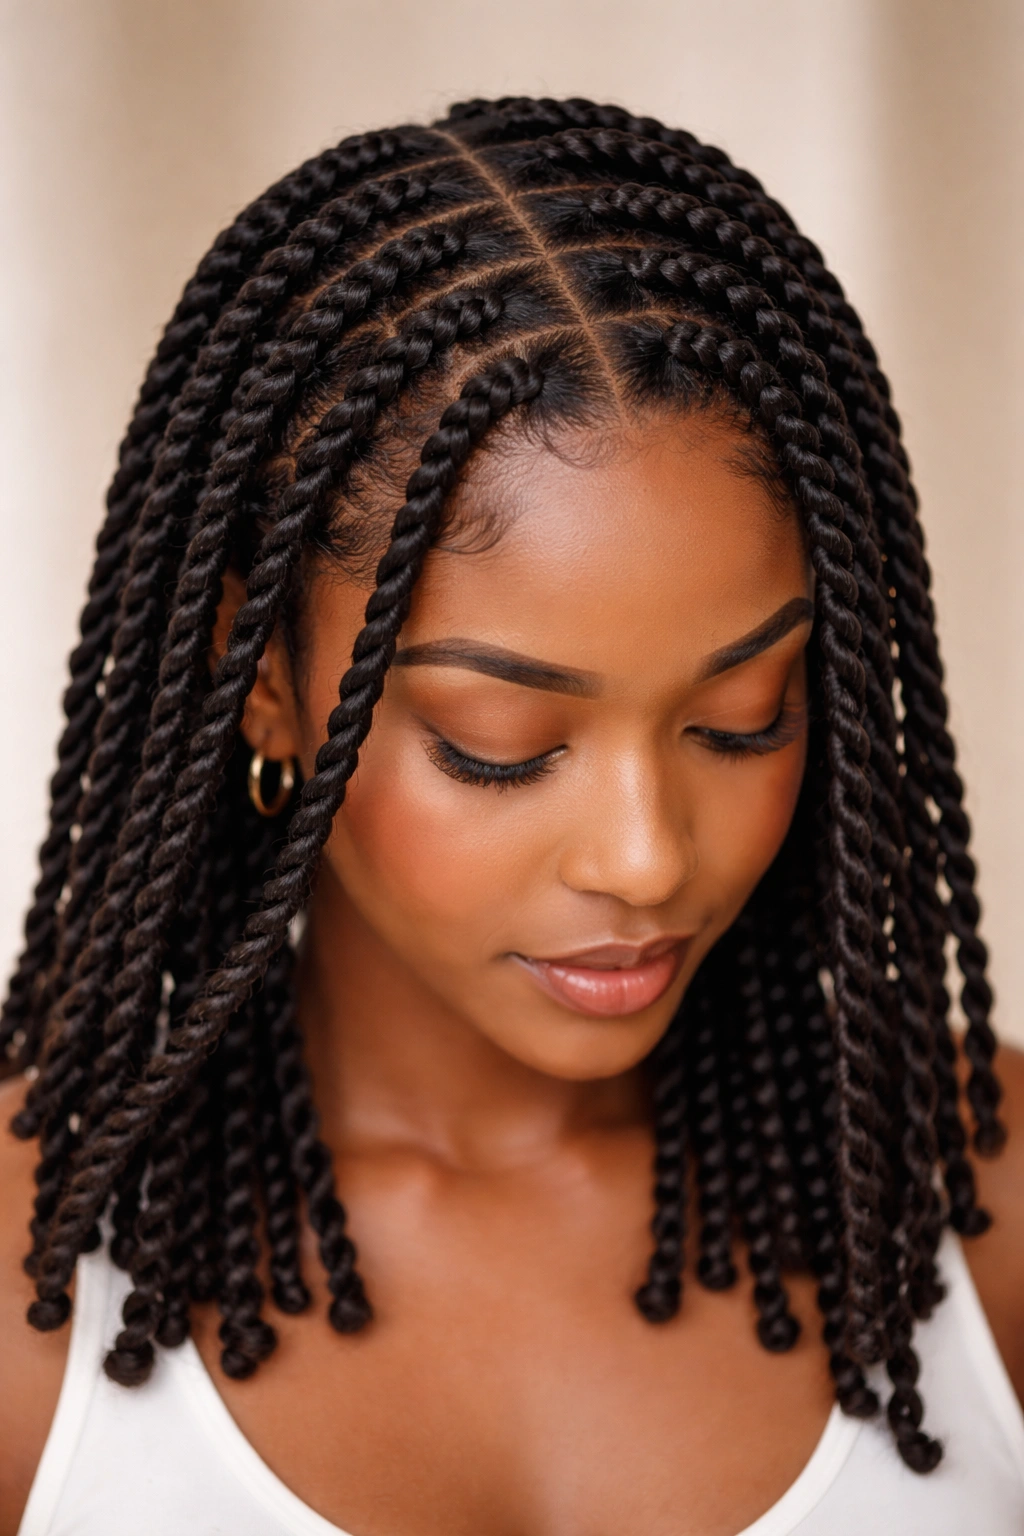
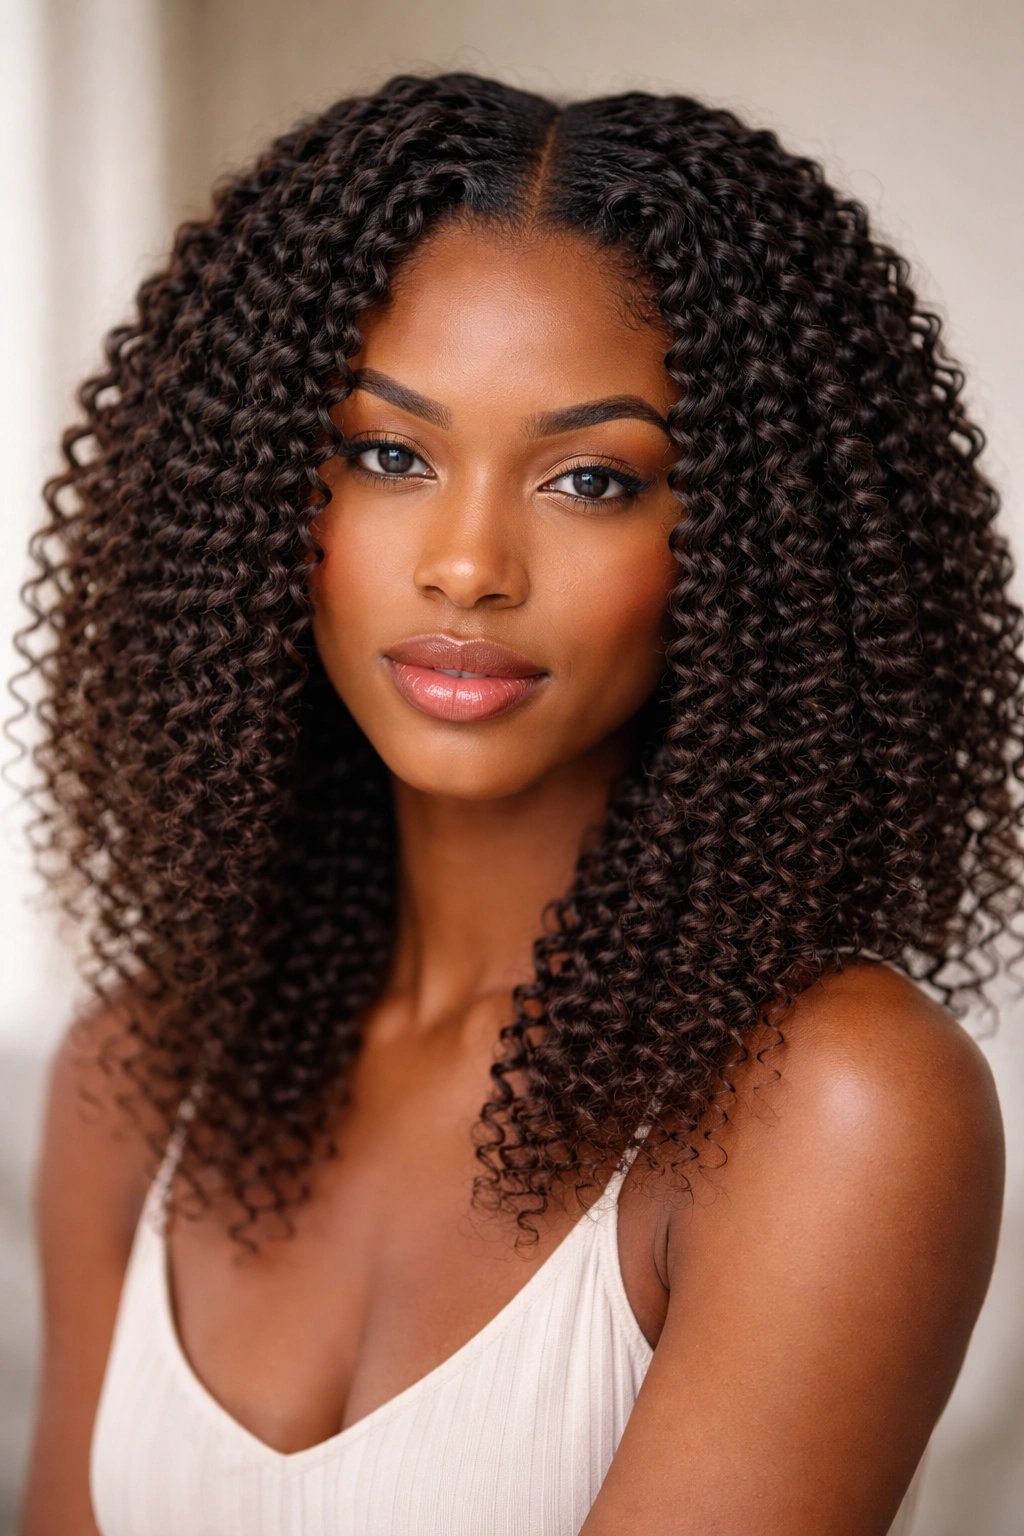
Two-strand twists are a protective style and a definition technique all in one—you take two sections of hair and wrap them around each other in a spiral, creating a rope-like texture. They can be worn as the style itself or unraveled on day three for a wave or coil pattern that’s fuller and more defined than your natural curl.
The Technique and Timing
Section wet or damp hair into a grid pattern, then take two subsections and twist them around each other from root to tip, keeping even tension throughout. You can do this on freshly washed hair for the fullest definition, or on slightly drier hair for faster twisting. Once the twists are set and dry, they’ll hold their shape for several days. On day three or four, unraveling the twists creates a fuller, more textured style.
Styling and Longevity
Apply a curl cream or defining gel before twisting for better hold and definition. Twists typically last anywhere from three to seven days depending on your hair texture and how you’re sleeping. You can refresh them by re-twisting the roots as new growth emerges. Wear them twisted, unravel them for a fuller pattern, or even style them into updos. They’re incredibly versatile for someone who wants protective styling that doesn’t require additional products or manipulation once they’re done.
Real talk: Two-strand twists take more time on the front end—plan 1.5 to 3 hours depending on how many you’re doing and how intricate you want them. But the payoff is a style that looks intentional and polished and lasts all week.
4. Bantu Knots
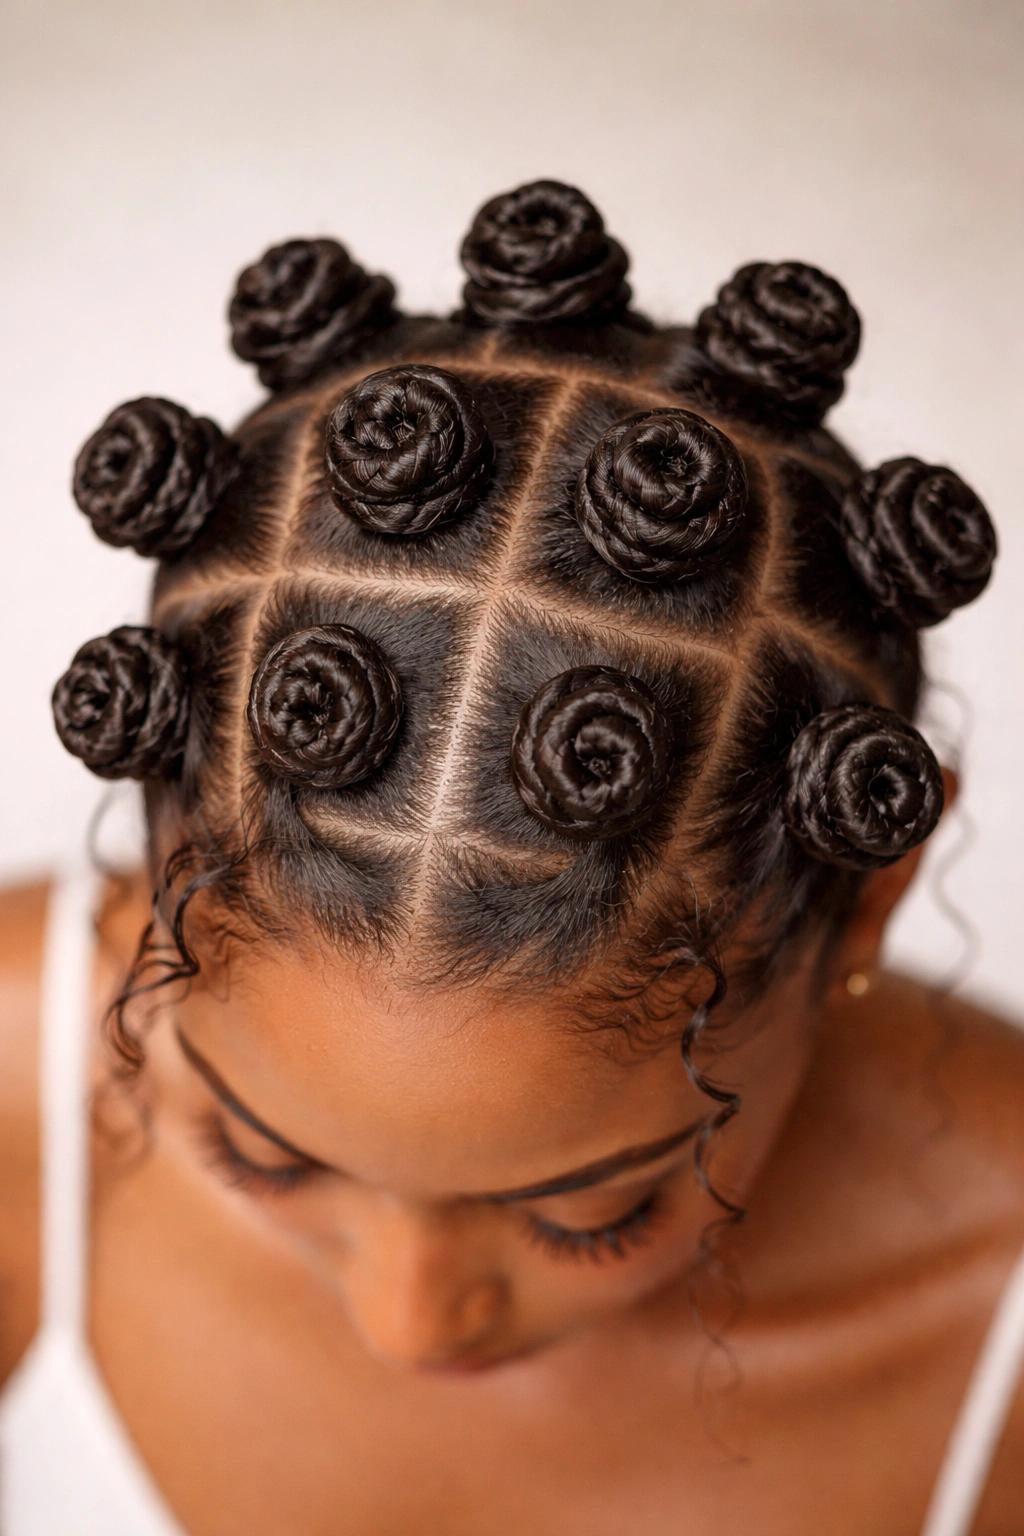
Bantu knots are coils of hair wrapped around themselves at the base, creating a distinctive knot-like projection from the scalp. They’re a protective style, a traditional African styling technique, and also a texturizing tool—unraveled, they create a bouncy, defined coil or wave pattern.
Creating Bantu Knots with Precision
Section damp hair into a grid, twist each section from root to tip, then wrap the twisted strand around the base of that section, securing it into a knot-like shape. You can make them small and intricate or larger and chunkier depending on how many sections you divide your hair into. Using a curl cream or edge control helps the knots stay defined and in place.
Styling Options and Care
Wear the knots as-is for a bold, sculptural look, or unravel them for a full, coiled texture that lasts three to five days. The unraveled knots create significantly more volume than your natural curl pattern typically provides. You can also style the unraveled knots into an updo, bun, or other hairstyle for a night out. Bantu knots last seven to ten days depending on moisture retention and sleeping methods, making them excellent for low-manipulation protective styling.
Insider note: Bantu knots on extensions or on very long hair can take several hours to create, so this is a weekend project if you’re doing your whole head. Many people do a partial set—just the front or crown—for a quicker turnaround.
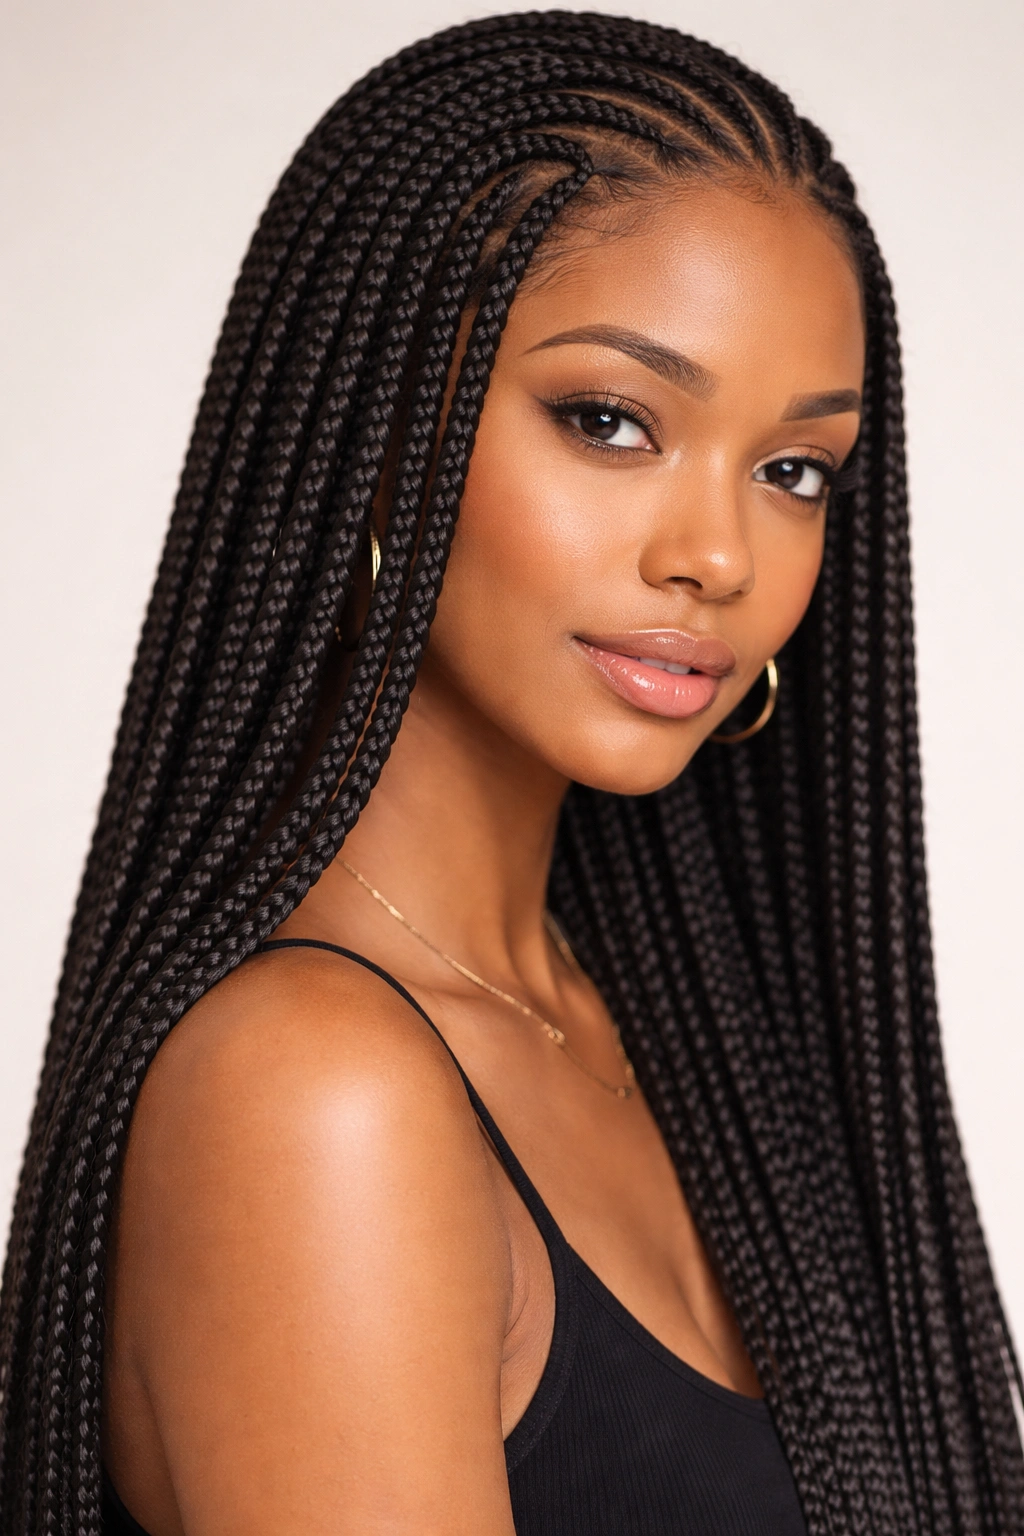
5. Box Braids
Box braids are individual plaits that divide the scalp into square-shaped sections (hence the name), with each braid extending from root to tip. They’re a classic protective style that can last two to three months with proper care, offering a break from daily styling while keeping your hair protected from environmental stress.
The Protective Benefits and Longevity
When your hair is braided, each strand is covered and protected from friction, humidity, and UV damage. This gives your actual curls a chance to thicken and recover without daily manipulation. Box braids can be worn straight, styled into updos, buns, or even curled at the ends for a textured look. The longevity depends on how well you moisturize them—regular spritzing with water and light oil keeps the protective style looking fresh.
Installation and Maintenance
Box braids are typically installed by a stylist, though some people do them at home. Installation takes three to six hours depending on braid thickness and hair length. To maintain them, refresh your edges weekly and keep your scalp and the braids moisturized with a braid spray or lightweight oil. Sleep with a silk bonnet to reduce friction and frizz. Avoid over-braiding the same sections too many times in a row, as this can cause traction alopecia and hair breakage.
Pro tip: Thicker braids last longer and require less frequent root touching than thinner, more delicate braids. If you’re a first-timer with box braids, ask your stylist for a thickness that feels manageable for you to maintain.
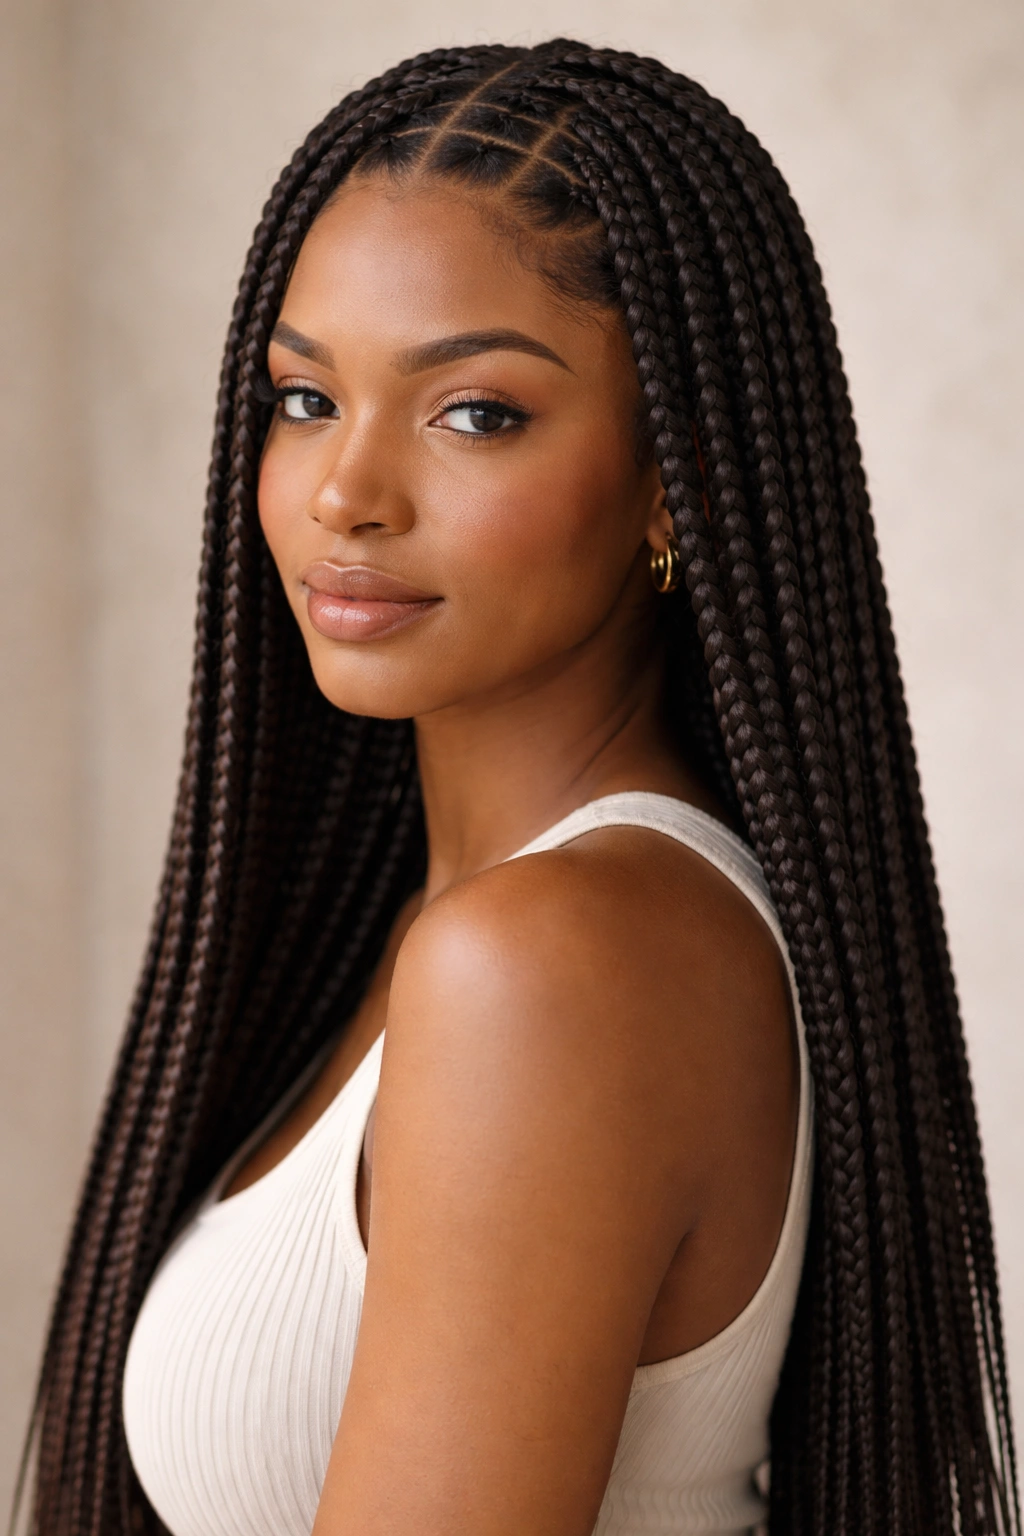
6. Knotless Braids
Knotless braids are similar to box braids but use a feed-in technique where extension hair is gradually braided in as you move down each section, rather than starting with a tight knot at the scalp. This creates a smoother, more natural-looking braid line and puts less tension on your actual hair at the roots.
Why Knotless Is Gentler on Your Edges
Traditional box braids start with a tight knot of hair and extensions twisted together at the root, which creates immediate tension on your hairline. Knotless braids feed the extensions in gradually, so tension increases slowly and evenly along the braid. This significantly reduces the risk of traction alopecia, hair breakage, and edge damage. If you have sensitive edges or have experienced breakage with tight styles, knotless braids are a smarter choice.
Installation and Aesthetic
Knotless braids take slightly longer to install than traditional box braids—usually an extra 30 minutes to an hour—because each section requires more careful technique. The payoff is a braid that looks more seamless and feels more comfortable. They last similarly long to box braids (eight to twelve weeks) with the same maintenance needs. Aesthetically, they look softer and less sculptural than box braids, with a more natural-looking hairline.
Worth knowing: Knotless braids are easier to remove than box braids because there’s no tight knot to cut through, which means less risk of cutting your actual hair when you’re taking them down.
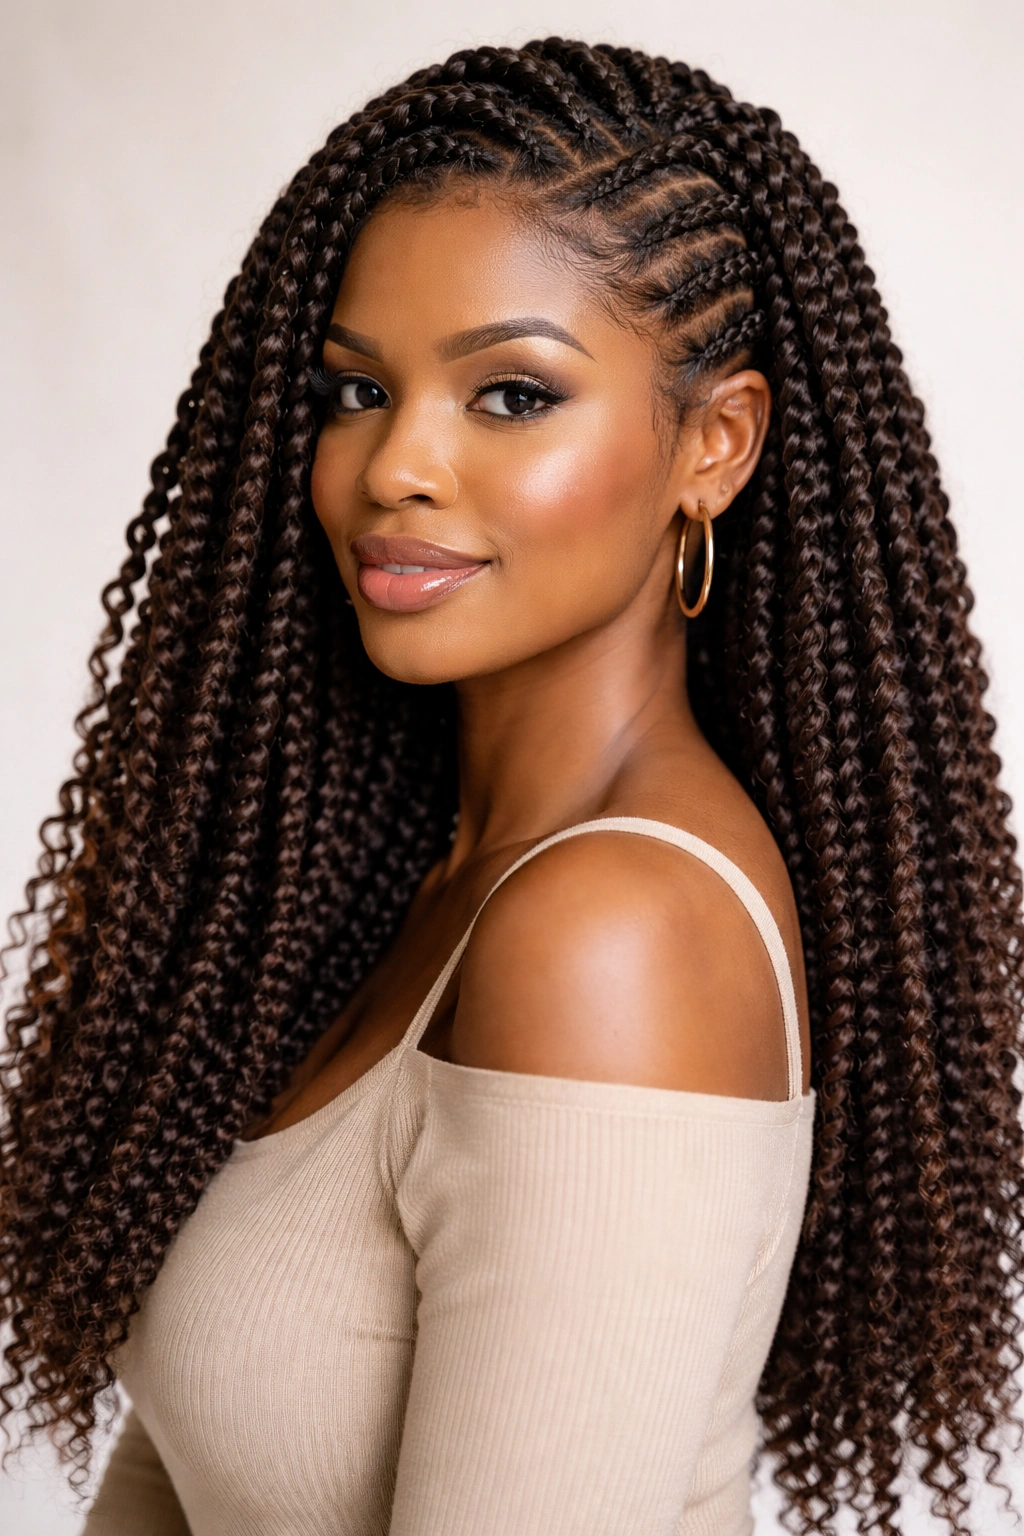
7. Passion Twists
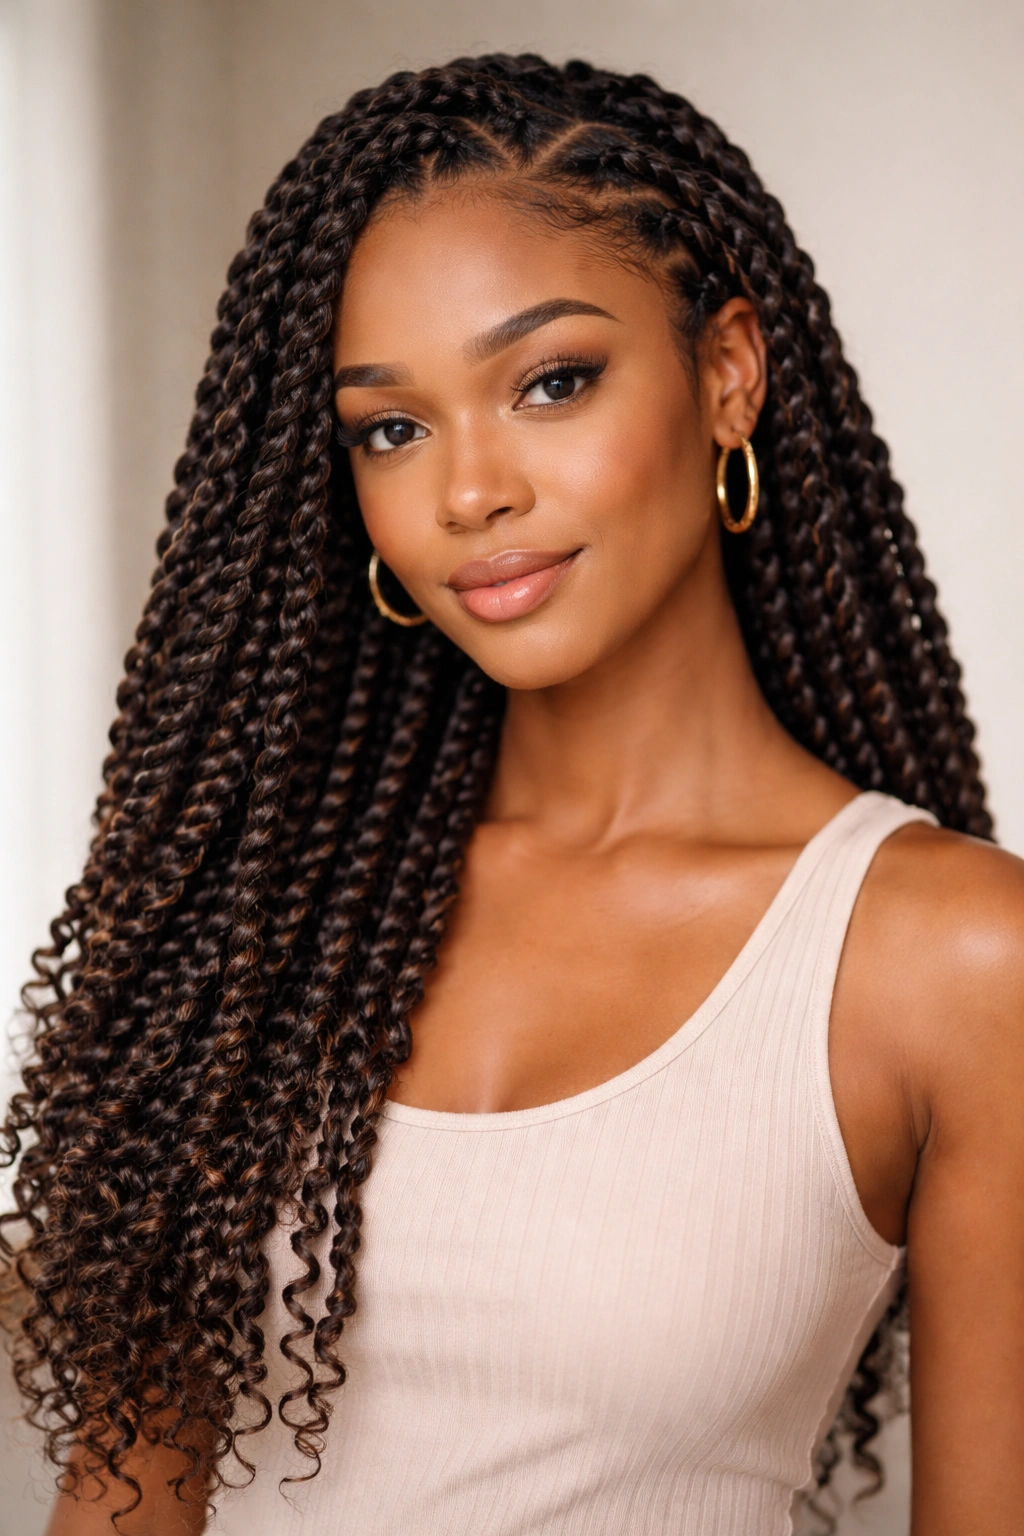
Passion twists are a lightweight protective style that combines a two-strand twist with pre-twisted extension hair, creating a textured, rope-like braid. They’re softer and less structured than box braids, with a more organic, flowing aesthetic.
The Aesthetic and Installation
Passion twists use Marley hair or similar extension material pre-twisted and then braided together with your natural hair using a two-strand twist technique. The result is a lightweight, flexible protective style that drapes and moves more naturally than box braids. They take two to four hours to install depending on hair length and desired fullness. Once installed, they last four to six weeks with proper care.
Styling and Versatility
Passion twists can be worn loose and flowing, styled into updos and buns, or even curled at the ends with a curling iron for extra texture. They’re significantly lighter than box braids, making them a good choice if you find heavier protective styles cause headaches or neck tension. The twists are also easier to remove than braids—you can usually undo them without cutting anything, just untwisting as you go.
Real talk: Passion twists require dedicated moisture maintenance because the individual twists can dry out quickly. Spray them regularly with a leave-in conditioner and water mixture, and consider doing a light oil treatment weekly to keep them looking fresh and soft.
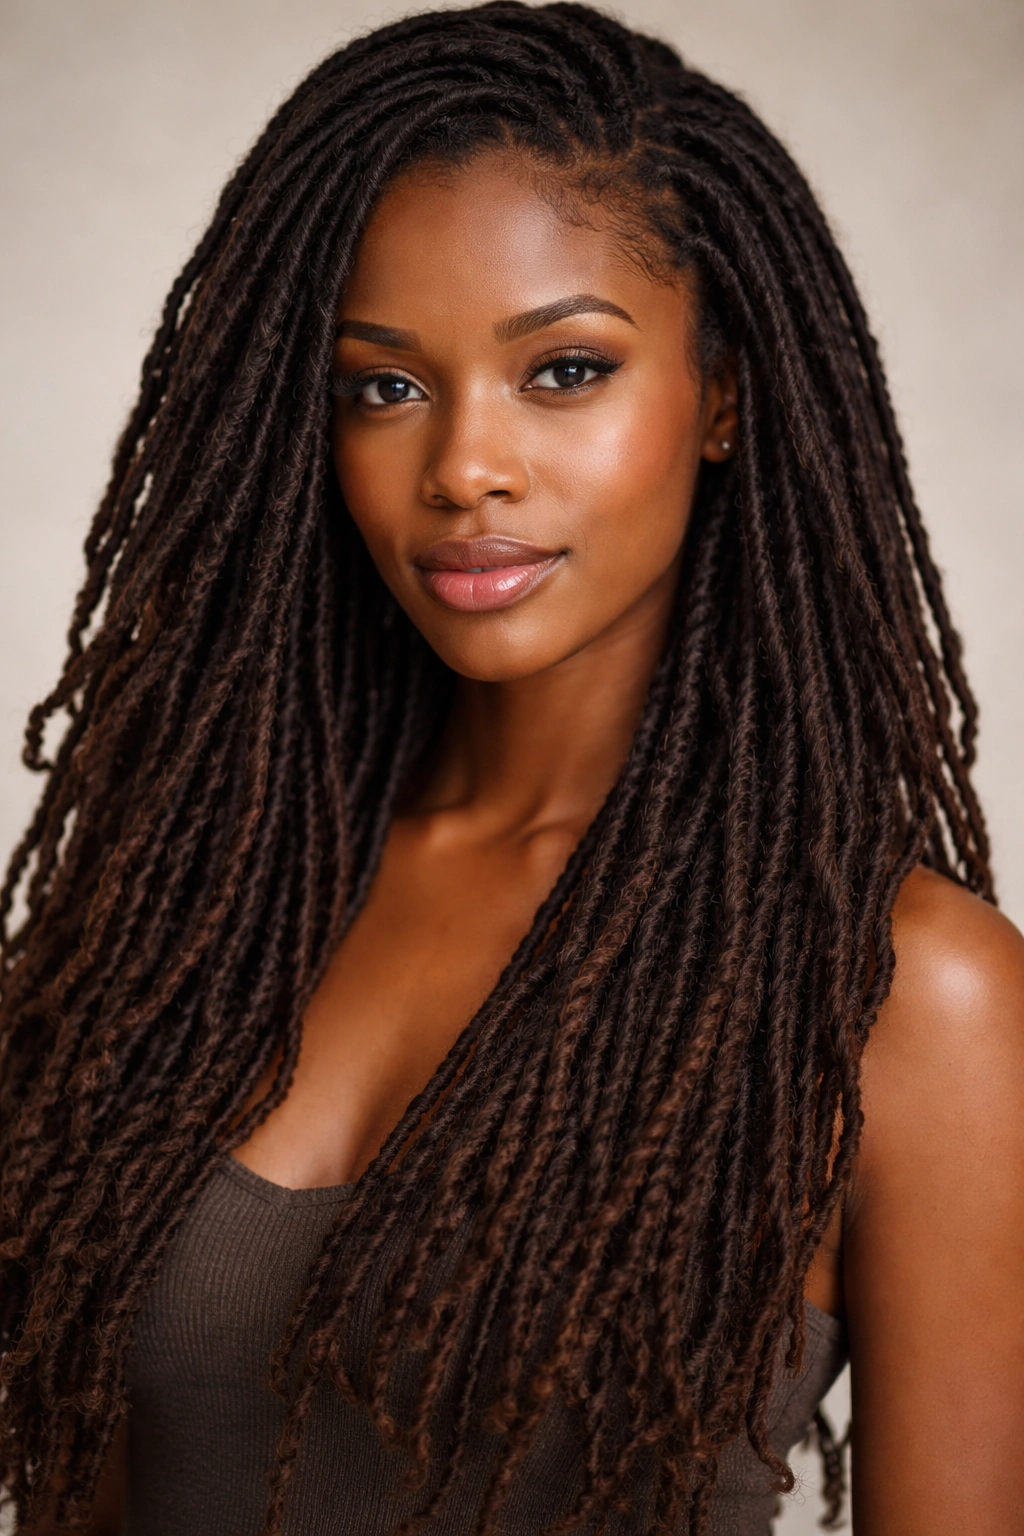
8. Faux Locs
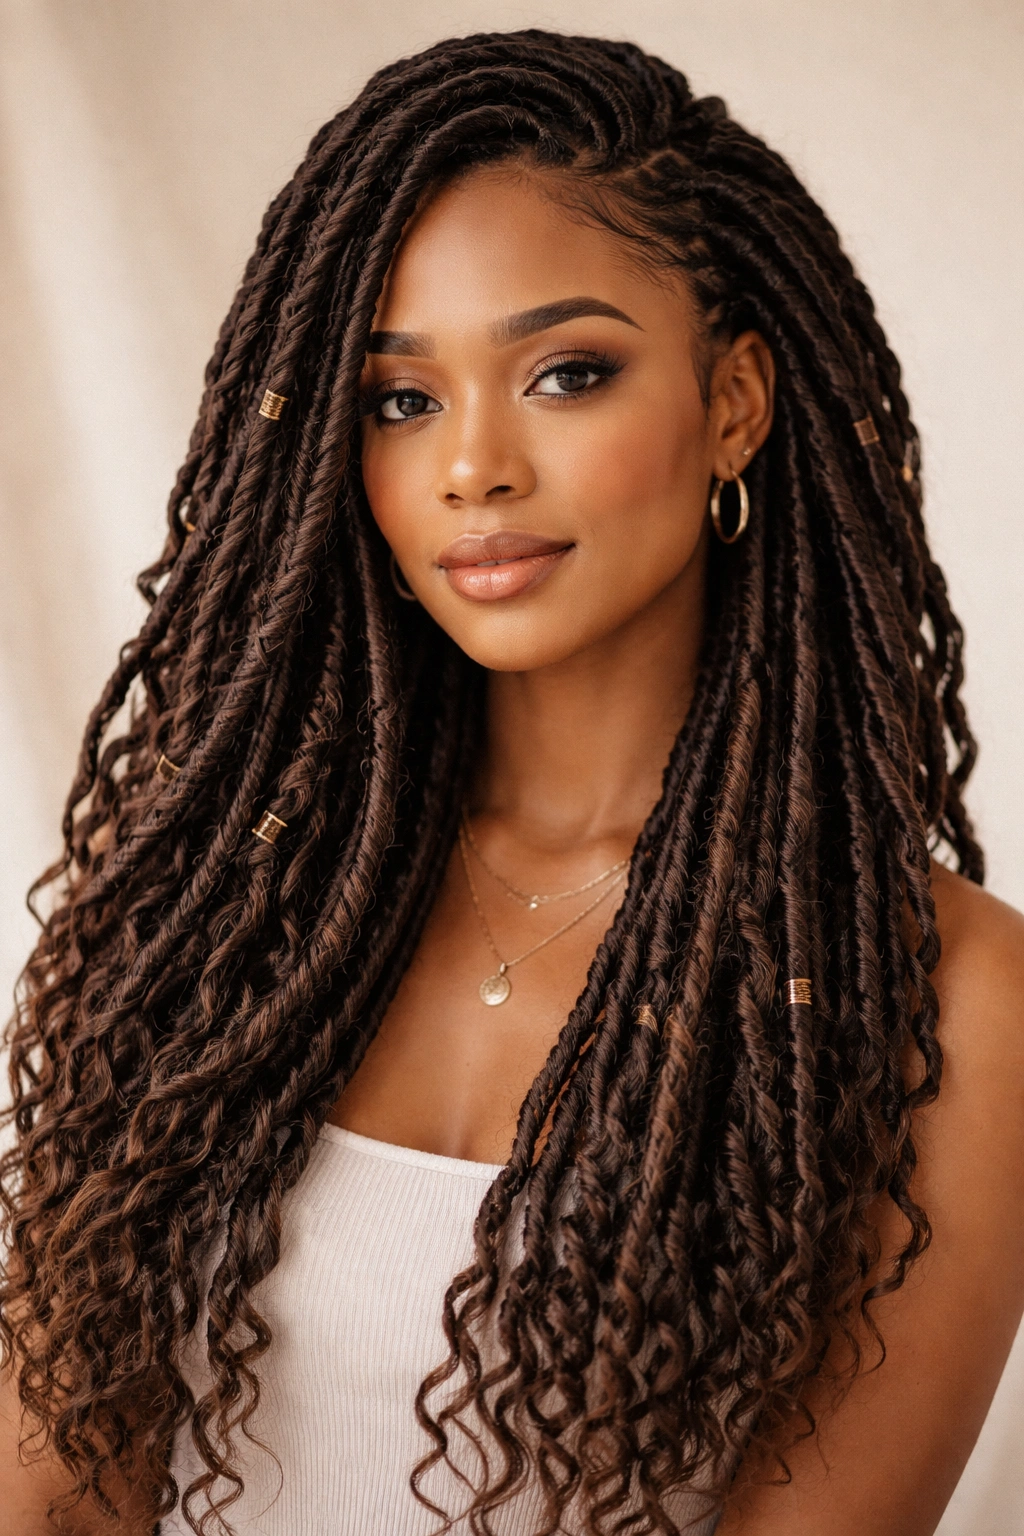
Faux locs mimic the look of dreadlocks or locs using extension hair that’s wrapped or braided into your natural curls. They’re protective, stylish, and temporary—you can take them down whenever you want, unlike permanent locs, which require months of commitment.
Installation and Appearance
Faux locs are typically created by wrapping extension hair around small sections of your natural curls using the two-strand twist method or crochet hook technique. The wrapped sections give the appearance of locs without actually locking your hair together permanently. Installation takes three to six hours depending on desired thickness and how many you’re creating. Once installed, they last four to eight weeks with proper care.
Styling Options and Hair Health
Faux locs can be worn down, styled into buns, braided together, or accessorized with beads and cuffs. You can dye the extension hair different colors for creative, bold looks. Unlike permanent locs, which alter your hair’s structure, faux locs simply sit on top of your natural curls, so your hair remains undamaged and can return to its original texture immediately after removal.
Pro tip: Use high-quality Marley hair or human hair extensions for faux locs rather than synthetic hair, which tends to look less natural and can be harder to work with during installation and styling.
9. Crochet Braids
Crochet braids involve using a latch hook tool to pull pre-braided or pre-twisted extension hair through your cornrows or Dutch braids, creating a protective style with a fuller, more textured appearance. They’re versatile, come in tons of color and texture options, and last four to eight weeks.
How the Installation Works
First, your natural hair is braided into cornrows, Dutch braids, or box braids. Then, a crochet hook is used to pull sections of pre-made braids or twists through the cornrows, one hook at a time. This creates a fuller style that looks like your hair is thicker and longer than it actually is. The installation is faster than installing box braids—usually two to three hours—because the extensions are pre-made.
Care and Styling Potential
Crochet braids can be refreshed easily and changed frequently if you want to switch up colors and textures regularly. They’re easy to wash (you can wet them and wash while they’re in), and they dry relatively quickly. You can style them into updos, wear them down, curl them, straighten them, or even color them. The protective benefits are similar to other braided styles—your natural hair is protected underneath while you rock a completely different look.
Insider note: The quality of your crochet braids depends heavily on the quality of the pre-made extensions you choose. Invest in better hair extensions if you want the style to look polished and last longer.
10. Micro Braids
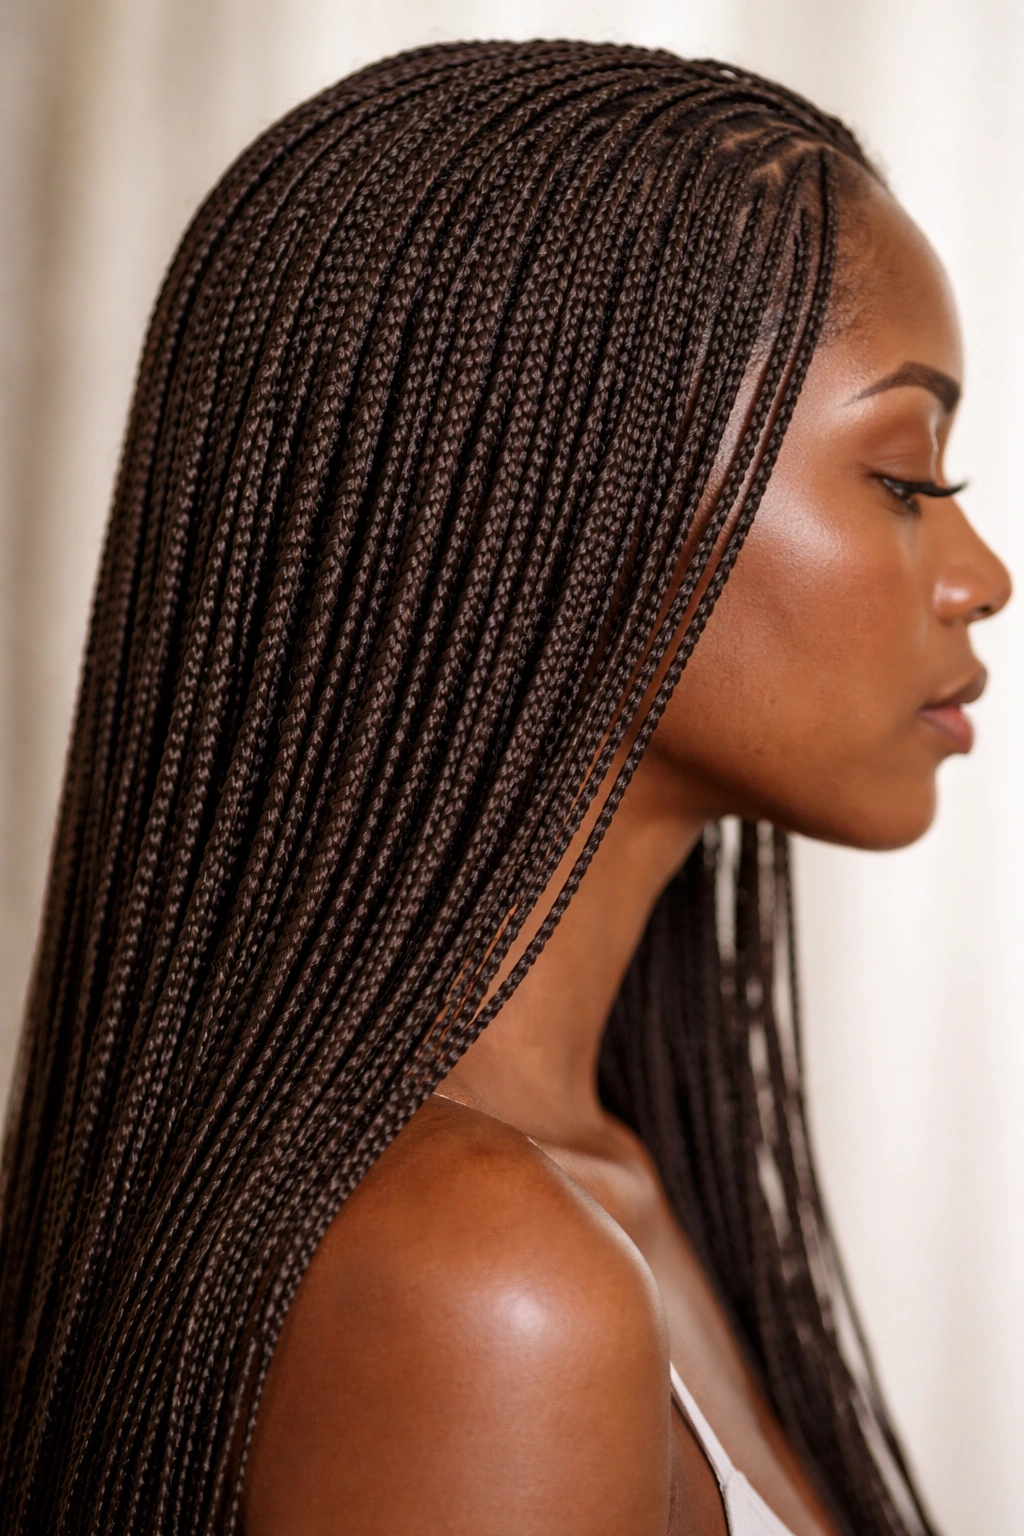
Micro braids are very thin, intricate braids that create a delicate, detailed look. They’re smaller than box braids but larger than cornrows, and they can be styled with a high degree of intricacy since there’s more room to work with each individual braid.
Why Micro Braids Appeal to Detail-Oriented Stylers
Micro braids allow for creative styling—you can braid them into patterns, wrap them into intricate updos, curl them, or wear them down for a delicate, intricate aesthetic. They’re excellent for showing off your natural hair’s versatility. Because each individual braid is thinner, they dry faster and are easier to wash than thicker braid styles.
Installation Time and Longevity
Micro braids take longer to install than box braids—usually five to eight hours depending on hair thickness and length—because each braid is smaller and requires more precision. However, they last significantly longer than larger braids, typically eight to twelve weeks, because thinner braids actually experience less tension at the root and hold together better over time.
Worth knowing: While micro braids can be installed with or without extensions, many people choose to add extensions for length and fullness, which requires additional care and maintenance. If you’re doing micro braids on natural hair alone, they won’t last as long because there’s no extension to anchor the braid.
11. Cornrows
Cornrows are tight, flat braids that run in straight lines close to the scalp, creating a sculptural, geometric pattern. They’re one of the oldest and most traditional protective hairstyles, with deep cultural roots in African and African-American communities.
The Protective Benefits and Variations
Cornrows keep your natural hair completely protected and undisturbed for weeks, giving your curls a true break from daily manipulation. They can be styled in simple straight lines, geometric patterns, curved designs, or even incorporated into updos. You can add beads, cuffs, or other adornments. Cornrows last two to four weeks depending on your hair growth and how well you maintain them.
Installation and Styling
Cornrows are created by braiding your hair close to the scalp using a three-strand braiding technique, with each braid sitting flat against your head. They can be done on natural hair alone or with extensions added for length and thickness. Installation takes one to three hours depending on how many cornrows you’re creating and how intricate the design is. You can wash cornrows gently without disrupting them, and they’re a great protective style for active people.
Pro tip: Moisturize your scalp regularly with a light oil or scalp spray to prevent dryness and itching, which can make cornrows uncomfortable after a few weeks.
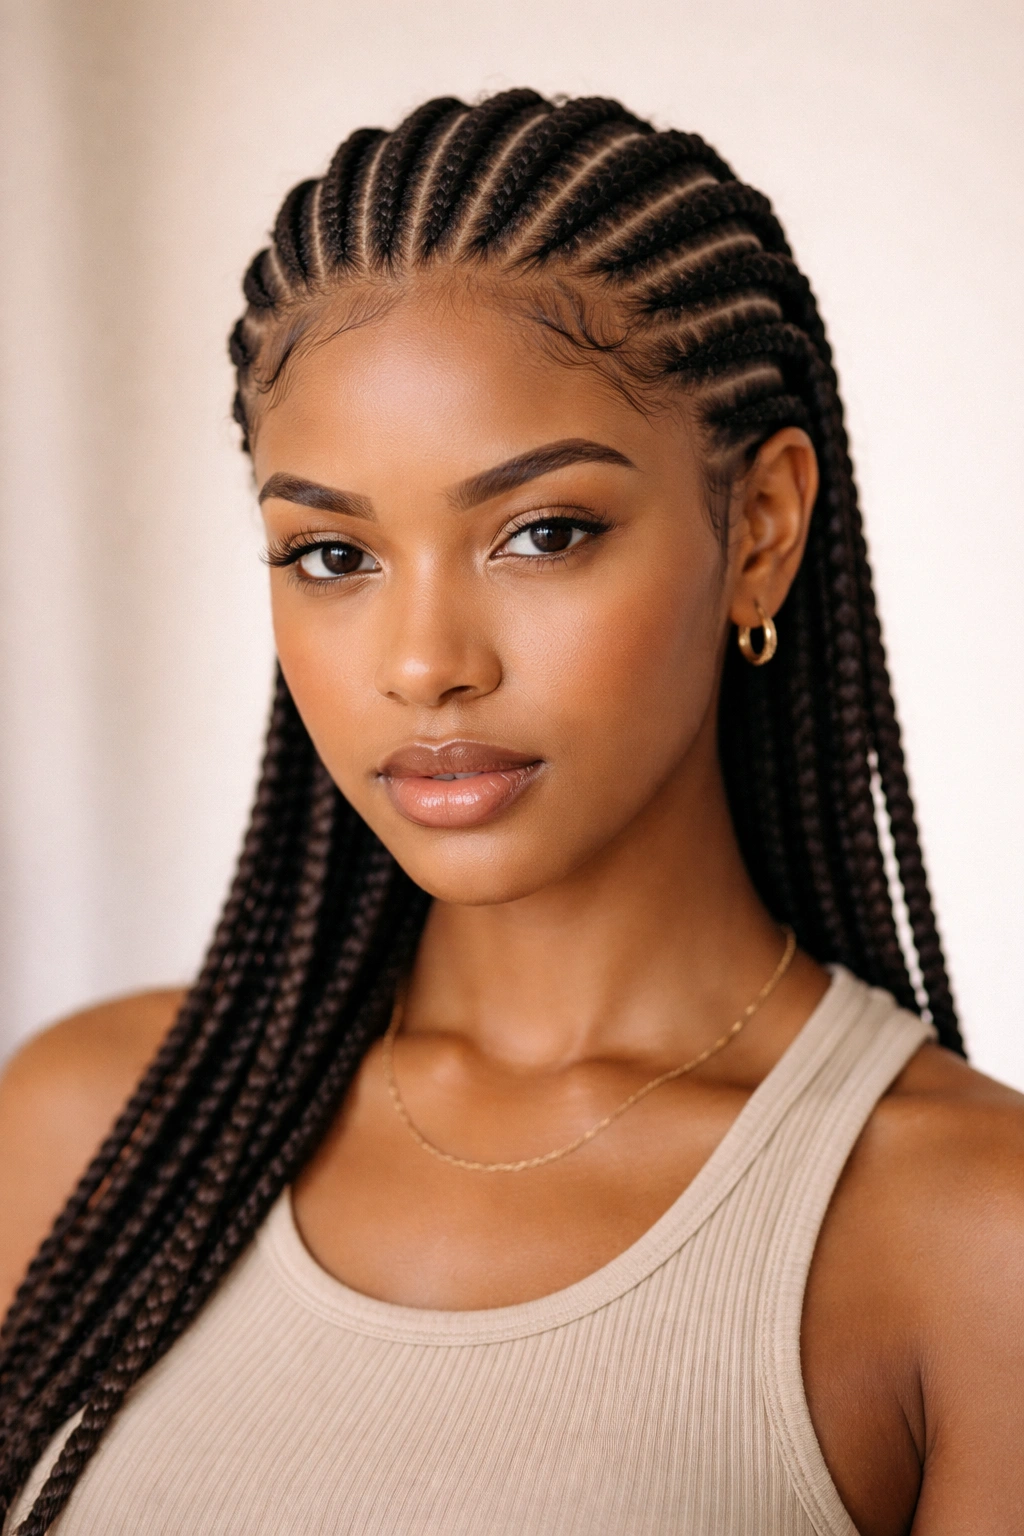
12. Goddess Braids
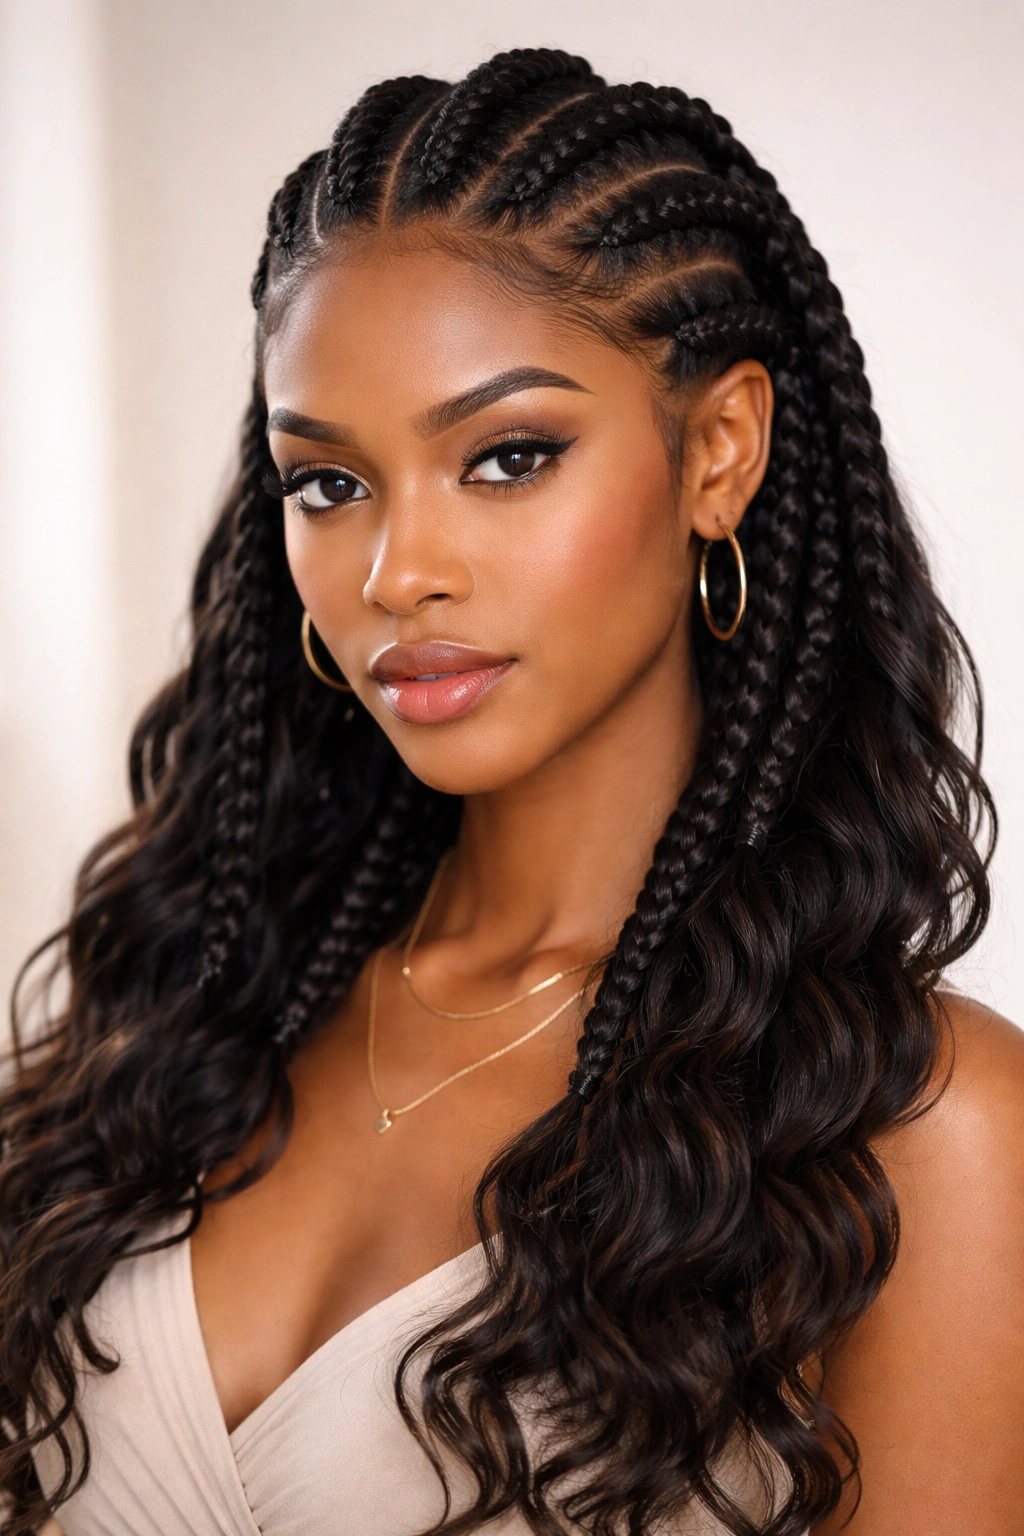
Goddess braids are a combination of cornrows and box braids—thicker, wider braids that sit closer to the scalp than box braids but have more structure and definition than cornrows. They’re a modern twist on traditional protective styling with a sleek, polished aesthetic.
What Sets Goddess Braids Apart
Goddess braids use a thicker braiding technique that creates a bolder, more dramatic look than cornrows while taking less time to install than box braids. They’re braided closer to the scalp for protection but with enough thickness to look intentional and sculptural. You can incorporate loose waves or curls at the ends for a more dynamic style, or keep them sleek for a minimalist aesthetic.
Longevity and Maintenance
Goddess braids last three to six weeks depending on your hair growth and maintenance routine. You can refresh them by re-braiding the roots as new growth emerges, or take them down and create a fresh set. They look great styled into buns, worn down, or even twisted together into thicker, rope-like styles. Goddess braids are excellent for someone who wants a protective style that looks polished without requiring the intricate installation time of smaller, more detailed braids.
Real talk: Goddess braids require consistent edge control and moisturizing to look their best throughout their wear time. If you’re not willing to maintain them weekly, they’ll start looking untidy by week two.
13. Senegalese Twists
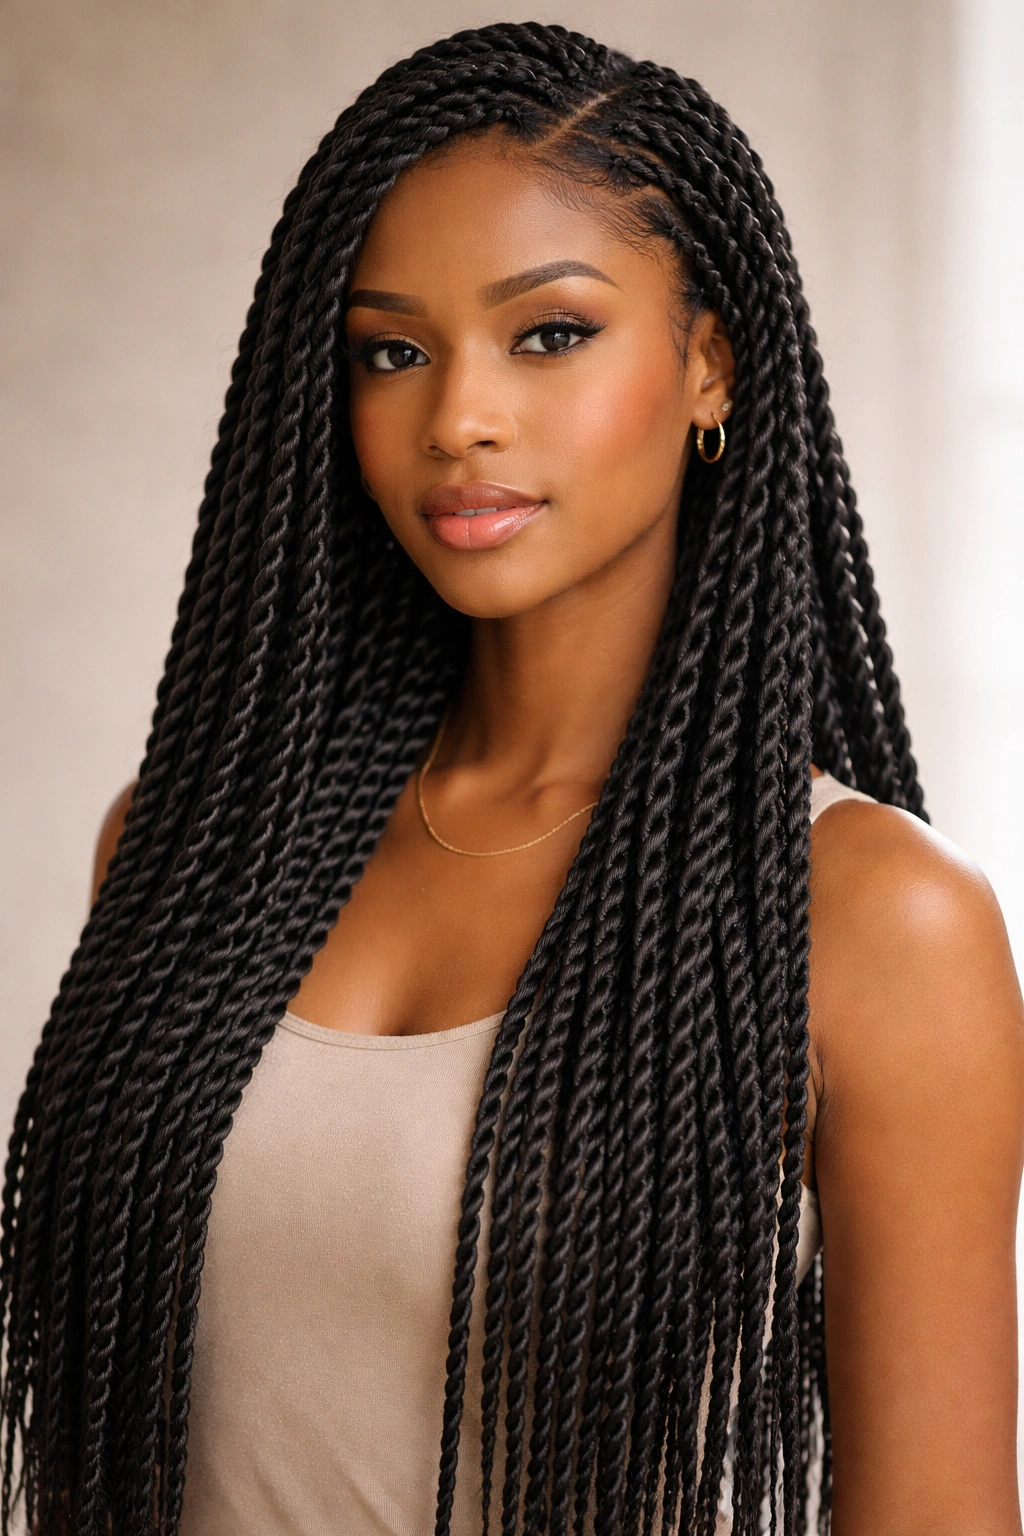
Senegalese twists are two-strand twists installed with extension hair, creating a longer, thicker version of two-strand twists. They hang down like rope and have a polished, professional appearance that works for any setting.
The Appeal and Installation
Senegalese twists use pre-twisted extension hair (usually Marley hair or human hair extensions) that’s twisted together with your natural hair using the two-strand twist technique. The extensions are typically two strands twisted together before being incorporated into your hair, creating a rope-like appearance. Installation takes two to four hours depending on how many twists you’re doing and desired thickness. The style lasts four to eight weeks with proper maintenance.
Styling and Versatility
Senegalese twists can be worn down, styled into buns, braided together, or even curled at the ends for extra texture. They’re lighter than many protective styles, making them comfortable for long-term wear. The twists can be dyed different colors before installation for creative color combinations. You can also wrap the twists with colorful thread or add beads for a personalized look.
Pro tip: Senegalese twists look best when maintained regularly—refreshing the roots every two to three weeks keeps them looking neat and fresh rather than allowing your natural hair to separate from the extensions.
14. Spring Twists
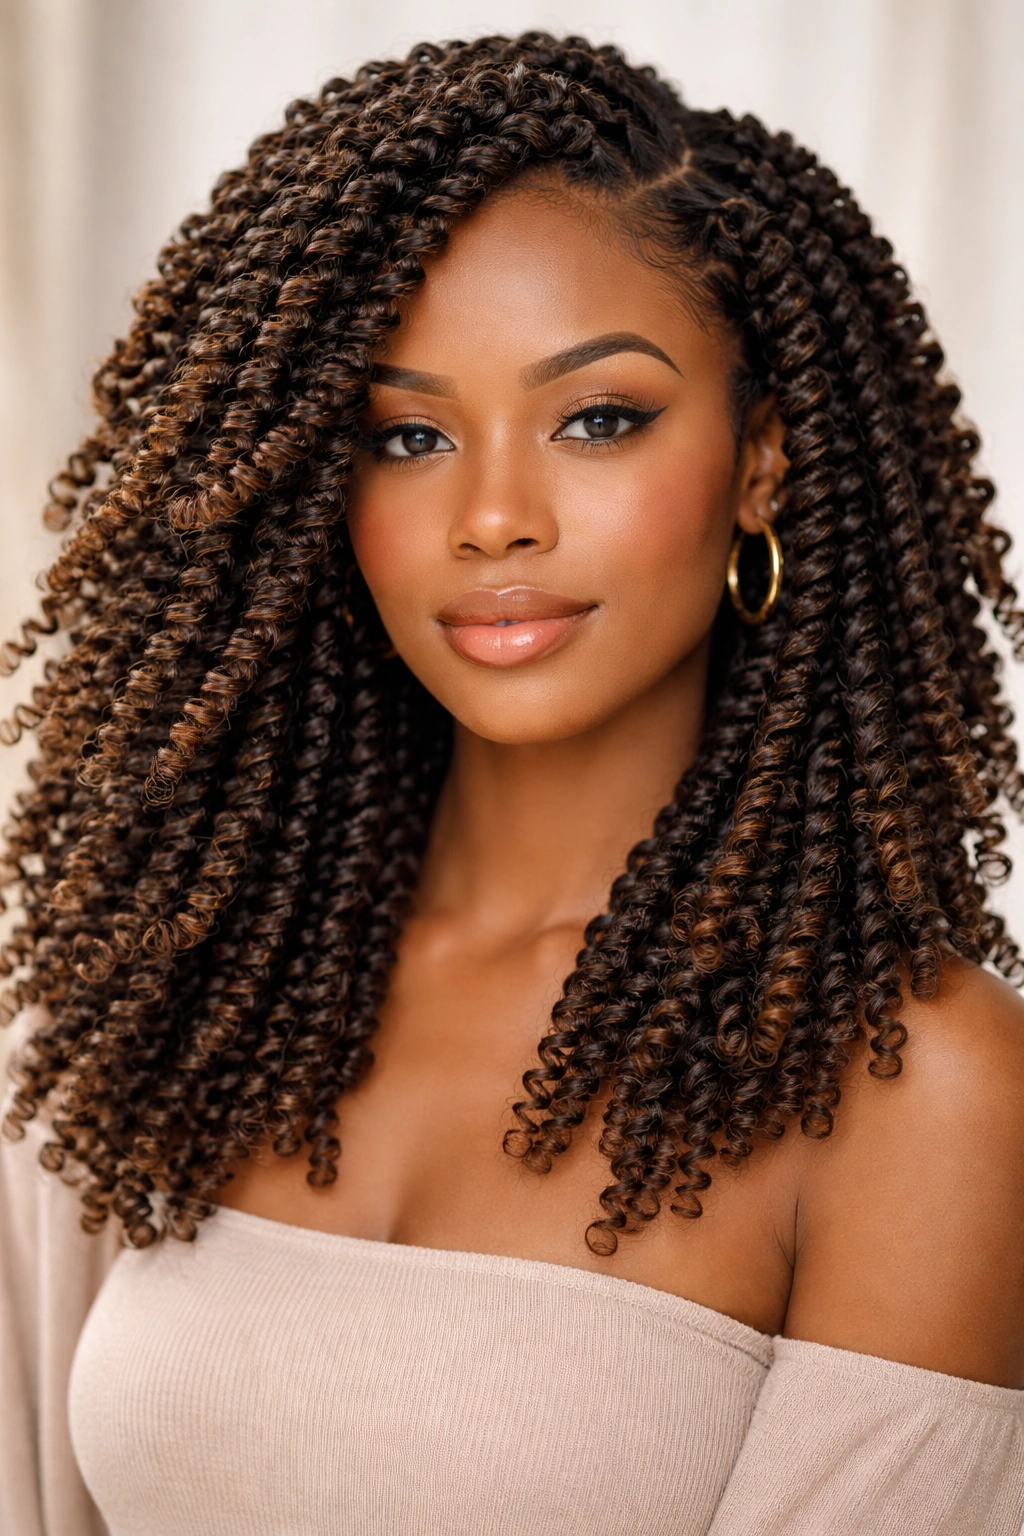
Spring twists are similar to Senegalese twists but use pre-curled extension hair that gives them a springy, bouncy texture. They’re perfect if you want a protective style that has volume and movement built in.
The Texture and Appearance
Spring twists use pre-twisted, pre-curled Marley hair or human hair that’s twisted together with your natural hair, creating a textured, springy appearance when you wear them. Unlike Senegalese twists, which are smooth and rope-like, spring twists have a curly, voluminous appearance right from installation. This makes them an excellent choice if you love the look of defined curls without having to style them daily.
Installation and Longevity
Spring twists take two to four hours to install and last four to eight weeks depending on maintenance. They’re light and comfortable for long-term wear. You can style them into updos, wear them down for maximum volume, or even refresh specific sections that are looking tired by re-twisting just those areas.
Worth knowing: Spring twists shed more easily than Senegalese twists because the pre-curled hair is more delicate and fragile. Handle them gently when washing and styling to minimize shedding and extend their lifespan.
15. Locs
Locs are a permanent protective style where your hair grows together into rope-like strands through a combination of time, maintenance, and specific care techniques. They’re a long-term commitment—locs can last for years or even a lifetime—and a cultural and personal statement.
Starting and Maintaining Locs
Locs begin as twists, braids, or using a comb-coil technique on freshly washed natural hair. You then maintain them by regularly twisting the new growth at the roots to encourage the hair to lock together. The locking process takes anywhere from a few months to a year or more depending on your hair texture and maintenance consistency. Once locked, locs require regular washing, moisturizing, and root maintenance to stay healthy and attractive.
Styling and Longevity
Once your locs are mature (fully locked and stable), you can style them in hundreds of ways—buns, braids, twists, updos, or worn down. Locs can last decades with proper care. They require a significant time commitment to maintain, but many people find them liberating once they’re established because styling is actually easier than it was before. You can dye them, wrap them with thread, or accessorize them in countless ways.
Real talk: Locs are not a low-maintenance hairstyle, despite what some people think. You need to commit to regular maintenance, consistent washing, and proper moisture retention. If you’re not willing to do that, locs will look neglected and unkempt quickly.
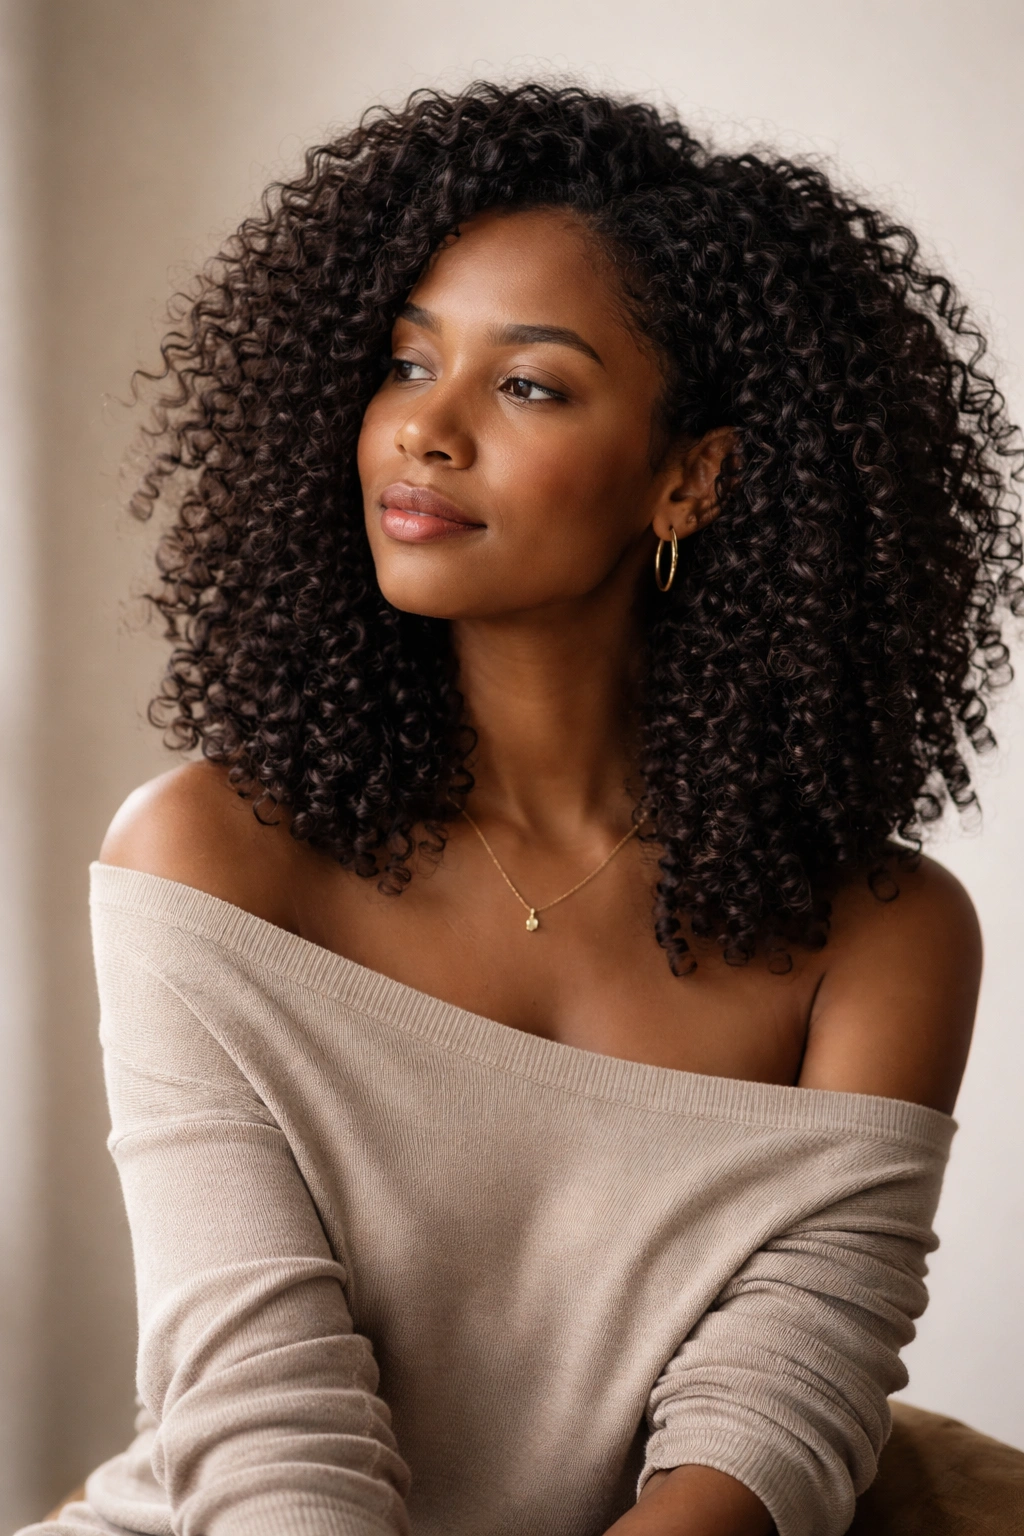
16. Upside-Down Spiral Curls
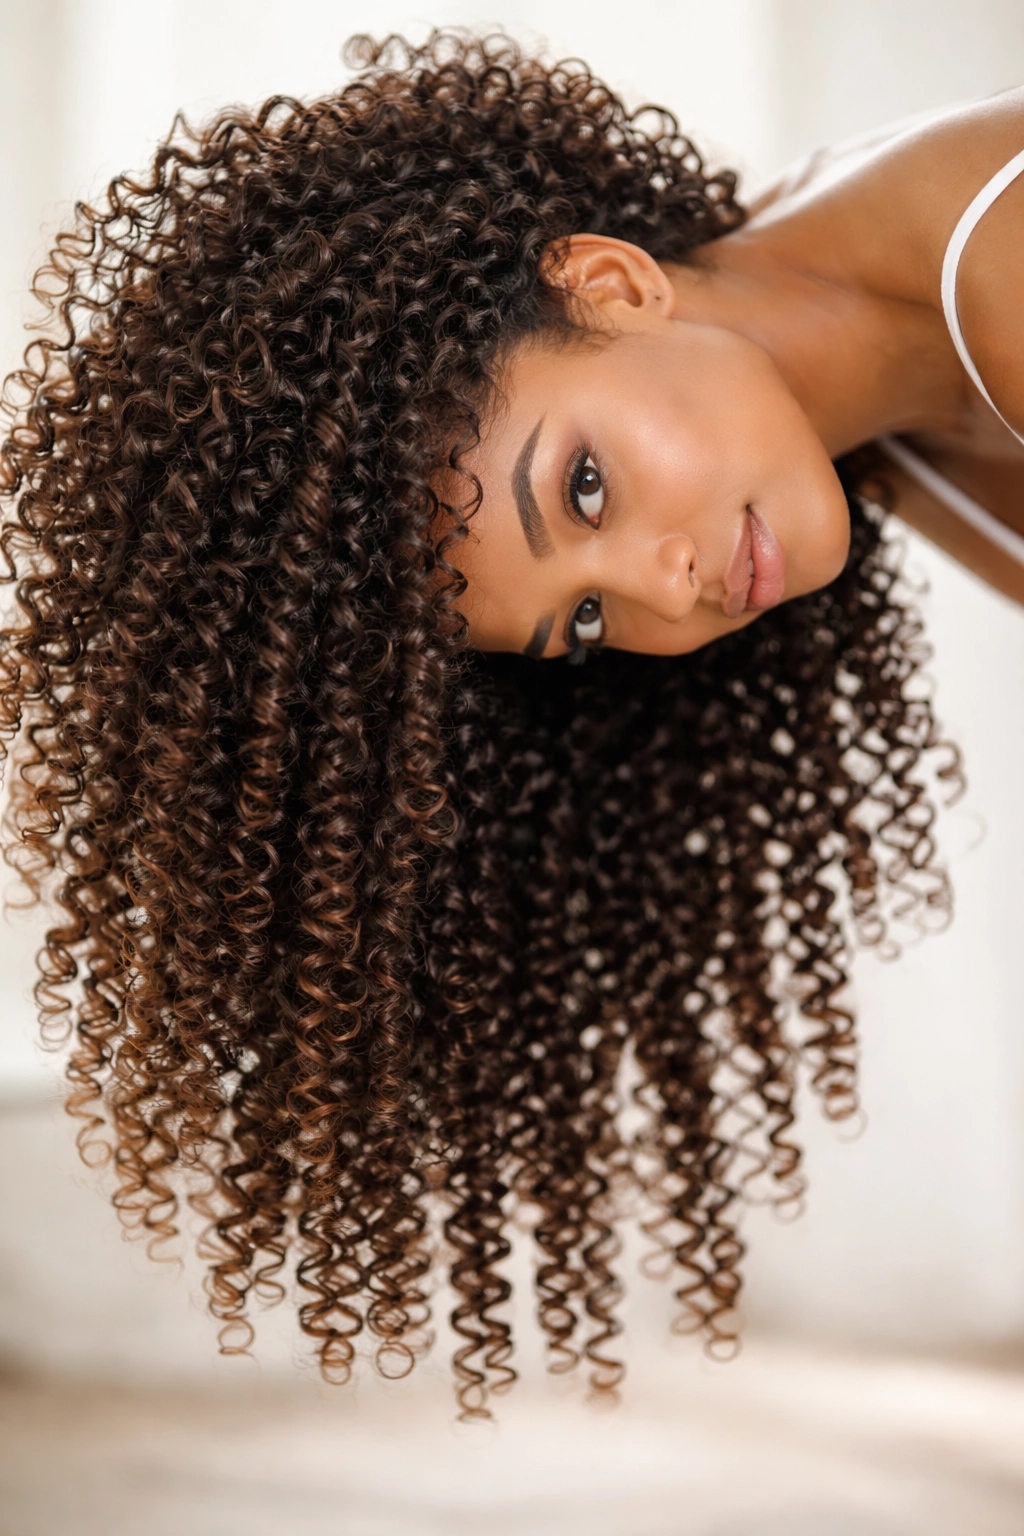
Upside-down spiral curls are created by diffusing your hair upside down while your curls are soaking wet, which encourages each curl to wrap tightly around itself and create defined spirals. This technique produces bouncy, well-defined curls with incredible volume and texture.
The Technique for Maximum Definition
After washing and applying curl products to soaking-wet hair, flip your head upside down and use a diffuser attachment on your blow dryer set to low heat and medium airflow. Hold the diffuser gently against your hair and move it around, allowing the upside-down position and the airflow to encourage spiral formation. Finish with a cool shot to set the curl and reduce frizz.
The Results and Longevity
Upside-down spiral curls last two to three days before they need refreshing, and they’ll give you significantly more volume and definition than air-drying alone. Your curls will be bouncier, springier, and more visibly defined—perfect if you want that polished, intentional look for a specific event or occasion.
Pro tip: Use a microfiber towel or cotton t-shirt to remove excess water before diffusing—the less water in your hair, the faster the diffusing process and the quicker you’ll be done.
17. Twist-Out
A twist-out is created by installing two-strand twists on damp hair, allowing them to dry completely, then unraveling the twists to reveal a defined, textured wave or coil pattern that’s fuller and more voluminous than your natural curl.
How Twist-Outs Enhance Your Texture
Two-strand twists set your hair’s wave pattern into a specific shape as they dry. When you unravel them, that pattern stays put temporarily, giving you more defined, pronounced waves or coils than you’d get from a wash-and-go. The unraveled twists also create more volume than your natural curl alone, because the hair has been stretched slightly by the twisting process.
Installation and Longevity
Install two-strand twists on clean, damp hair using a curl cream or defining gel. Allow them to dry completely—either air dry overnight or diffuse for faster results. In the morning, unravel each twist gently, starting from the top and working your way down. Your twist-out will last two to four days before you need to refresh it. You can refresh a tired twist-out with a water spray and curl cream without reinstalling the entire style.
Worth knowing: Twist-outs are most dramatic and defined on day one. By day three, your natural curl pattern will start to relax and reassert itself, which is fine—many people like the slightly softer, more relaxed texture of a day-three twist-out.
18. Braid-Out
A braid-out is similar to a twist-out but uses braids instead—you braid damp hair, allow it to dry, then unravel the braids to reveal a defined, crimped wave pattern. Braid-outs create a distinctly different texture than twist-outs because the braiding technique creates a smaller, more compact wave.
Creating Crimp Texture with Braids
Braid your damp hair using either three-strand braids or two-strand twists (which technically creates a twist-out, not a braid-out—real braid-outs use three-strand braids). Allow the braids to dry completely, then unravel them to reveal a crimped, zigzag wave pattern. The more braids you create, the smaller and more detailed the wave pattern will be. Fewer, thicker braids create larger, looser waves.
Styling and Longevity
Braid-outs last two to four days before your natural curl pattern reasserts itself. They’re excellent for creating dramatic texture when you want something different from your standard curl pattern. You can style braid-outs with pins and clips to create updos, part them differently for a fresh look, or even re-braid them into new braids for a modified style.
Pro tip: Braid-outs look most impressive on day one or two. If you want to extend their life, refresh them with a water spray, curl cream, and light scrunching on day three.
19. Flexi Rods and Roller Sets
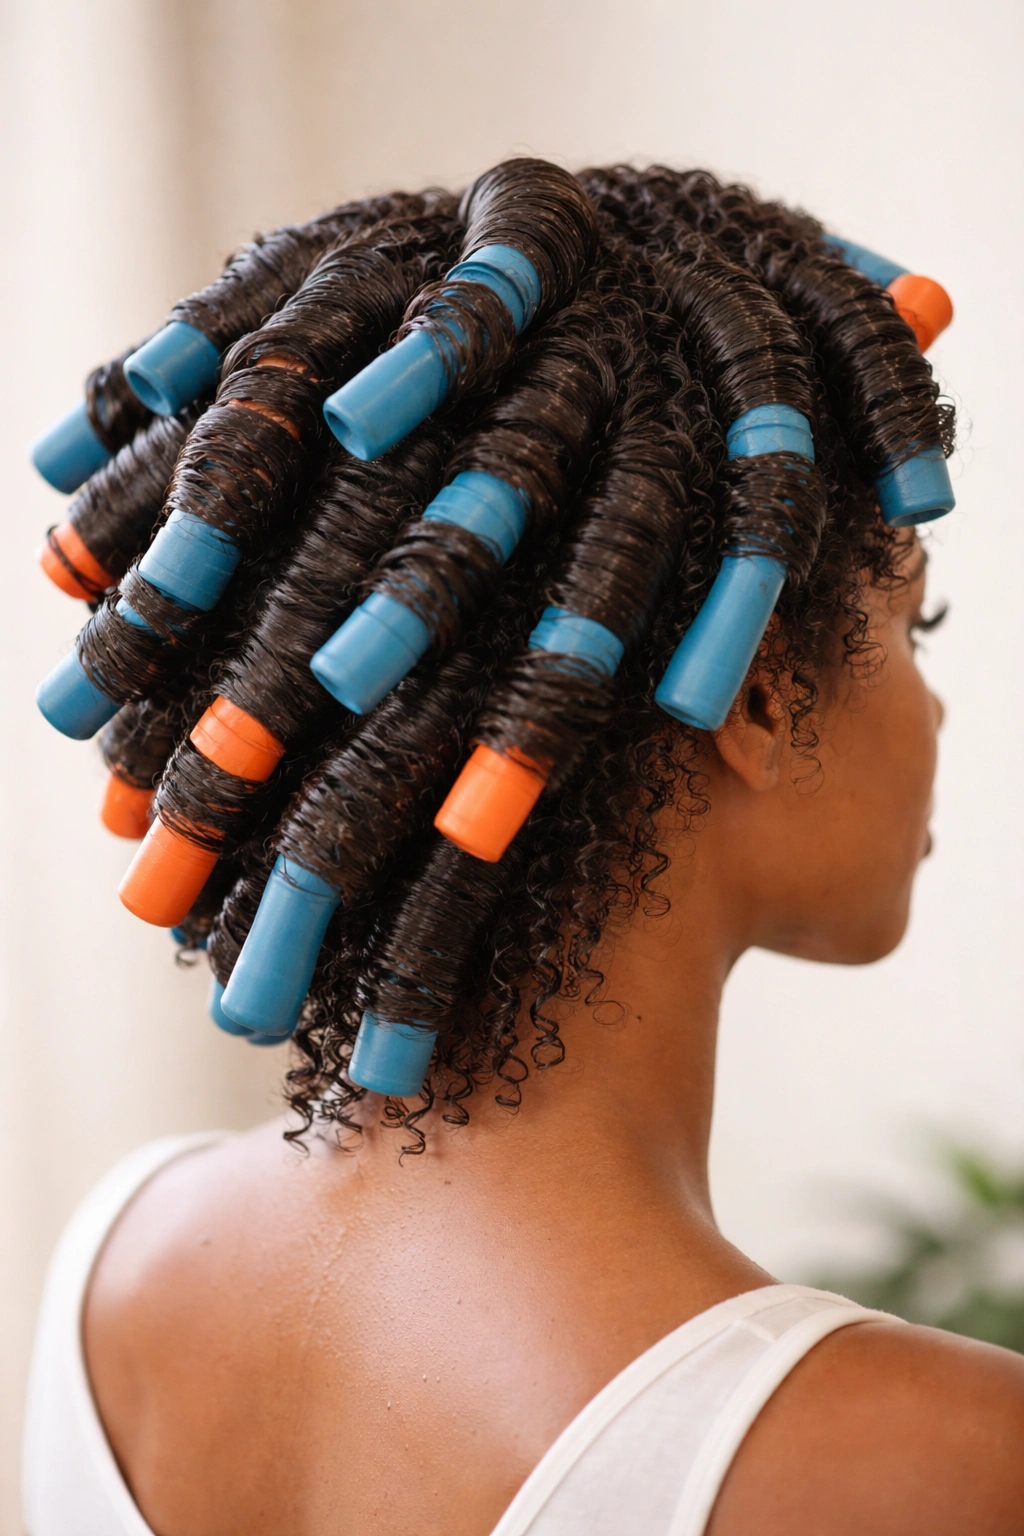
Flexi rods and roller sets are perm-rod curlers that create tight, uniform curls or waves when your hair dries. You roll damp hair onto flexi rods or large rollers, allow them to dry, then remove the rods to reveal structured curls that last several days.
The Technique and Results
After washing and applying curl cream to damp hair, section your hair and roll each section onto a flexi rod or roller, rolling away from your face for facial framing. Secure the rods as needed. Allow your hair to air dry completely, or speed up the process by sitting under a hooded dryer for 30 to 60 minutes. Once dry, gently unroll the rods to reveal defined curls. These curls are significantly more structured and uniform than your natural curl pattern.
Styling and Longevity
Flexi rod curls last three to five days before relaxing back to your natural texture. You can wear them down for a glamorous, curled look, or style them into updos and buns. They work particularly well if you want a high-definition curl for a special occasion without commitment.
Real talk: Flexi rods work best on hair that’s at least shoulder-length. On very short hair, the rods can be uncomfortable and you won’t get enough definition. If you have very delicate or fine curls, flexi rods can sometimes cause breakage, so use them sparingly.
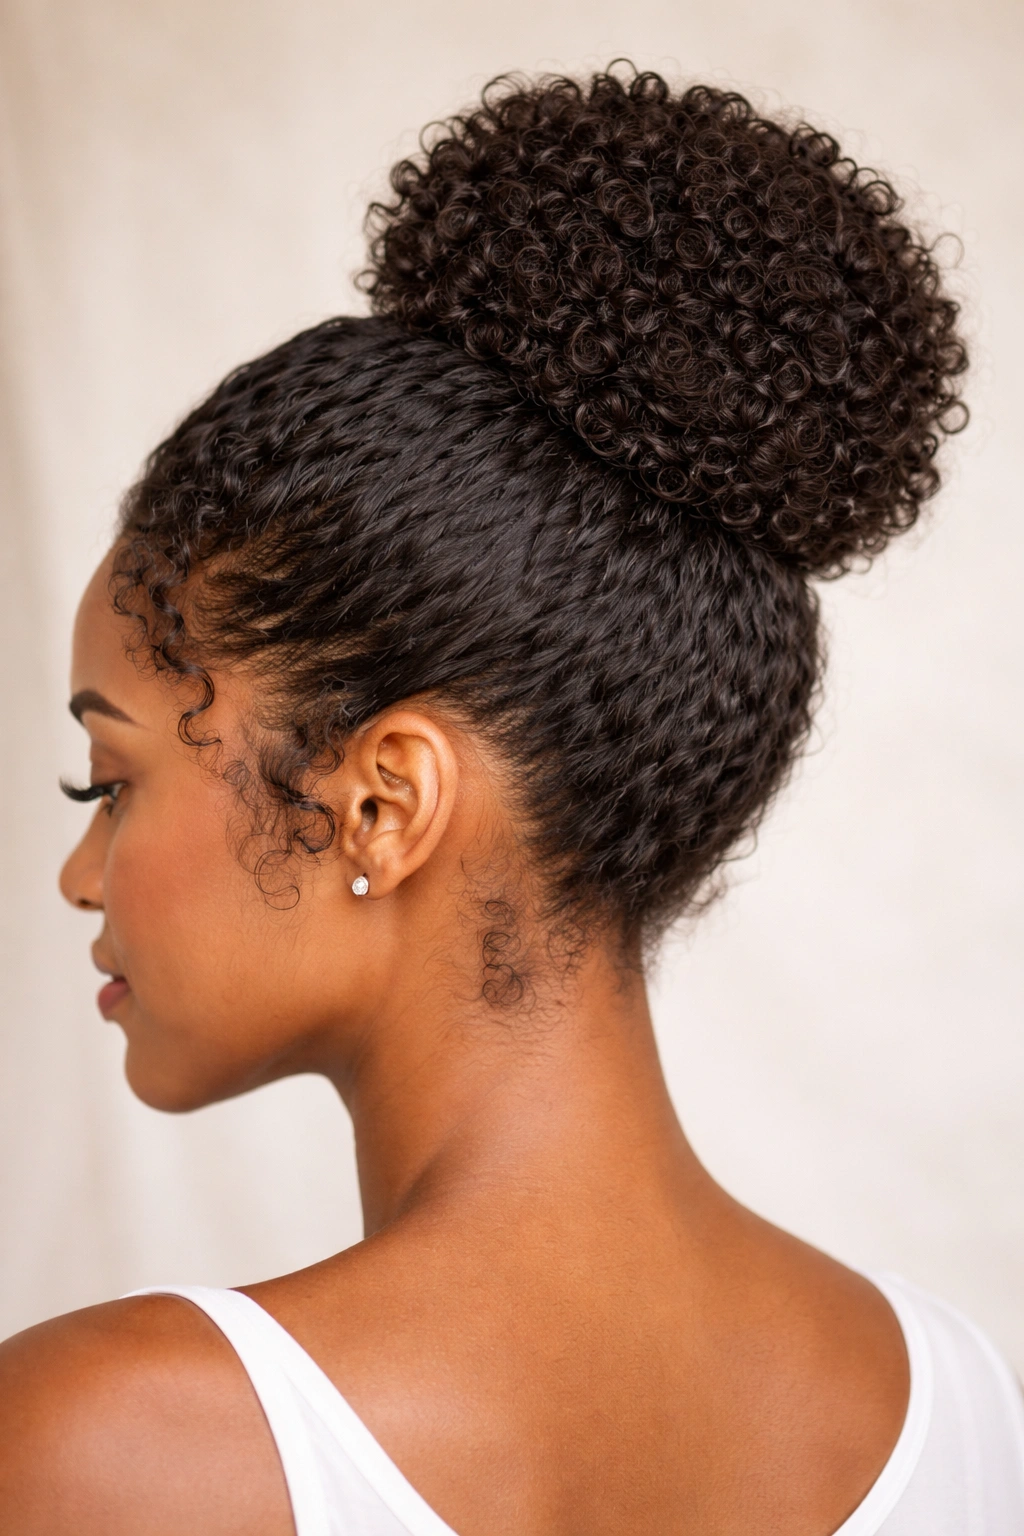
20. Defined Bun
A defined bun is exactly what it sounds like—your natural curls styled into a bun with visible curl definition rather than a smooth, sleek bun. It celebrates your texture while keeping hair off your face and neck.
Creating Definition Before Bun Styling
Start with freshly styled, defined curls (either from a wash-and-go, twist-out, or braid-out). Apply a light smoothing serum or edge control to your hairline, then use a soft brush to gently gather your curls toward the back or top of your head. Twist or coil the gathered curls into a bun shape and secure with bobby pins or a silk hair tie. The key is using enough product to keep the bun neat without so much that it looks stiff and artificial.
Styling Options and Longevity
Defined buns look great for work, dates, or casual daily wear. They can be positioned high on the crown, low at the nape, or to the side depending on your style preference. A defined bun lasts all day and can look intentional and polished rather than like you threw your hair up quickly. You can accessorize with pins, scarves, or hair sticks for a personalized look.
Pro tip: A defined bun is easier to execute if you have second or third-day hair with some texture and grip already established—freshly washed hair can be slippery and harder to keep in a bun without significant product.
21. Half-Up, Half-Down
Half-up, half-down styling takes the upper portion of your hair and secures it with a clip, tie, or braid, leaving the rest down and visible. It’s a versatile middle ground between fully down and fully up, and it shows off your curl definition while keeping hair out of your face.
Variations and Styling Options
You can do a simple half-up ponytail, a half-up bun, a half-up braid, or even a half-up twisted section. The bottom half stays down and shows off your defined curls, while the top half is secured. This style works beautifully for days when your curls are defined but a little piece-y, or when you want to show off length while keeping hair off your neck.
Best Practices for All-Day Hold
Use a silk or satin hair tie for the secured portion to minimize creases and breakage. Keep the secured section loose and graceful rather than tight and pulled—the looser upper section contrasts nicely with the defined curls below. If you’re using a clip, position it at an angle for a more interesting aesthetic than a straight horizontal clip.
Worth knowing: Half-up, half-down works best when you have enough hair length to secure the top portion. If your hair is very short, this style can be difficult to execute without things falling out constantly.
22. Scarf-Set Waves
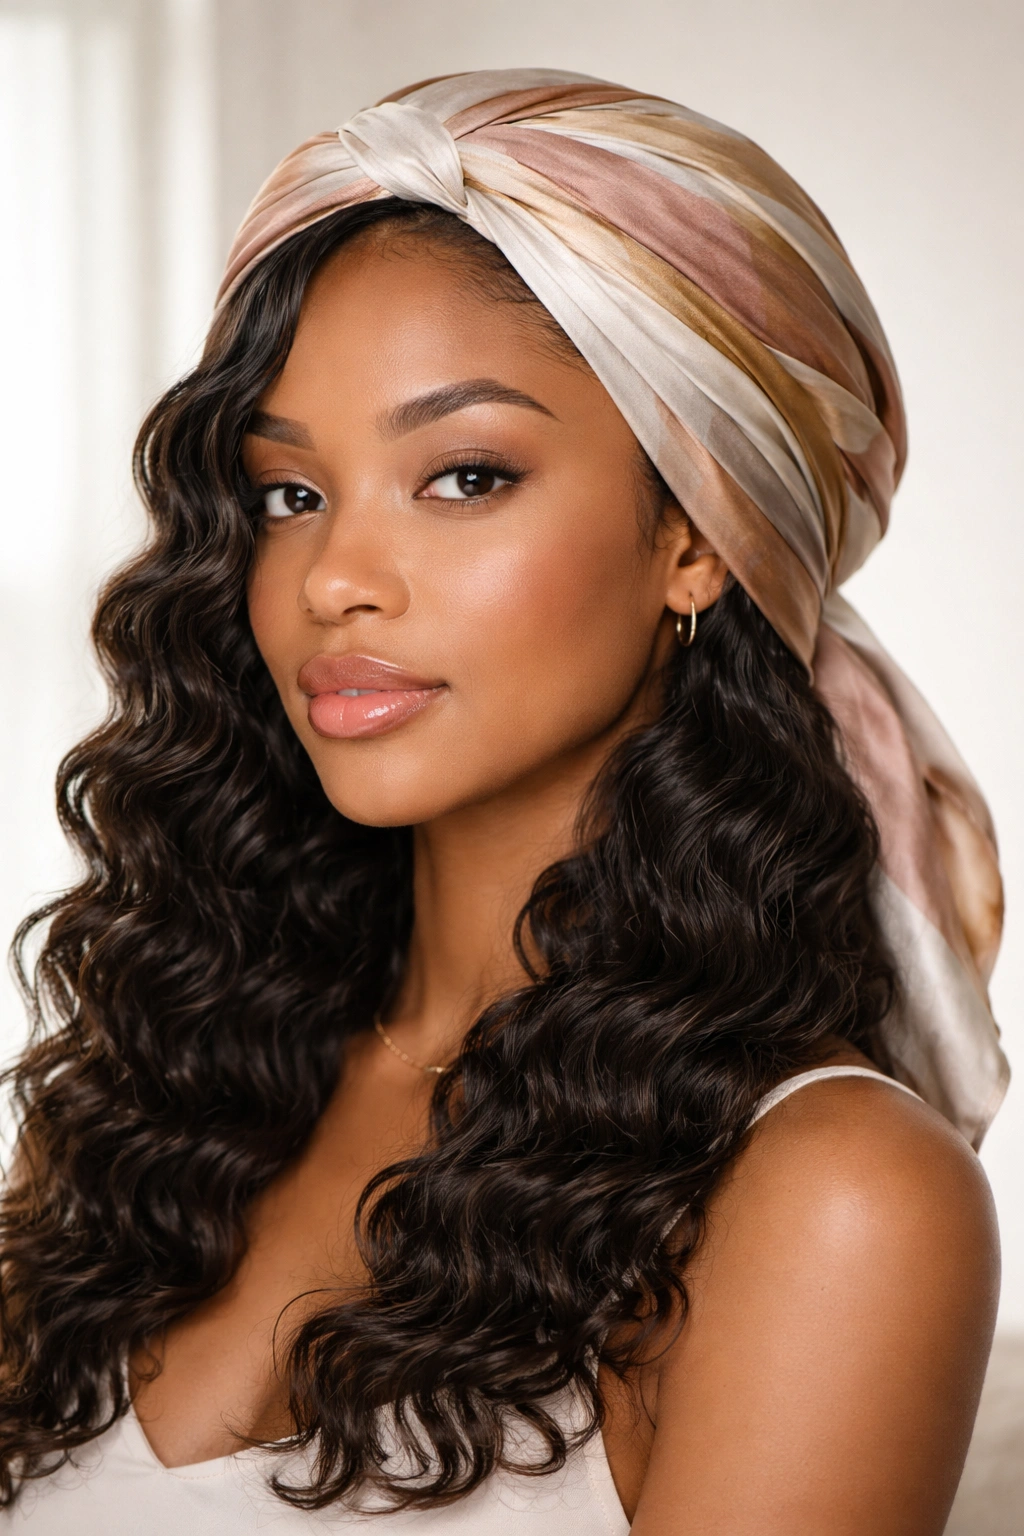
Scarf-set waves are created by wrapping your damp curls in a silk or satin scarf while they dry, then releasing them to reveal smooth, defined waves. This technique creates structured waves with a sleek, polished appearance that lasts several days.
The Technique for Smooth Waves
After washing and applying curl cream to damp hair, wrap your curls around your head using a silk or satin scarf, tucking and securing it so your hair is held in place as it dries. You can create different wave patterns depending on how you wrap the scarf and how you position your curls. Allow the wrapped hair to dry completely—this can take several hours to overnight. Unwrap carefully and reveal smooth, defined waves.
Styling and Longevity
Scarf-set waves last three to five days, and they look polished and intentional right from day one. You can wear them down, style them into updos, or refresh them with a water spray and light product on days two and three. This technique is excellent for creating a different aesthetic when you want a break from your natural curl pattern.
Pro tip: Scarf-setting works best if you allow your hair to dry completely before unwrapping—damp hair will revert quickly. Using a low-heat blow dryer or hooded dryer while scarf-set speeds up the drying process significantly.
23. Bangs or Face-Framing Layers
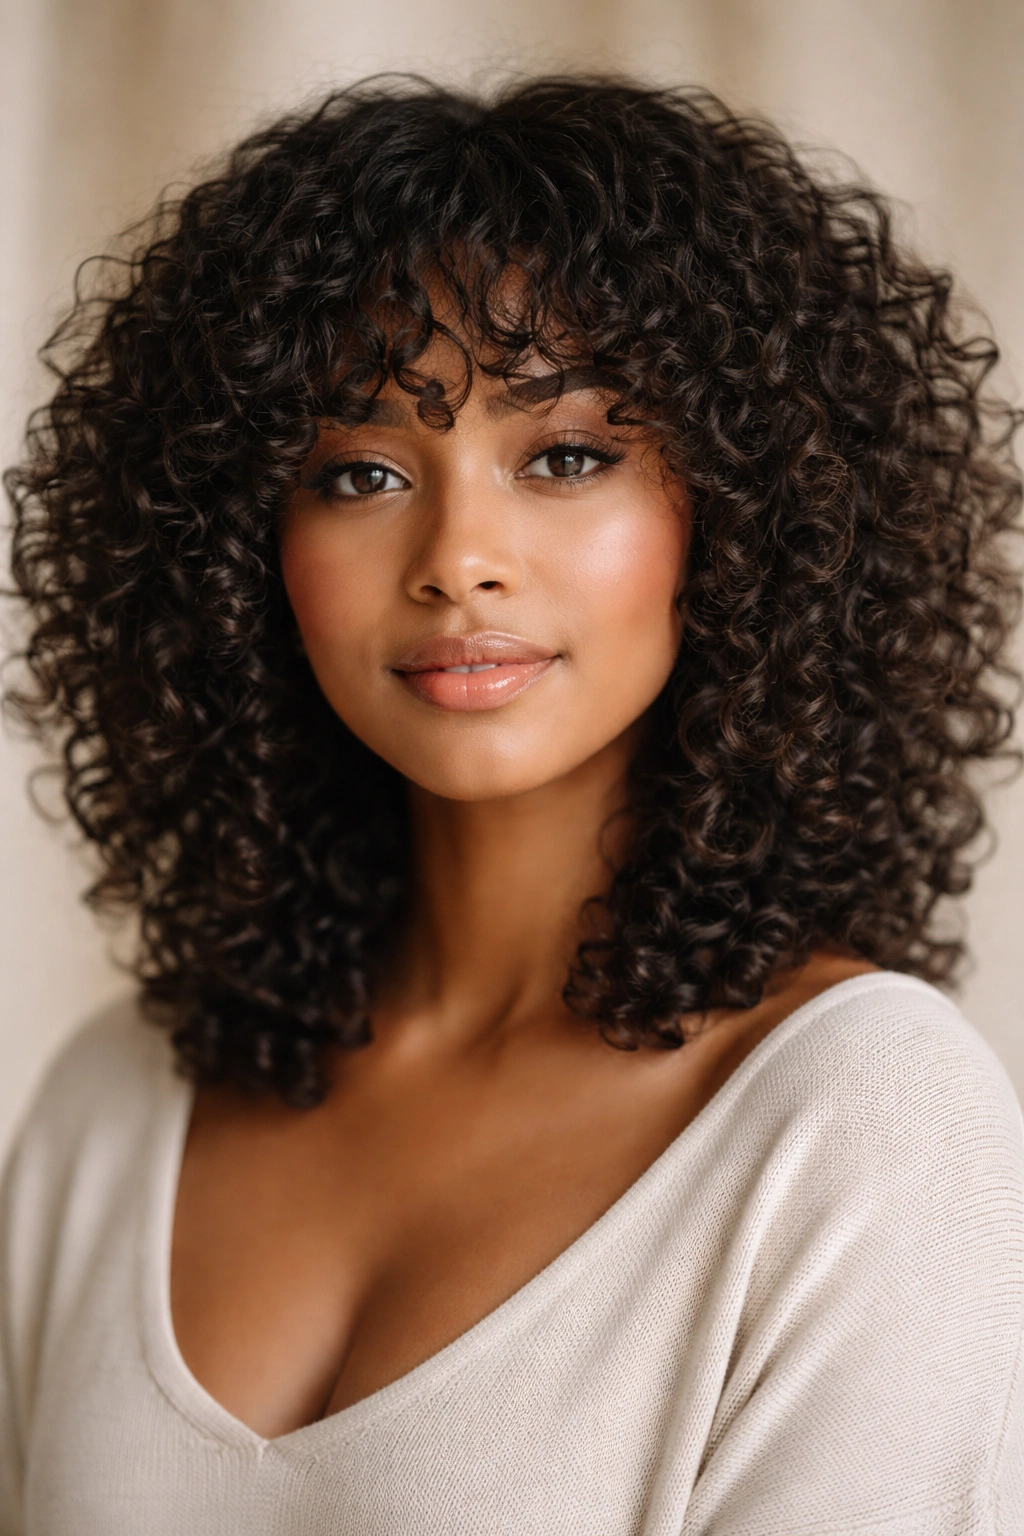
Bangs or face-framing layers add dimension, draw attention to your face, and give your natural curl a different silhouette. Even if you don’t normally wear bangs, adding layers or subtle framing can completely refresh how your curls look and feel.
Choosing Bangs for Curly Hair
Curly-hair bangs work best when they’re either very short and textured (micro bangs) or longer and side-swept. Thick, blunt bangs straight across tend to look awkward on curly hair because the curl makes them stand away from your forehead. Consult with a stylist experienced in cutting curly hair—they’ll understand how to cut with your curl pattern in mind rather than cutting for straight hair.
Styling and Maintenance
Bangs or layers require regular trims to maintain their shape—typically every six to eight weeks depending on how quickly your hair grows and how defined you want them. You can style them with your curls for a textured look, or smooth them with a brush and gel for a sleeker appearance. Face-framing layers especially are flattering on curly hair because they create movement and draw attention to your features.
Real talk: Bangs are a commitment. If you’re not willing to get regular trims and style them consistently, they’ll quickly become a scraggly mess. Make sure you actually like the look before committing to them.
24. Gel Cast Method
The gel cast method is a technique where you apply a thick, hold-y gel to your wet curls, scrunch them into formation, and allow them to dry completely. The result is a hard “cast” of gel around your curls that locks them into shape, creating bouncier, more defined, frizz-free curls with excellent hold.
How Gel Casting Works
Apply a strong-hold gel (the key is using enough product) to soaking-wet hair section by section, scrunching upward to encourage curl clumping. Allow your hair to dry completely—air dry or diffuse. You’ll feel a hard, crunchy “cast” around your curls when they’re fully dry. Once completely dry, gently scrunch the cast to break it up and reveal soft, defined, bouncy curls underneath.
Results and Longevity
Gel-cast curls last two to three days with maintained definition and excellent frizz control. They’re perfect for days when you want maximum definition and a polished, intentional look. The gel cast creates a protective layer around your curls, which also means less frizz and better moisture retention throughout the day.
Pro tip: The quality of your final curls depends heavily on the quality of the gel you use. Invest in a strong-hold gel designed for curly hair rather than using gel designed for straight hair or slick styles, which will make your curls feel stiff and crunchy rather than soft and bouncy.
25. Sleek Low Bun with Defined Curls
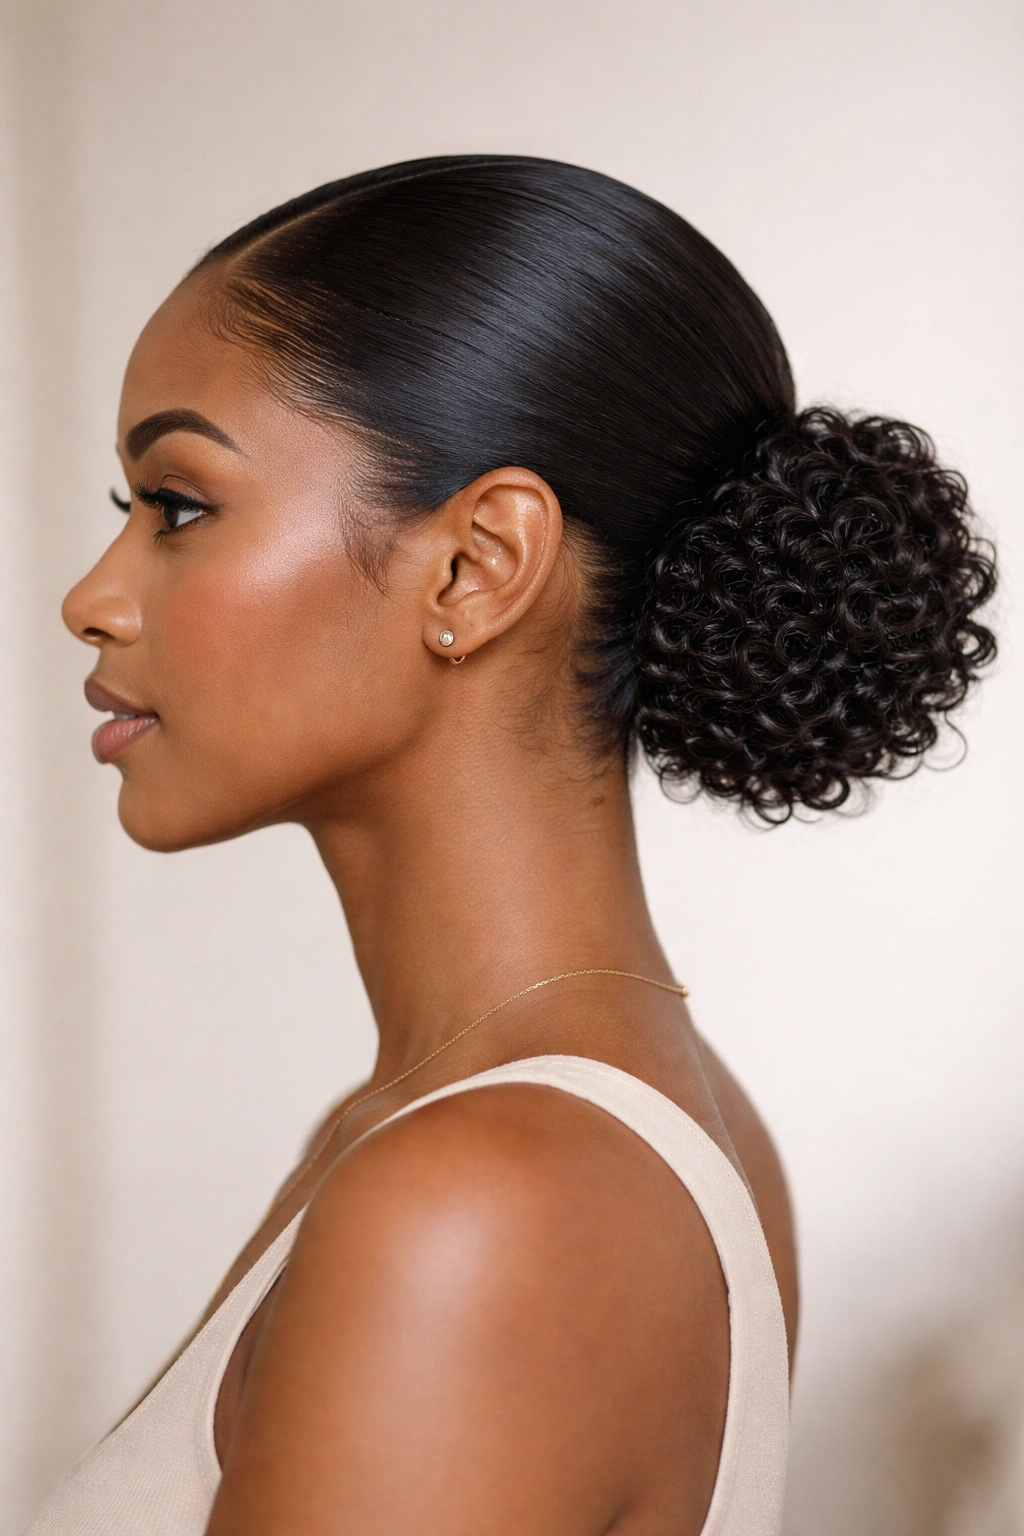
A sleek low bun with defined curls combines smoothness at the crown with visible curl definition at the base of the bun. It’s sophisticated, professional-looking, and shows off your texture in a polished way.
Creating Contrast with Smooth and Defined
Start with defined curls (from a wash-and-go, twist-out, or braid-out). Apply a smoothing serum and edge control to your hairline and crown. Use a fine-tooth comb to gently smooth the top section of your hair straight back, gathering it low at the nape of your neck. Twist or coil the gathered defined curls into a bun and secure with bobby pins. The contrast between the smooth scalp and the textured bun creates visual interest and sophistication.
Styling and Durability
A sleek low bun lasts all day and can go from work to evening out without requiring any touch-ups. You can accessorize with a bun cuff, decorative pins, or silk scarf wrap. This style is excellent for showcasing your curls while maintaining a neat, put-together appearance. The smoothed portion also creates an elegant frame for your face.
Real talk: This style requires some edge control product to keep the smooth portion smooth all day. If you’re not willing to use product or touch up during the day, your edges will start fuzzing and the contrast will be lost by afternoon.
Final Thoughts
The depth of styling options available for coily and curly textures proves that your natural hair isn’t limited—it’s actually incredibly versatile. Whether you prefer protective styles that require minimal daily manipulation, texture-enhancing techniques that amplify your natural curl, or polished looks for professional settings, there’s a hairstyle here that matches both your hair type and your lifestyle.
The key is experimenting with different techniques to discover which ones work best with your specific curl pattern. A style that looks stunning on someone with loose waves might need adjustments for tight coils, and that’s not a limitation—it’s just understanding your hair’s unique needs. Start with one or two styles, master them, then gradually add others to your rotation.
Taking care of your natural hair while styling it is just as important as the styling technique itself. Consistent moisture, gentle handling, regular trims, and protective measures make the difference between styles that last and look intentional versus styles that fall apart within hours. Your curls are worth the investment of care and the time it takes to find what works best for you.