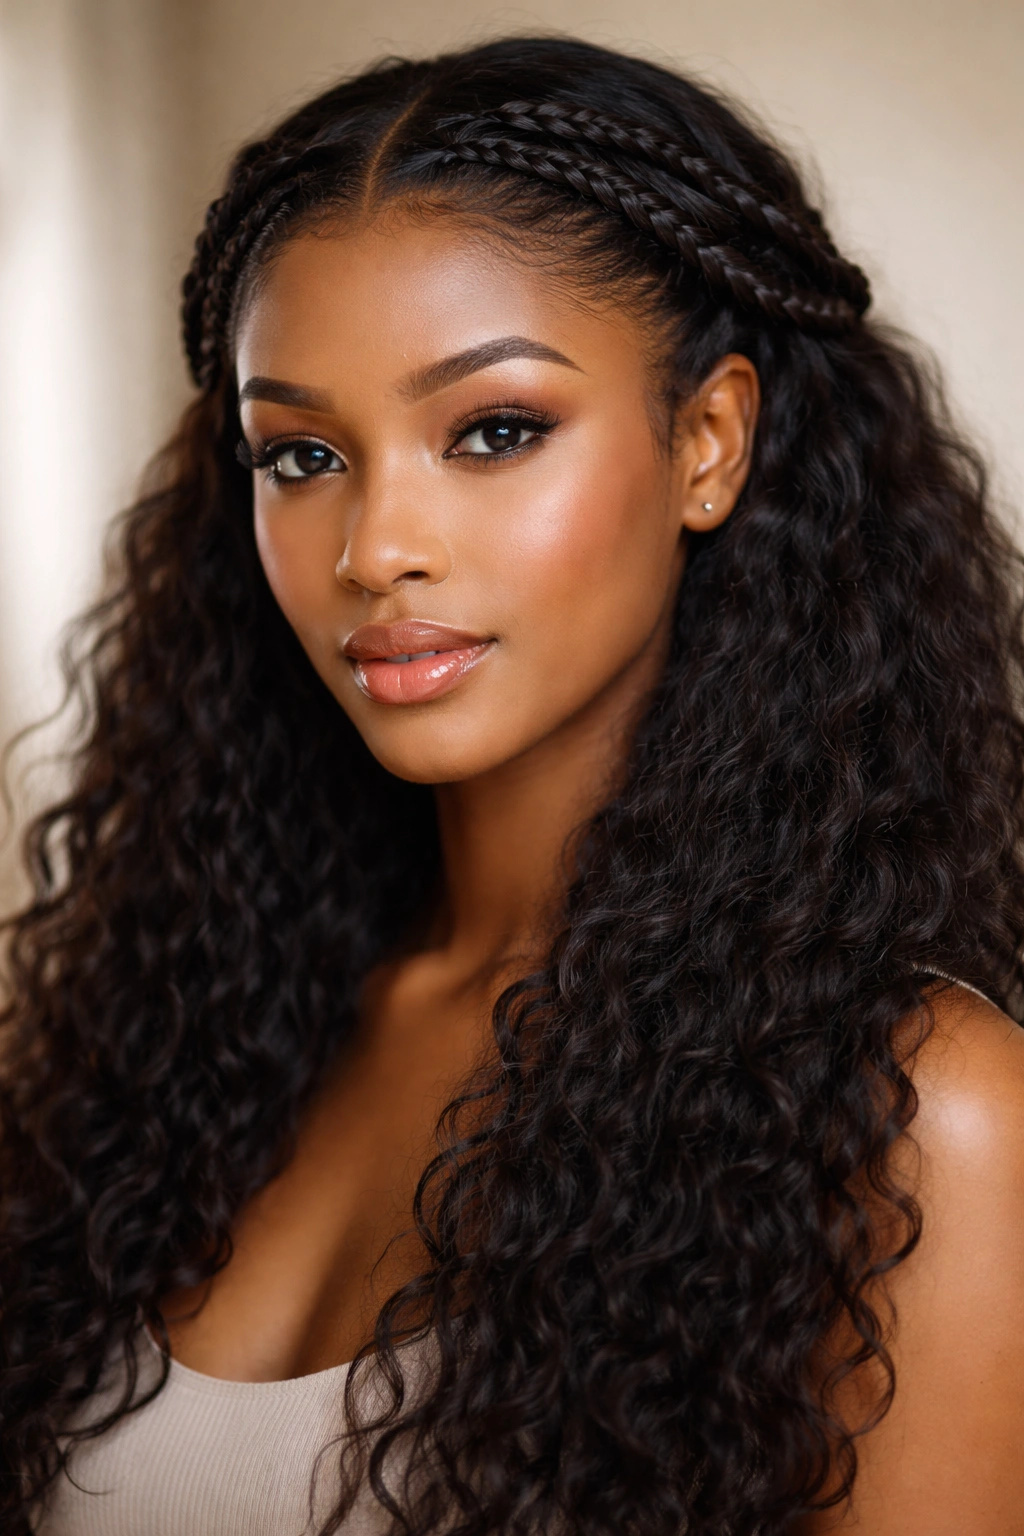
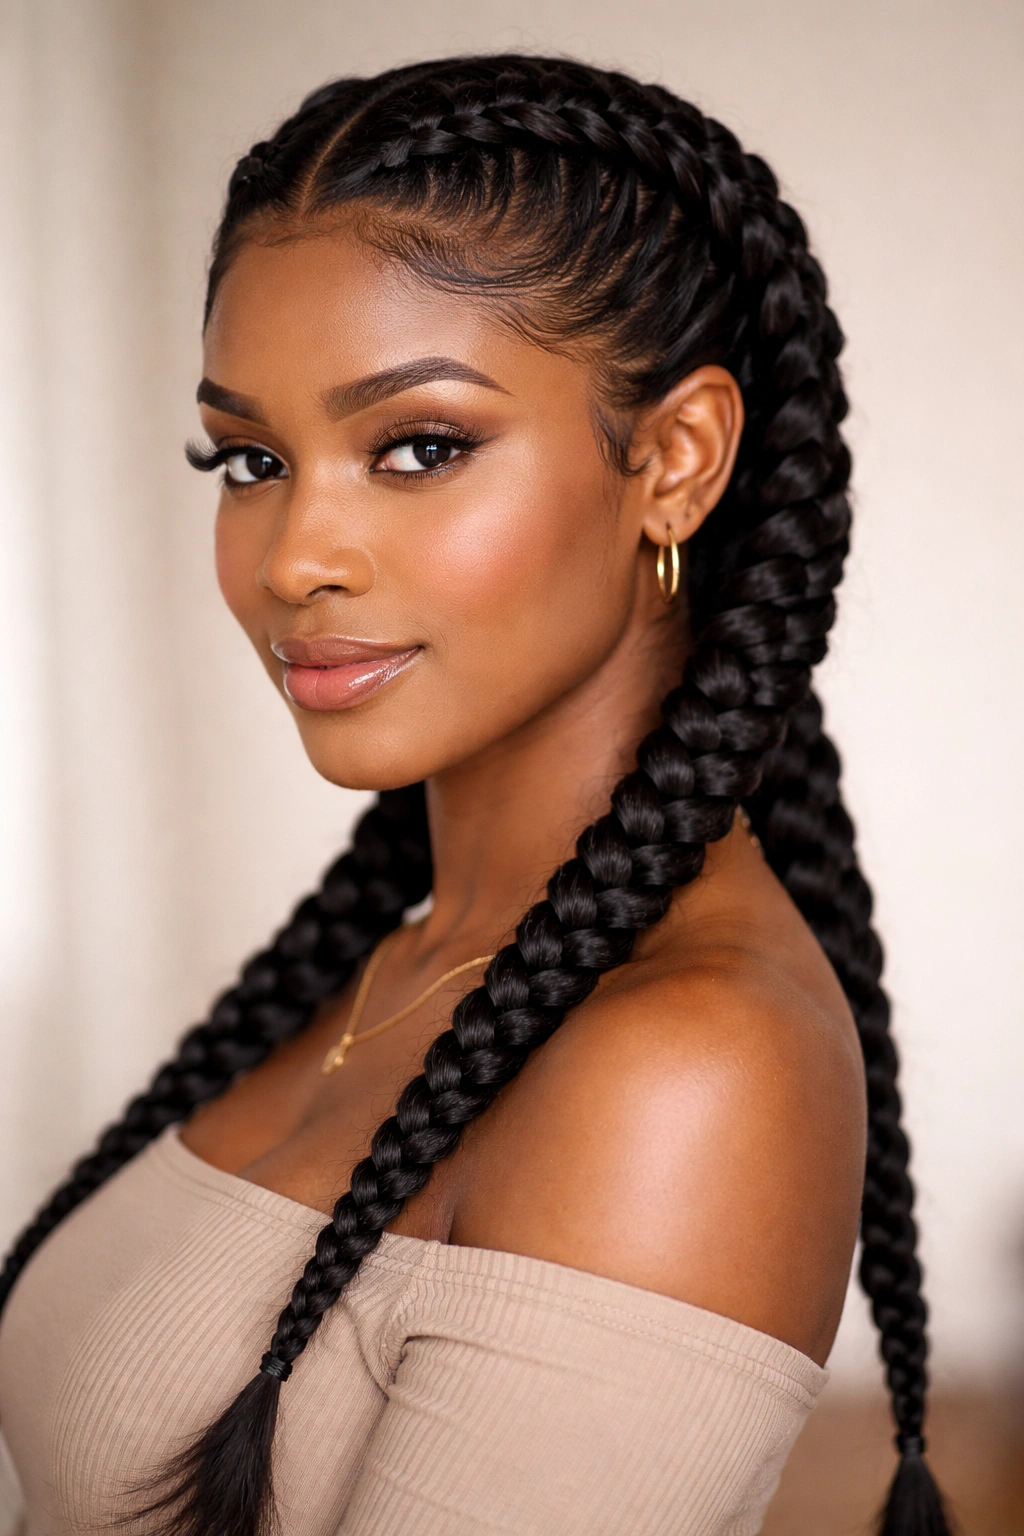
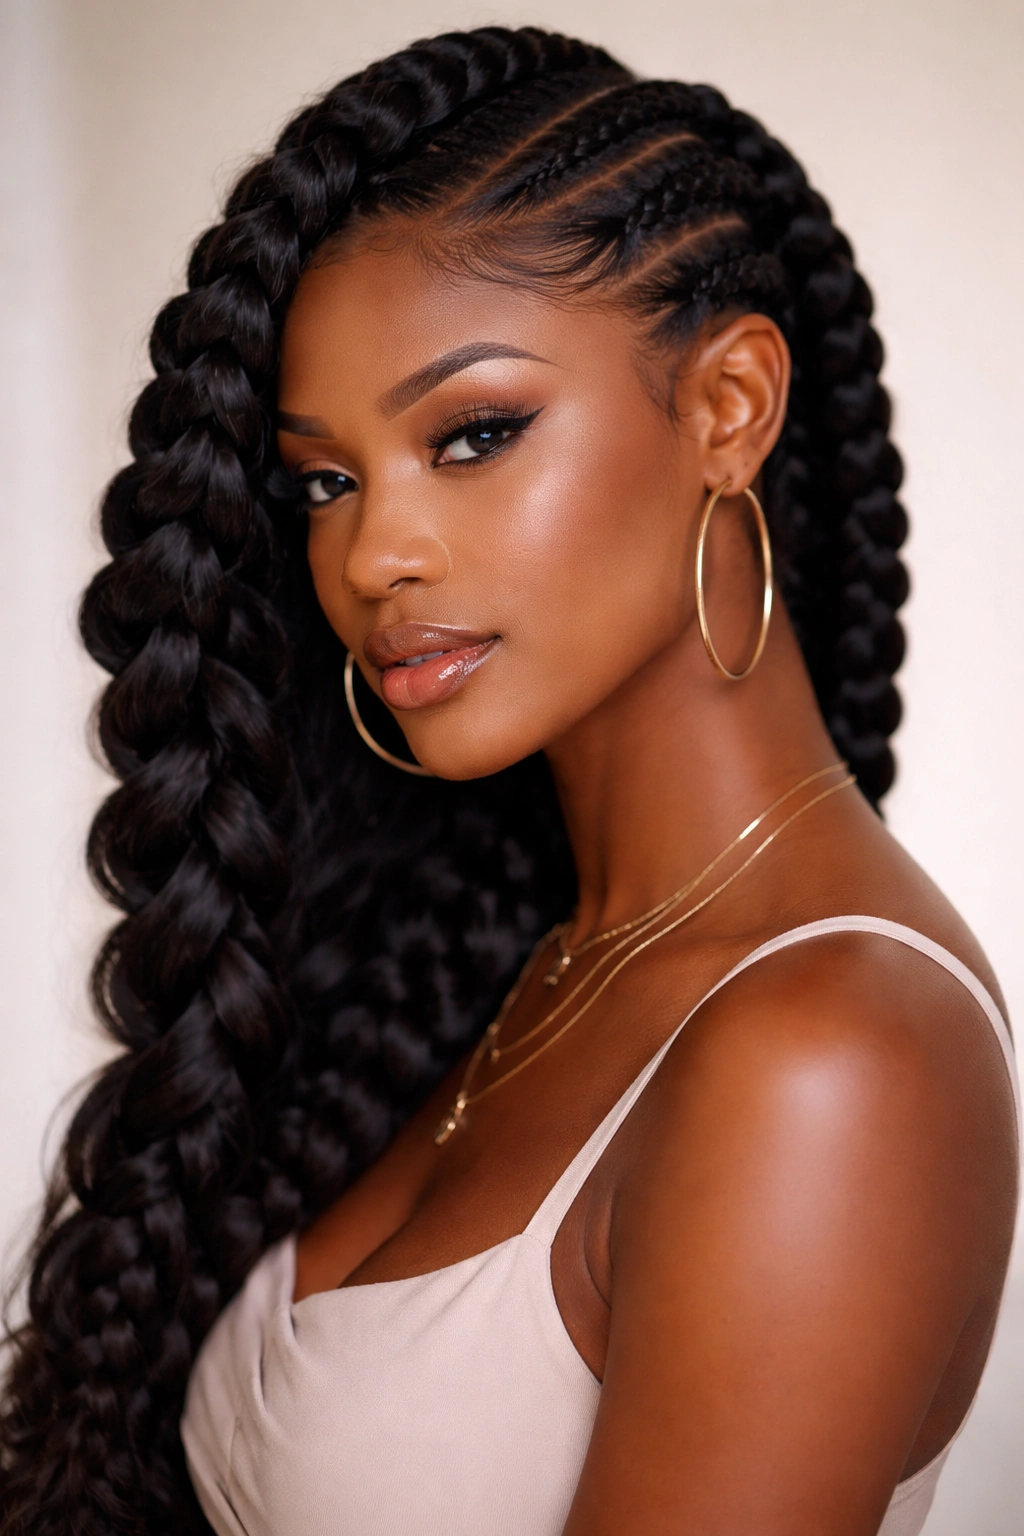
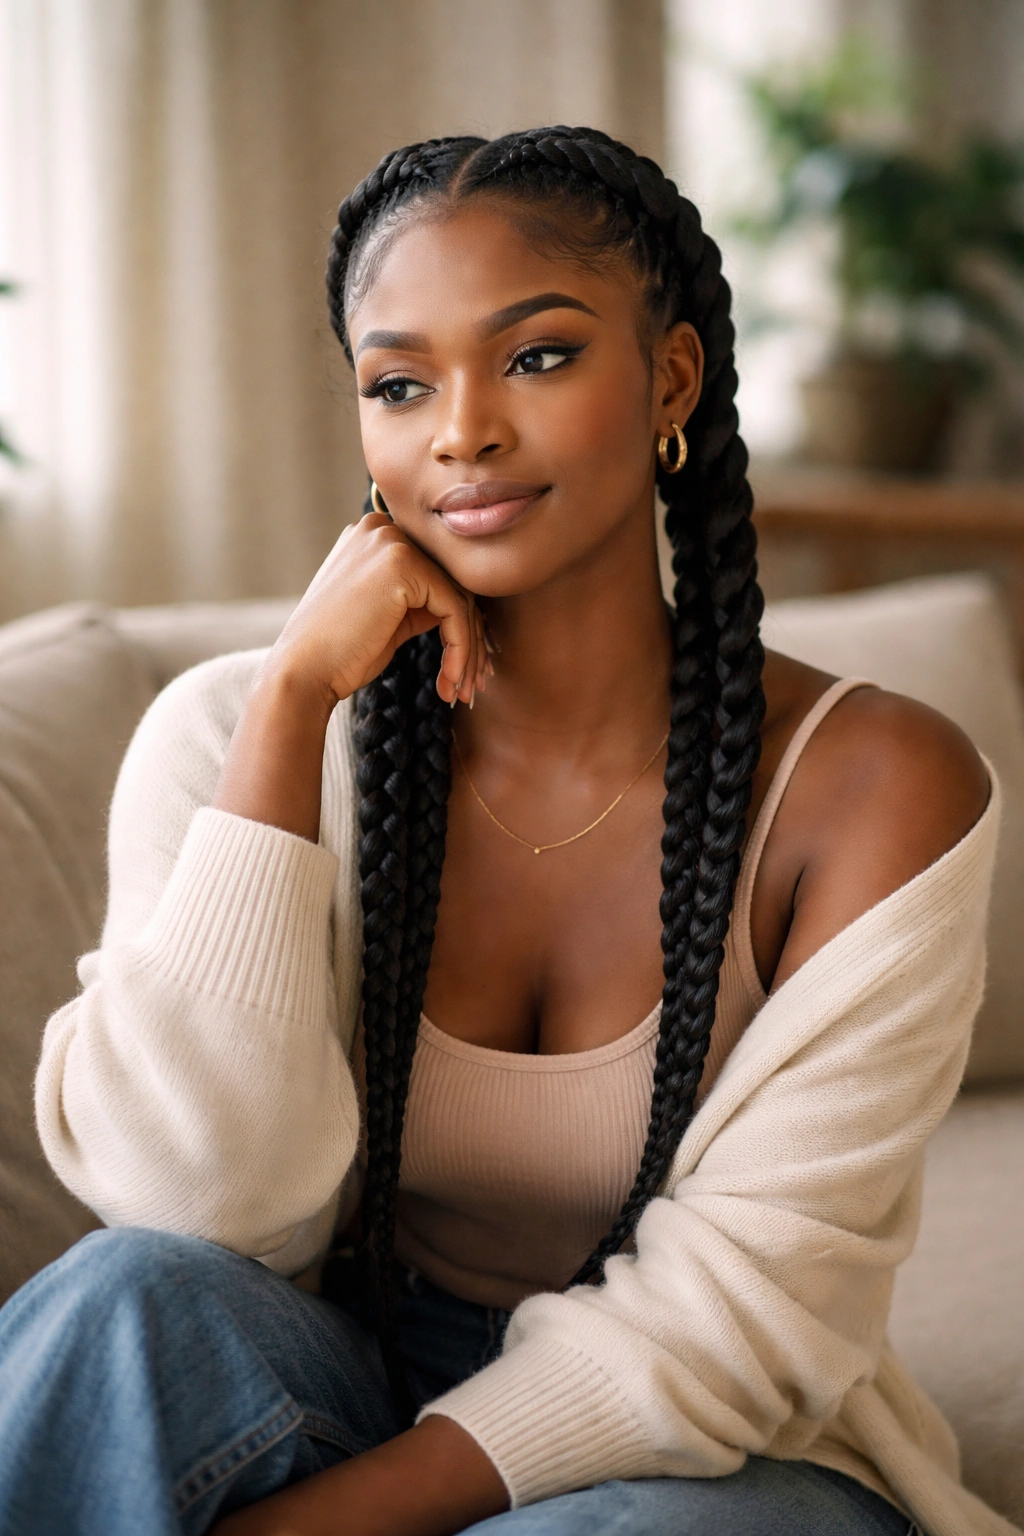
Two-braid styles have become a cornerstone of natural hair care, offering the perfect balance between protective styling, everyday wearability, and genuine aesthetic appeal. What makes these styles so beloved among Black women isn’t just that they look stunning—it’s that they’re versatile enough to work in professional settings, flexible enough to transition from day to night, and practical enough to give your hair the protection it needs while you grow it out or maintain moisture levels. Whether you’re managing a full head of natural texture, working with a looser curl pattern, or anywhere in between, two-braid styles adapt beautifully to your specific hair needs.
The beauty of working with two braids lies in the simplicity of execution combined with the sophisticated results you can achieve. Unlike more complex braiding patterns that demand hours of dedication, two-braid styles respect your time while delivering that polished, intentional look that says you’ve put genuine thought into your appearance. These styles work equally well whether you’re braiding with your natural hair alone or incorporating extensions to add length, volume, or dramatic color contrast. You can wear them down for maximum impact, crown them around your head for an elegant updo, style them into intricate updos, or let them sit on your shoulders as a statement of understated confidence.
Beyond aesthetics, two-braid styles are genuinely protective—they minimize daily manipulation of your hair, reduce breakage along the ends, help lock in moisture, and allow your scalp to breathe in ways that fully protective styles sometimes don’t. For women actively growing their natural hair or managing textured strands through seasonal changes, these styles become an essential tool in a sustainable hair-care routine. The styles that follow represent the techniques, placements, and styling approaches that Black women have perfected and embraced across different hair textures, face shapes, and personal style preferences.
1. Box Braids Crown
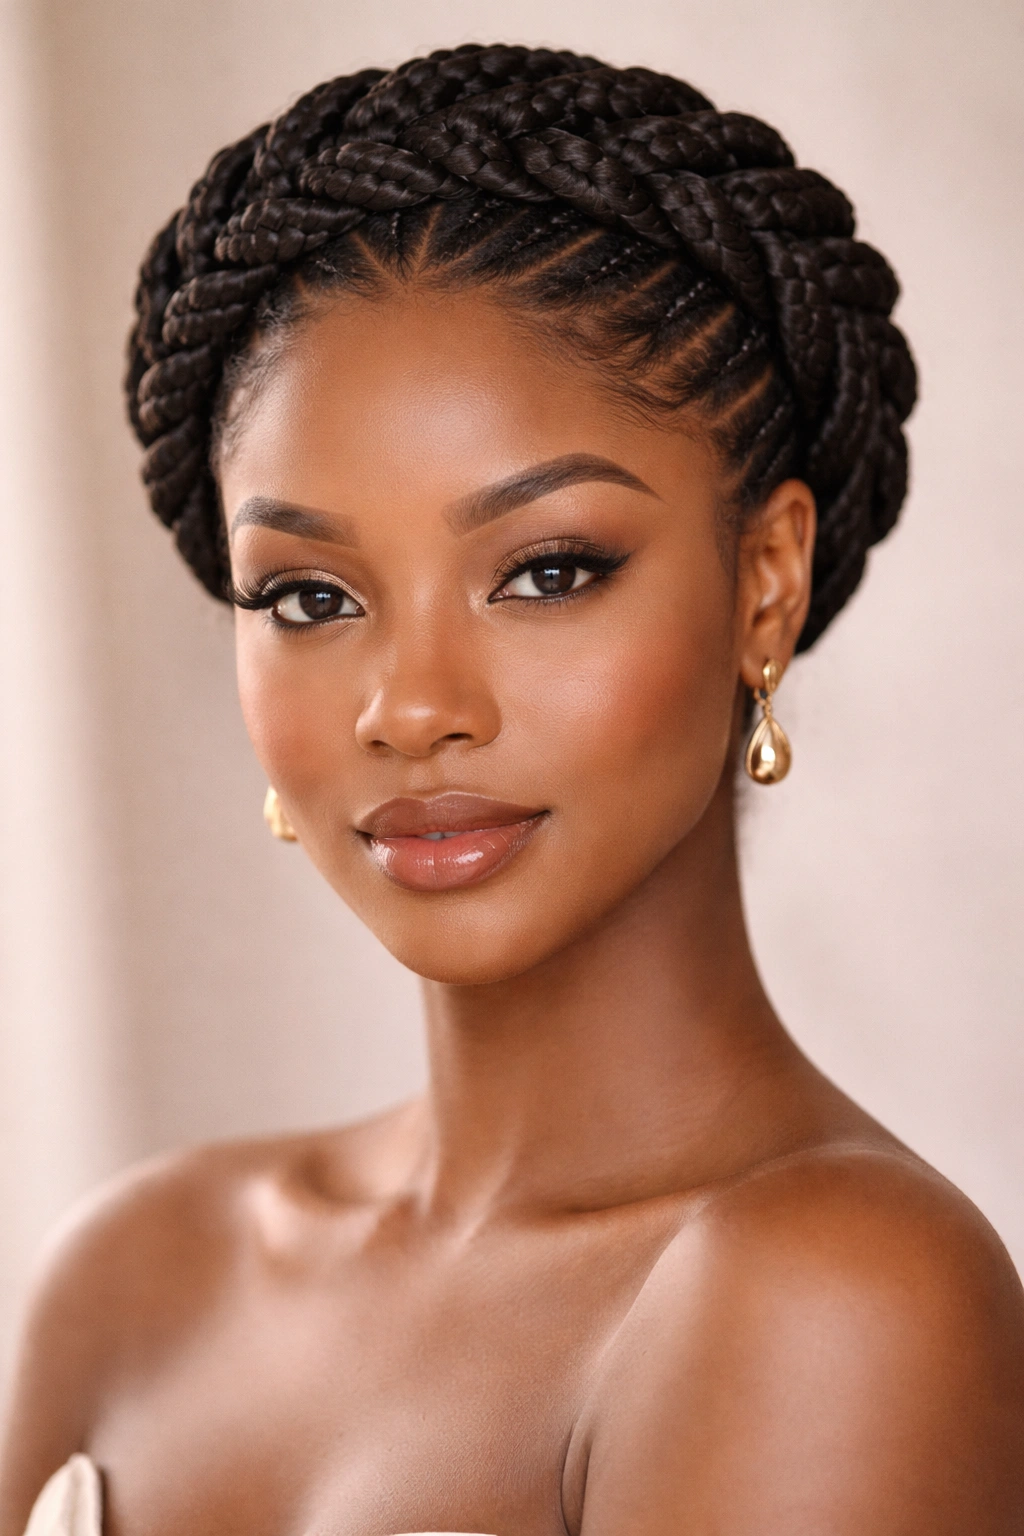
Box braids worn in a crown formation create a regal, instantly sophisticated look that works whether you’re heading to a special event or elevating your everyday aesthetic. Rather than letting the braids fall down your back or sides, you bring them up and around your head in a continuous loop, pinning the ends where they meet at the back or securing them into a low bun at the crown. This placement completely transforms how the style sits on your face, drawing attention upward and emphasizing your bone structure while creating an almost halo-like frame around your head.
Why This Style Stands Out
The crown placement doesn’t just change the look—it fundamentally changes the function. By lifting the braids off your shoulders and neck, you reduce friction in those delicate areas while creating a look that photographs beautifully and reads as intentional and polished. The style works at virtually any braiding thickness, from micro braids to chunky box braids, and the crown formation prevents the weight of the braids from pulling on your edges in a way that can happen when they hang freely.
How to Achieve It
- Start by creating 2 box braids from your front hairline, ensuring you braid them slightly thicker than you would if they were going to hang freely (thicker braids hold the crown shape longer)
- Position your part lines so the two braids will eventually meet and flow around your head at roughly ear height
- Braid each side until you reach the back of your head, then gently curve the braids upward and secure them using small bobby pins that match your braid color
- For extra hold, lightly mist the crown area with a lightweight styling spray before pinning
- Take any loose braids from your natural hairline and tuck them into the crown or secure them into the base of a top knot
Pro tip: This style stays fresh significantly longer if you wrap it at night with a silk scarf—the braids won’t loosen or flatten against your pillow, and the crown shape will hold its definition for 2-3 weeks with proper care.
2. Goddess Braids
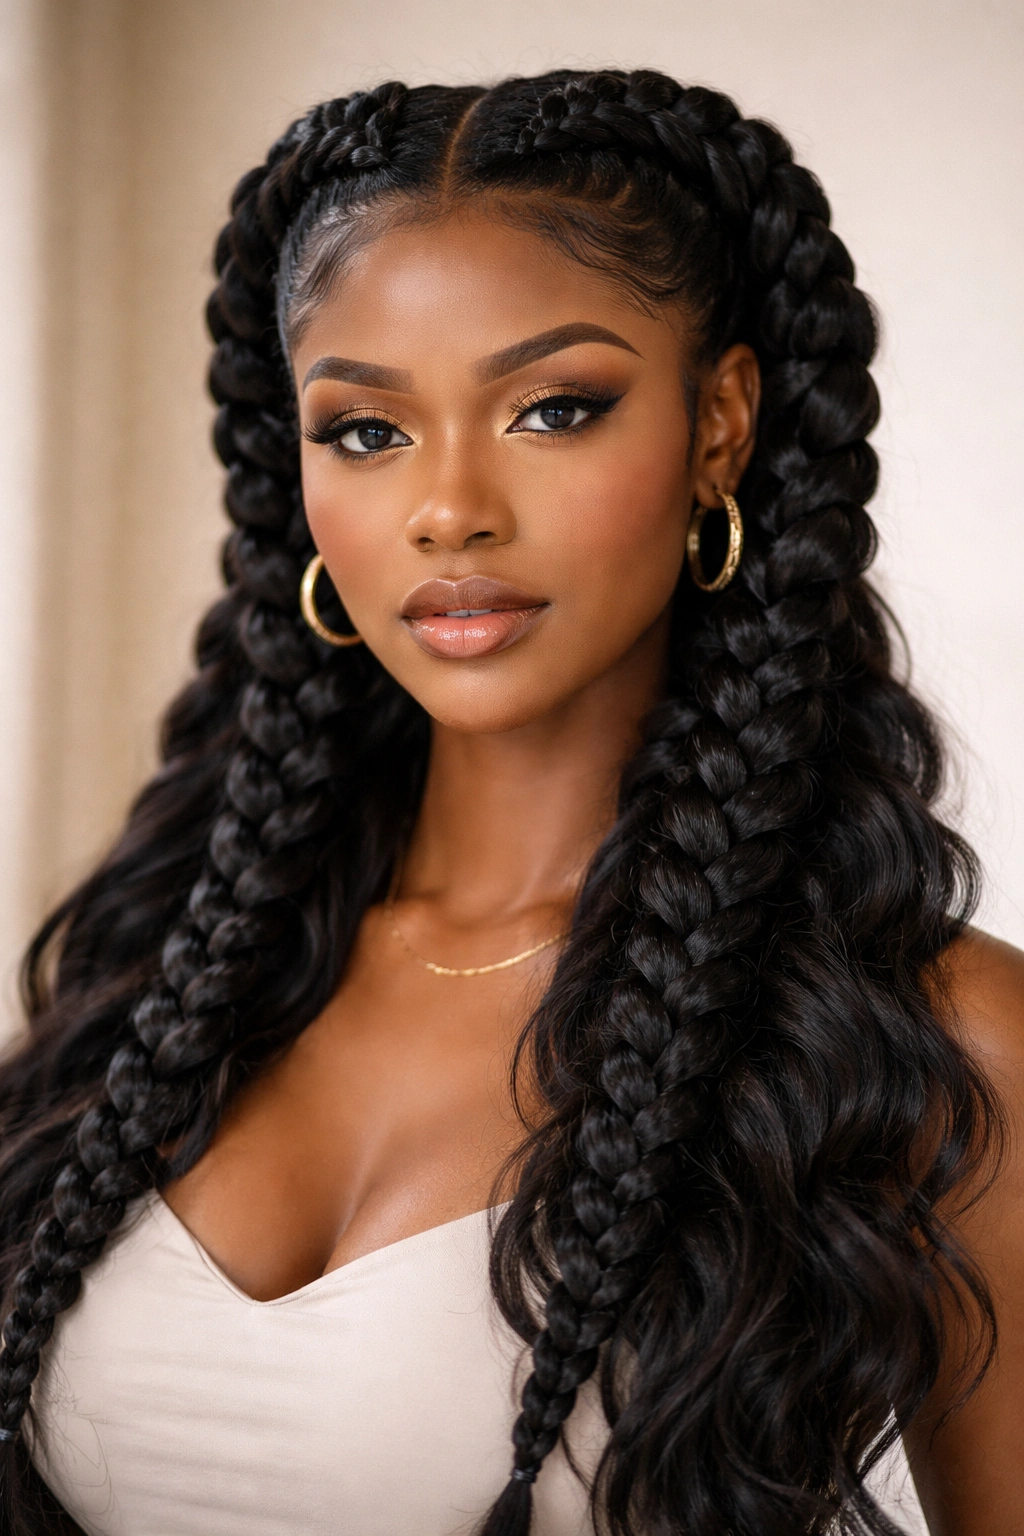
Goddess braids are Dutch braids that sit right along your hairline, creating the appearance of an intricate crown while actually being surprisingly straightforward to execute. The braids are thick and substantial, often created by incorporating extensions for length and volume, and they follow the natural curve of your scalp from one temple, up and over your crown, and down the other side. What distinguishes goddess braids from standard Dutch braids is their scale—goddess braids are meant to be bold and dramatic, not delicate.
What Makes Them Different
Goddess braids work because they’re visible and statement-making without requiring your entire head to be braided. Your two braids do all the visual work while the hair underneath can remain loose, in a puff, or in another complementary style. The placement along your hairline also means that even if the rest of your hair is in a completely different texture or style underneath, the goddess braids create a cohesive, intentional appearance. Many women love this hybrid approach because it extends the life of the braids—you can redo the underneath hair without disturbing the braids themselves.
Styling Options
- Wear them over loose natural hair for a textured, voluminous look that feels both casual and put-together
- Braid them over a high puff or bun for an elevated everyday look that’s genuinely wearable at work or social events
- Create an entire updo where the goddess braids wrap around the base of a high bun, with some loose braids tucked into the bun for extra texture
- Style them into a sleek low ponytail by gathering all your hair, braided and unbraided, into a pony at the nape of your neck
- Wrap the braids around each other at the back of your head and secure with bobby pins to create a braided crown effect
Worth knowing: Goddess braids typically stay fresh for 4-6 weeks because the braids themselves don’t move much—your scalp is protected and you’re minimizing daily manipulation of the braids. Just refresh your edges and wrap at night.
3. Side-Swept Dutch Braids
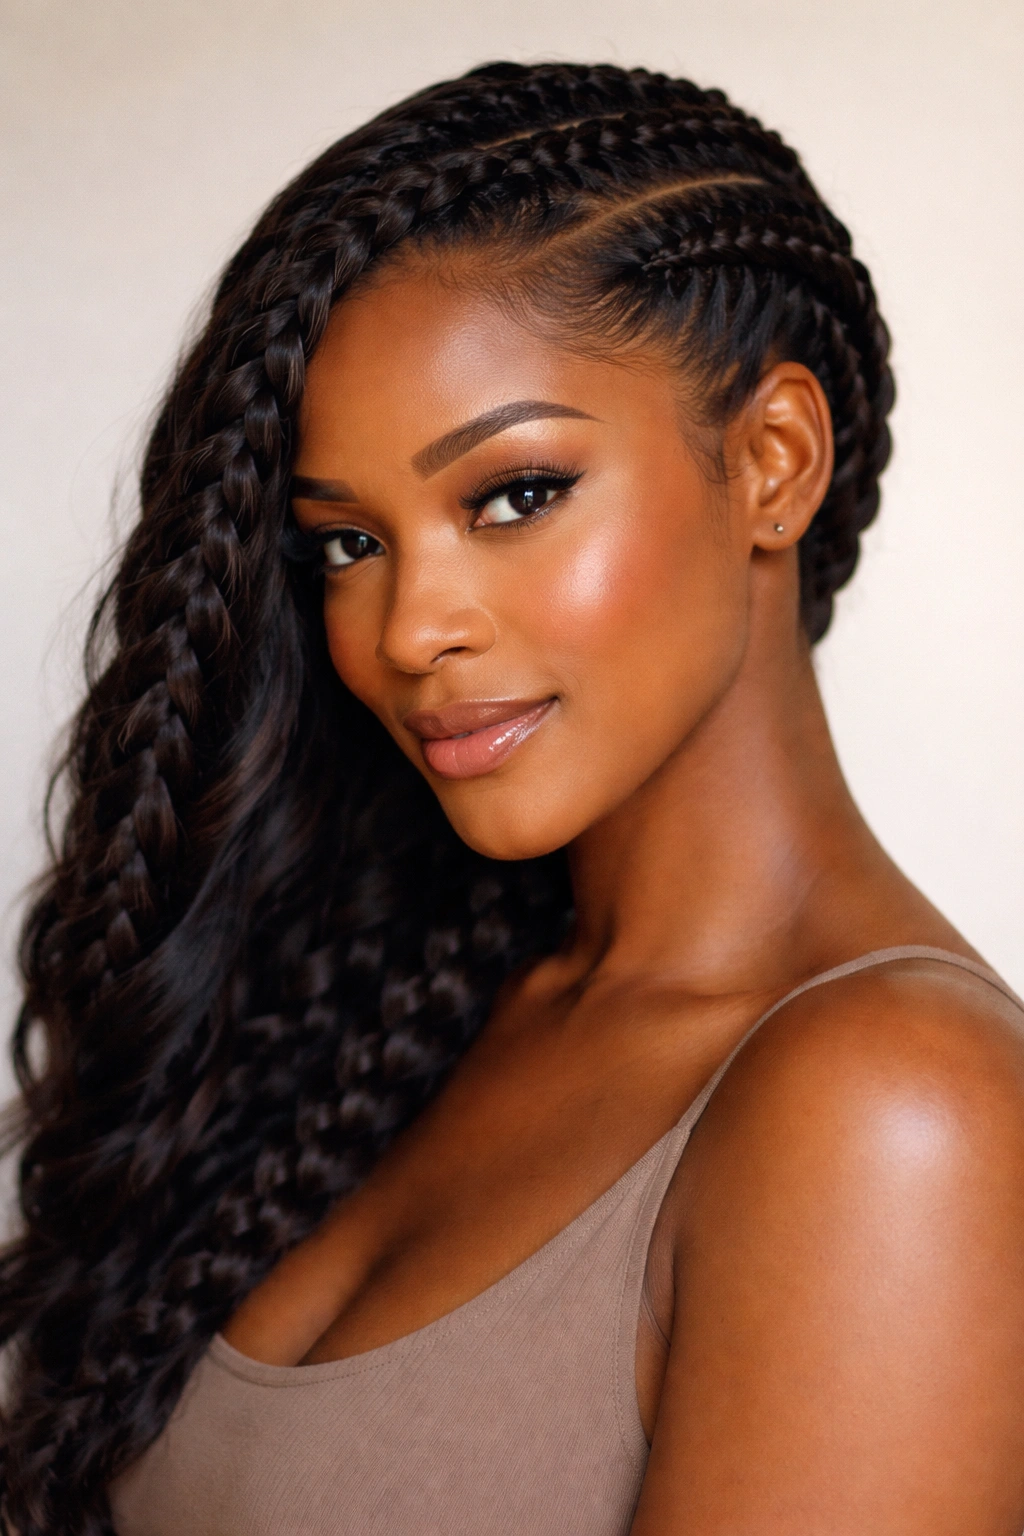
Two Dutch braids that sweep dramatically to one side of your head create movement and visual interest while maintaining the clean, intentional look that natural hair lovers appreciate. Rather than centering the braids or wearing them symmetrically, you create both braids but position them so they flow to one side—one braid might start at your center part and angle toward your right temple, while the other starts closer to your right ear and follows a slightly different pathway. The result feels modern and thoughtfully styled rather than simply practical.
Why It Works
The side-sweep placement photographs beautifully, works with virtually any face shape, and creates the illusion of longer hair even if your braids are only shoulder-length. The asymmetry of the placement keeps the look from feeling too uniform or overly structured, which appeals to women who want to feel like their style has personality and intention behind it. This is also a style that works brilliantly if one side of your face is your “good side”—you can sweep the braids toward that side to create a flattering frame.
Execution Details
- Create a deep side part, positioning it where feels most natural for your face shape
- From your hairline near your deeper-side temple, begin your first Dutch braid, braiding toward the back of your head at a slight angle
- Create a second braid starting closer to your ear on the same side, angling it slightly differently so the two braids don’t sit directly on top of one another
- Both braids should end near the nape of your neck, where you can secure them together with a silk hair tie or small clips
- Add a few face-framing pieces by gently pulling a small section of hair from near your temple and letting it fall loose—this softens the style
Insider note: Lightweight extensions in a shade that complements your natural hair give these braids more body and longevity without weighing you down or creating tension on your edges.
4. Chunky Cornrow Twist
Two substantial cornrows created using a twist technique rather than a traditional braid create a textured, organic look that feels both natural and intentionally styled. Instead of crossing sections of hair over one another the way you would in a traditional braid, you’re wrapping sections around each other, creating a tighter, more compact pattern that sits beautifully along your scalp. Cornrow twists look especially striking on women with looser curl patterns because the twist technique complements natural texture, but they work across the full spectrum of curl patterns.
The Aesthetic Appeal
Cornrow twists have a refined, understated elegance that makes them appropriate in virtually any setting—corporate offices, creative environments, casual social situations, formal events. The twists sit close to your scalp without being aggressively tight, they look beautiful when wrapped at night and worn the next day (the pattern actually becomes more visually interesting as it softens slightly), and they age gracefully, staying neat and intentional-looking for several weeks. Many women find that cornrow twists feel less heavy than traditional braids, which means they’re sustainable for longer wear periods.
Placement Strategies
- Start both twists at your center part, positioning them to run parallel down the back of your head toward your nape
- Angle the twists slightly outward so they frame your face rather than sitting directly on top of each other
- Braid your twists down to your natural hair length and secure the ends with small clips or by tucking them under
- For a softer look, gently pull at the twists once they’re finished to create slightly more volume and texture
- You can leave the ends out for a mixed-texture look or extend with braiding hair for additional length
Pro tip: Cornrow twists on a freshly washed, deeply moisturized hair base will last significantly longer and look better throughout the duration because your natural hair has the hydration it needs to be flexible and hold the style.
5. Halo Braid with Loose Ends
Two thin braids that start at one temple, wrap around your head like a halo, and end at the opposite temple—with your remaining natural hair left down or loosely styled underneath—create a look that’s romantic, intentional, and absolutely wearable for both everyday and special occasions. The braids are thin enough to feel delicate and not overwhelming, but substantial enough to create clear visual definition and genuinely frame your face beautifully. This style sits right at the intersection of protective and stylish, offering the best of both worlds.
Why Black Women Love This Style
The halo braid creates an elegant crown without the severity of an updo, it works on all hair lengths (from shoulder-length natural hair to waist-length), and the thin braids are quick enough to create that you can actually do this as a daily style without it becoming burdensome. The loose hair underneath means you’re not fully protective-styling your hair, so your ends get some air circulation and you can adjust the underneath hair however you like—sleek, textured, curly, in waves. Many women use this style as their go-to for days when they want something more polished than their natural hair alone but less time-intensive than a full protective style.
Creating the Halo Effect
- Part your hair to create a center or side part, depending on your preference
- Start your first braid at one temple, pulling a small section of hair and braiding it back toward the opposite side of your head, following your hairline
- The braid should travel from temple to temple along the perimeter of your head, roughly where a crown would sit
- Secure the braid end with a small clear elastic or bobby pin, tucking it behind your opposite ear
- Create a second braid using the same pathway or slightly offset from the first
- Your underneath hair can be worn in loose curls, straightened, or left in its natural texture
Worth knowing: This style is remarkably low-manipulation, which means your edges and your ends benefit from reduced tension and less daily handling—perfect if you’re actively growing your hair or trying to retain moisture.
6. Fishtail Dutch Braids
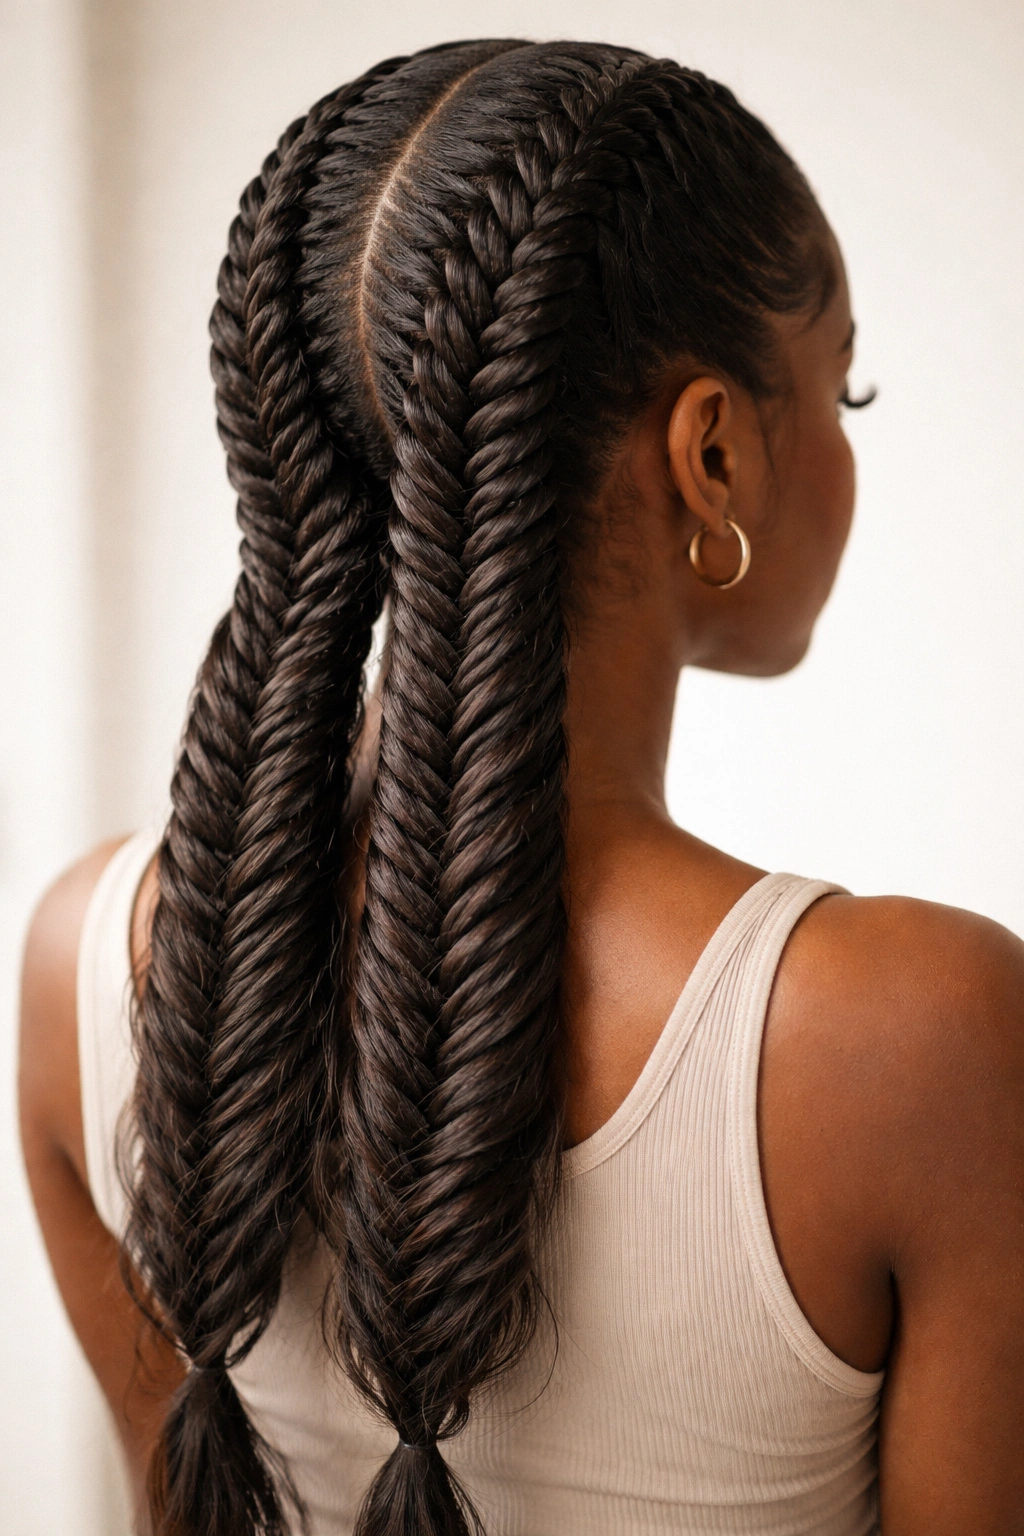
Two Dutch braids created using the fishtail braiding technique—where you’re weaving thin sections of hair from each outer edge toward the center rather than using three thick sections—create an intricate, visually complex look that’s actually quite manageable to maintain. Fishtail braids have a feathery, almost delicate appearance despite being surprisingly durable, and when created as Dutch braids (positioned so they’re visible along your head rather than hanging down the back), they create a genuinely show-stopping style that makes a clear statement about your hair care and attention to detail.
Visual Impact
Fishtail braids appear more intricate and intricate-looking than they are to execute, which means you get major style payoff with reasonable time investment. The weaving technique creates natural-looking texture that complements the curl pattern of many Black women’s hair, and the braids photograph beautifully—they catch light differently than traditional braids and create genuine visual interest from every angle. These braids are also wonderful if you’re working with hair that’s the same color throughout, because the braiding technique itself creates dimension and movement that makes your hair look thicker and more intentionally styled.
Execution and Styling
- Create a center or side part, depending on your desired look
- Starting at your hairline on one side, begin your first fishtail braid by dividing a small section into two parts
- Take a very thin piece from the outside of the right section and cross it over to the inside of the left section
- Repeat the process, taking a thin piece from the outside of the left section and crossing it over to the right section
- Continue this pattern down the length of your head, positioning your braid to sit along your hairline for maximum visual impact
- Create your second braid using the same technique on the opposite side
Insider note: Fishtail braids look even more striking if you slightly loosen them once finished—gently pull sections of the braid outward to create width and texture, which makes the weaving pattern more visible and gives the braids a softer, more organic appearance.
7. Two-Braid High Bun
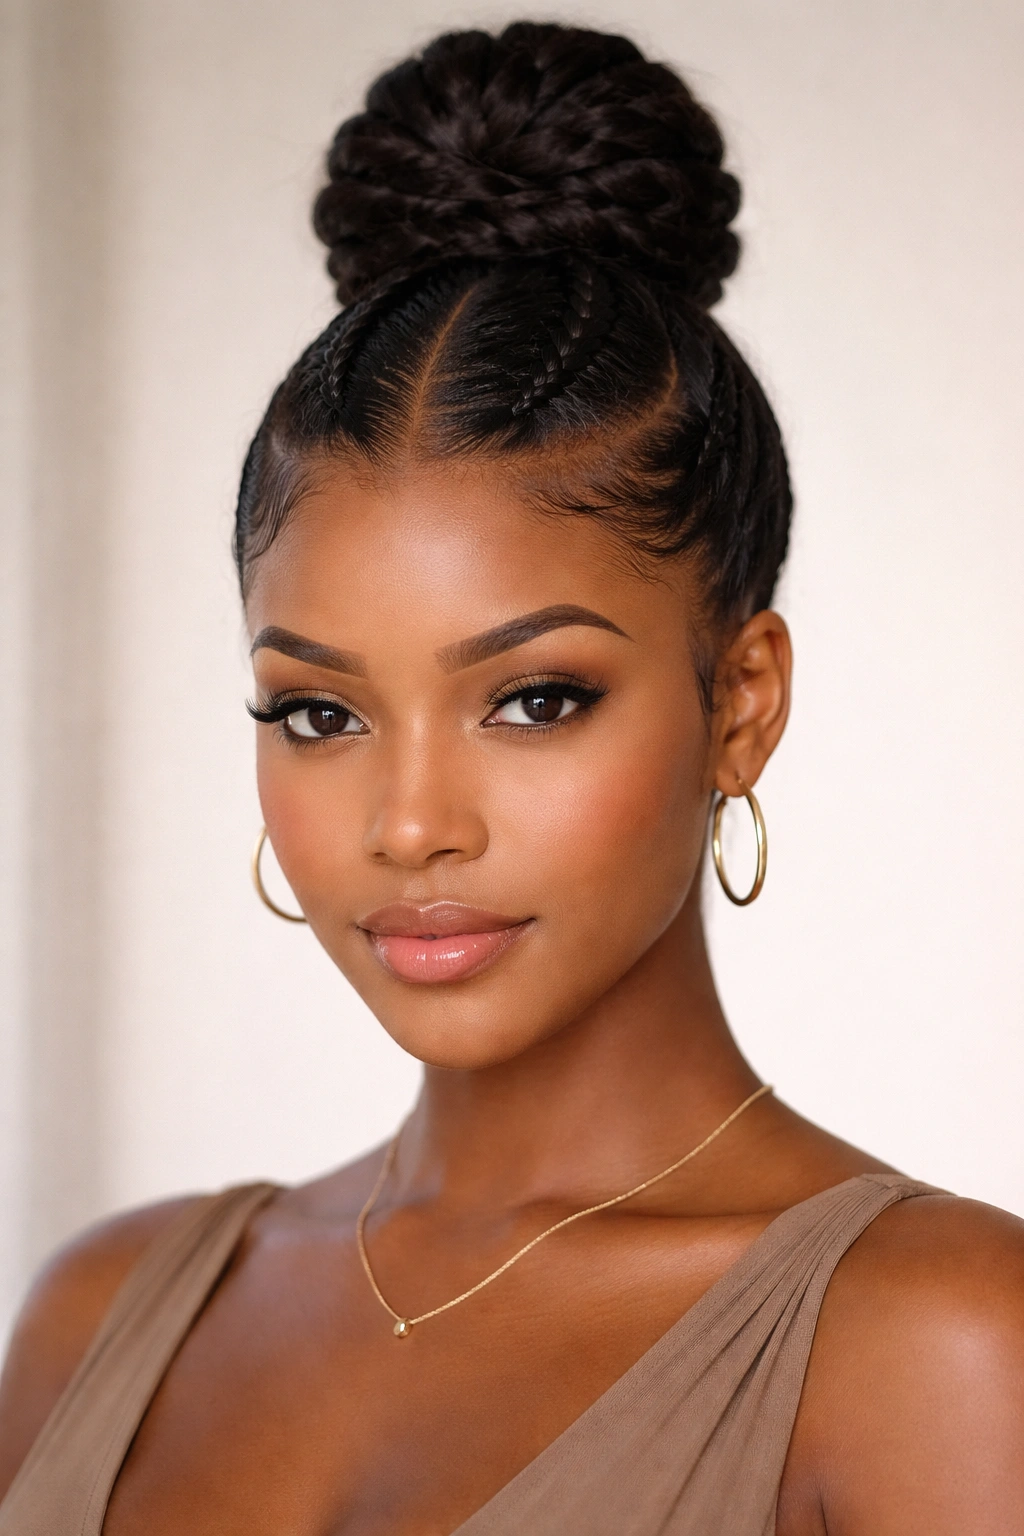
Two substantial braids that begin at your roots and are brought together at the crown, where they’re wrapped around each other to form a high bun, create a sleek, sophisticated updo that works for work, formal events, workouts, and everything in between. This is a protective style that doubles as an elegant hairstyle, meaning you’re getting genuine styling versatility along with the protection of braiding. The high placement keeps your hair off your face and neck, it’s genuinely practical, and the visual line created by braids going up into a bun is flattering on most face shapes.
Versatility and Longevity
The two-braid high bun stays looking fresh and intentional for 2-3 weeks with minimal maintenance—you’re simply wrapping the style at night and refreshing it with a light misting of styling spray in the morning. The high placement means your edges have a bit less tension than some other bun placements, and you can adjust how tightly the buns sits based on your comfort level and how much time you have. This is the style that works whether you’re heading to a casual coffee date or getting dressed for a wedding, which is why it’s become a true staple for Black women who value both protection and polish.
Creating the Style
- Create two thick braids starting from your roots, parting your head into two sections
- Braid each section all the way to the ends of your natural hair
- Bring both braids up toward the crown of your head
- Wrap one braid around the other in a circular motion, tucking the end under to create a cohesive bun
- Secure with bobby pins that match your hair color, tucking them so they’re invisible from the front
- For a softer look, gently pull at the bun to create a bit of looseness and texture
Pro tip: If you’re planning to wear this style for a special event, create it the night before and wrap it carefully with a silk scarf—the braids will set and the bun will maintain its shape beautifully all day without any re-styling needed.
8. Twisted Two-Strand Twists
Two thick two-strand twists created by wrapping sections of hair around each other (rather than braiding them) create a look that celebrates natural texture and curl pattern in a way that’s both protective and genuinely beautiful. Two-strand twists have a softer, less structured appearance than braids, which makes them especially appealing if you prefer a more organic, natural-looking style. The twists can hang loose down your back, be styled into an updo, or wrapped around each other to create dimensional waves and texture.
Why Twists Stand Out
Two-strand twists are significantly faster to create than intricate braids, they work on virtually any hair length from short natural hair to bra-strap length and beyond, and they’re incredibly versatile in terms of styling options once they’re set. The twists themselves celebrate the natural curve and movement of your hair—as they set and relax, they create beautiful waves and coils that you simply cannot achieve with braids. Many women find that two-strand twists feel lighter and more breathable against their scalp than braids, which makes them sustainable for extended wear without sacrificing comfort.
Styling Possibilities
- Let them hang down your back, separated and defined, for a fully natural look
- Twist them around each other at the back of your head to create a twisted crown or halo effect
- Gather them into a high or low ponytail for a sleek yet textured updo
- Roll them up into a high puff at your crown for an elevated, intentional everyday look
- Leave some loose and braid others for a mixed-texture style that offers the best of both worlds
- Create waves by untwisting them and using the pattern they’ve created to form the basis of your next style
Worth knowing: Two-strand twists actually improve with age—they look neater and more defined in week 2 and 3 than they do immediately after creation, which means you can wear them confidently for 4-5 weeks without them looking messy or undone.
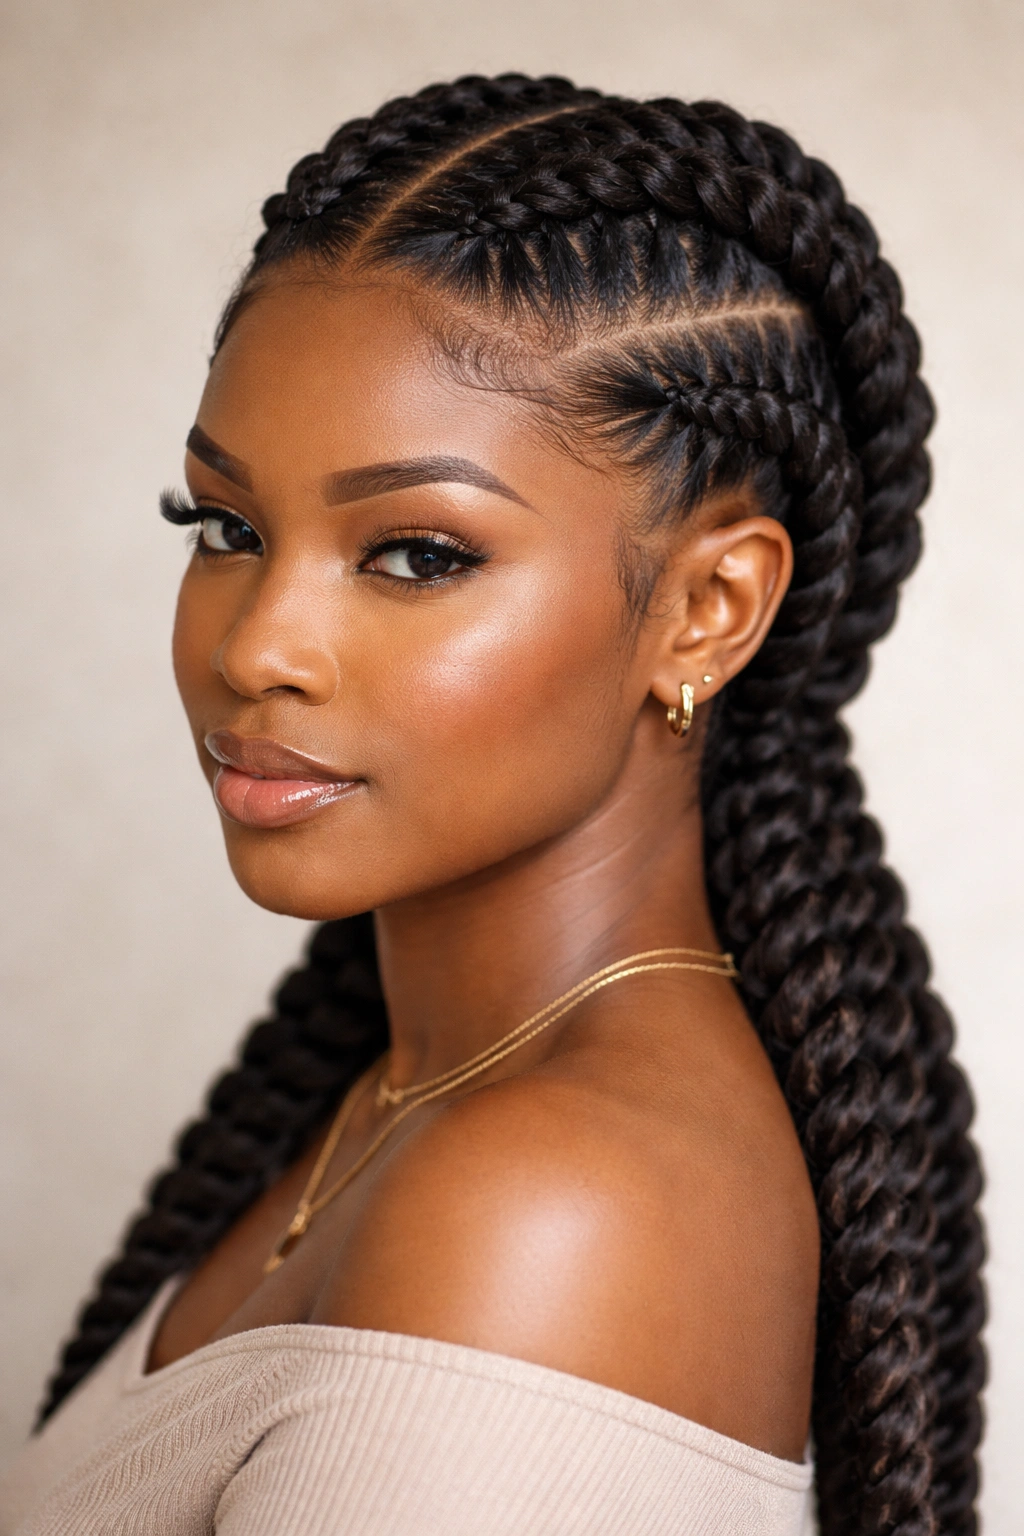
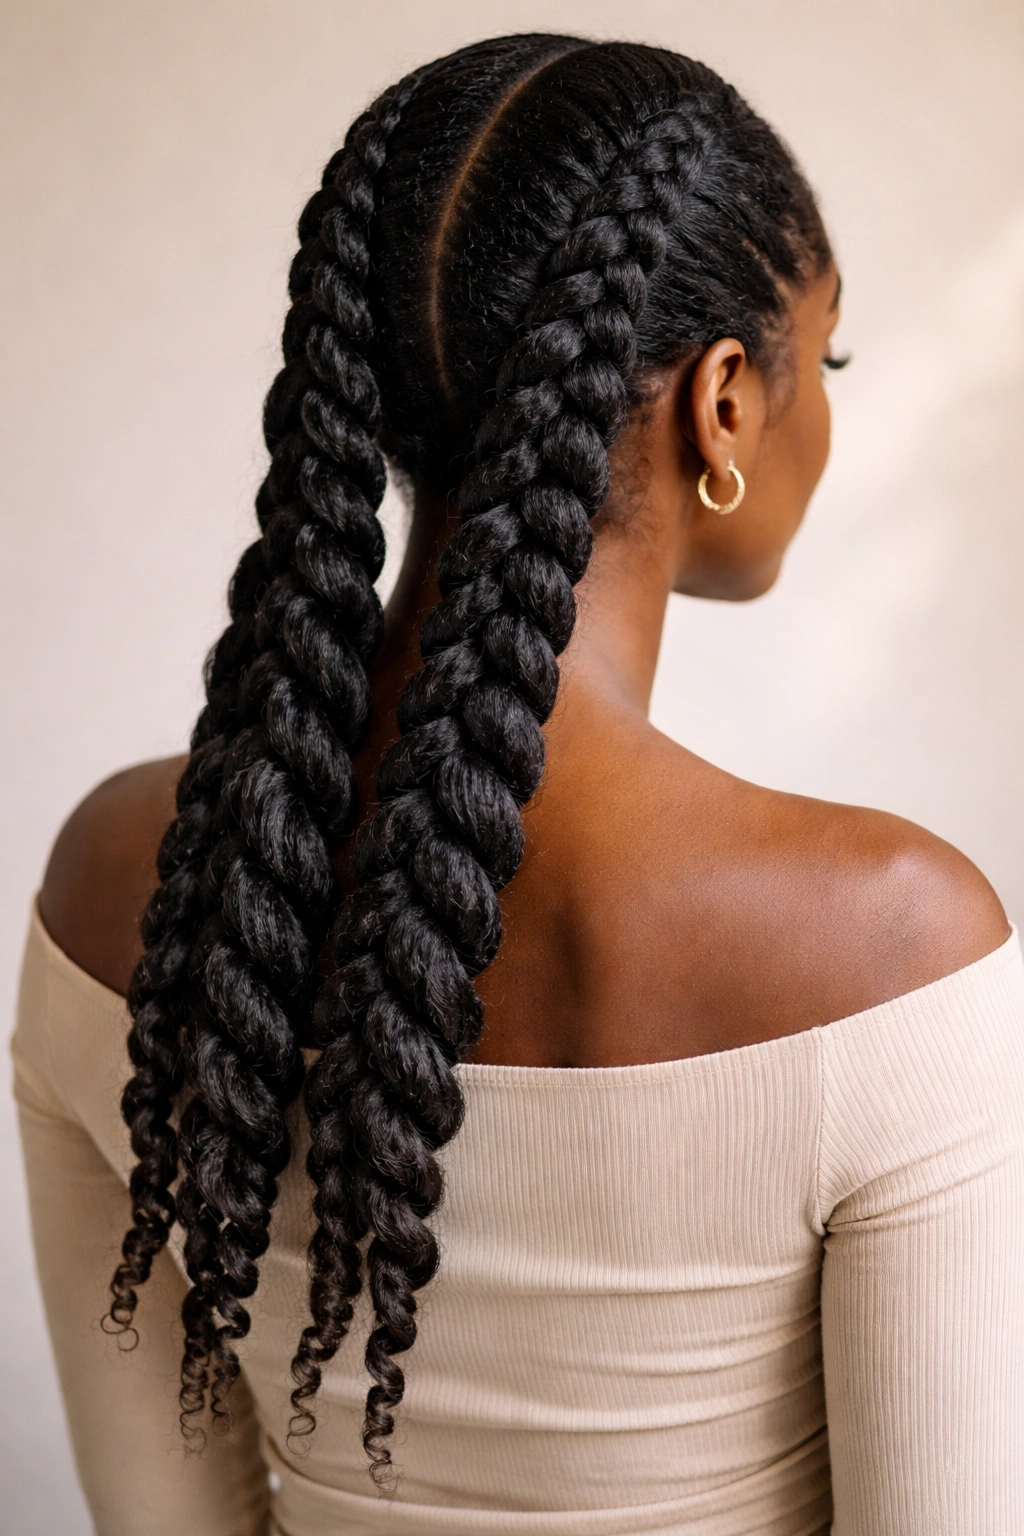
9. Reverse Dutch Braids
Two reverse Dutch braids (also called French braids, where you’re braiding underneath rather than over) create a subtly different visual effect than standard Dutch braids—the braids sit slightly raised and have a more prominent, almost rope-like appearance. Creating two reverse Dutch braids allows you to play with different positioning—you can braid them parallel down the back of your head, angle them toward each other to meet at the nape, or position them on opposite sides of your head for an asymmetrical look that’s genuinely stunning.
Visual Distinction and Appeal
Reverse braids create texture and dimension that photographs beautifully and reads as intentional and carefully styled. The braiding technique itself creates a different visual pattern than traditional braiding, which means even if someone has seen standard braids on you before, reverse braids feel like a fresh, new style. These braids work especially well if you’re incorporating extensions or color—the underbraiding technique makes extensions look integrated and natural, and contrasting colors create genuinely striking visual effects when you’re using the reverse braiding technique.
Positioning and Styling Options
- Start at your hairline and braid straight back toward the nape for a classic, clean look
- Braid at a slight angle so the two braids aren’t directly parallel, creating a more dimensional appearance
- Angle the braids toward each other so they meet and merge at the nape of your neck
- Create reverse braids on opposite sides of your head by parting your hair deeply and allowing each braid to frame one side of your face
- Incorporate the braids into an updo by bringing them to the back of your head and wrapping them around the base of a bun
Insider note: Reverse braids look incredible with any hair color or pattern, but they’re especially striking with subtle color variations, ombre extensions, or contrasting edge color—the braiding technique highlights and showcases any color work beautifully.
10. Side-Parted Sculptural Braids
Two thick, sculptural braids created with a deep side part and positioned to create visual drama and intentionality represent the pinnacle of two-braid styling for many Black women. Rather than creating uniformly sized braids or positioning them symmetrically, you’re making deliberate choices about thickness, placement, and flow to create a look that’s genuinely artistic and reflects your personal aesthetic. These braids often incorporate extensions for added volume and length, and they’re worn with pride as a statement of style, not just a practical protective style.
The Art of Sculptural Braiding
Sculptural braids require confidence and a willingness to play with proportion and placement in ways that standard braiding patterns don’t. One braid might be significantly thicker than the other, they might start at different points on your head, or they might travel in different directions entirely—the point is that you’re creating a look that’s uniquely yours rather than following a standard template. This approach appeals to women who see their hair as a medium for self-expression and aren’t satisfied with following traditional braiding conventions.
Creating Your Unique Look
- Start with a deep side part positioned in whichever location feels most flattering for your face shape
- Create your first braid from your temple on the deeper side, making it thicker and more substantial than your second braid
- Create your second braid starting from a different point—perhaps closer to your center part—making it thinner and allowing it to create a different visual line
- Position the braids so they frame your face asymmetrically, creating movement and intentionality
- You can wear these braids down, incorporate them into an updo, or wrap them around each other to create dimensional texture
- Add extensions in complementary colors to enhance the sculptural quality and create visual interest
Pro tip: Sculptural braids are the perfect style for weeks when you want to make a bold fashion statement—pair them with clothing in complementary colors or bold patterns to create an entire intentional look that feels cohesive and thought-through rather than accidental.
Final Thoughts
Two-braid styles offer Black women a remarkable toolkit for expressing personal style while genuinely protecting and caring for natural hair. Whether you’re drawn to romantic halo braids, bold sculptural pieces, practical protective styles that double as elegant updos, or textured twists that celebrate your natural curl pattern, there’s a two-braid approach that aligns with your aesthetic and your lifestyle. The styles that resonate most are the ones you feel confident wearing, the ones that make you feel like yourself—more polished, more protected, more authentically you.
The real magic of these styles lies in how they work across different hair textures, lengths, densities, and face shapes without requiring modification or compromise. A halo braid looks different on everyone who wears it, and that’s exactly the point—your version should reflect your unique features, your personal style preferences, and what makes you feel genuinely confident. Give yourself permission to try the styles that call to you, to experiment with placement and proportion, and to make them yours rather than following a template exactly. Your natural hair is a canvas, and two-braid styles offer endless possibilities for creating looks that are protective, beautiful, and unmistakably you.